

Saturday November 1
10:00am – 2pm
Rome Player – Mike
Gaul Player – Brian
Weather – warm and sunny
Coffee - lots
Introduction
Mike and I decided to get together one on one to try to get a better understanding of the rules and try out a different army to fight against the Romans. Since I can now field Gauls we thought we would give them a test and see how it went. I was drawn to the Gauls due to their good cavalry but was worried about the staying power of the warriors. And I was eager to see if I can successfully use skirmishers in front of the main line. We also decided to use camps for the first time, and we also used the terrain placement rules.
The starting forces can be found right out of the army lists for the above armies.
Setup

I (Gaul) won the initiative and decided to fight the Roman invaders in an agricultural setting and chose terrain accordingly. We took Hammy’s advice and reduced our other selections by 1 as we were playing on a 3x5 table. I chose 2 hills but one got removed and the remaining pieces were allocated to the sides of the table leaving the battlefield clear for the coming battle.
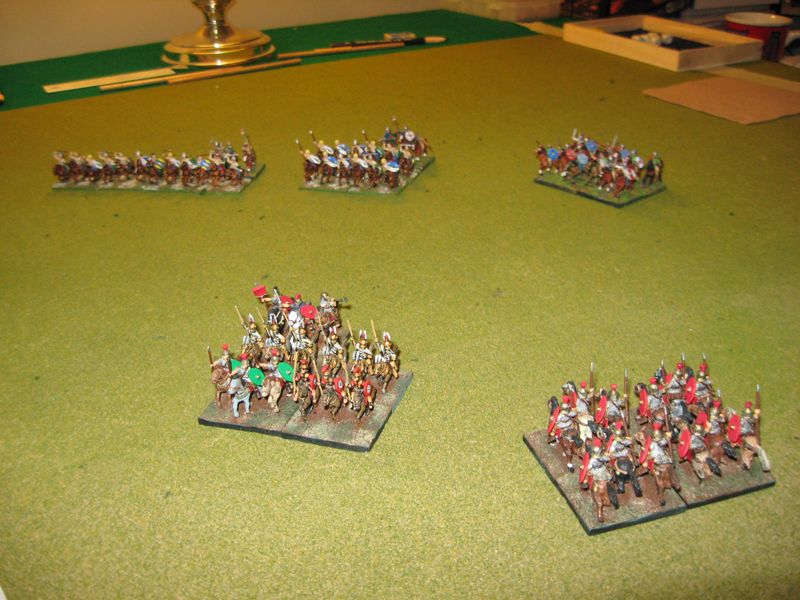
We set out our forces as pictured above. Being the Gaul I wanted to keep my main line of warriors near my rear side initially. I placed 2 Warrior BGs in support of the front line ones. I positioned my cavalry on the far right side of my army to overwhelm the weak Roman cavalry. And my skirmishers, I positioned them as far forward as possible in order to harass the enemy as long as possible.
Here are some more pics of the set up:
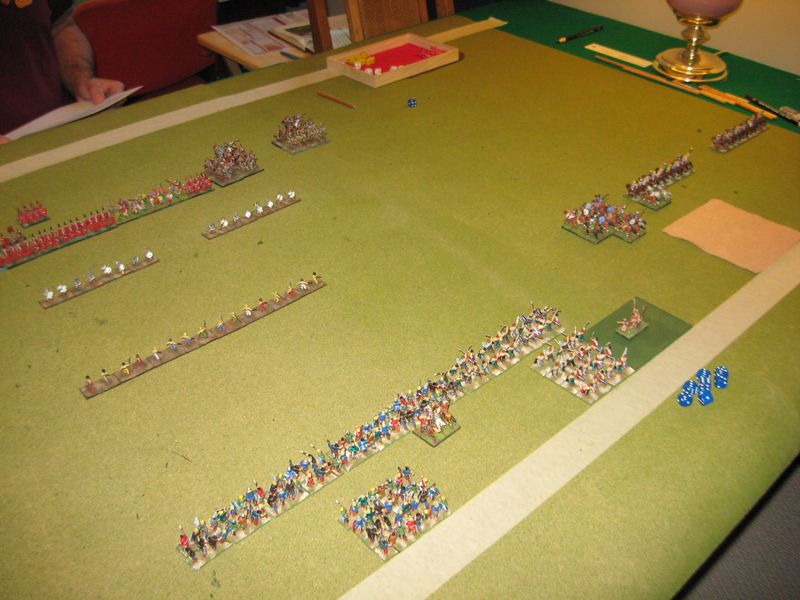
View from the Gaul side.

View from the Roman side
Turn 1

The Roman advanced his BL forward and his slirmishers stopped just outside of javelin range trying to taunt the Gaul LF into a foolhardy charge. Mike moved his cavalry to a position more facing my cavalry in hopes of protecting his infantry.
I kept my skirmishers where they were and advanced my 2 warrior BG on the right flank of my BL. I wanted to try to disrupt the Italian foot that were on the Roman left wing. My cavalry also charged forward making use of double moves where possible in order to set up for a charge to end all charges.
Another pic of turn 1

I still have a little base finishing to do. But I had to get my velite and gaul LF done first.
Turn 2

Turn 2 sees the Roman line advancing again and the Roman skirmishers close to javelin range. I decide to move my BL forward 1 move in order to give me some distance to my board edge should I need to rally routers. I also move my warrior BG on the right of my BL in hopes of either fighting the Roman velite should they stay or crush the Italians. The Gaul cavalry continue to race around the edge.
The main action turn 2 is the volley of javelins in both the Roman players turn and Gaul. The right most velite becomes fragmented from the fire.
More pics from turn 2

View from the Roman BL. We use flocked markers to indicate cohesion. 1 = disrupted, 2 = fragmented. When a BG breaks we use a small stone. When the marker is touching the BG it means that its cohesion level has dropped in a previous turn, when it is placed not quite touching as above, that means that the cohesion drop happened in the current turn and no bolstering can happen. In the JAP phase we push all markers so they are touching their associated BGs.
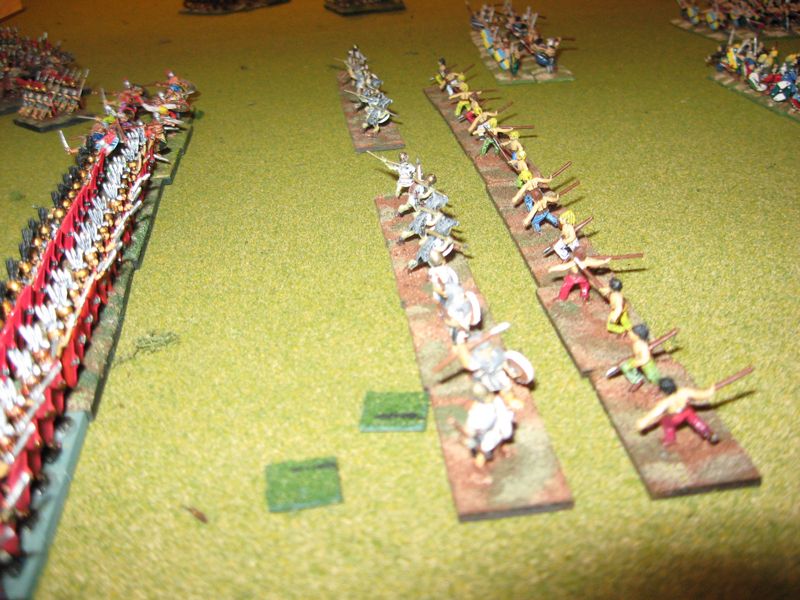
A close up view of the action.
Turn 3

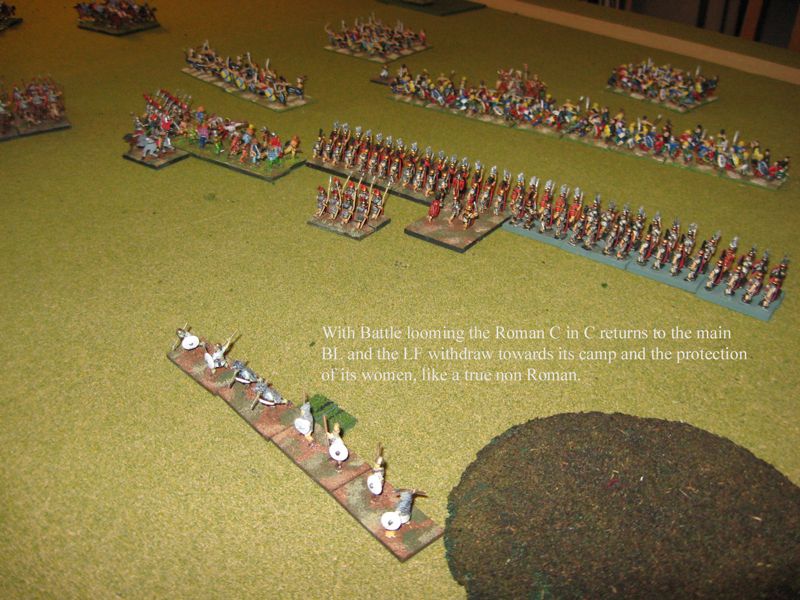
Turn 3 sees the velite retreat through their lines and to safety. The C in C of the army tries to bolster them but the velite are too shaken up. Even questioning their Roman-ness does no good. There is a limit to the amount of naked Gauls one can view without losing it.
More views

Turn 4

Turn 4 saw the Roman BGs roll to charge the Gaul LF. Only 2 BGs decided to go with 2 standing fast. The ones that did go both rolled 1’s and the Romans were able to fix their line. I would have to try again.
More pics

Turn 5

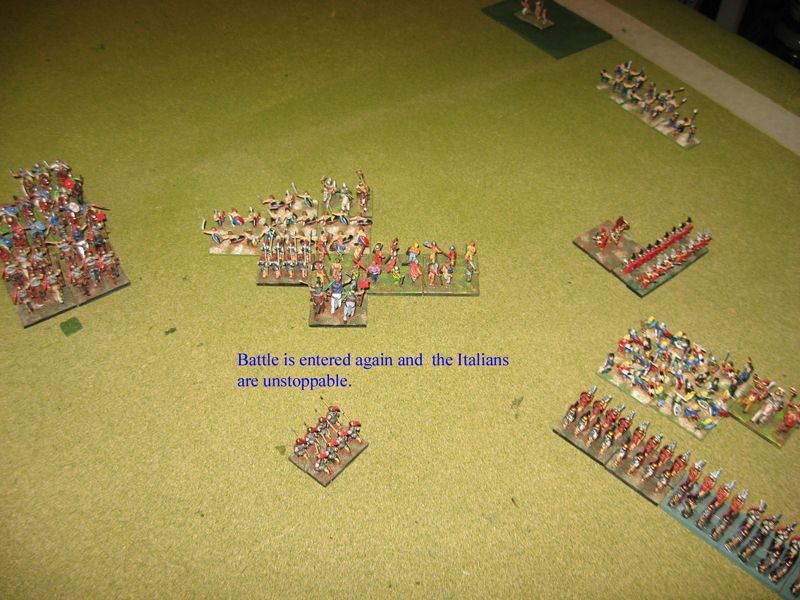
Turn 5 saw the first combat of the game with the Roman triarii and Italian MF fighting the Gaul warriors. The Gauls proved themselves to be hard hitters in the impact phase but were man handled in the melee phases. The Italians fought valiantly this game. I had thought them to be an easy kill but it turned out to be the other way around. Well fought.
We had a weird situation as shown below. The way this in my opinion would have played out is that the BGs would not have conformed and fought as is. This would leave the right most file for the Gauls to fight as overlaps. So for simplicity we just allowed a slight conform and the lines were straight. Not sure how to fight this one.


And this was the result. The Gauls down 1 cohesion. The triarii also made a great showing this game. I was unable to get a kill roll on them.


Turn 6
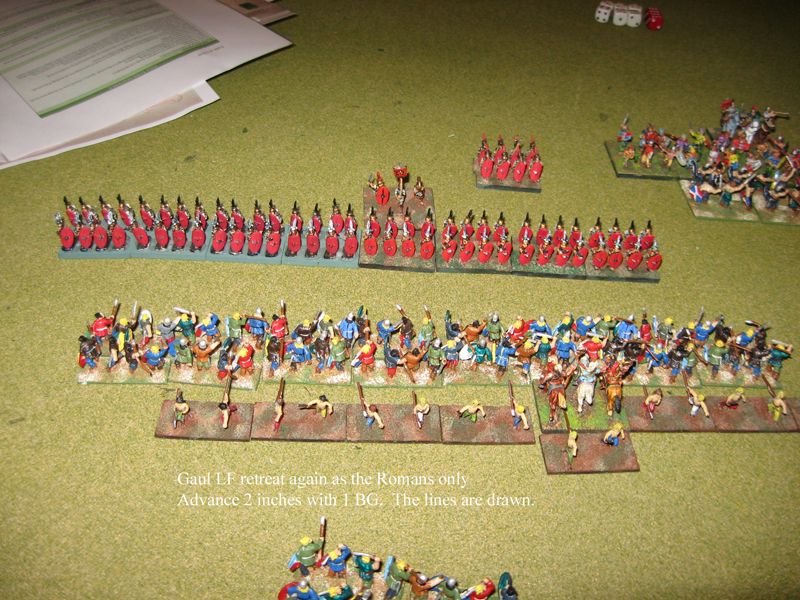
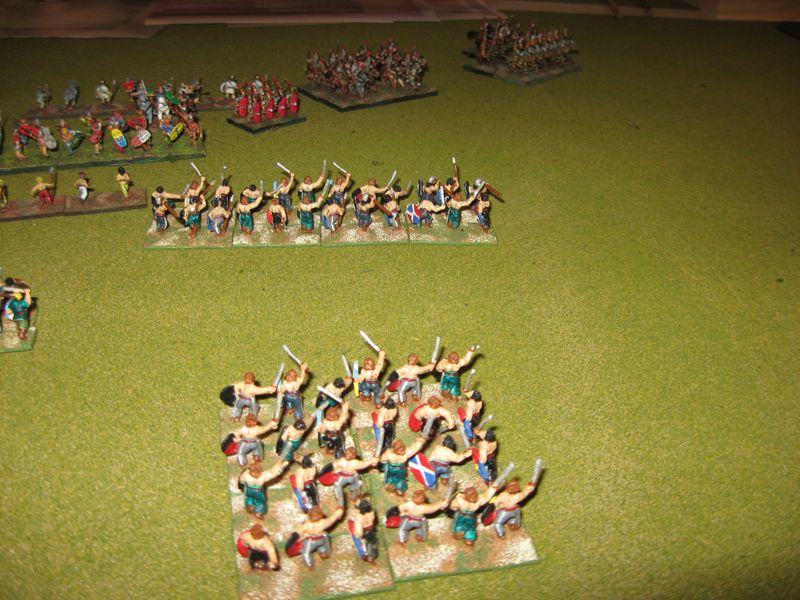
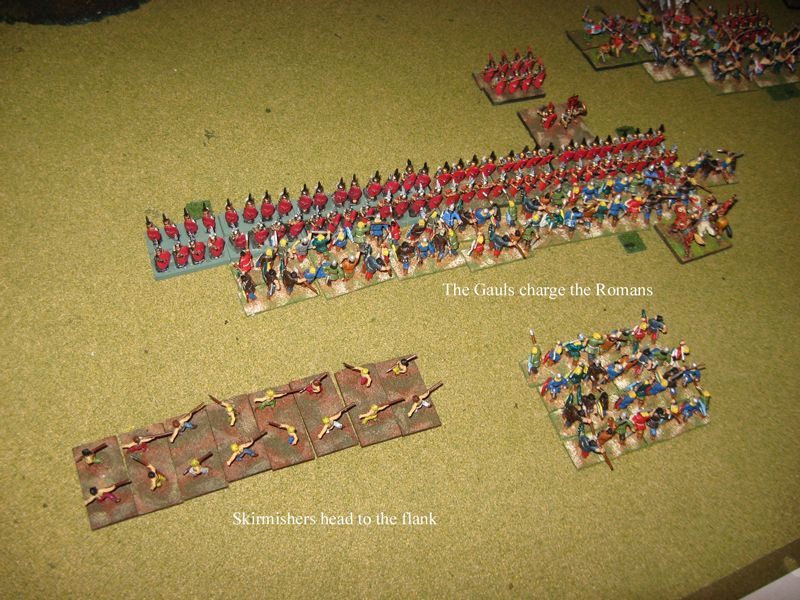
The Gaul skirmishers cause only 1 Roman BG to break the line and charge and it only moves 2 MUs. I have had little luck in breaking the Roman line but feel that I handled the LF efficiently. The remaining Romans line back up with the chargers and in the Gaul turn my warriors charge forward. Knowing my only hope is to disrupt the Roman BGs and kill stands I try to roll high. I roll good but not good enough, only disrupting 2 BGs and no stand kills.
In the ensuing melee my right most BG loses a cohesion level and a stand. I got off lucky this turn.


These warriors held their own for a couple of turns even when fragmented.

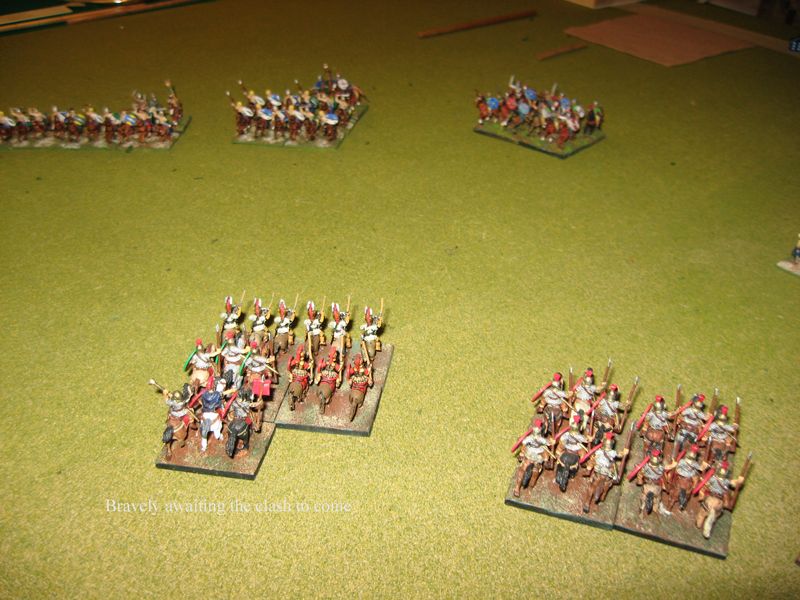
Almost in position for a charge.
Turn 7
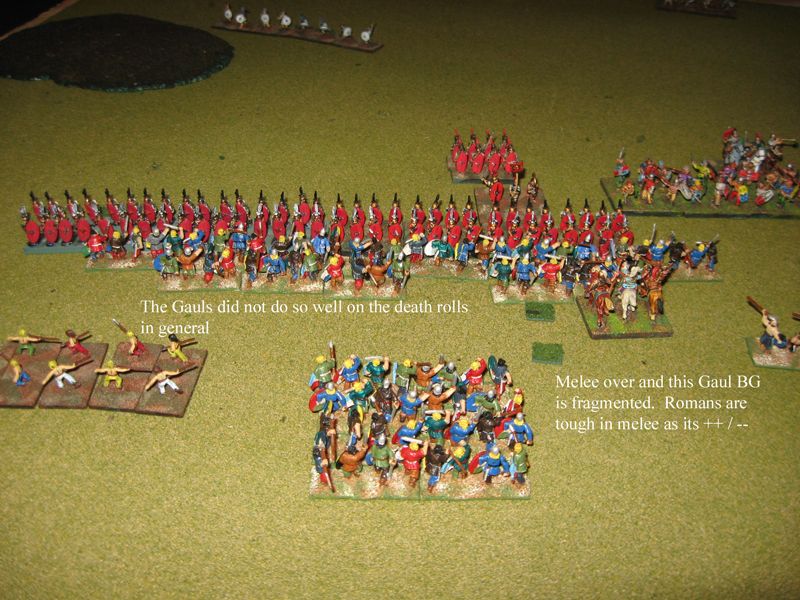
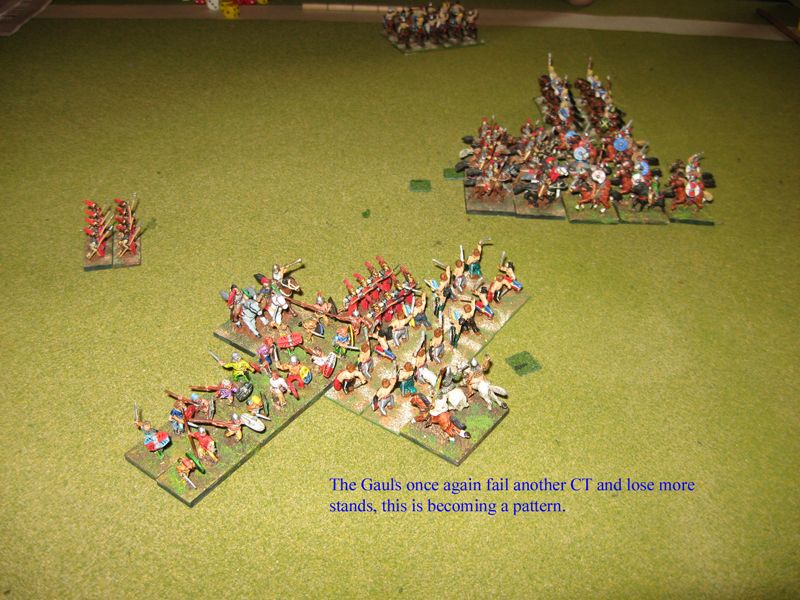
Turn 7 shows the Gaul main line thinning out more and more. I had terrible luck with the death rolls but then again with the Romans hitting on 3’s and me on 5’s I usually needed a 5 to survive. Still it was a good result historically.
More pics:

I really needed to hold the line here as the cavalry flank was wide open. And my commander was busy bolstering the main line. Just one more commander.


Turn 8

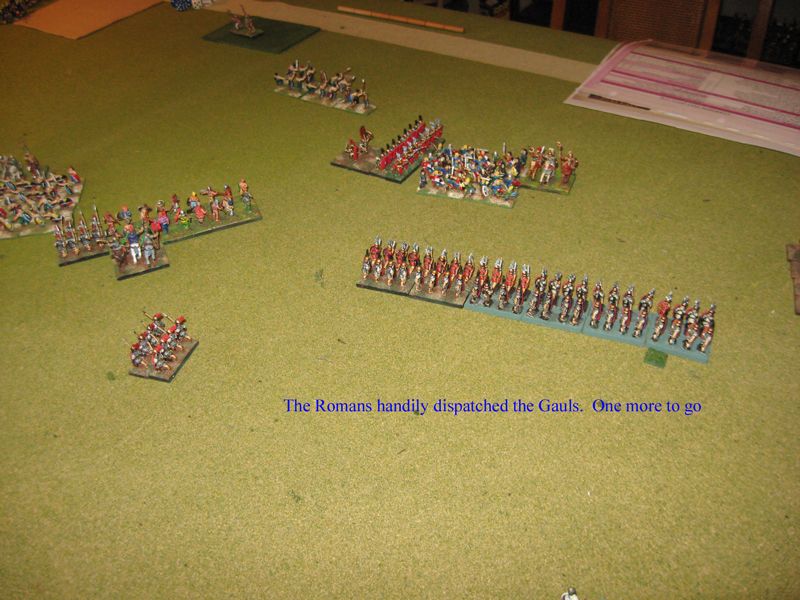
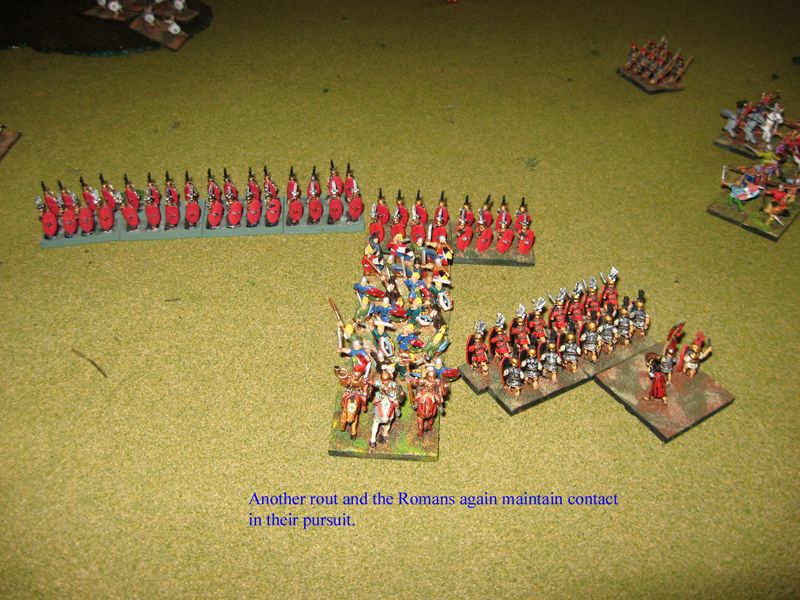
The Gaul right side BG breaks and the Romans maintain contact. That’s 2 BGs streaming off the table and its looking unlikely that they will be able to rally with the Romans hot on their heels. I now see the devastation of a determined pursuit.
More pics
Roman Perspective

Turn 9

The Roman BG in pursuit managed to autobreak the routers and then turned to charge the last Gaul BG supporting the main line.


This was a great move by Mike the Roman. He brought his LF up in an attempt to slow my charge or to take the brunt of the charge. Another example of the use of light foot.
Turn 10

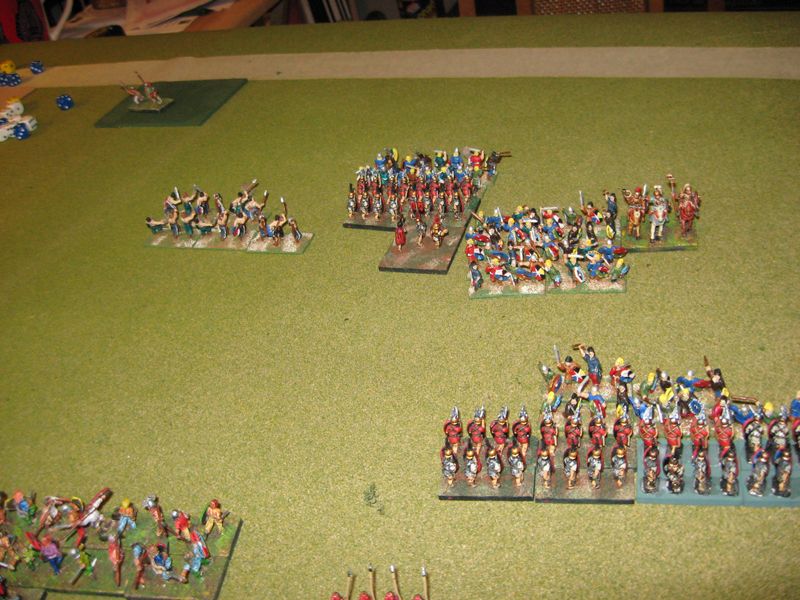
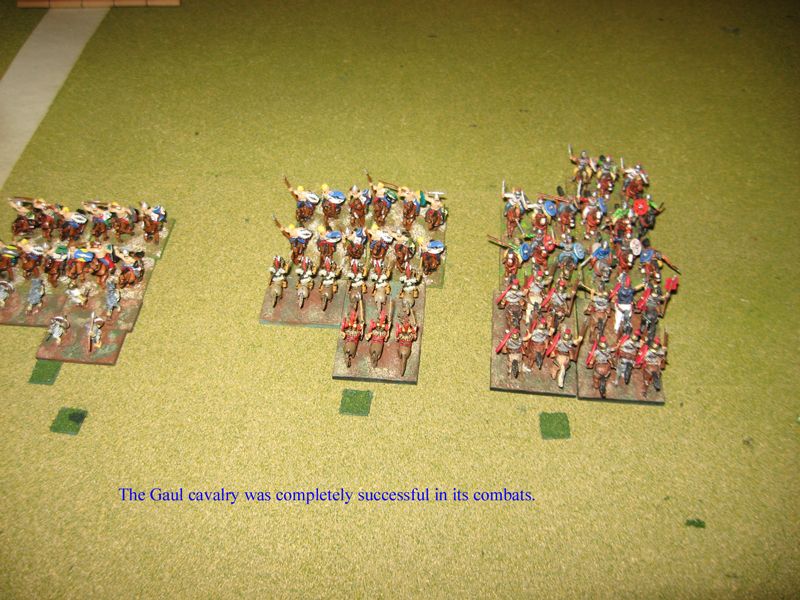
By this time the writing was on the wall. The Gaul infantry was leaving the table or cut down in battle. The Gaul cavalry was winning the day on its side but there was no infantry left by the time they won through. Pics from turn 10.


Final Turn (Turn 11)

At this point we call it as the Romans had broken the Gauls in attrition points. The Gauls needed 2 more points to break the Romans so in point wise it was close, 5 to 3 but in BG lost it seemed pretty lop sided.
This last picture shows 2 Gaul cavalry charging a single Triarii. We actually did one turn of combat just to see and the Triarii actually held their own against 2 BG of Cavalry. They turned out to be very tough in this game.
Overall we both really enjoyed the game, the results and the flow. We didn’t spend as much time as I thought we would looking in the book. Also the POA’s and various modifiers were becoming second nature and I can see if we play again within a month that our games will be even faster.
I would like to try this game again but perhaps start with my cavalry closer to the enemy rather than way off on the flank as it took way too long to set up for a proper charge. By then the Gaul infantry’s back was broken. But in the spirit of trying new things and relearning old it was a huge success. Also I think I relied too much on placing the 2 extra Gaul BG’s behind the front troops as it did not seem to help in the CTs, I think that might have been a bad move, but with only 1 game playing the Gauls its hard to say one way or the other, more practice is needed.
I know I love reading AARs and seeing pics so I hope someone will get some enjoyment out of our AAR and pics. I would like to post more AARs as we play more games.
Thanks for reading
Brian


