
To answer the first question right away – the DLC includes 14 scenarios in a linear campaign. But before we go more into the details, let’s recap the situation you find yourselves in at the start…
Summertime, and the livin' is easy…
It’s summer 1944. The Wehrmacht has suffered heavy defeats both on the Eastern Front, and in the West. Entire formations have been destroyed or suffered losses so heavy that they had to be rebuilt completely.
Paris was liberated in August, and during the next weeks Allied forces were racing through France and the Low Countries towards Germany, meeting little opposition.
Optimism was running high in Allied circles these days. Ambitious plans for daring operations were brought up, to swiftly breach the Siegfried Line, or to get over the Rhine quickly after securing key bridges in a massive airborne operation. Could it all be over soon?
Panzer Corps 2: Frontlines - Westwall begins when this - for the Allies easier - period slowly comes to an end.
Where to start?
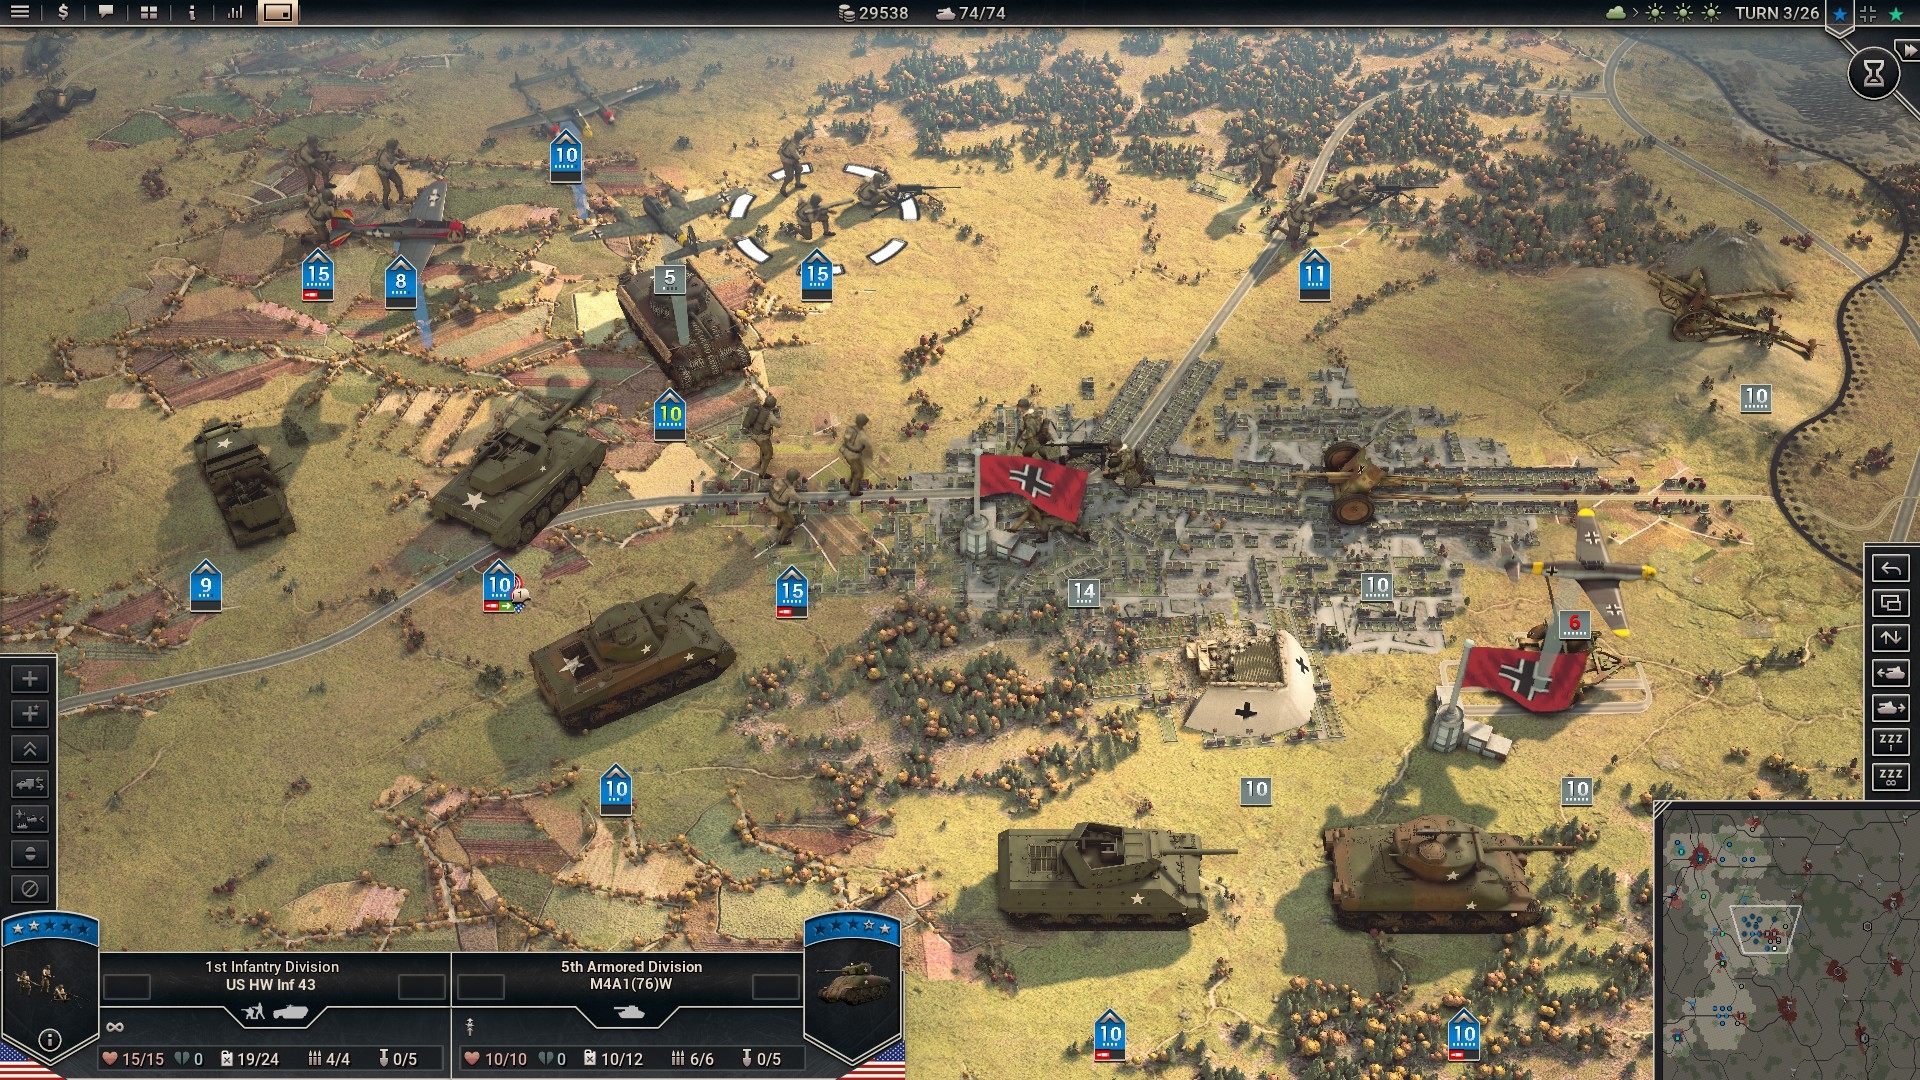
But during the first battles in this campaign the Wehrmacht is still battered from heavy fighting in France before, so you encounter weaker opposition initially.
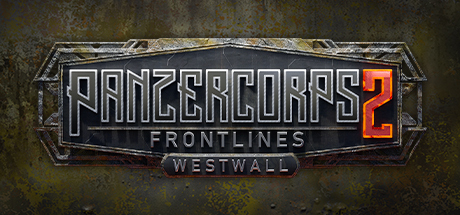
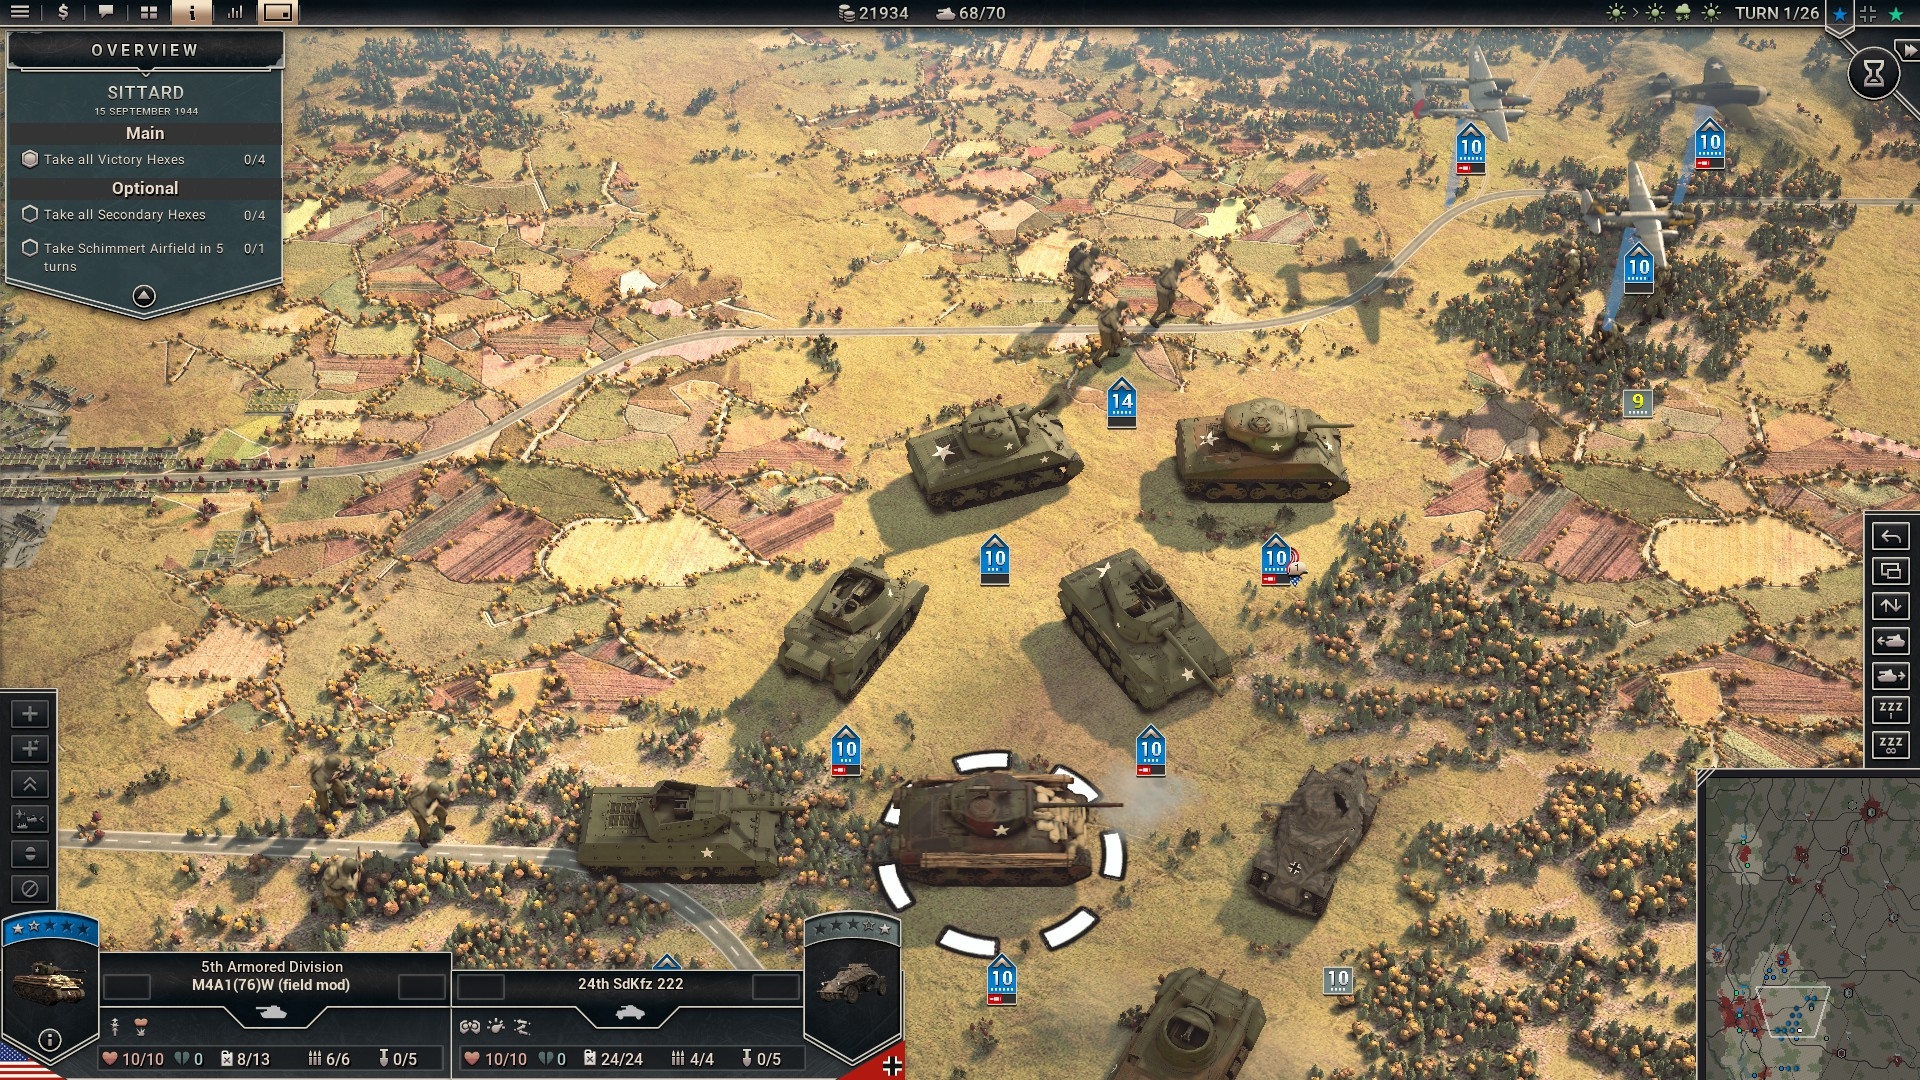
The US First Army’s V Corps is the first American formation which hits the German border, and sends a small recon force into the later infamous Schnee Eifel east of St. Vith. This reconnaissance in force mission is the intro of the campaign.
As it is meant to be an easier opener again we just throw you in here with a limited force of mechanized cavalry you cannot change initially. But this setup provides you with a couple of veteran units, and a few heroes.
Don’t worry, you can change everything to your liking from the next mission onwards. The intro does not require you to hold large areas, you just need to probe the state of the German border defenses.
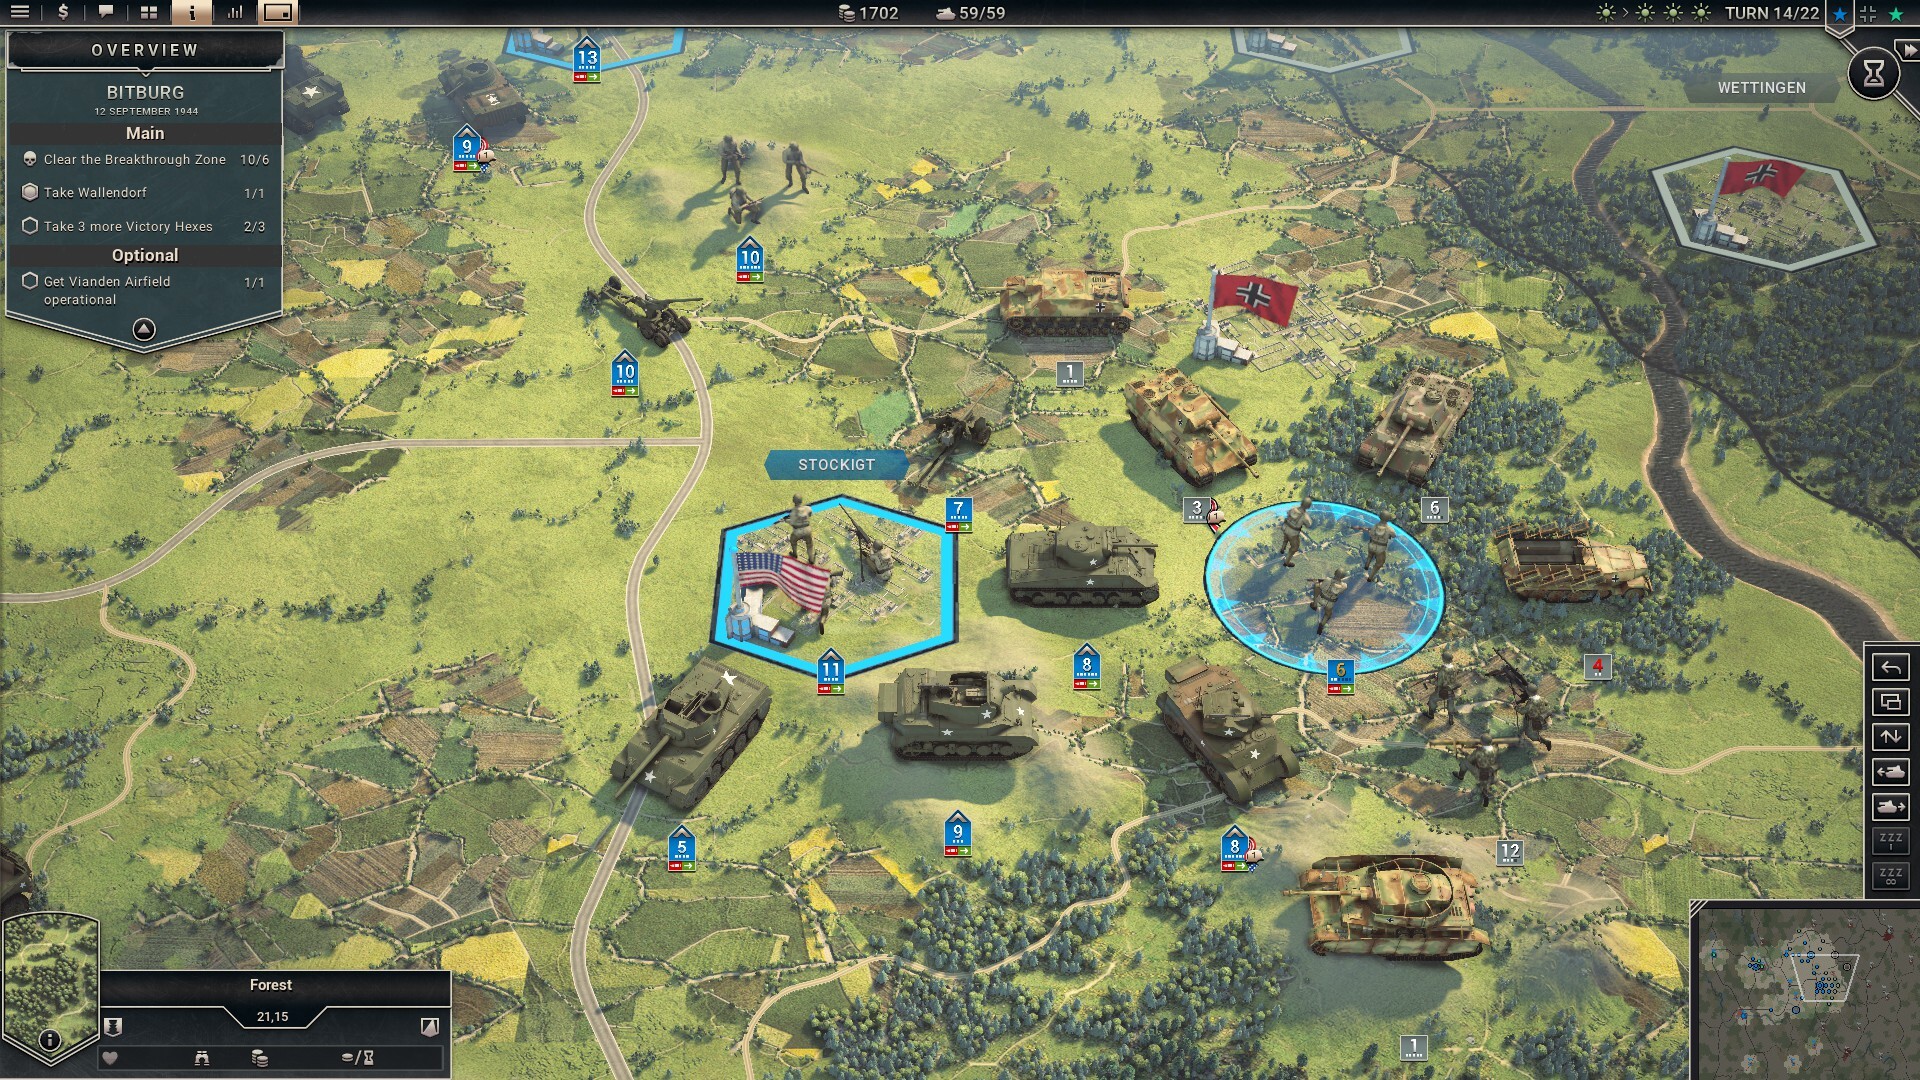
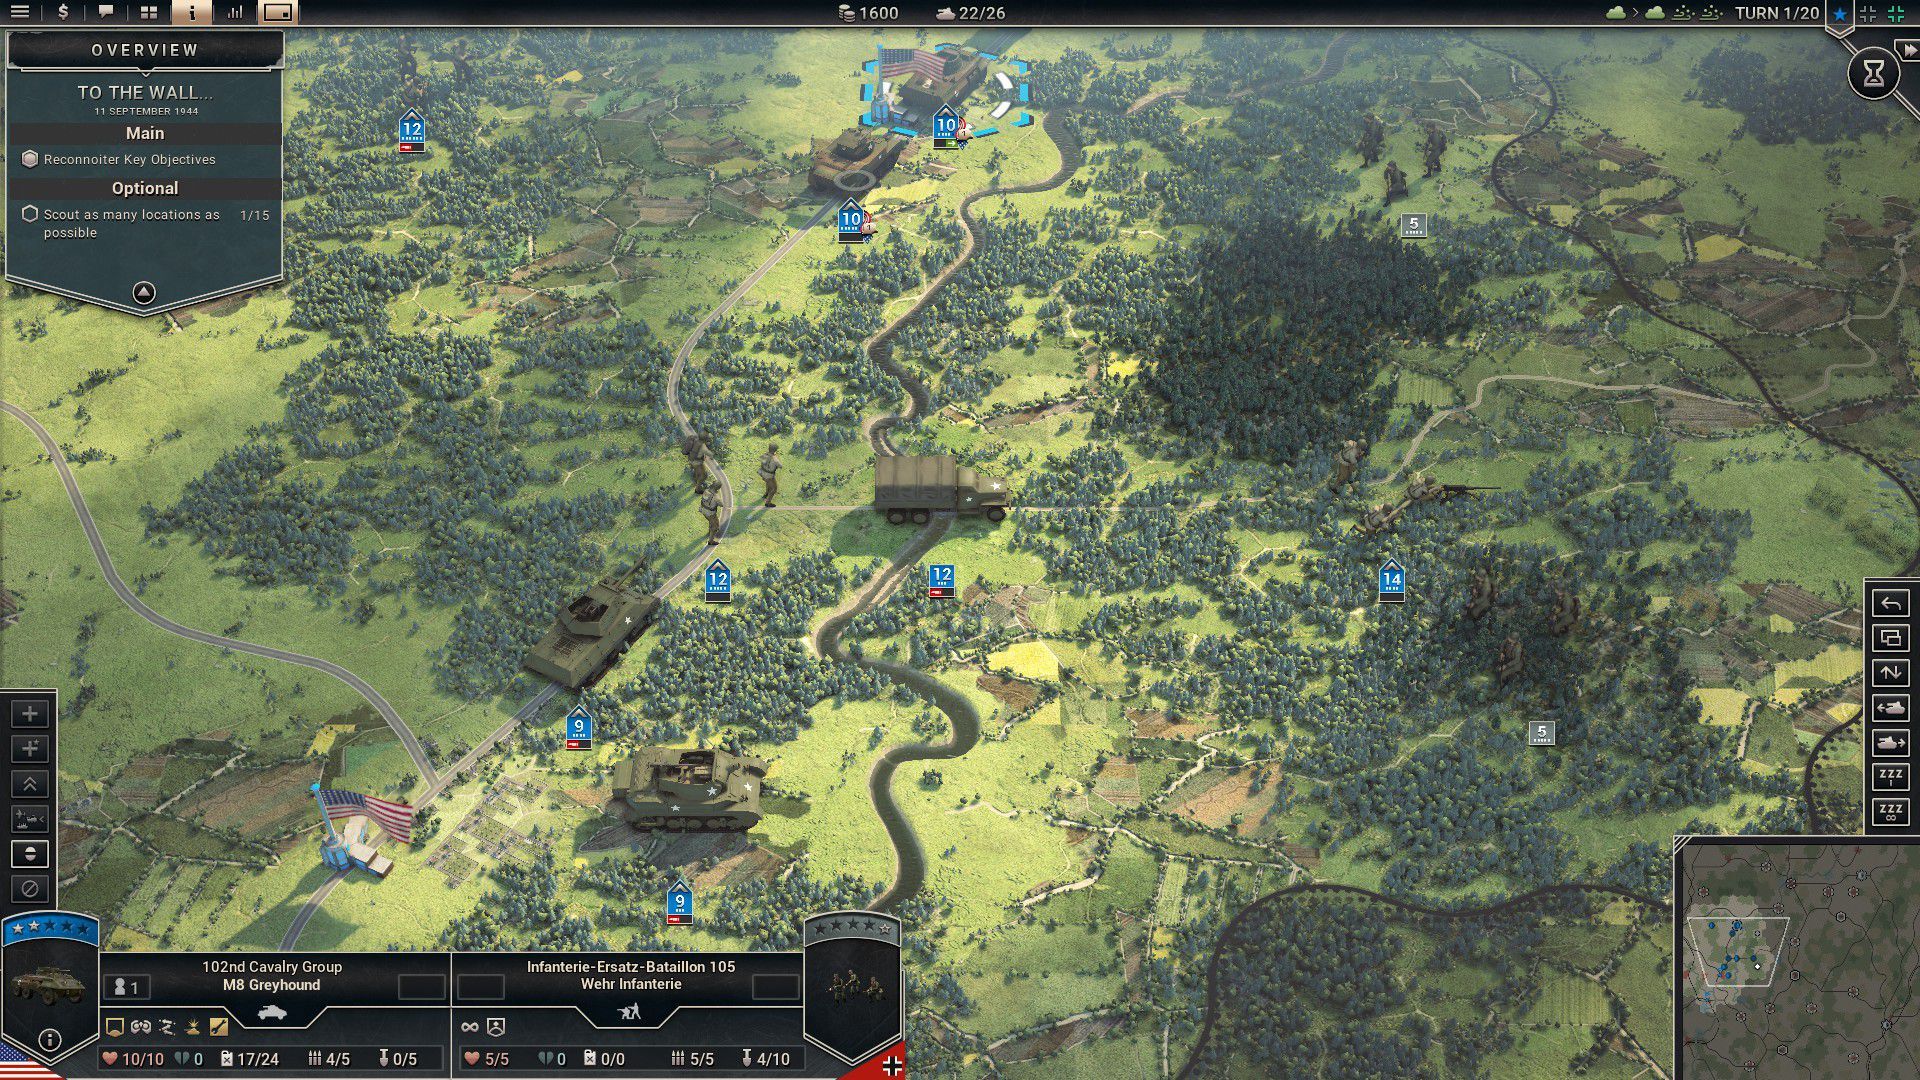
Afterwards V Corps attempts the first determined drive into Germany, towards the city of Bitburg.
This time the Germans react in a way that becomes a common sight late in the war – by throwing small, ad hoc battle groups of armor and infantry at you, which however can be a serious headache if you underestimate them.
Heating up
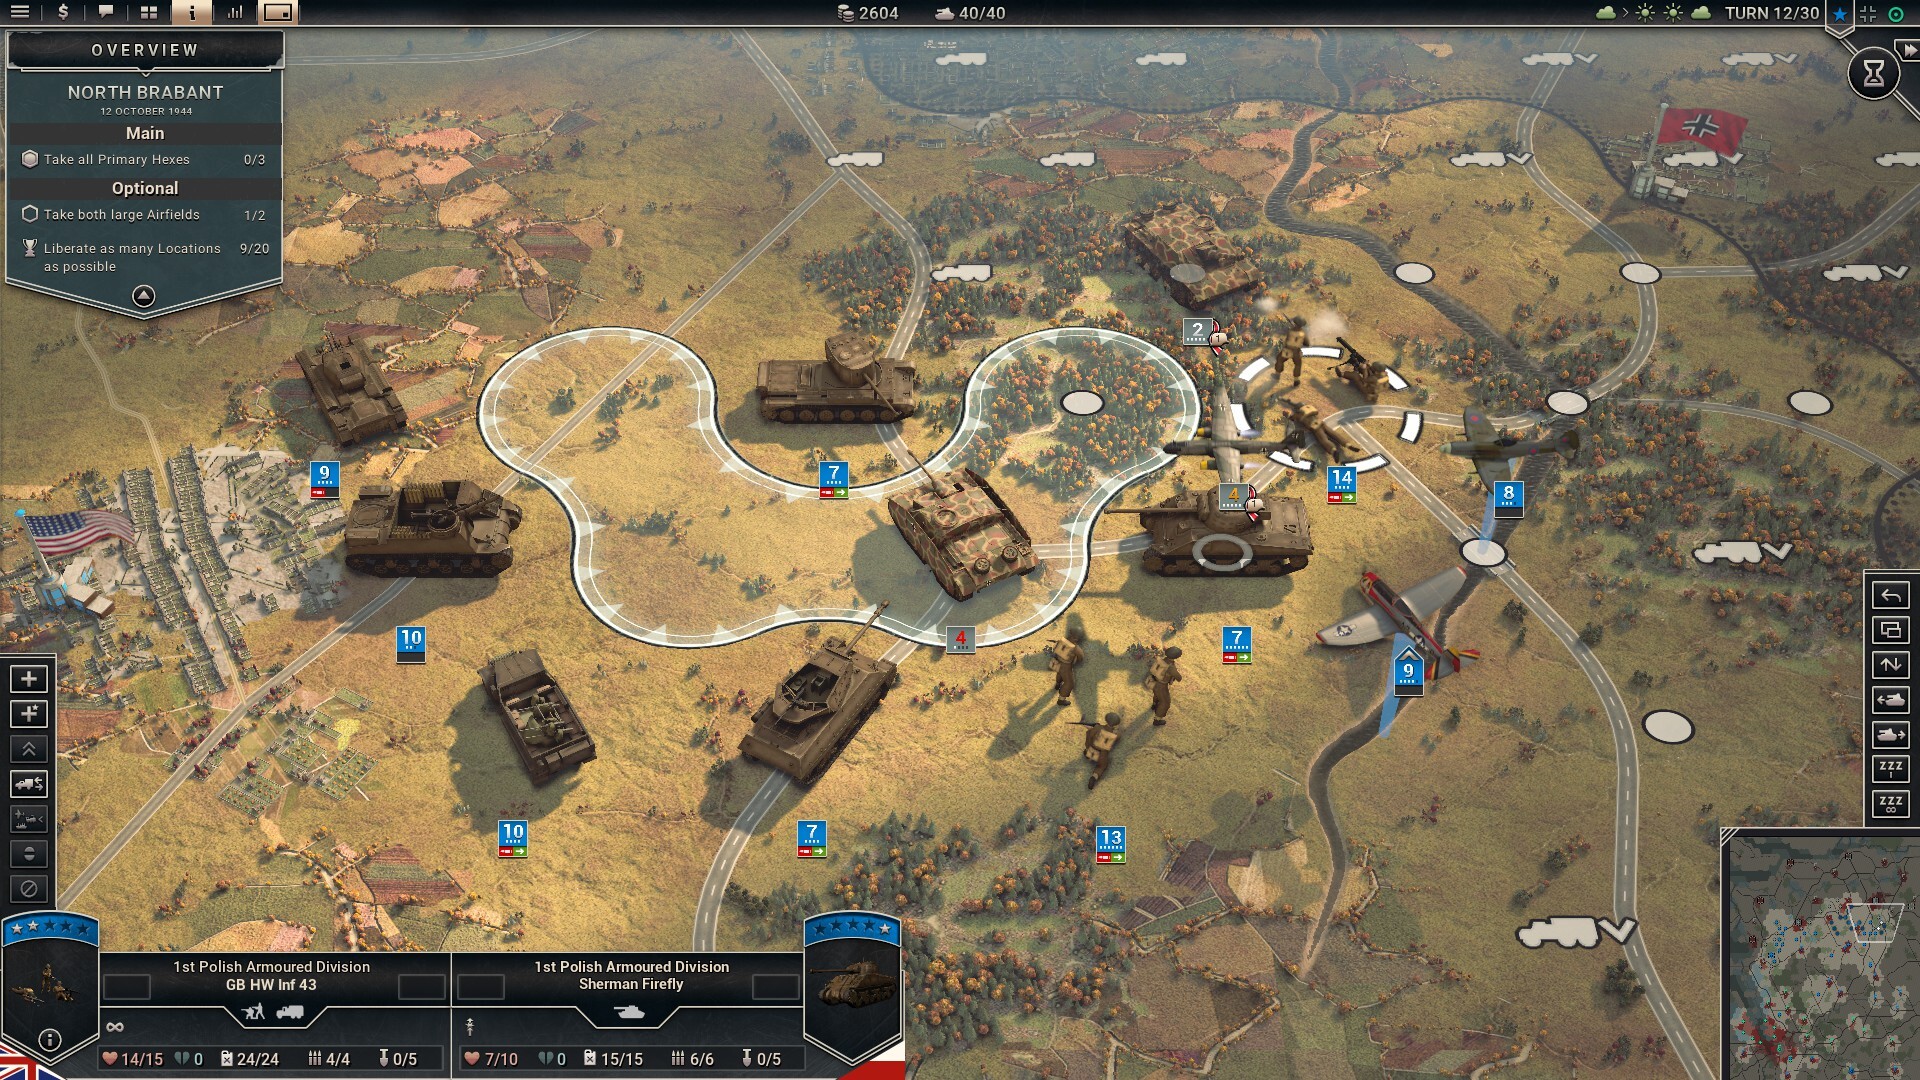
With the third battle we enter one of the hotspots of this campaign – the area between Maastricht in the Netherlands and the city of Aachen on the German side, which is covered by two separate bands of the Westwall.
Several maps deal with various US formations approaching, encircling, and finally taking Aachen. When these advances are delayed in late September due to supply problems and intensifying opposition, we spend some time elsewhere.
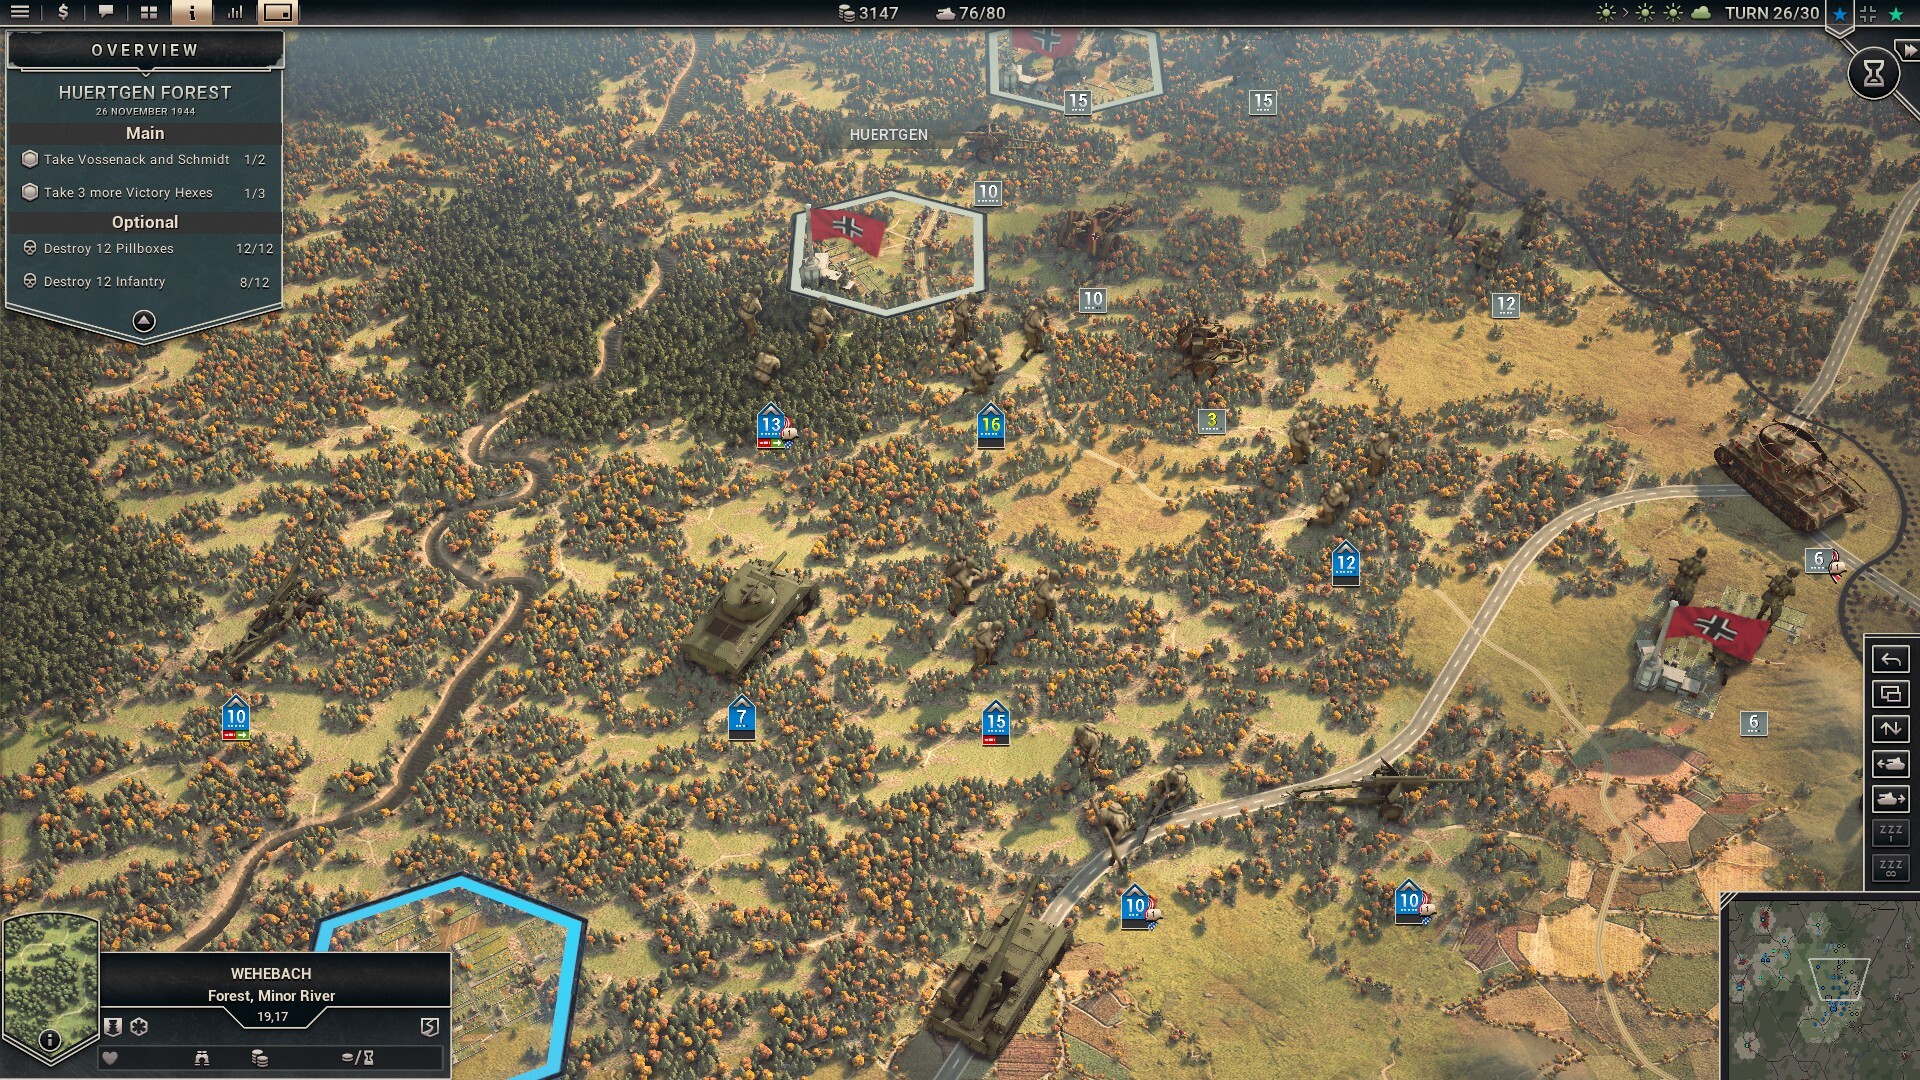
However, even later, after the city has fallen, we return to this area as continued heavy fighting in the nearby Huertgen Forest requires your attention, and Allied forces aim to reach the Roer River.
The supply issues mentioned above are only sufficiently dealt with after the port of Antwerp is reopened. This is primarily an Allied matter, especially for Canadian forces, so not depicted here.
Neither is Operation Market Garden, the large British-led airborne assault to bypass the Siegfried Line by swiftly taking key bridges over the Rhine.
Still those Allied operations hugely impacted US progress along the Siegfried Line both in terms of supply and troop deployments.
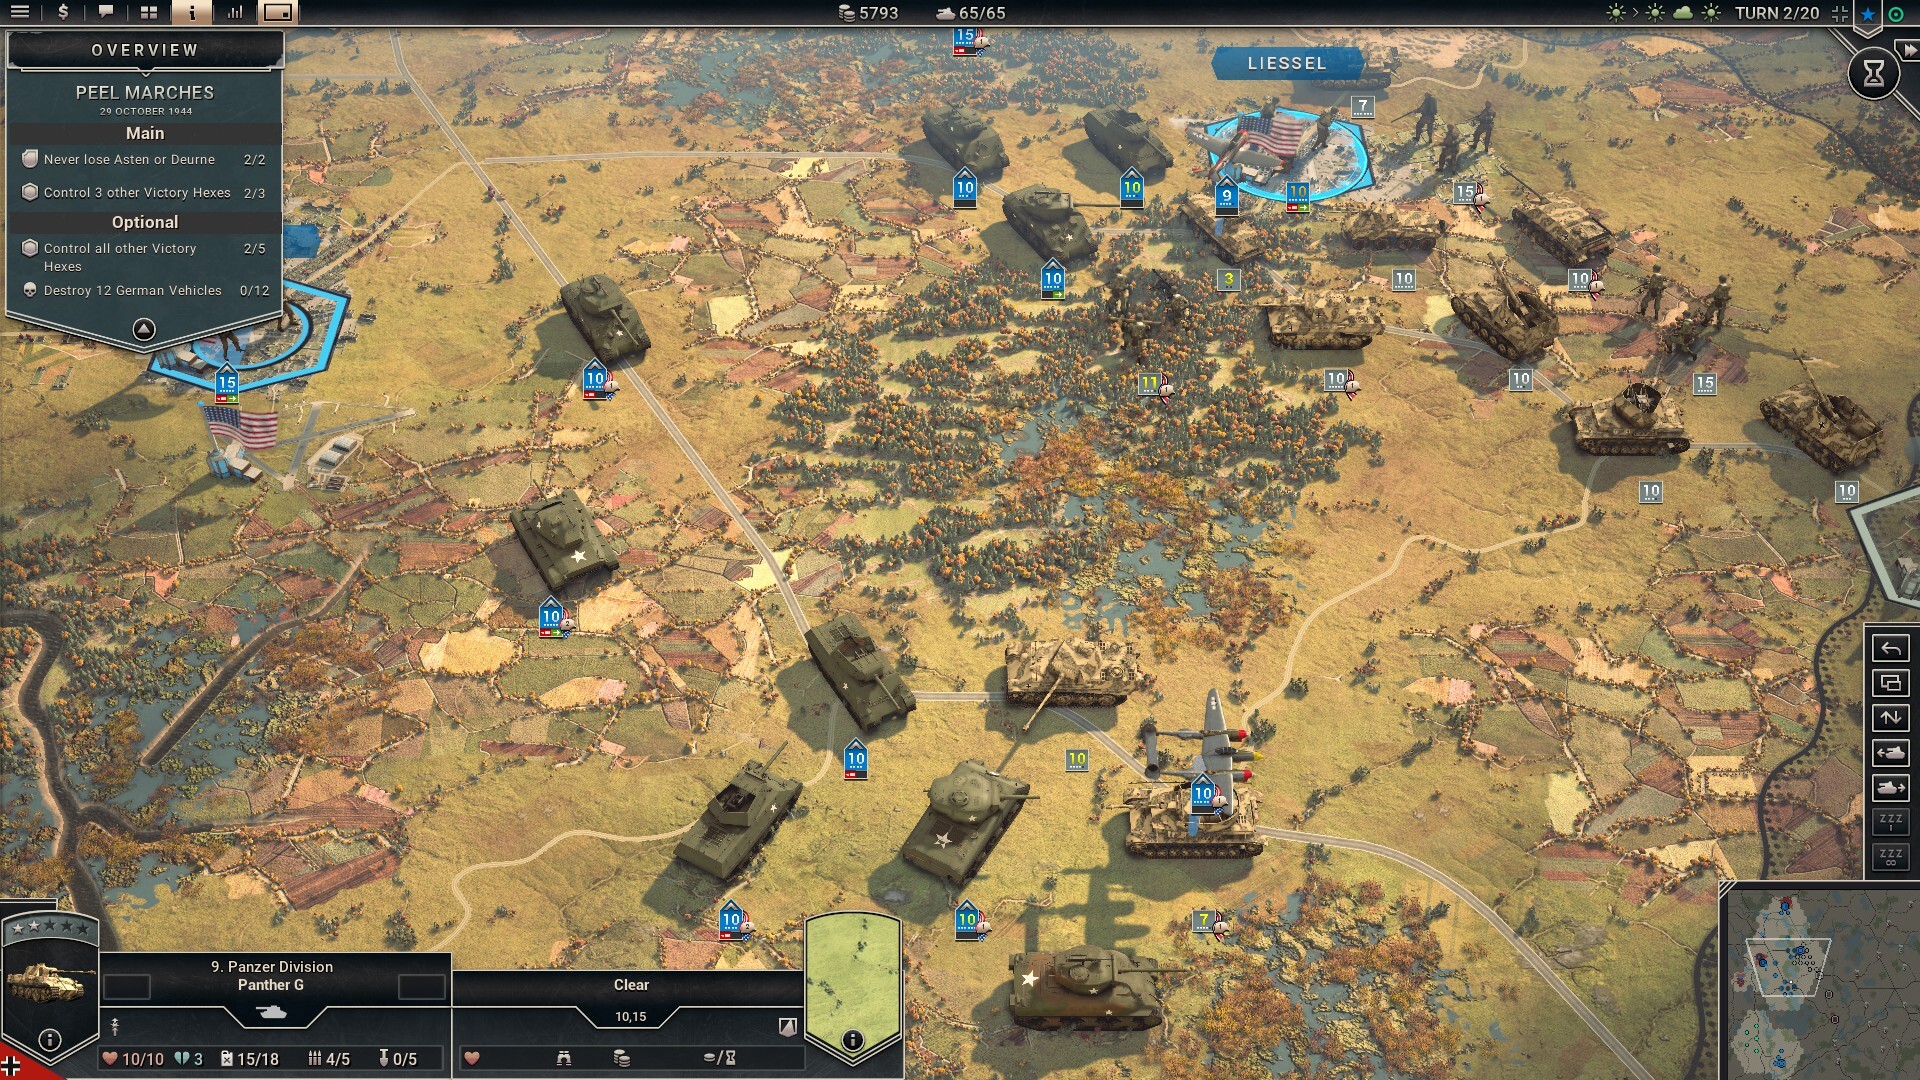
As a result some US forces were fighting under British command in the Low Countries, so we included actions in support of the Battle of the Scheldt, and in the so-called Peel Marches near the German border.
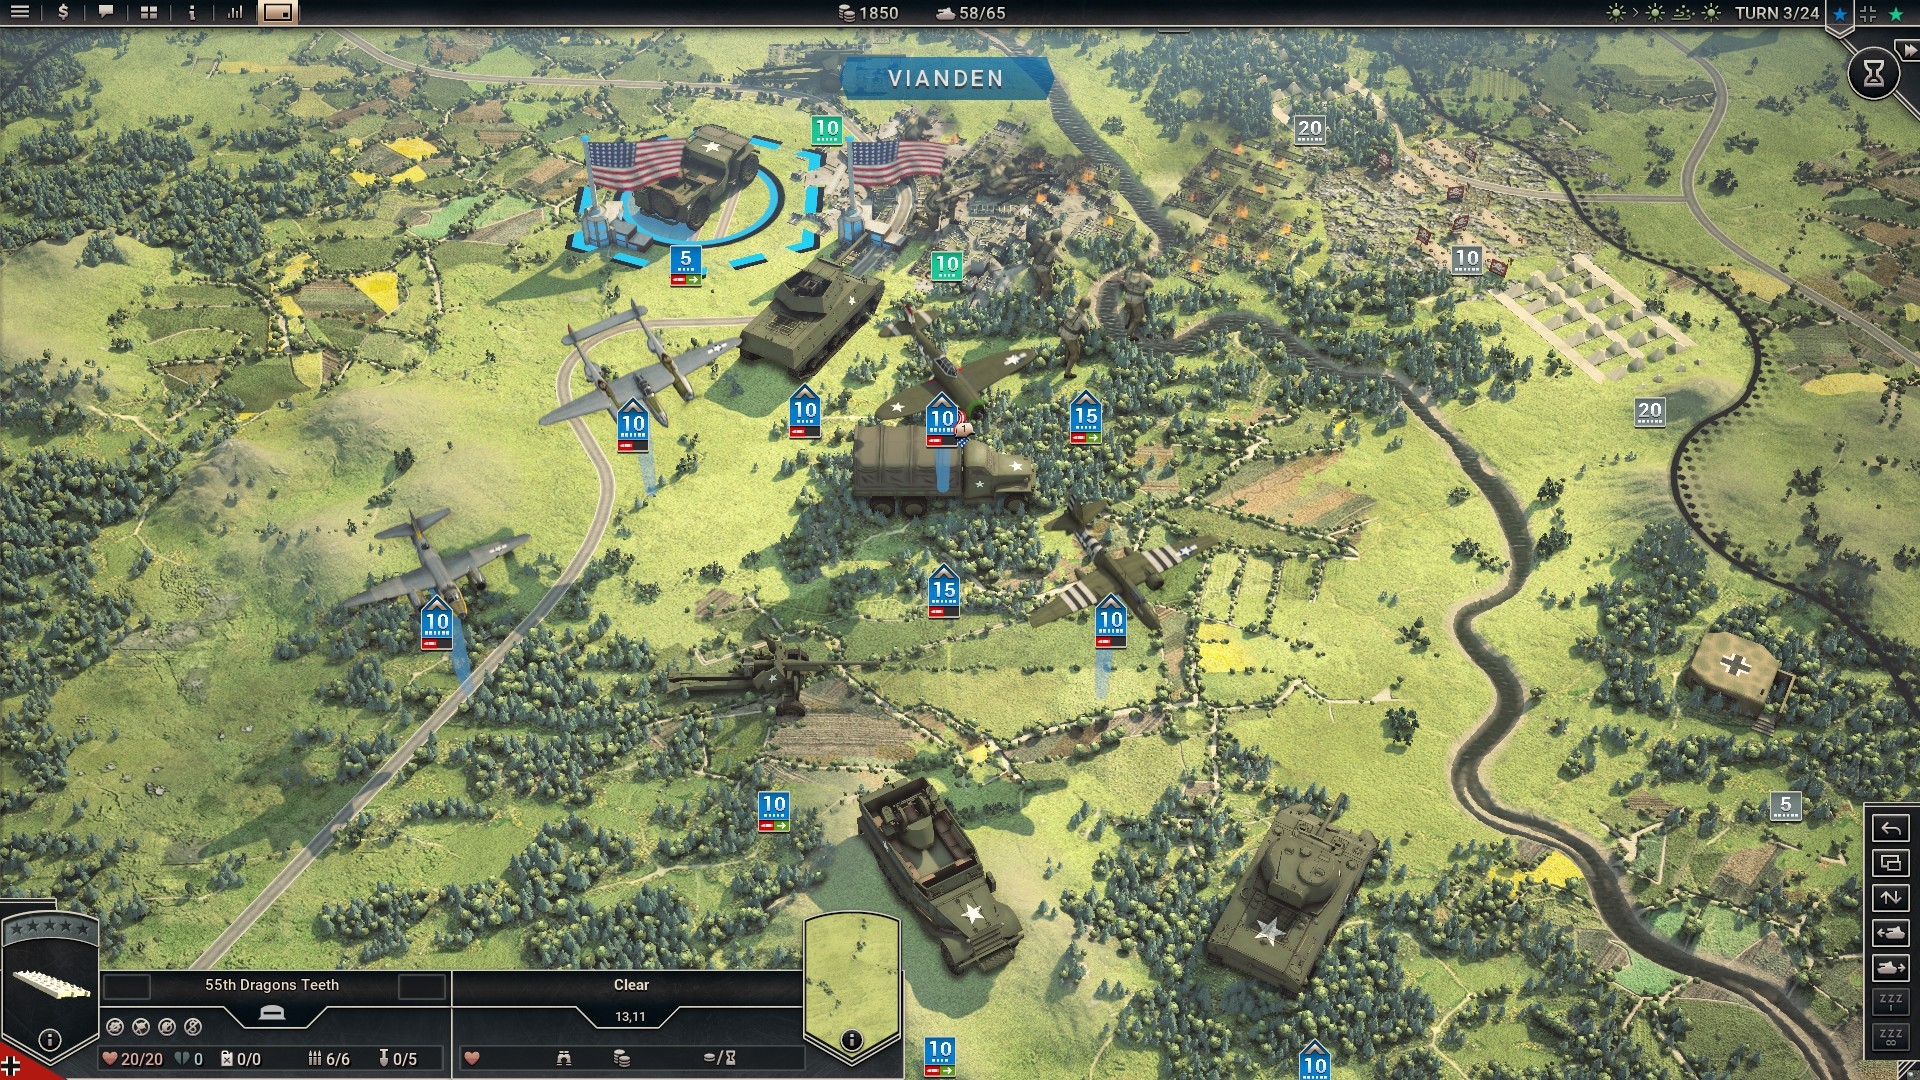
Some little side-notes at this point: as screenshots indicate, units are using historical names on a bigger scale than they did in Bulge. We do not aim to do this for every unit, but key formations, German and Allied, will often show correct names.
In rare cases the Germans are still using Beutewaffen, which display their correct Wehrmacht designations as custom names in this DLC.
Some German supply dumps are placed on a few maps, and almost all of them can be captured for bonus prestige and enemy equipment. They are not meant to provide tons of German hardware, but taking a number of them may allow you to field full units at some point.
Things go...south?
Aside from the Aachen sector the second hotspot of this DLC is the Lorraine Campaign fought by the US Third Army and Free French forces, in the southern part of the front.
Wait...Lorraine? Isn’t this about the Siegfried Line? History buffs surely are aware of it – the Lorraine Campaign was not treated as a separate effort in 1944, in fact the whole term was only created and popularized after the war.
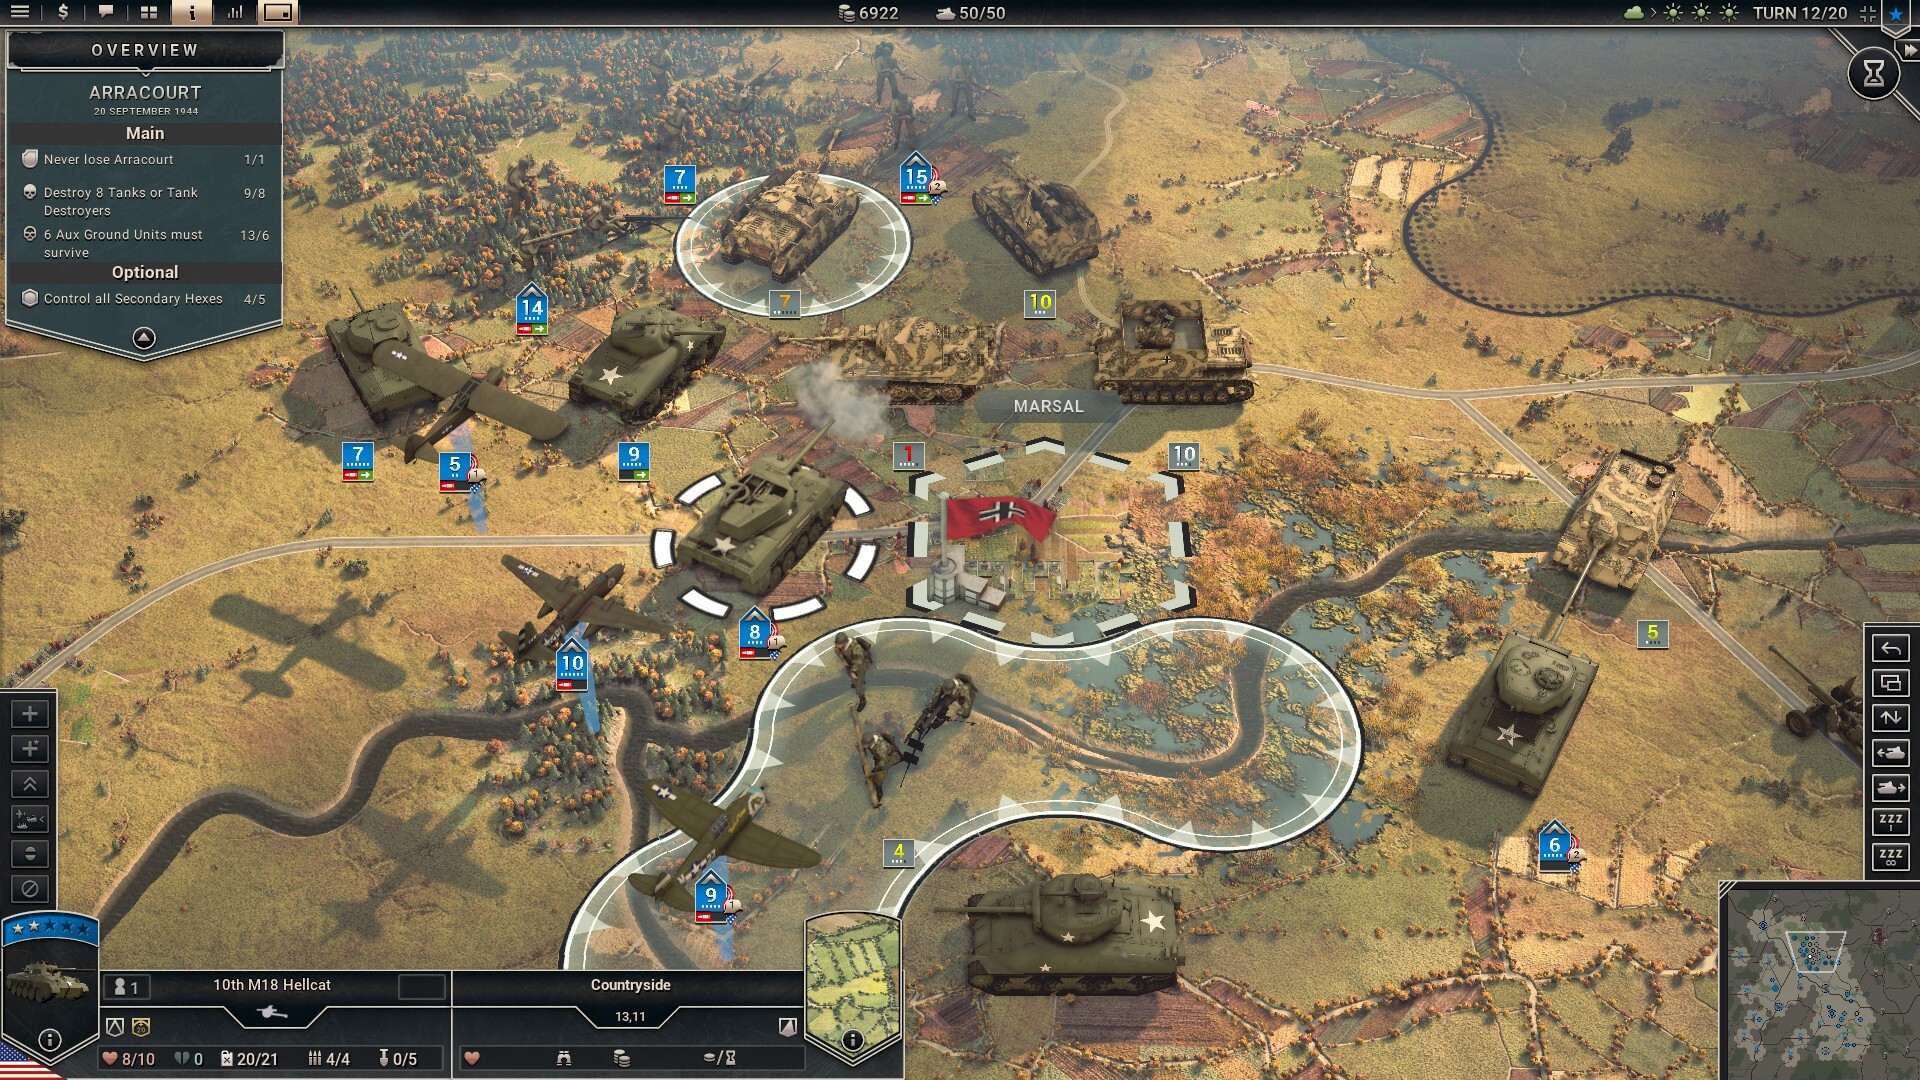
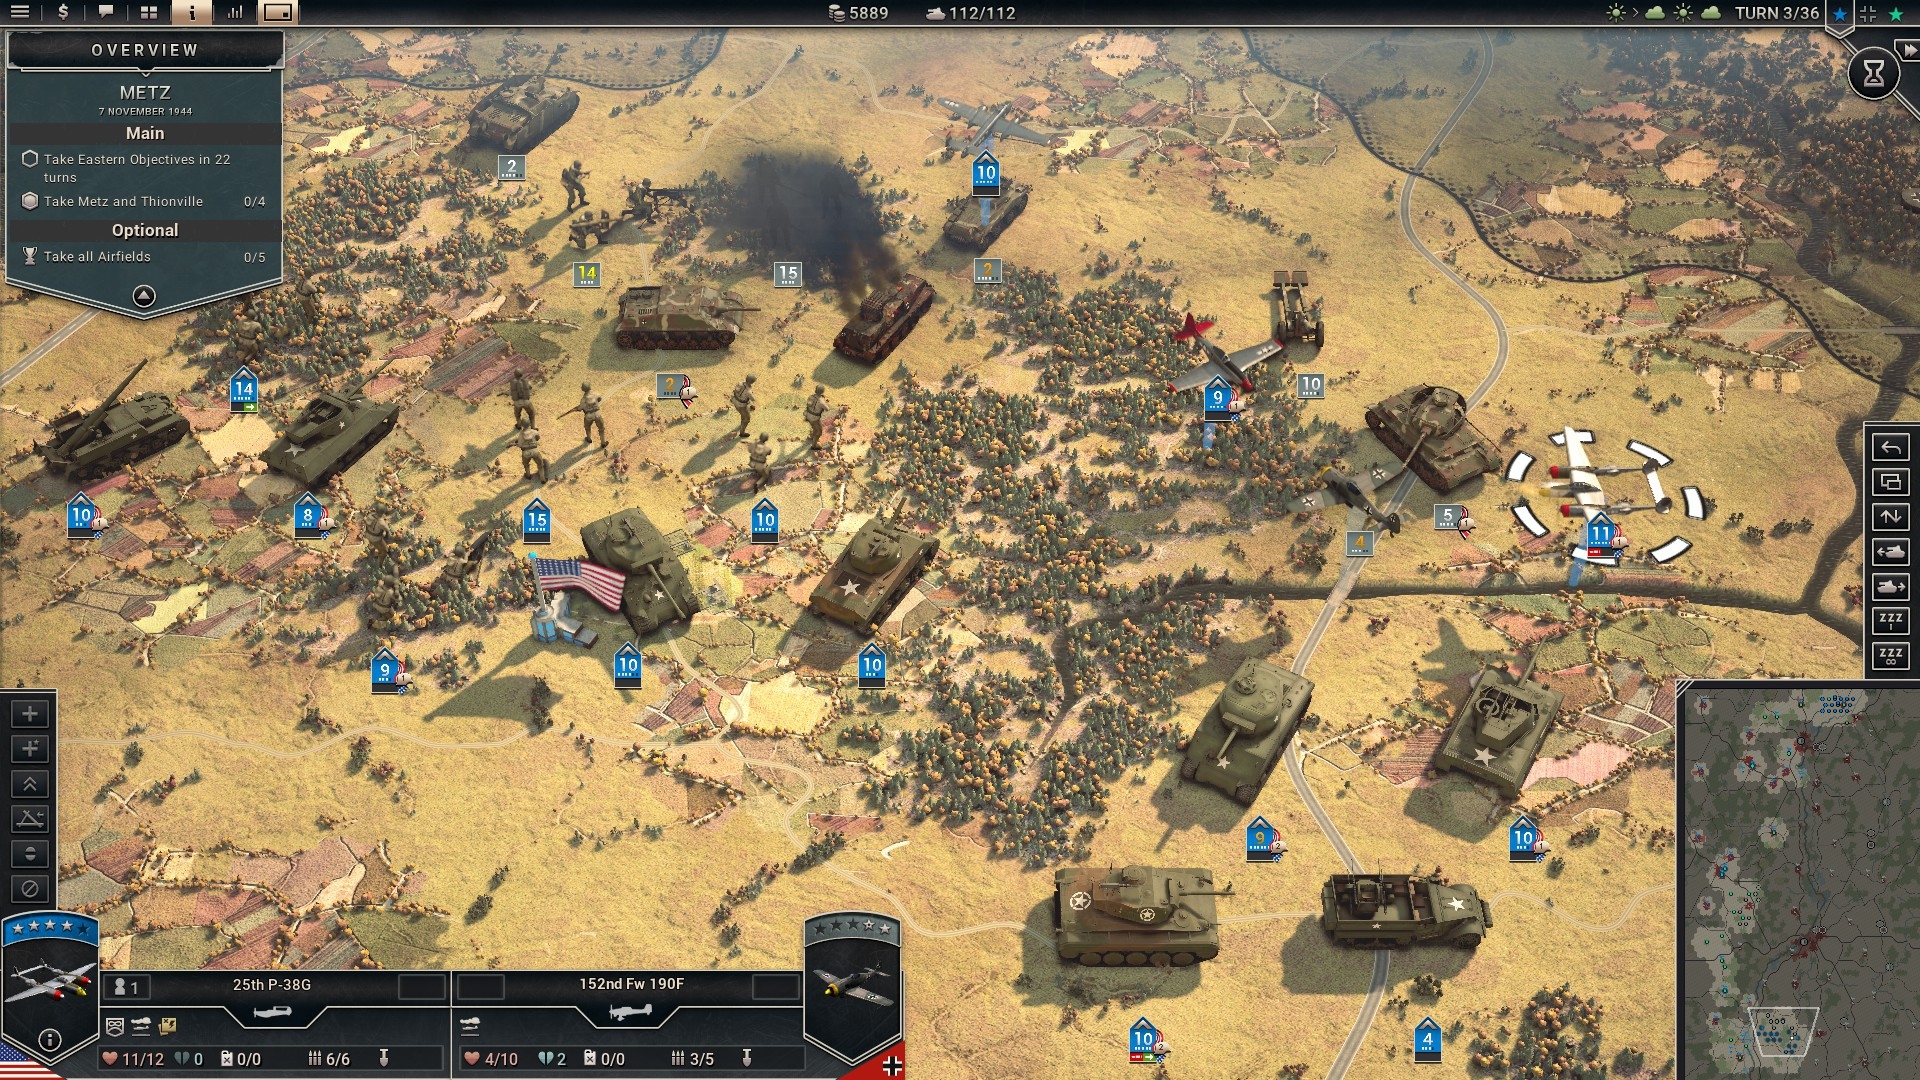
So when the US advance on Aachen is paused we make the first excursion to this side of the war: in the Battle of Arracourt US forces have to defeat superior German armor. In November 1944 we return to Lorraine in the Battle of Metz and subsequent US advances.
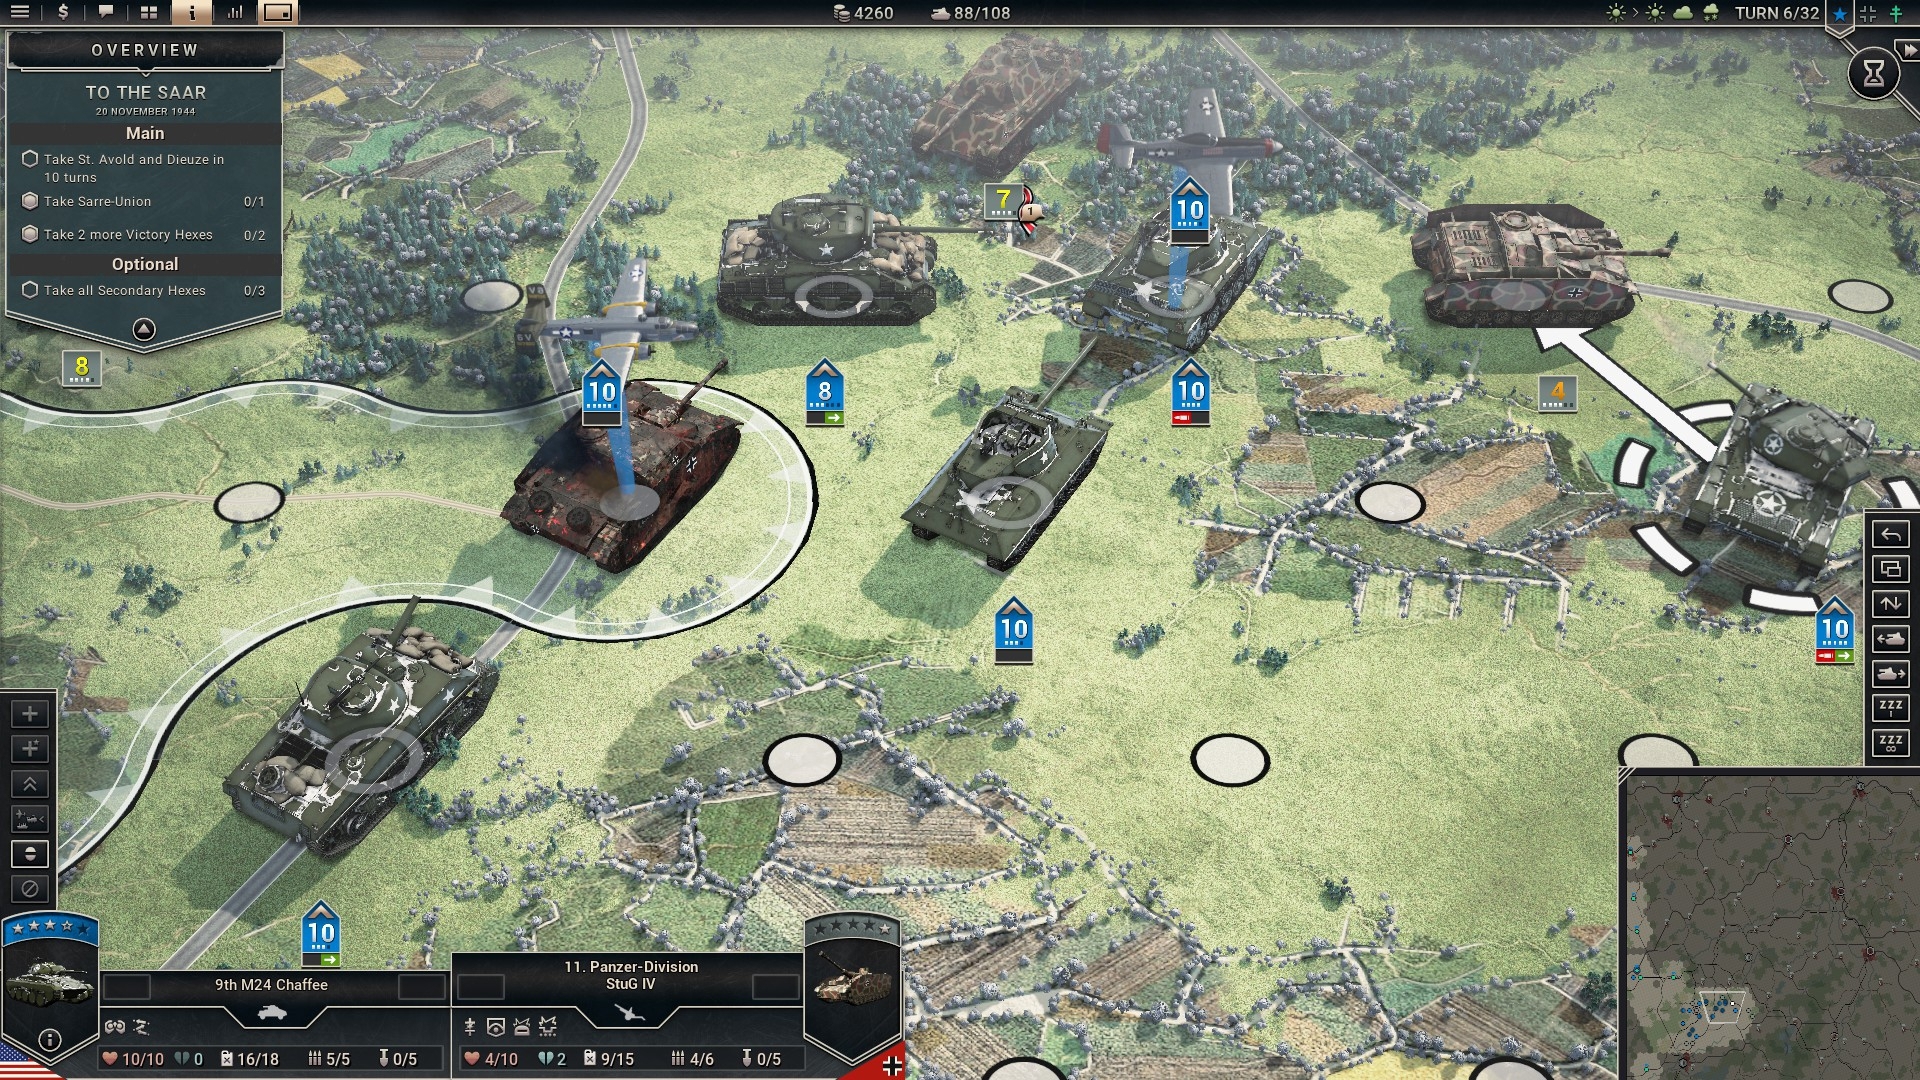
The city, guarded by a ring of old, but massive fortifications, blocks access to the German border in the Saar region, where the player finally hits the Siegfried Line again at the end of this campaign.
Let’s sum up
Since the German side struggles to regain strength during the early battles of this campaign the overall increase in difficulty is more gradual.
In Bulge, some of the most intense German attacks happened soon after the intro mission, when the Ardennenoffensive was in full swing. In this DLC there is no comparable onslaught, and most battles have the player on the offensive instead.
Still, there are two outright defensive missions, and some heavy German counter attacks in various battles.
In several cases, but surely not always, players have to deal with various types of fortifications. Usually this is only happening in a part of any given map, while other parts allow for and even require armored advances.
However, there is certainly one battle where infantry takes the lead, and armor plays only a secondary role.
Conclusion
So that’s it for the second part. We hope you welcome the additional info about the battles included, and the overall campaign progression.
In the third and final part of this diary we focus on gameplay changes and additions, and share a lot more previews regarding visual enhancements and new units added to this DLC.
