Morbio issued me a challenge in the form of a mirror match between Thrace (350-241 BC) and Rome (340-281 BC). The result was a draw! The Thracians take two drubbings as the Romans triumph in both matches, fighting off hordes of Thracian spearmen and peltasts and emerging, while hardly unscathed, a great deal better off than their Thracian counterparts did.
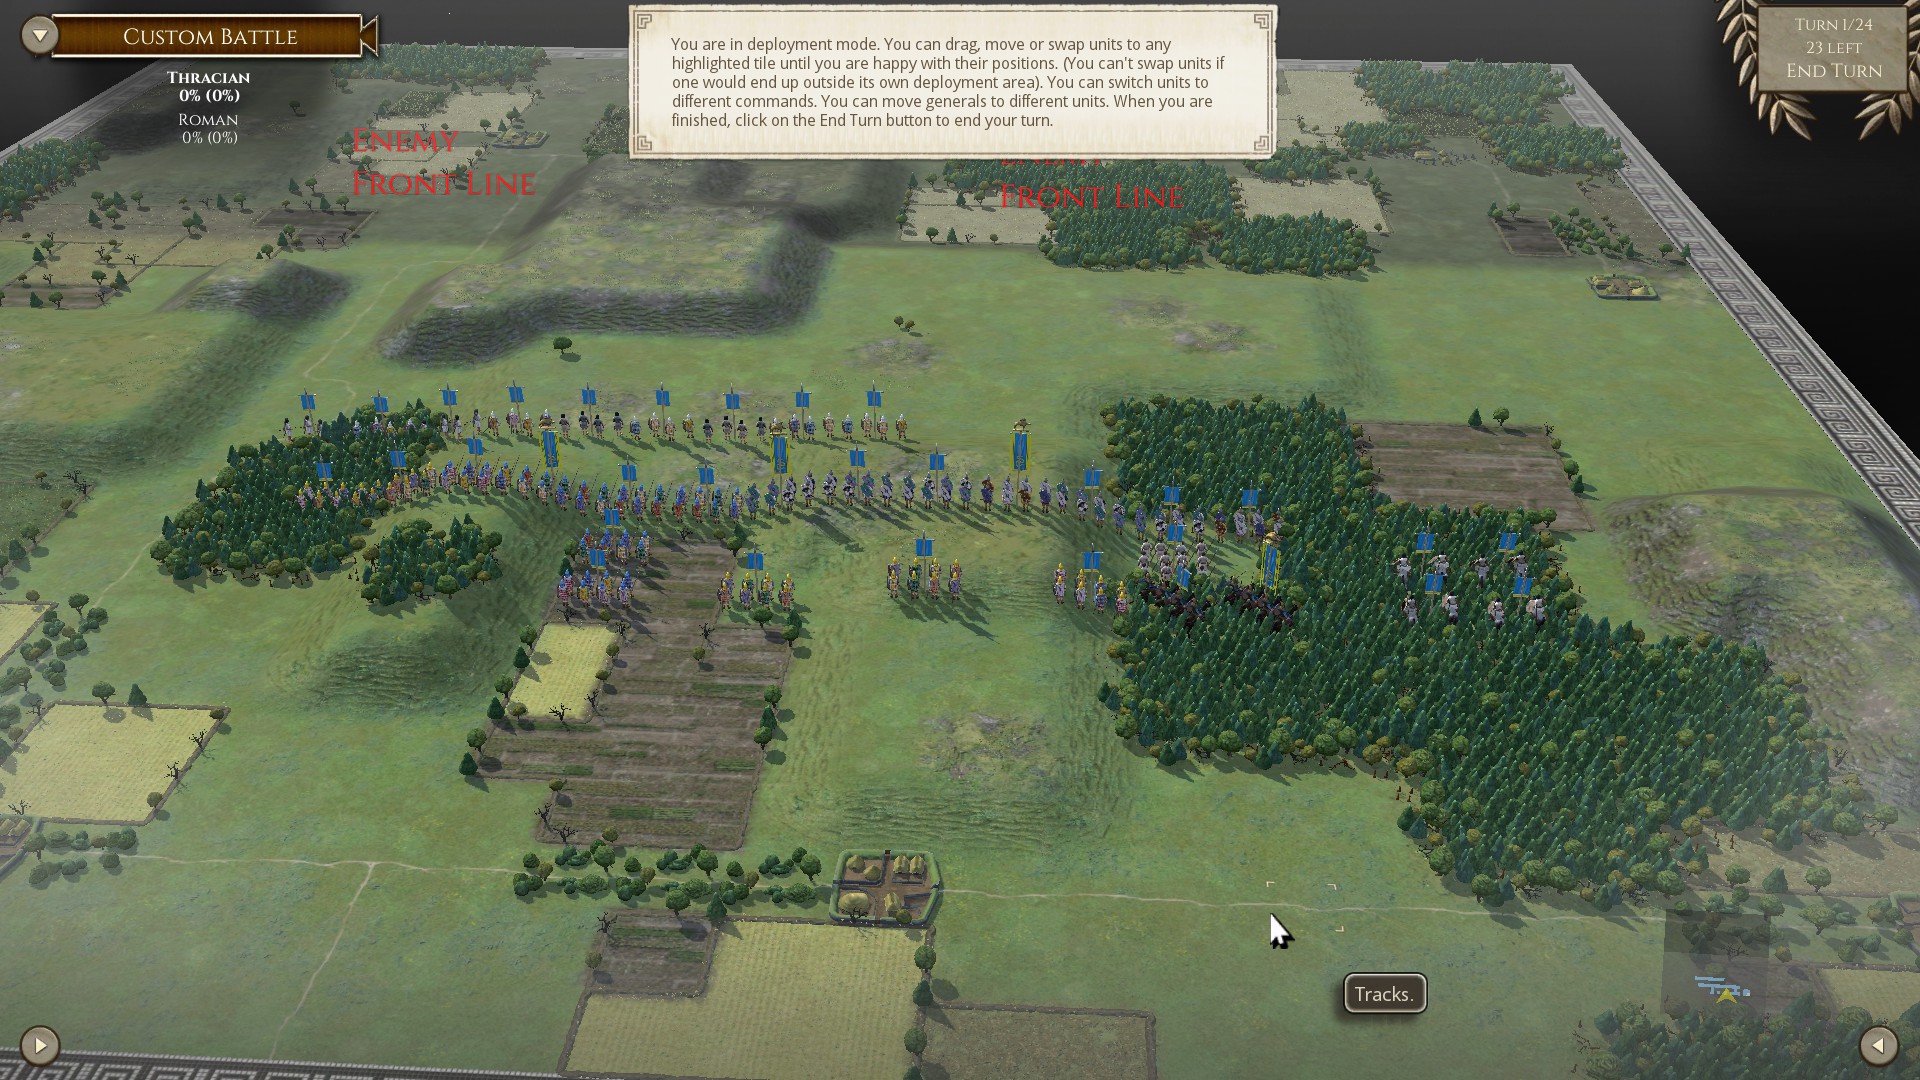
- Thrace vs Rome Thracian Side.jpg (609.86 KiB) Viewed 6445 times
Playing as Thrace, I set up in a (perhaps too) aggressive stance, looking to meet the Romans in the centre of the field, get them bogged down pushing through the front of my line and over the patches of rough ground in the middle of the field, and then flank them to death with troops coming in from the mountains and my reserves. I also hope to pick off a few medium and light infantry that I suspect Morbio might send over the mountains. If he were to do this, my own mediums will outnumber his by a large margin, potentially allowing me to surround and pick them off. It would delay my assault from the mountain, but I consider losing a bit of time worth it if it means I can cleave off some of the Roman army's medium units while they are away from the rest of the army.
Morbio, however, avoids the mountain (quite sensibly as it turns out), and instead opts to take a mostly heavy infantry force through the pass and out from the forest, spearheaded by the veteran hastati and followed by the regulars. He also brings a strong left flank (my right) full of skirmishers, cavalry and a dangerous mix of medium and heavy infantry. This was an area I mostly ignored when I played Romans, and the strength of his attack here caught me off-guard.
I at first succeeded in catching a few of Morbio's forward units as they get ahead of the rest of his army, pinning them in combat and then catching them in the flanks. However, due to the fact that these were veteran hastati and I mostly only had Thracian Spearmen and falxmen as my best units, they held on indefinitely, and Morbio was able to bring the rest of his army to bear. Despite heavy casualties near the mountain as my archers, slingers and skirmishers peppered his hastati from above, he was able to mostly lock down my mountain assault and even counter-attack in places, keeping the best part of my numbers firmly out of the fight while his powerful left flank surrounded and annihilated my right on the rough ground, while in the centre I was steadily overwhelmed by the much stronger Roman infantry that, despite receiving decimating casualties, kept coming forward. As my army fell apart, I was flanked in quite a few places, and this and the panic from those routs further weakened my force (as often happens with lower quality armies.)
It's worth noting at this point that part of my plan included planned push-backs, with the hastati pushing through to be flanked by reserves. This didn't happen, and my units tended to disrupt or fragment instead. I will have to bear this in mind in future matches, and it makes me quite nervous of my prospects in my match against sIg3b. You can't always rely on pushbacks to even happen, let alone to happen at the right moment to gain a flank from them.
In the end, it was a pretty decisive victory for Rome and a dark day for the Thracians. Unfortunately for the Thracians, it was not to be their only defeat. I'll go over the second part of the mirror in a separate post. The results:

- Thrace vs Rome Thracian Side Result.jpg (442.44 KiB) Viewed 6445 times

- Thrace vs Rome Thracian Side Casualty Breakdown.jpg (447.59 KiB) Viewed 6445 times