

Making a Gully
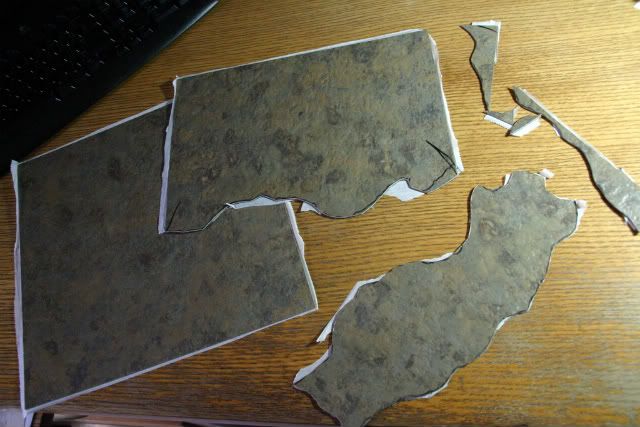
Step One: The main shape of the gully is cut using a very sharp knife. The top of the tile is scored and then the parts simply bend/break apart.
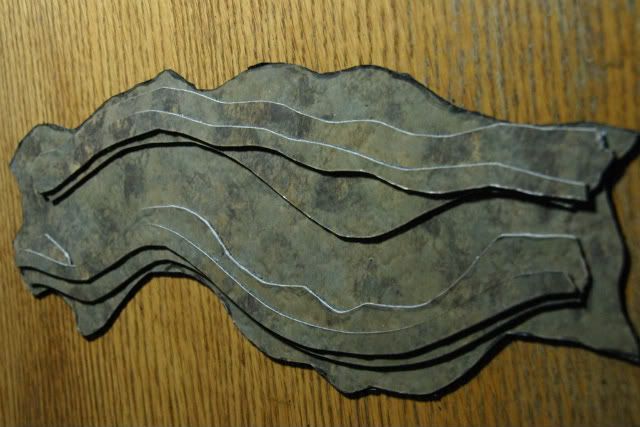
Step Two: The 2nd and 3rd layers are cut. Peel the paper off the back of the tile pieces and press them down into place on the main gully body. All parts should be lightly sanded to rough up the surface a bit to improve the hold of the upcoming glue!
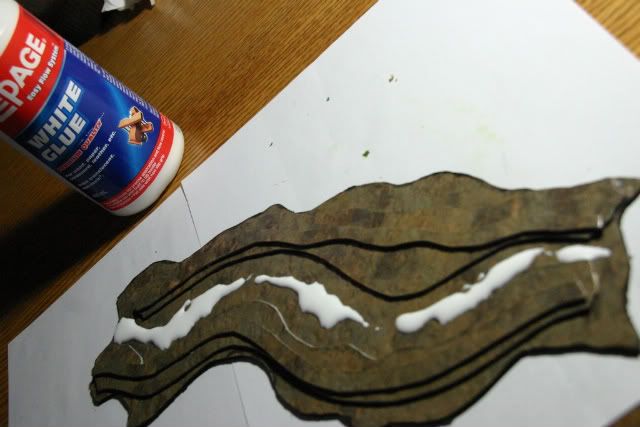
Step Three: White glue is dribbled in the places you want the first colouring of "green stuff"...(in this case, Woodland Scenics various shades/textures of turf).
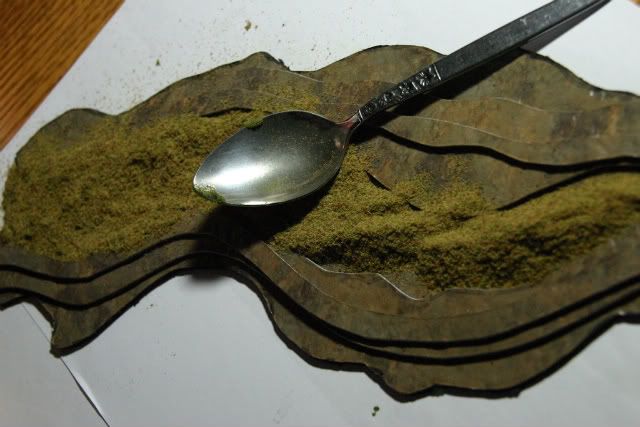
Step Four: First layer of "green stuff" is dumped on top of the glue, patted down, and excess gently tapped off.
Step Five: More glue is dribbled where you want the next shade of turf.
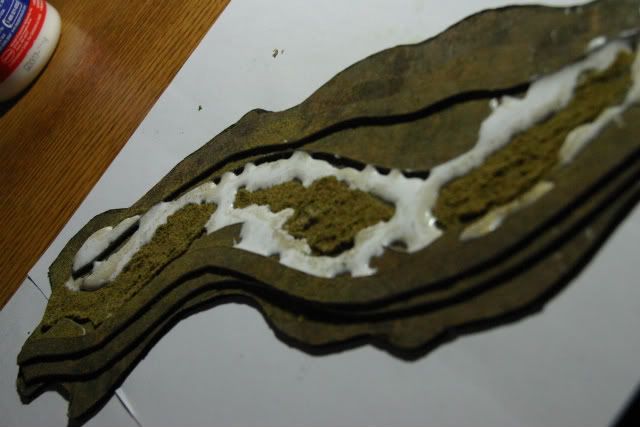
Step Six: Continue dribbling glue and patting down various shades/textures of green stuff.

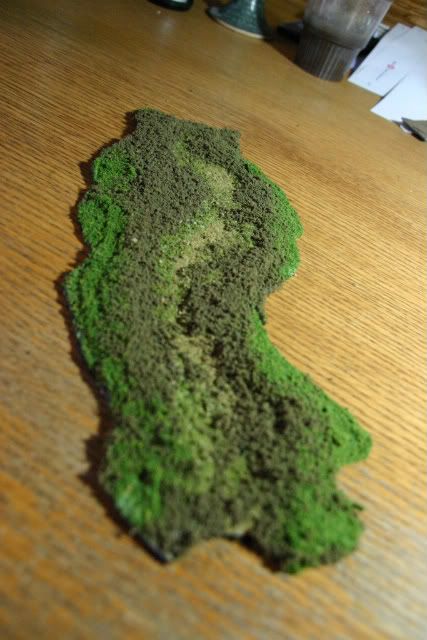
Step Seven: Finished gully!
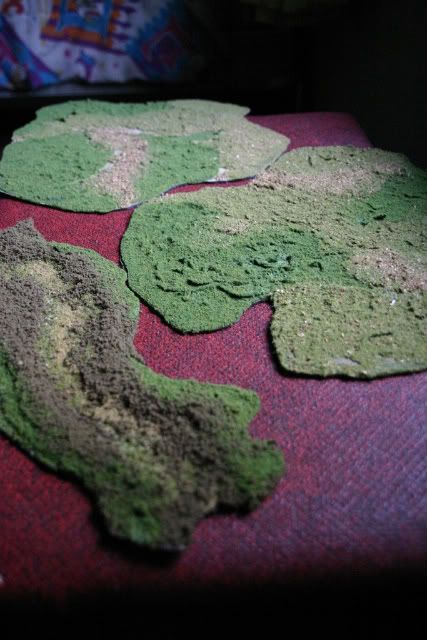
Here are a couple others made the same way: two examples of "uneven ground."
Now...was any of this an actual help or of interest to you souls out there? Let me know what you think. I have examples of hills made from layers of styrofoam and polyfilla (the goopy stuff used in drywalling) if anyone would like to see.
Hopefully some help/inspiration.
Dan T.
Well...can't seem to get some of the photos right-way up...but...ah well!
Woohoo...finally!


