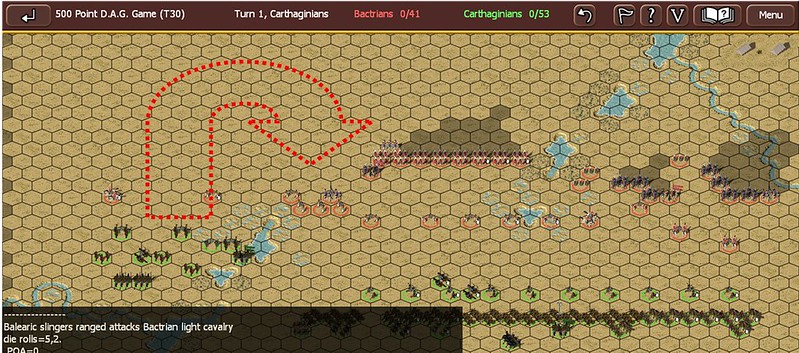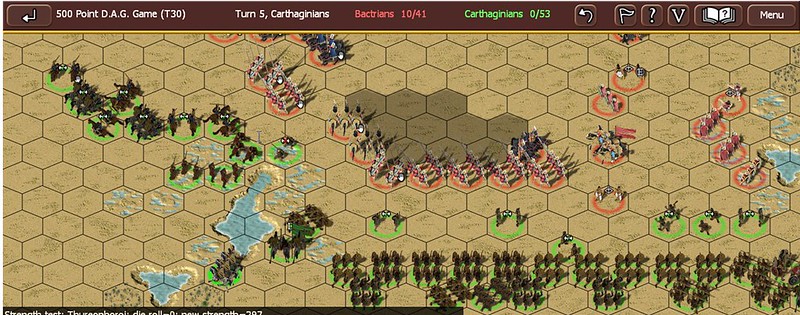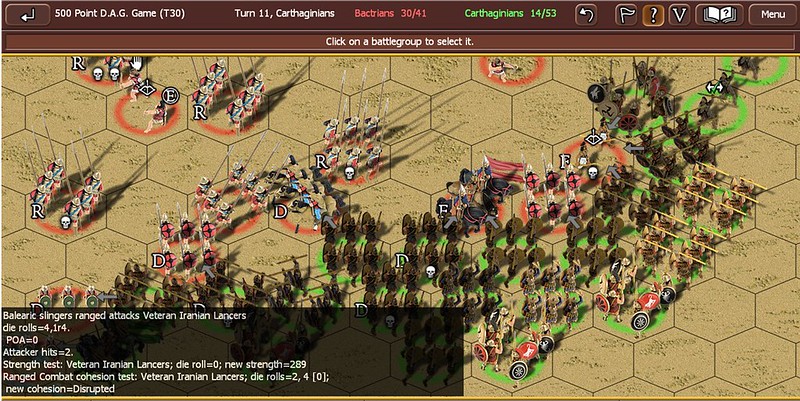
On my left, a couple of my LH get caught, I was way too aggressive her last turn. This is the last picture from the left flnak in this AAR, it was really a side action, although I mad ea few mistakes here, rather than cutting my losses I attempted to mitigate them, which only made them worse.
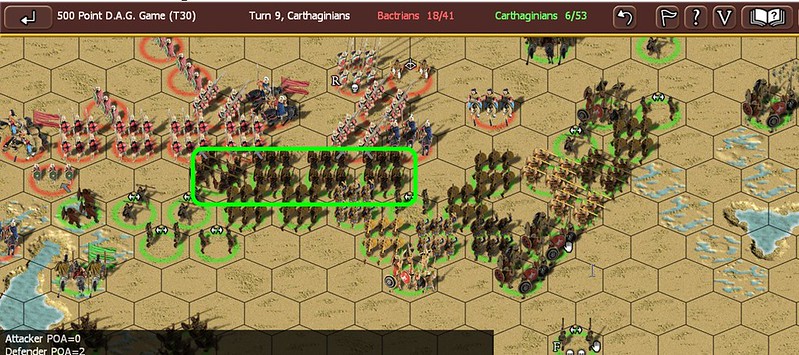
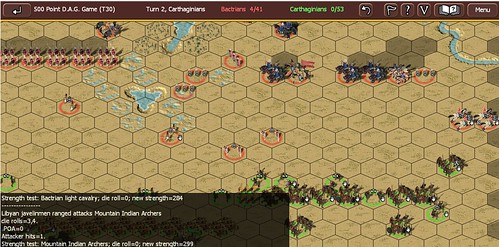
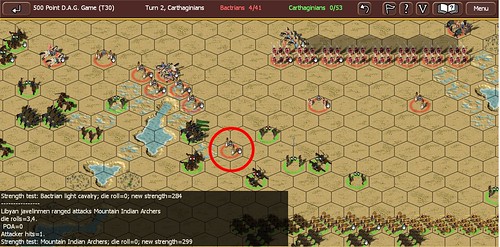
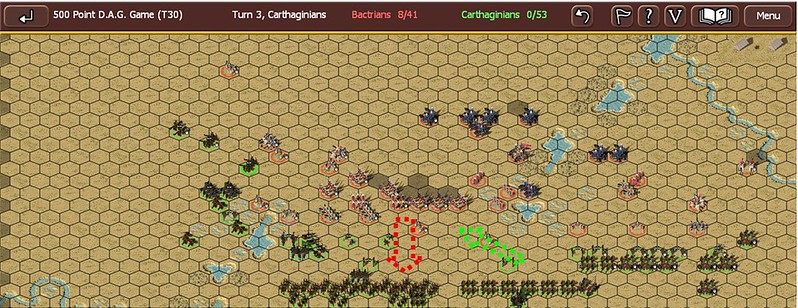
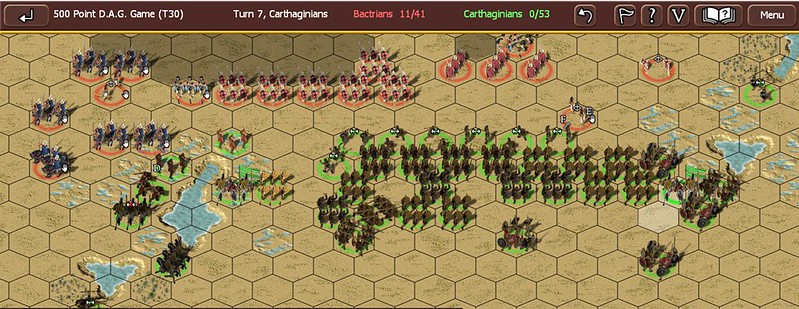
This is the significant theatre of the battle, the centre.
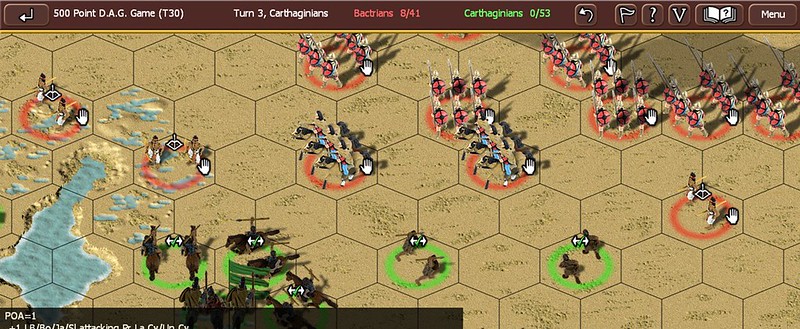
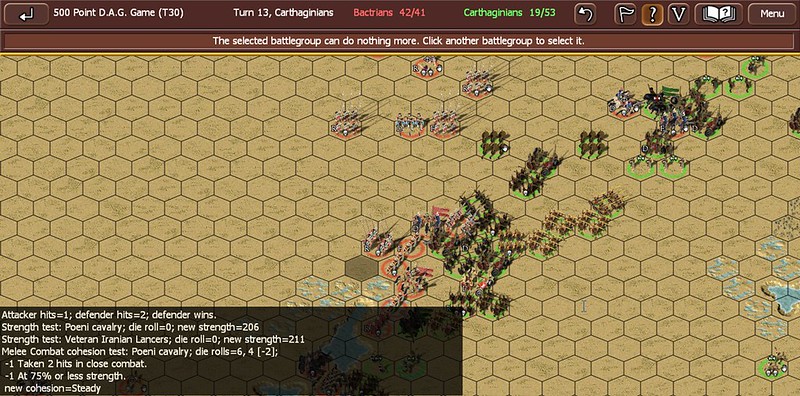
In my turn all four sacred band units survive impact combat, even though I lost every impact combat, having at least one unit behind them as they charged and also being superior troops helped. Next turn they will effectively have POA+ in melee combat, and then we shall see.