Scenario XVII -- Kursk
 Initial Prestige: 107002
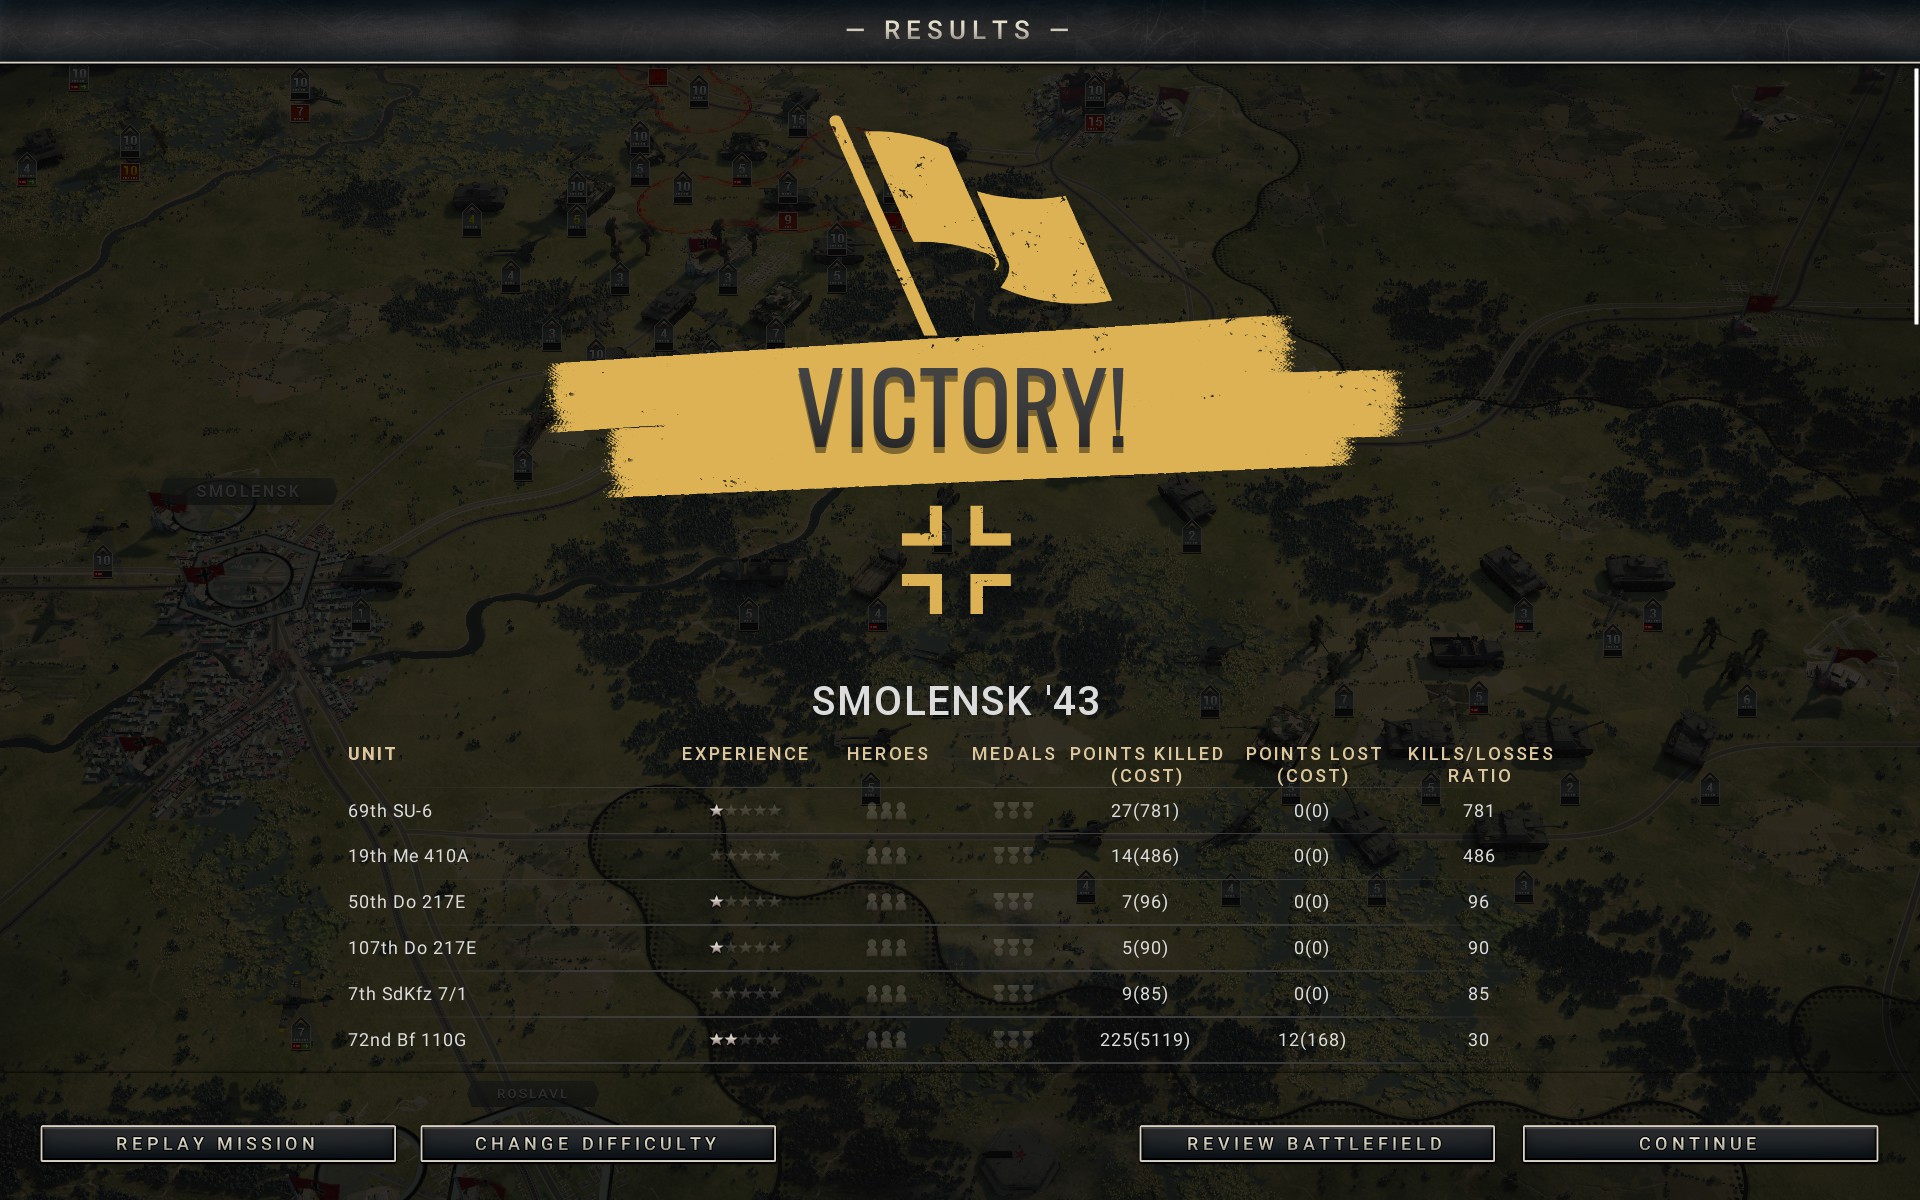
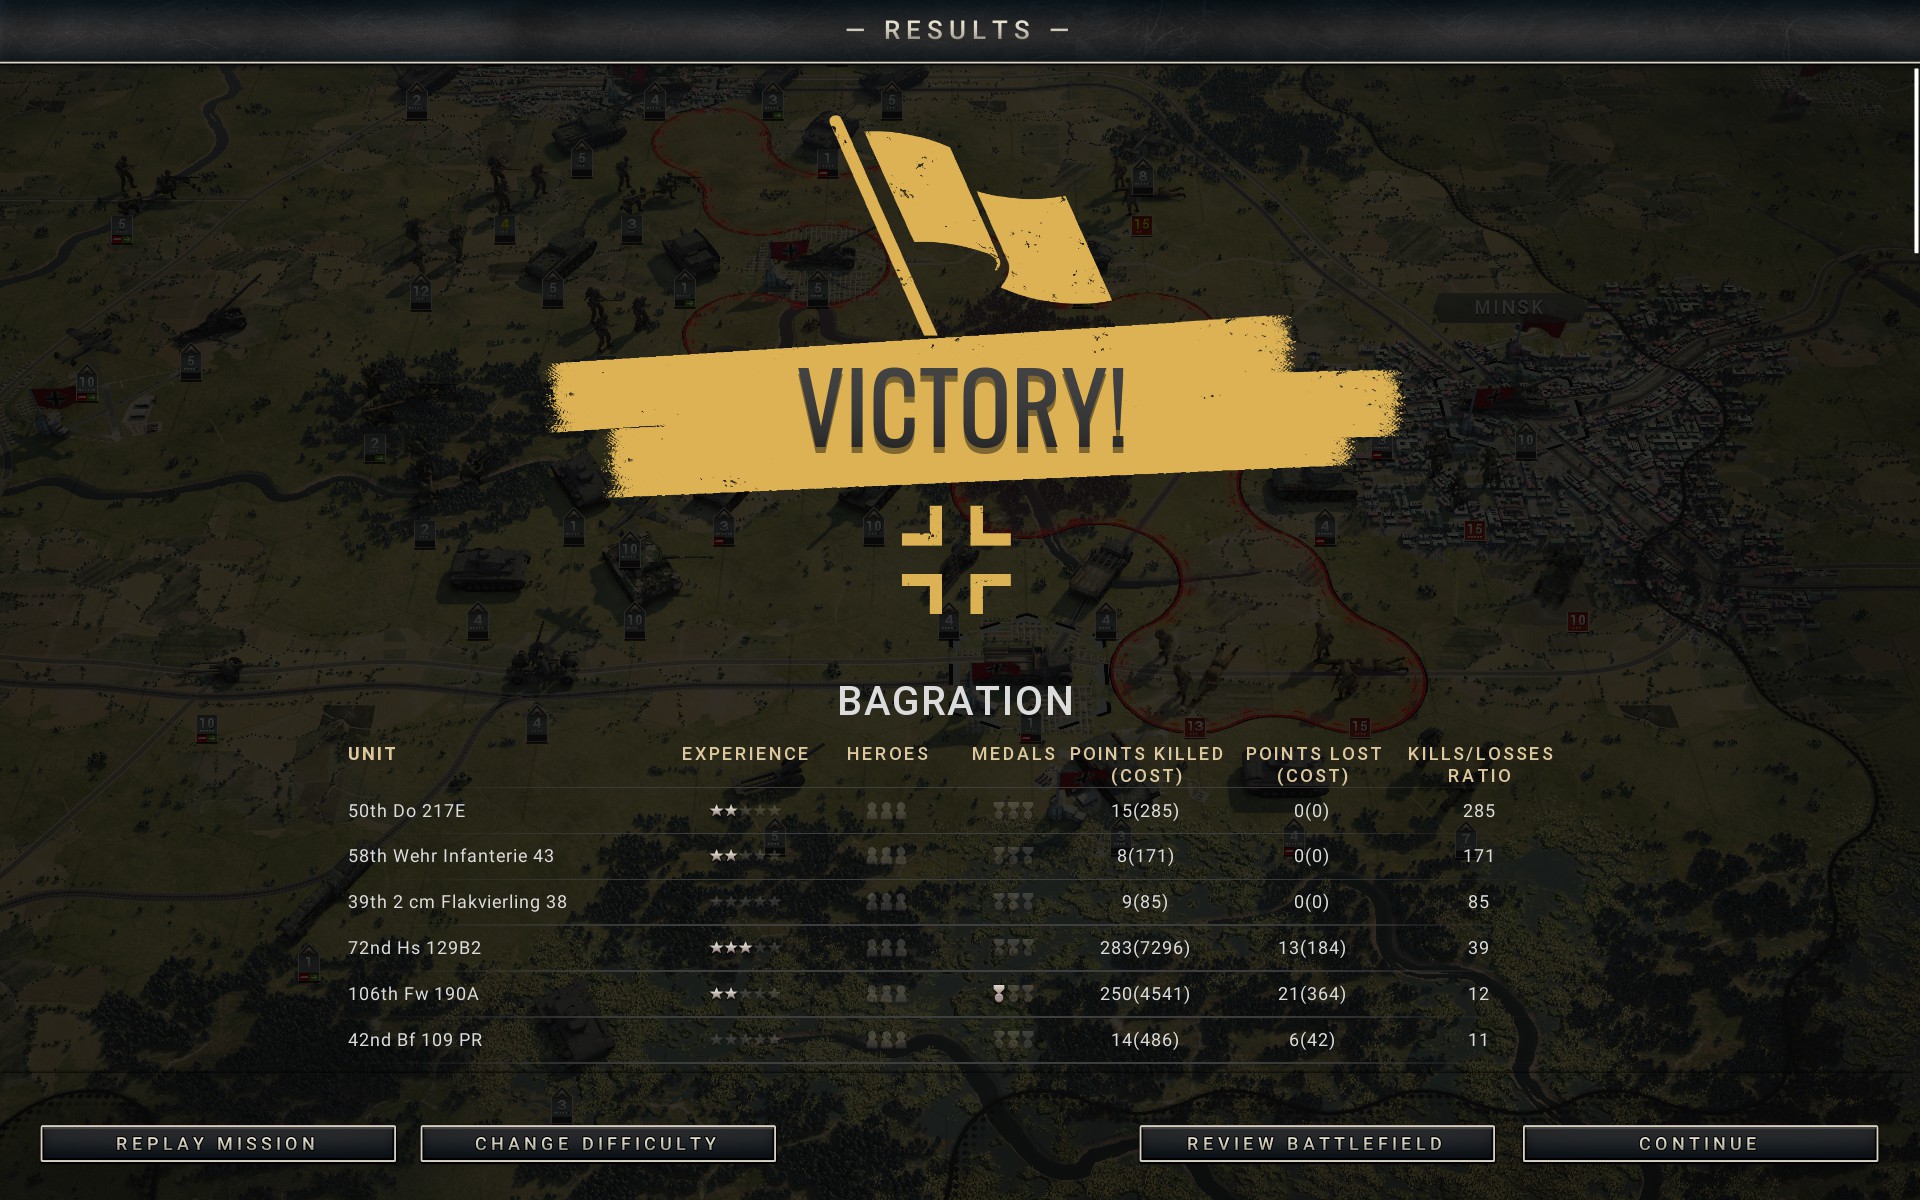
Final Prestige: 154694
Core
- Infantry
- Pioniere w/ SdKfz 250/1 [NEW]
- Pioniere w/ SdKfz 250/1
- Tanks
- Tiger I [NEW]
- Tiger I [NEW]
- Panzer IIIN [NEW]
- Panzer IIIN
- Panzer IIIN
- Panzer IIIN
- Panzer IIIN
- Panzer IIIN
- Panzer IIIN
- Panzer IIIN
- Recon
- SdKfz 234/1 8Rad
- SdKfz 234/1 8Rad
- Artillery
- Schwerer Gustav
- 17 cm K 18 w/ SdKfz 7
- 17 cm K 18 w/ SdKfz 7
- 17 cm K 18 w/ SdKfz 7
- 15 cm sFH w/ SdKfz 7
- 15 cm sFH w/ SdKfz 7
- 15 cm sFH w/ SdKfz 7
- 15 cm sFH w/ SdKfz 7
- StuH 42 [NEW]
- StuH 42 [NEW]
- StuH 42 [NEW]
- StuH 42 [NEW]
- Anti-Aircraft
- 2 cm Flakvierling 38 w/ SdKfz 10 [NEW]
- 2 cm Flakvierling 38 w/ SdKfz 10 [NEW]
- SU-6
- SU-6
- Fighters
- Fw 190A [NEW]
- Fw 190A [NEW]
- Fw 190A [NEW]
- Bf 109F
- Bf 109F
- Tactical Bombers
- Bf 109 PR
- Bf 109 PR
- Bf 110G [NEW]
- Strategic Bombers
- Do 217E [NEW]
- Do 217E [NEW]
- Do 217E
- Do 217E
- Do 217E
- Do 217E
- Do 217E
- Do 217E
The day has come for what could prove to be the decisive battle of the war. After months of preparations and delays, Operation Citadel is finally set to commence. The Wehrmacht has struggled to regain the initiative in the war following the destruction of the 6th Army at Stalingrad, and the Third Reich is in dire need of a victory to help stiffen the resolve of its wavering allies. Despite the misgivings of many senior officers -- to quote Guderian, "It is a matter of profound indifference to the world whether we hold Kursk" -- the die has been cast. With so much riding on the battle, I have finally been issued the Tiger heavy tanks I've long requested, which will prove a welcome addition to my corps.
The Kursk salient is heavily fortified with extensive earthworks and minefields, and it is believed that elements of the Red Army present there number in the hundreds of thousands. The plan as conceived by the OKW is to cut off the salient from the east with a coordinated pincer attack through Maloarkhangelsk in the north and Prokhorovka in the south, which would allow the armoured spearhead of the Wehrmacht to bypass the fortifications. Unfortunately, it is clear that the Soviets are aware of these plans, and it would be foolish to think they have been idle while preparations were made for Operation Citadel. It is likely that the seemingly weak spots in the Kursk salient are in fact a trap, and therefore I have decided to modify the plan; while I intend to achieve the strategic objectives of Operation Citadel, I have no intention of playing into the Red Army's hands.
Infantry support will be limited to the veterans of the Bridgeburners and the Crimson Guard, who will provide an option for close assault should it prove necessary during the initial phase of the operation. Once the objectives east of Belgorod have been secured they will form a rearguard to protect the hills and woodlands while the Panzers move north. Two elite battalions have been outfitted with the Panzer VI Tiger, a powerful heavy tank that finally provides a platform capable of challenging the Soviet armour directly. These Panzers will provide the necessary firepower to penetrate the Soviet lines while the remaining Panzer IIINs provide the numbers and resilience to hold the Red Army in check.
The StuG IIIBs have been replaced with StuH 42s, as these workhorses have begun to show their age; assault guns have proved a valuable asset, but they need to be able to function on the frontlines, and the armour of the StuG IIIB is simply not up to the task at this point. They have been in dire need of an upgrade for some time now, but Retrograde has kept me from replacing them. Two Flakvierlings will provide additional AA defence, as the scale of the battle makes it difficult to gauge what kind of presence the Soviet air force has; now that the bug that affected them has been fixed they are great value at only a single core slot each, and they will hopefully allow the Luftwaffe to focus on offensive operations. The latter has been strengthened by the addition of three squadrons of Fw 190A fighters, which provide a welcome upgrade to the Bf 109F. Under the sweltering sun, the heavy overcast skies of the Russian winter have faded to a distant memory, and two additional Do 217Es and a Bf 110G have been requisitioned to make the most of the clear skies.
Despite the daunting task ahead, I am in good spirits, as these are perfect conditions under which to make good use of my preferred combination of armour, artillery and strategic bombers. As expected of the Battle of Kursk, the scenario is massive in scale, and having finally found the time to play it, I have no doubt it'll prove entertaining.
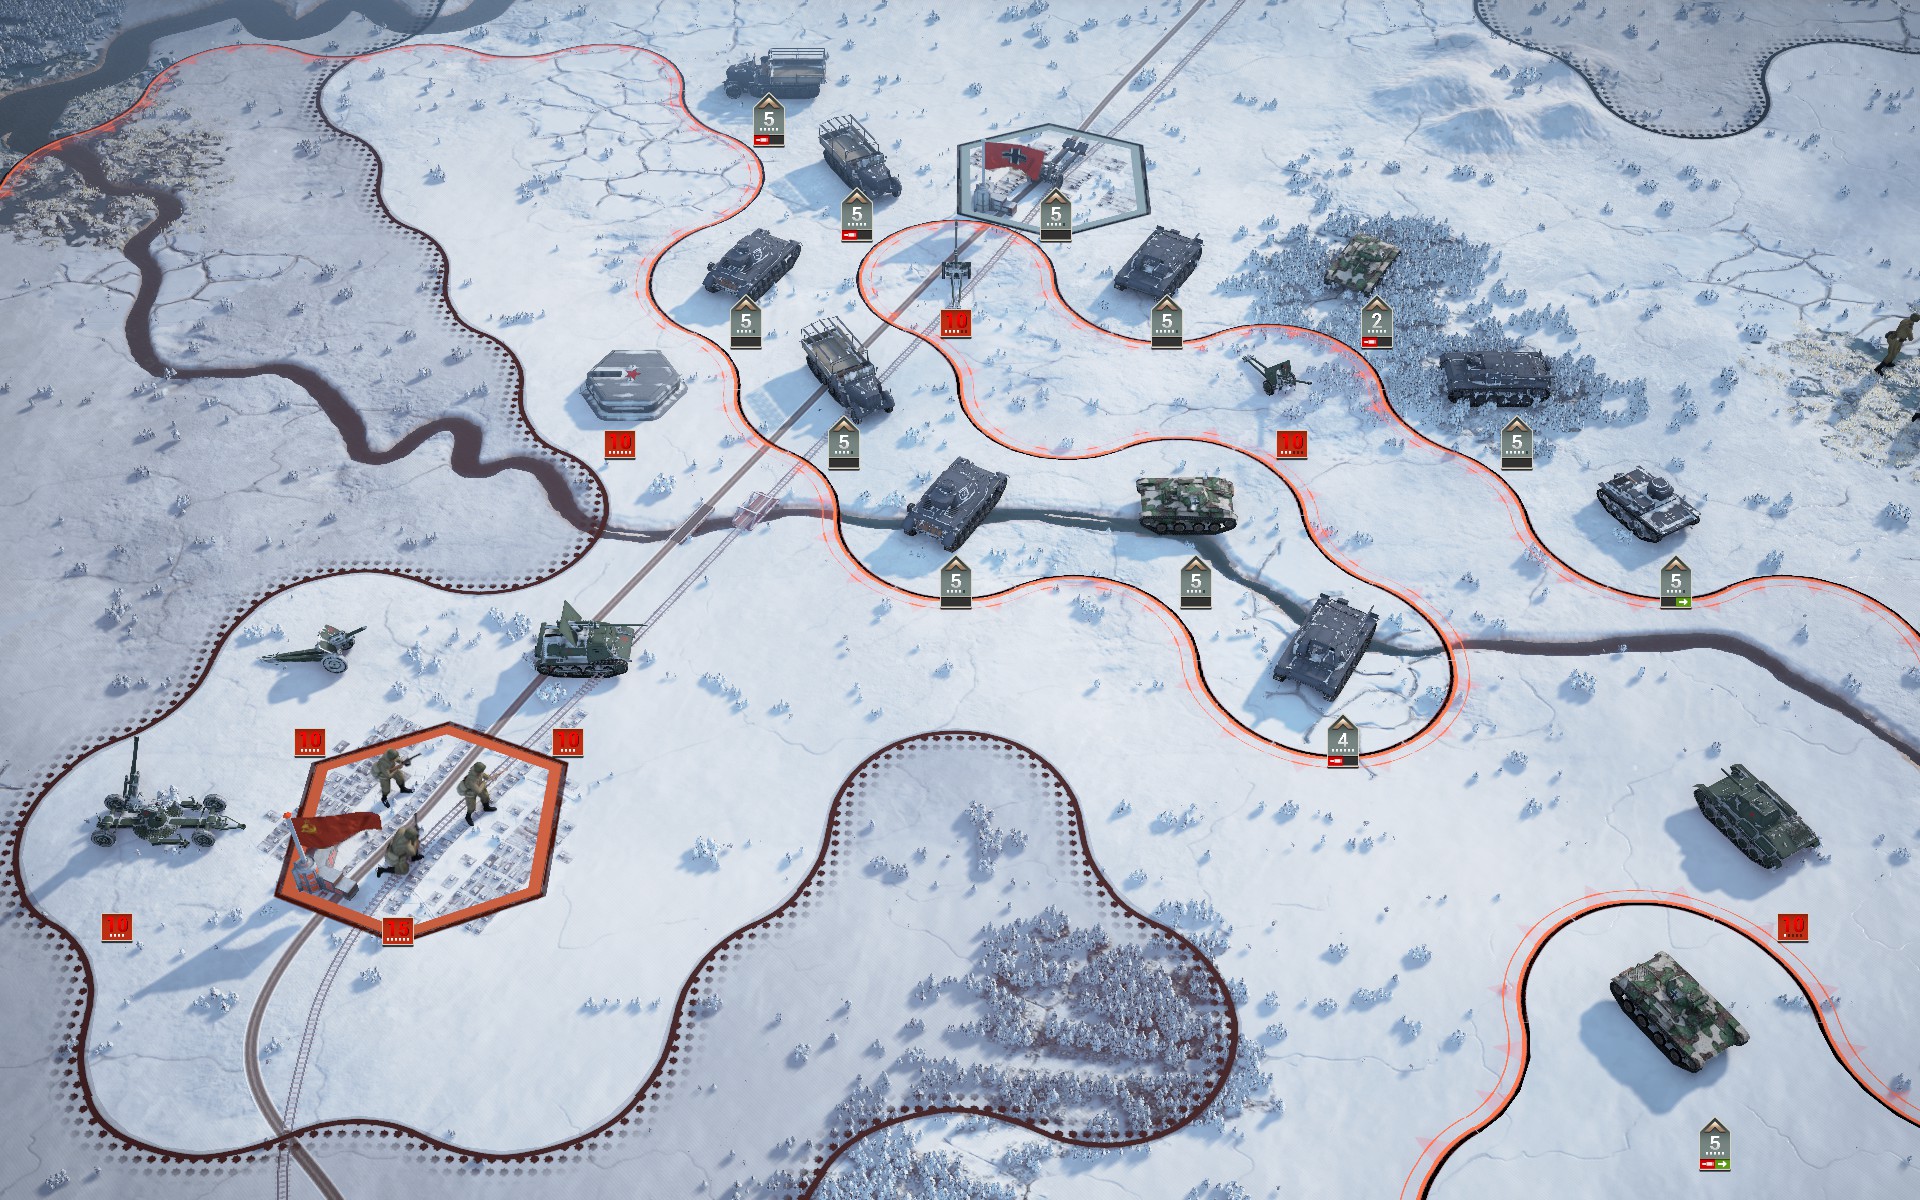
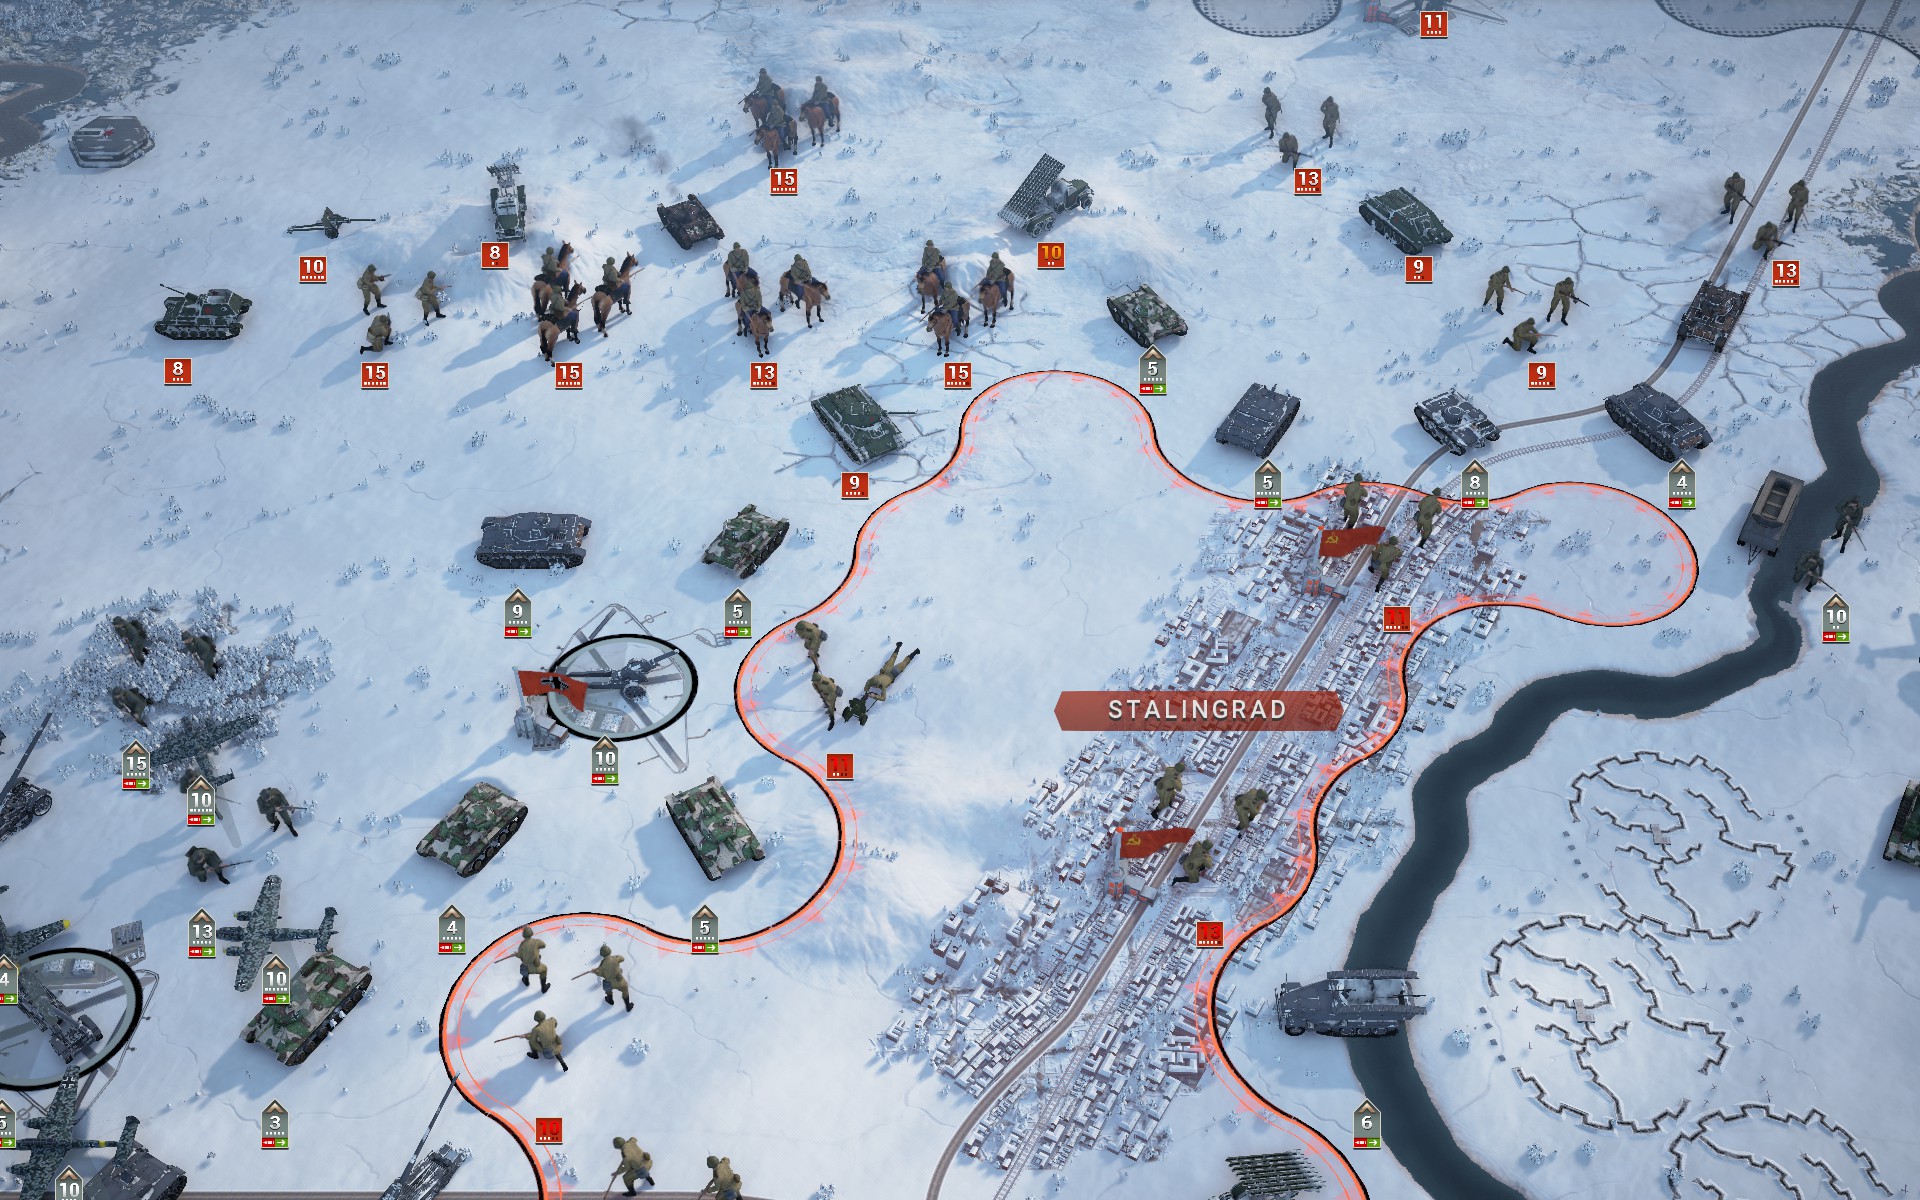
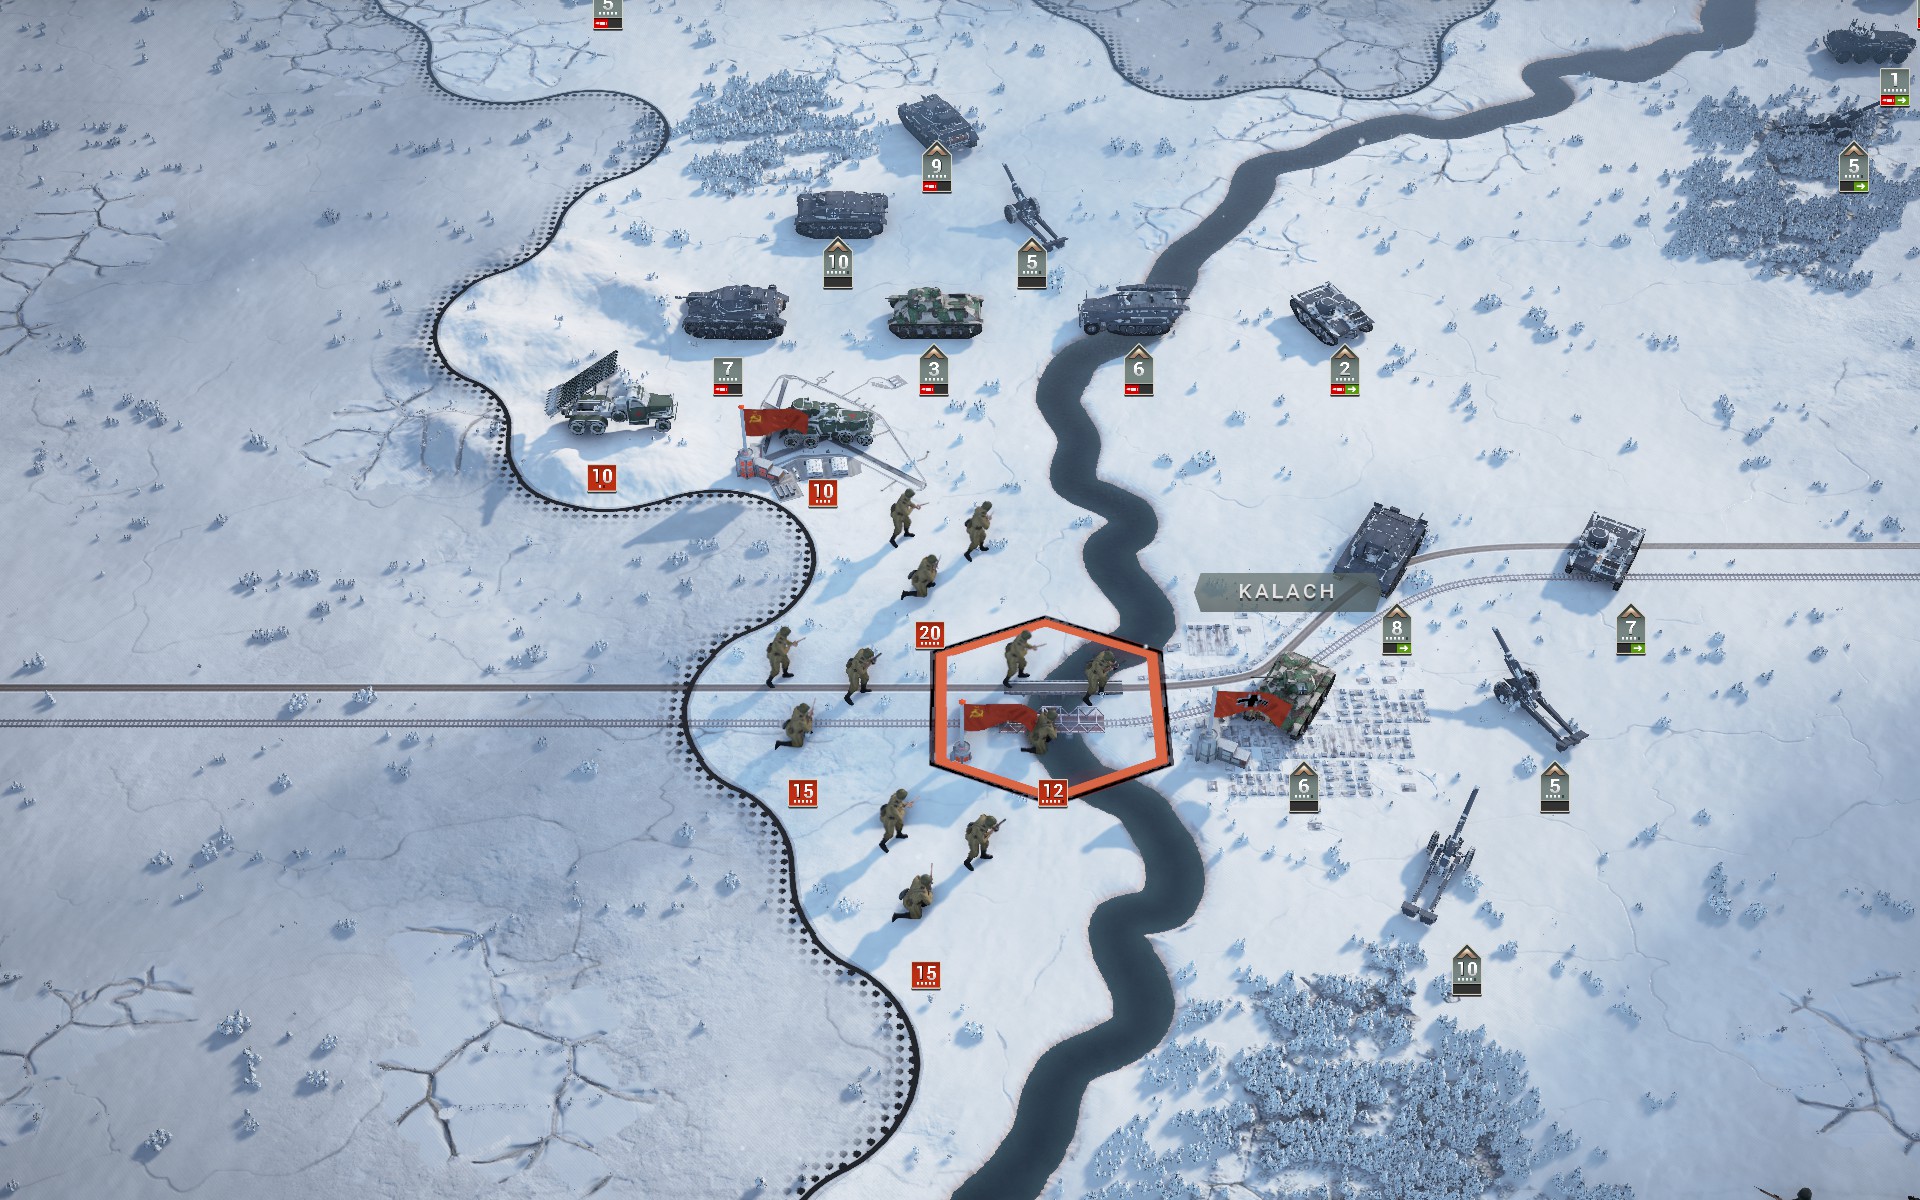
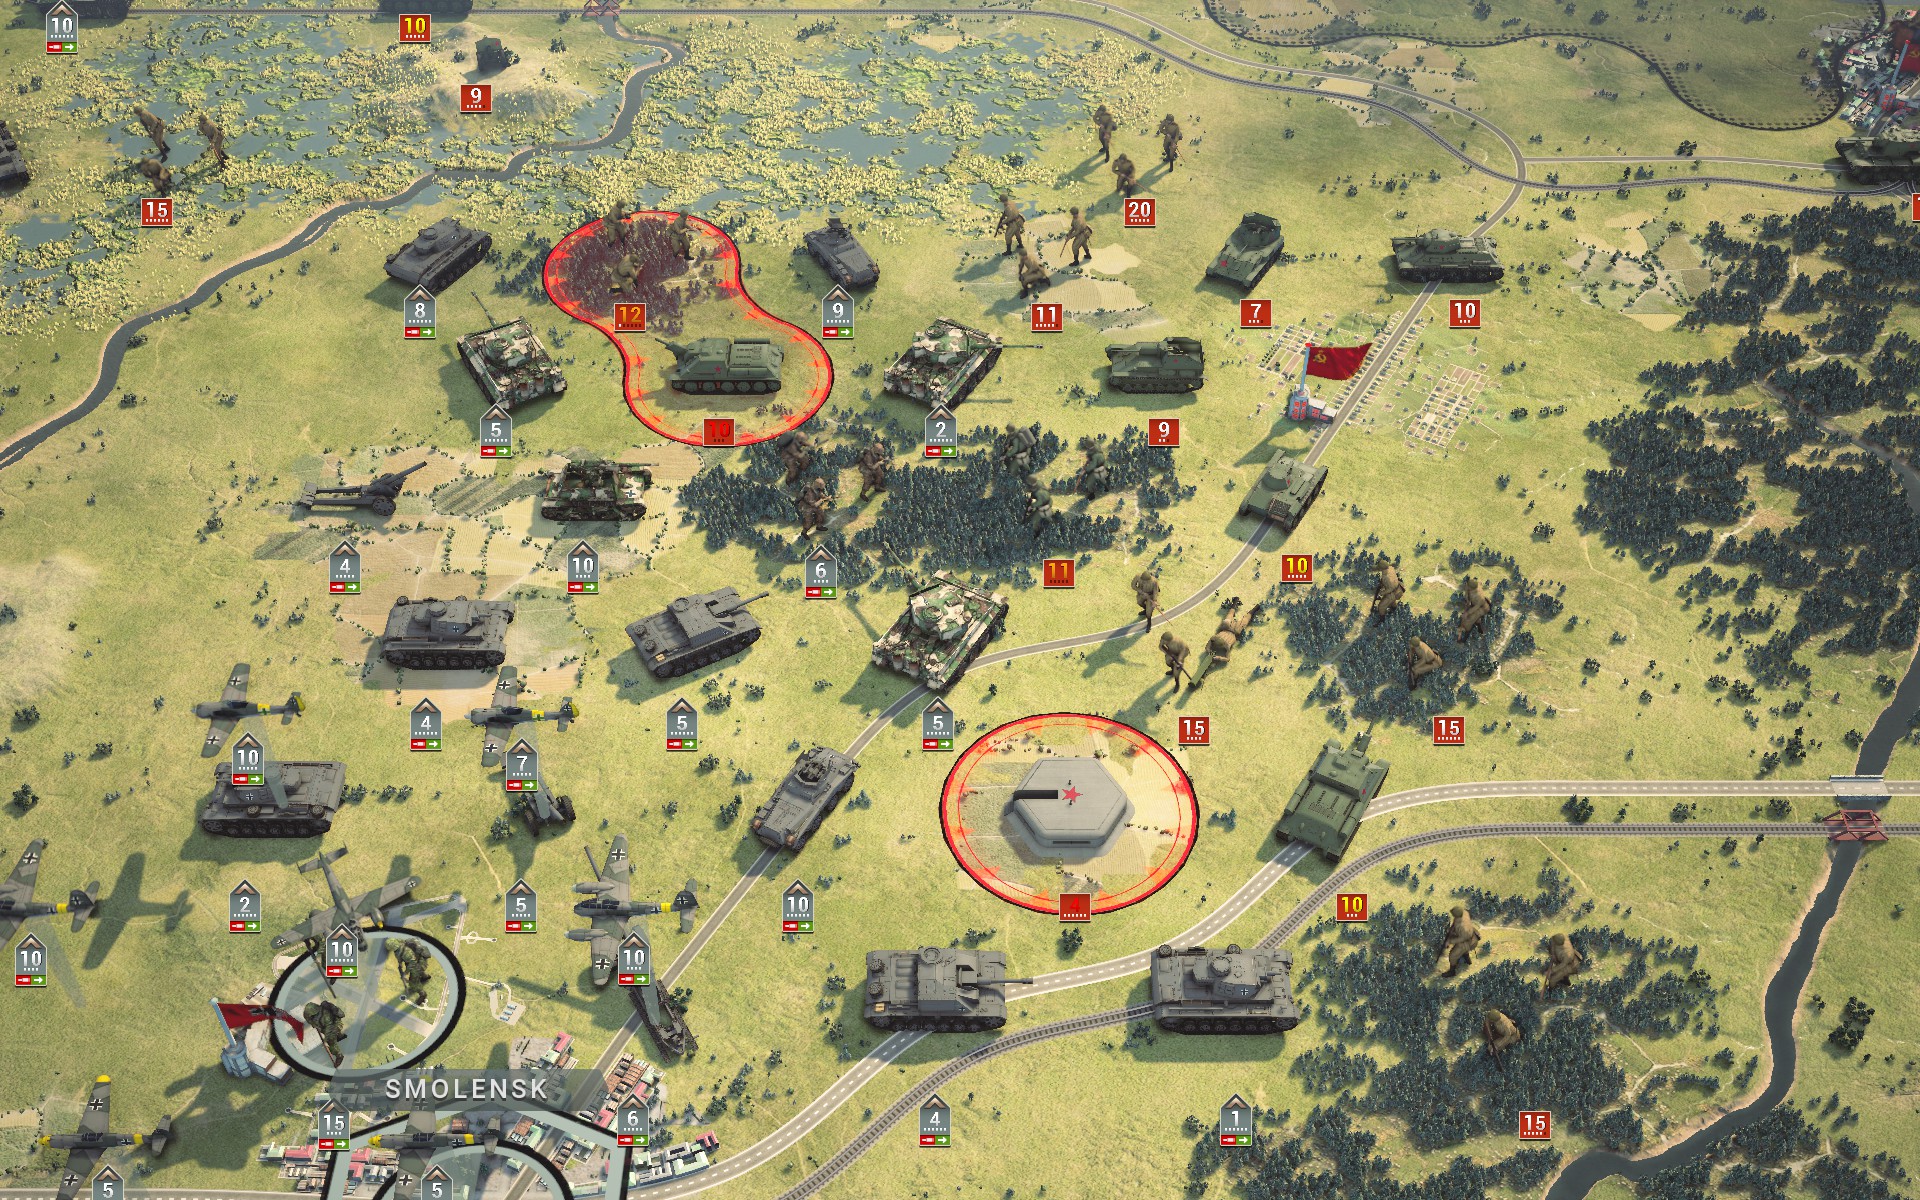
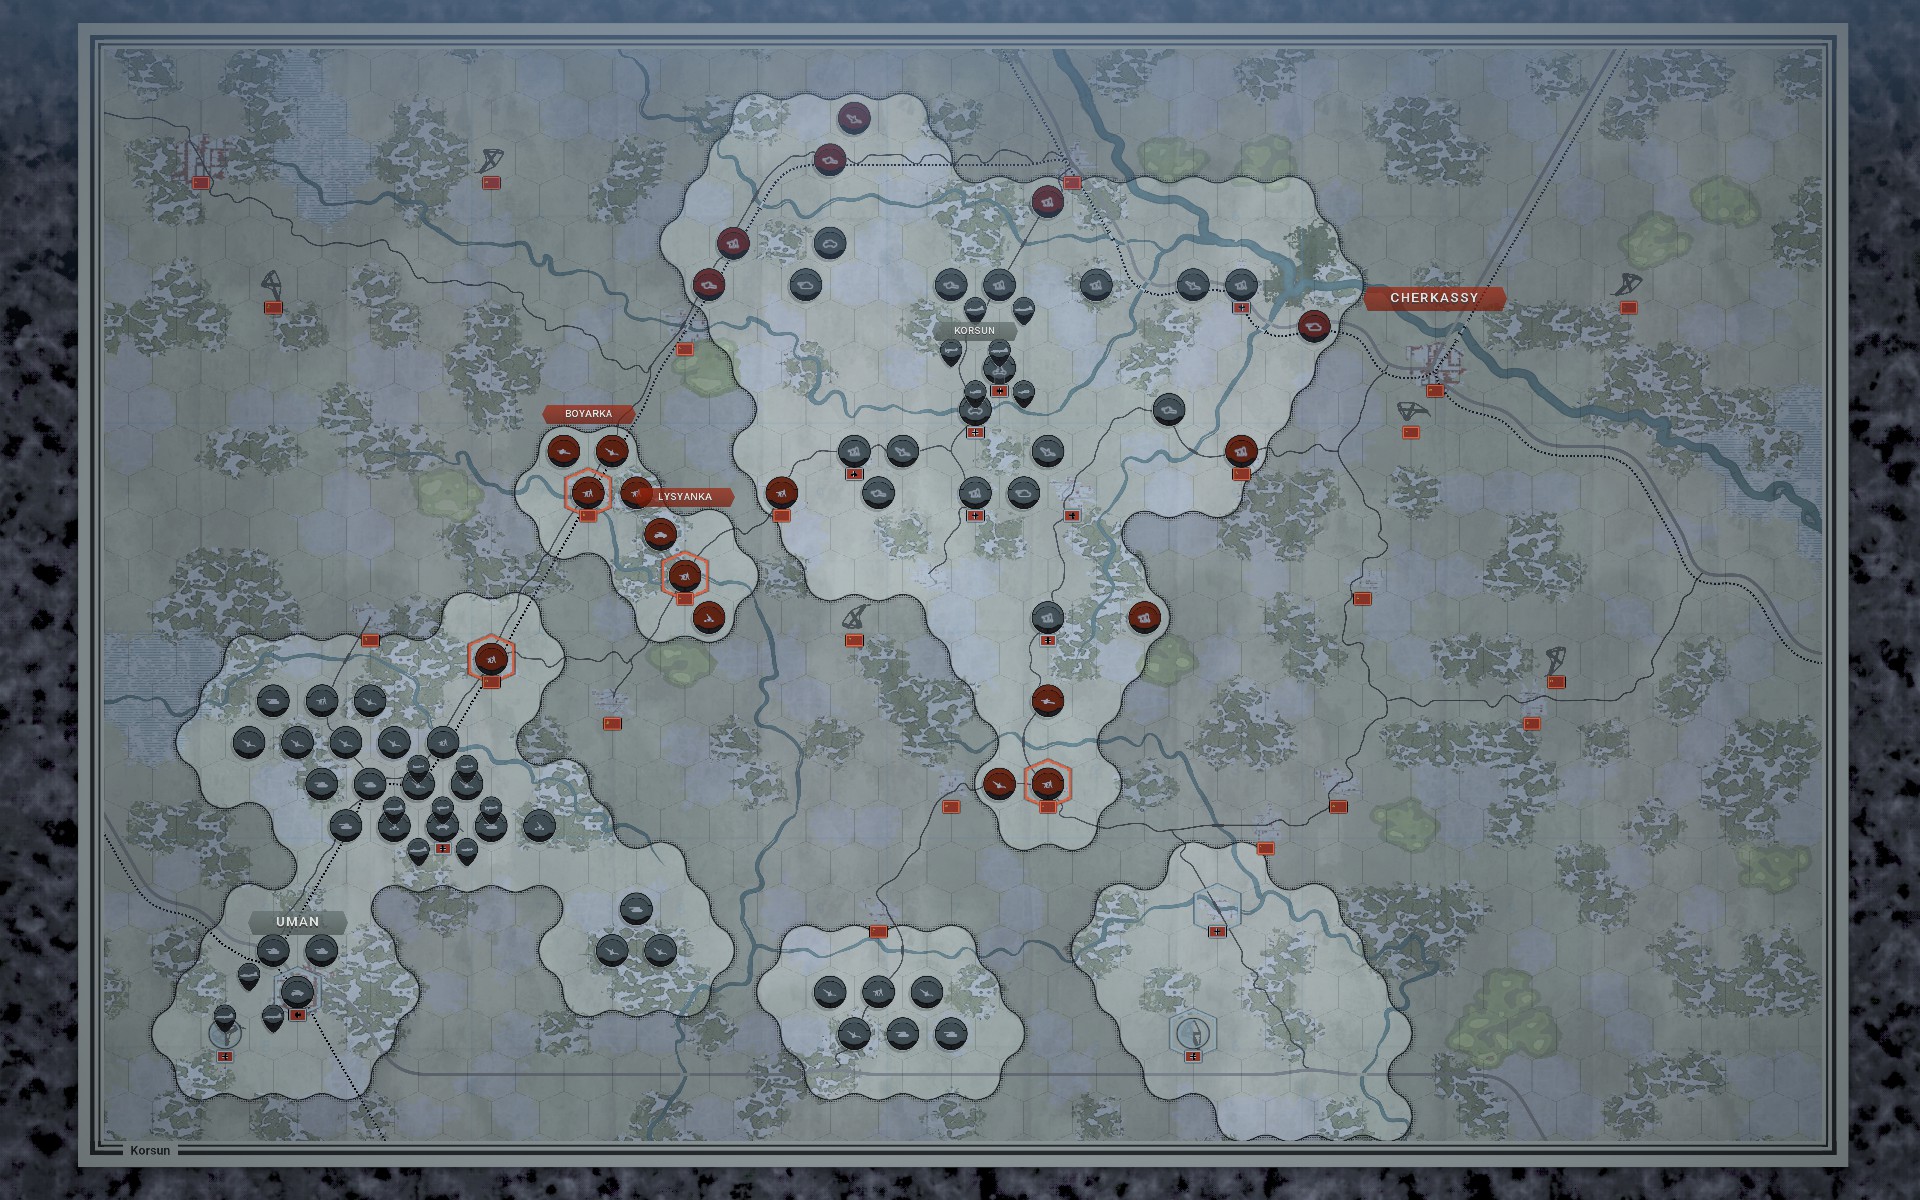
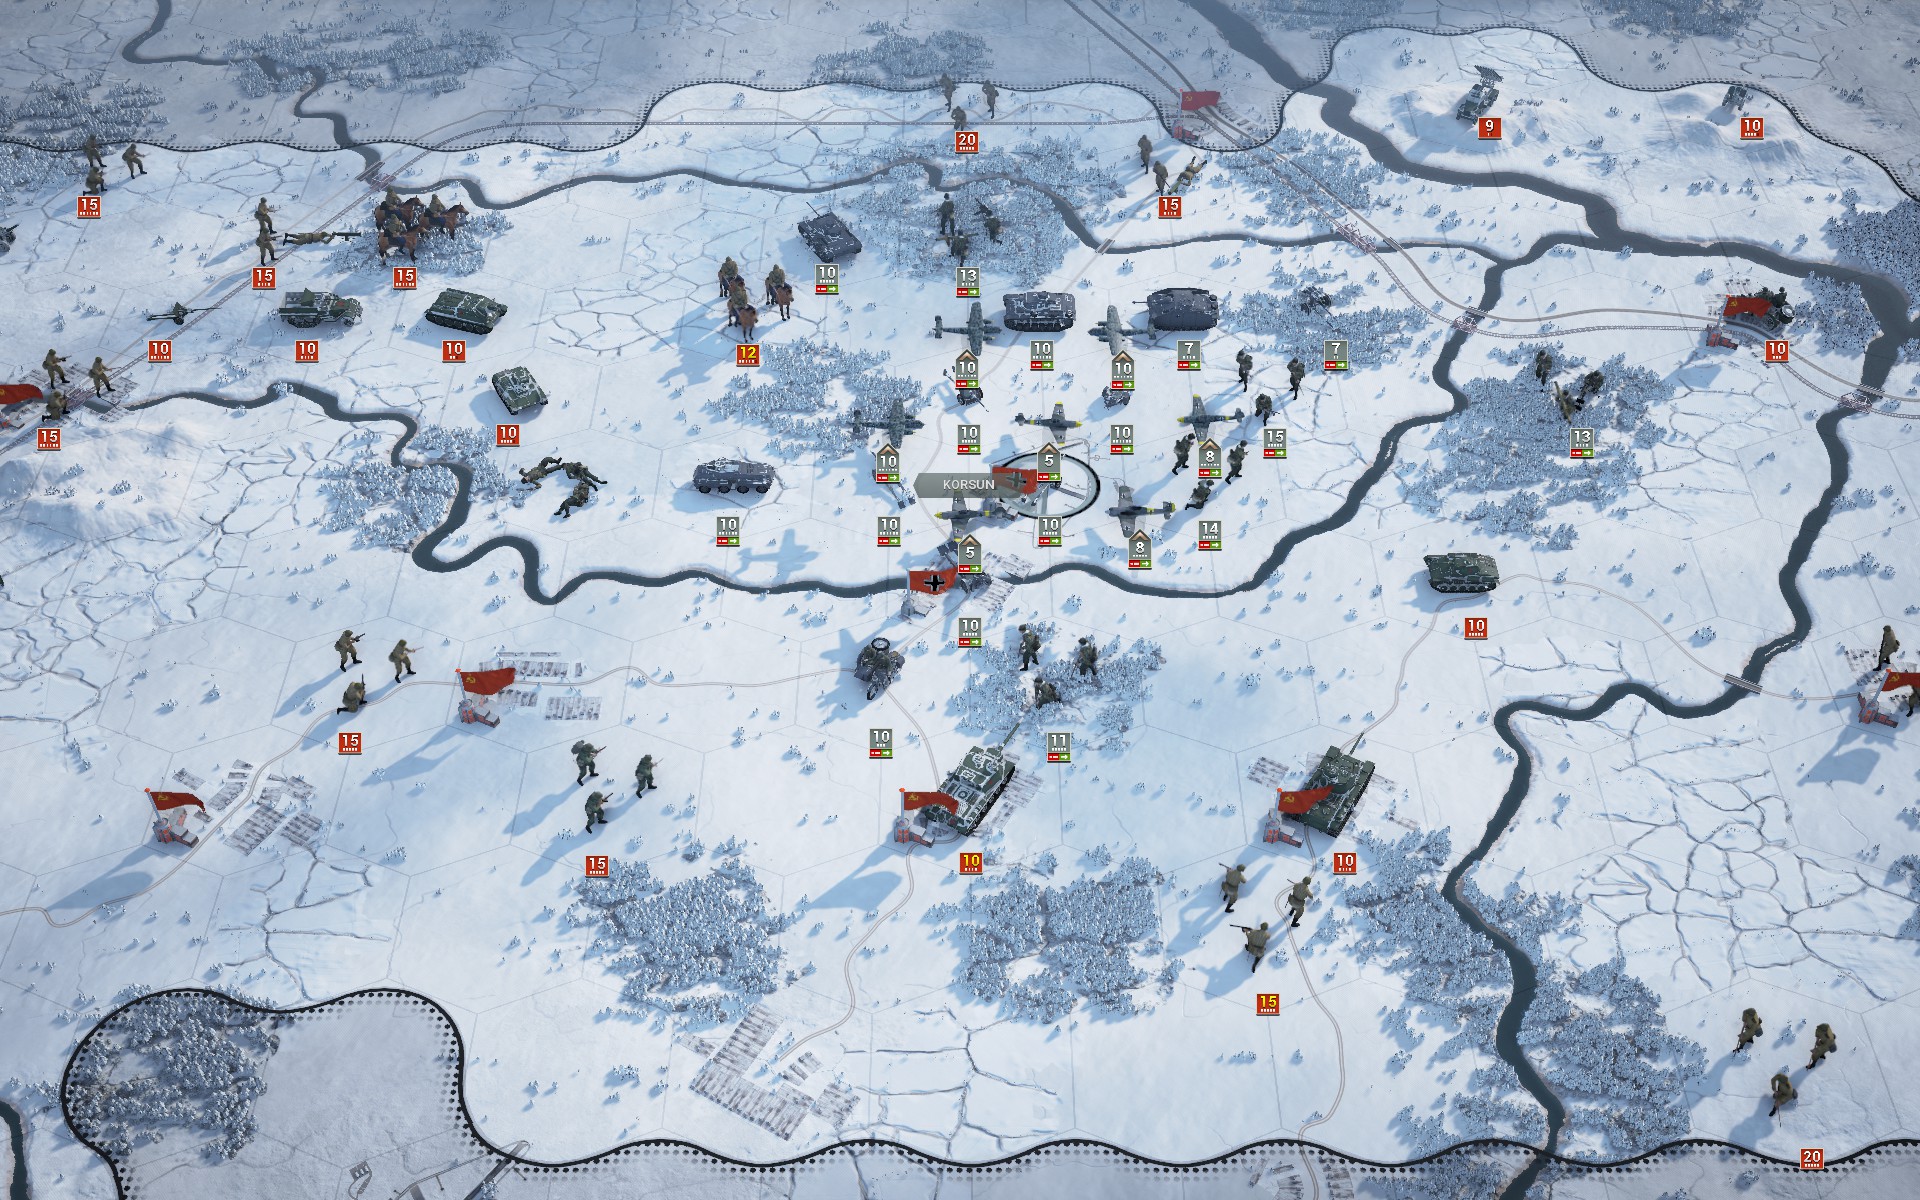
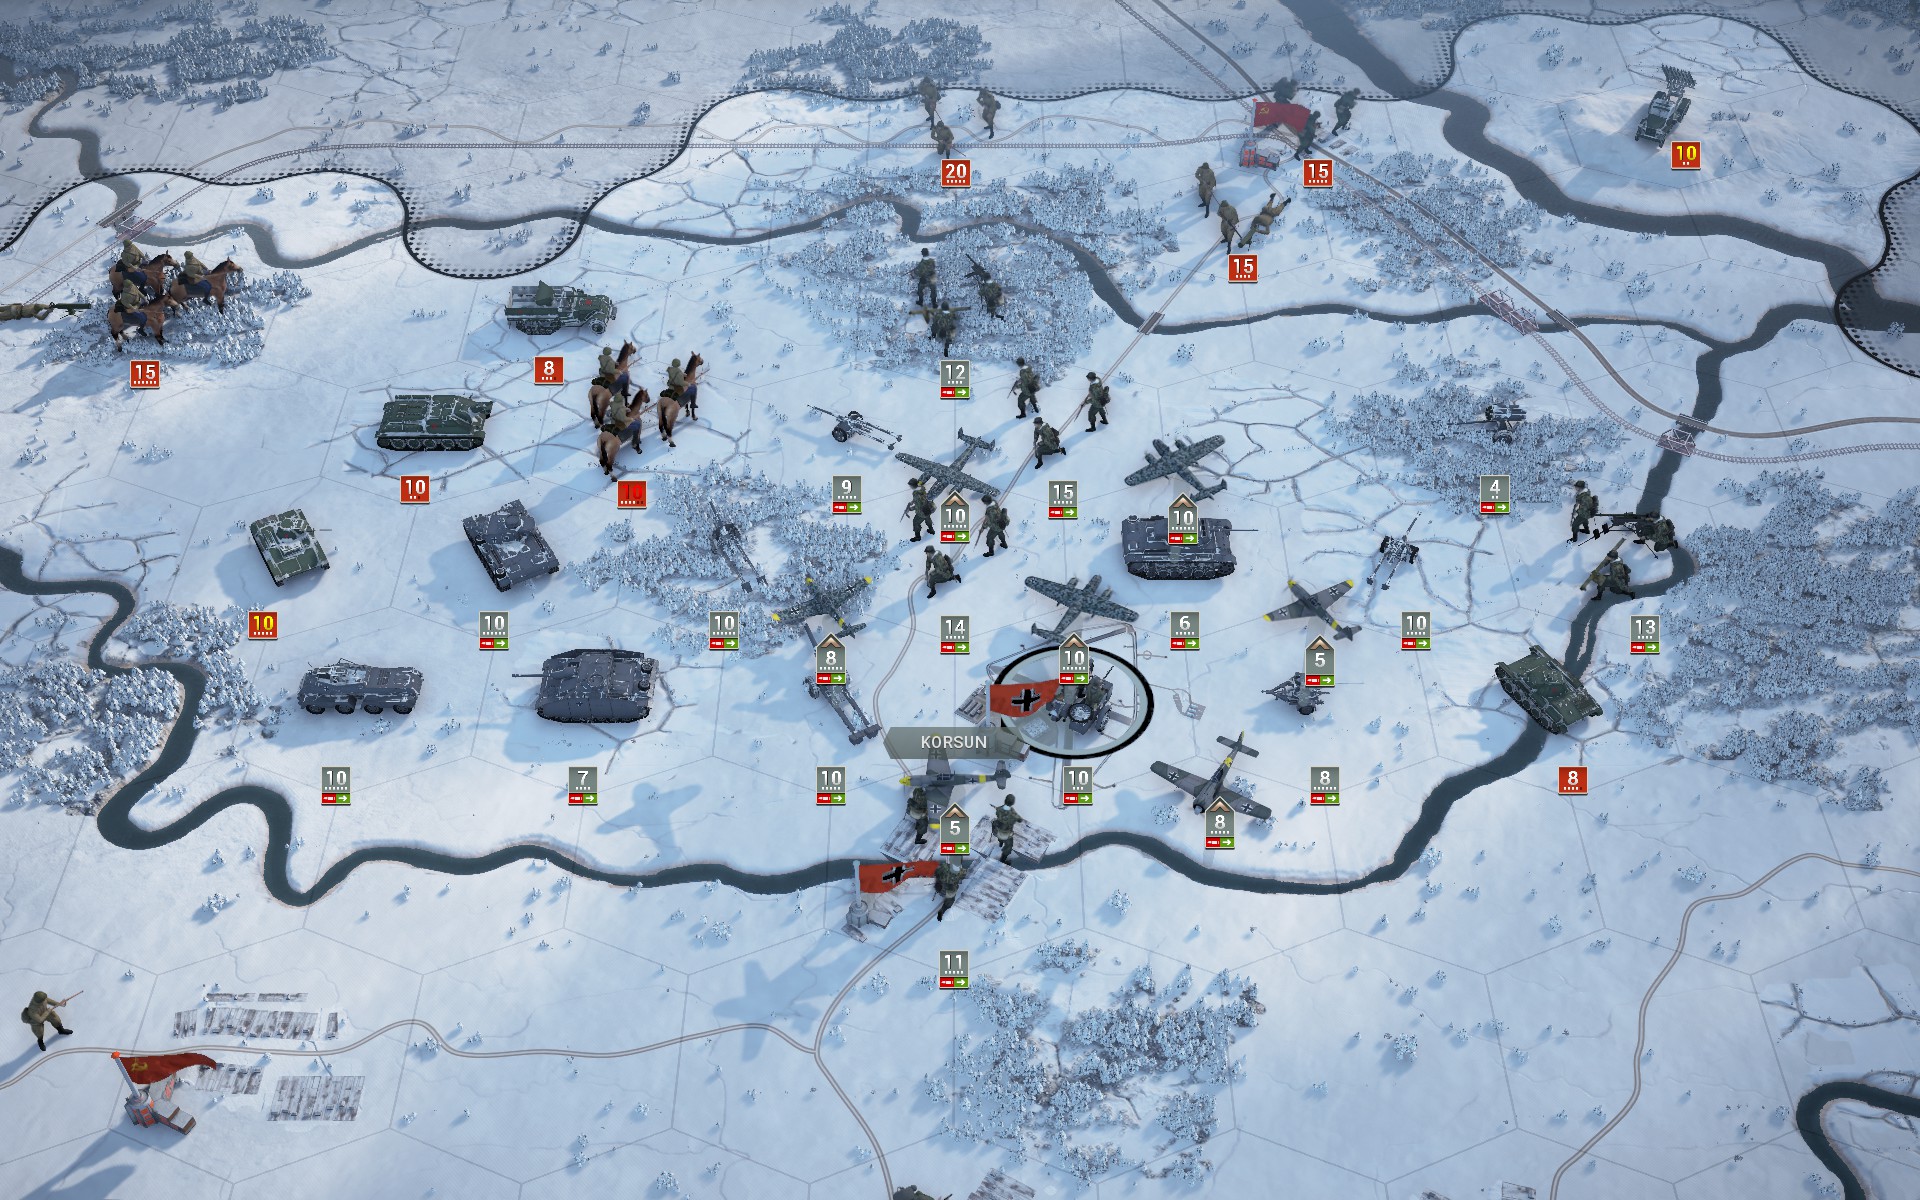
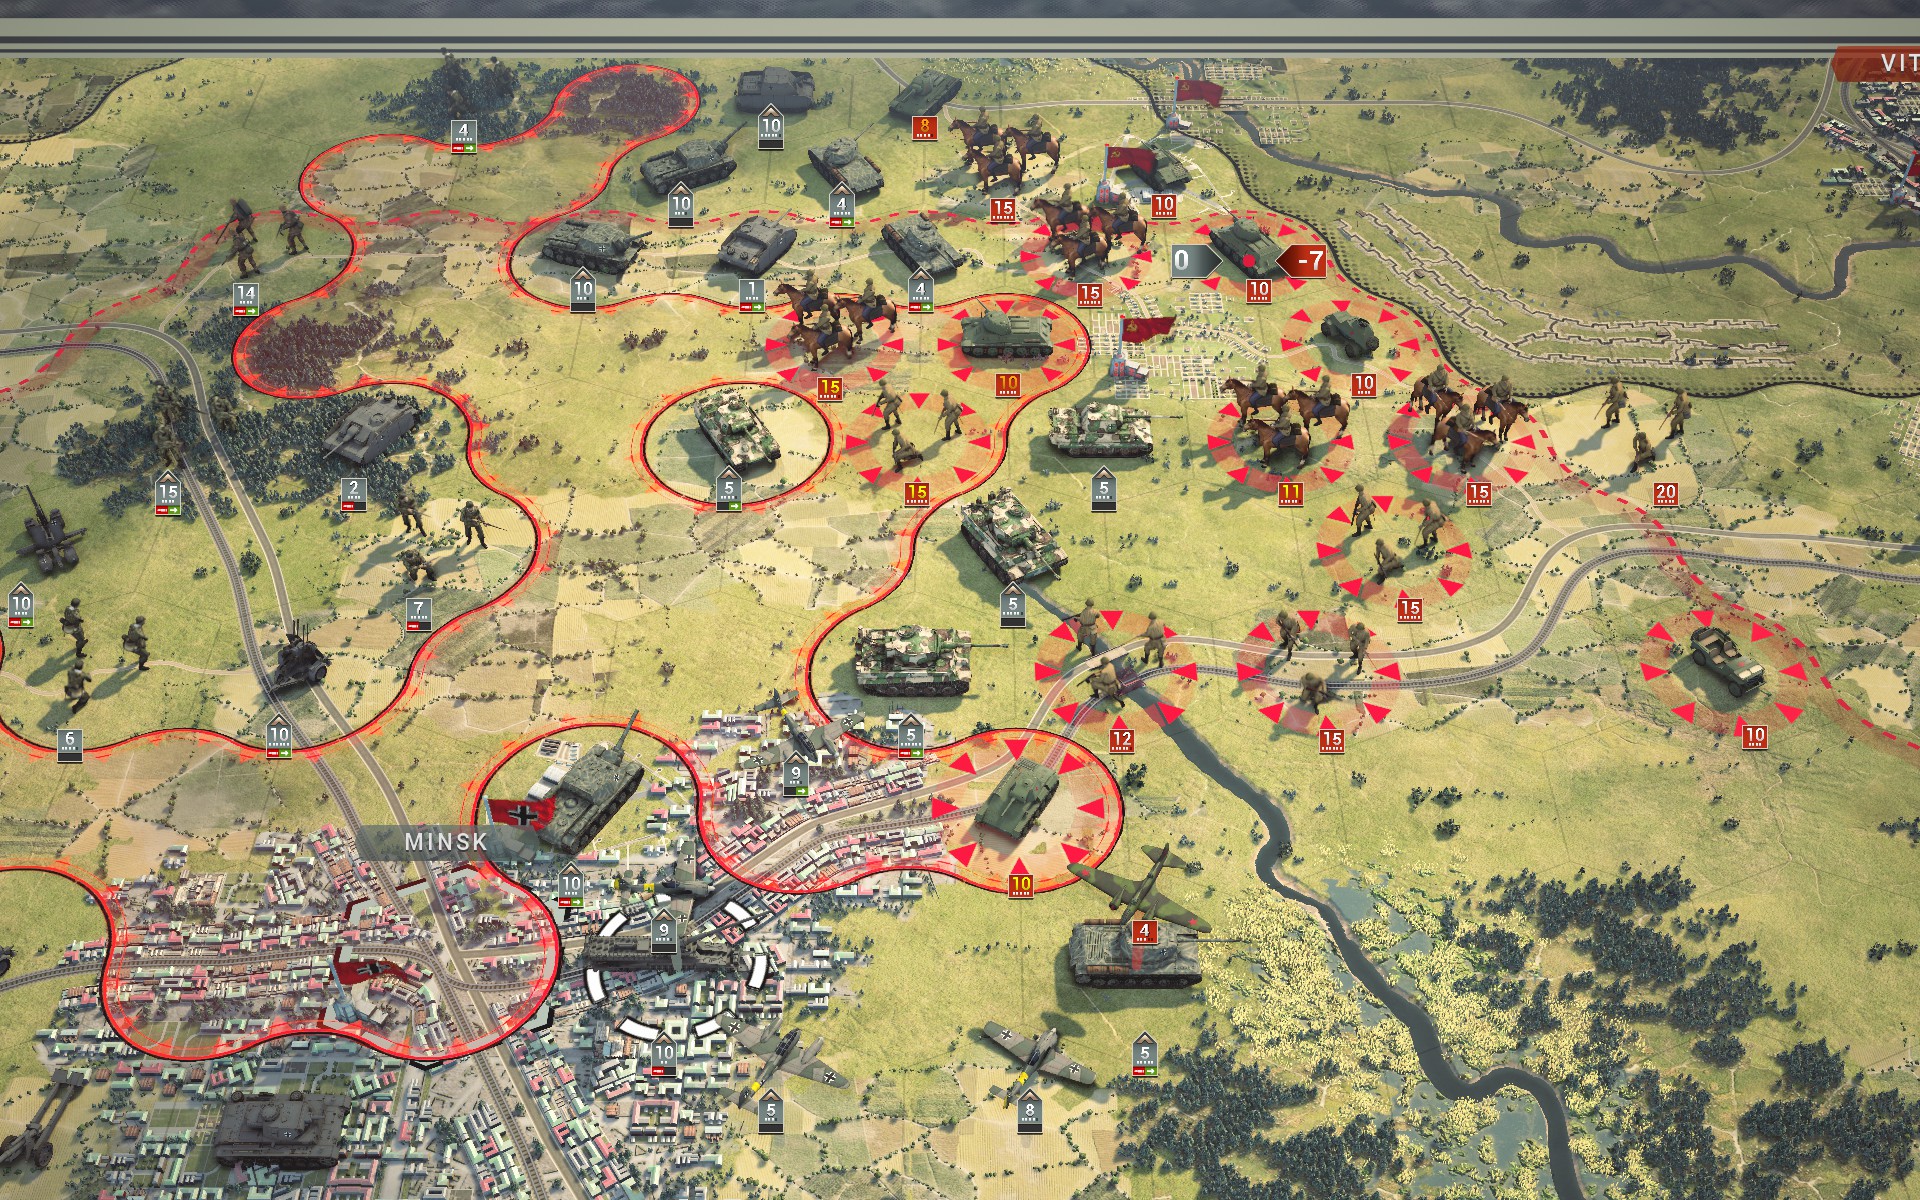
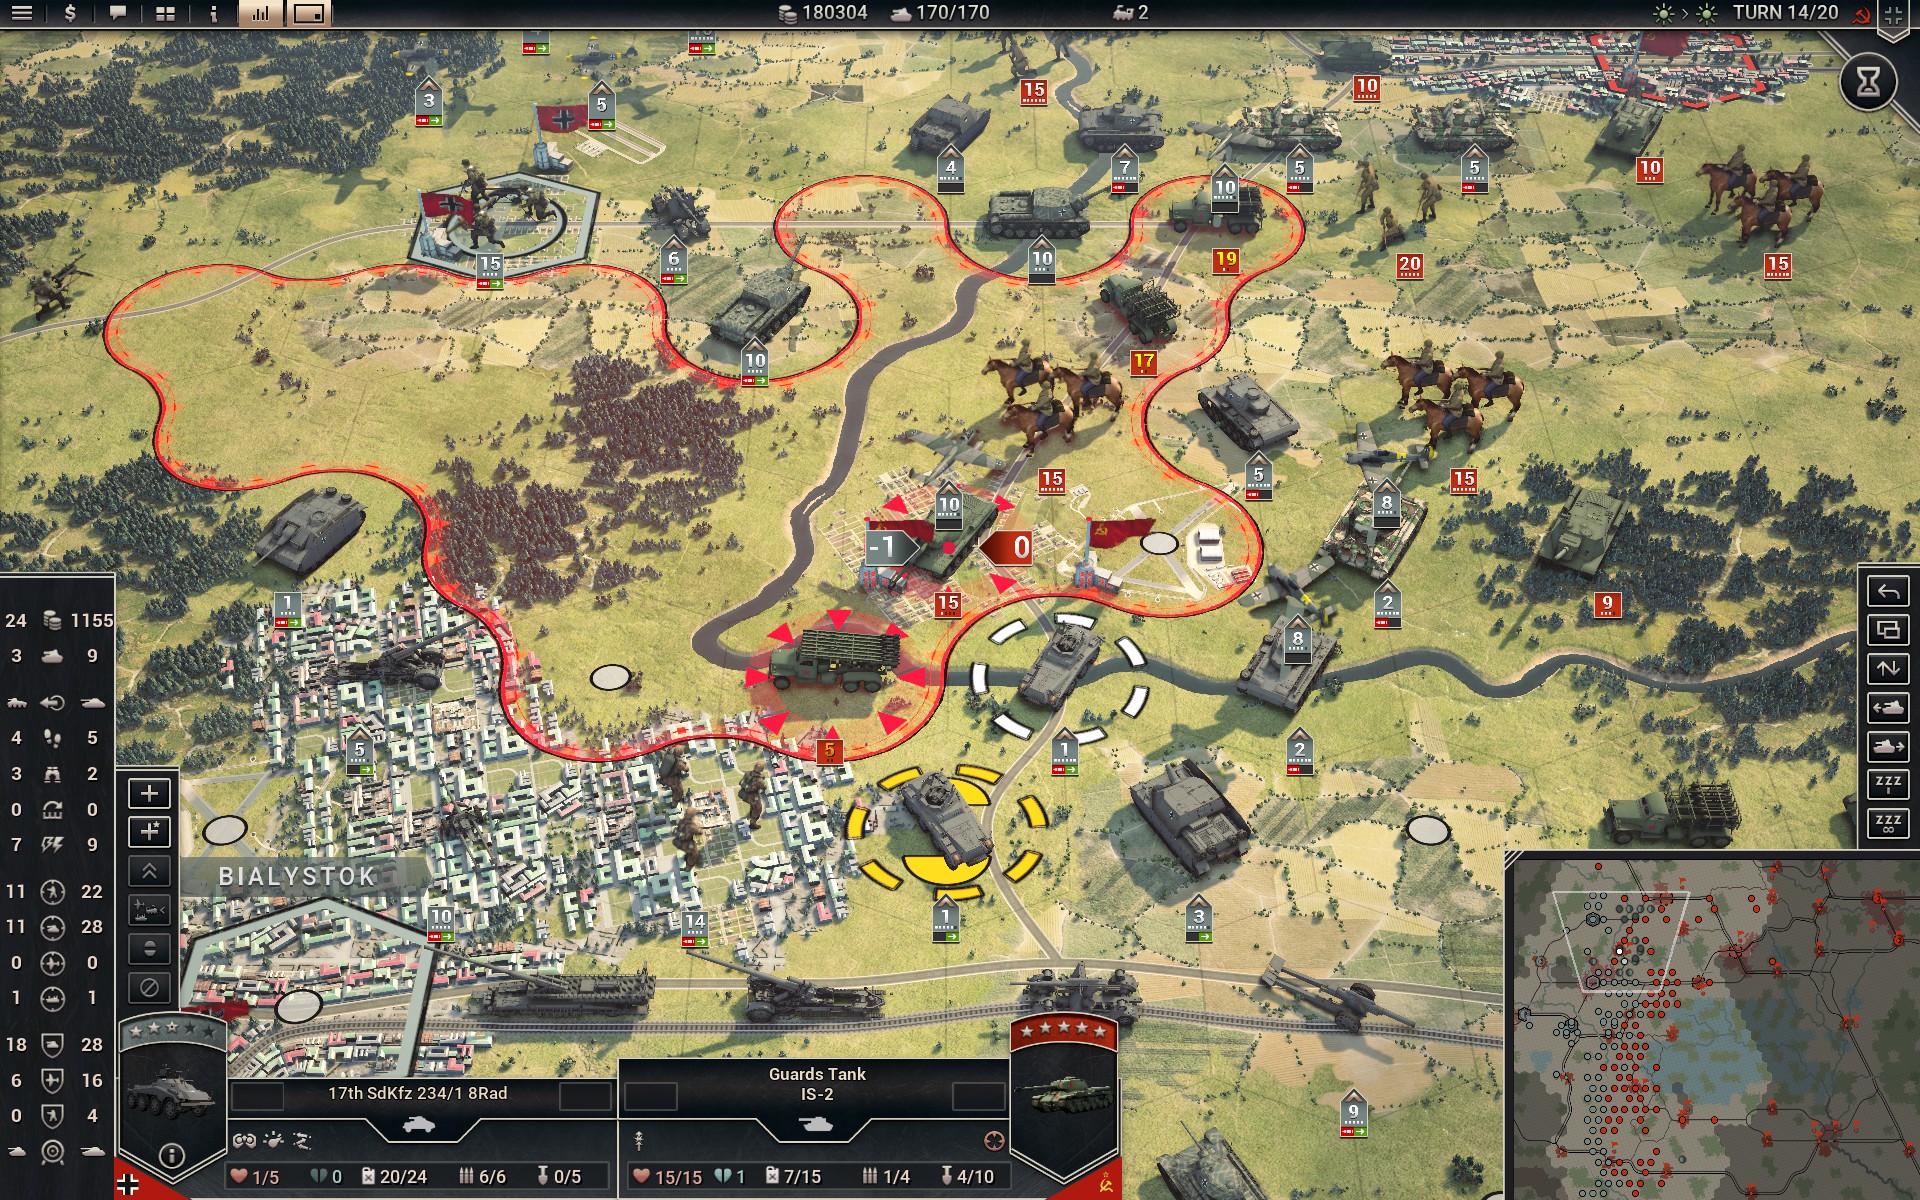
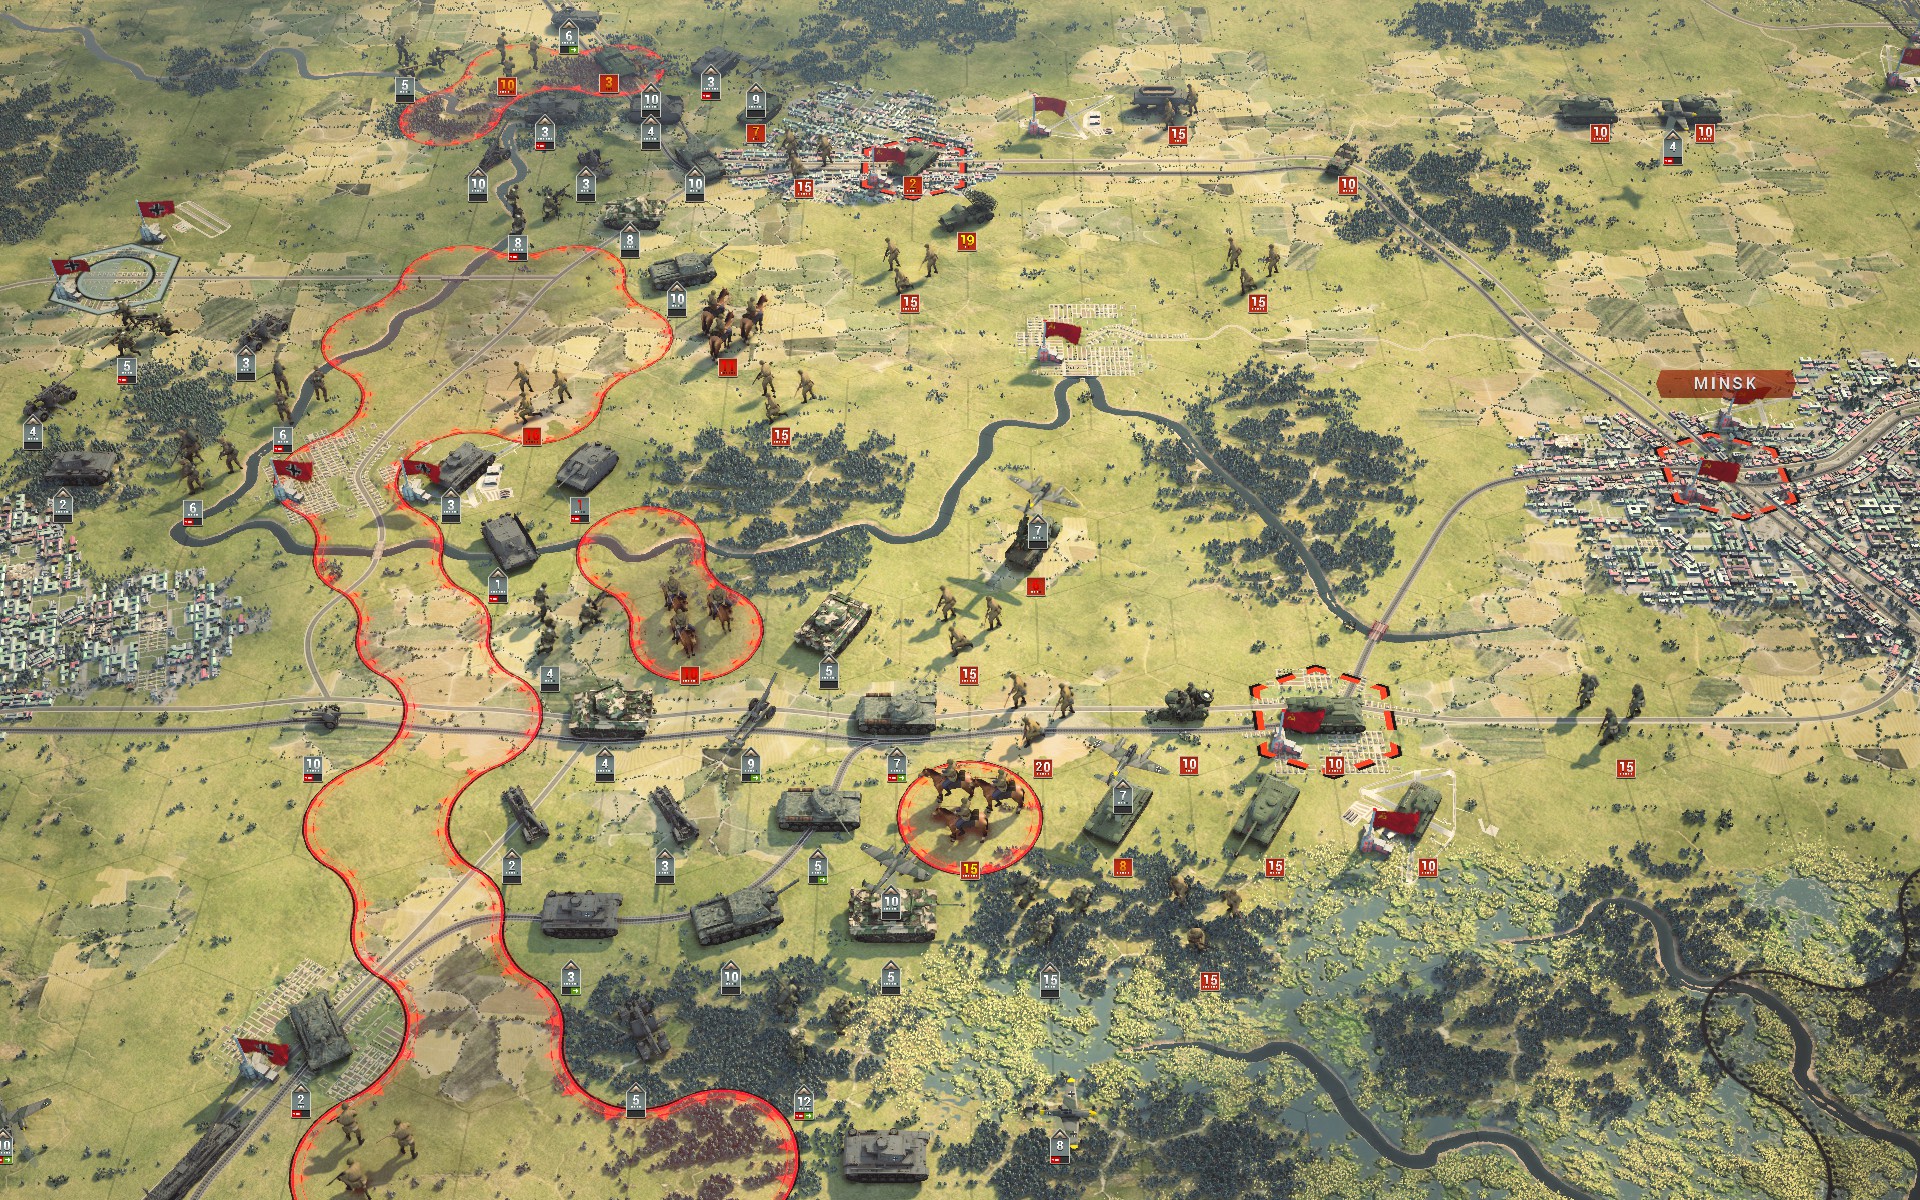
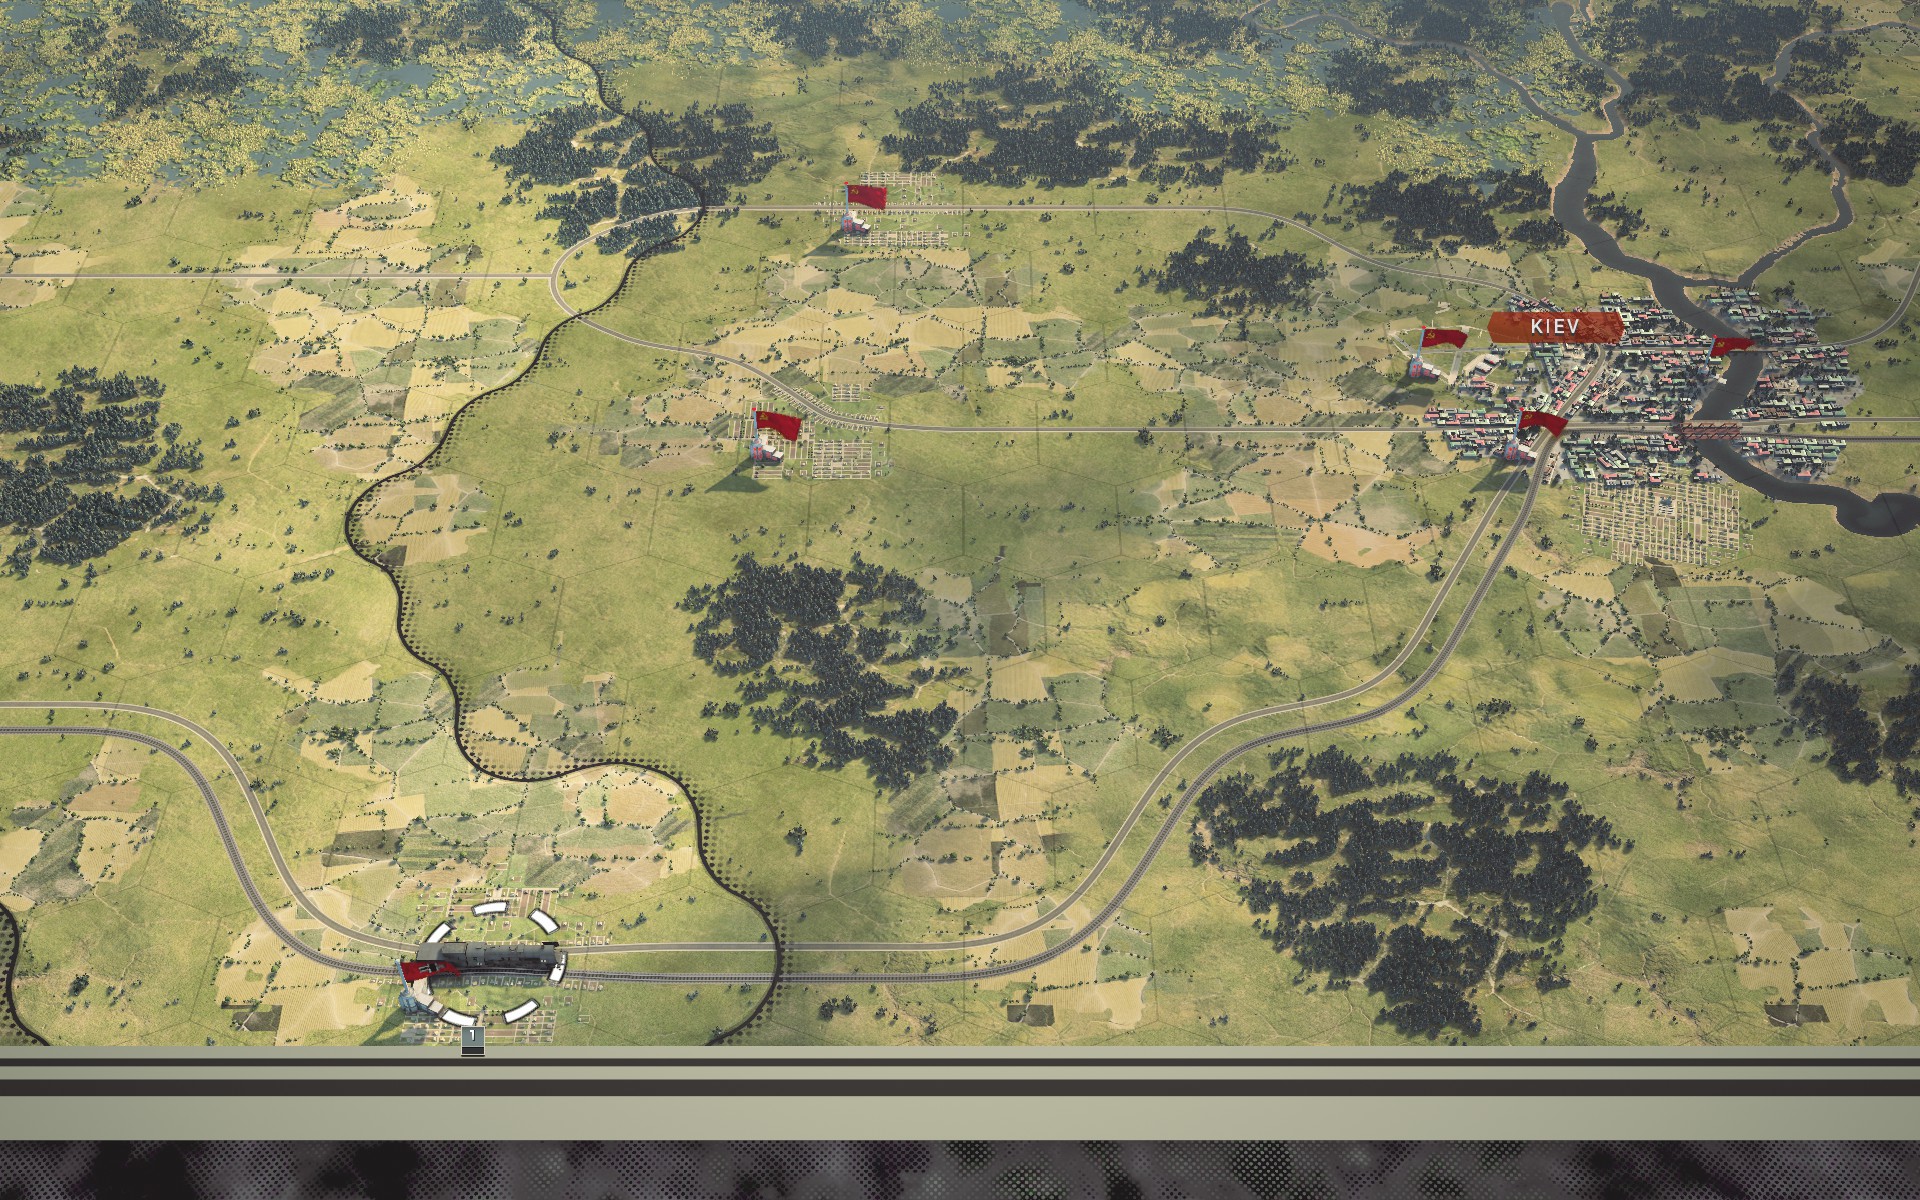
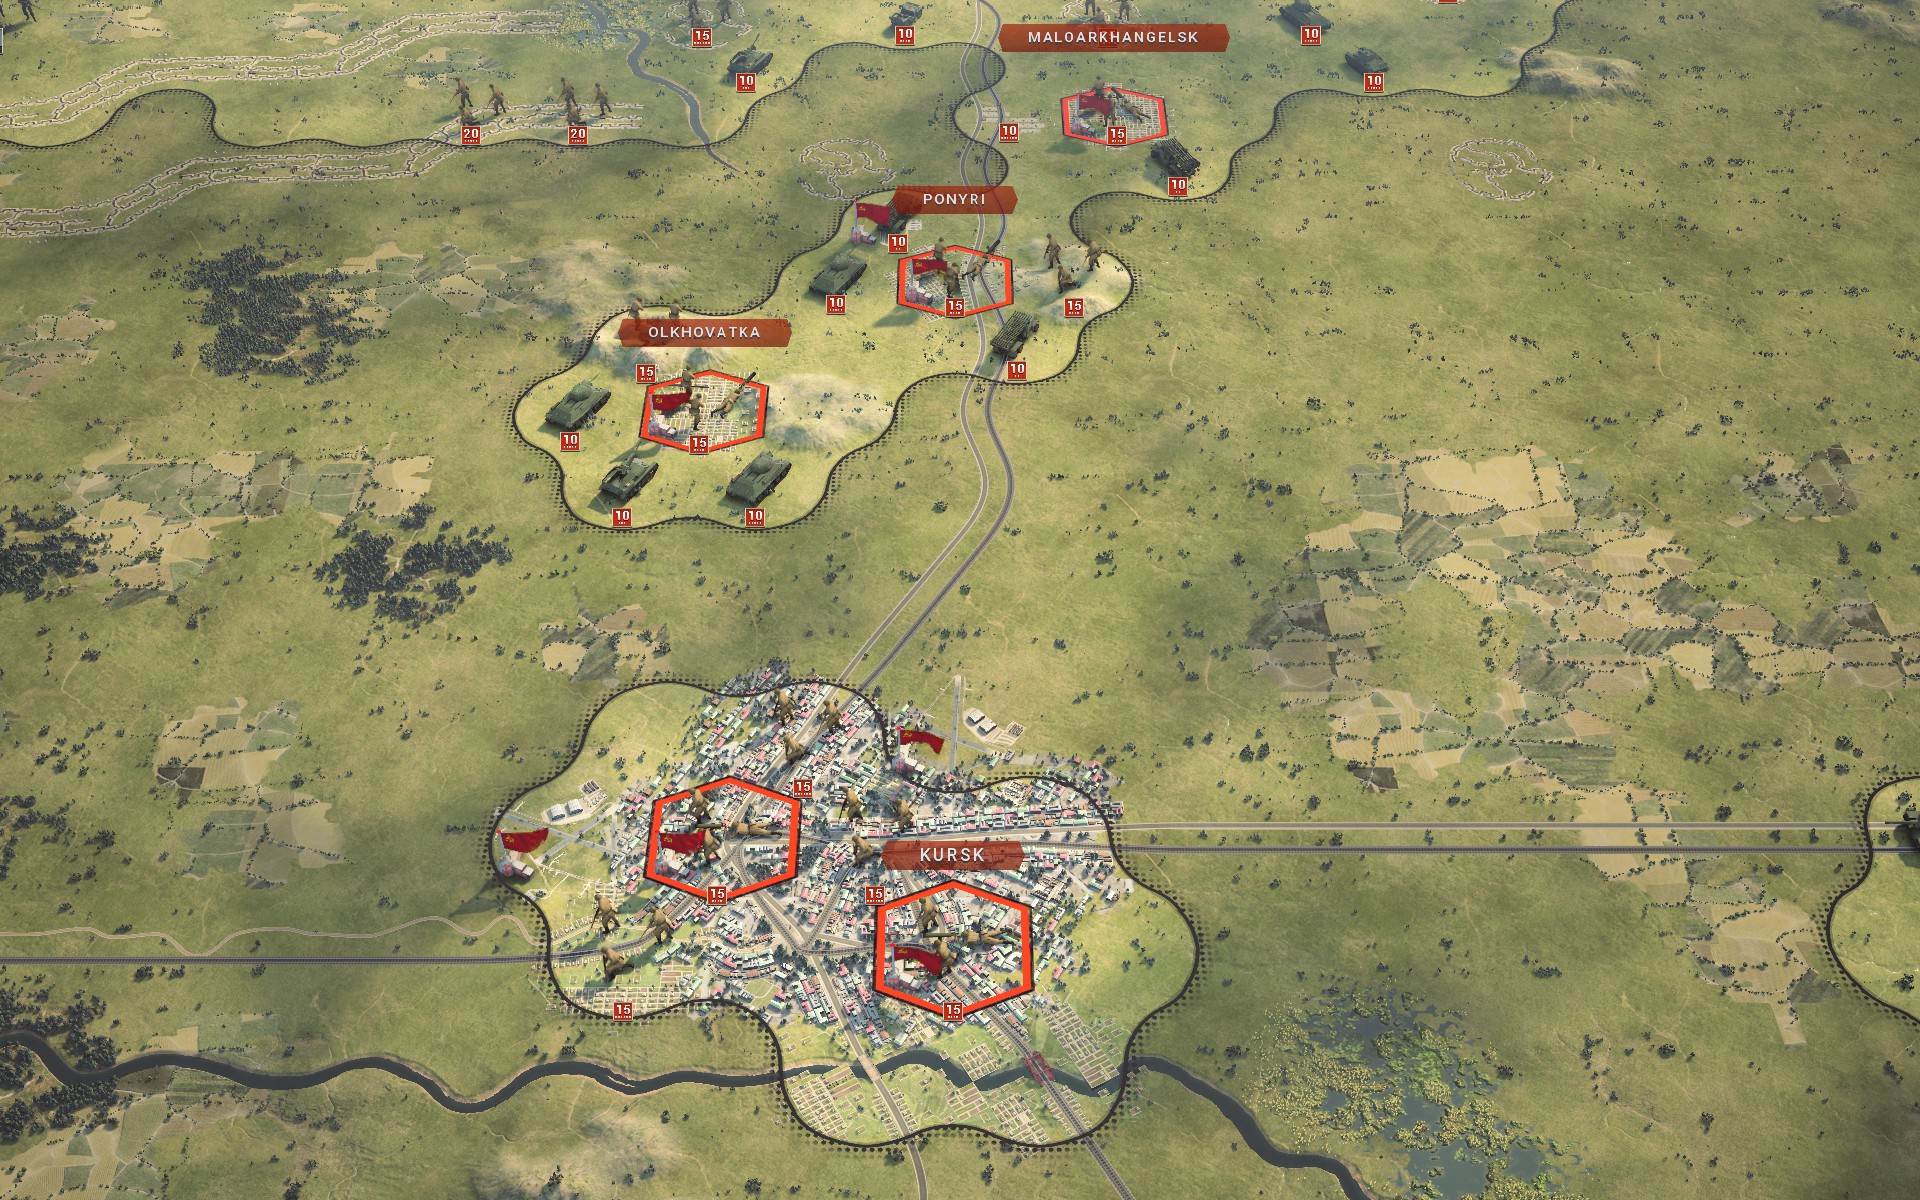
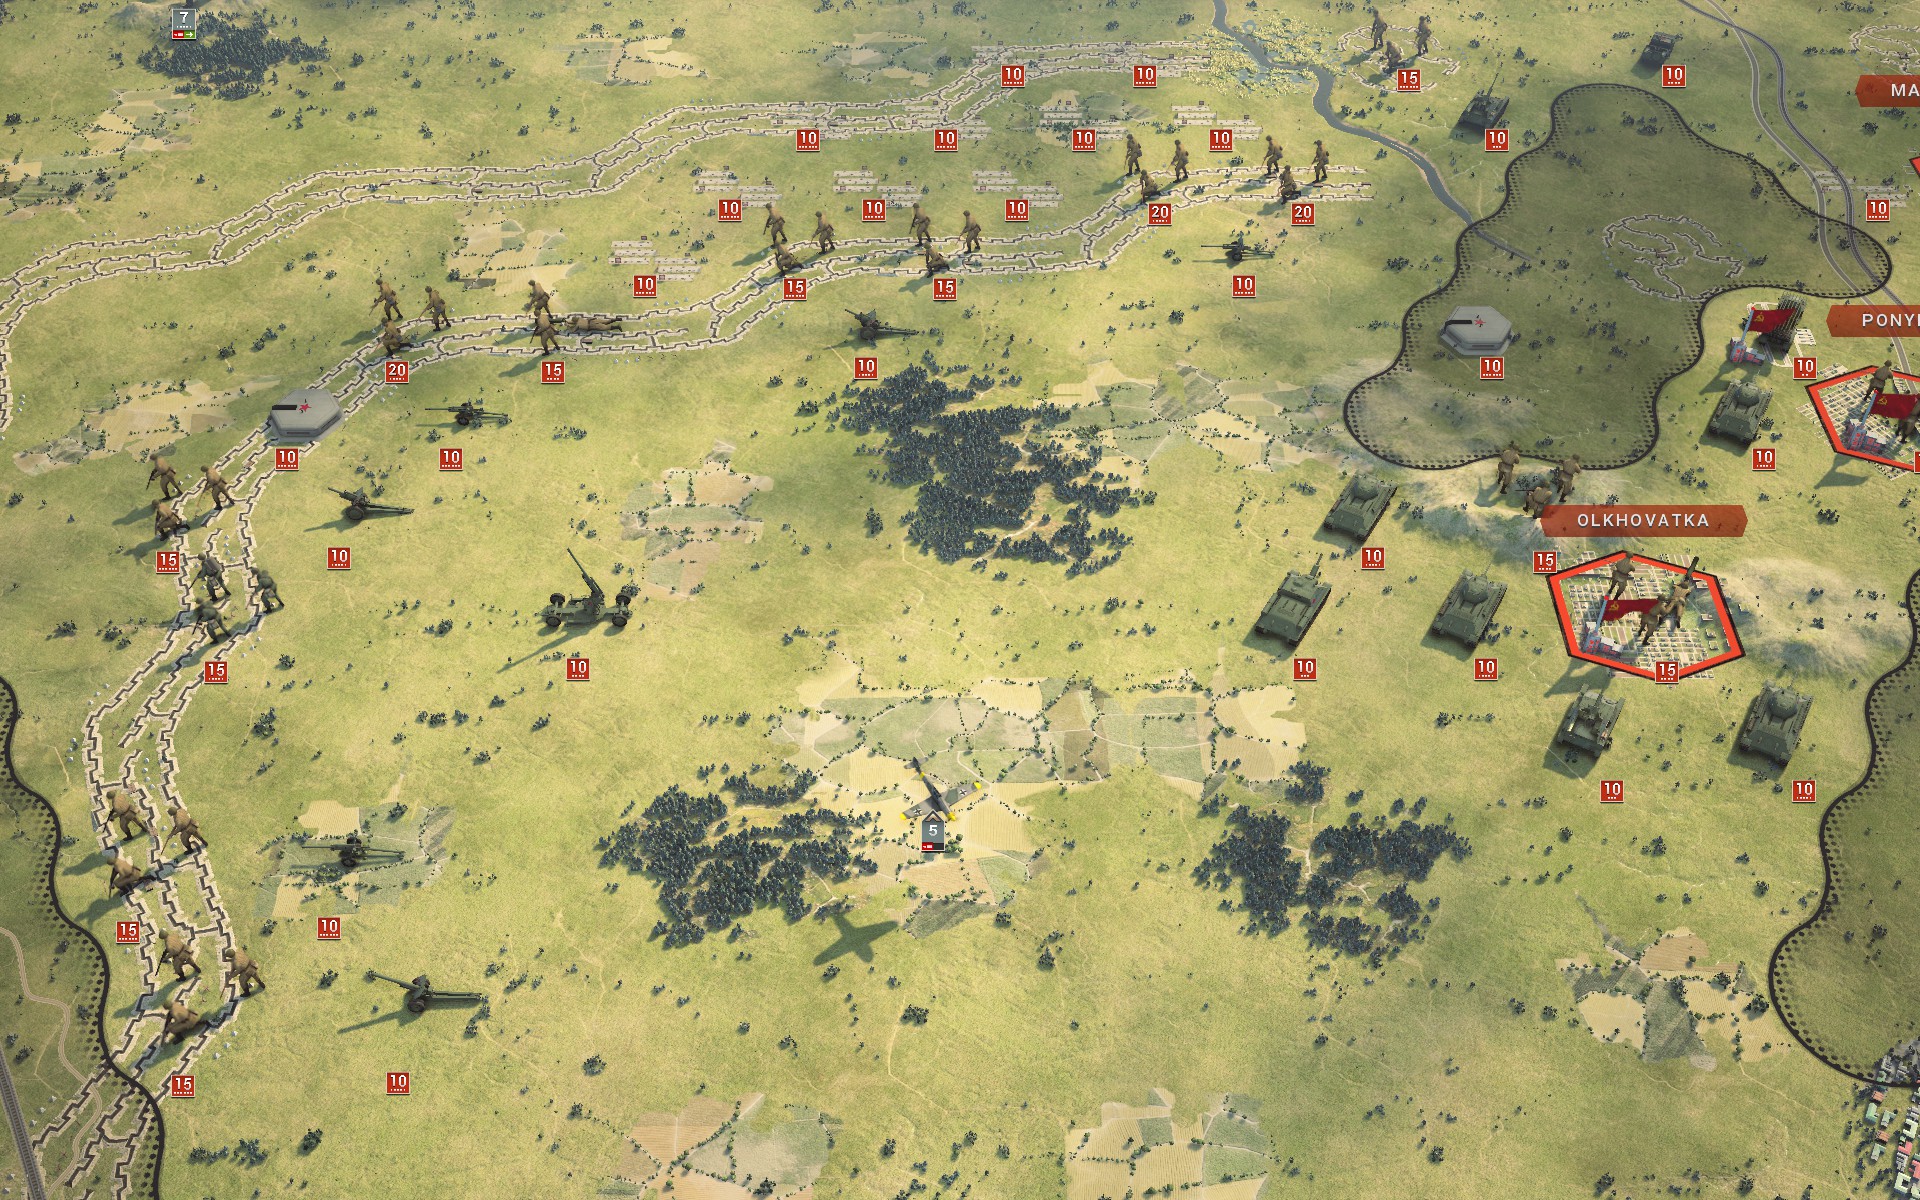
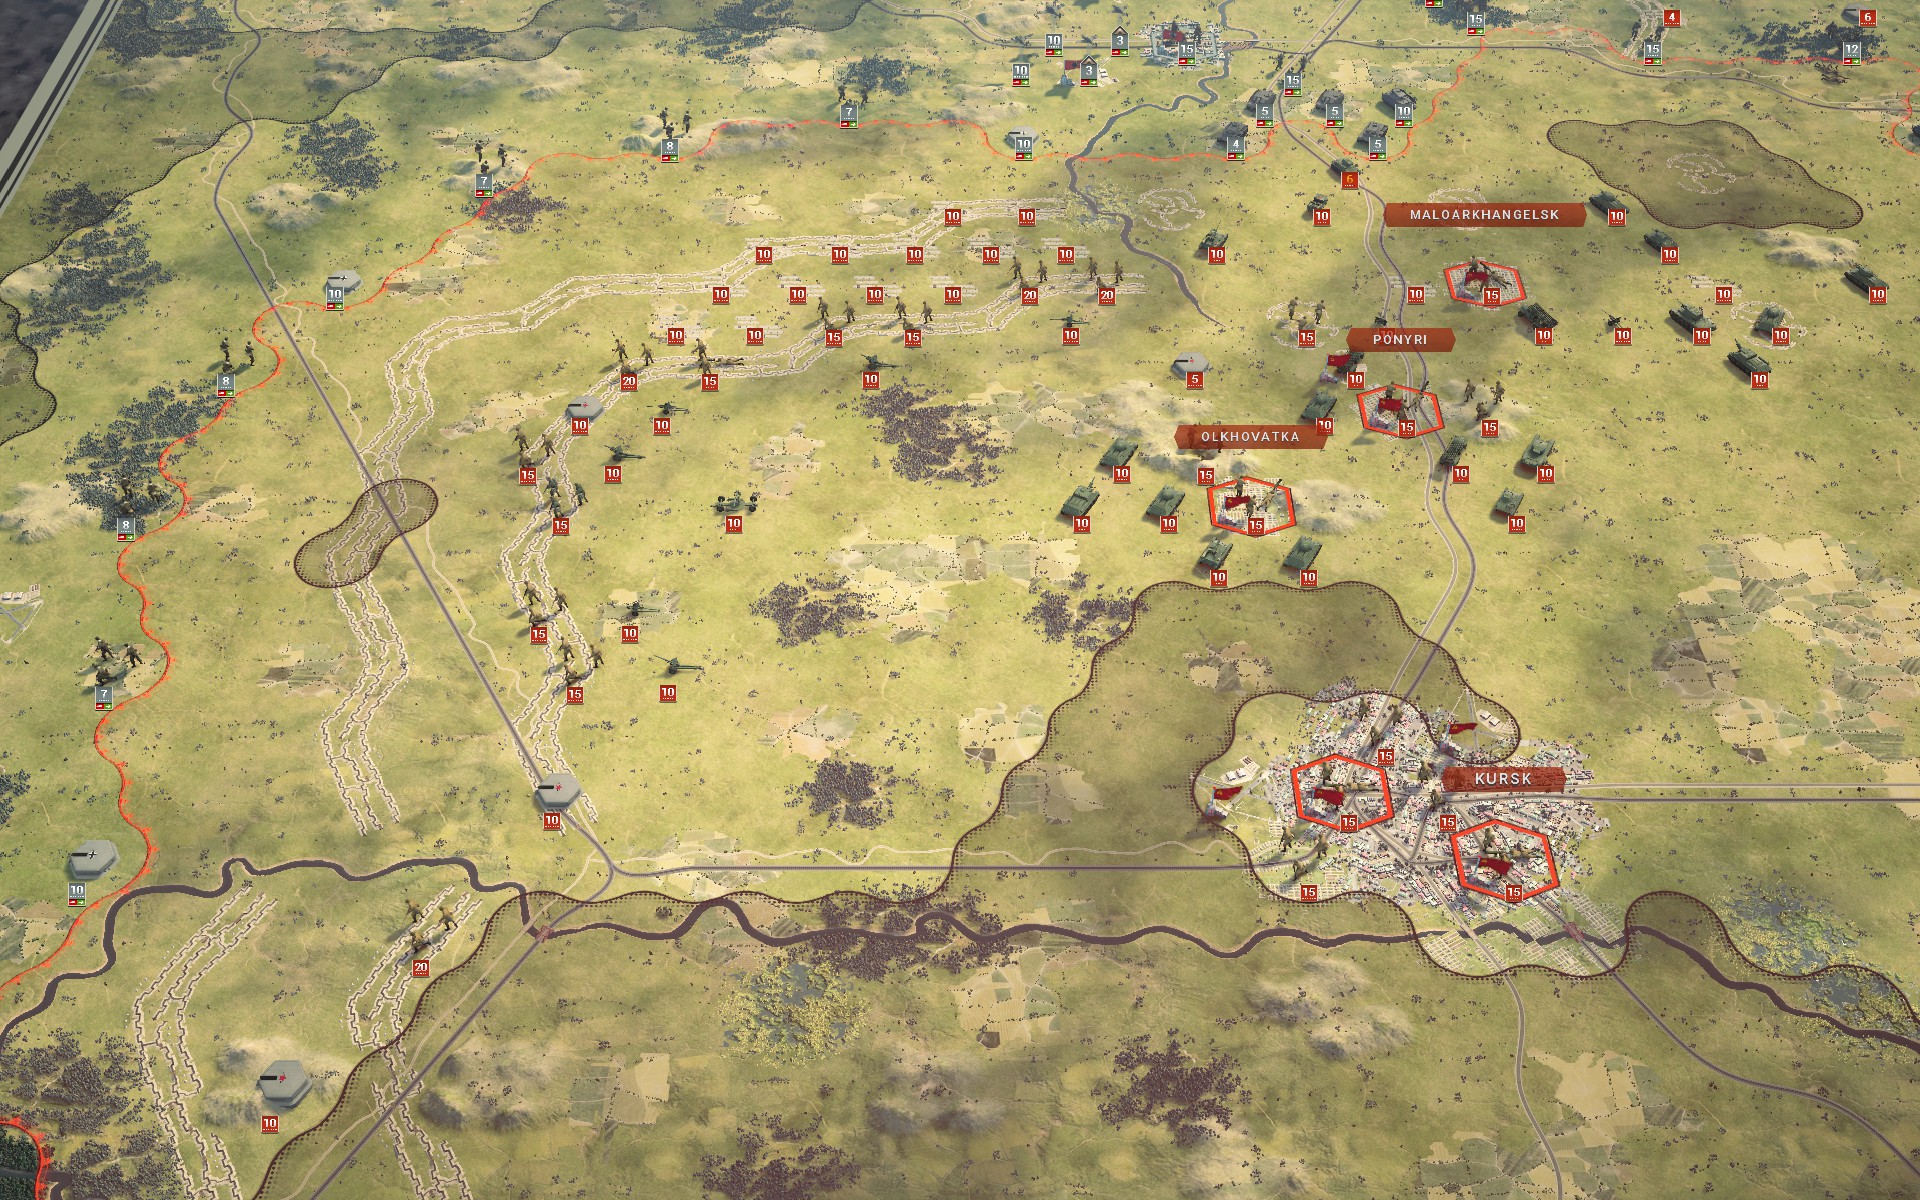
The western part of the Kursk salient is completely sealed off with earthworks and minefields, but while these would make any attempt to penetrate the Soviet lines difficult, the Red Army is likewise unable to break out. The perimeter is already surrounded by a number of German Strongpoints and auxiliary infantry battalions, so I won't need to split my forces. Despite months of preparations the Red Army has foolishly centralised supplies to a single depot due east of the city of Kursk; while this simplifies their logistics, it also leaves them vulnerable to a flanking maneuver, and it is this supply depot that is the objective of the first phase of my plan.
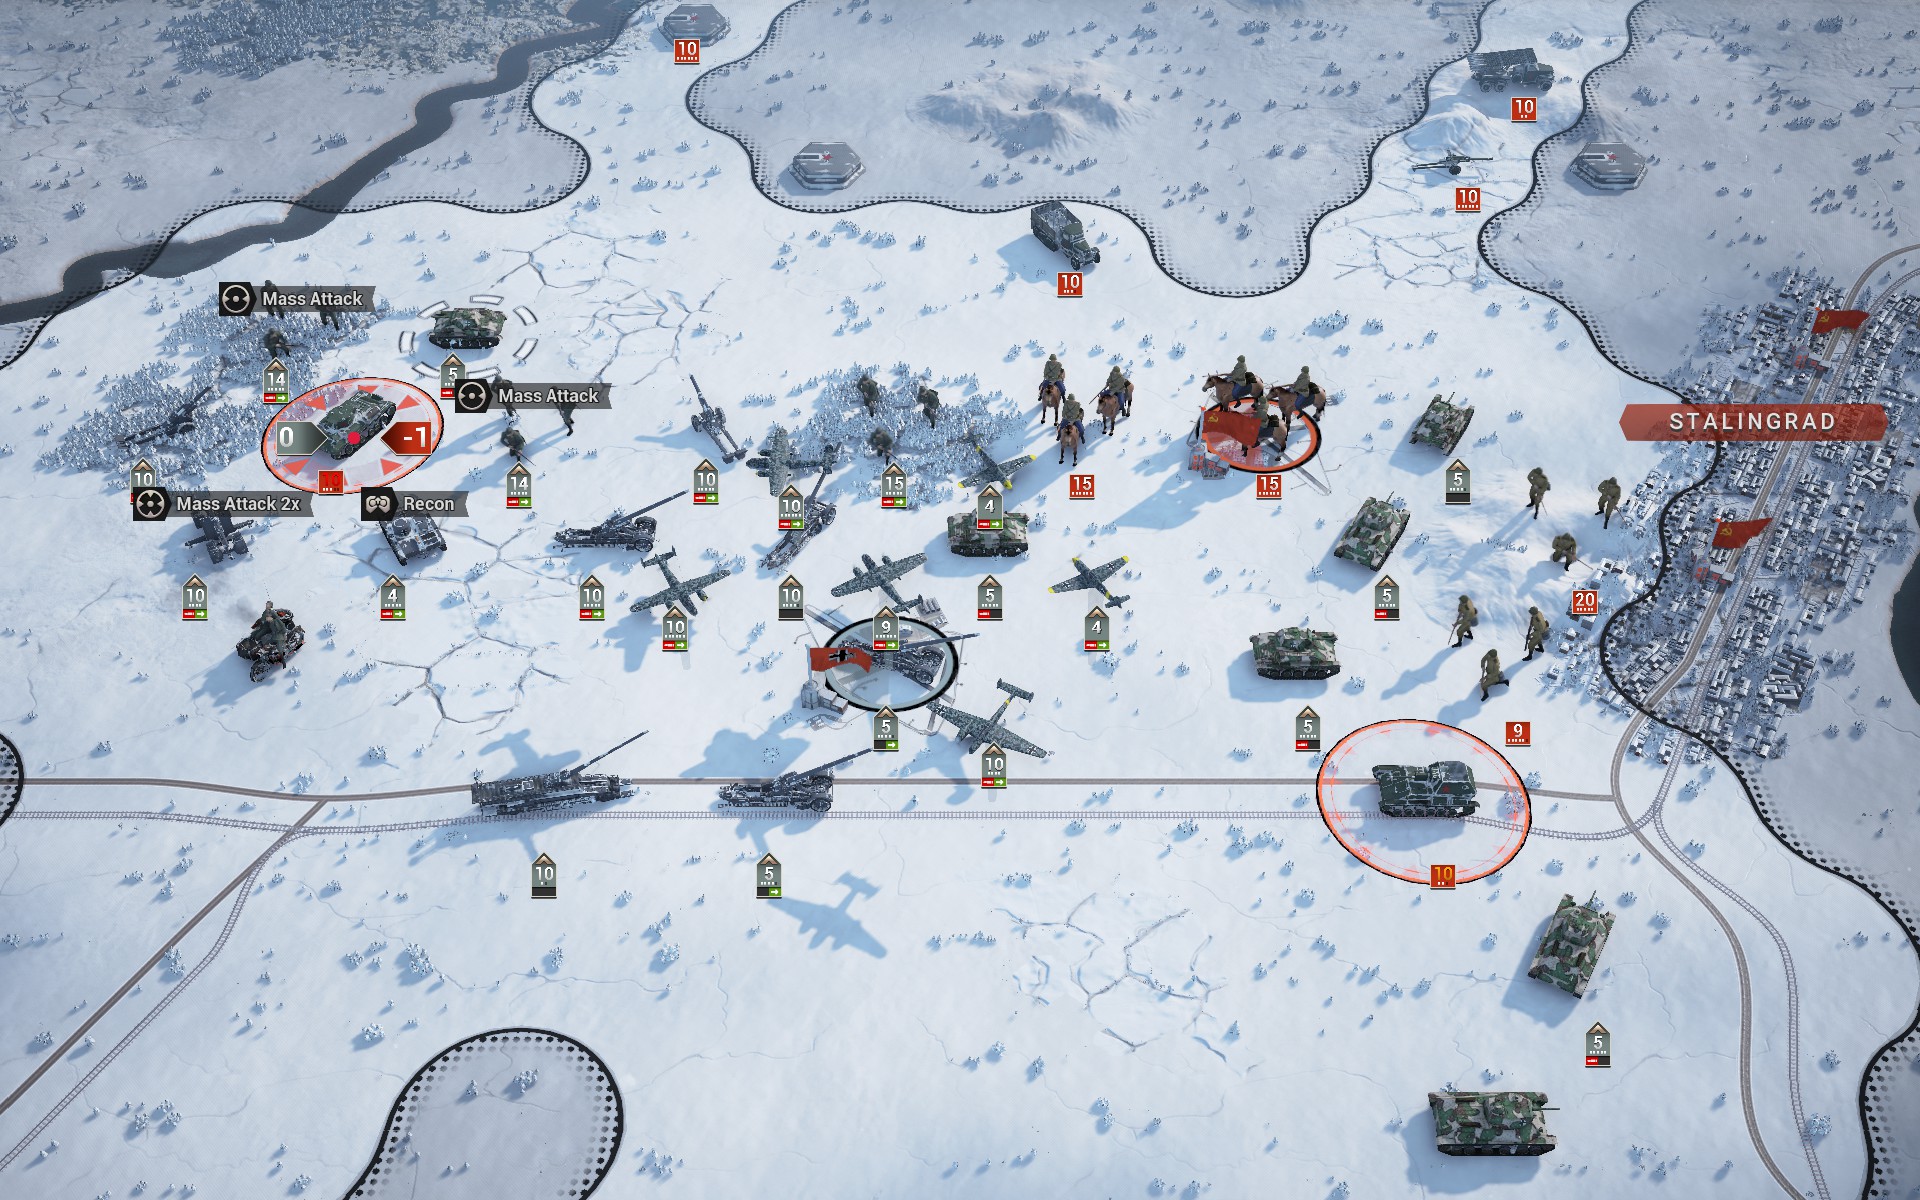
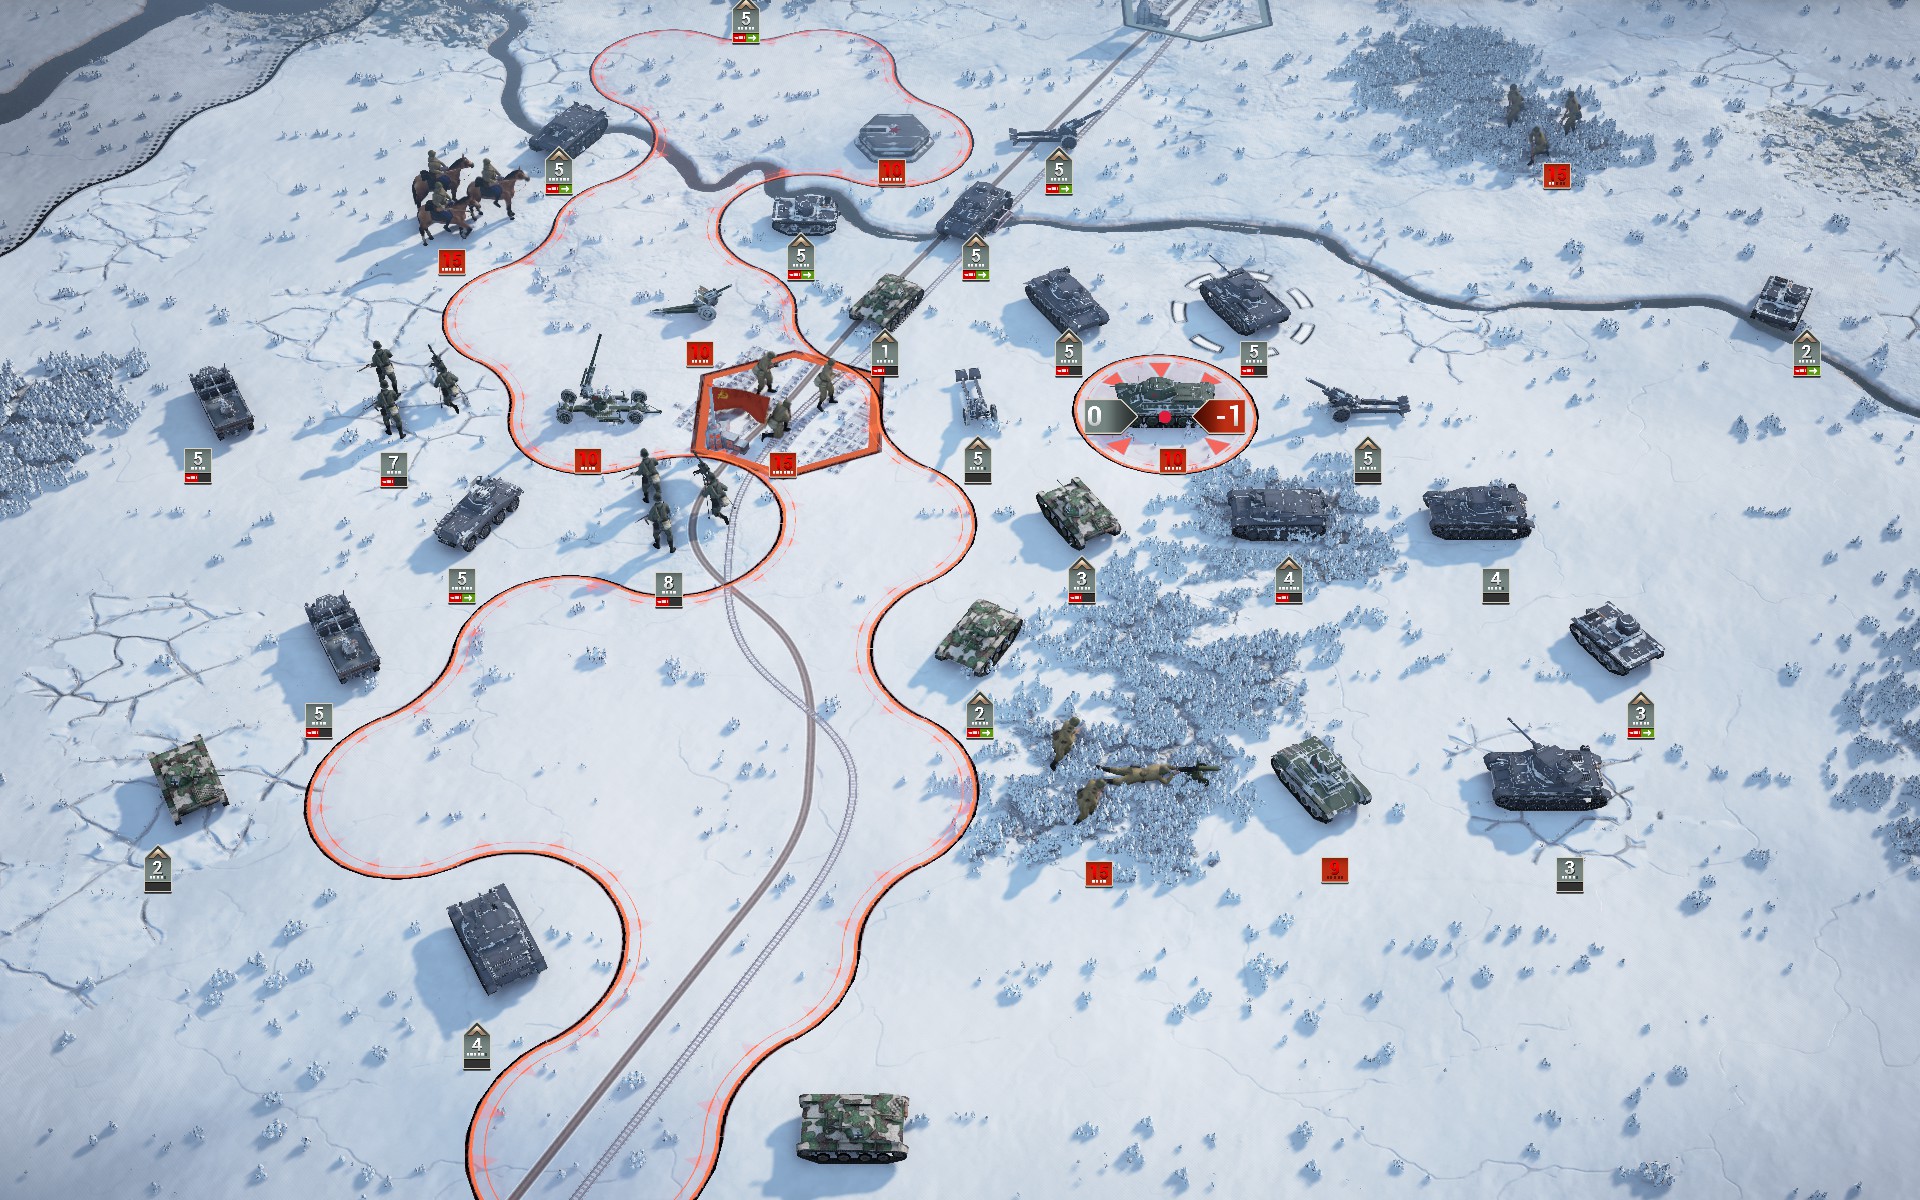
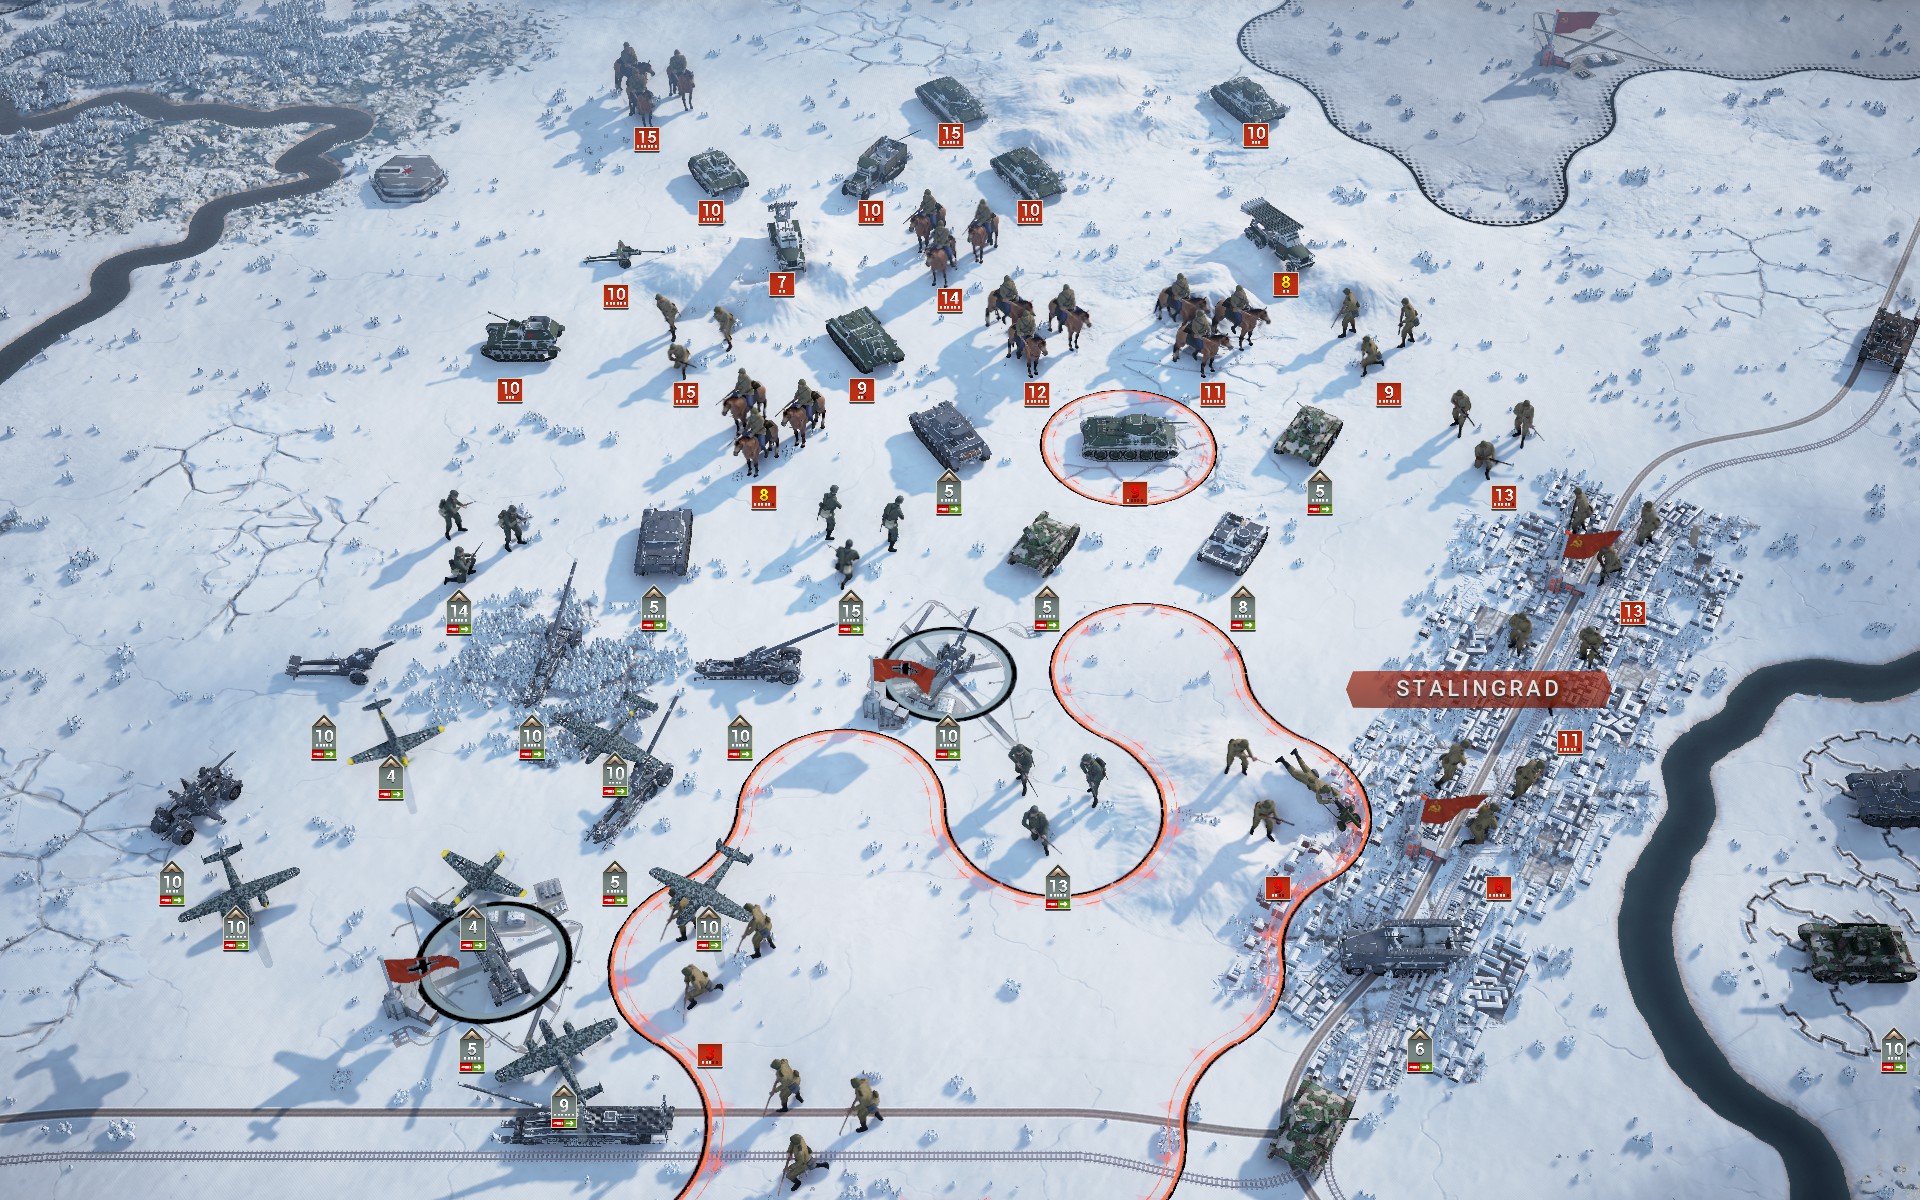
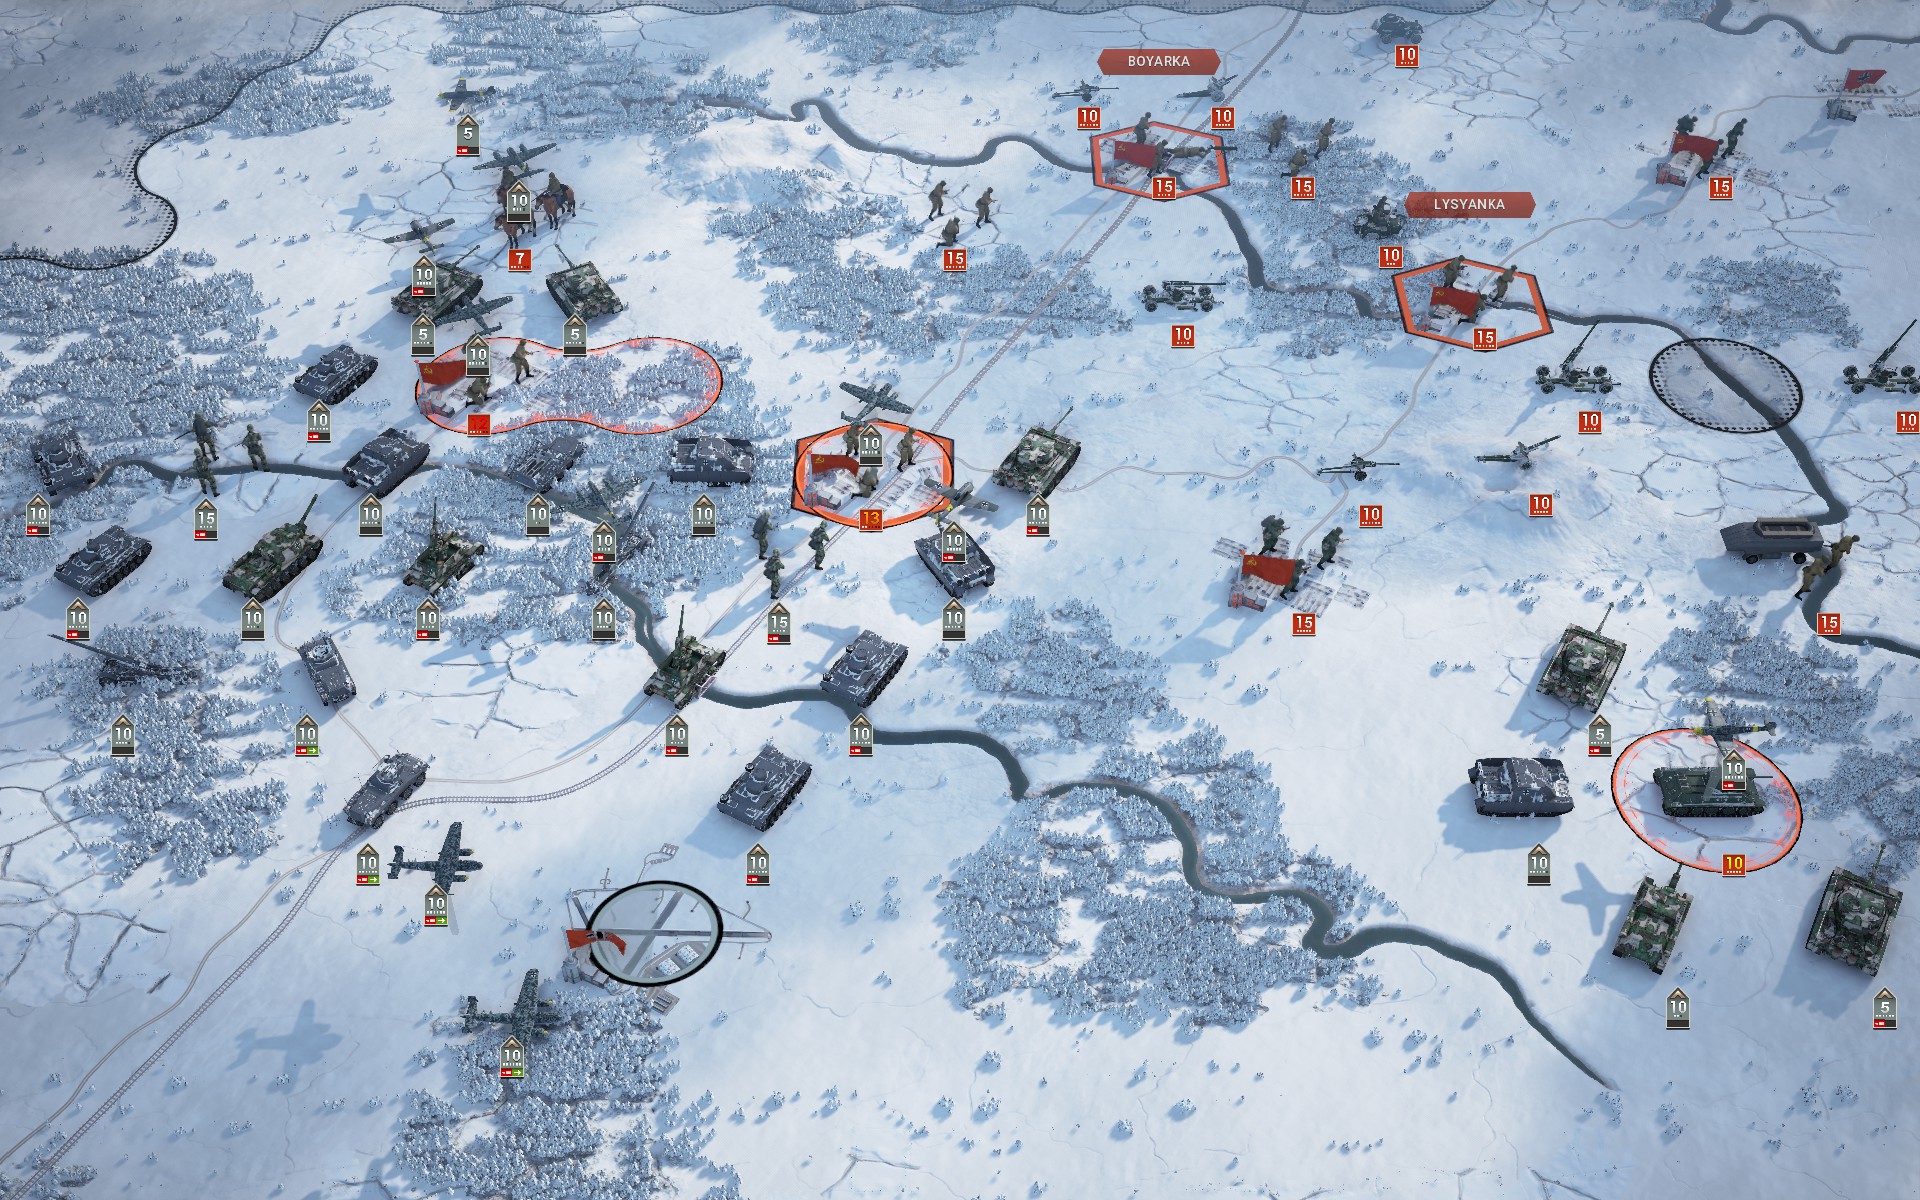
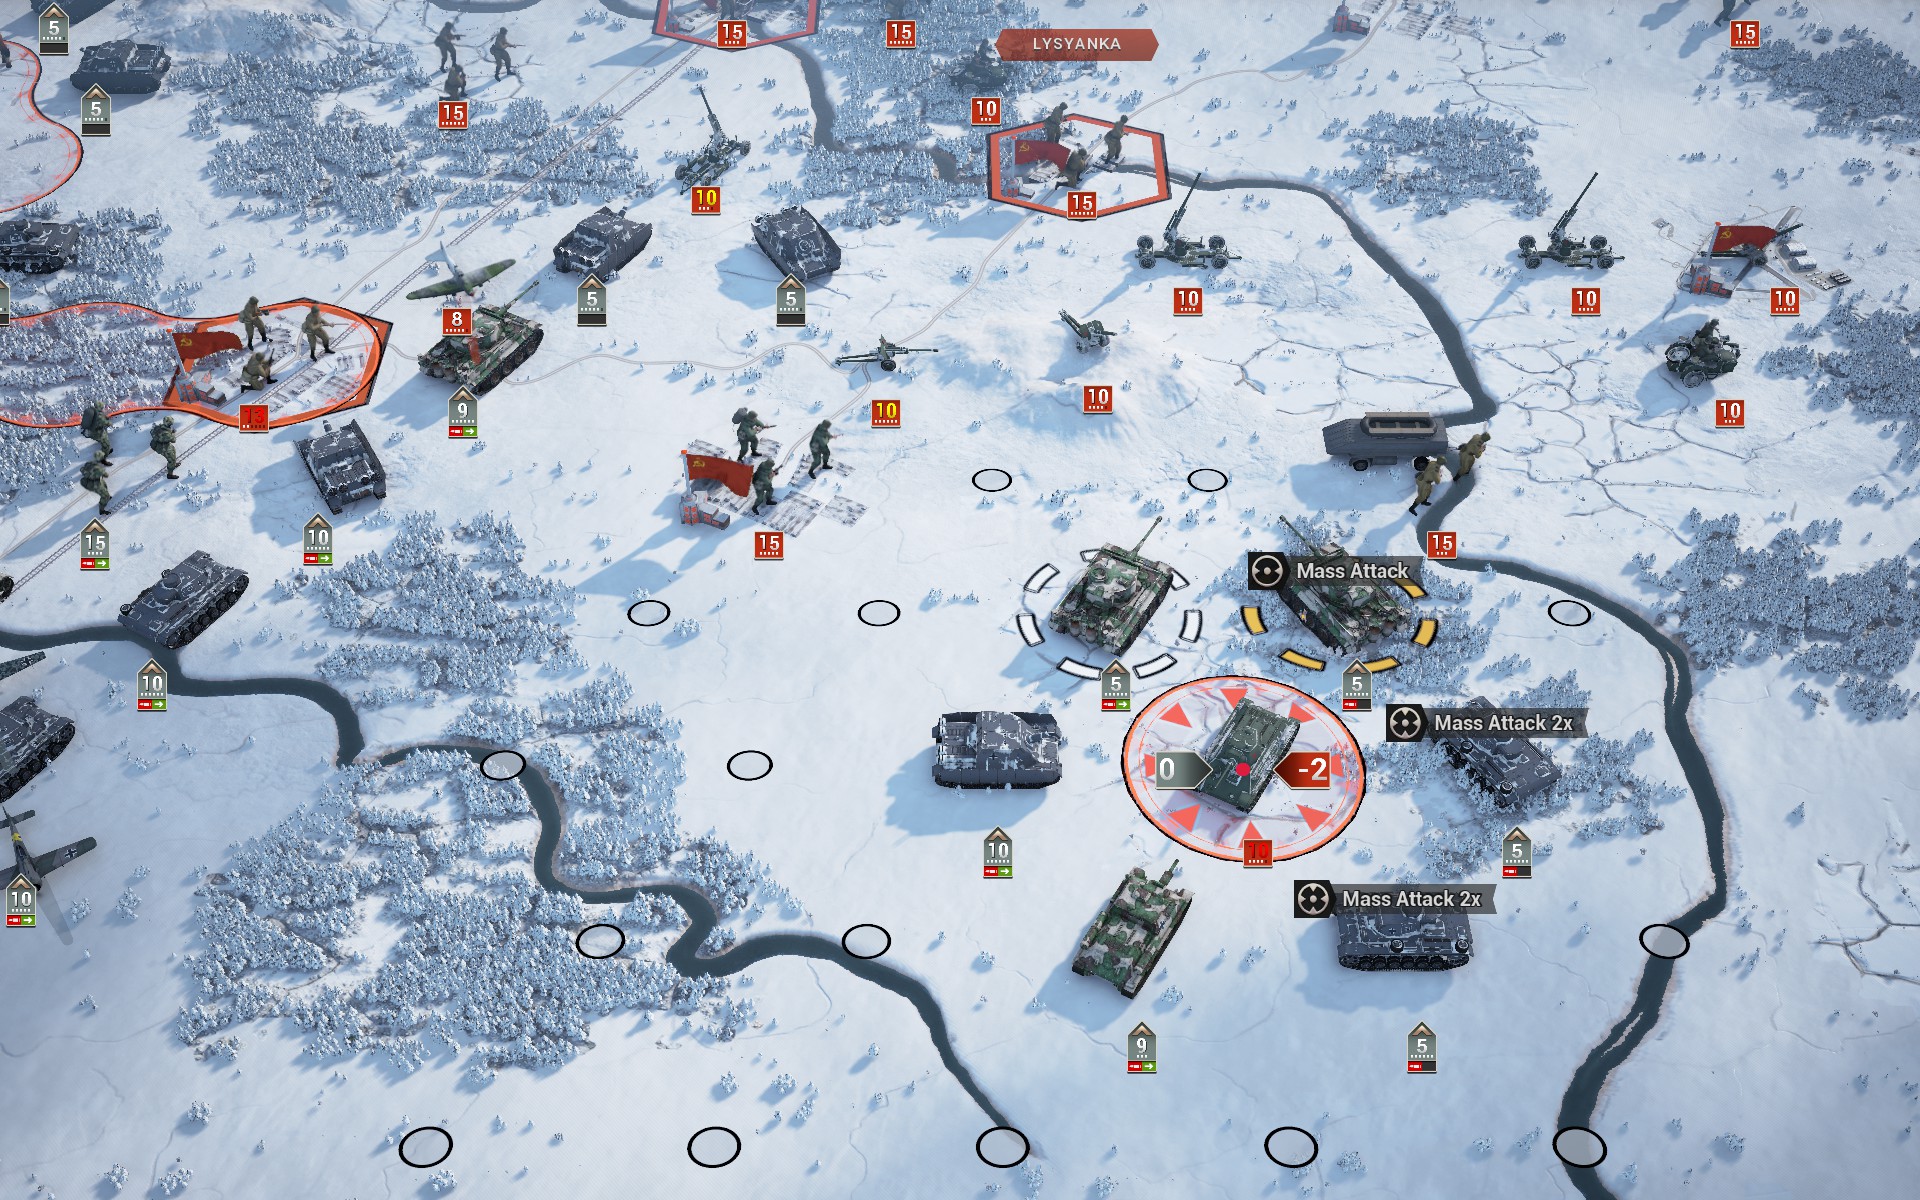
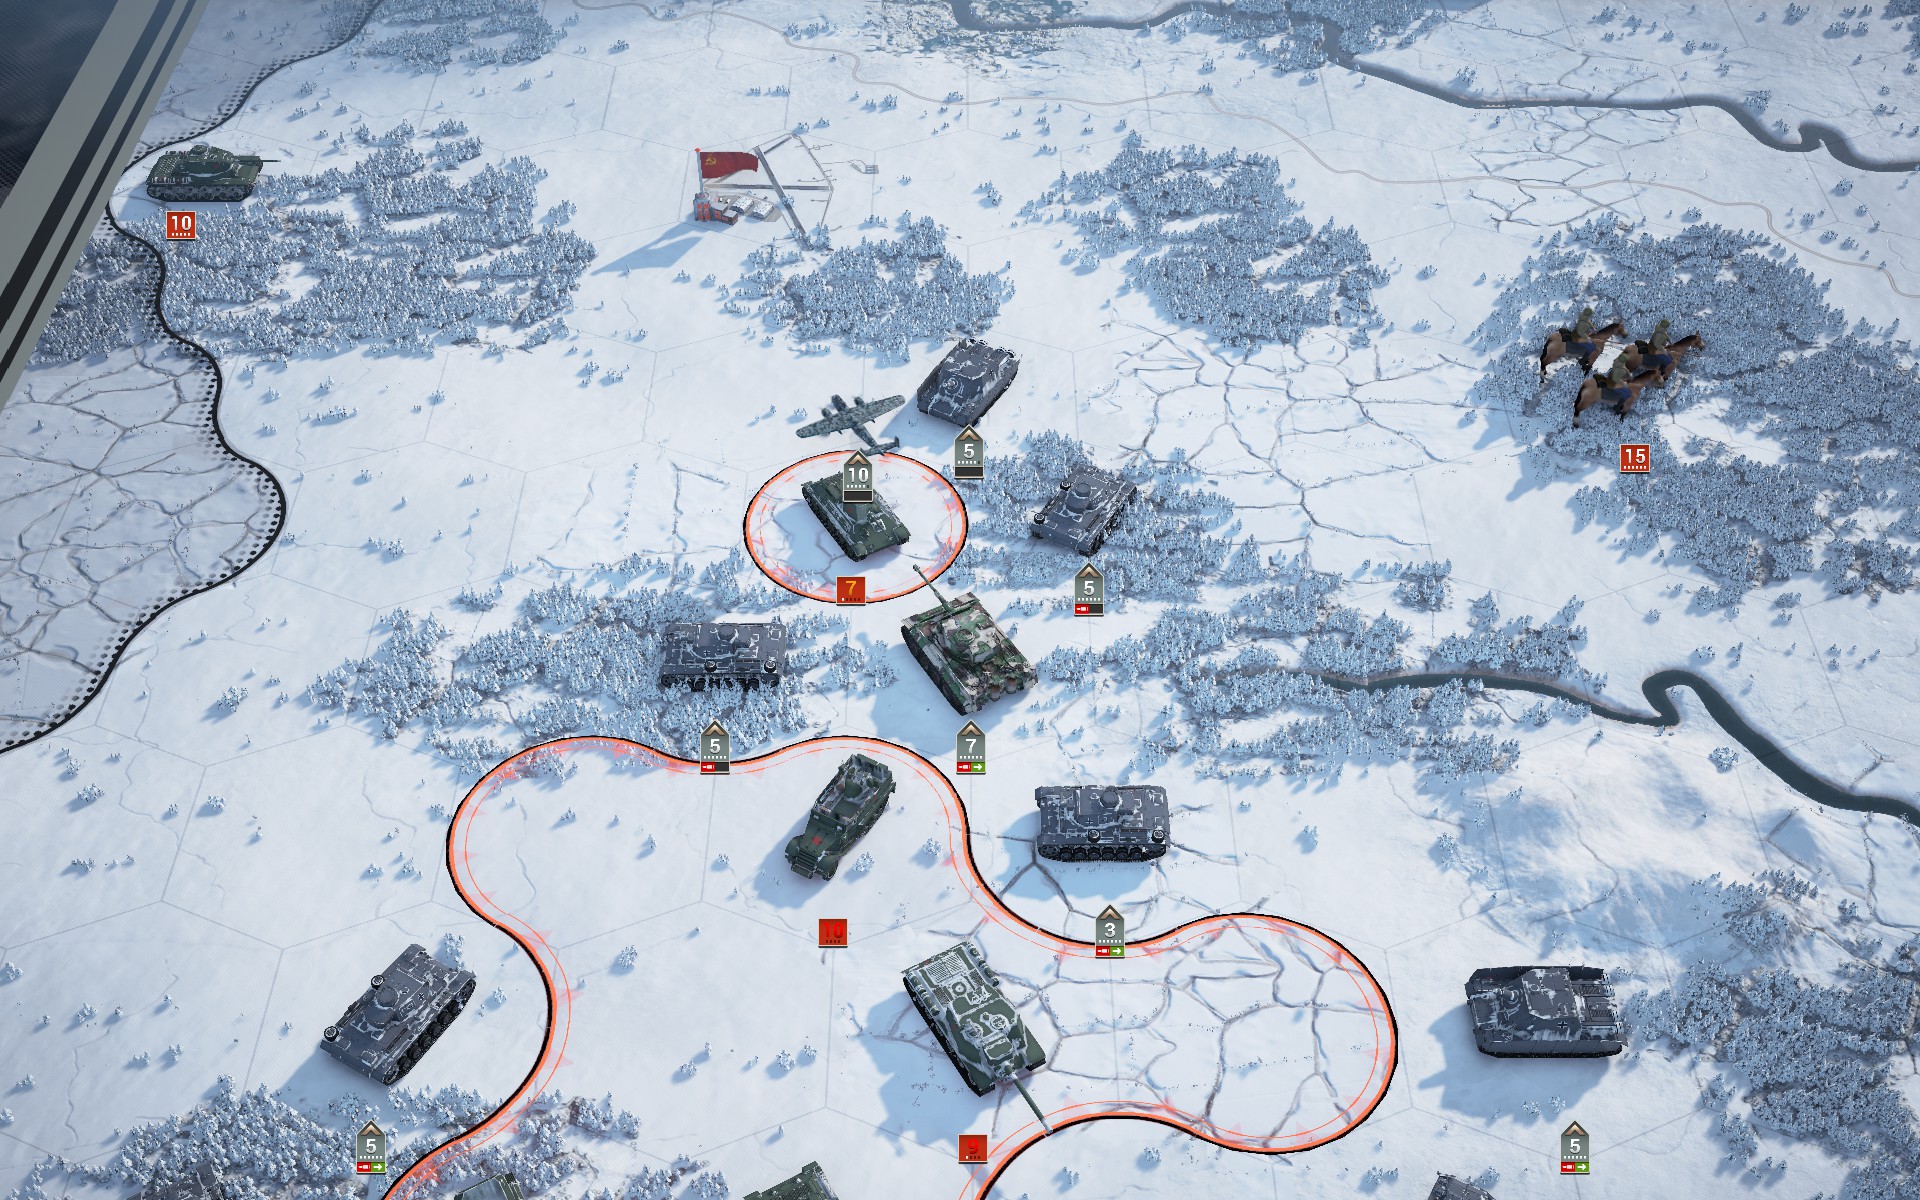
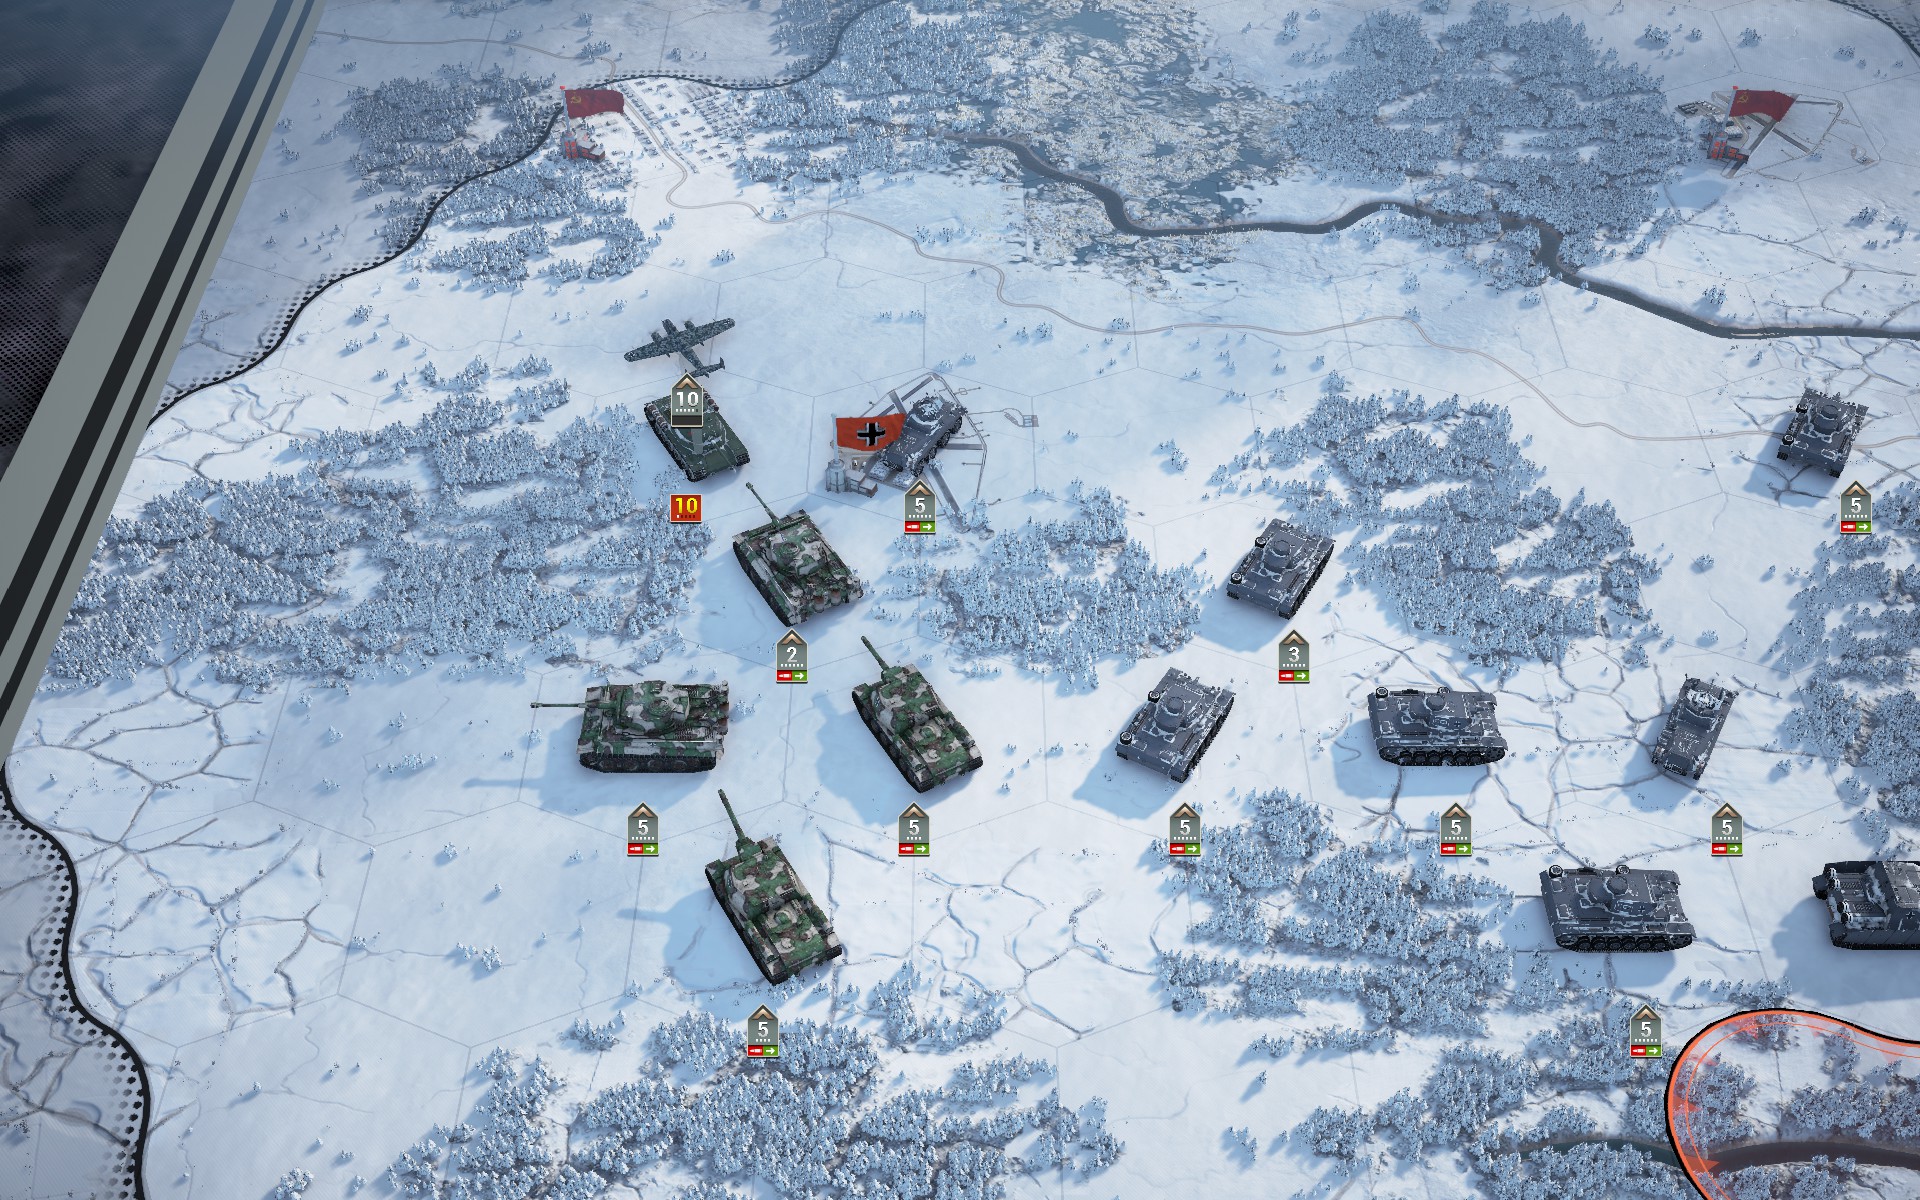
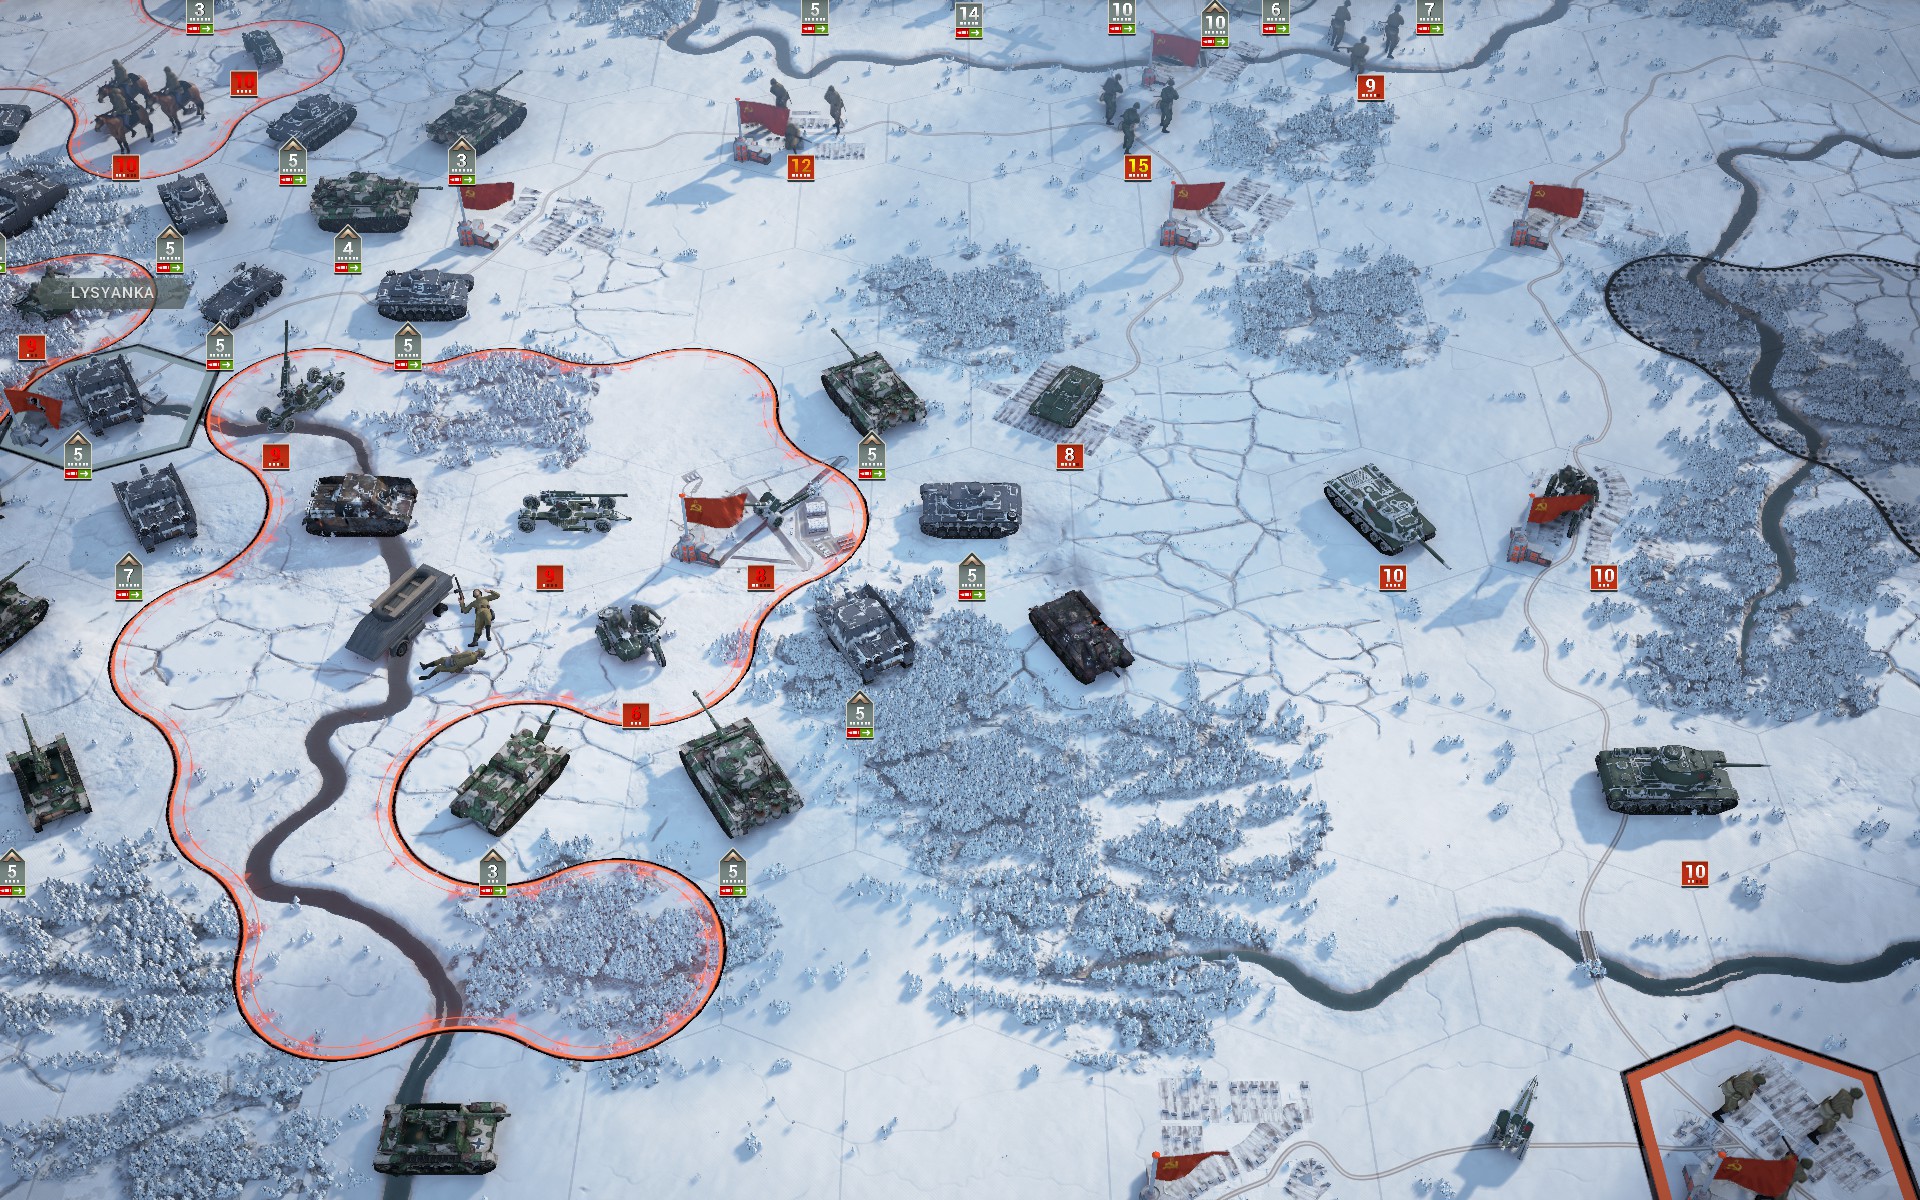
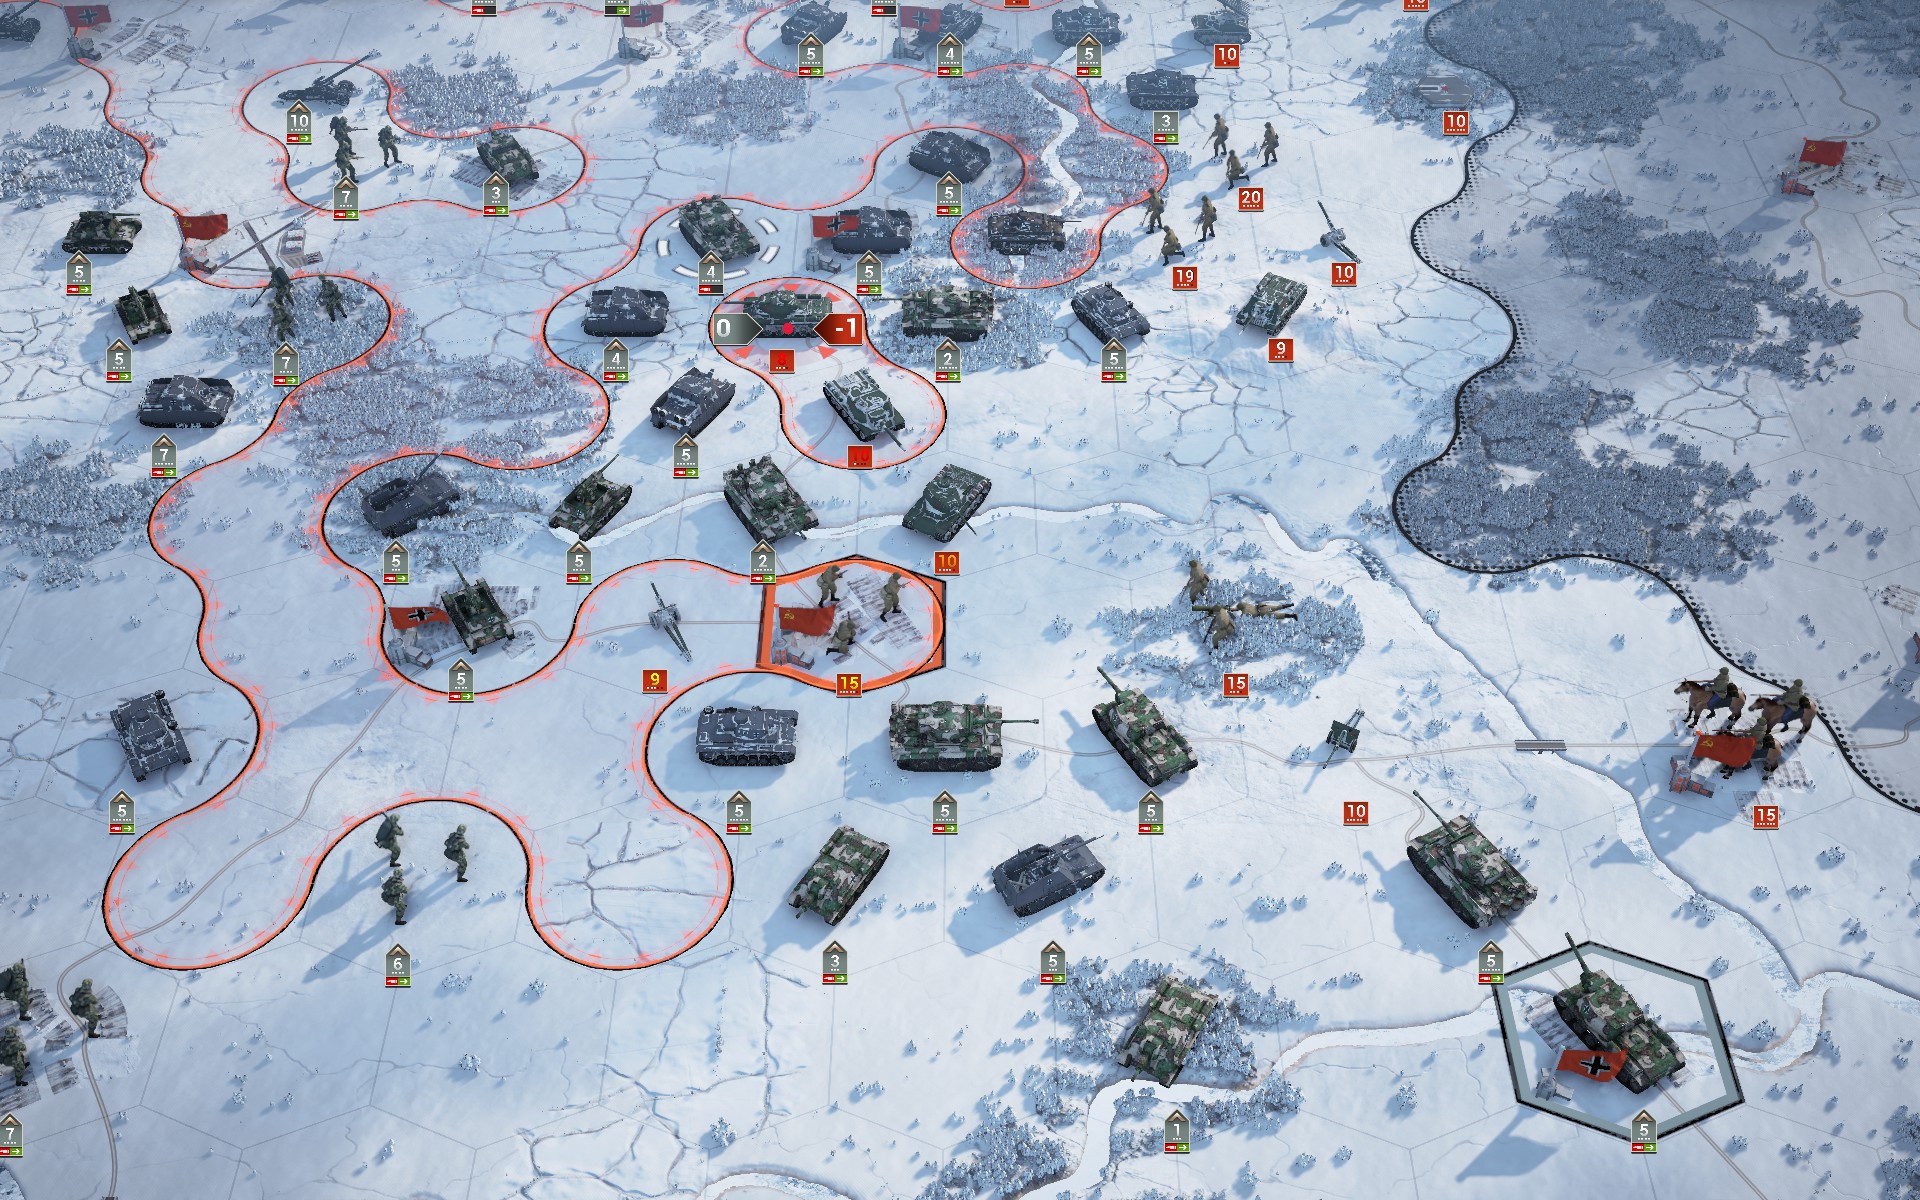
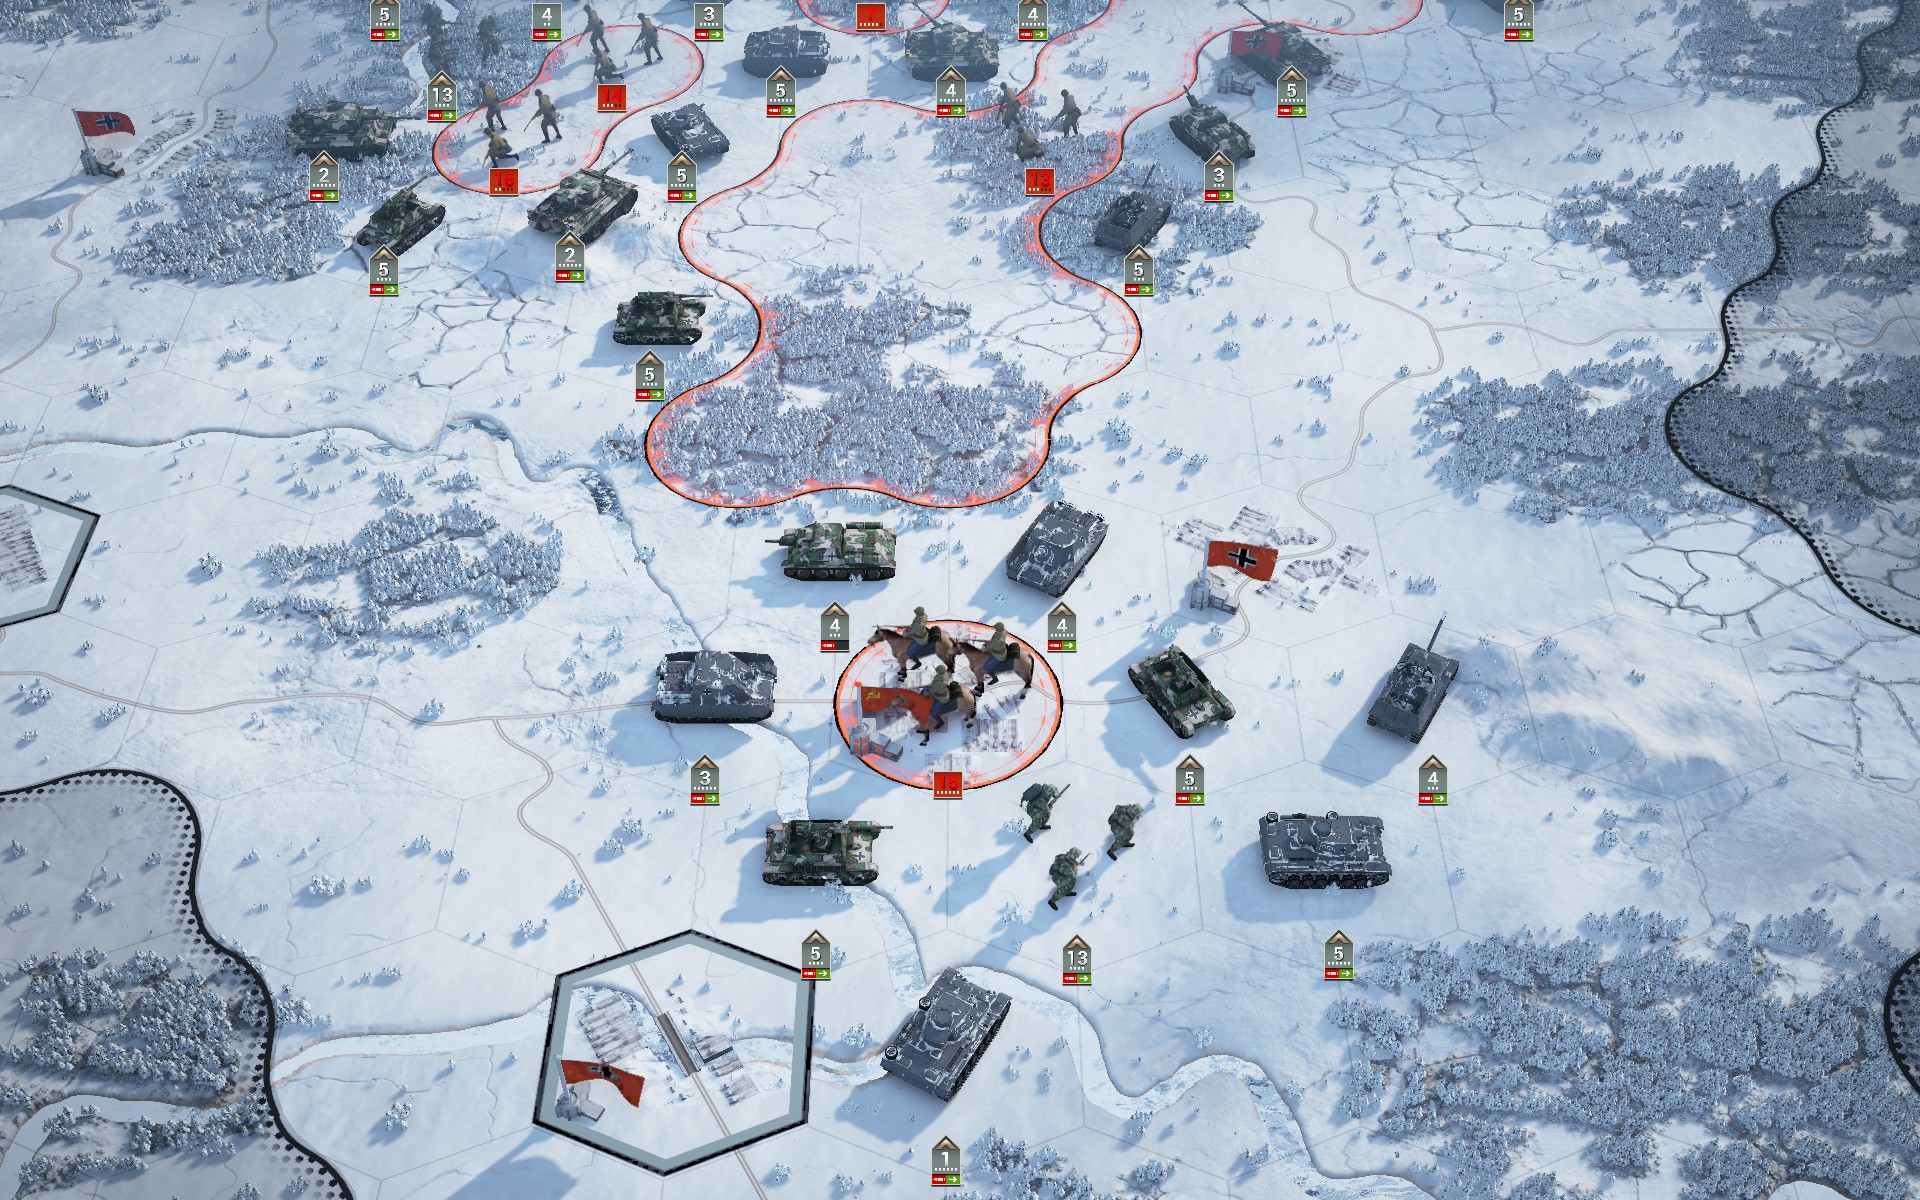
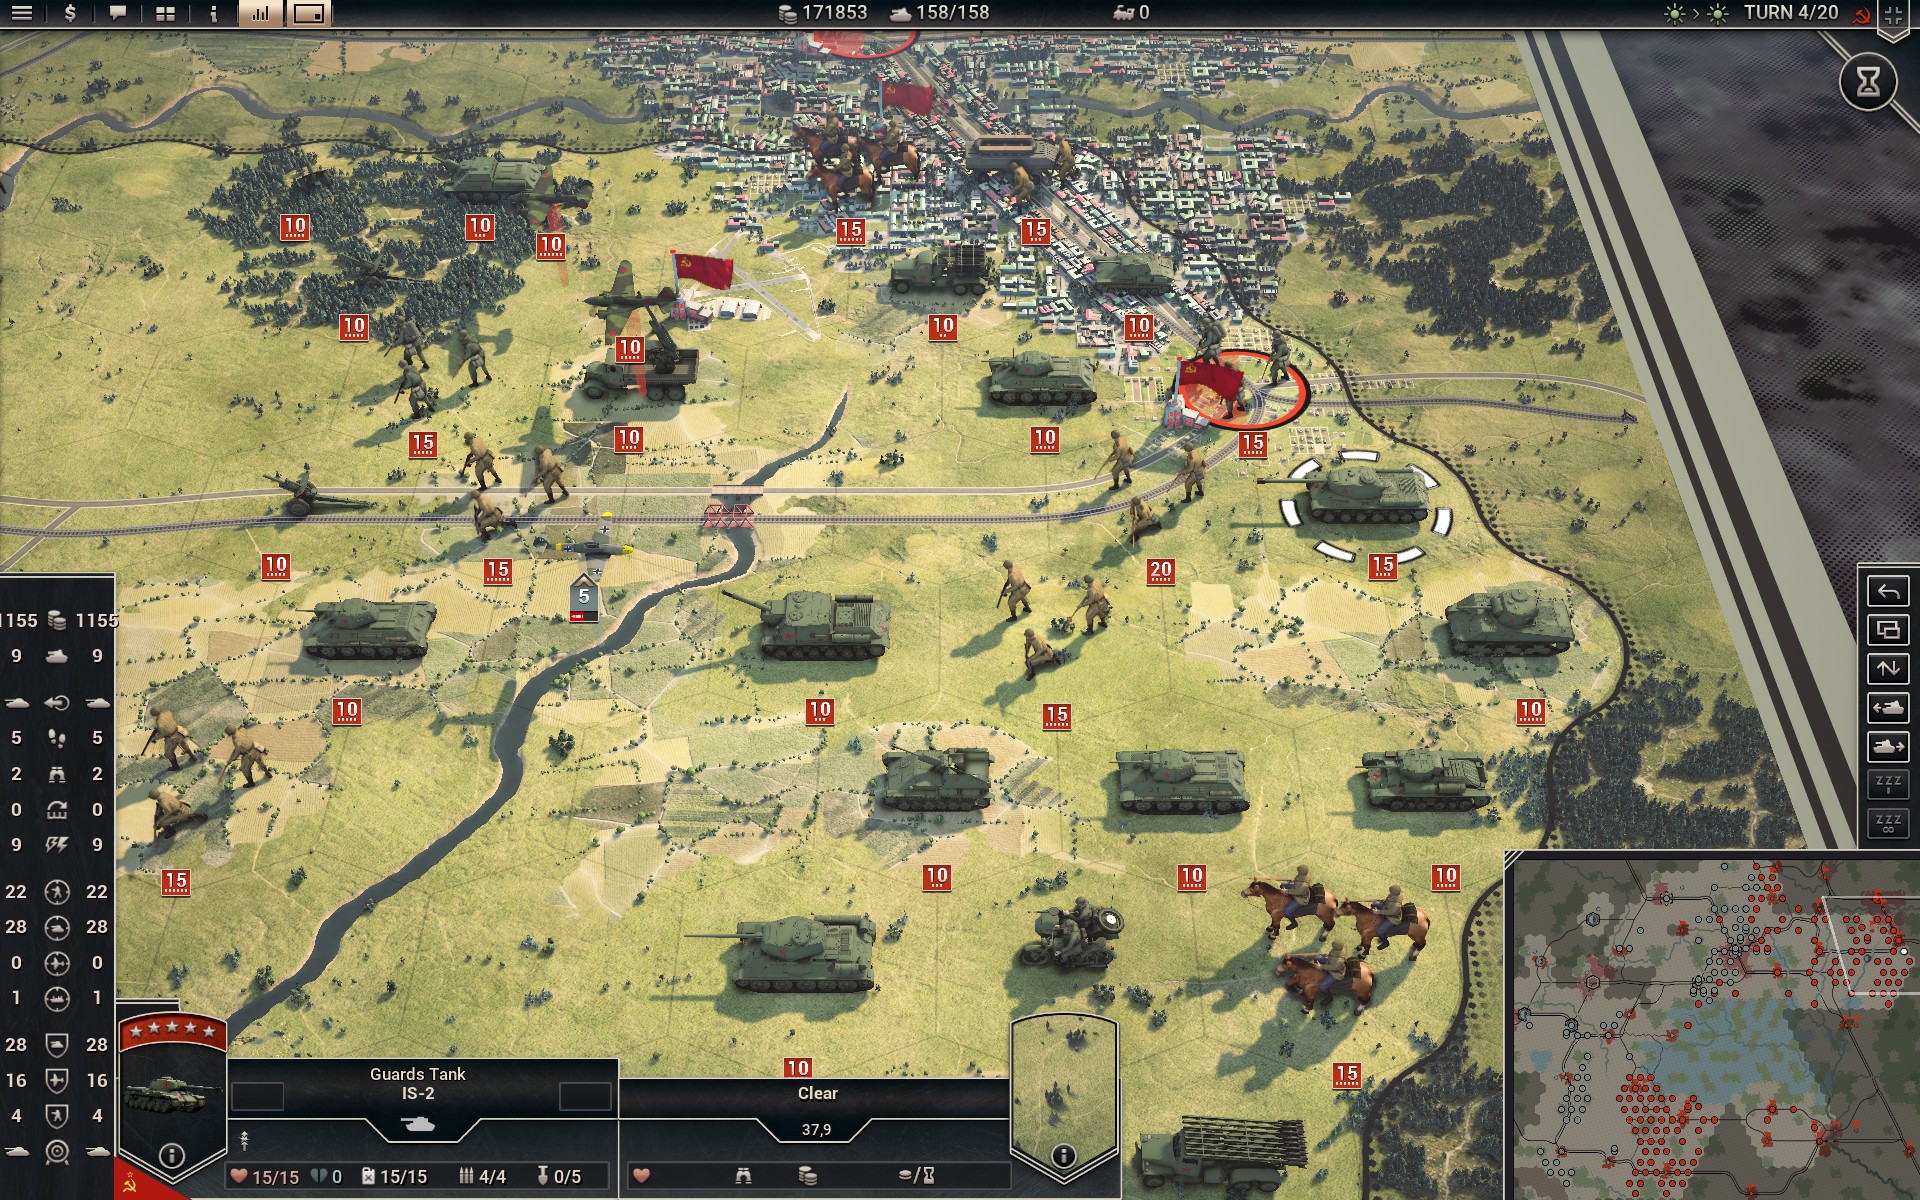
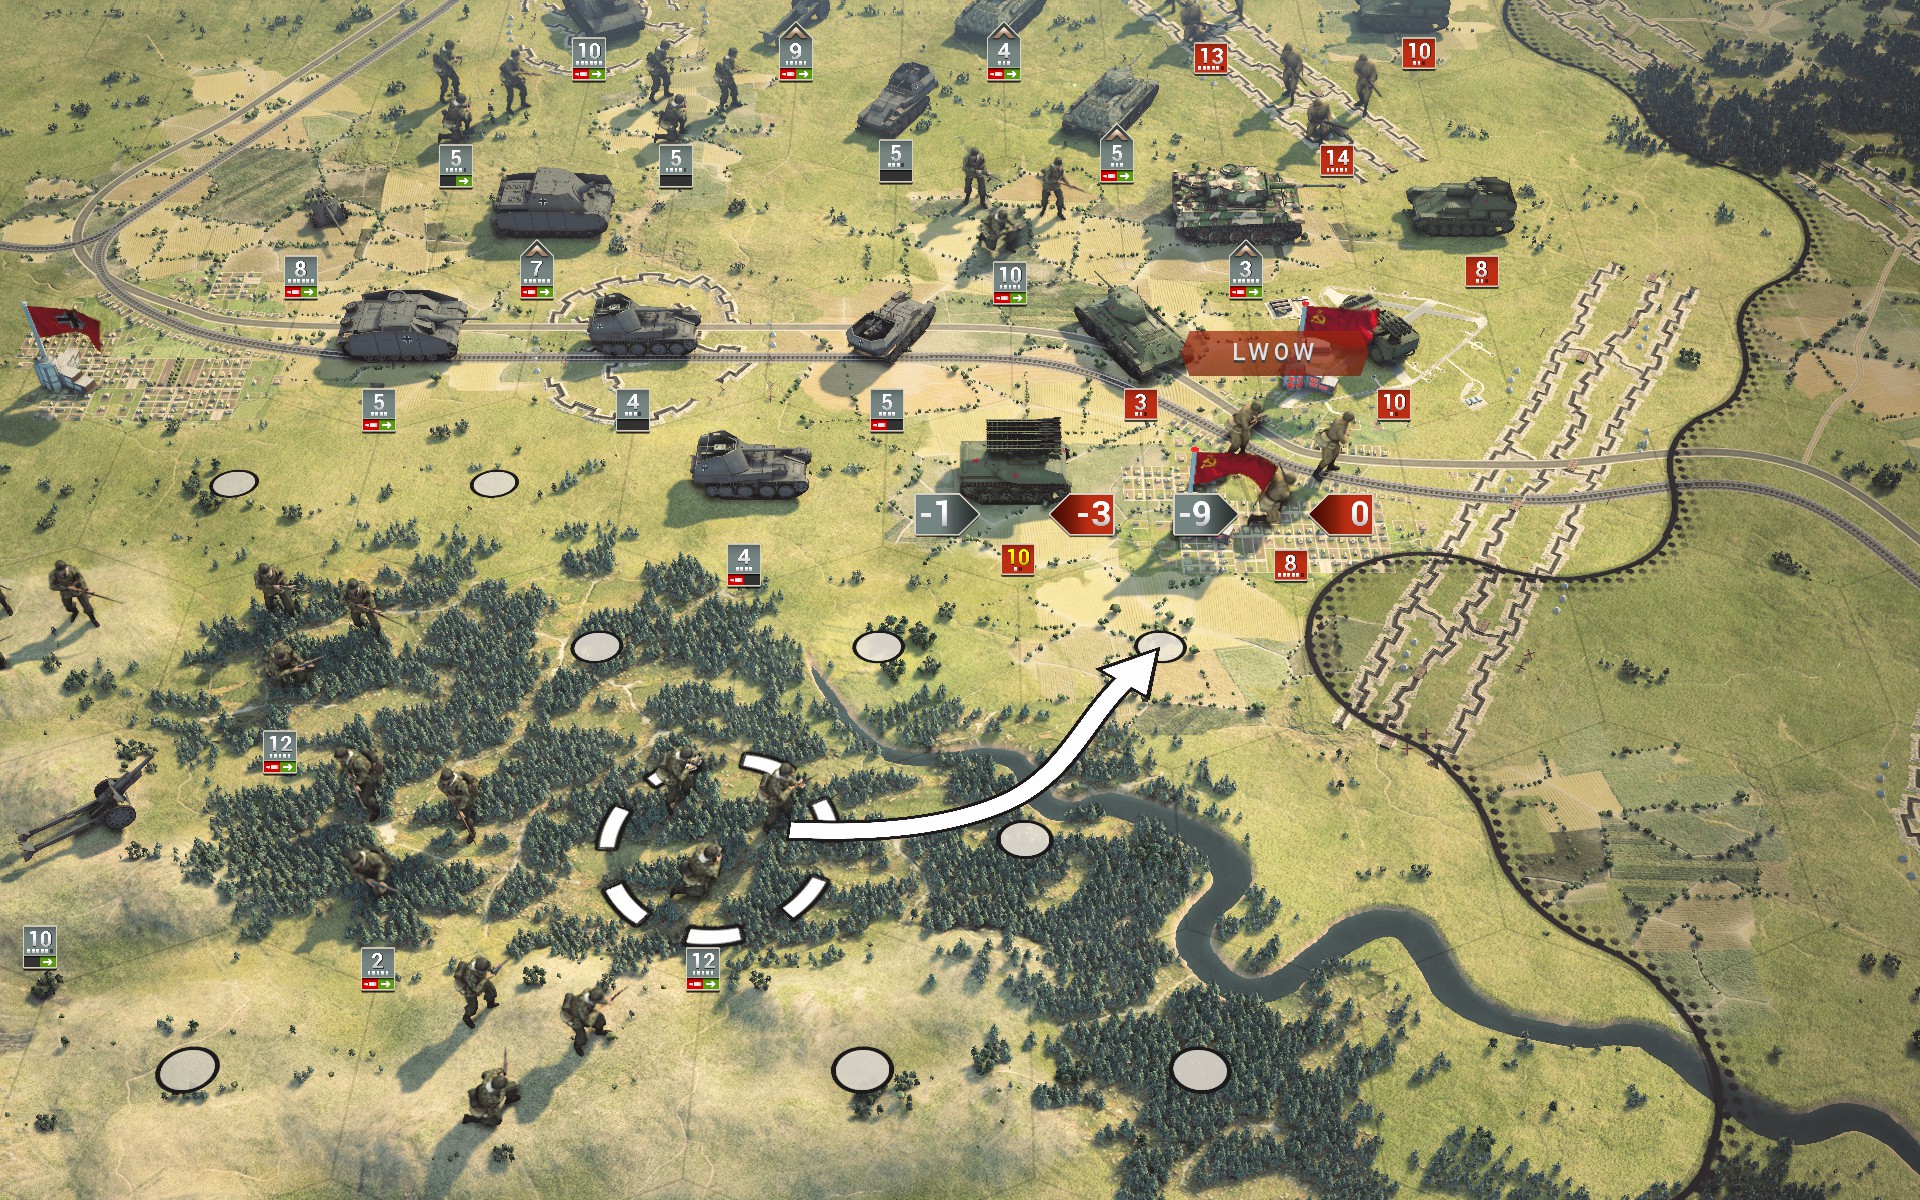
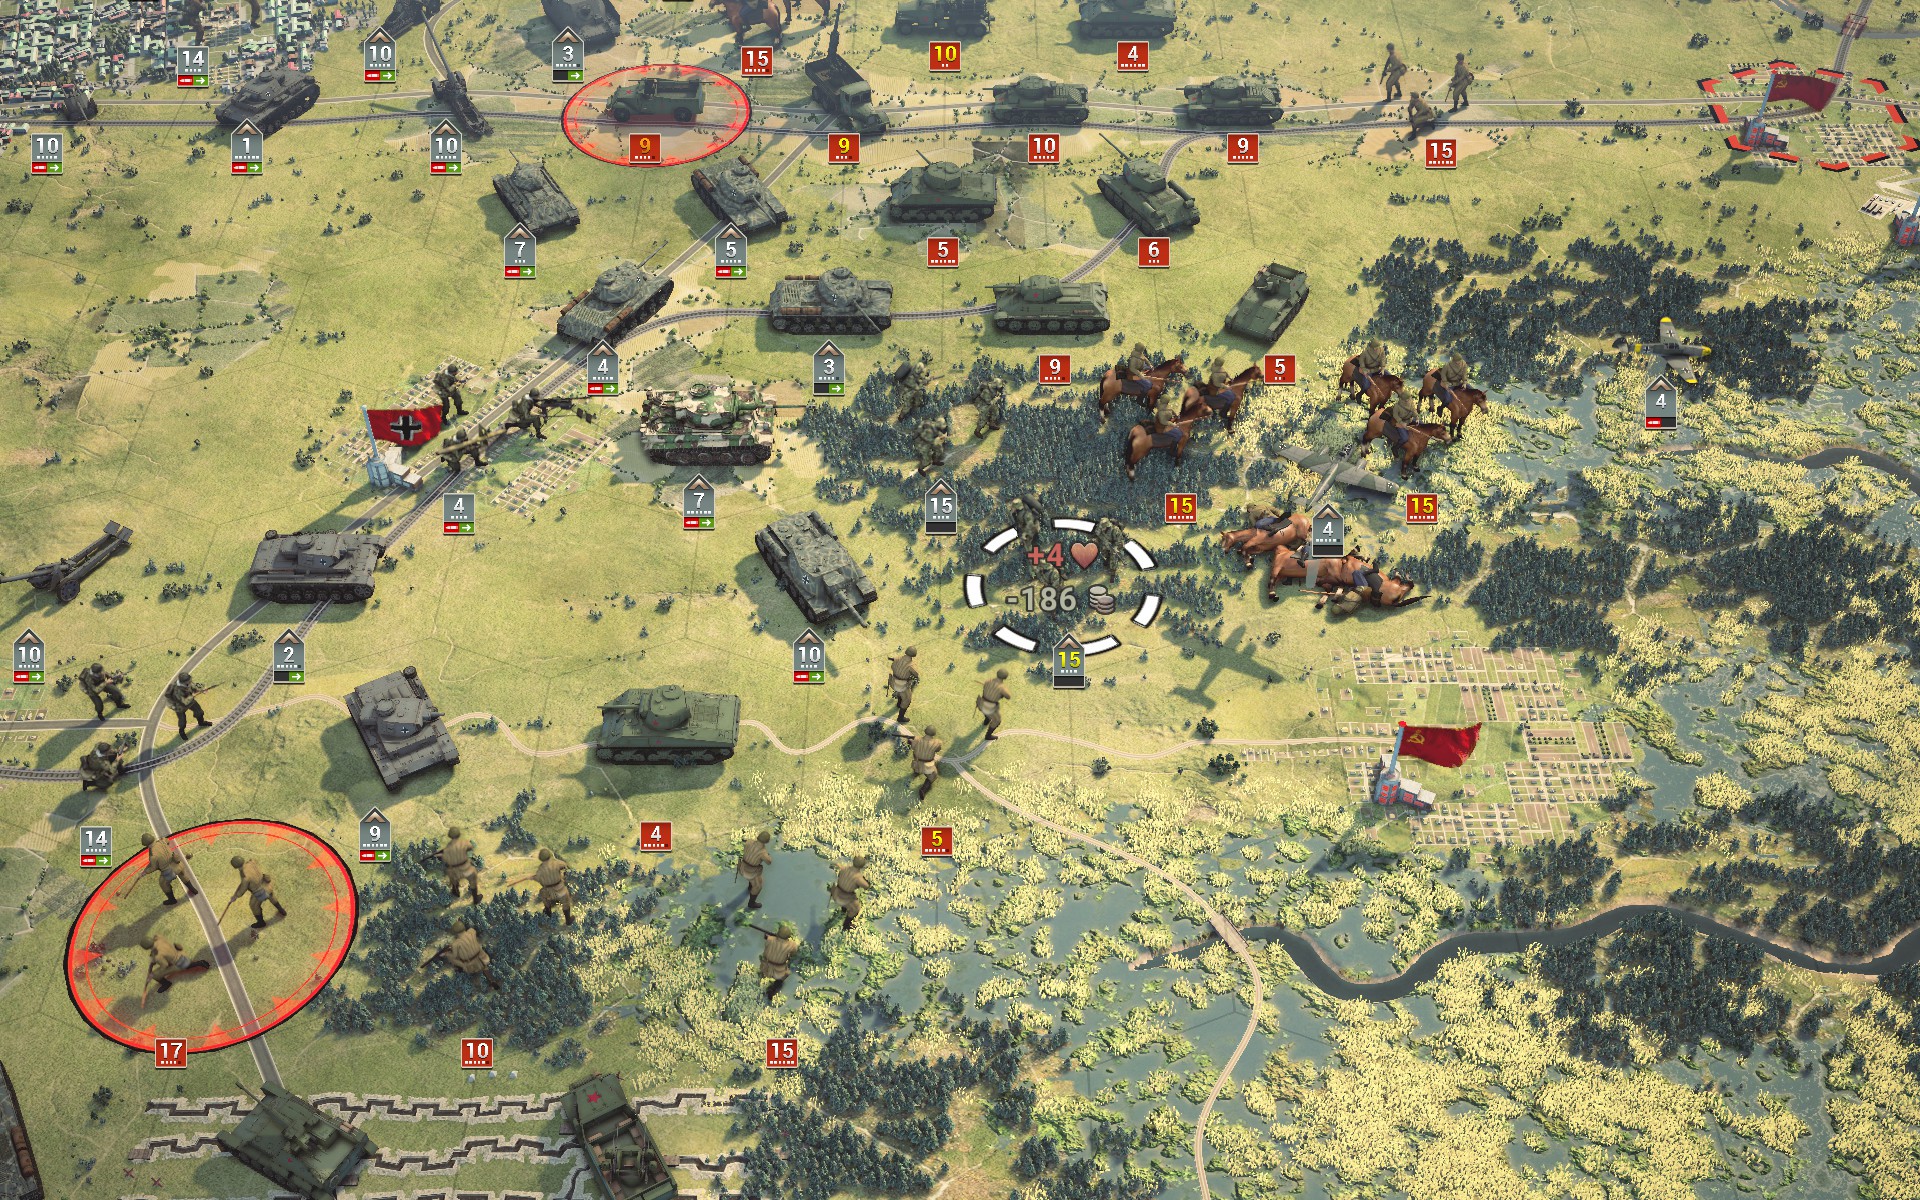
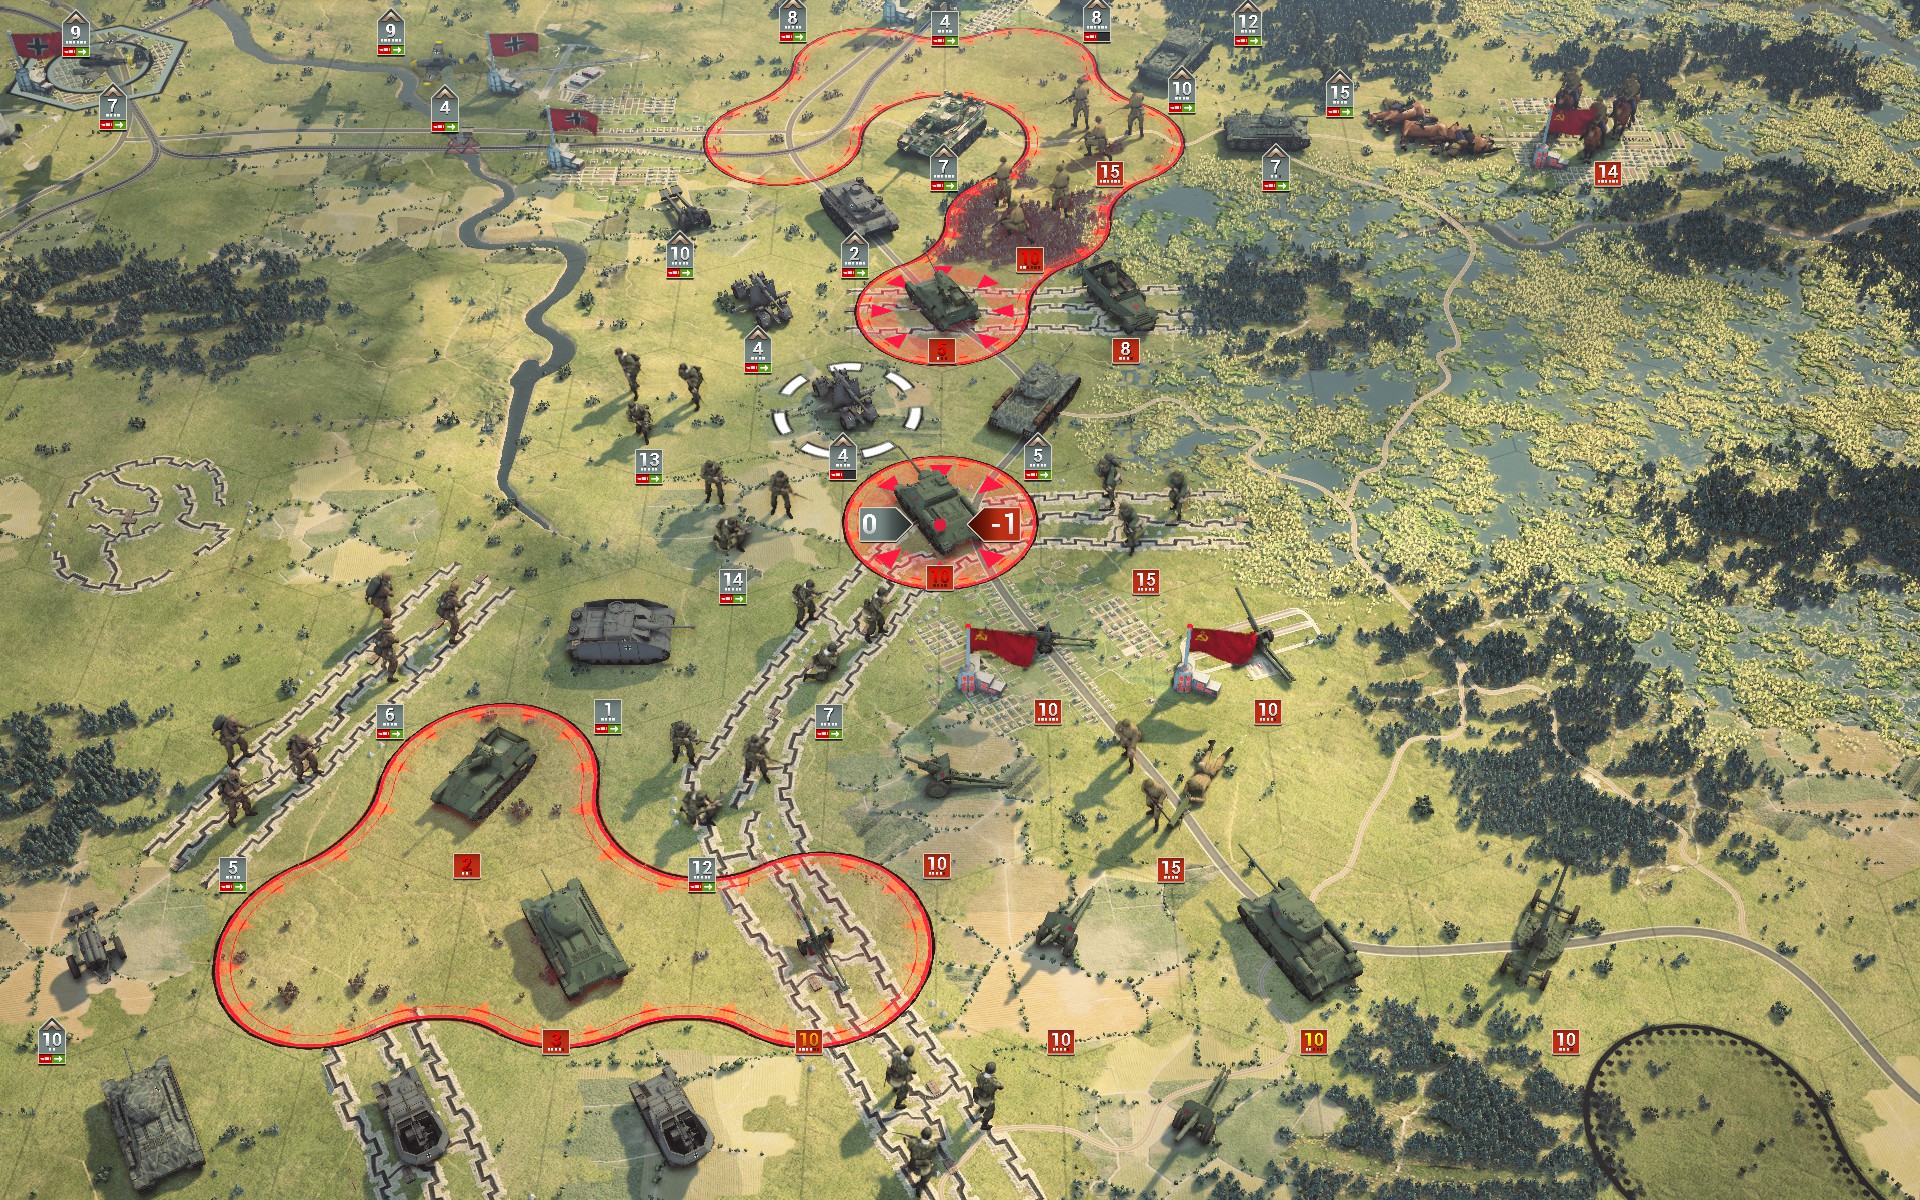
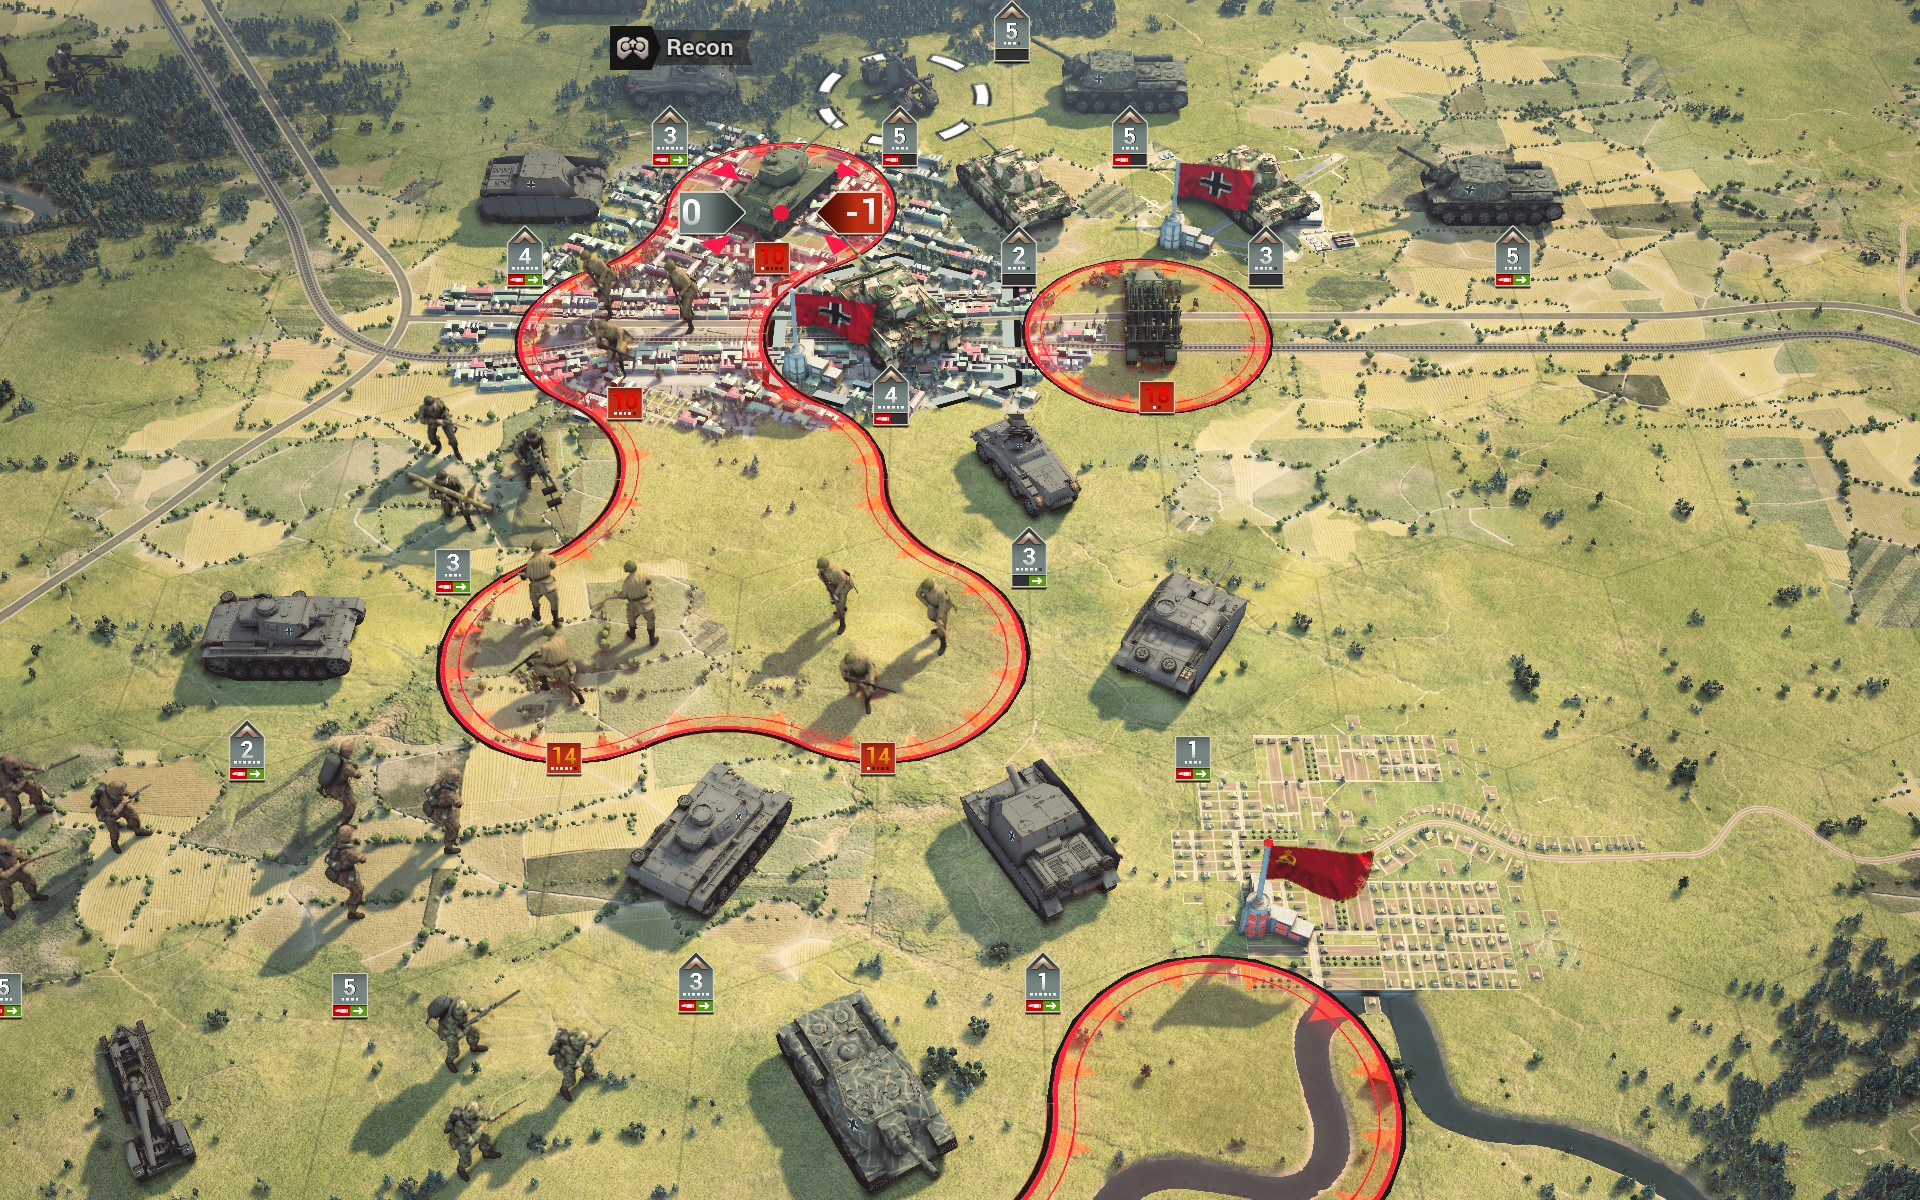
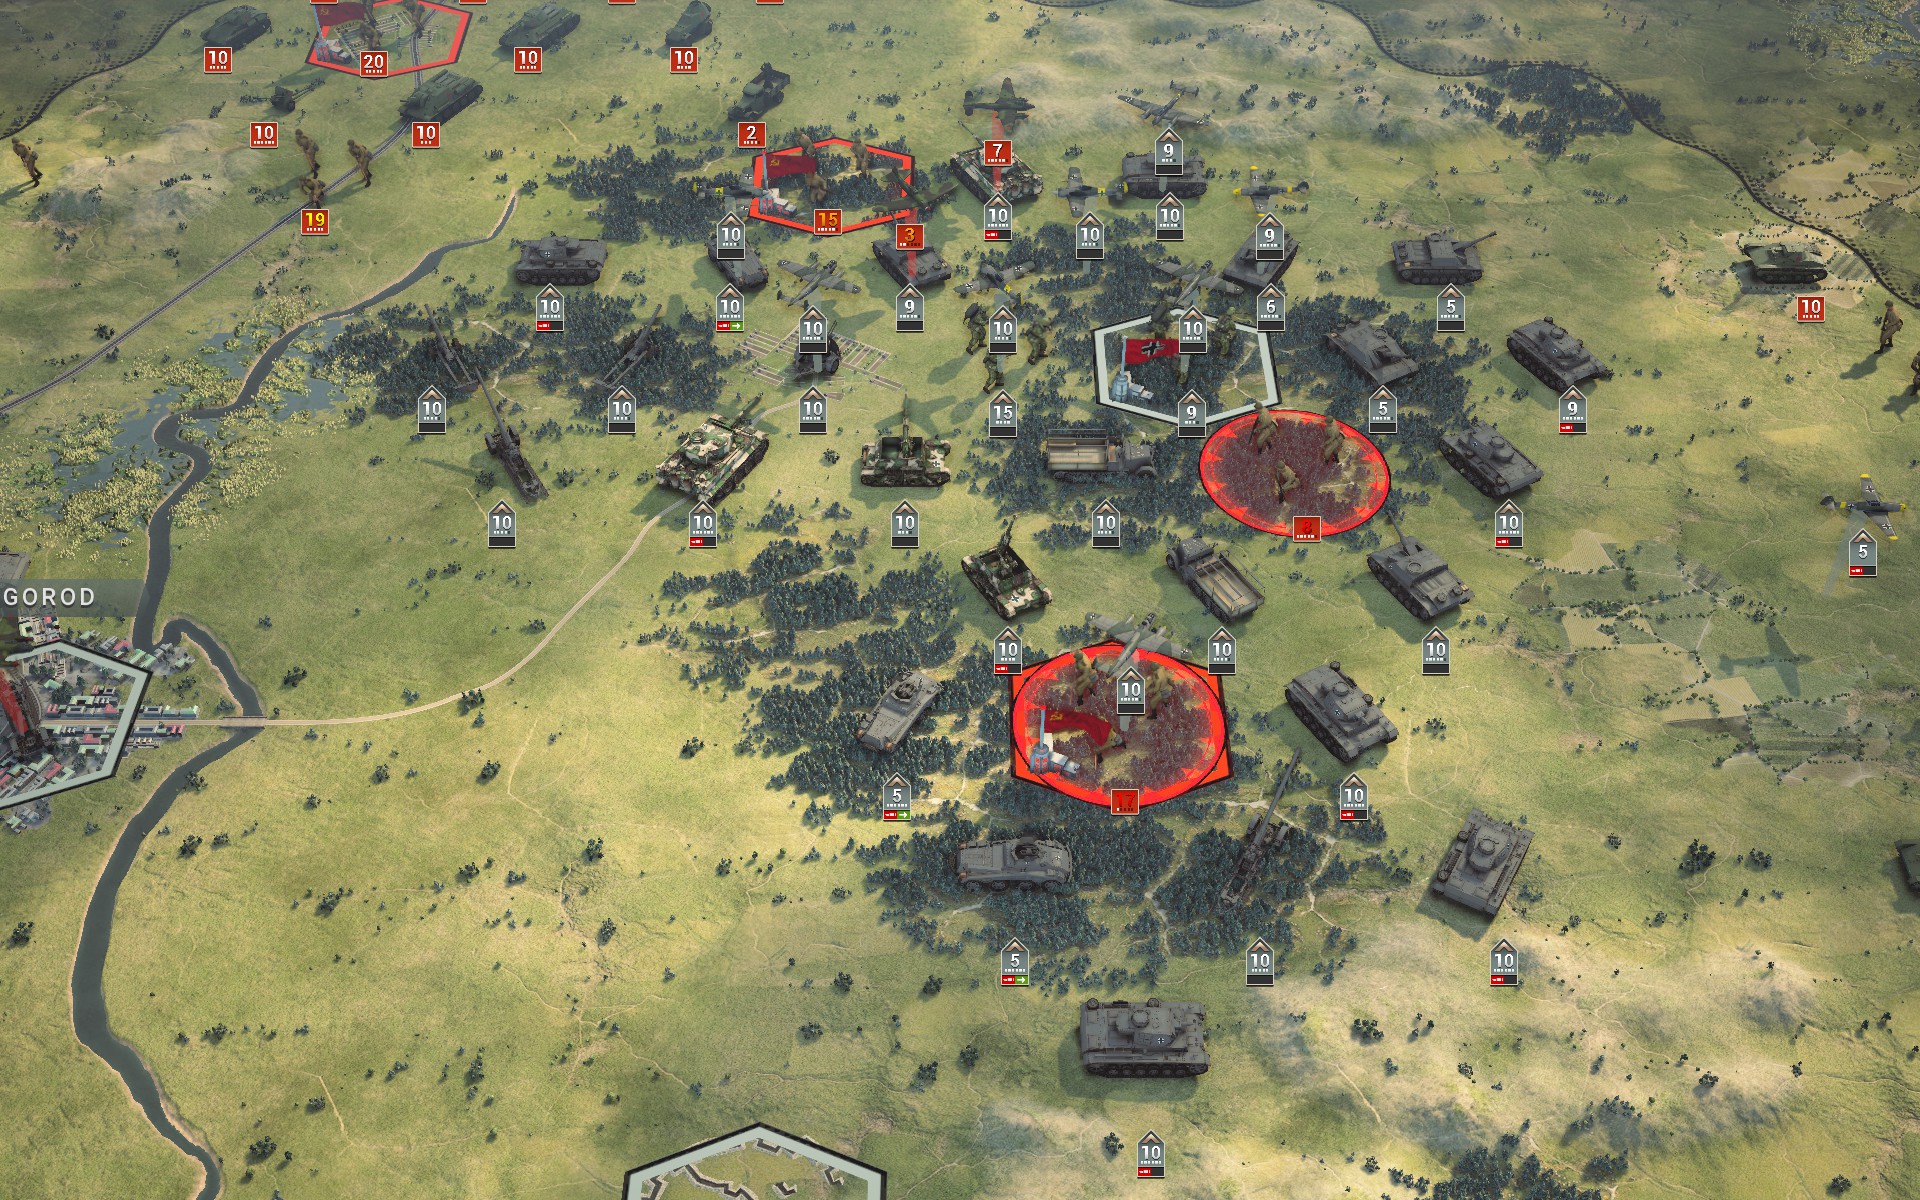
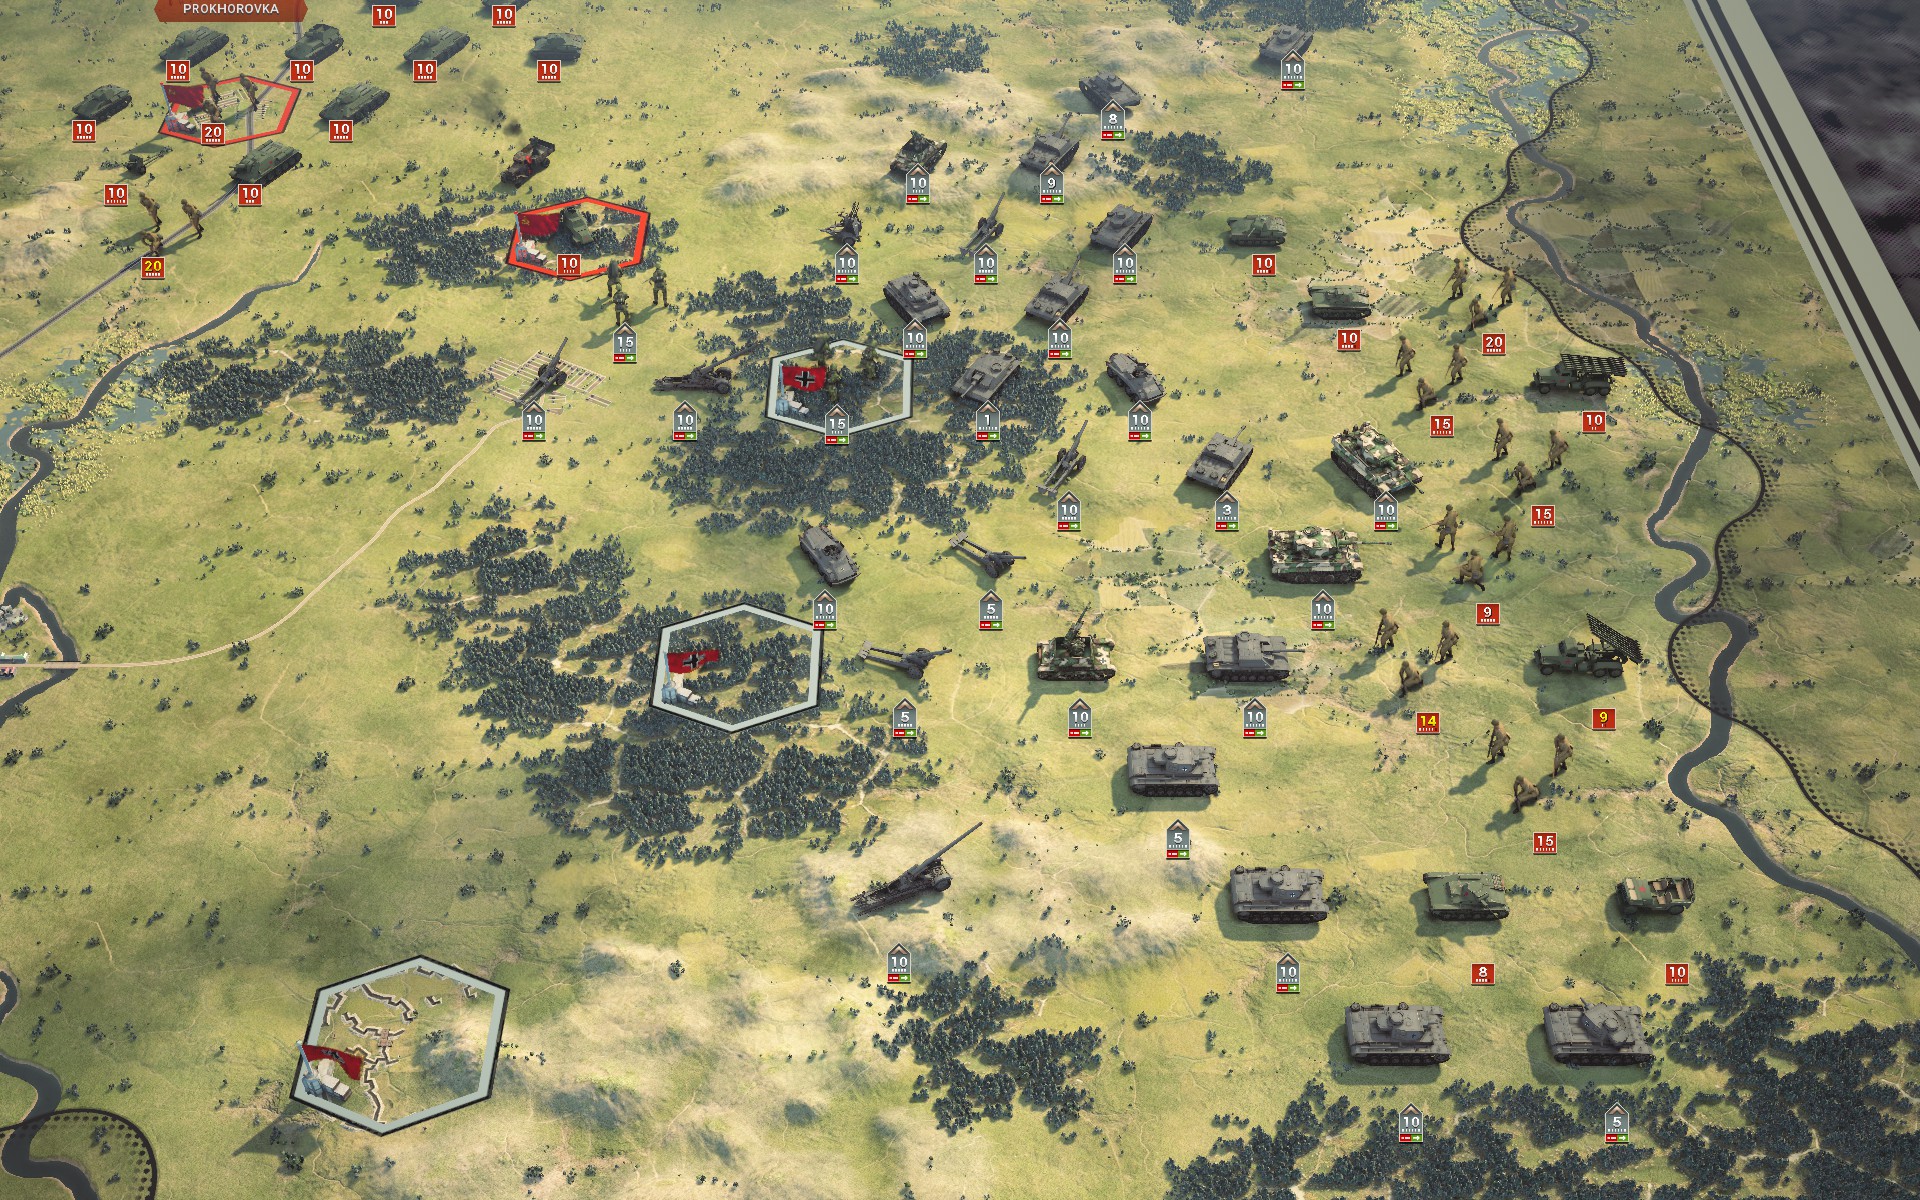
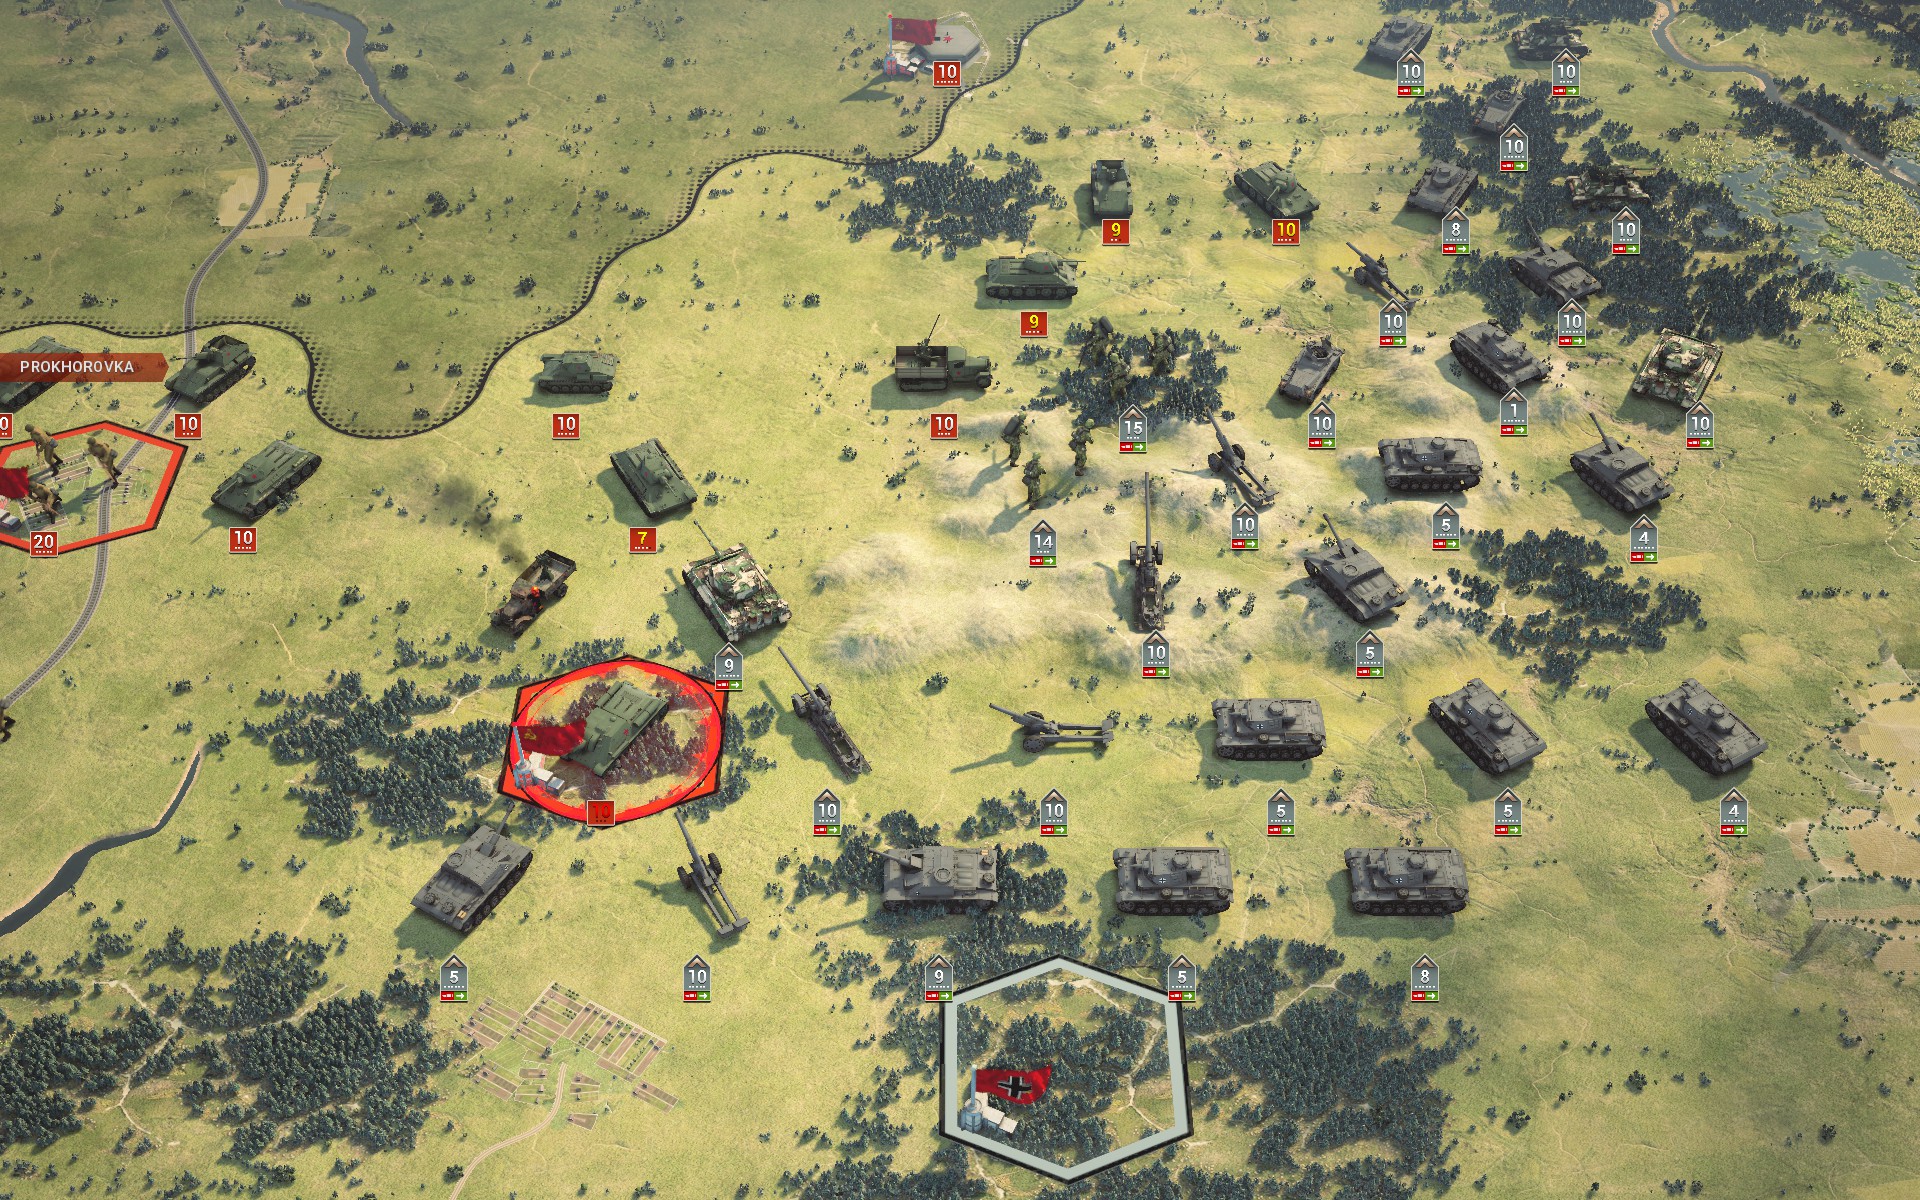
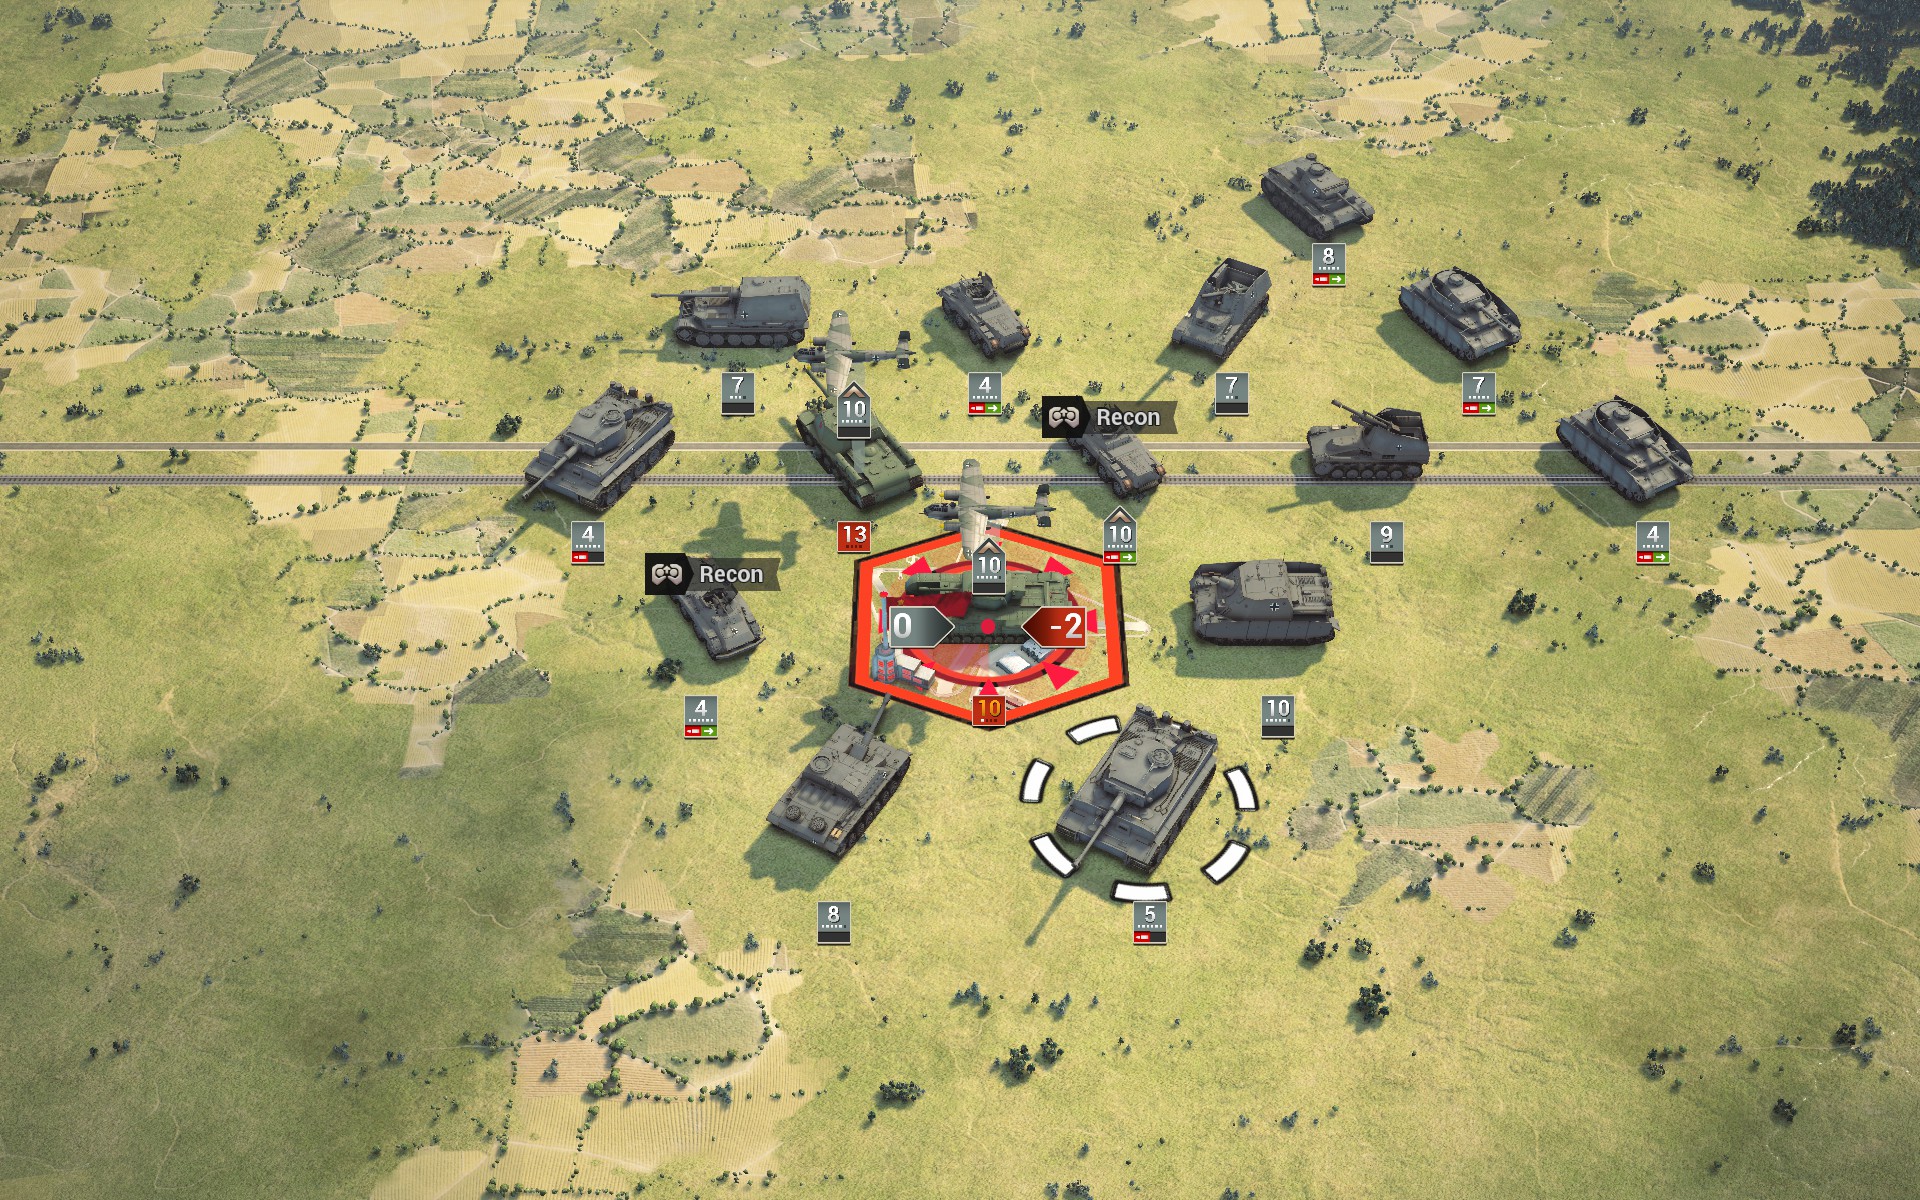
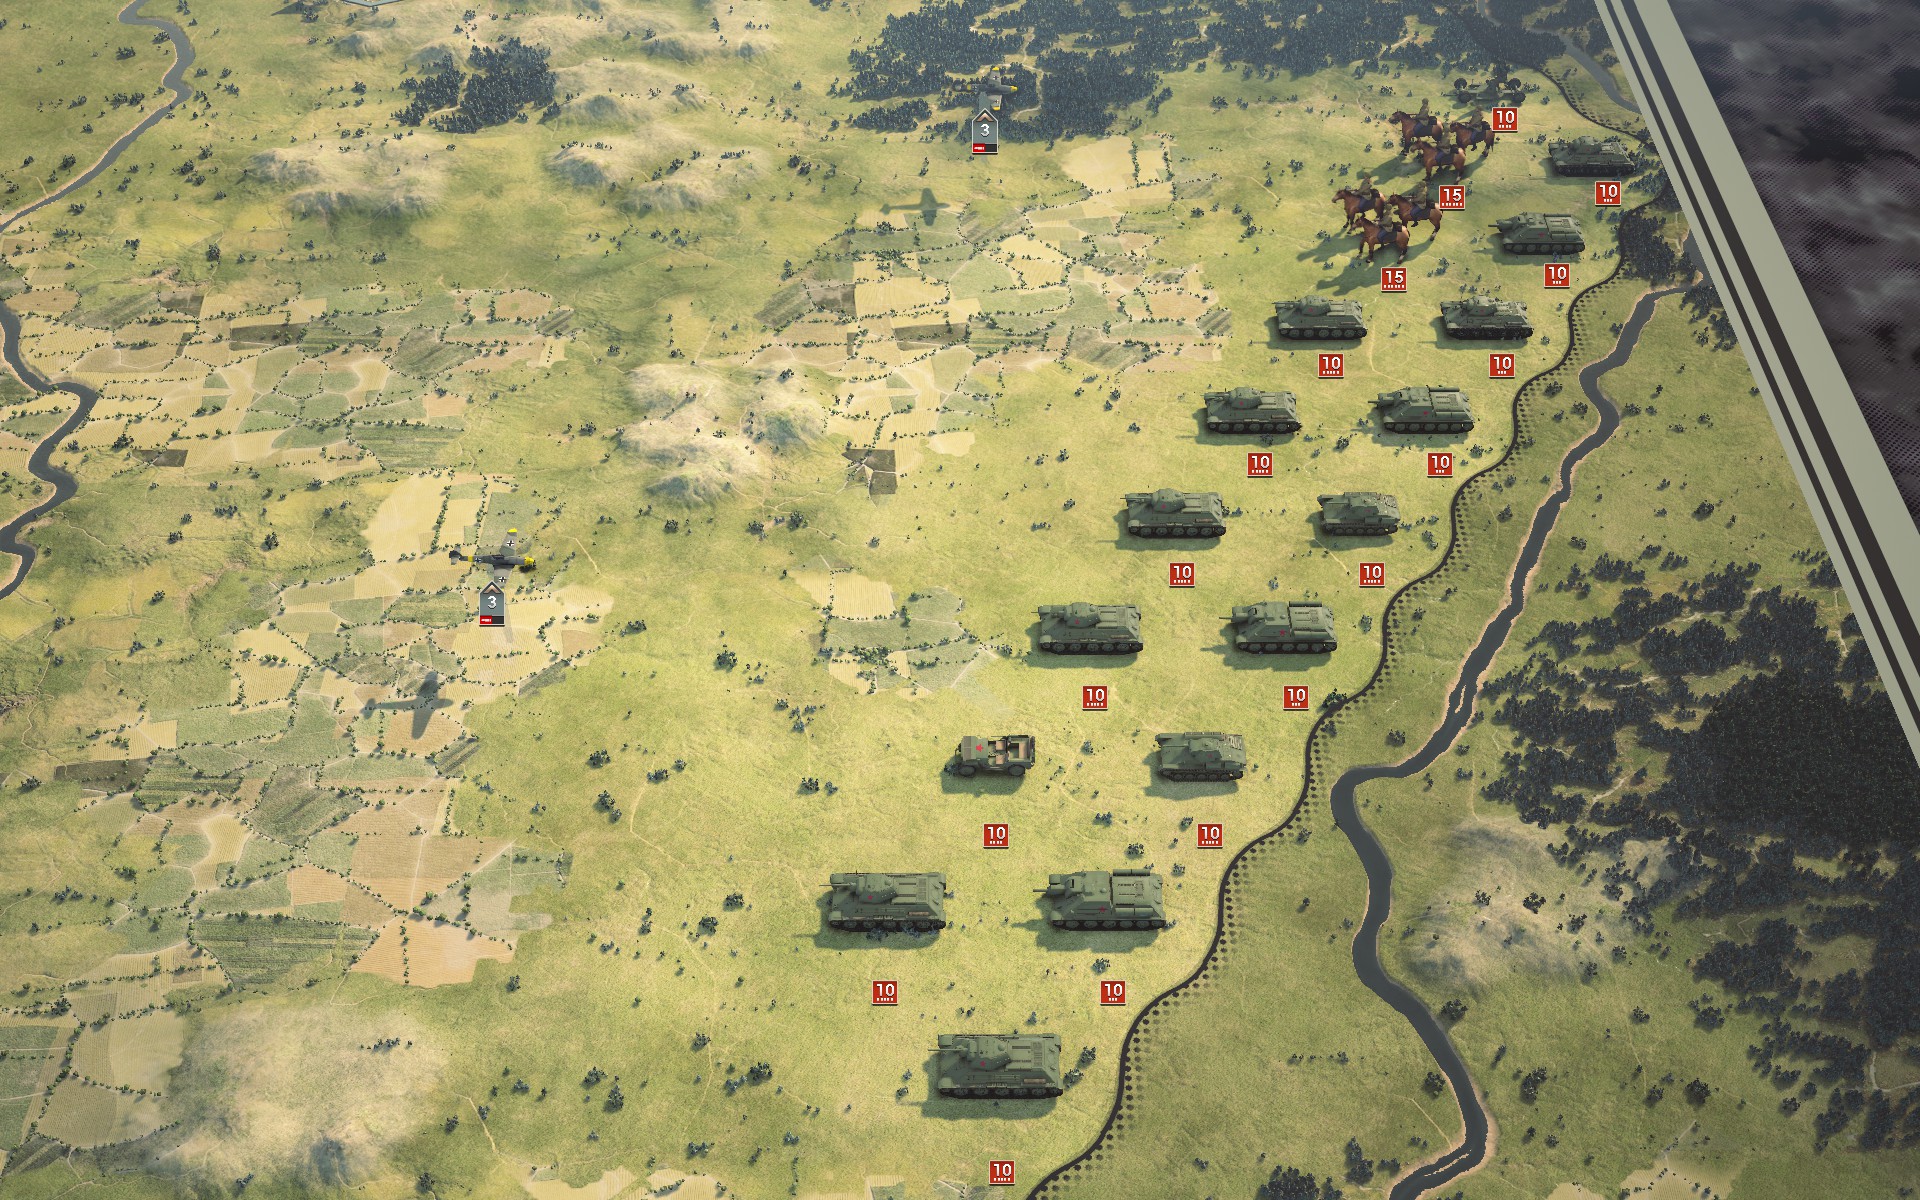
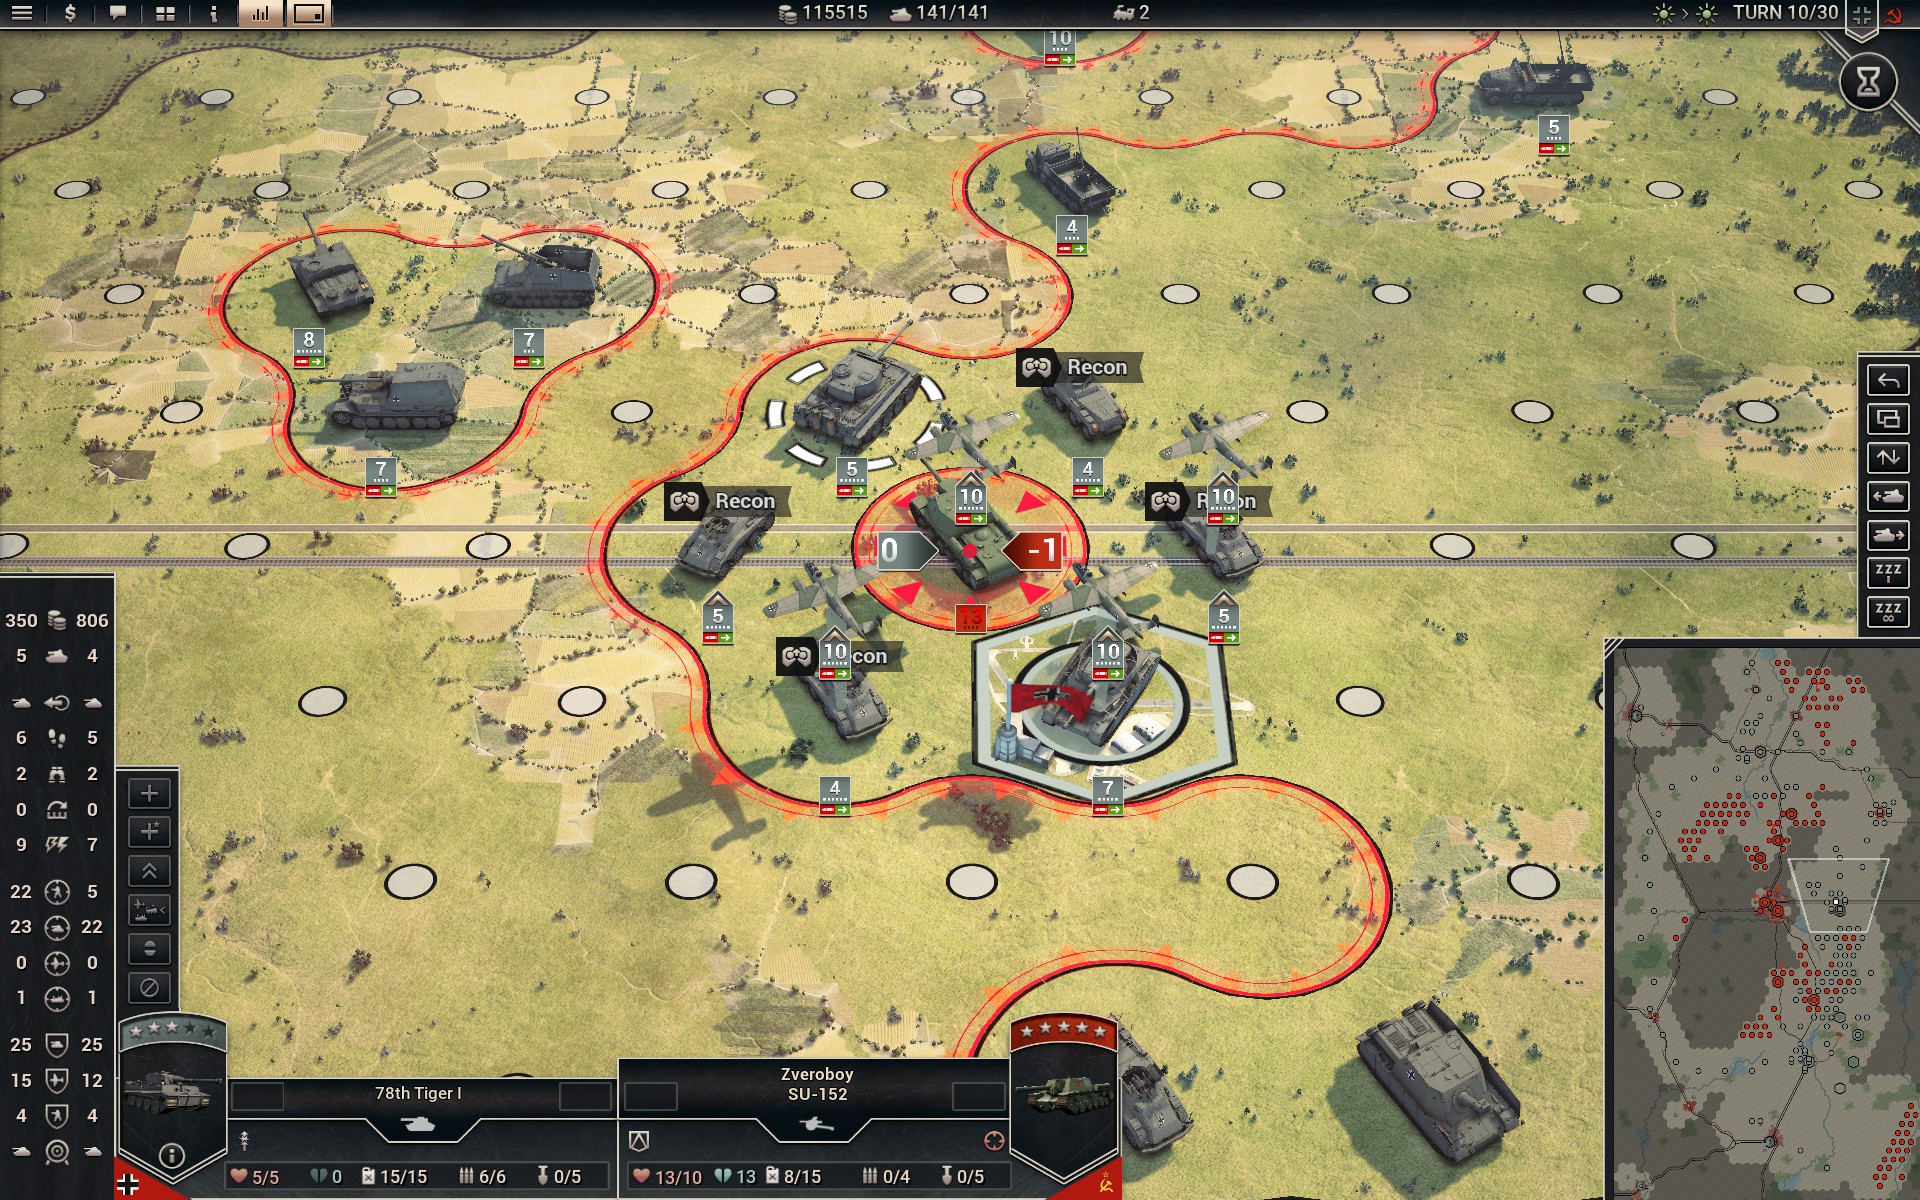
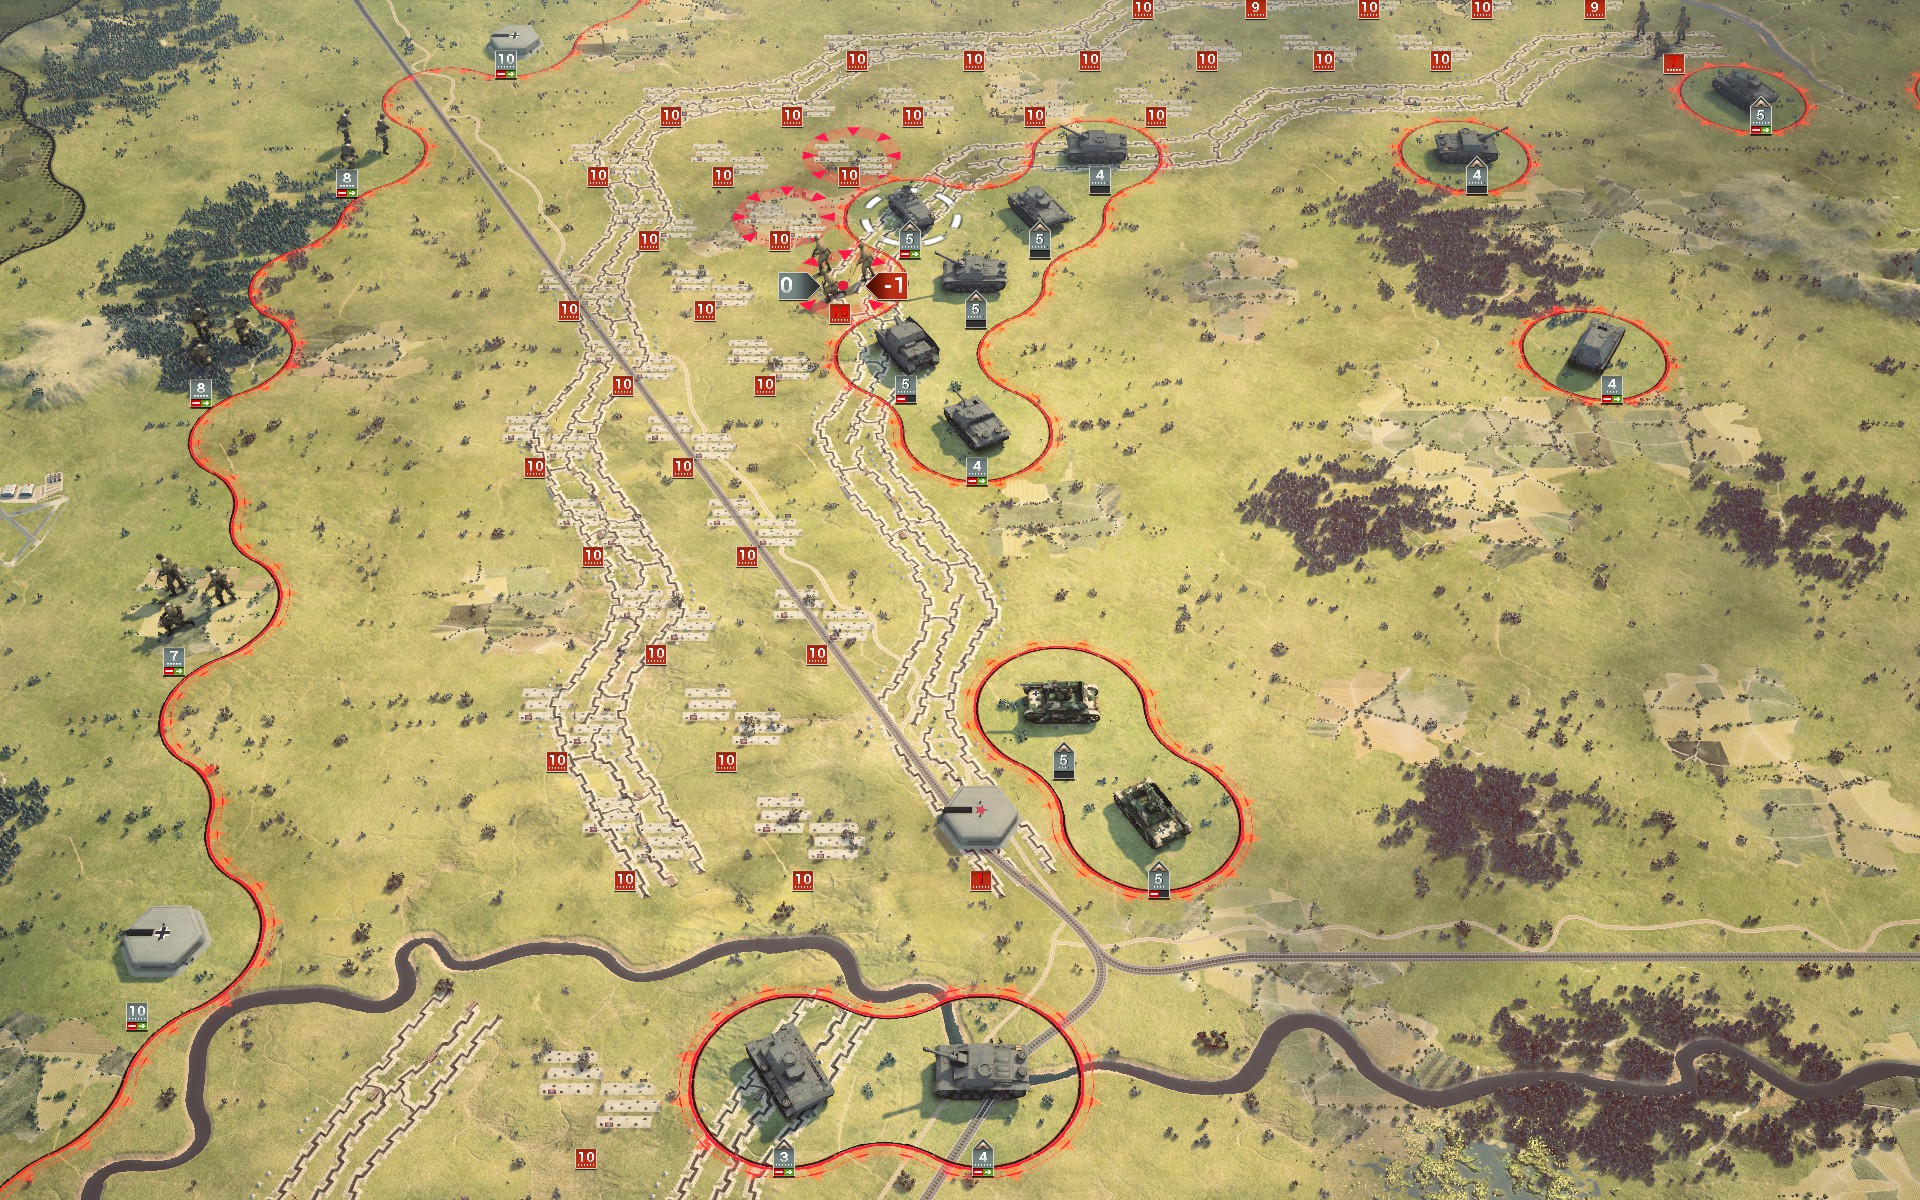
Intelligence suggests that the Red Army has massed armour near Prokhorovka, and Deep Recon reveals that this is indeed the case. No doubt these forces are meant to ambush my Panzers as they breach the first line of the Soviet defences, but the Red Army has overplayed its hand by weakening the flanks of the Kursk salient. They shall have their armoured battle at Prokhorovka, but on my terms. My forces will cross the Donets to secure the objectives east of Belgorod and then push north through the hills east of Prokhorovka. Ideally the Panzers will be able to advance unchallenged, but if not then the Pioniere and artillery will provide valuable support in repelling the Soviet armour, as the close terrain will hamper their operations. They will then close in on and secure the supply depot and link up with the auxiliary force in the north, cutting off all supplies to the Kursk salient.
The auxiliary force has a trickier position, as they have deployed too close to the Soviet lines to safely disengage due to the low speed of the Elefants. The infantry and a few Panzers will be deployed along the perimeter of the Soviet fortifications to the north to guard against the possibility of a counterattack, while the bulk of the forces will slowly advance east. Their orders are to restrict any contact with Soviet forces to skirmishing in as much as this is possible, as I do not want the Red Army to commit its reserves at this stage of the battle. They will then head south to link up with my corps at the supply depot. The Luftwaffe will conduct aggressive operations targetting Soviet fighters and bombers to clear the way for the Do 217Es during the next phase of the operation.
Once the Kursk salient has been encircled the second phase of the operation will commence. My corps will advance on Prokhorovka and Oboyan to defeat the Soviet armour massing there. If all goes well these forces should offer little resistance, allowing my Panzers to quickly sweep through them. The StuH 42s will provide the fire support necessary to break down the heavy Soviet fortifications to the west and allow me to capture all forces south of Kursk. The auxiliary force will advance northwest towards the rear of the Soviet forces at Maloarkhangelsk and capture these. The heavy support will then be rerouted north to strengthen the defences there while the lighter vehicles push west to clear the salient of any remaining Soviet forces outside of Kursk itself. I suspect the Red Army would react swiftly to the fall of the city, and so I intend to leave it surrounded initially.
Finally, for the third phase of Operation Citadel my forces will return to the objectives east of Belgorod and take up positions west of the Donets to repel any Soviet forces attempting to break into the Kursk salient. With complete air supremacy and the elite Bridgeburners and Crimson Guard to hold the hills, this should not prove difficult. Timing is critical, however -- should my forces be out of position the Red Army could potentially threaten Belgorod and Kharkov, leading to a costly and protracted battle. The auxiliaries will return north to Orel, with a smaller battlegroup heading east to flank the Soviet fortifications. They will repel any attempt to break through my lines and then flank and destroy the remaining Soviet forces. A bold and ambitious plan, Operation Citadel will see all Soviet forces in the Kursk salient and the surrounding areas captured should it prove successful, but war is rarely that simple.
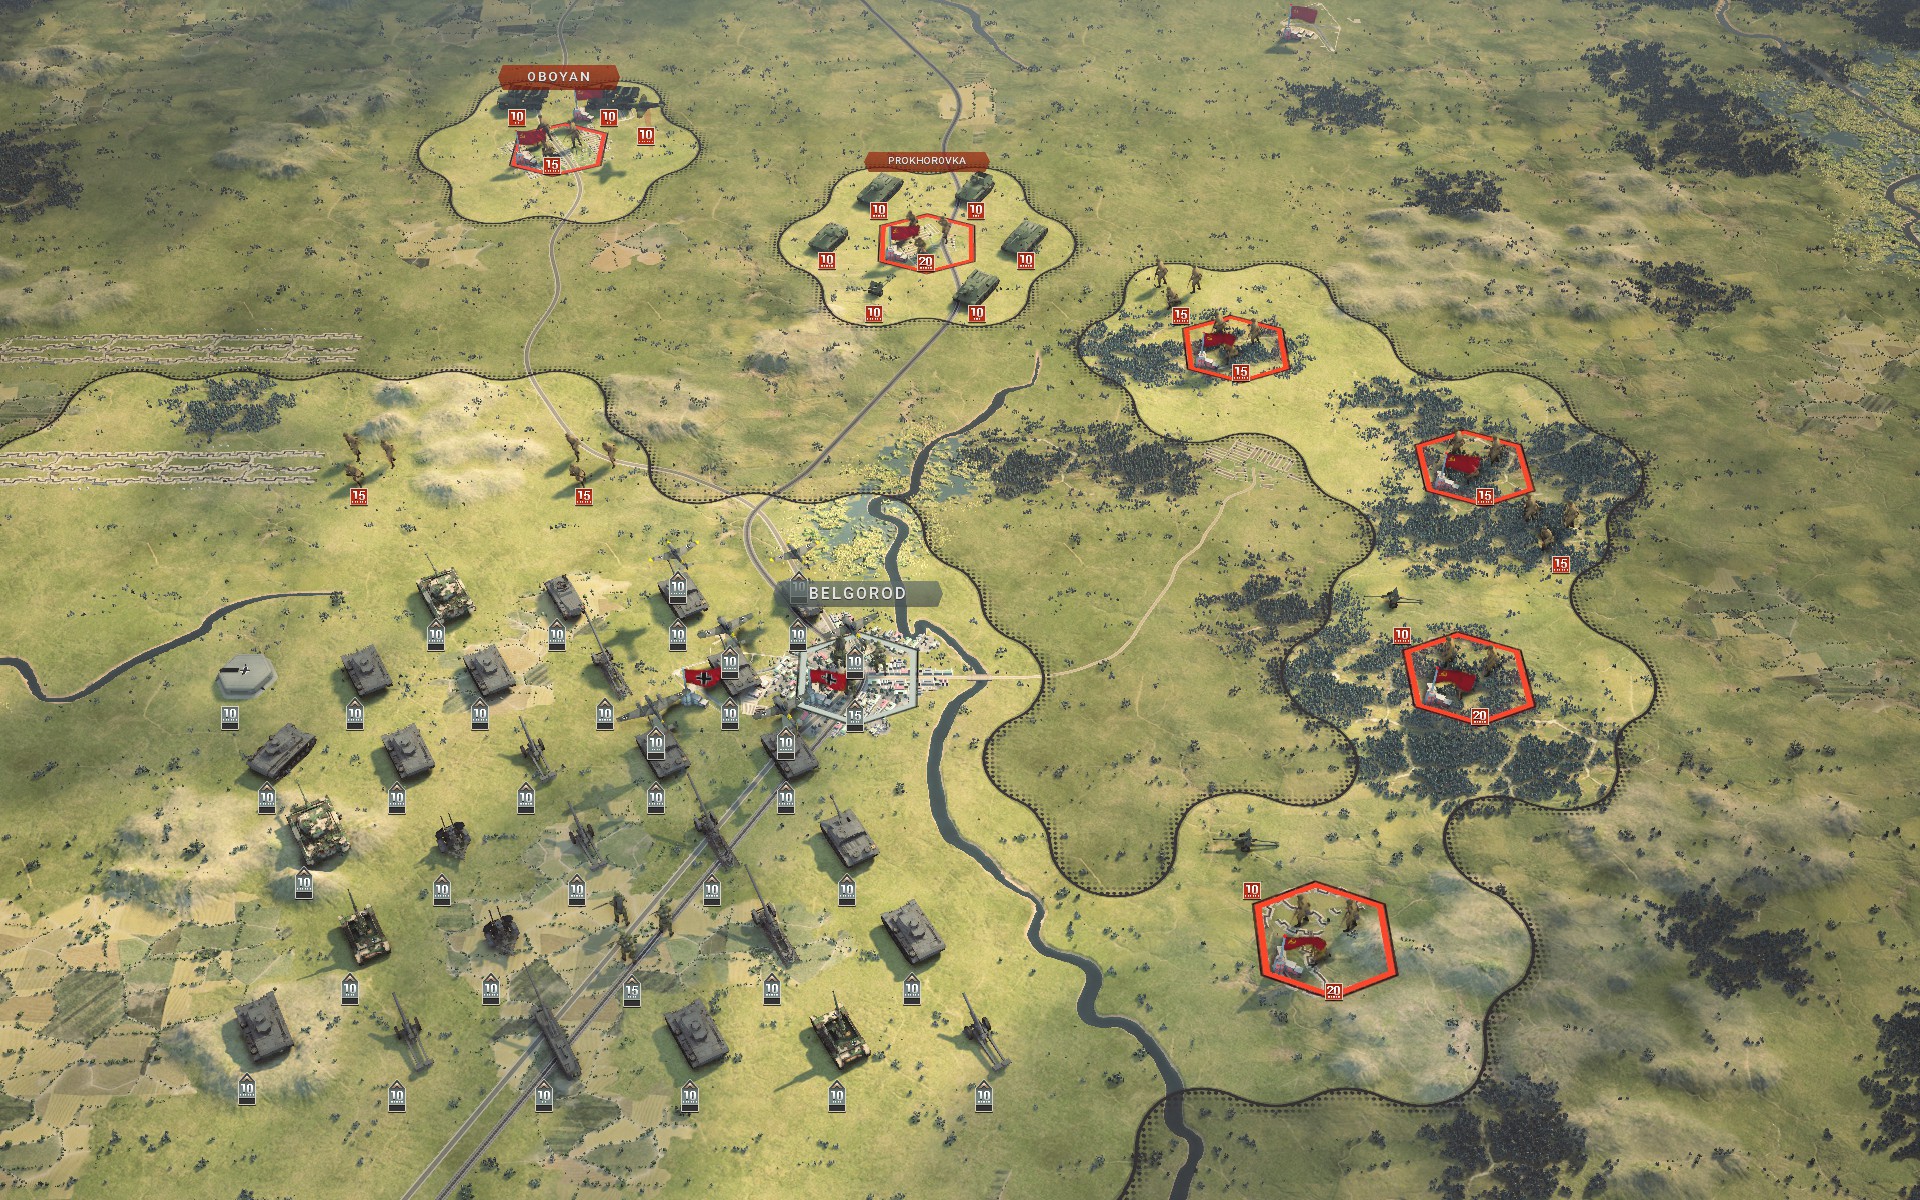
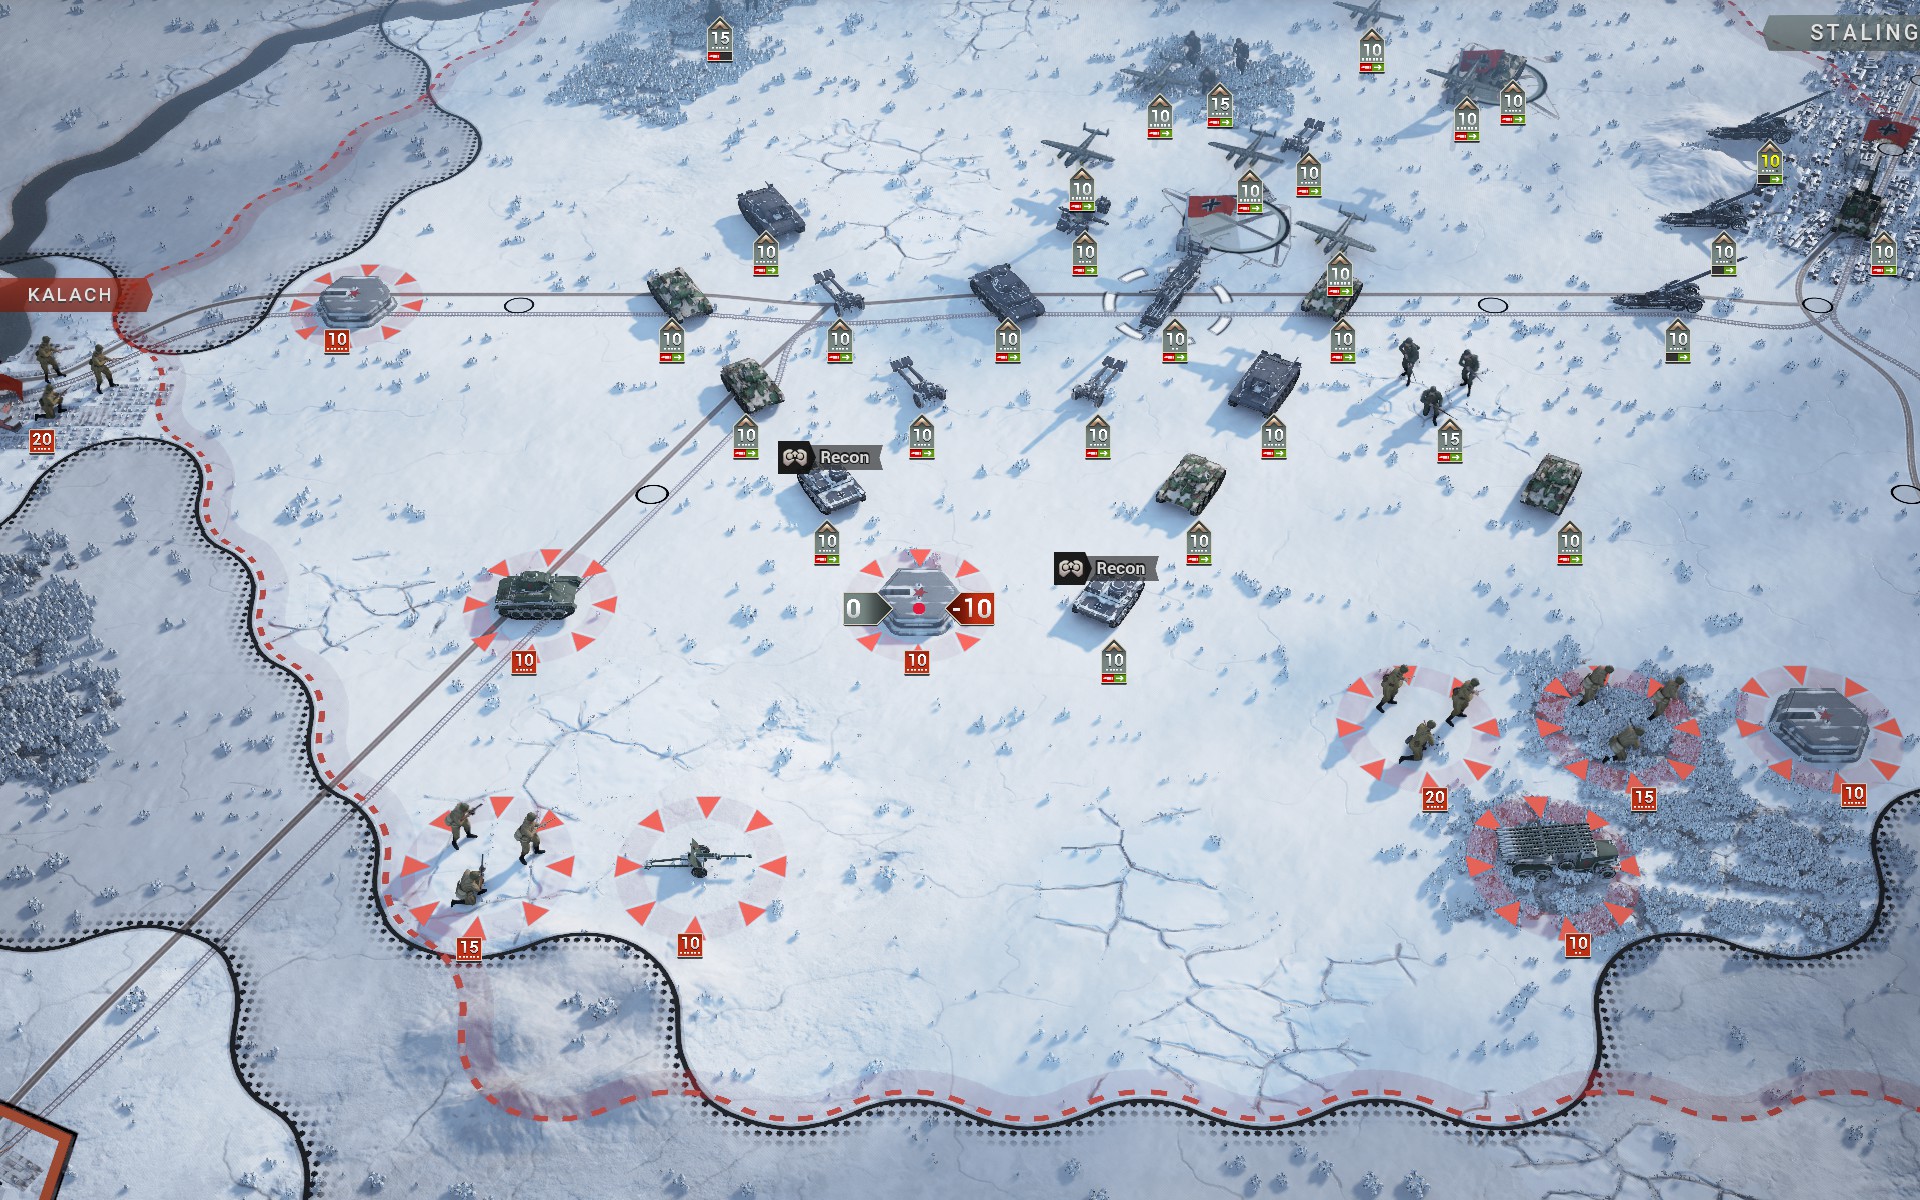
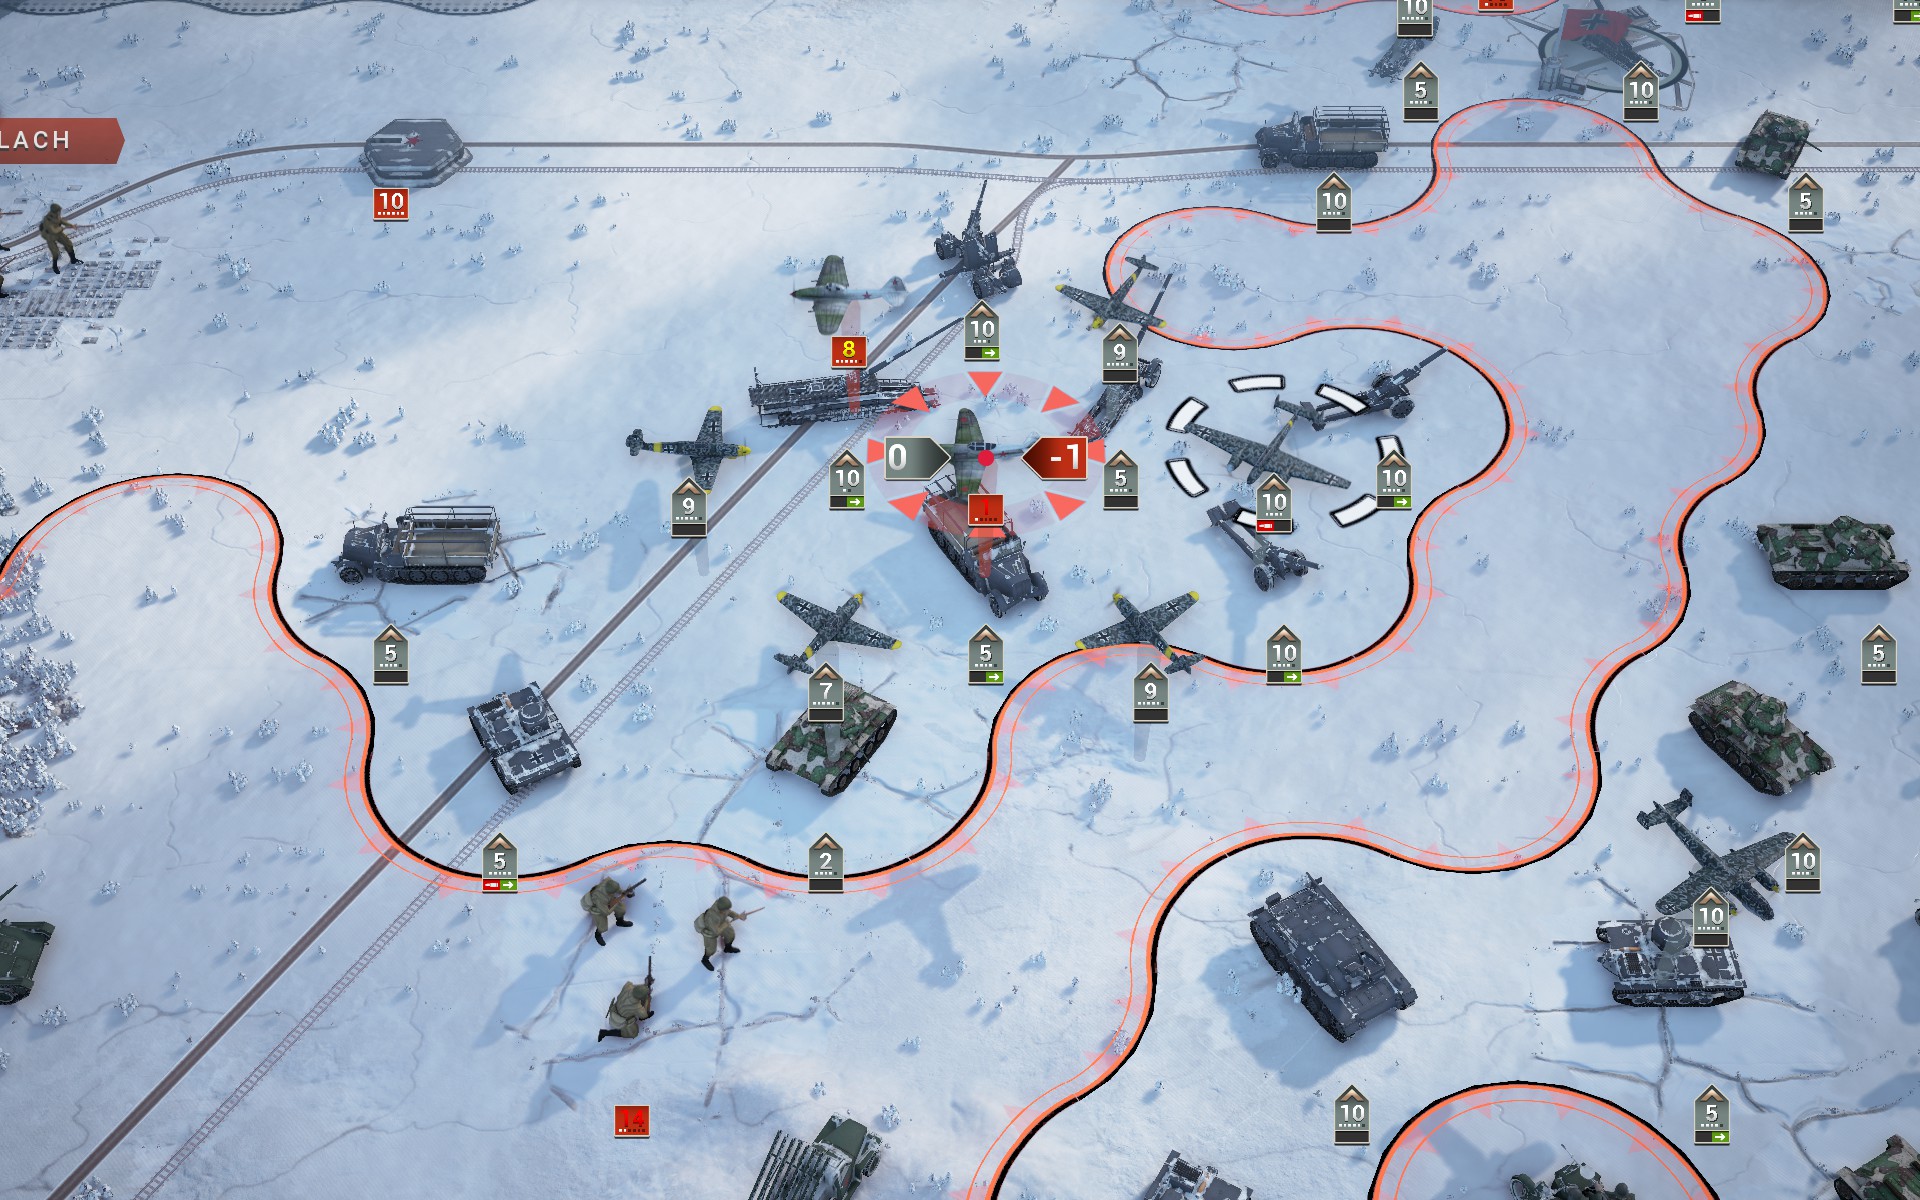
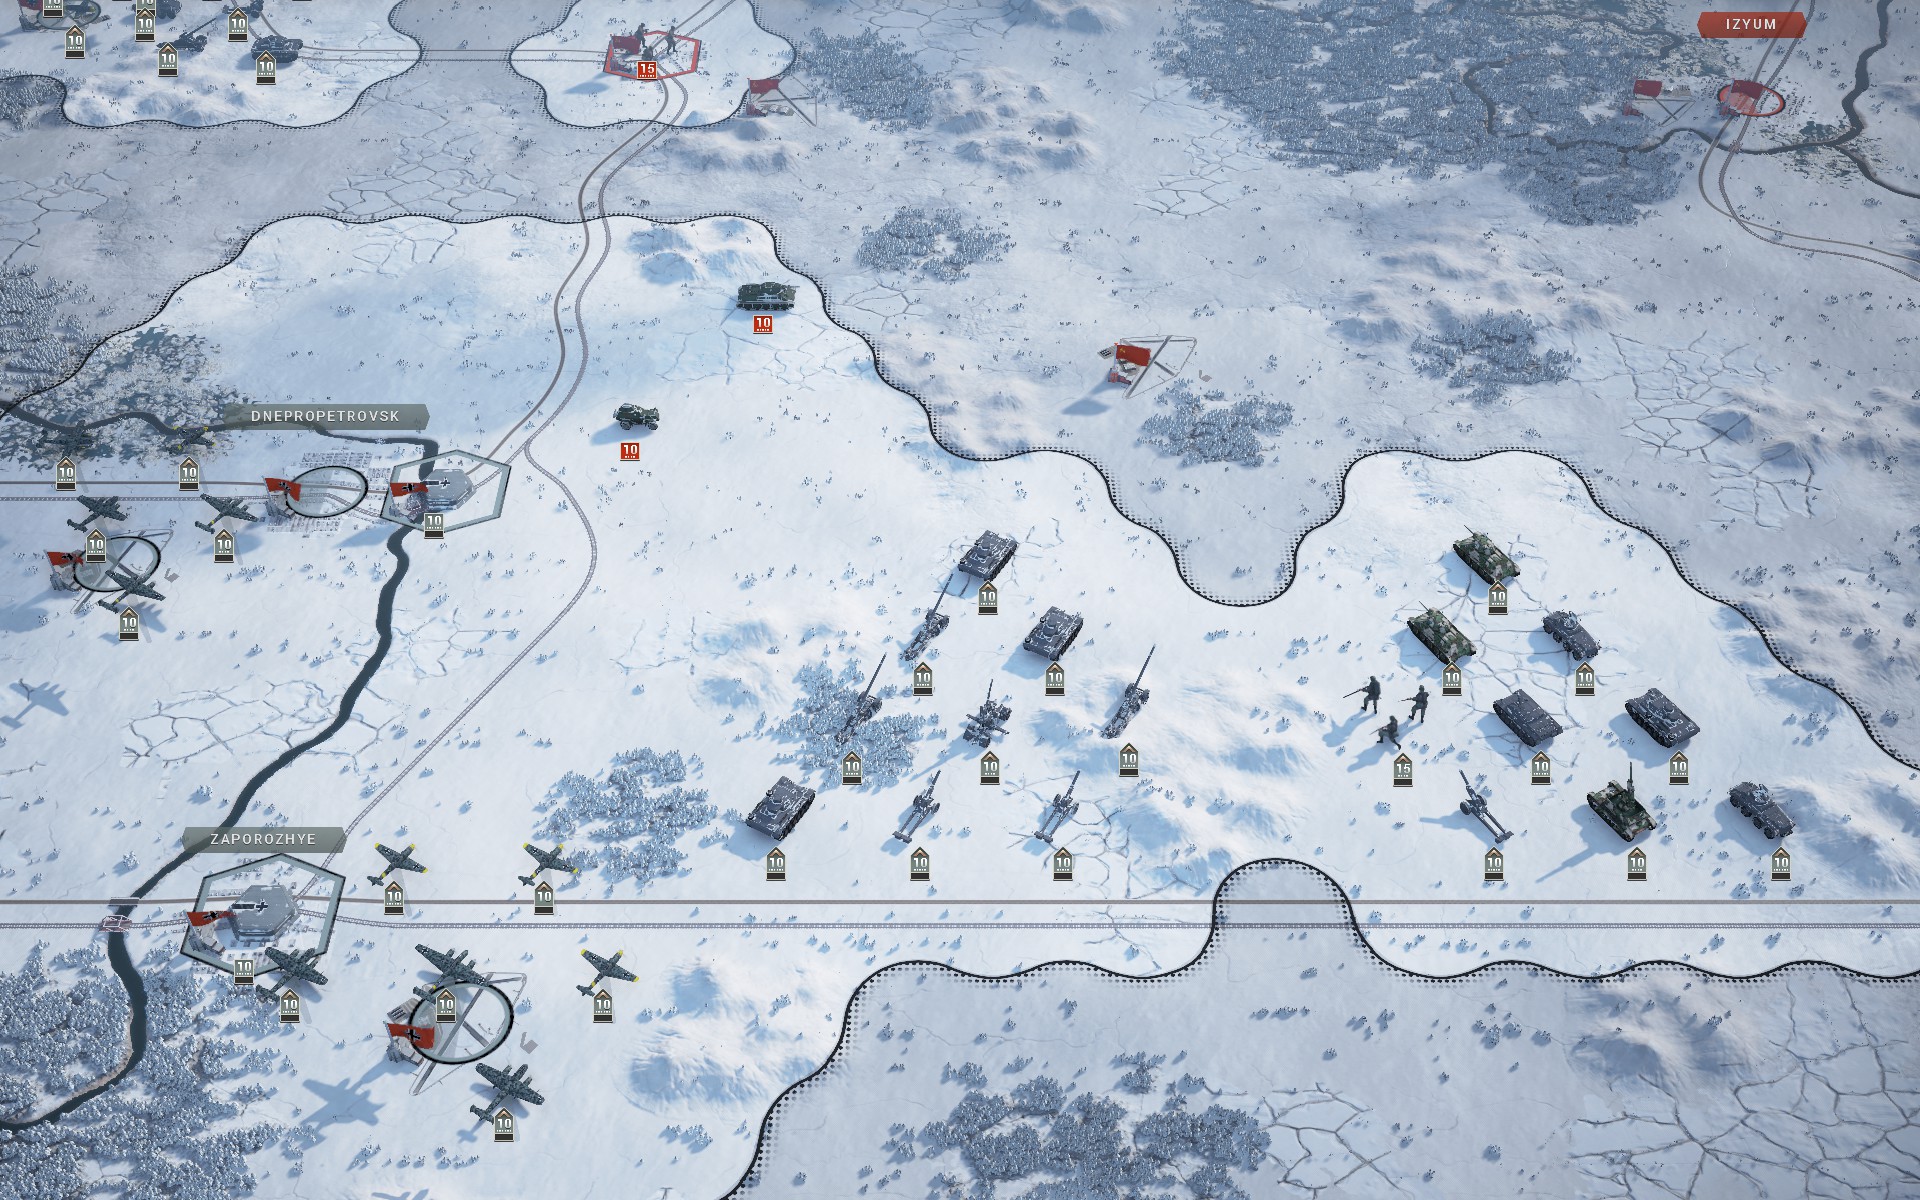
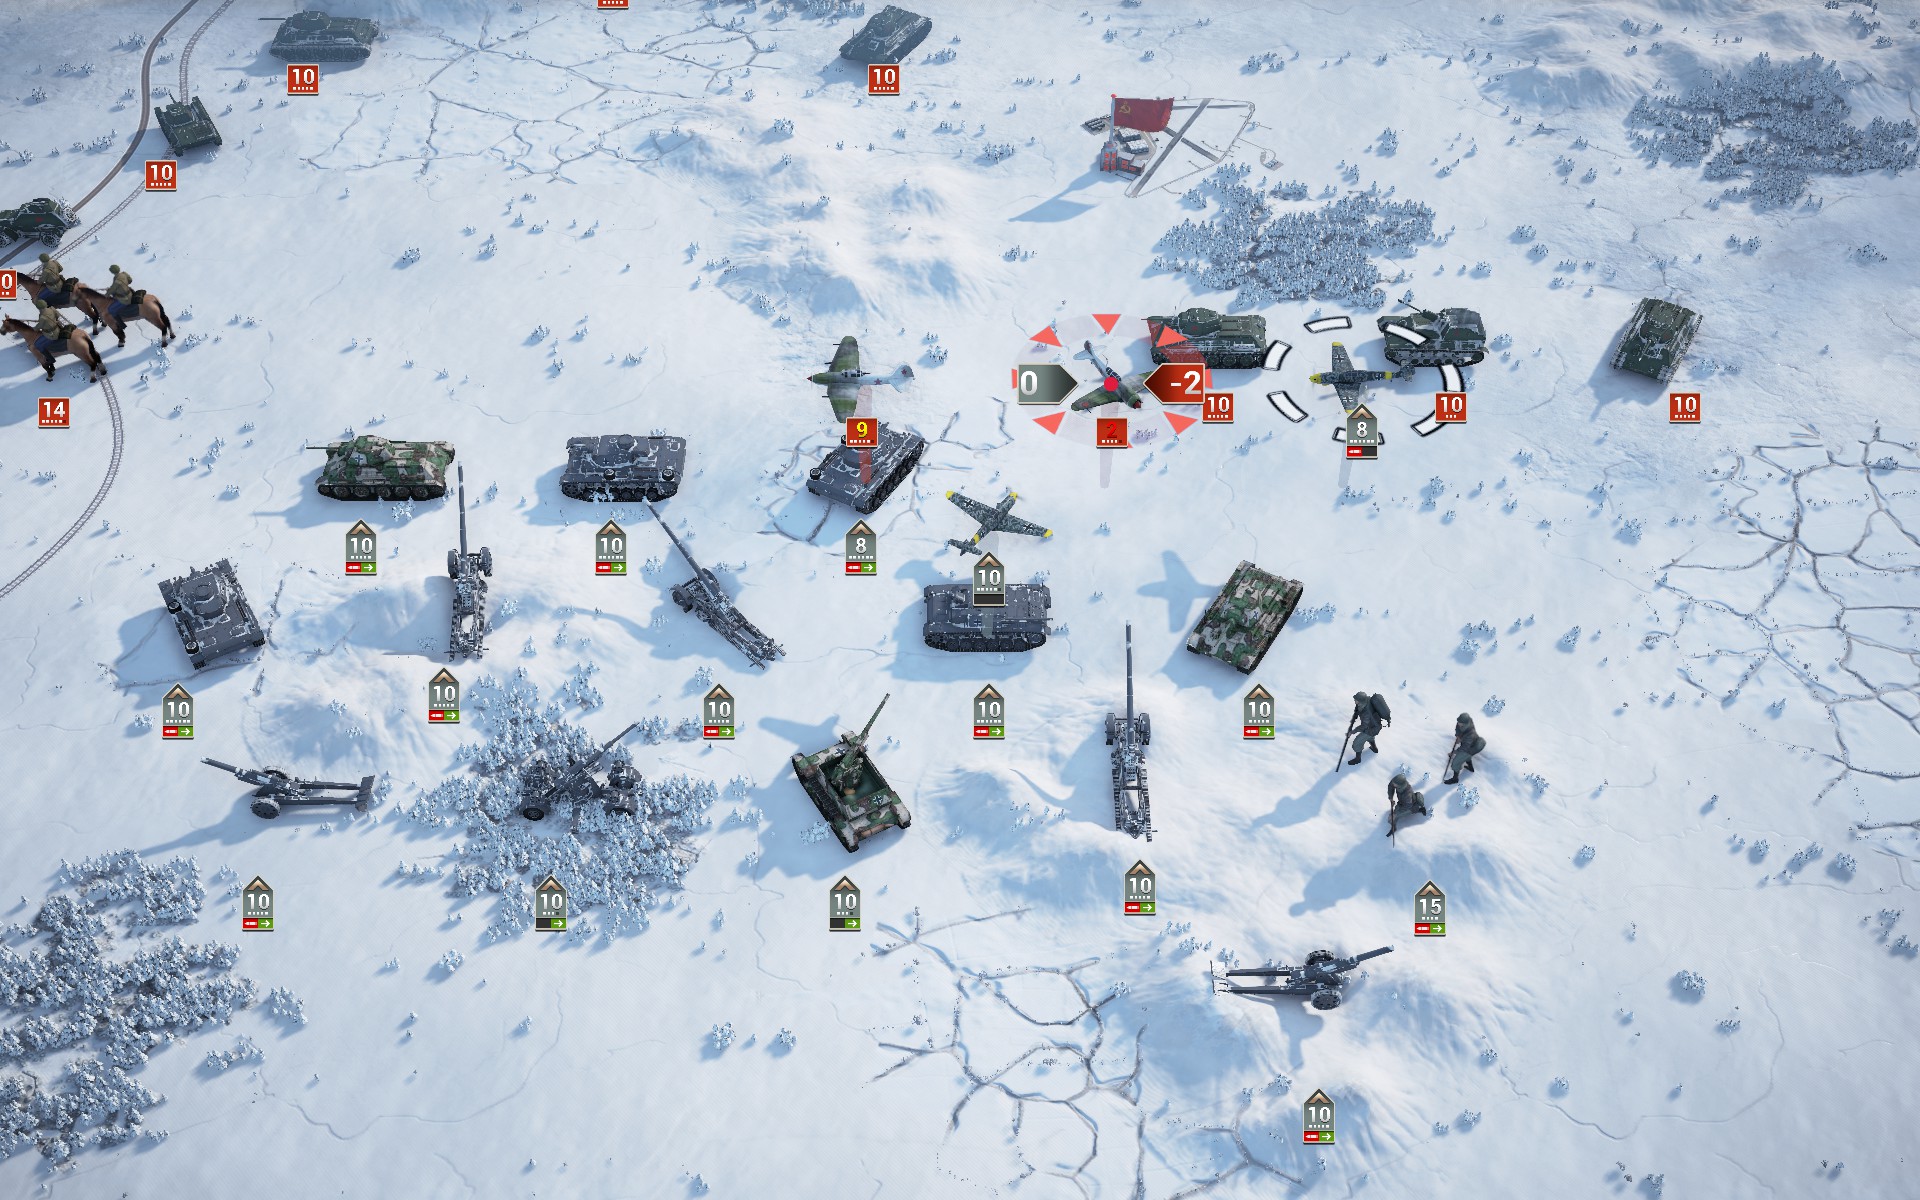
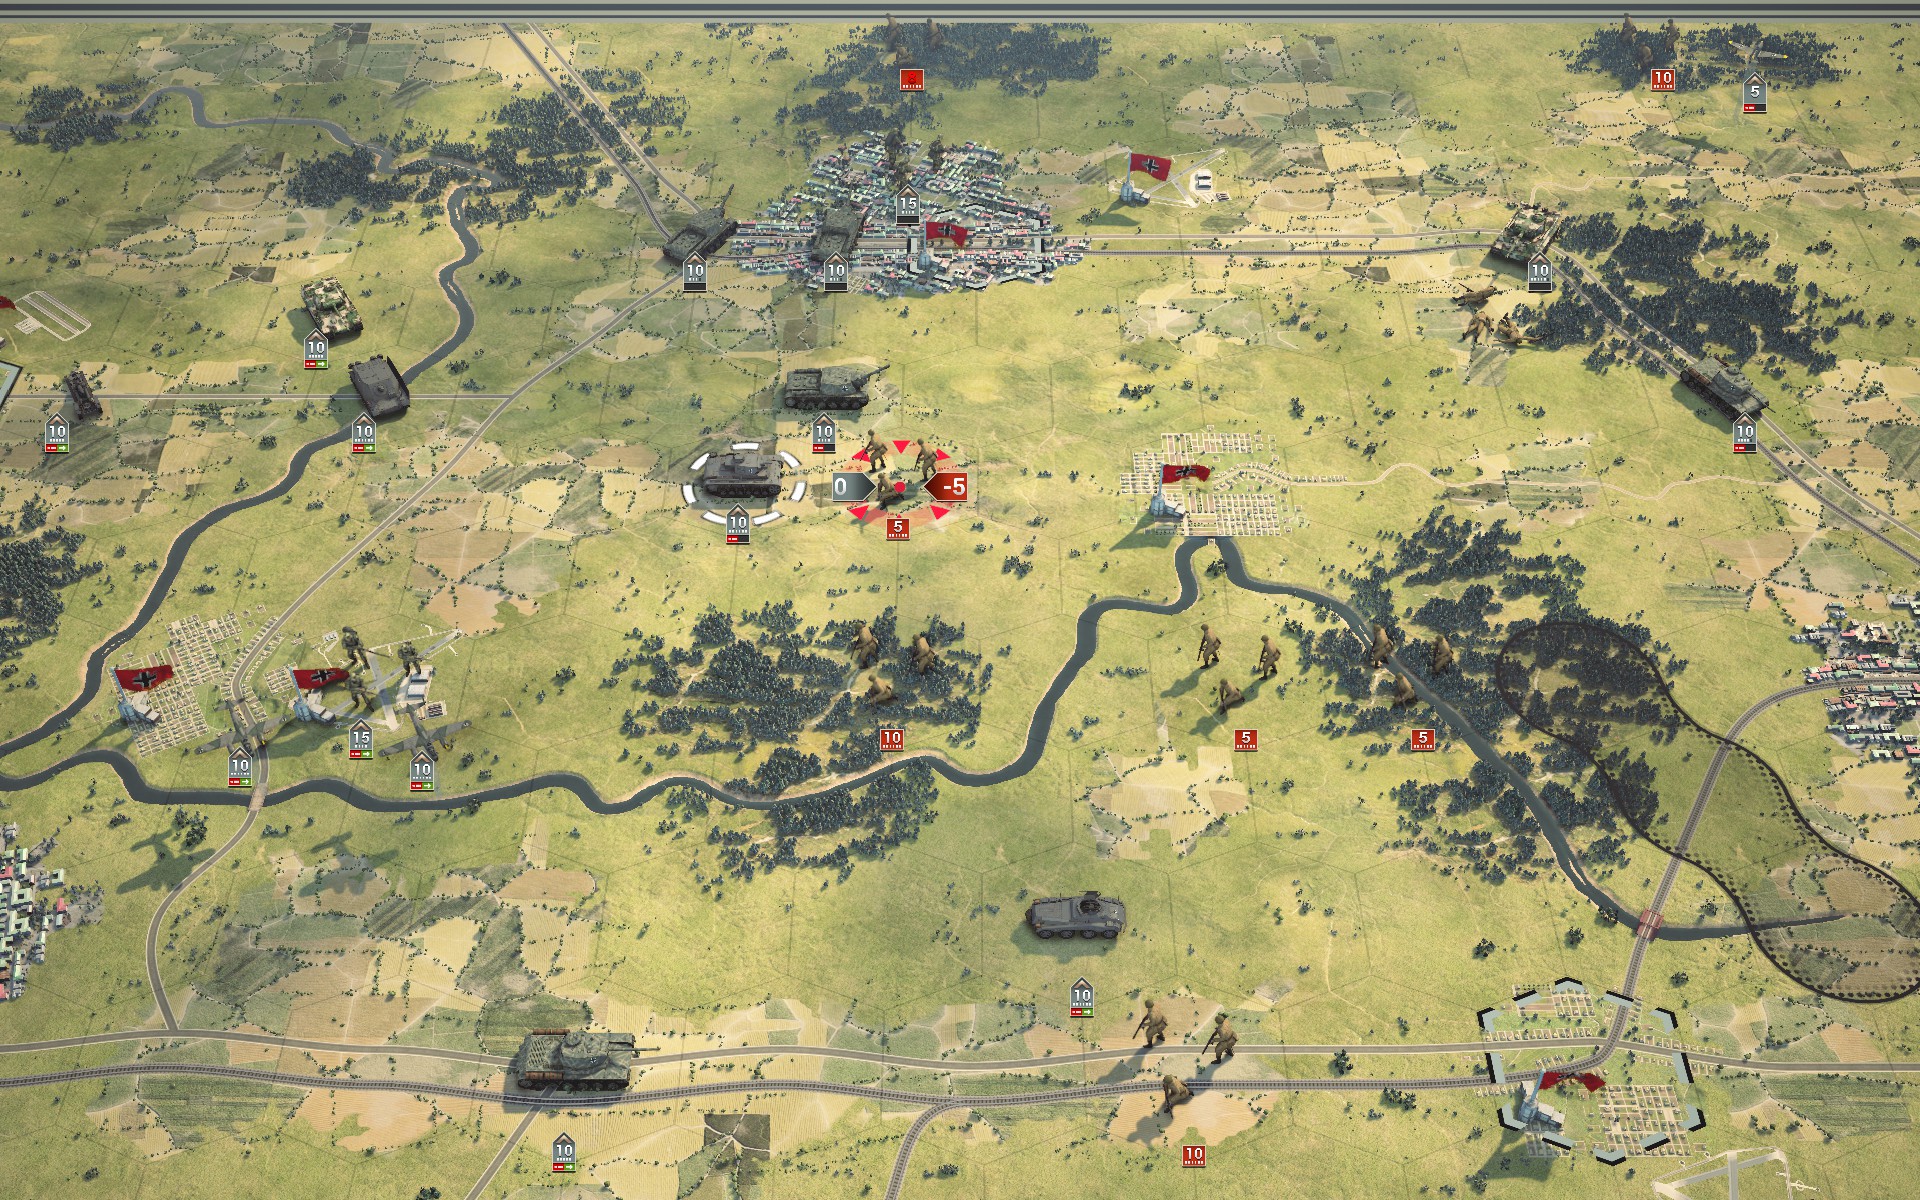
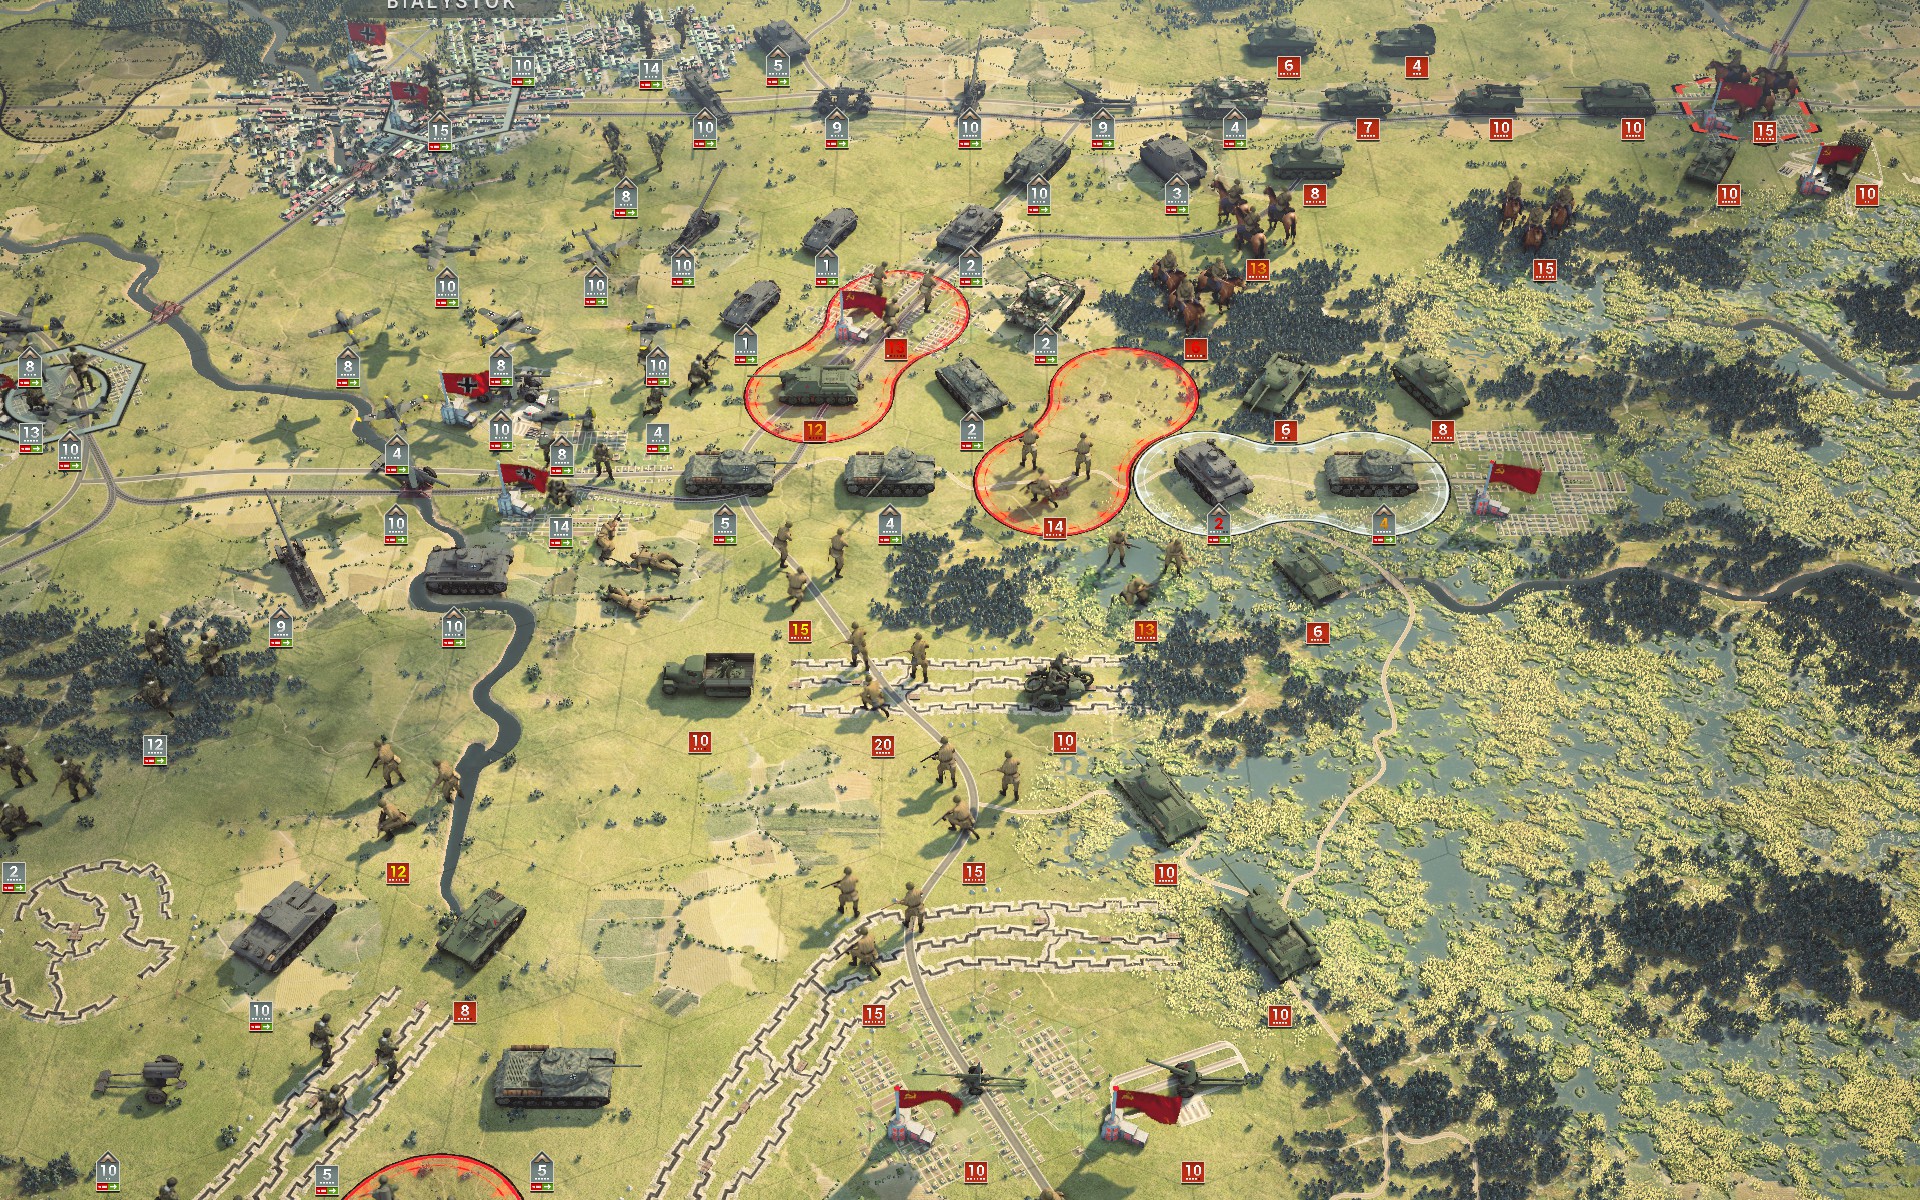
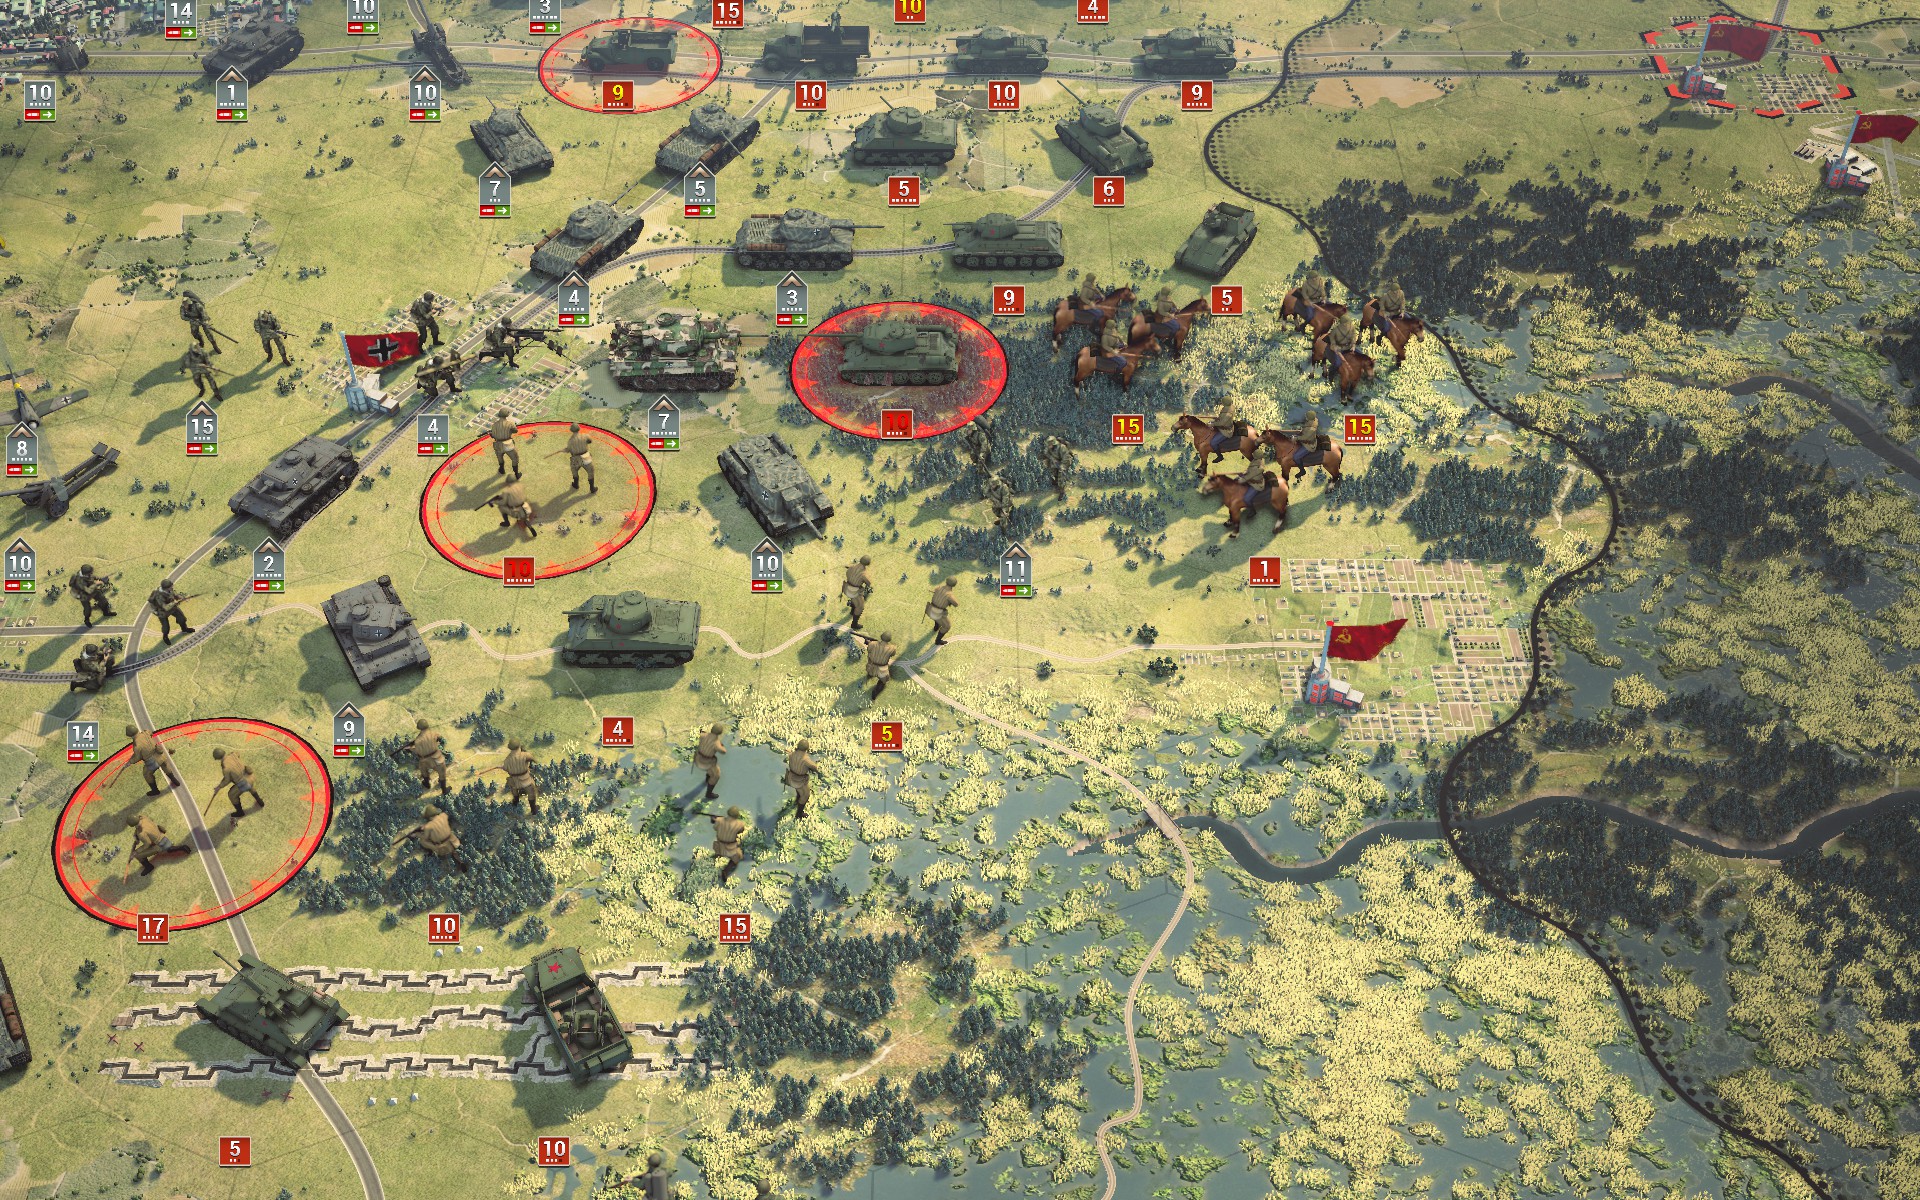
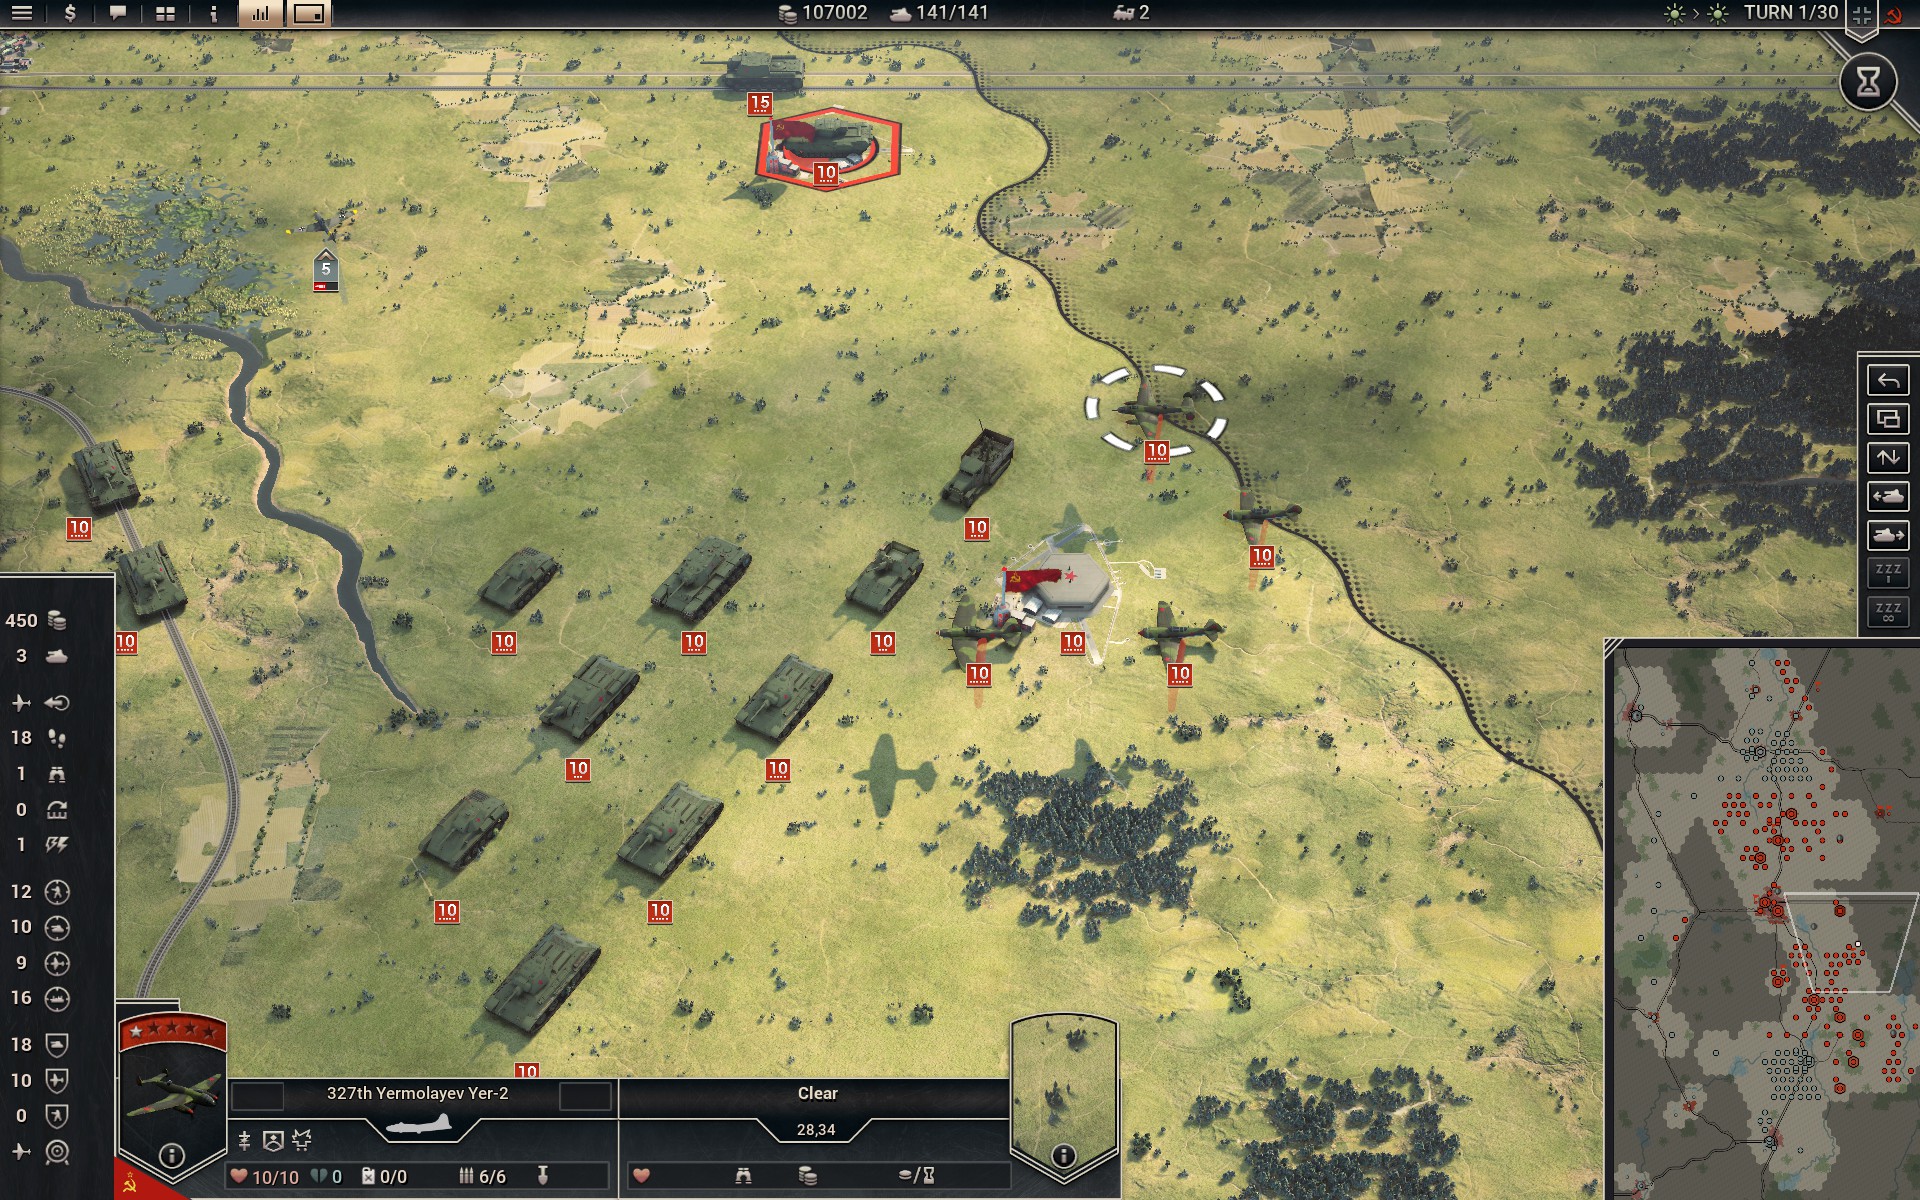
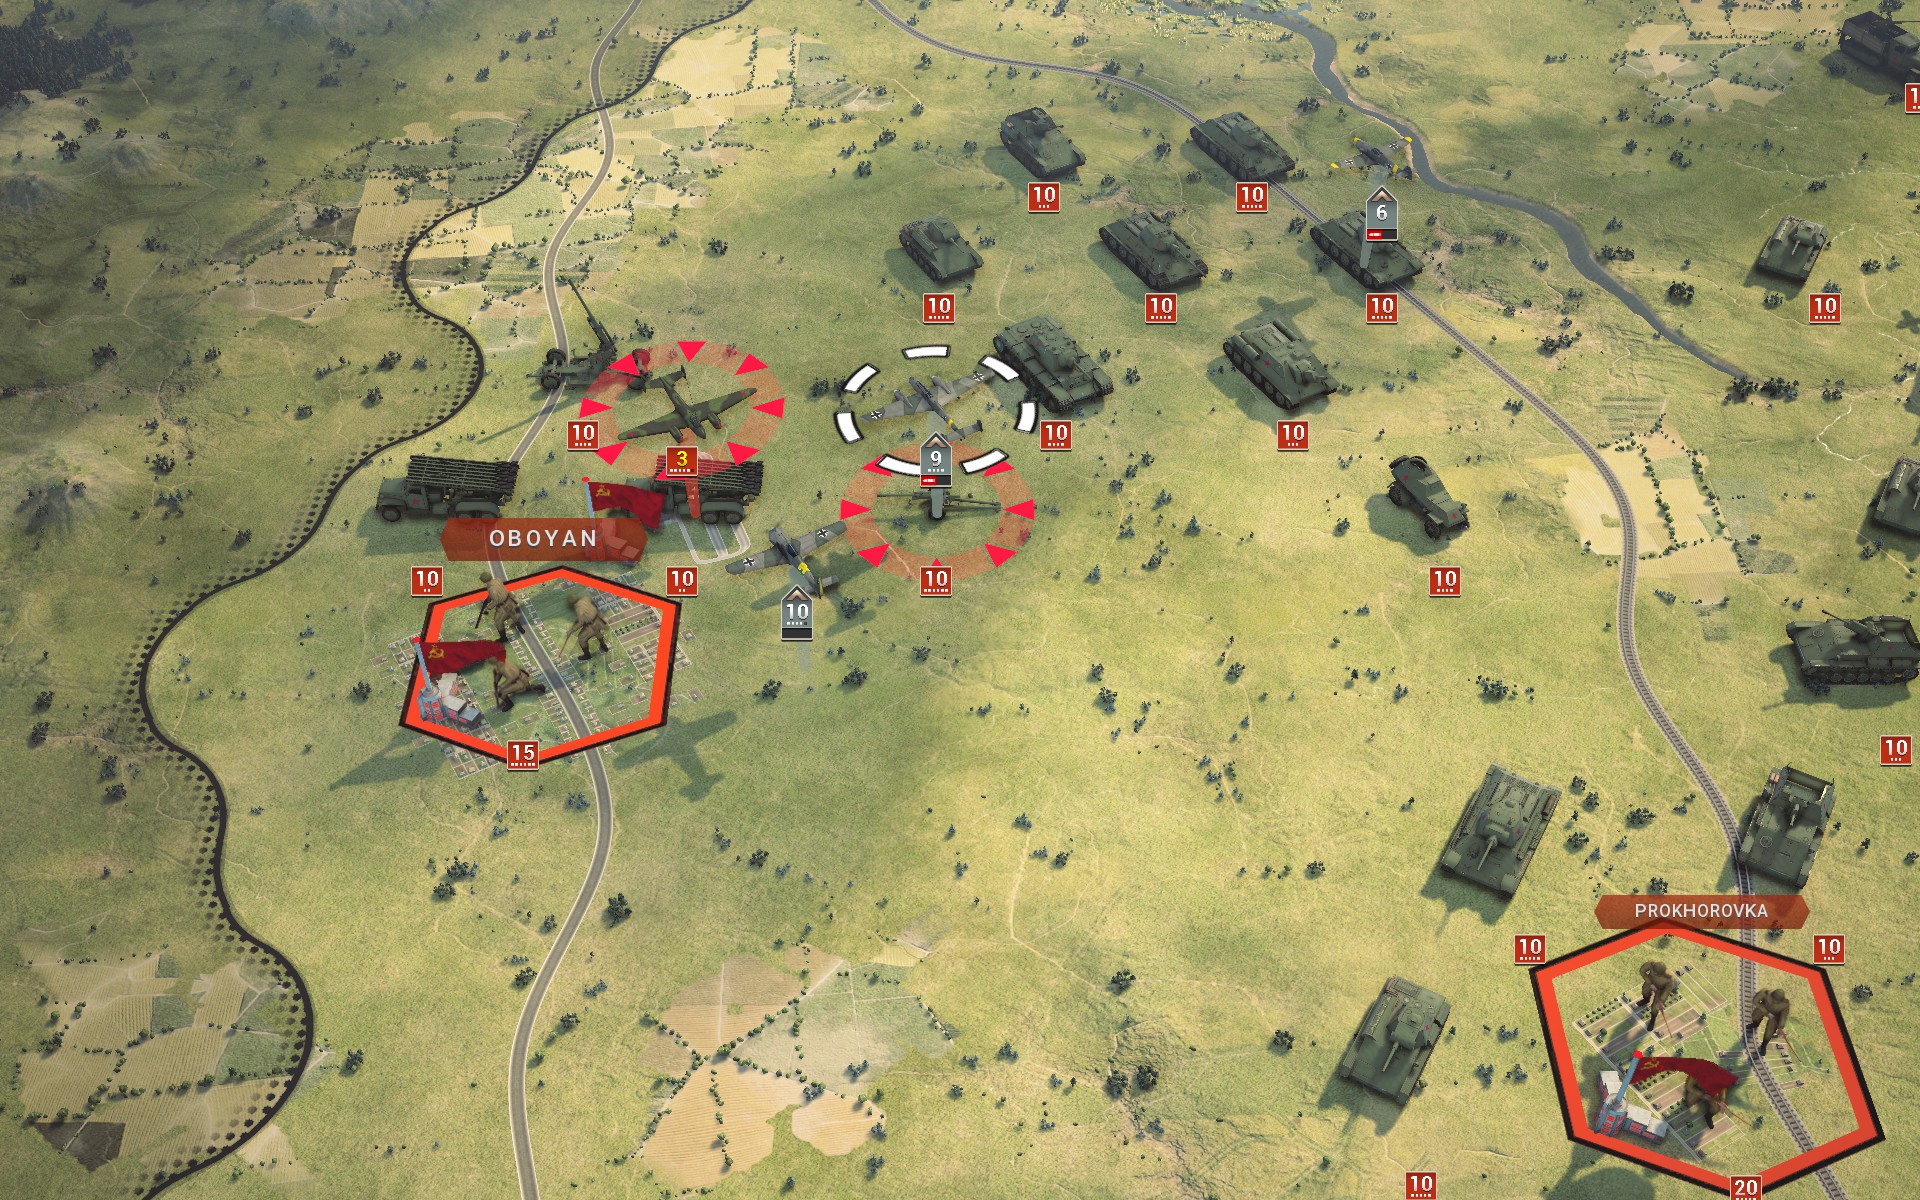
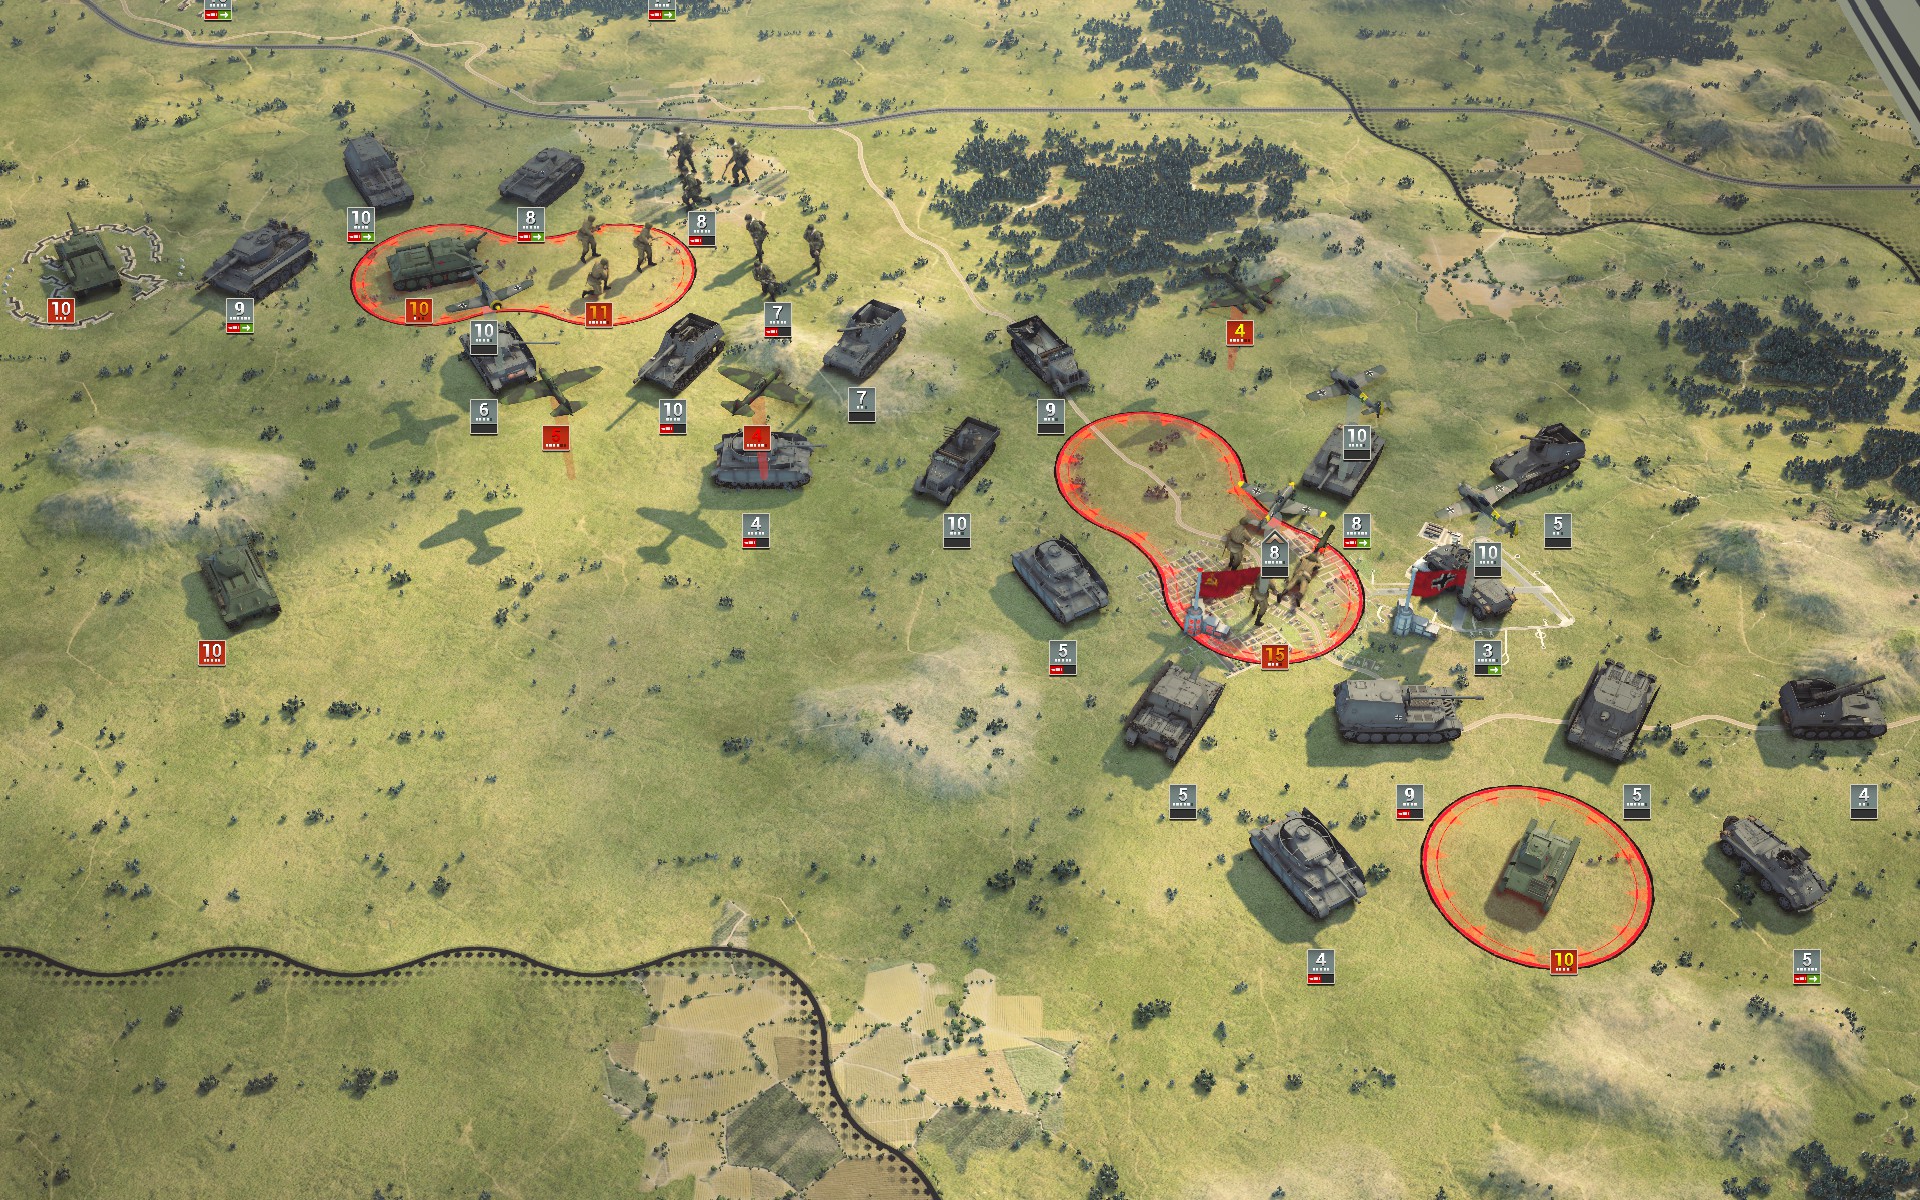
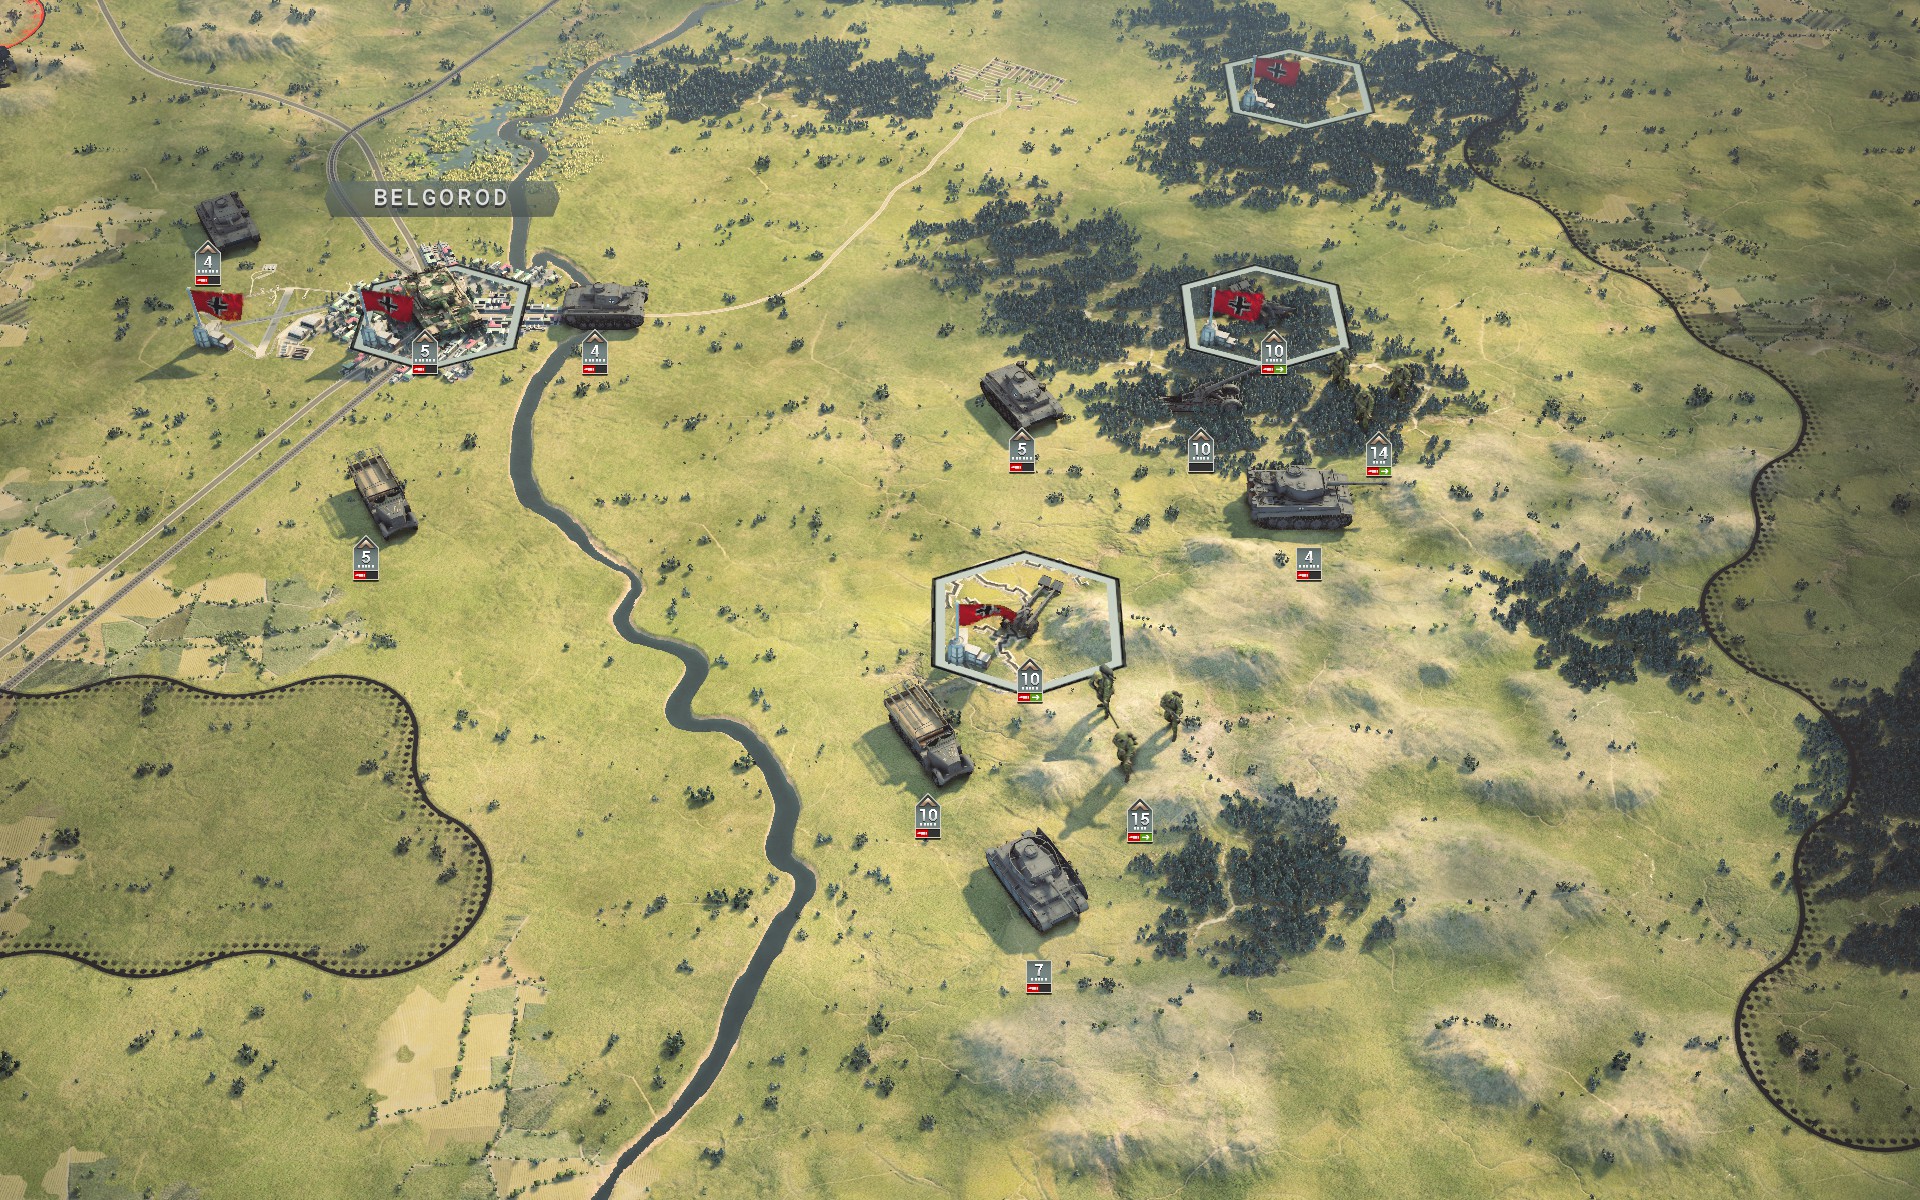
Deep Recon confirms intelligence reports of Soviet armour massing at Prokhorovka, while the objectives east of Belgorod appear to be lightly defended by a few infantry battalions and AT guns. The bulk of my forces will cross the Donets and capture the objectives before heading north over the hills east of Prokhorovka, while Gustav and a token force remain at Belgorod to protect the flank.
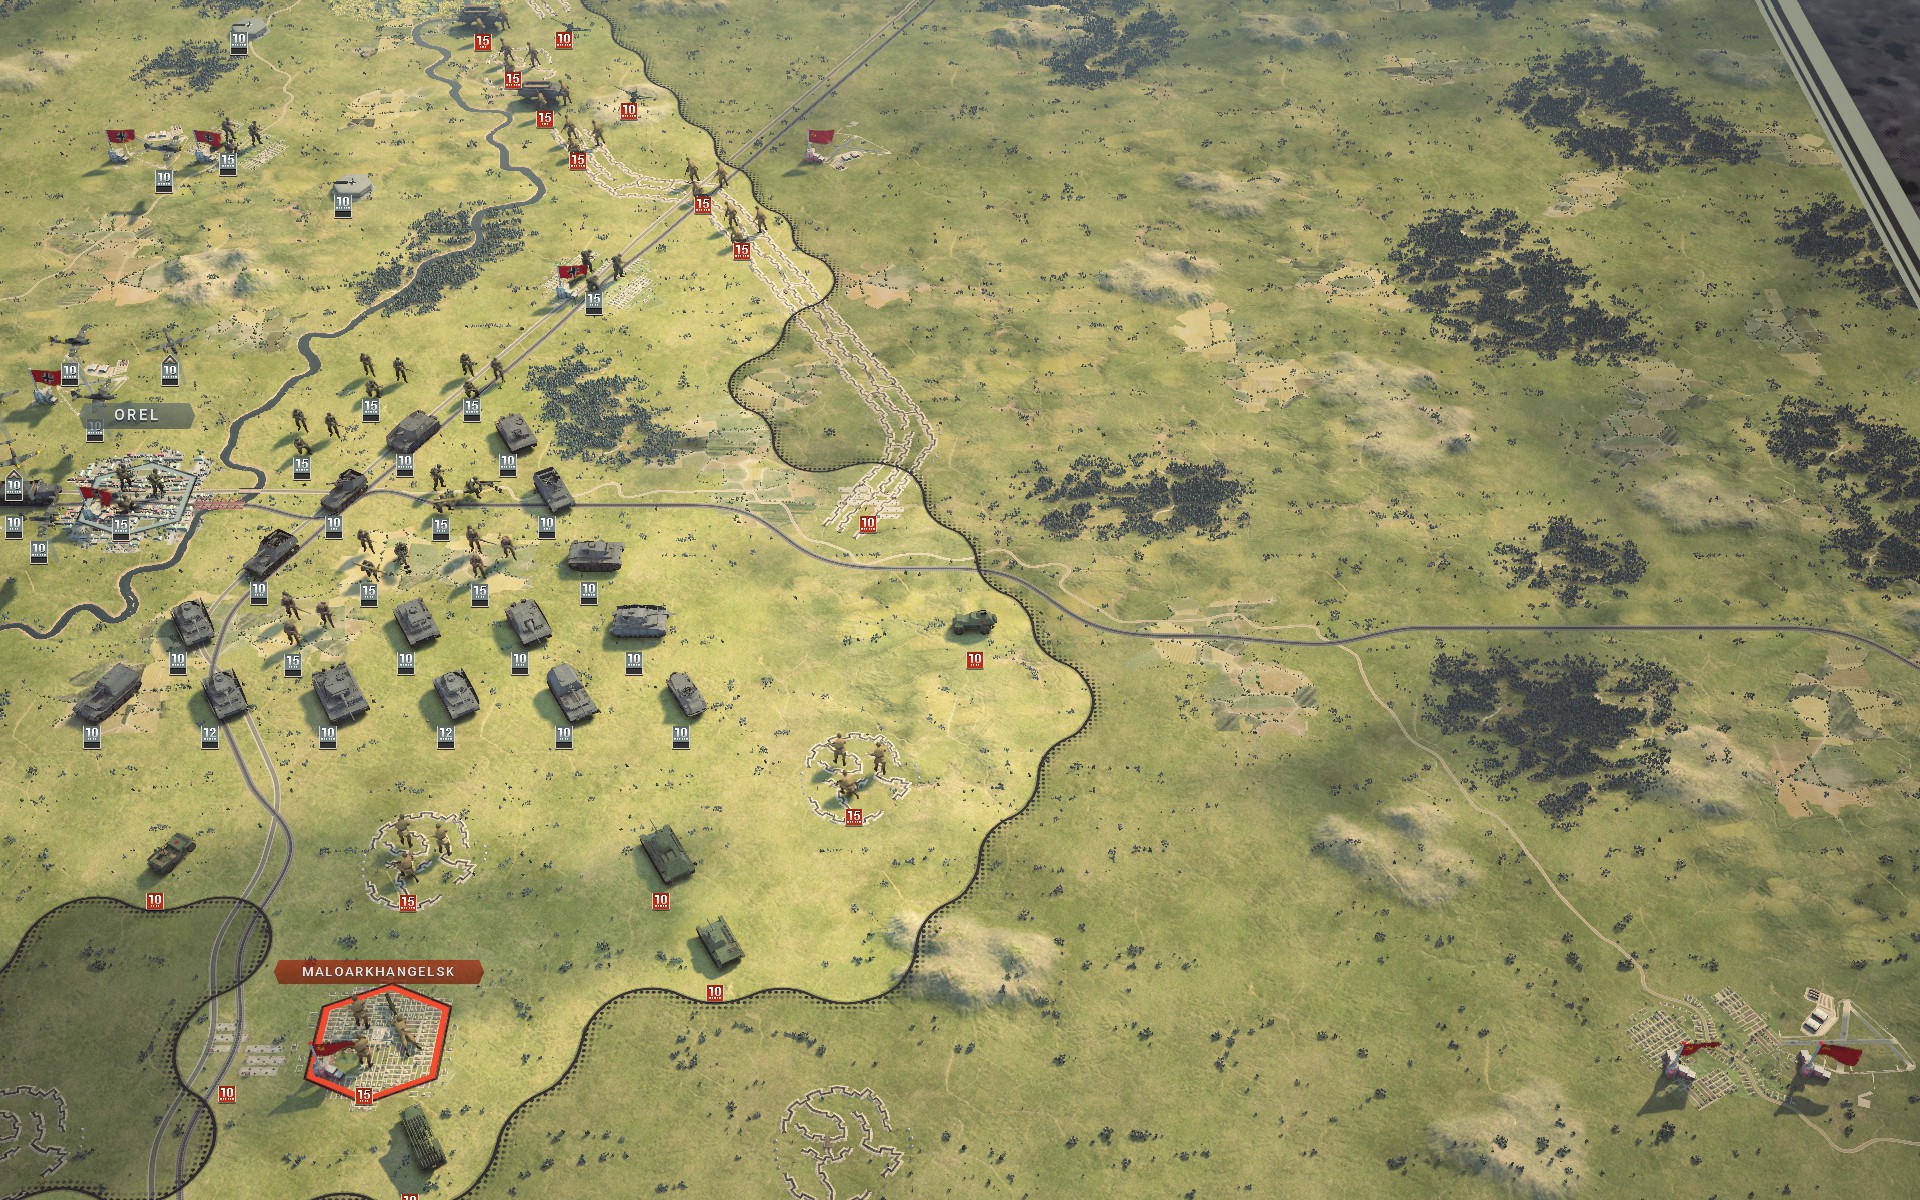
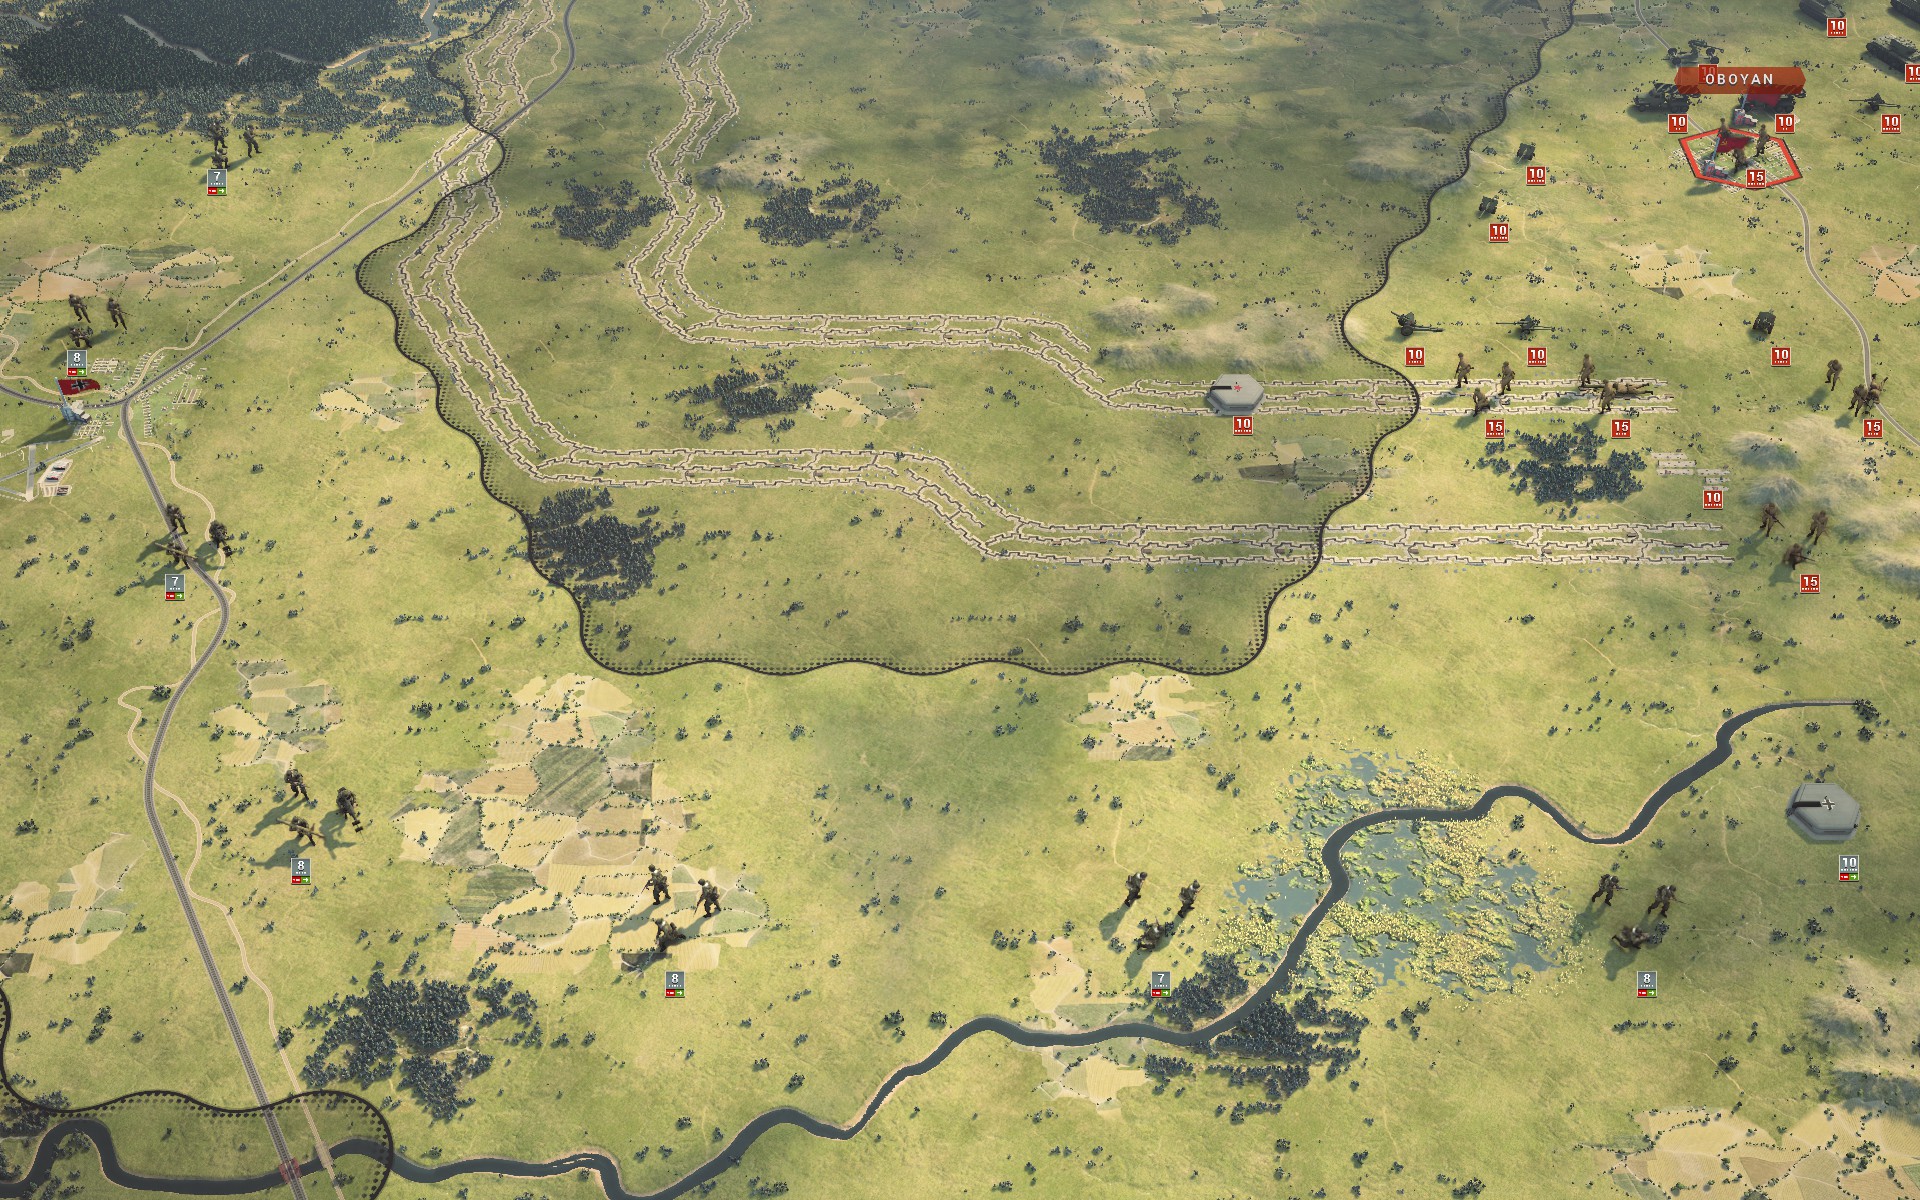
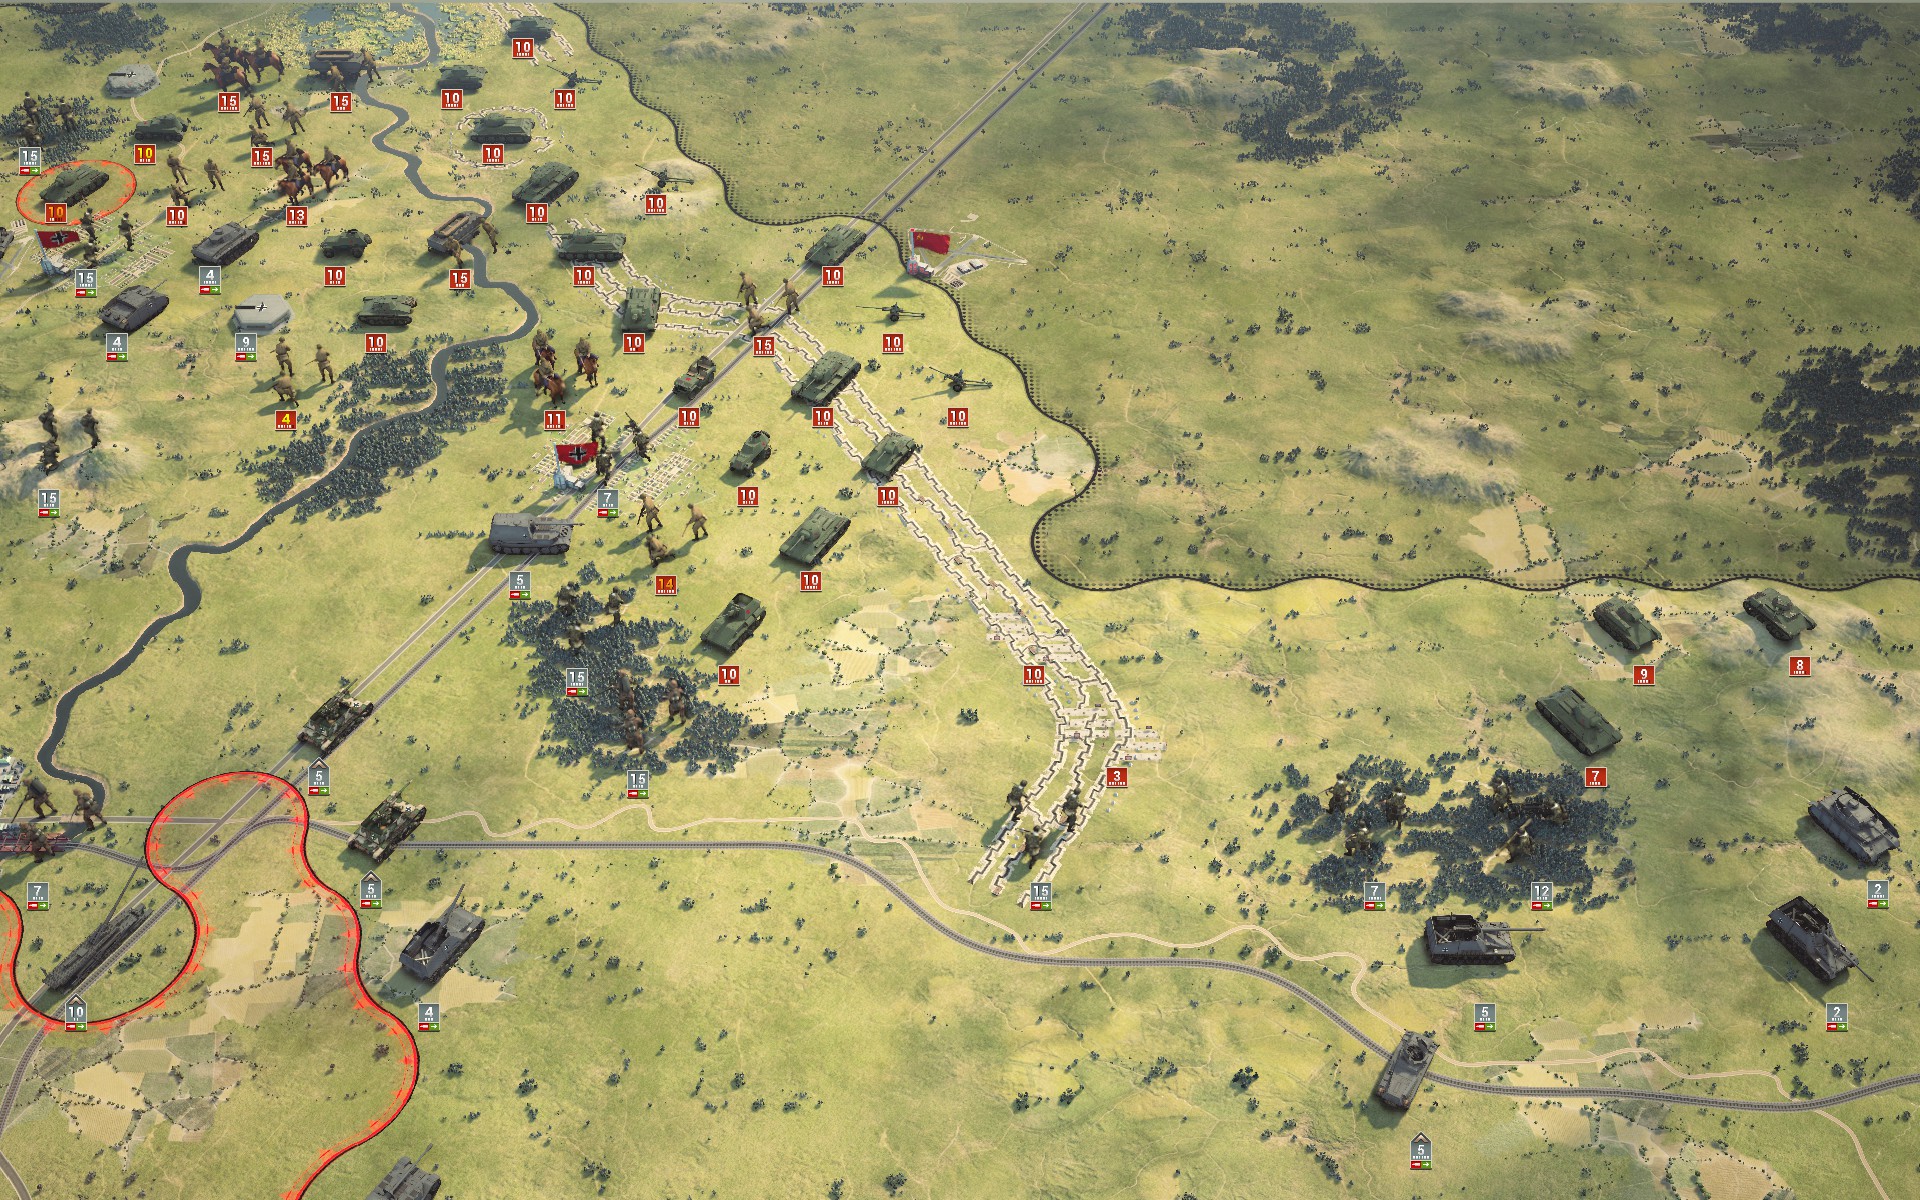
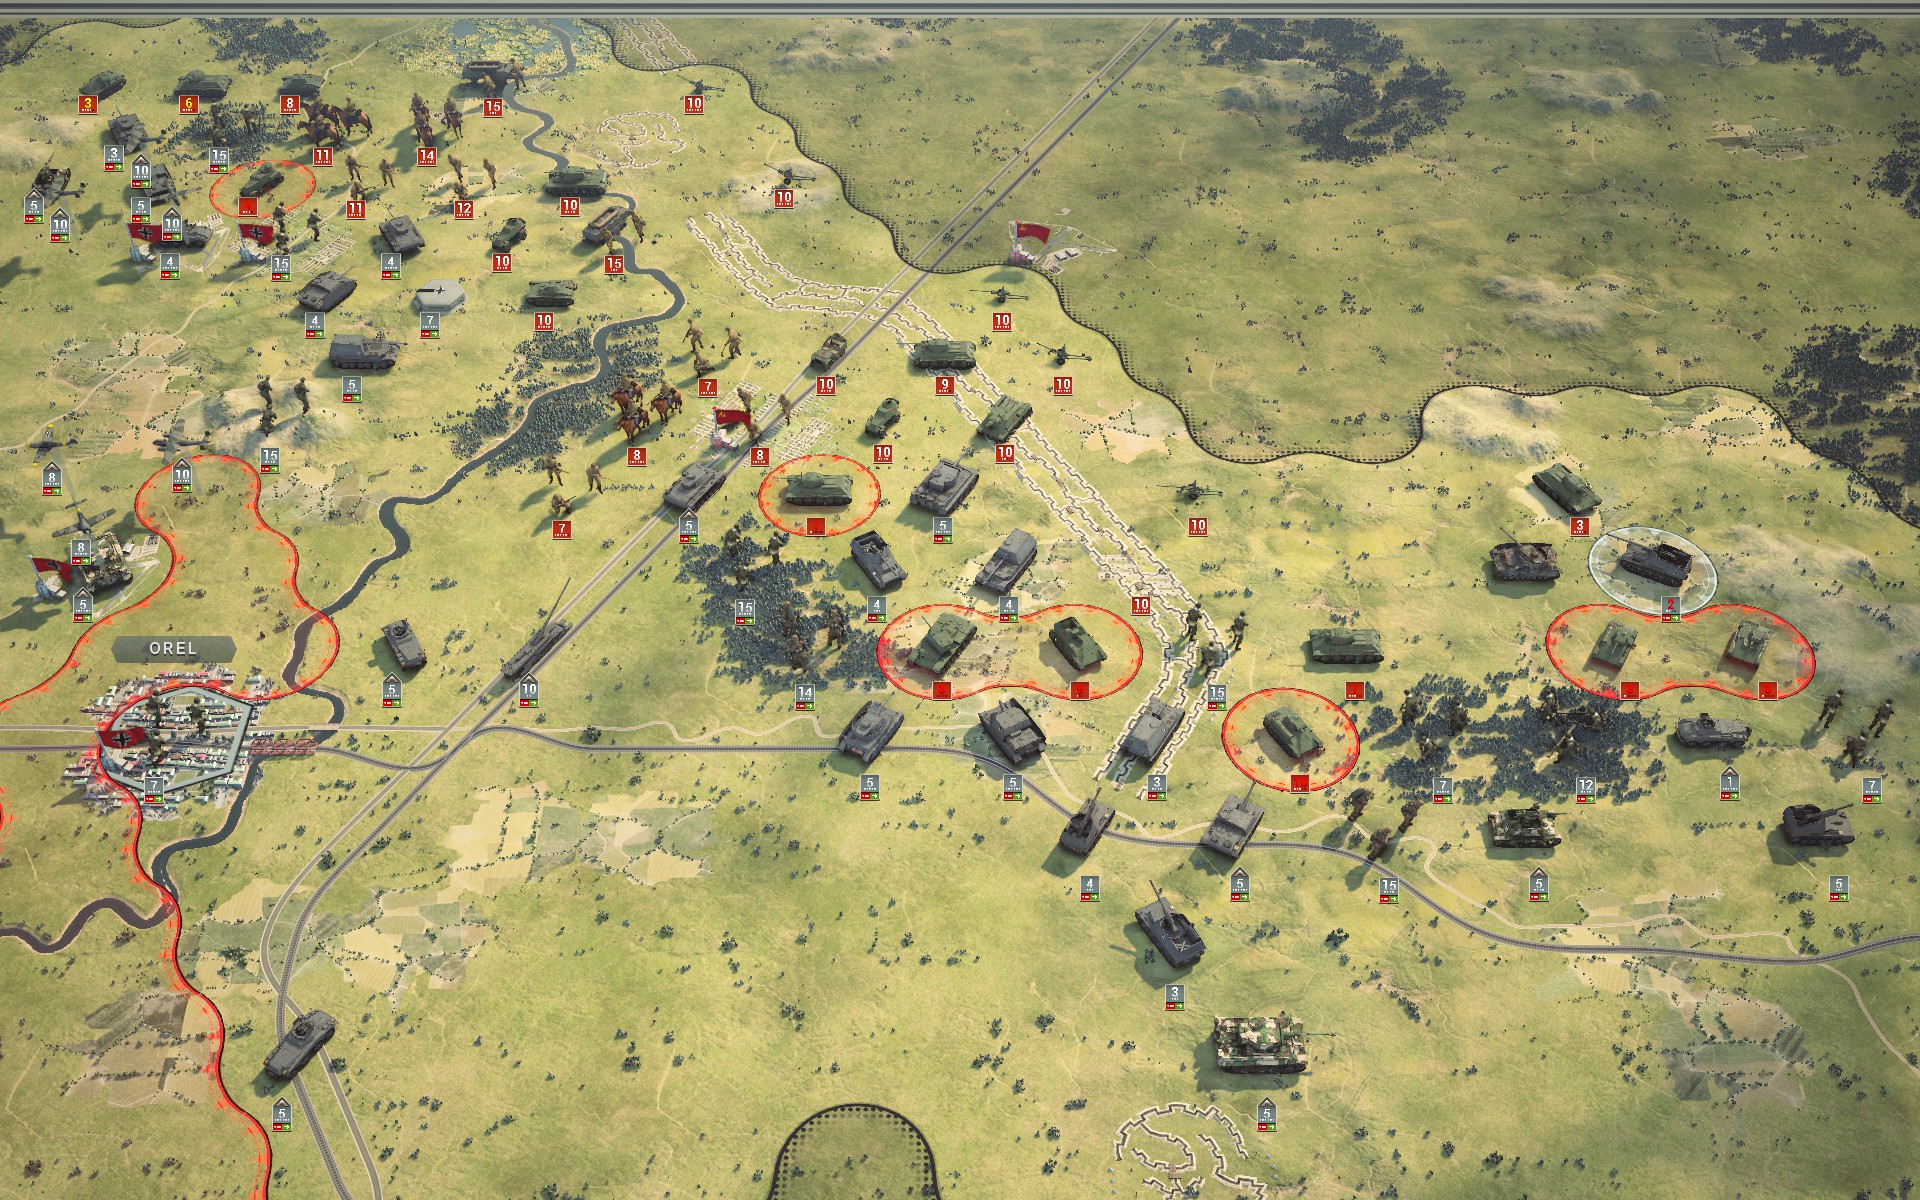
The bridge engineers in the north suggest that the Red Army is planning to cross the Oka at some point, so I will leave the infantry and a few Panzers behind to fortify the region around Orel; by using the terrain to their advantage they should be able to buy enough time for the auxiliary force to reposition should it prove necessary. The rest of the battlegroup will make their way east through the gap between the Kursk salient and the northern earthworks, and then turn south towards the town of Livny.
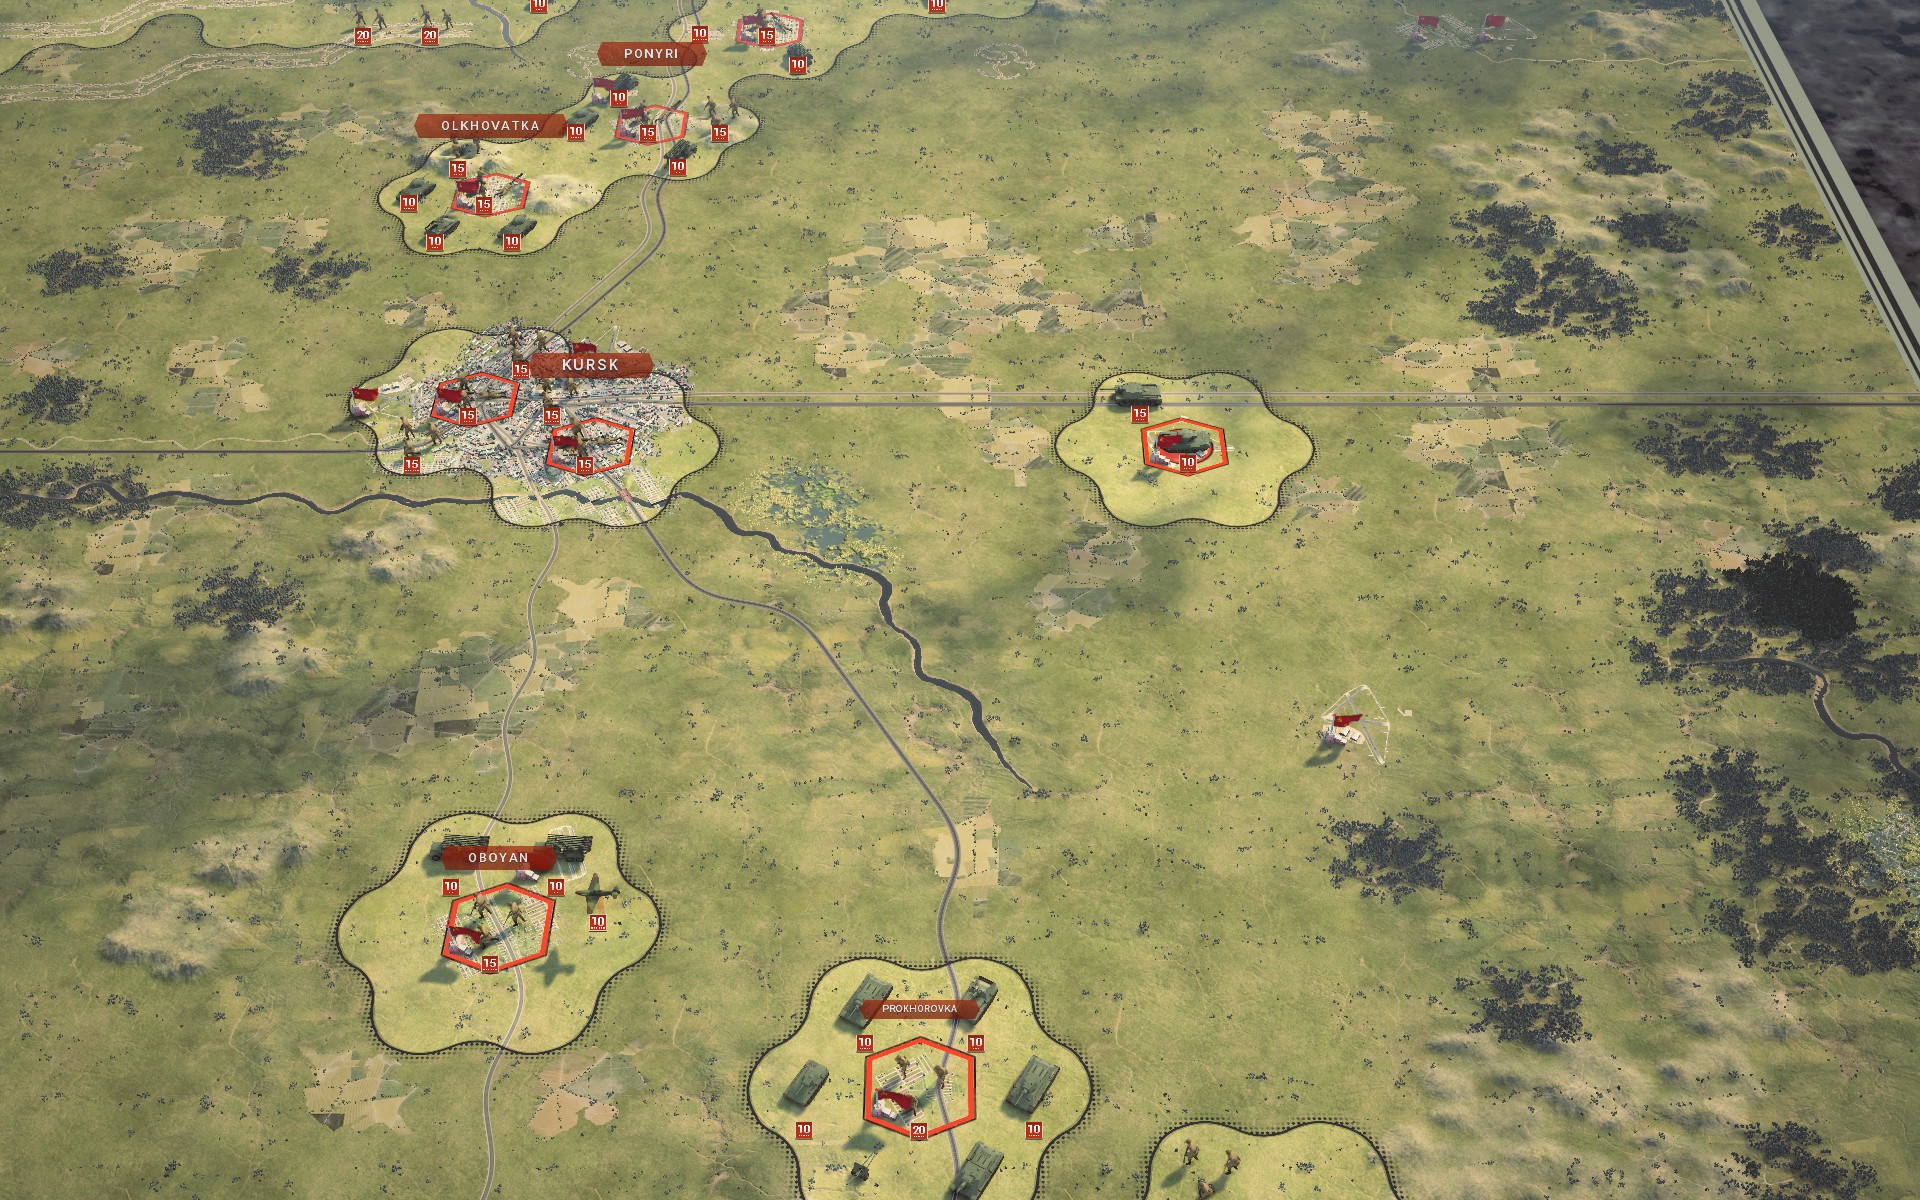
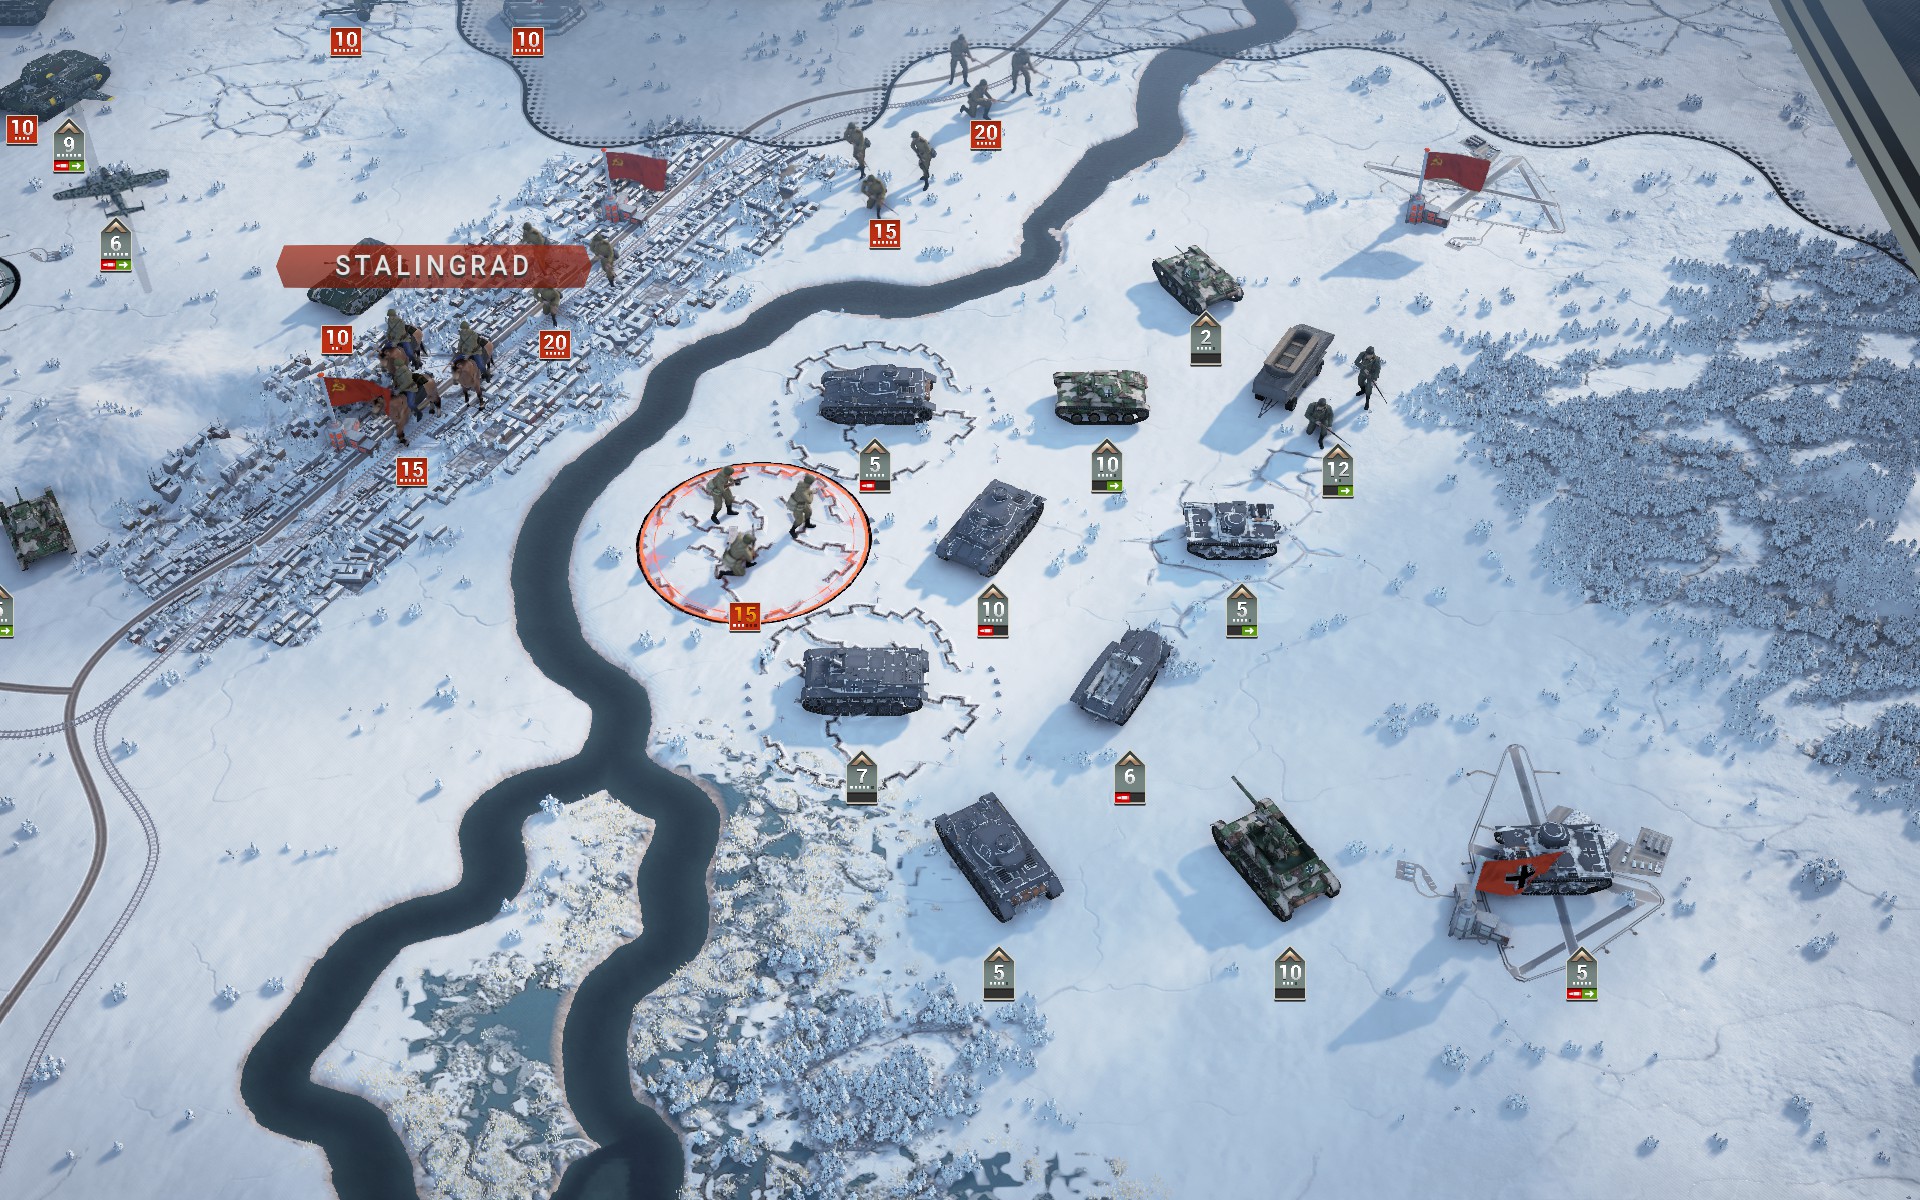
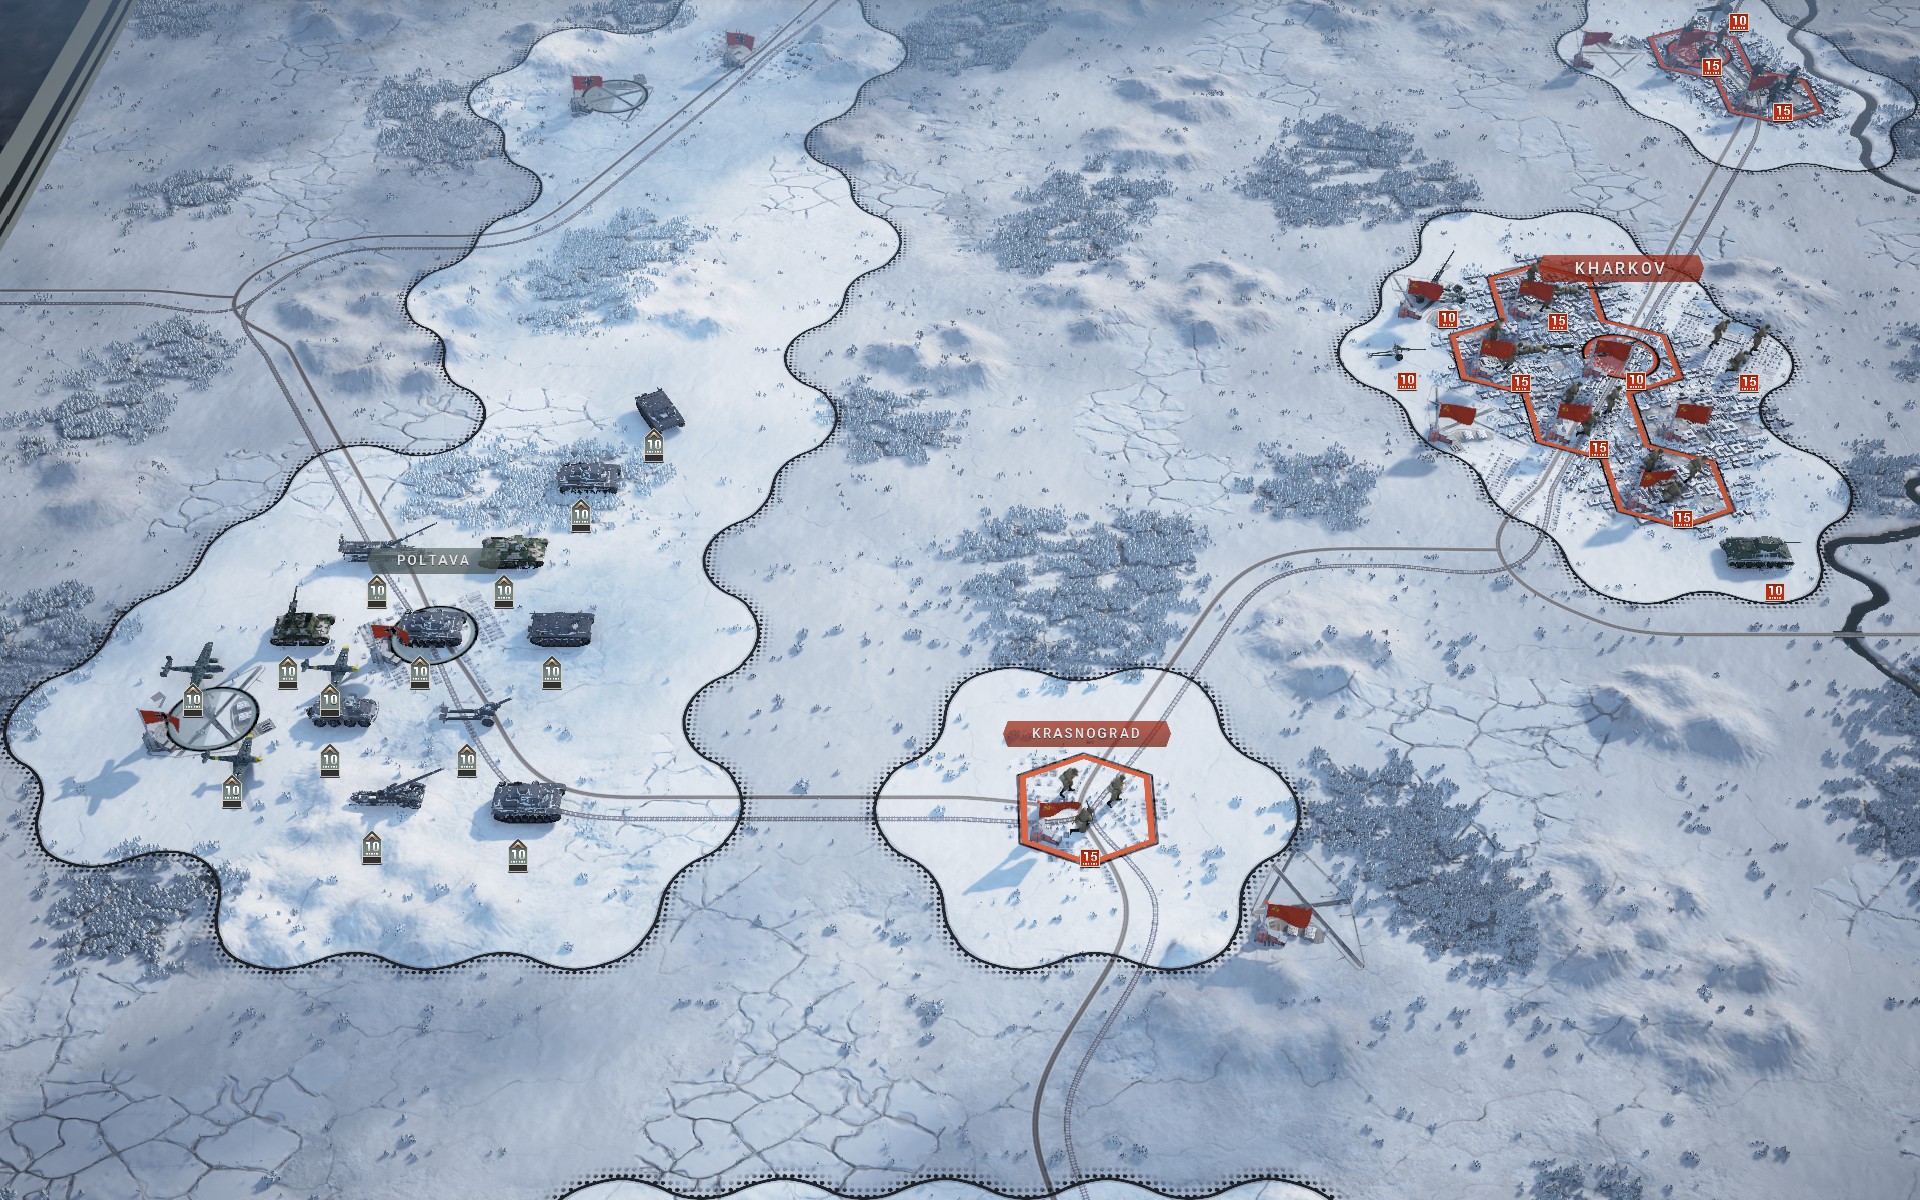
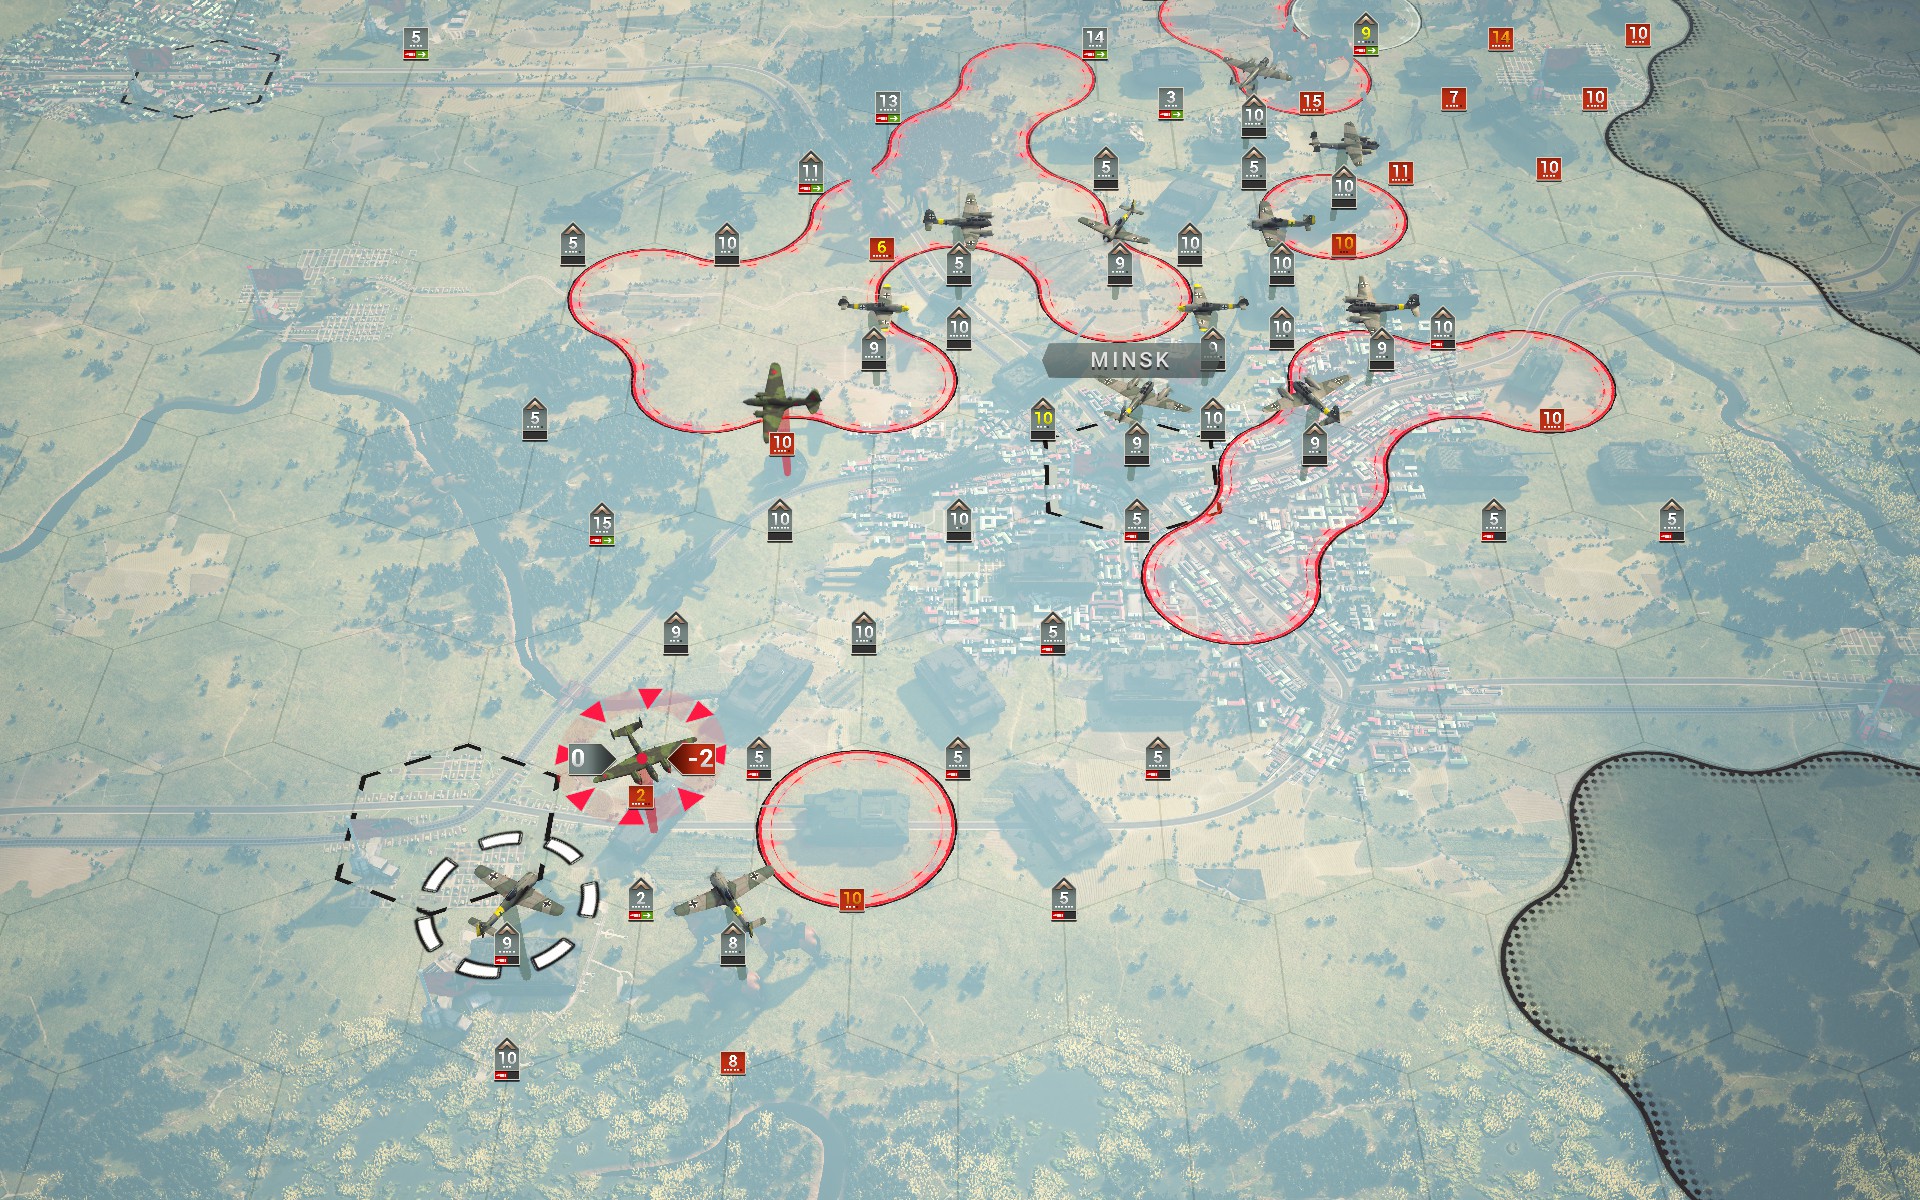
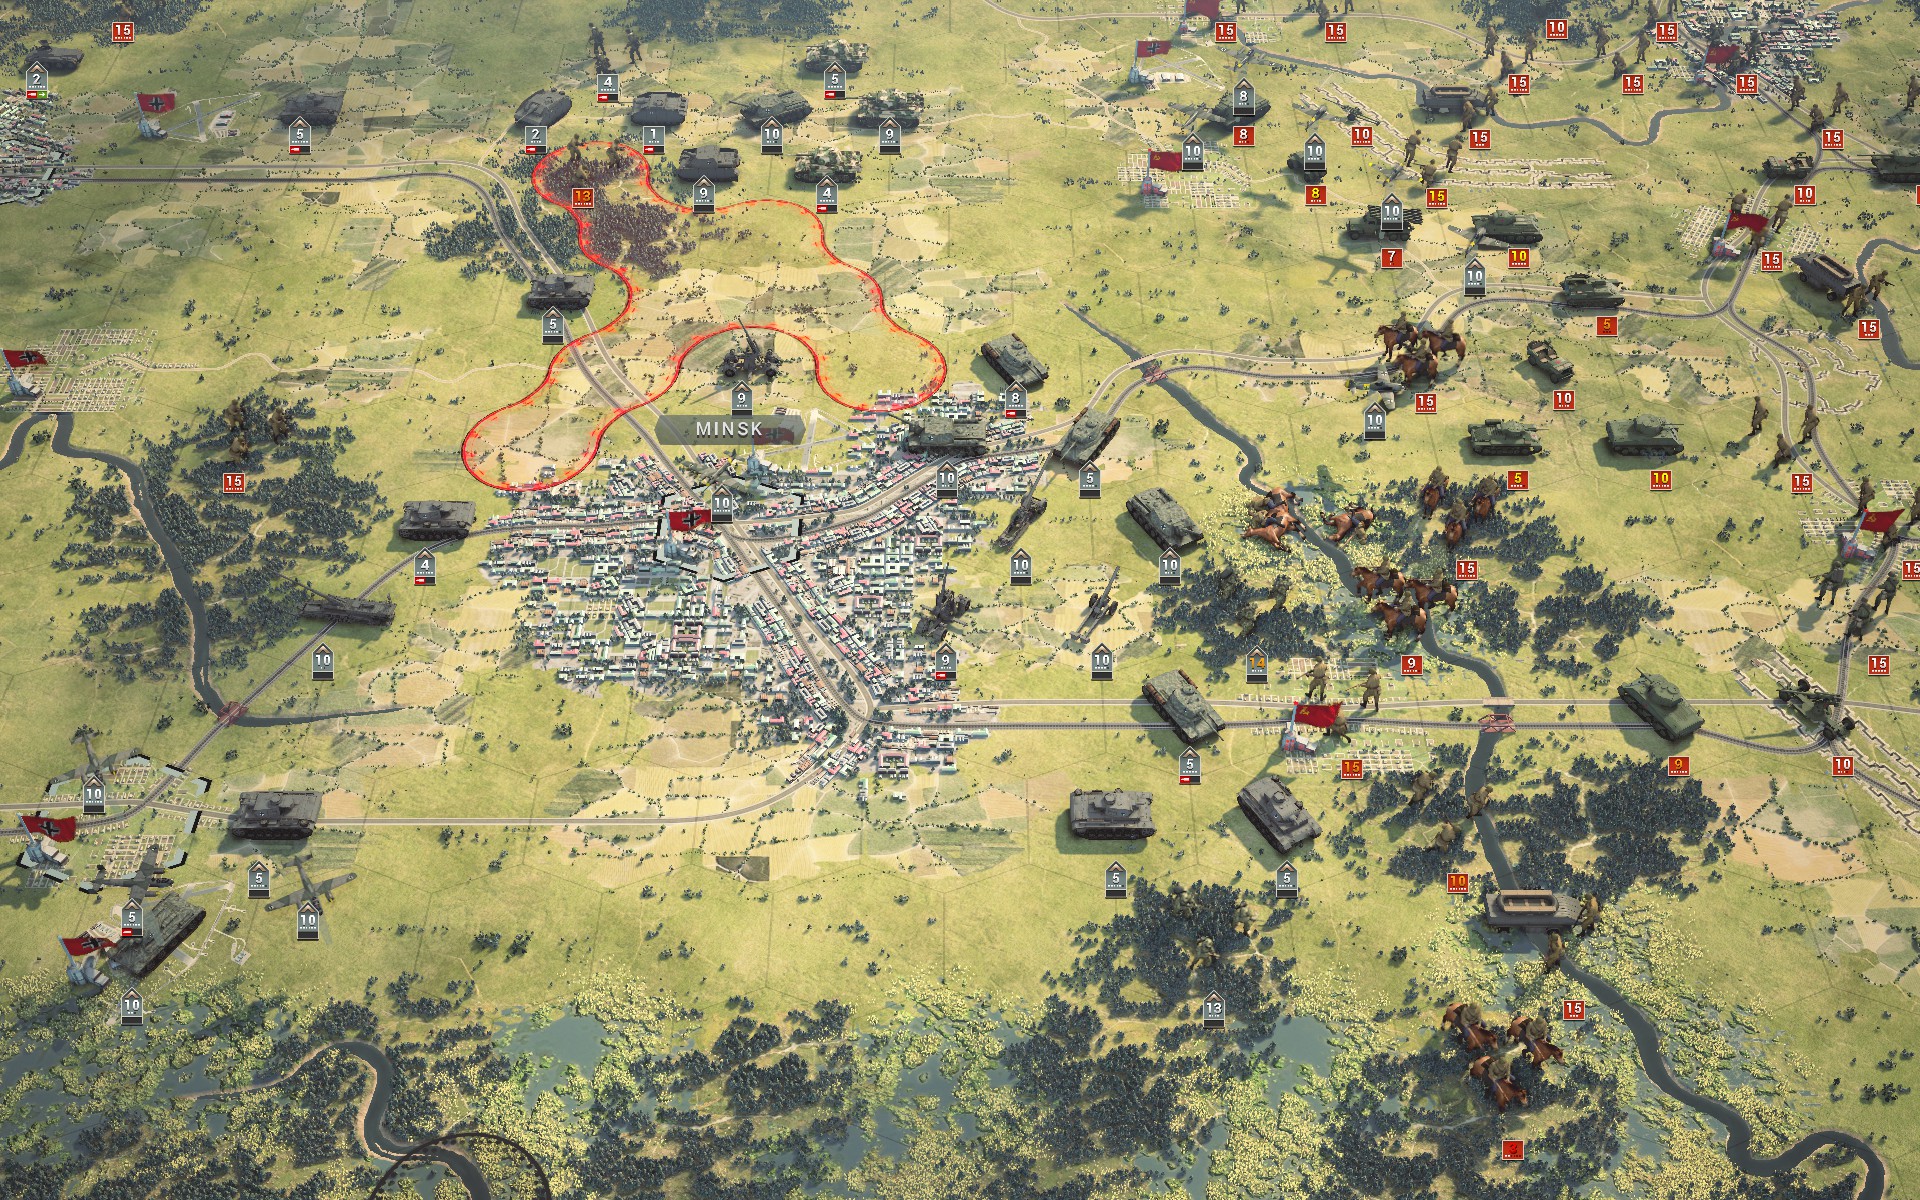
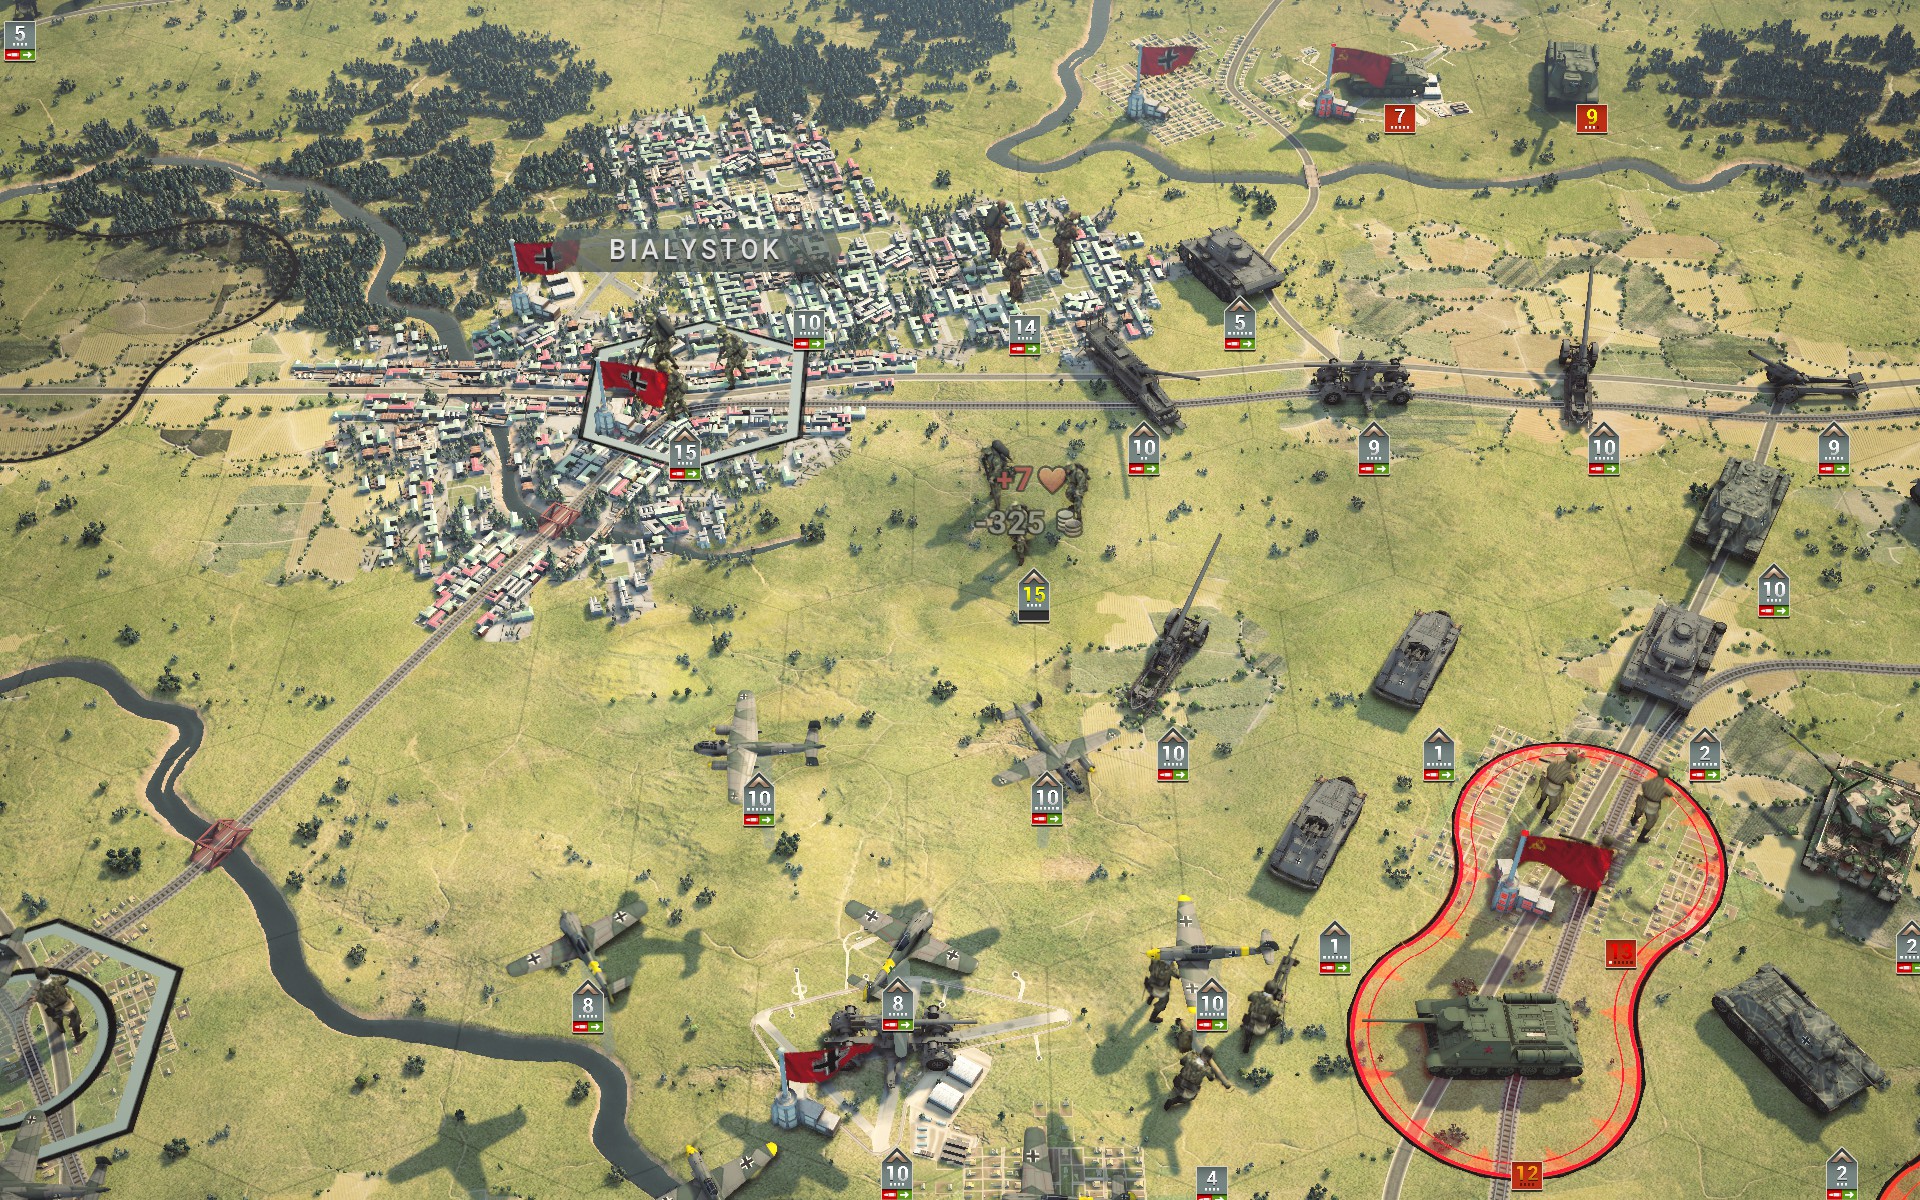
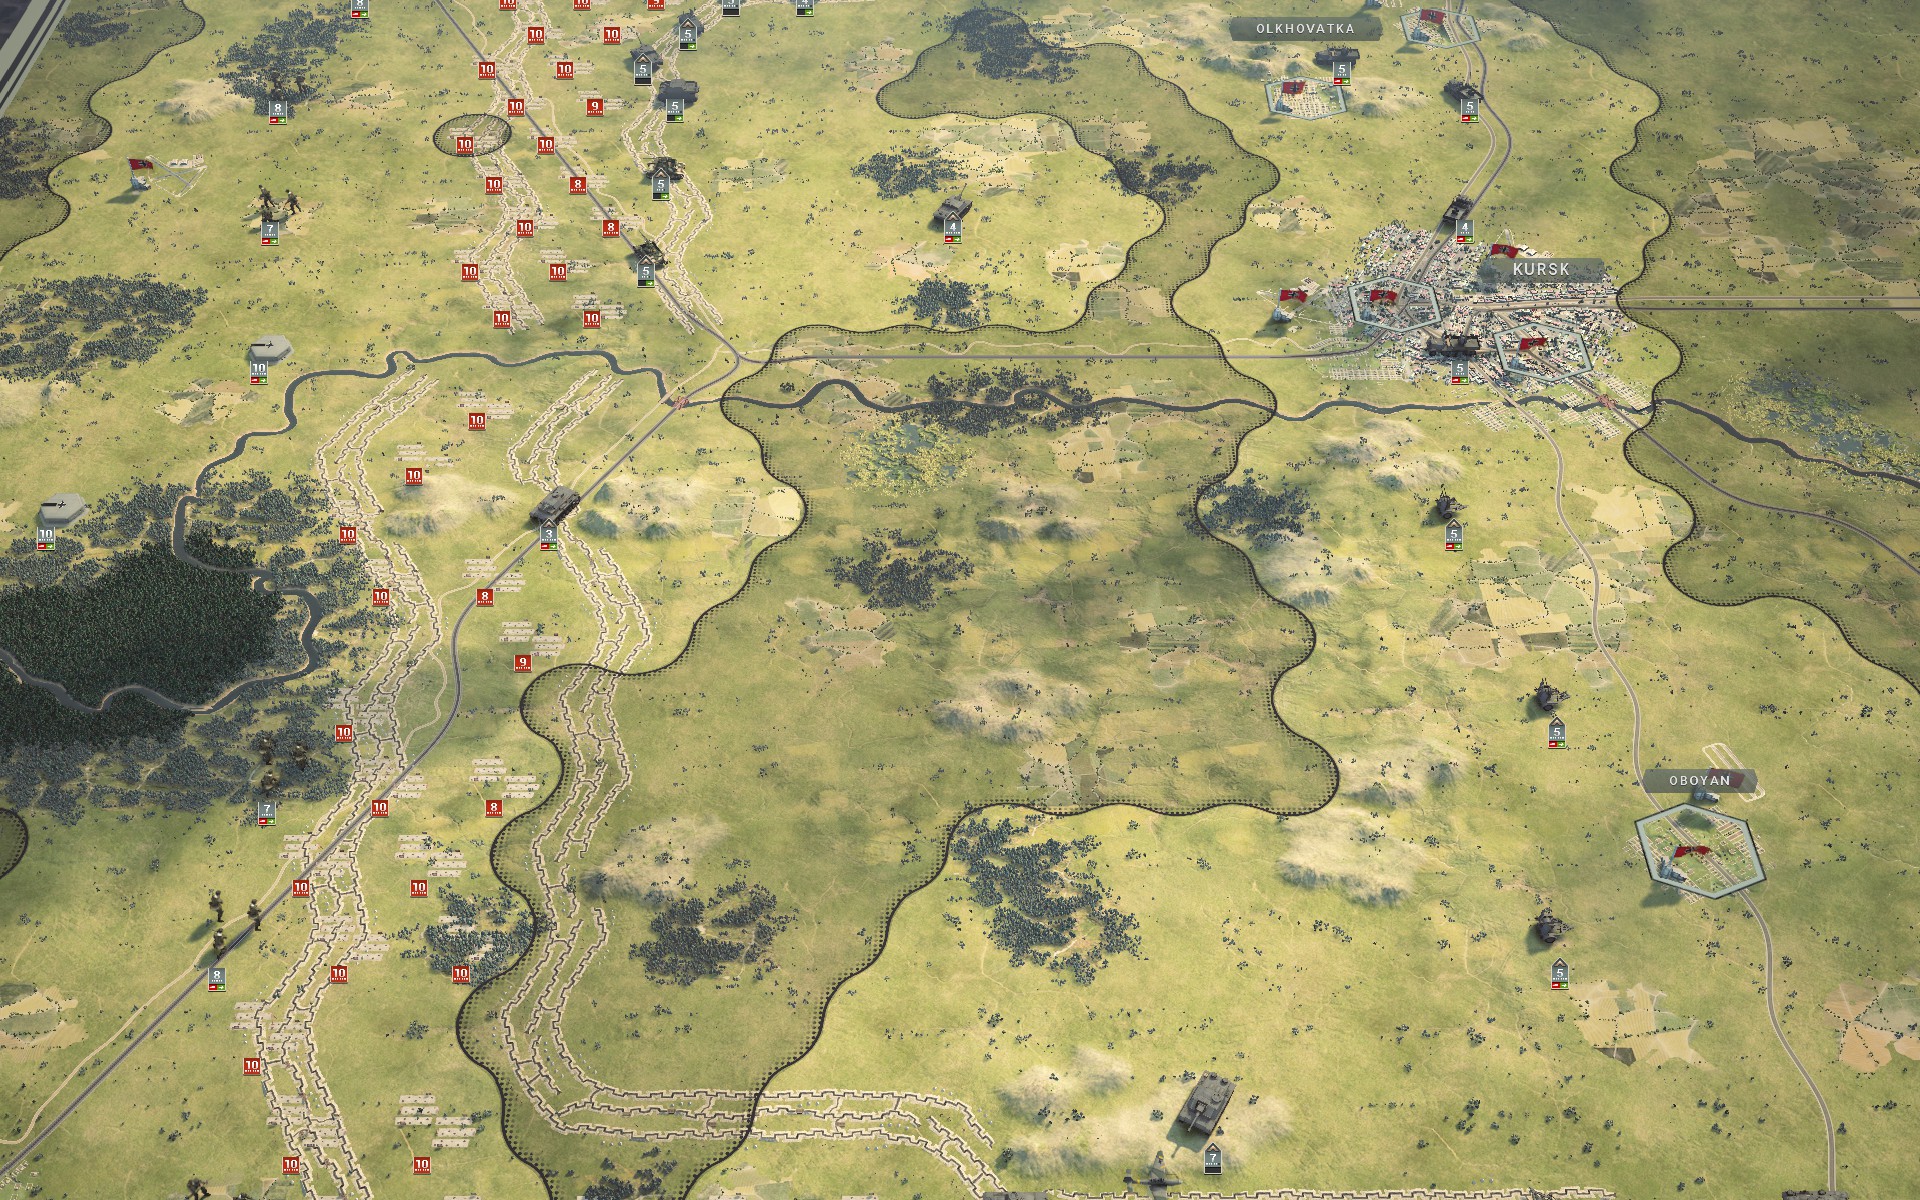
The supply depot due east of Kursk is the main objective of the first phase of Operation Citadel.
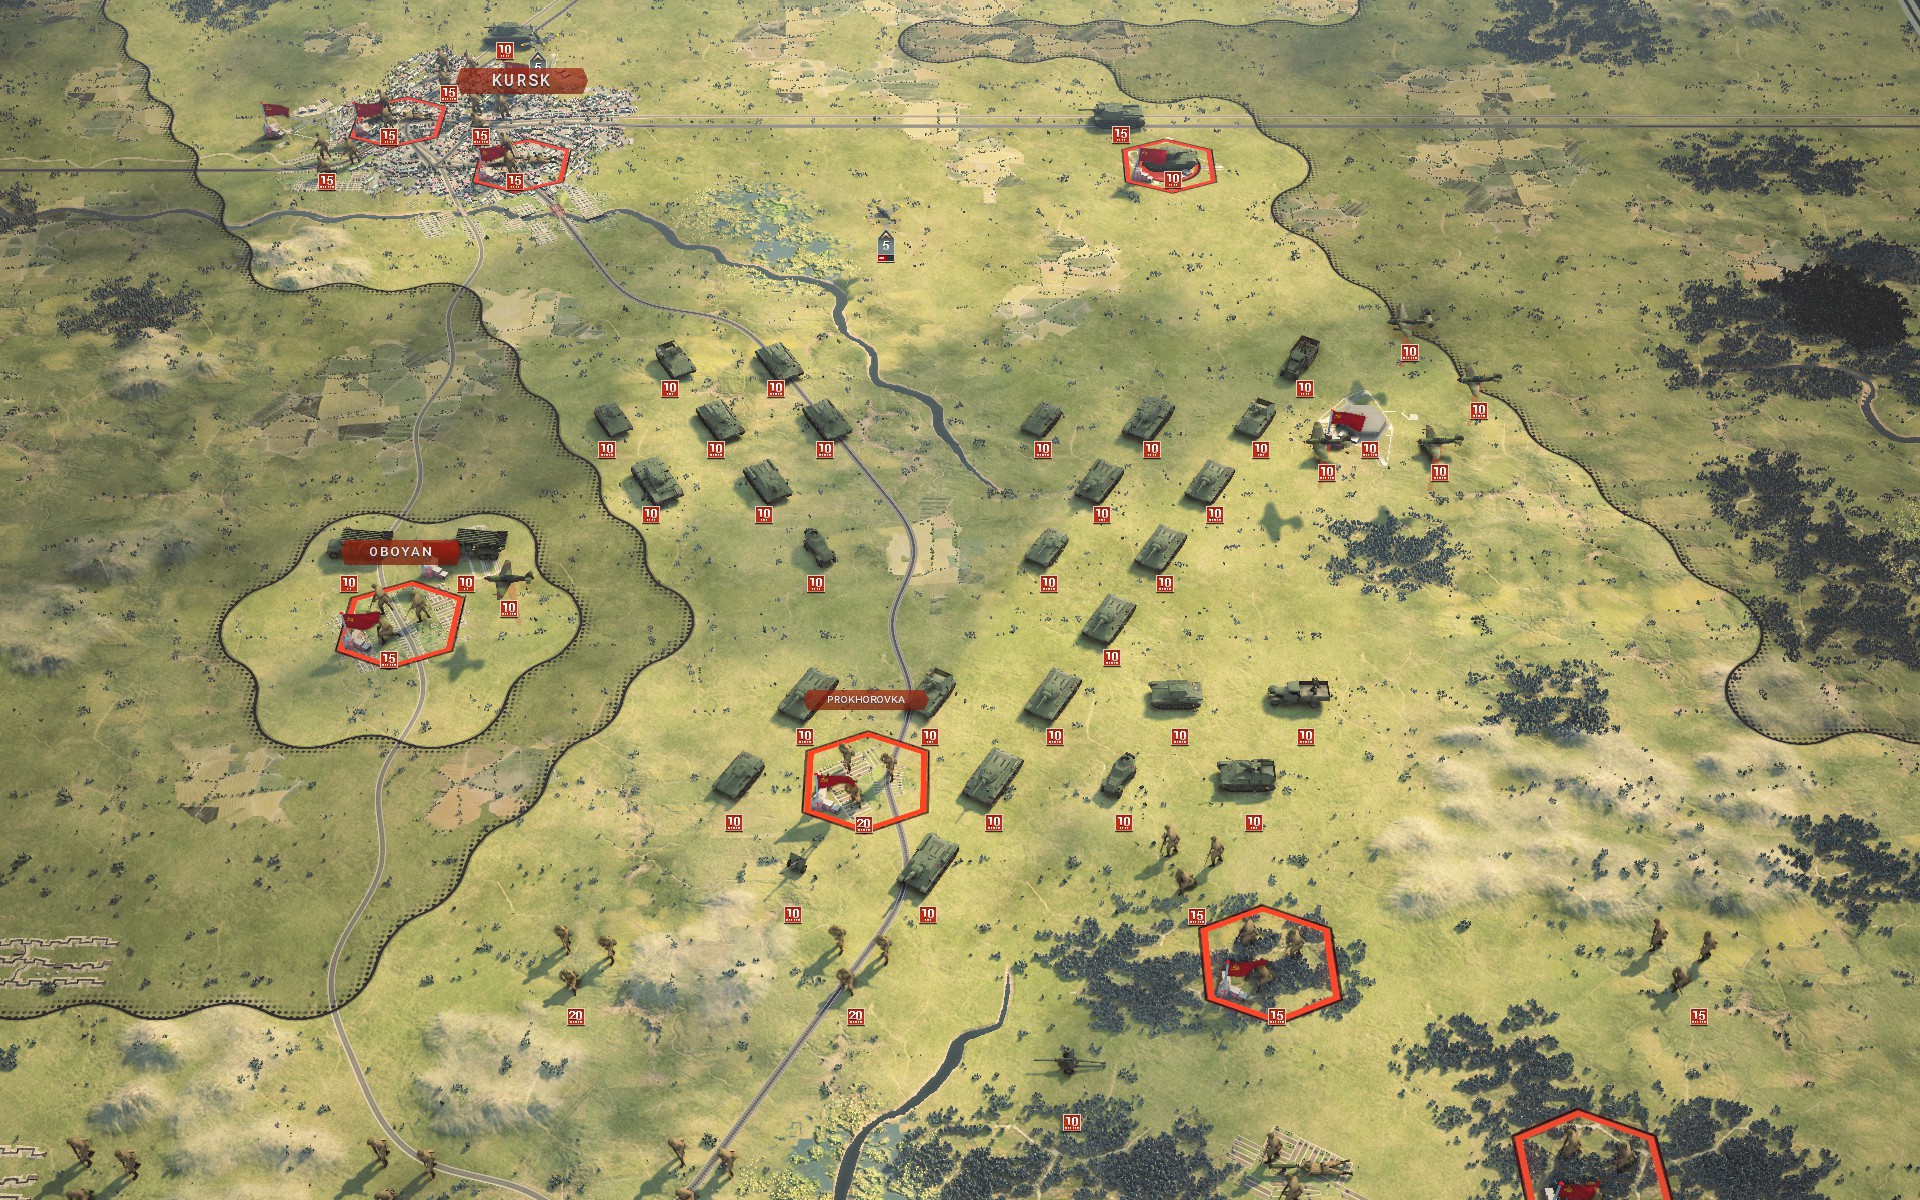
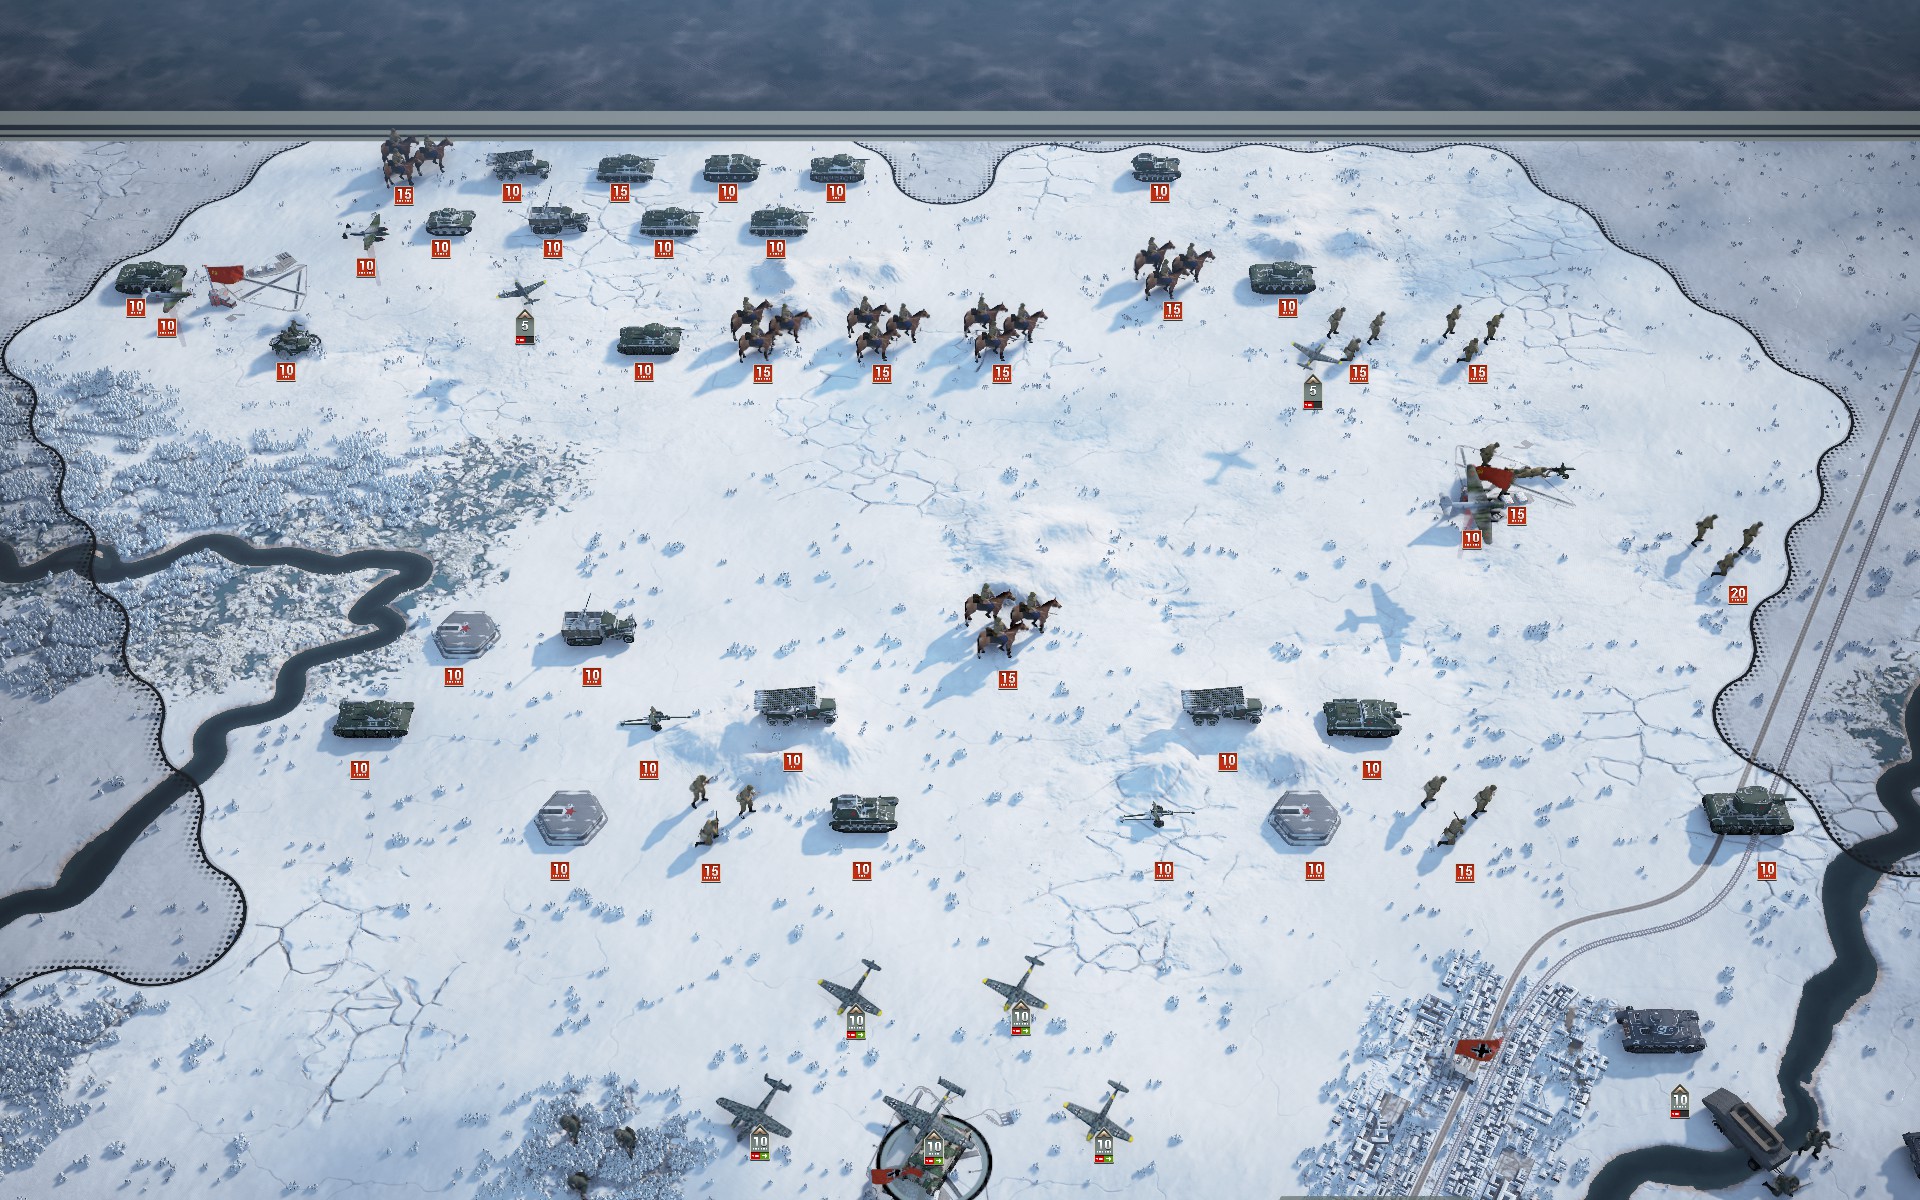
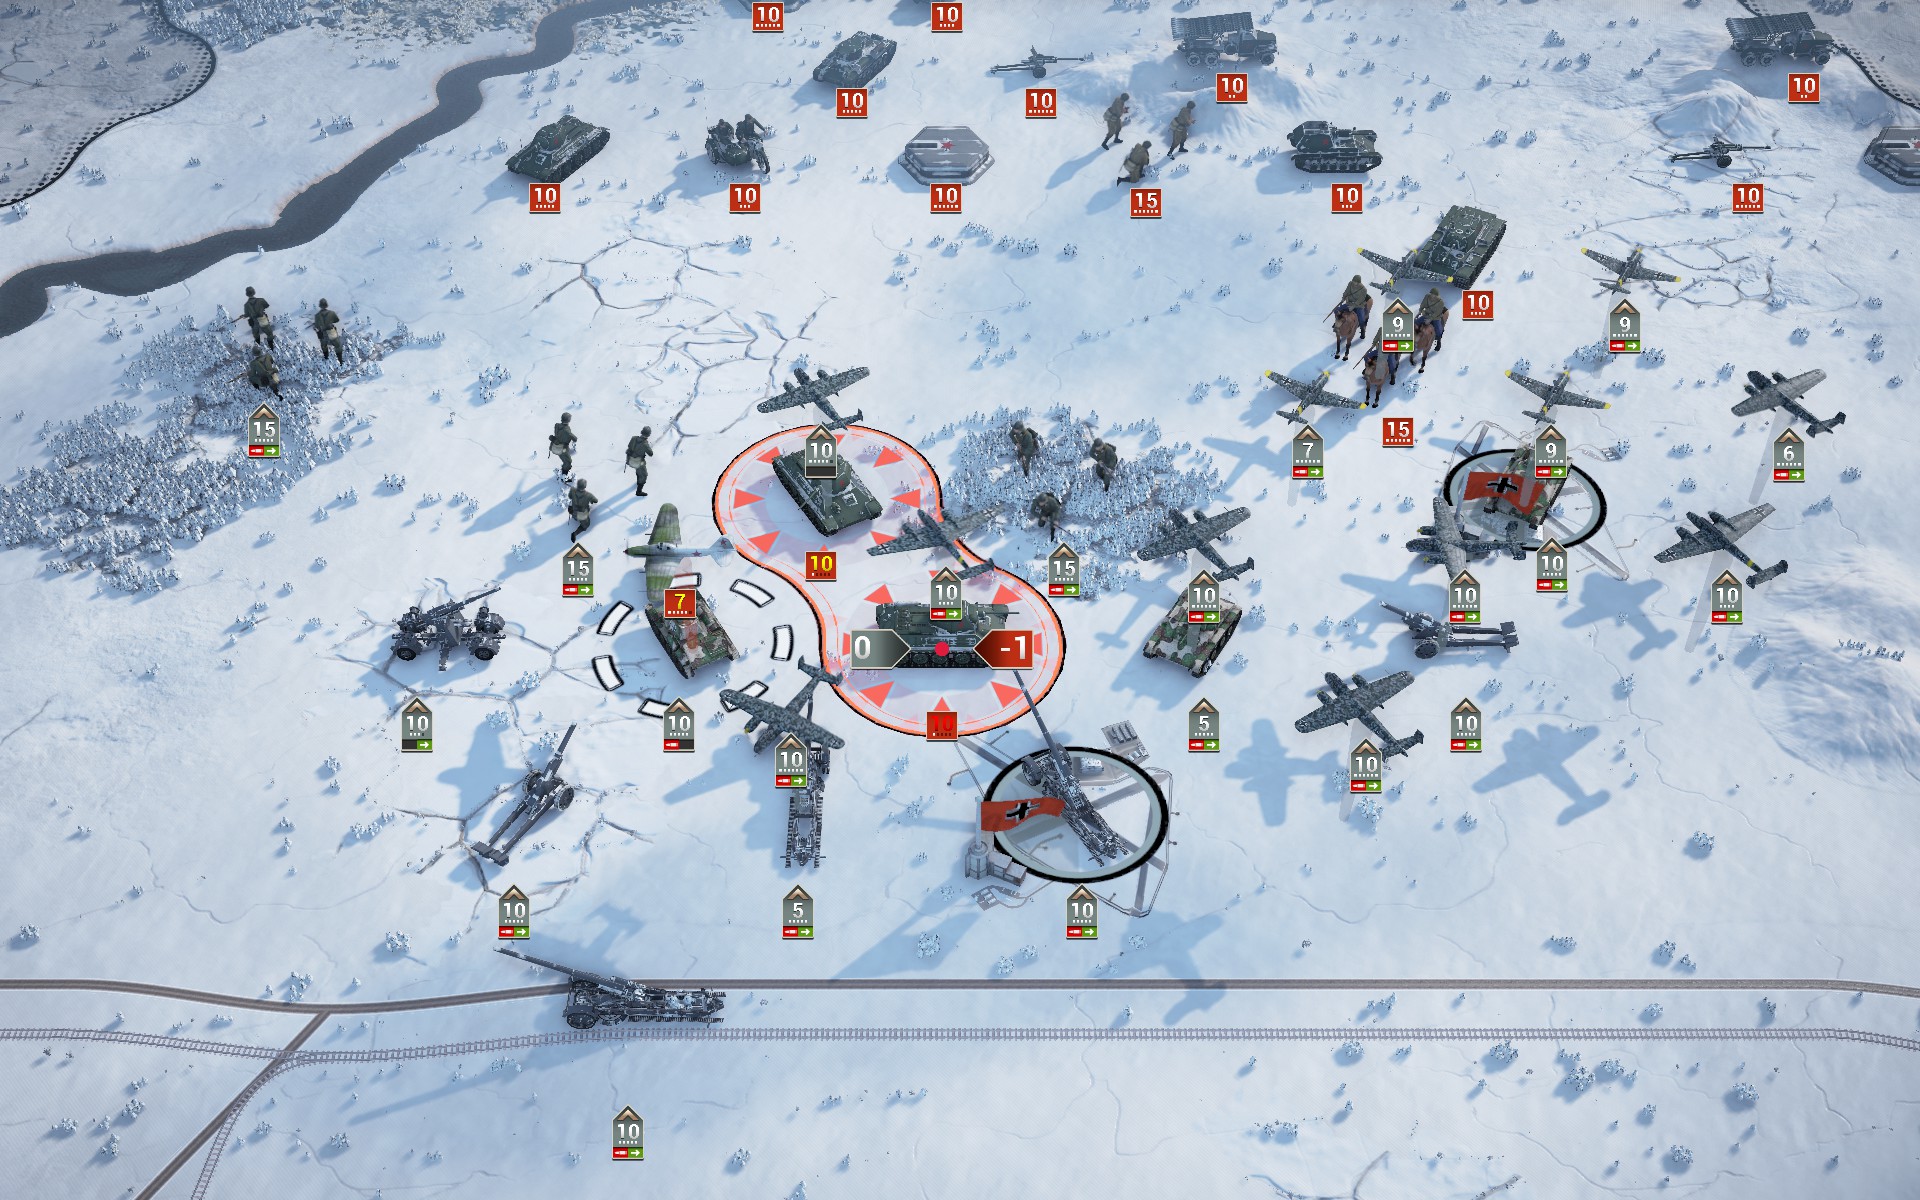
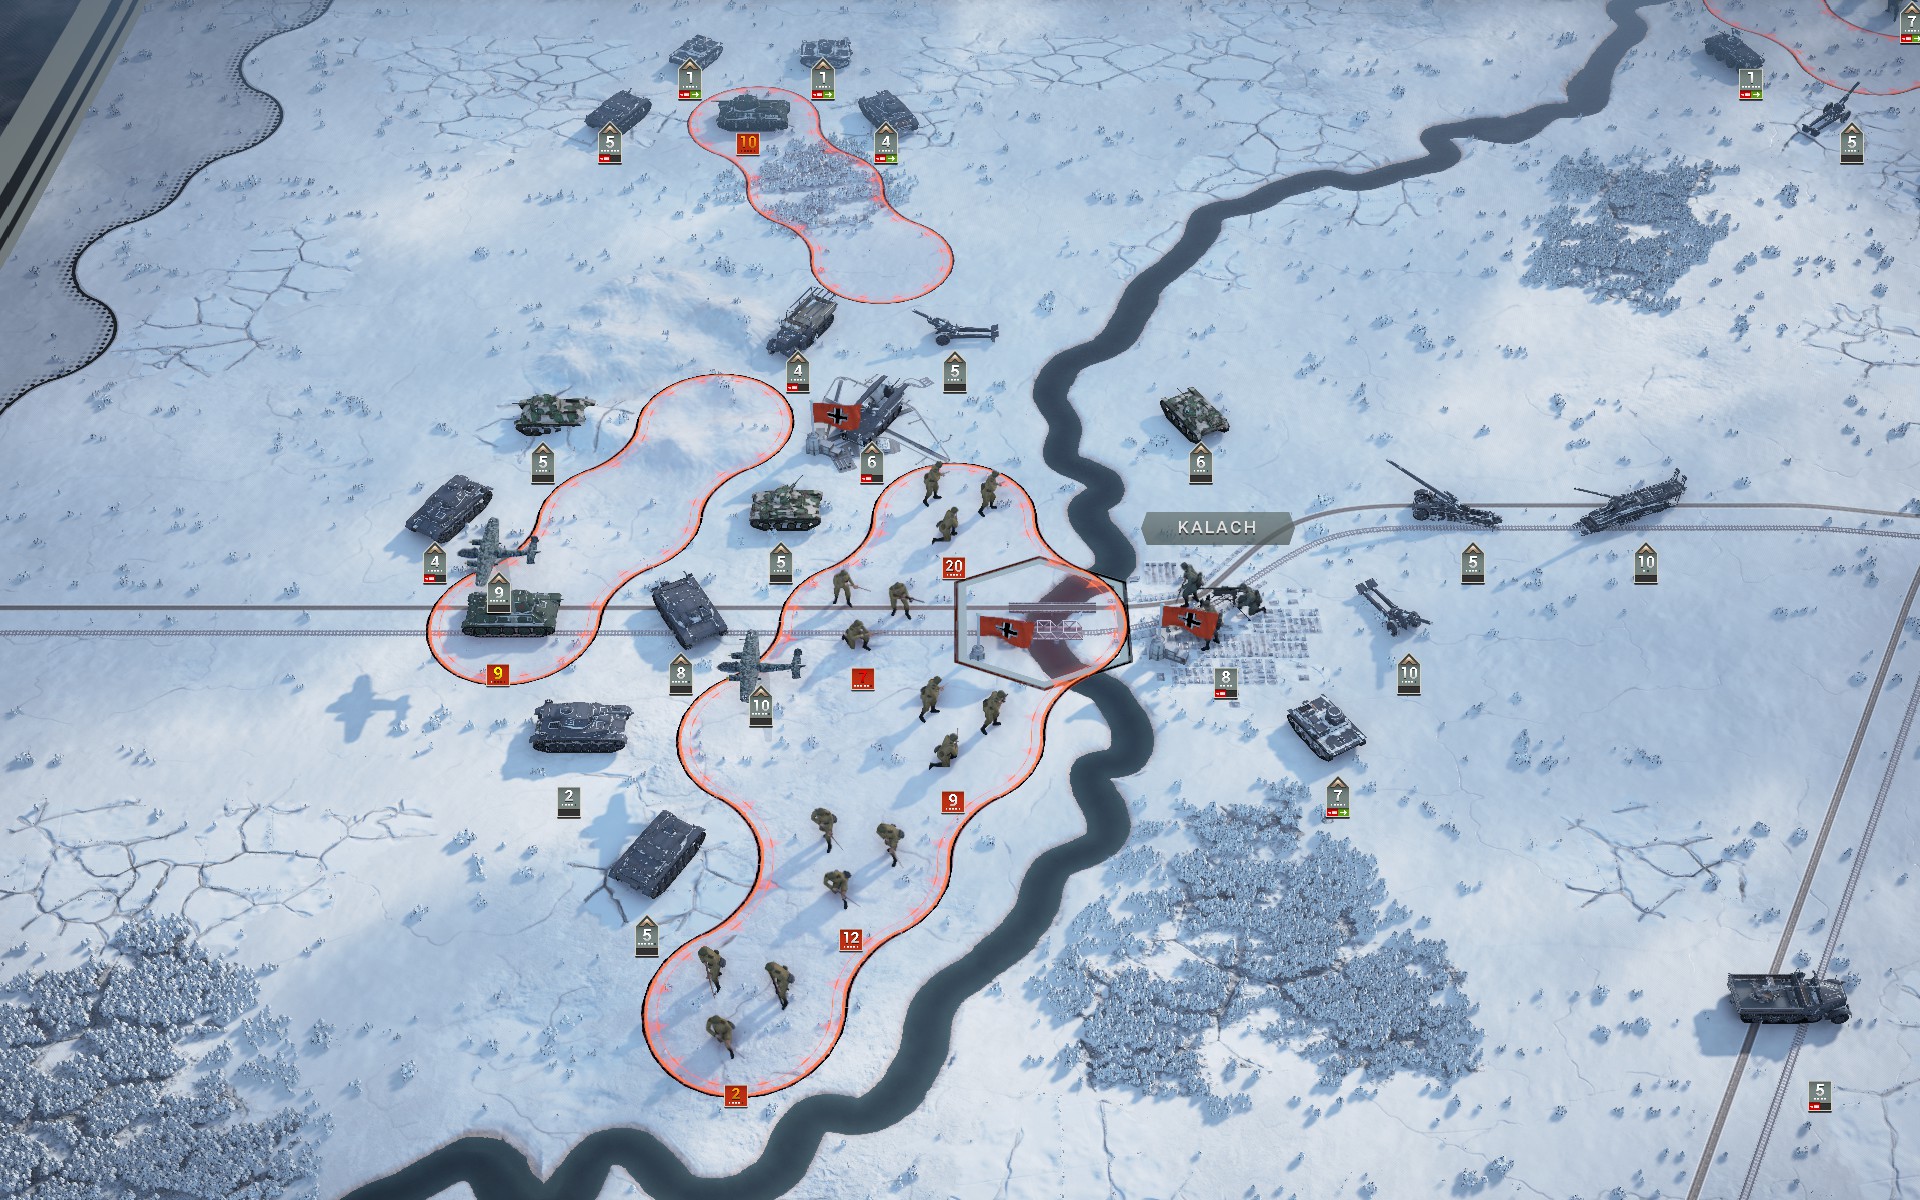
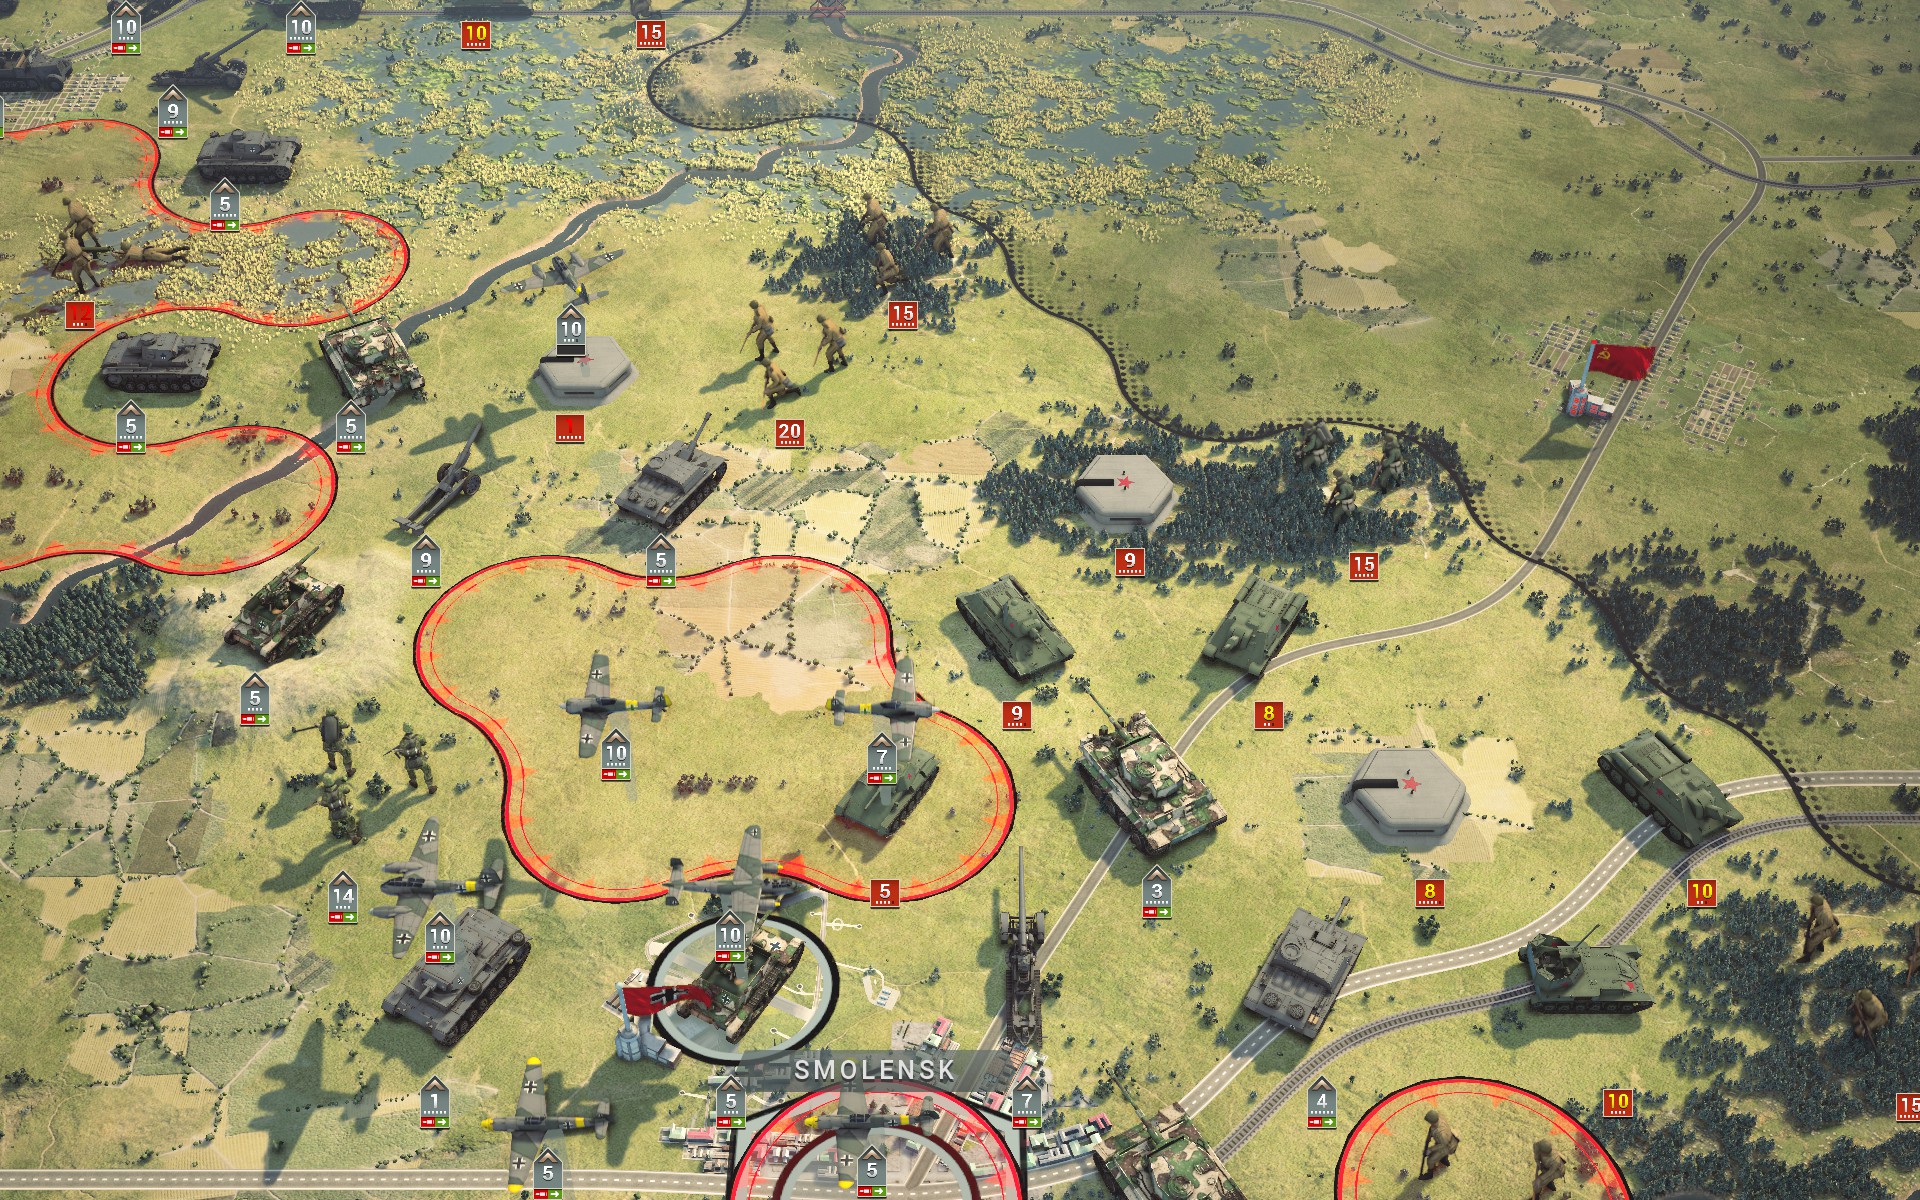
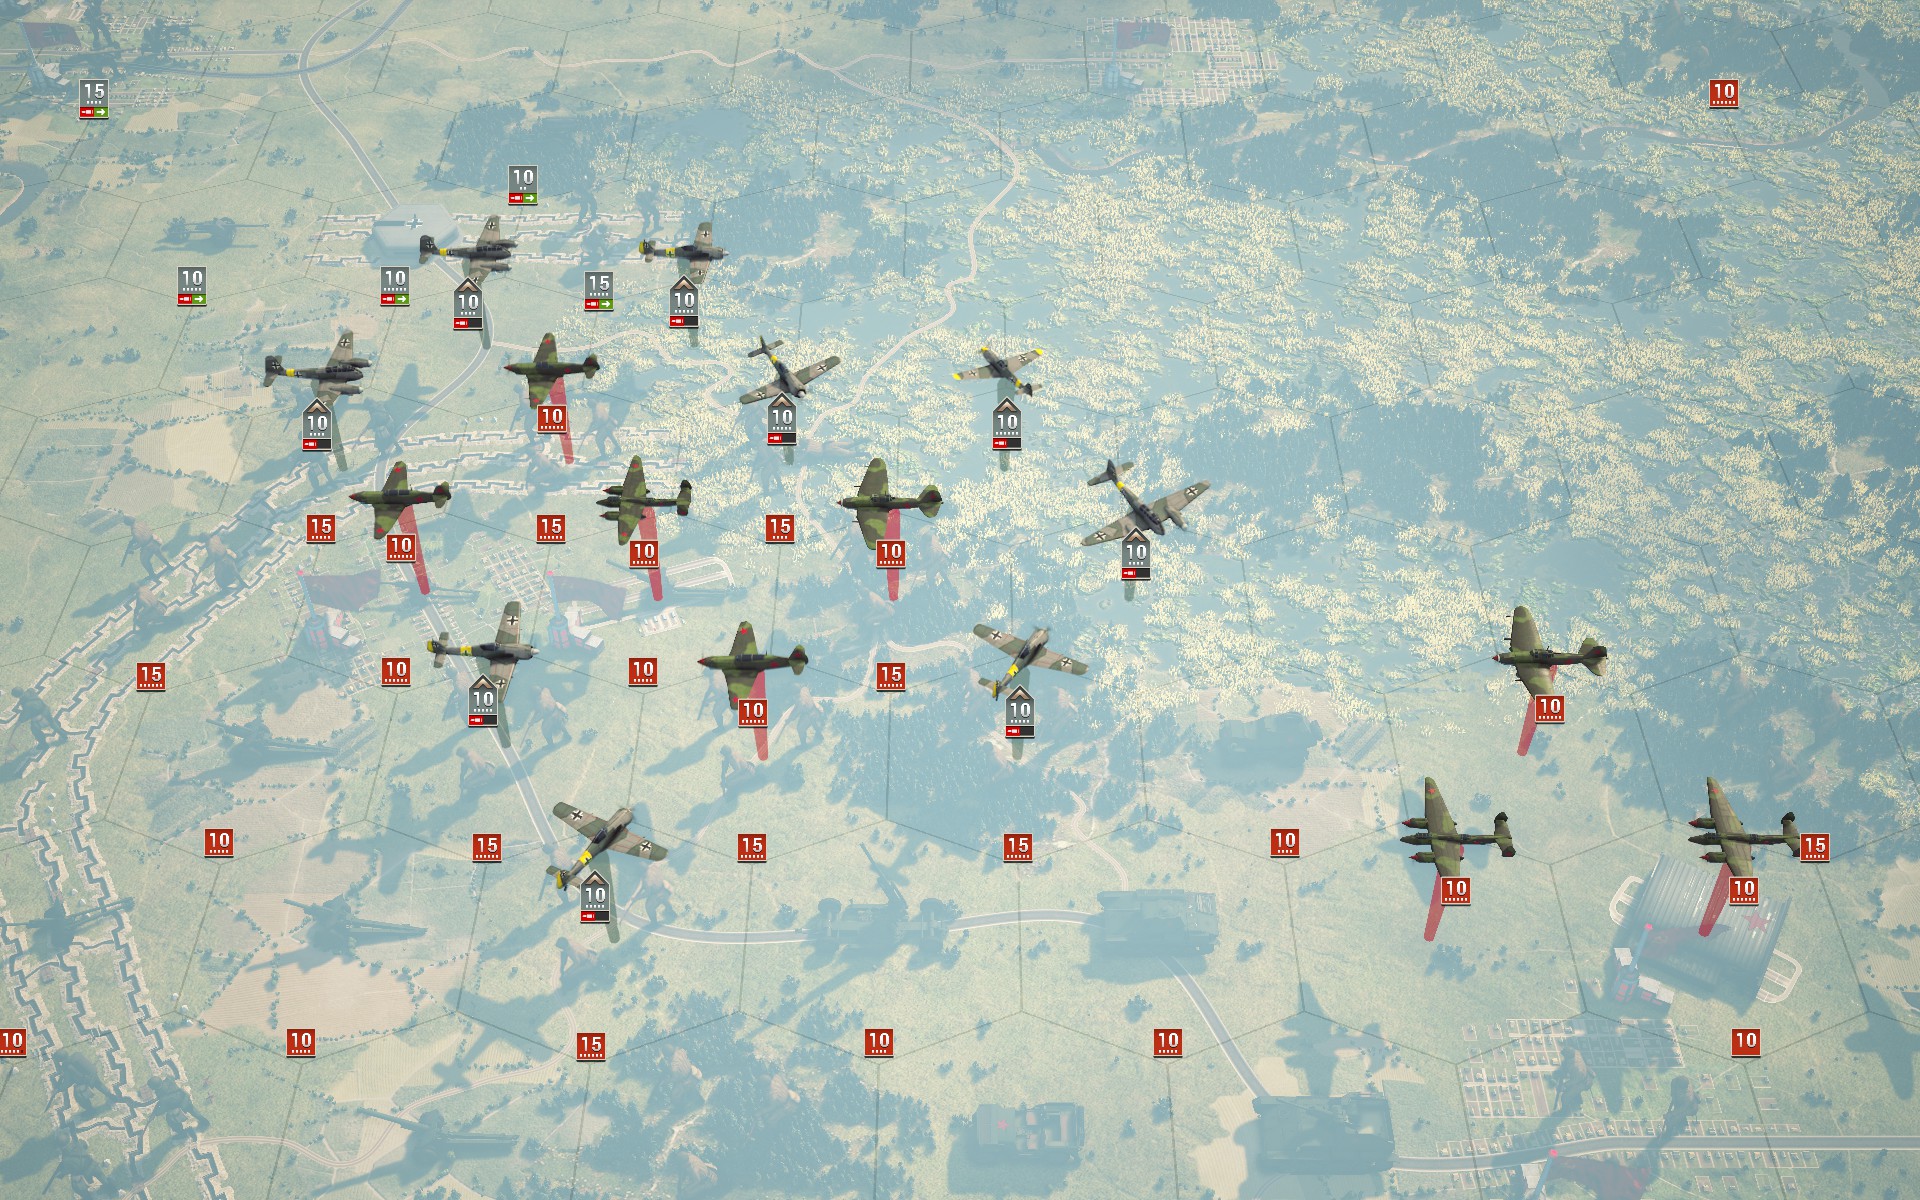
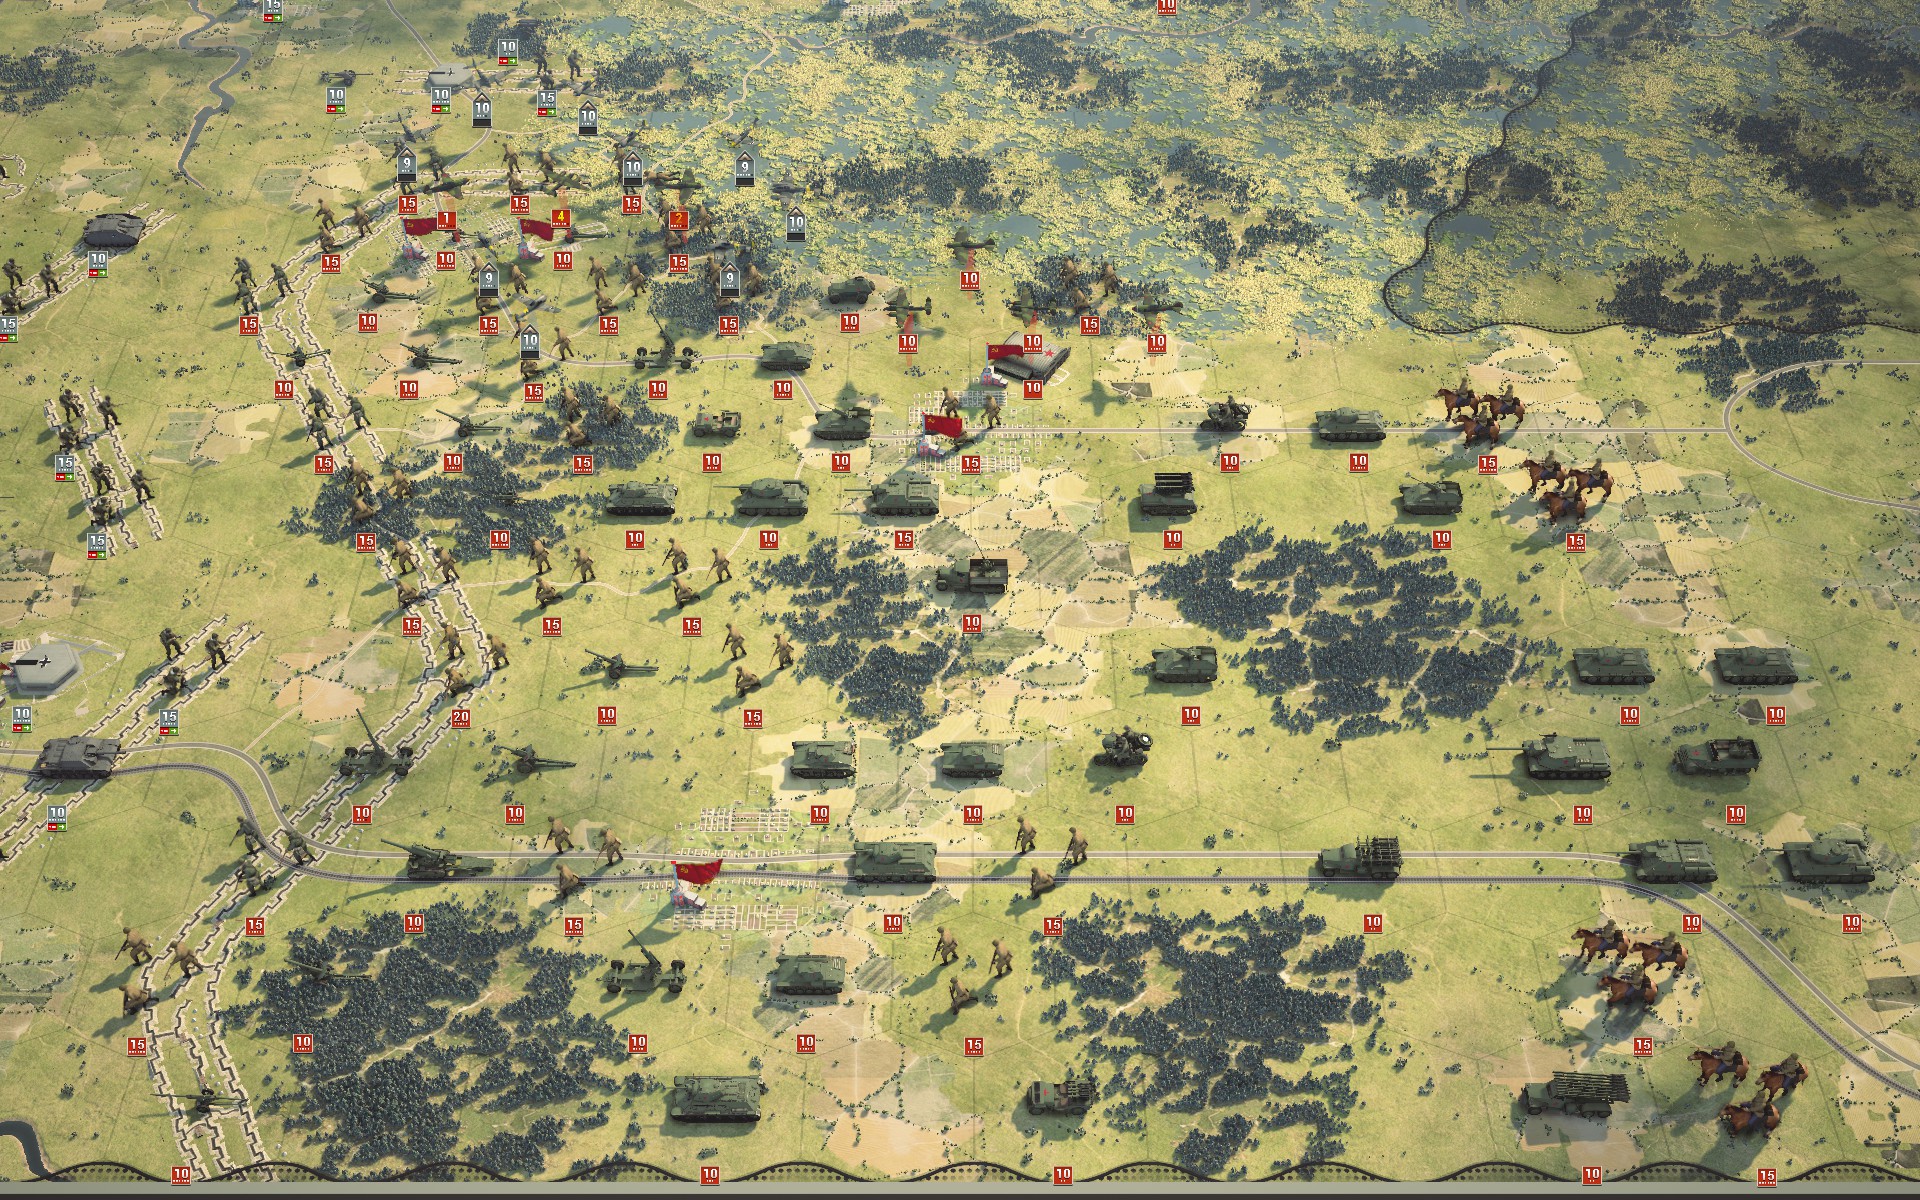
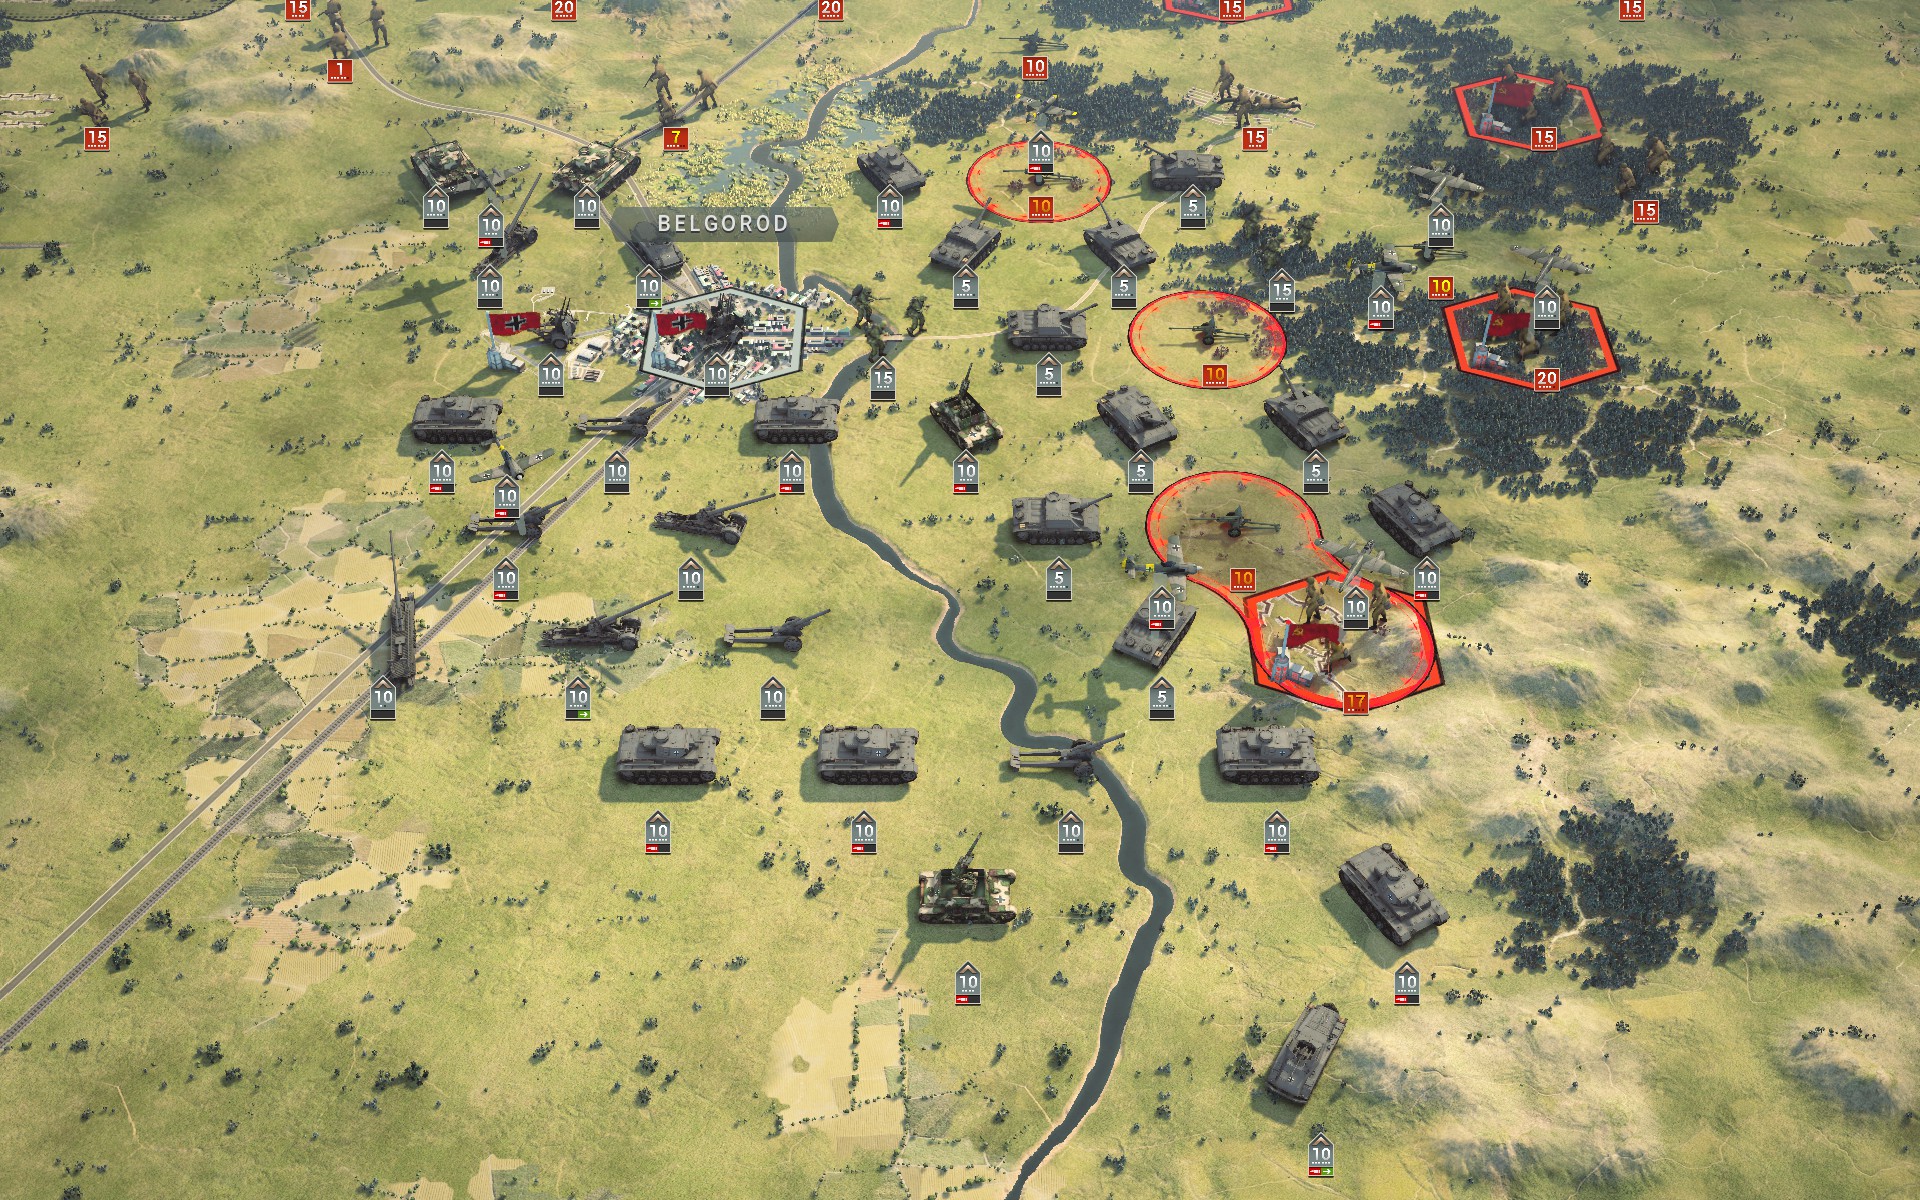
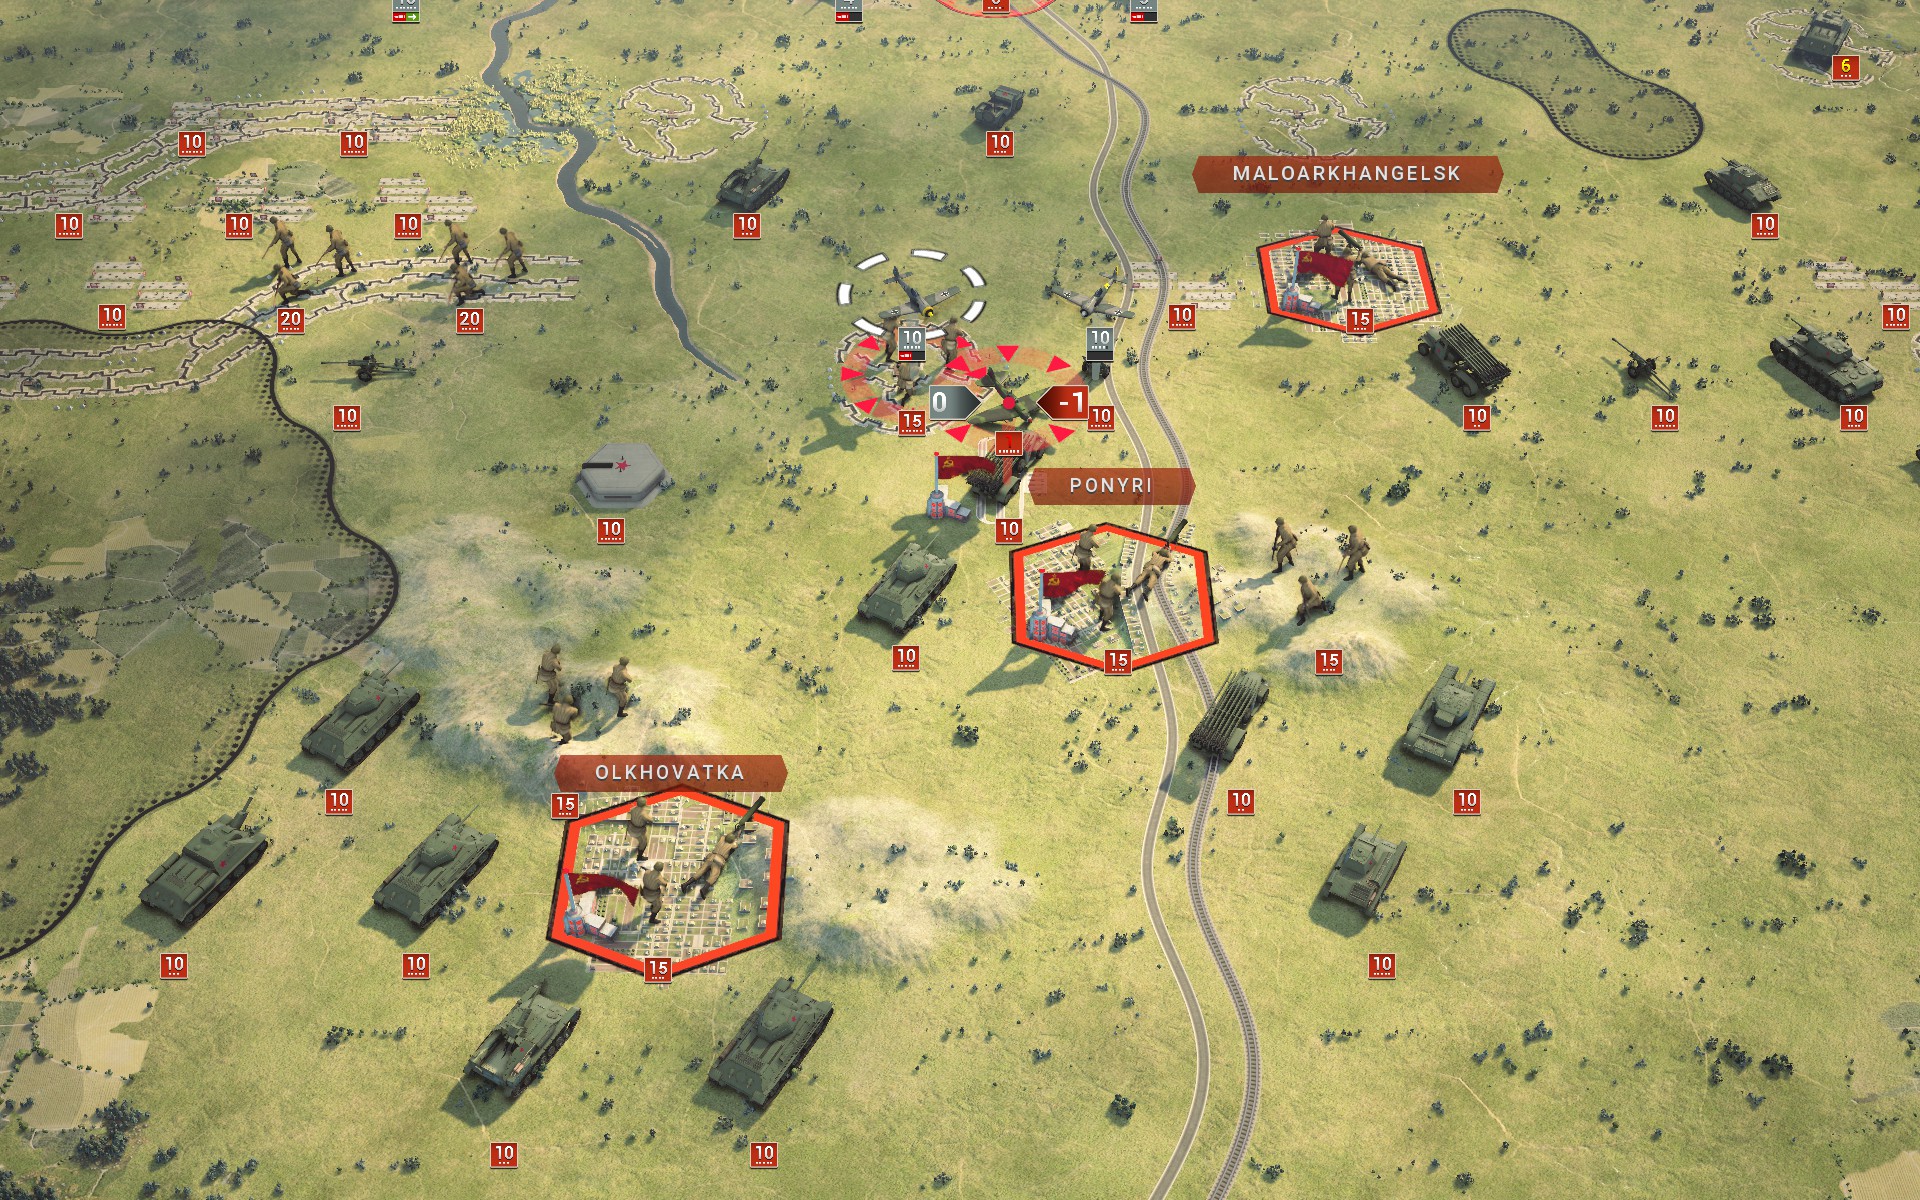
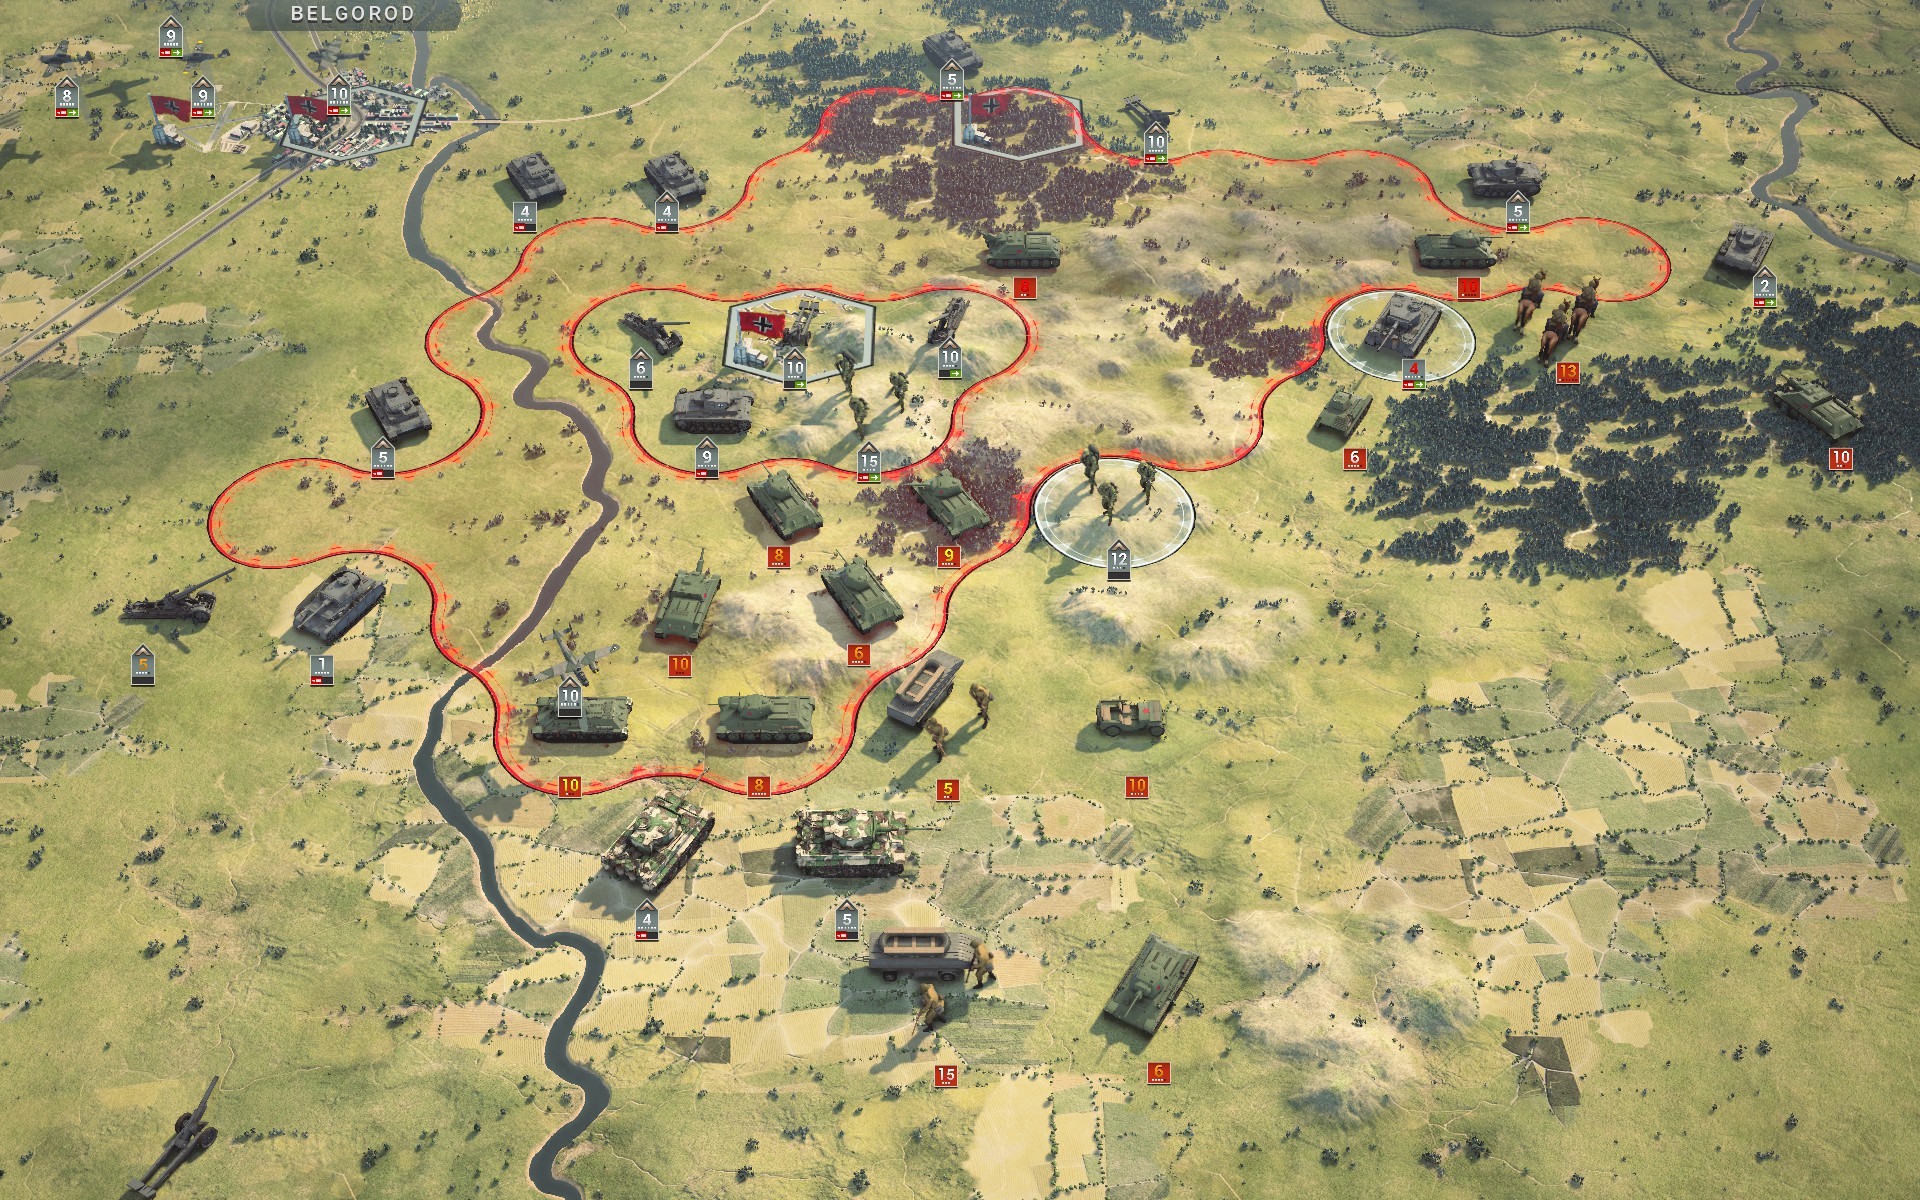
Aerial reconnaissance reveals that the seemingly weak spot in the Kursk salient is indeed a trap, with heavy concentrations of Soviet armour massing around Prokhorovka.
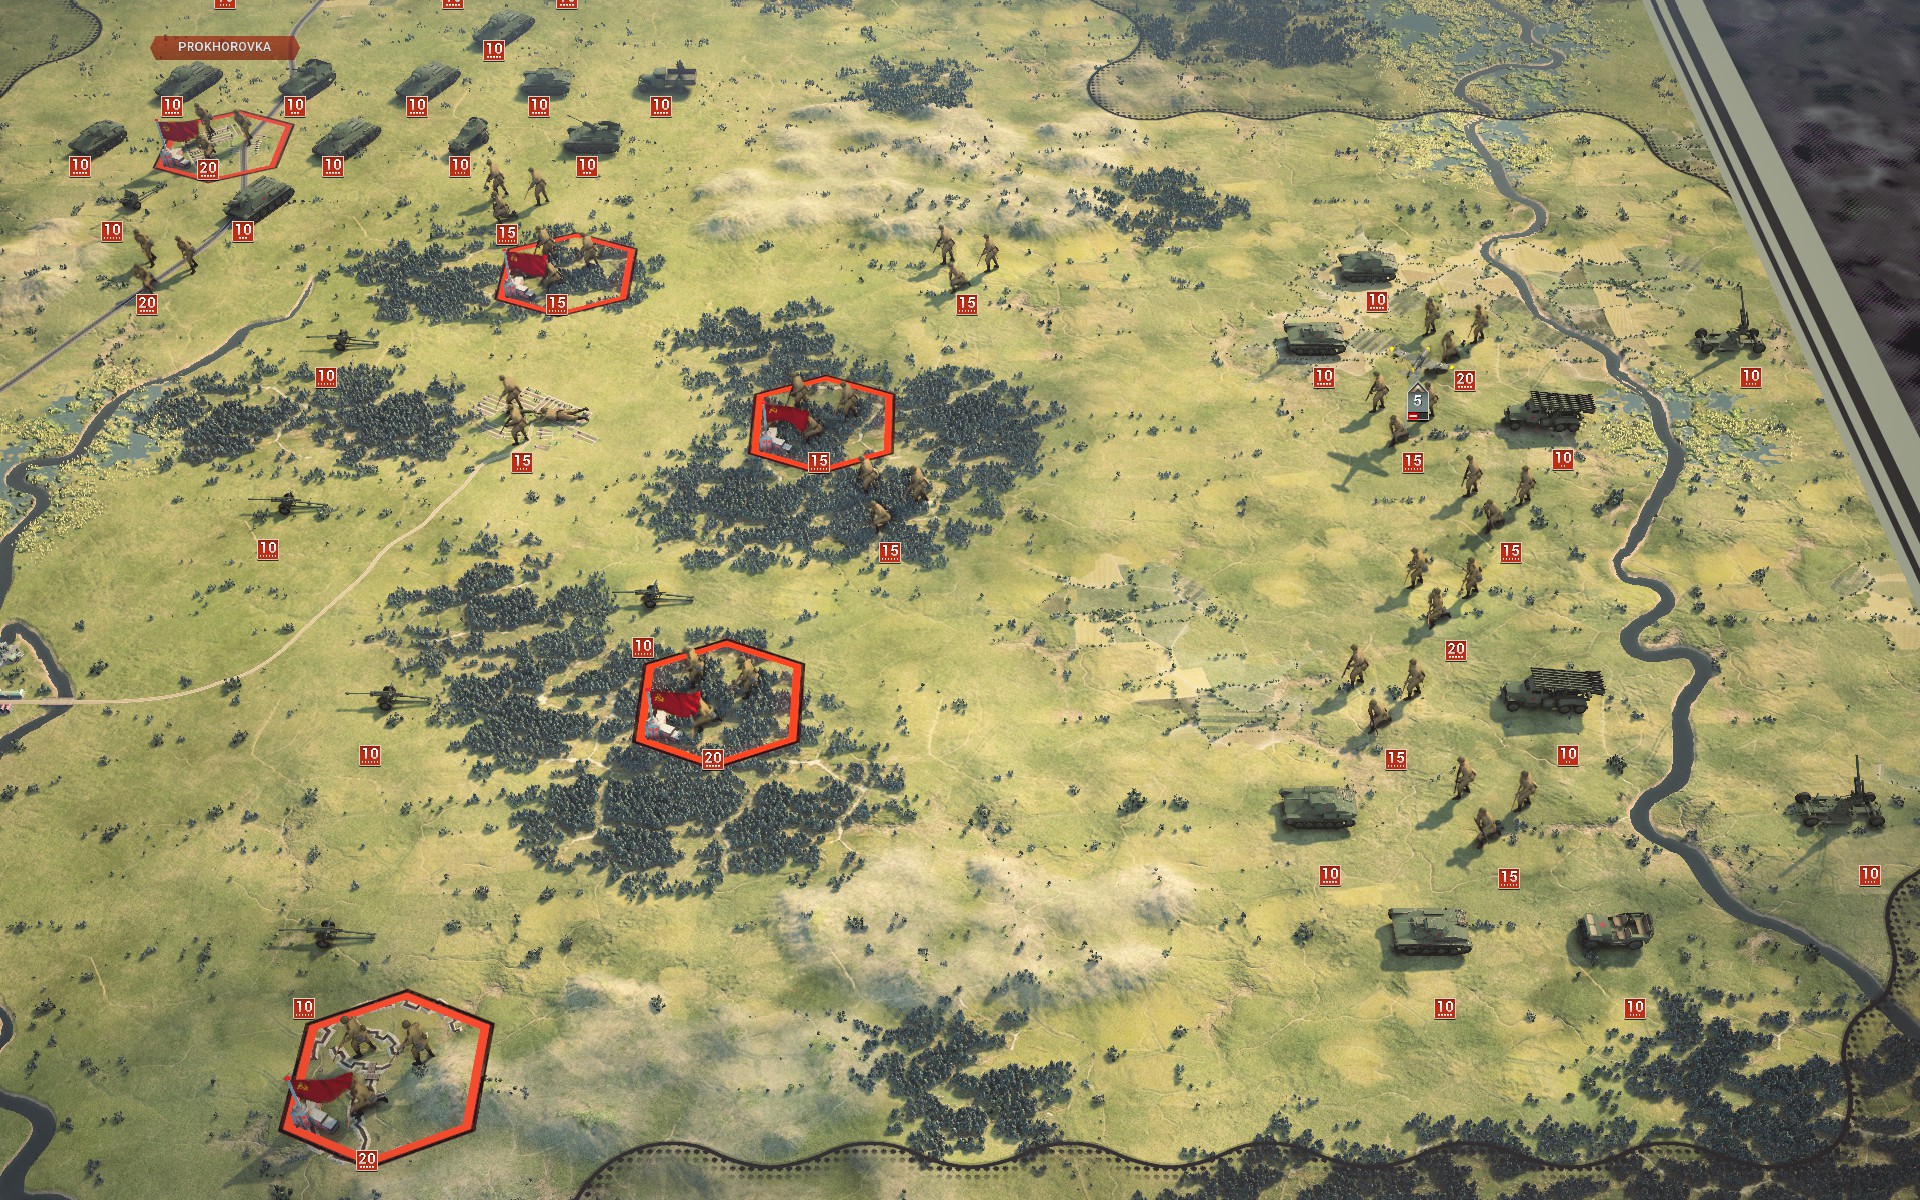
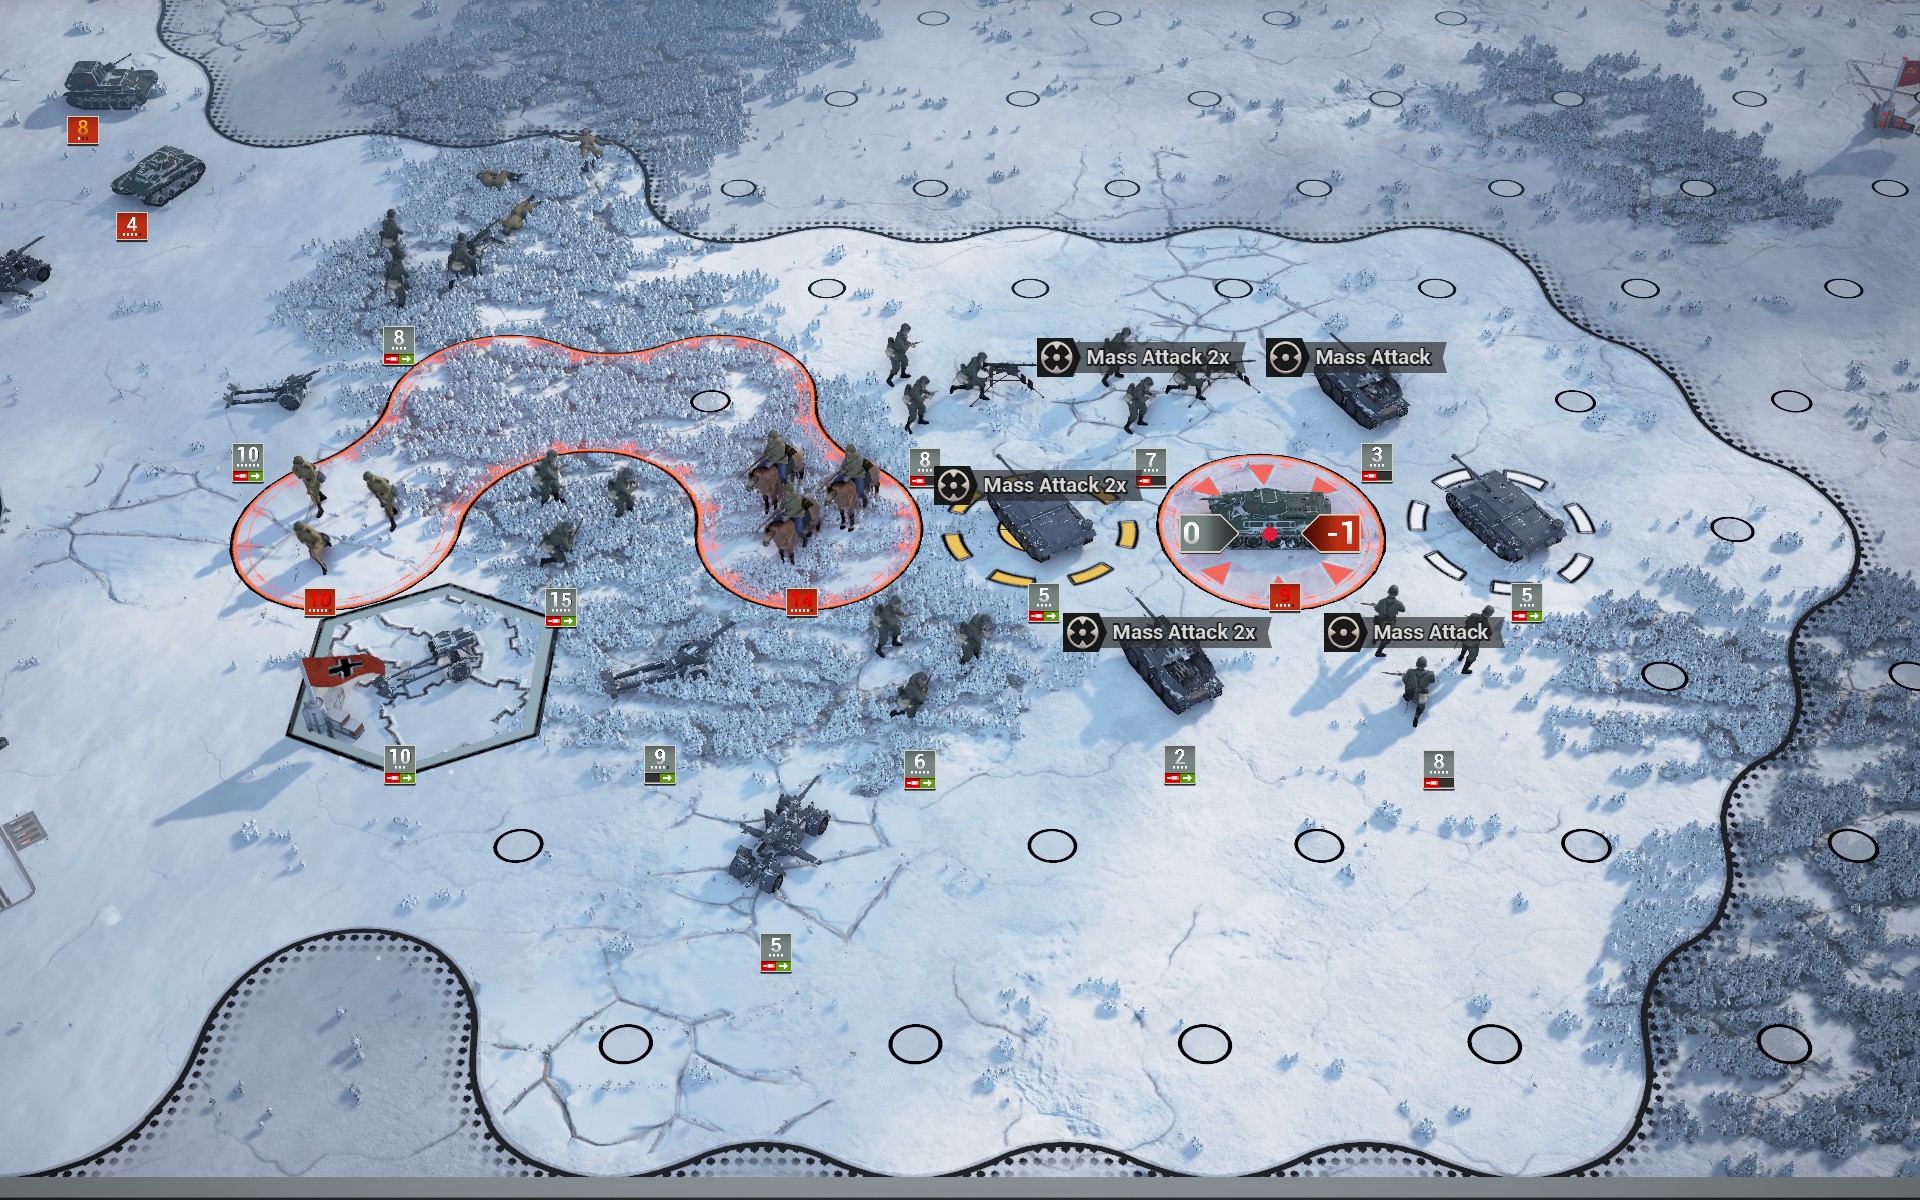
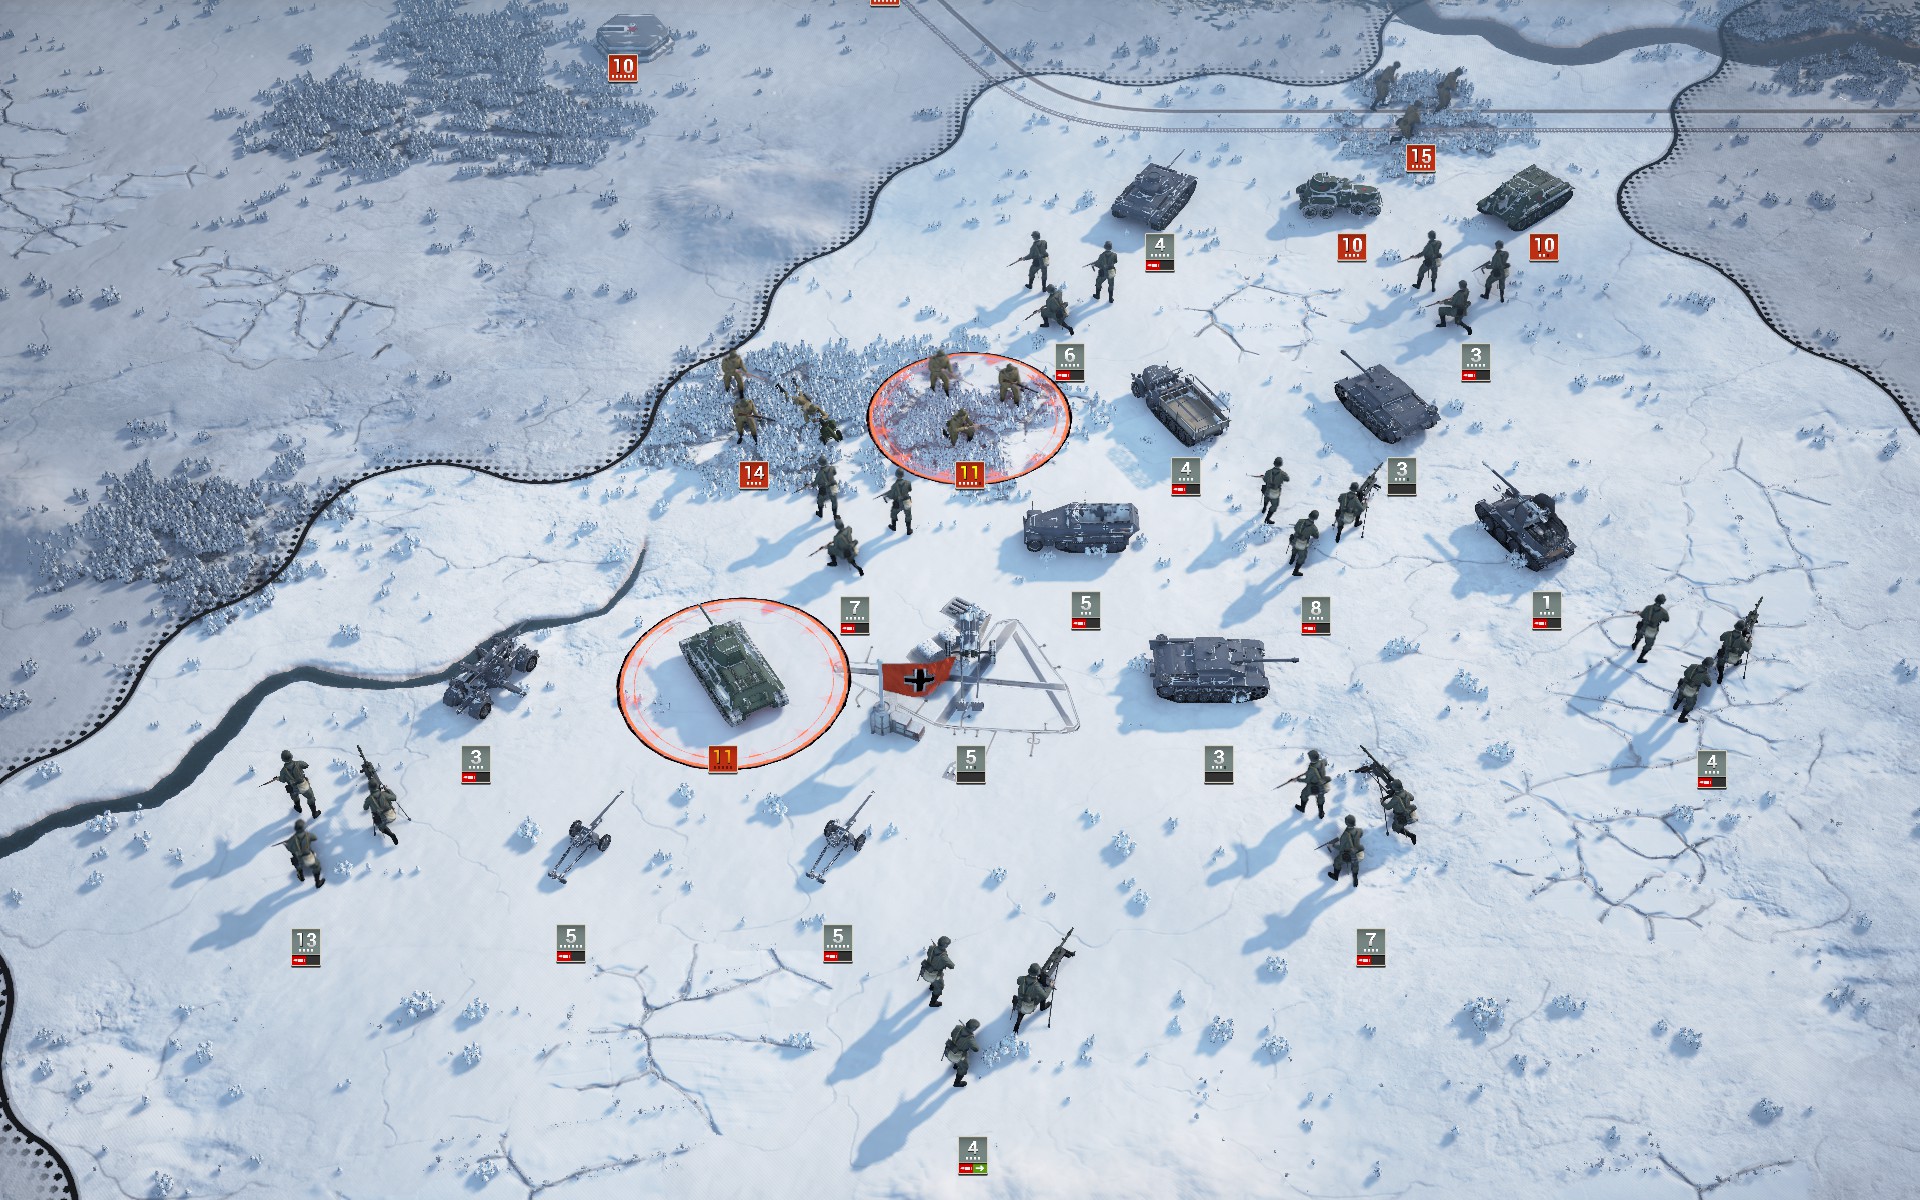
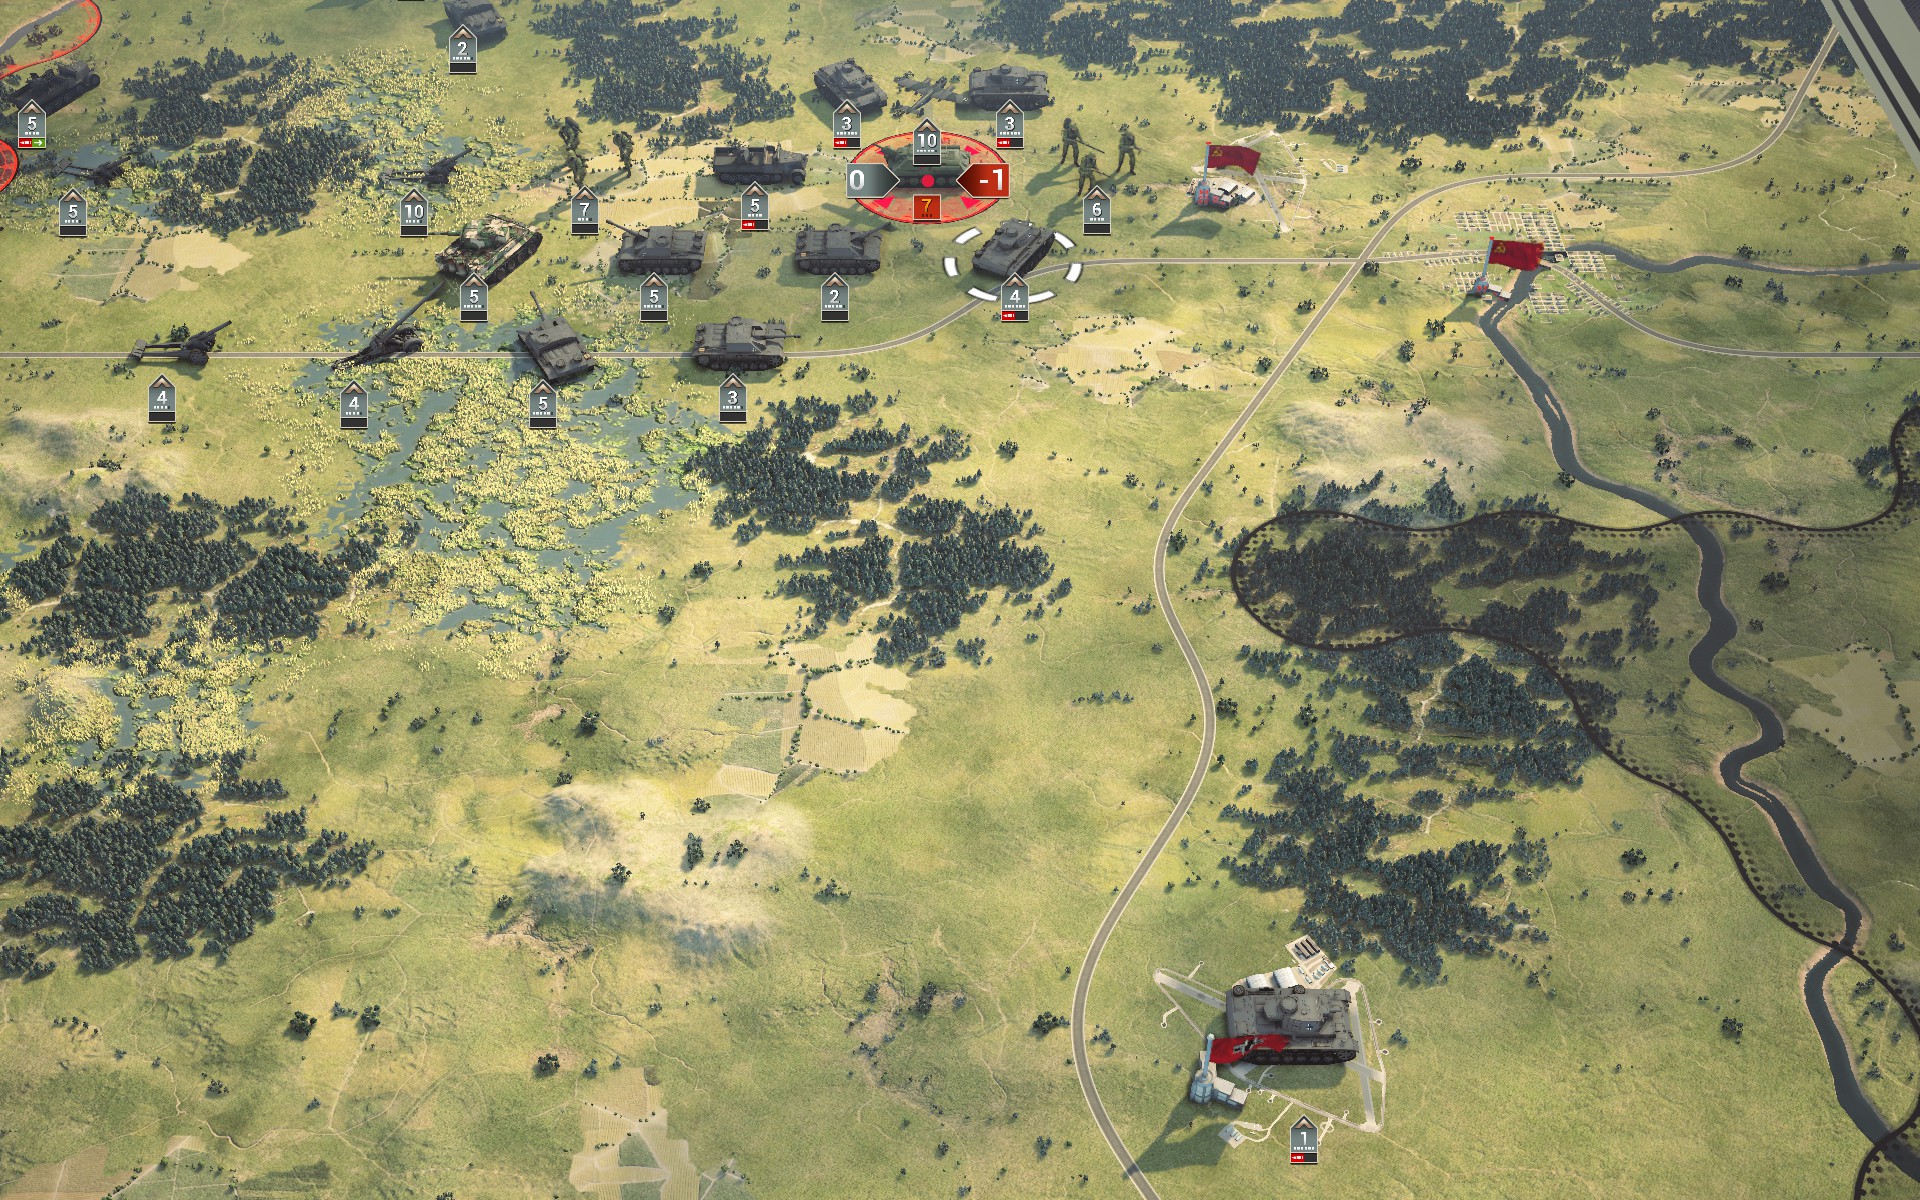
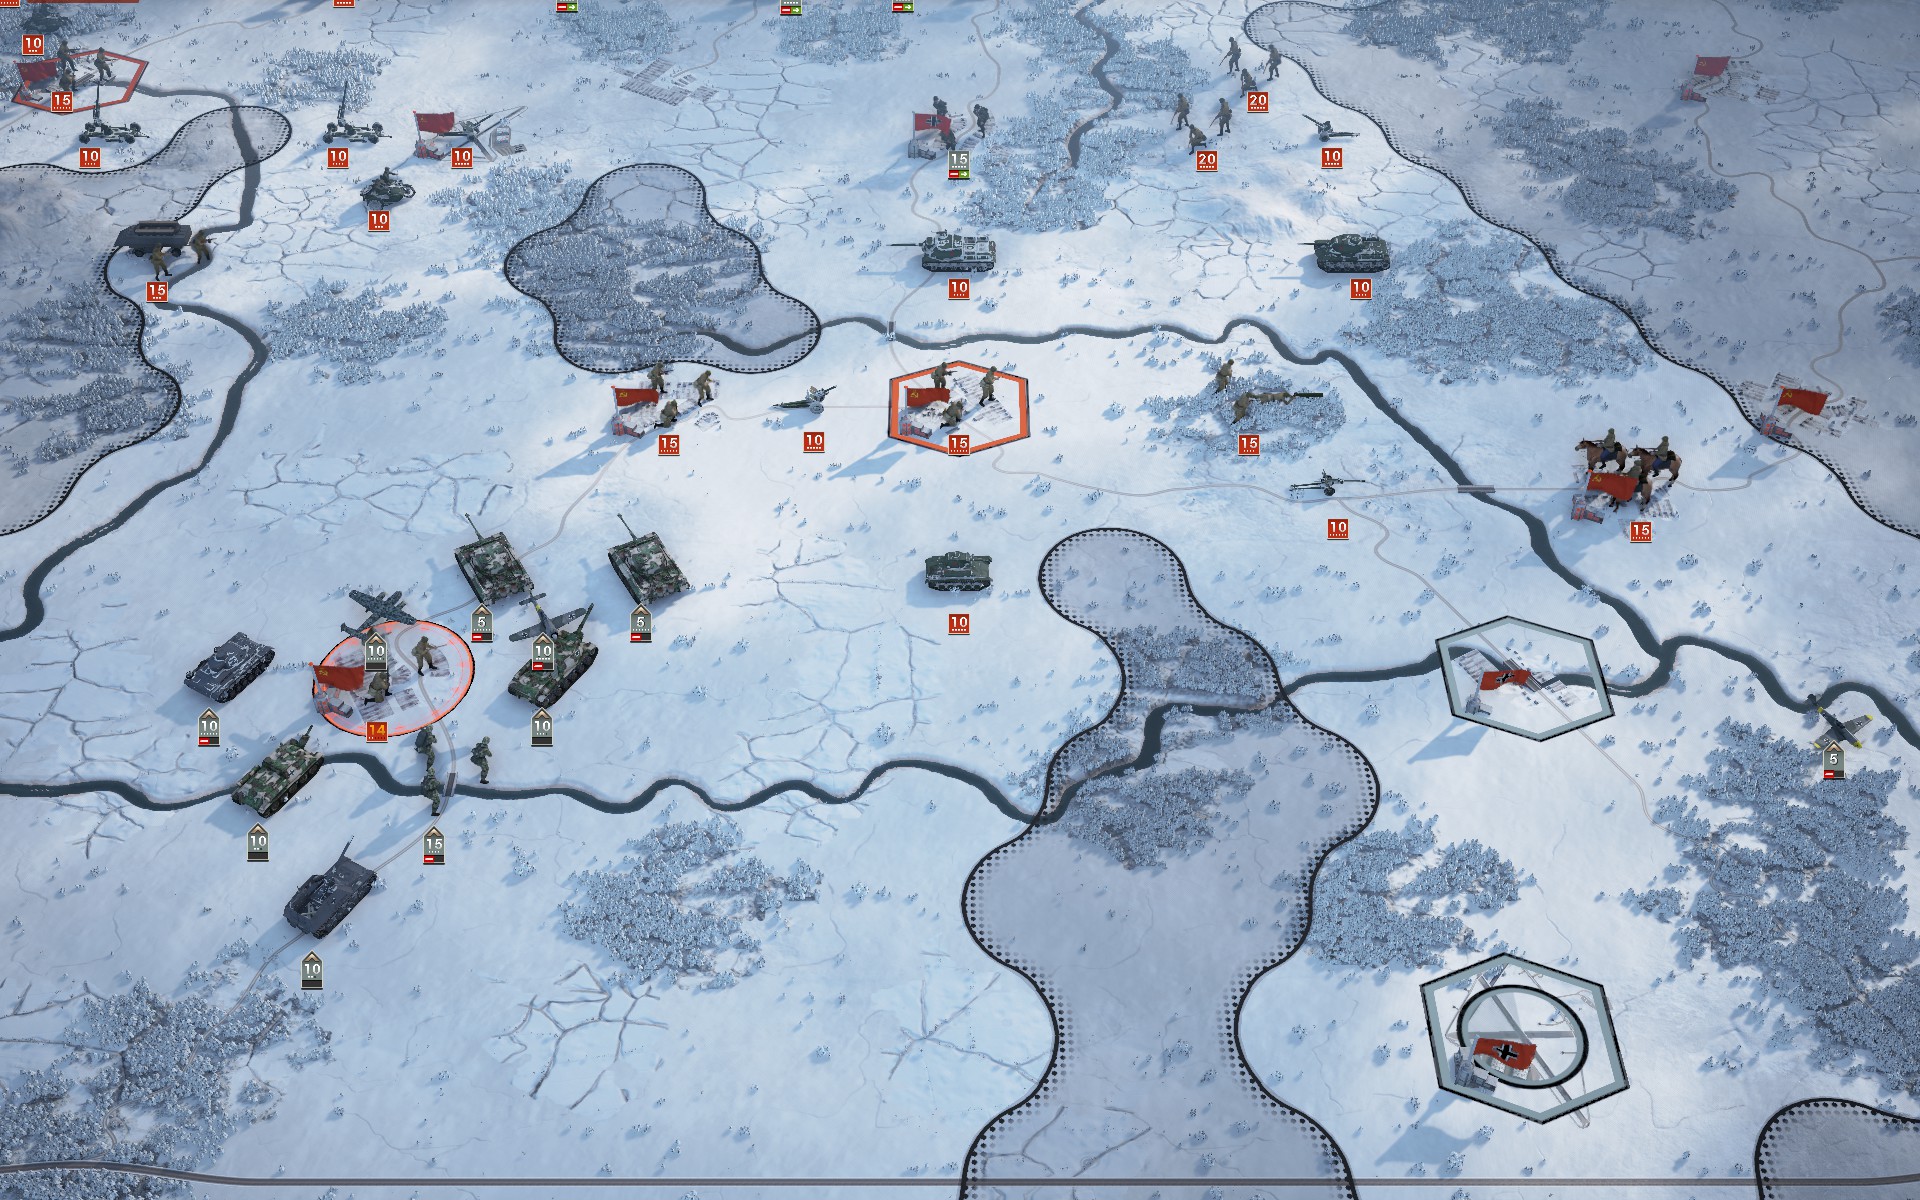
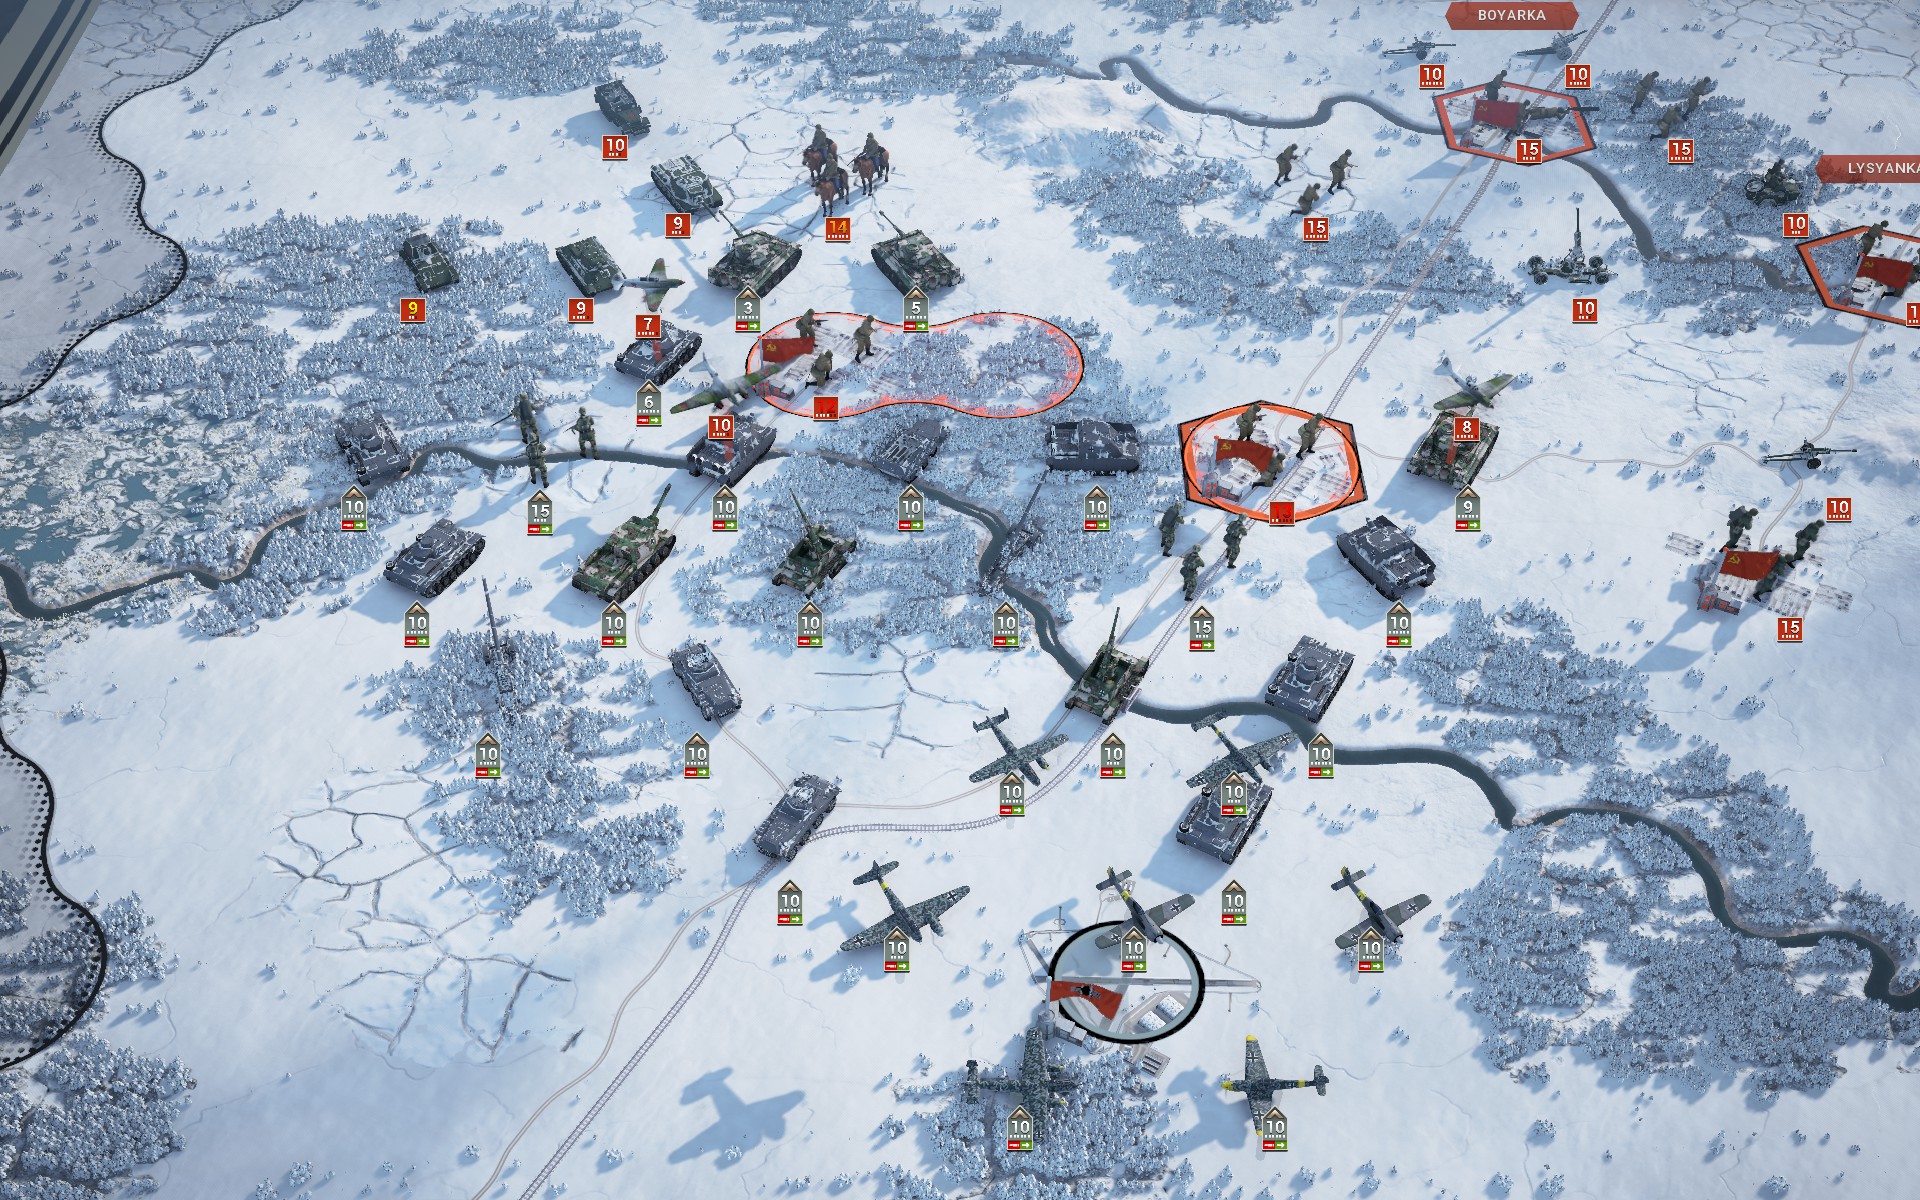
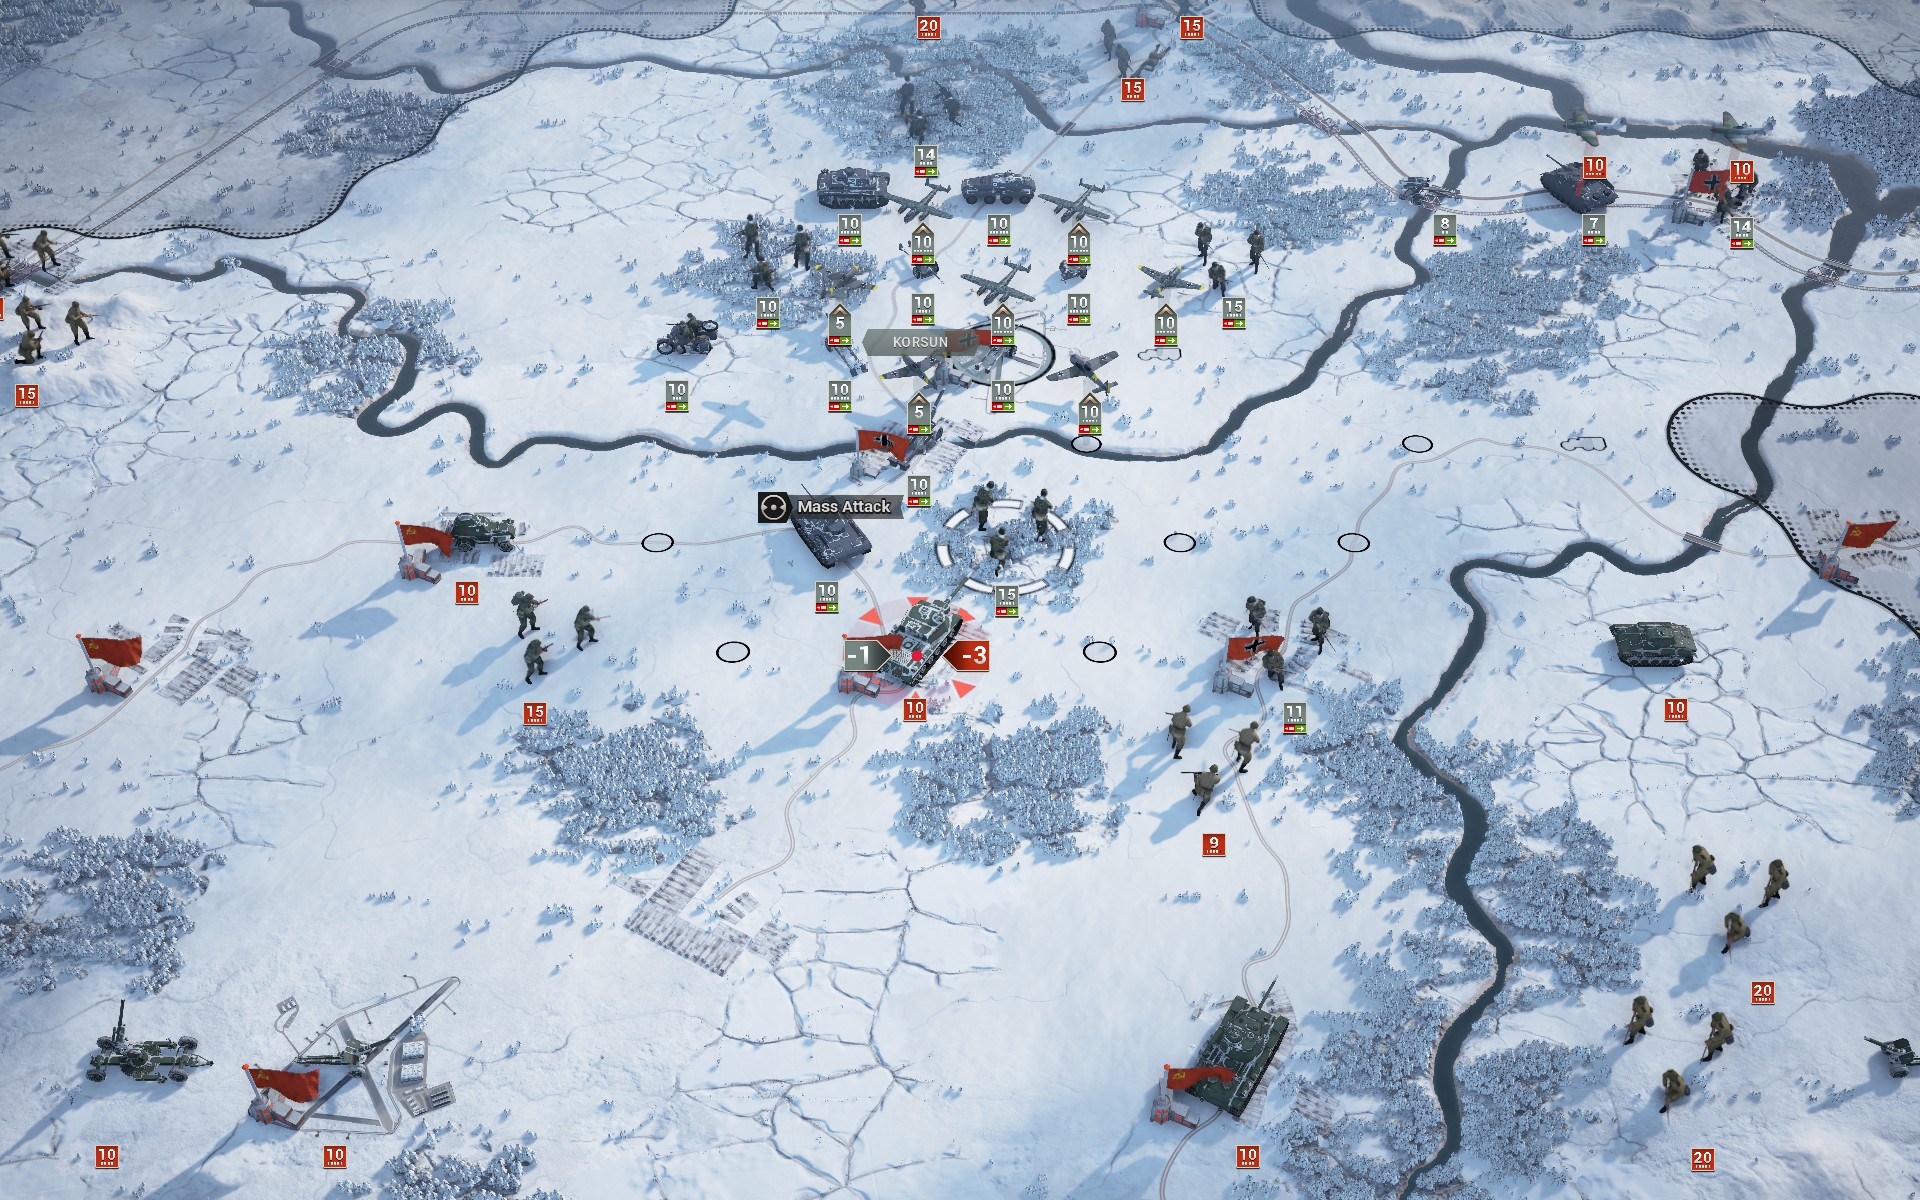
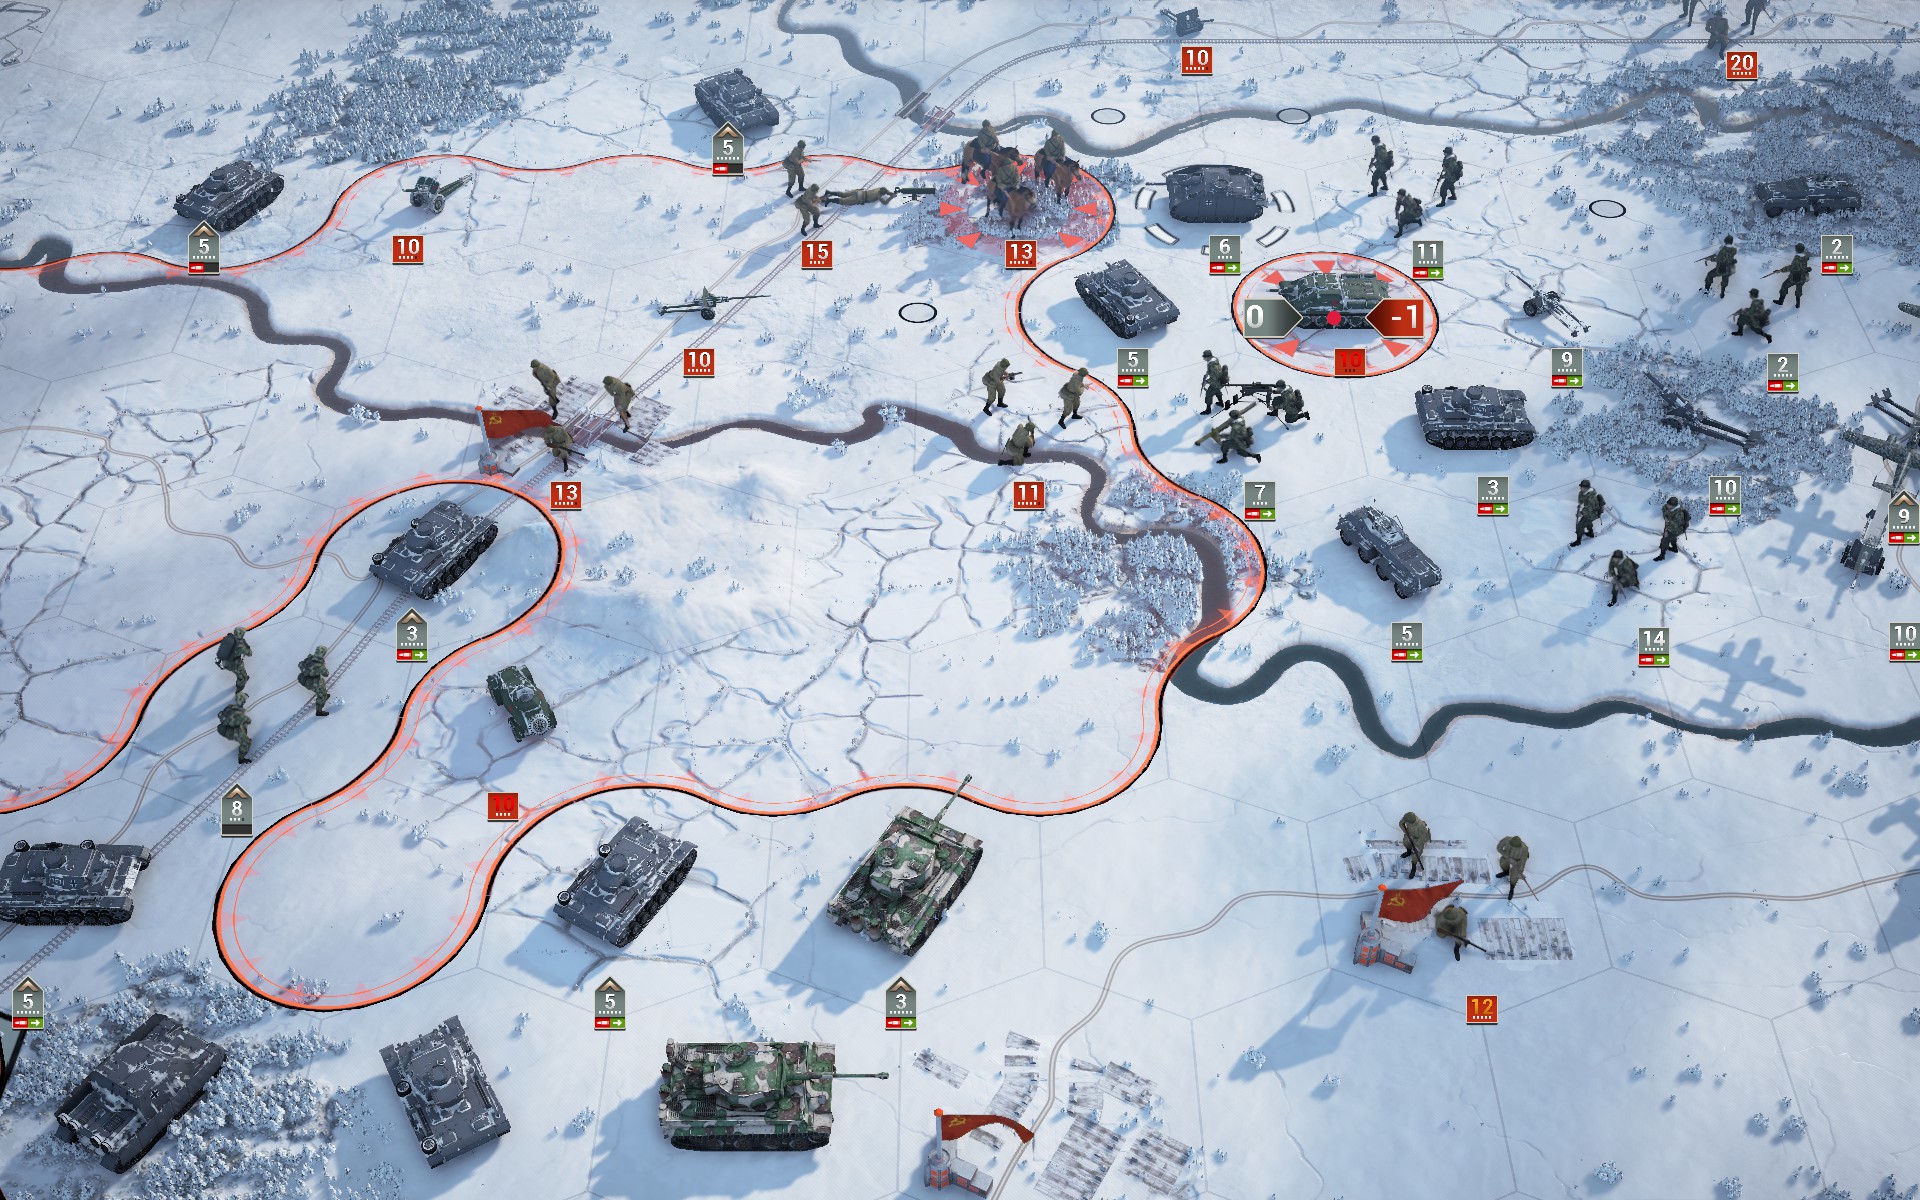
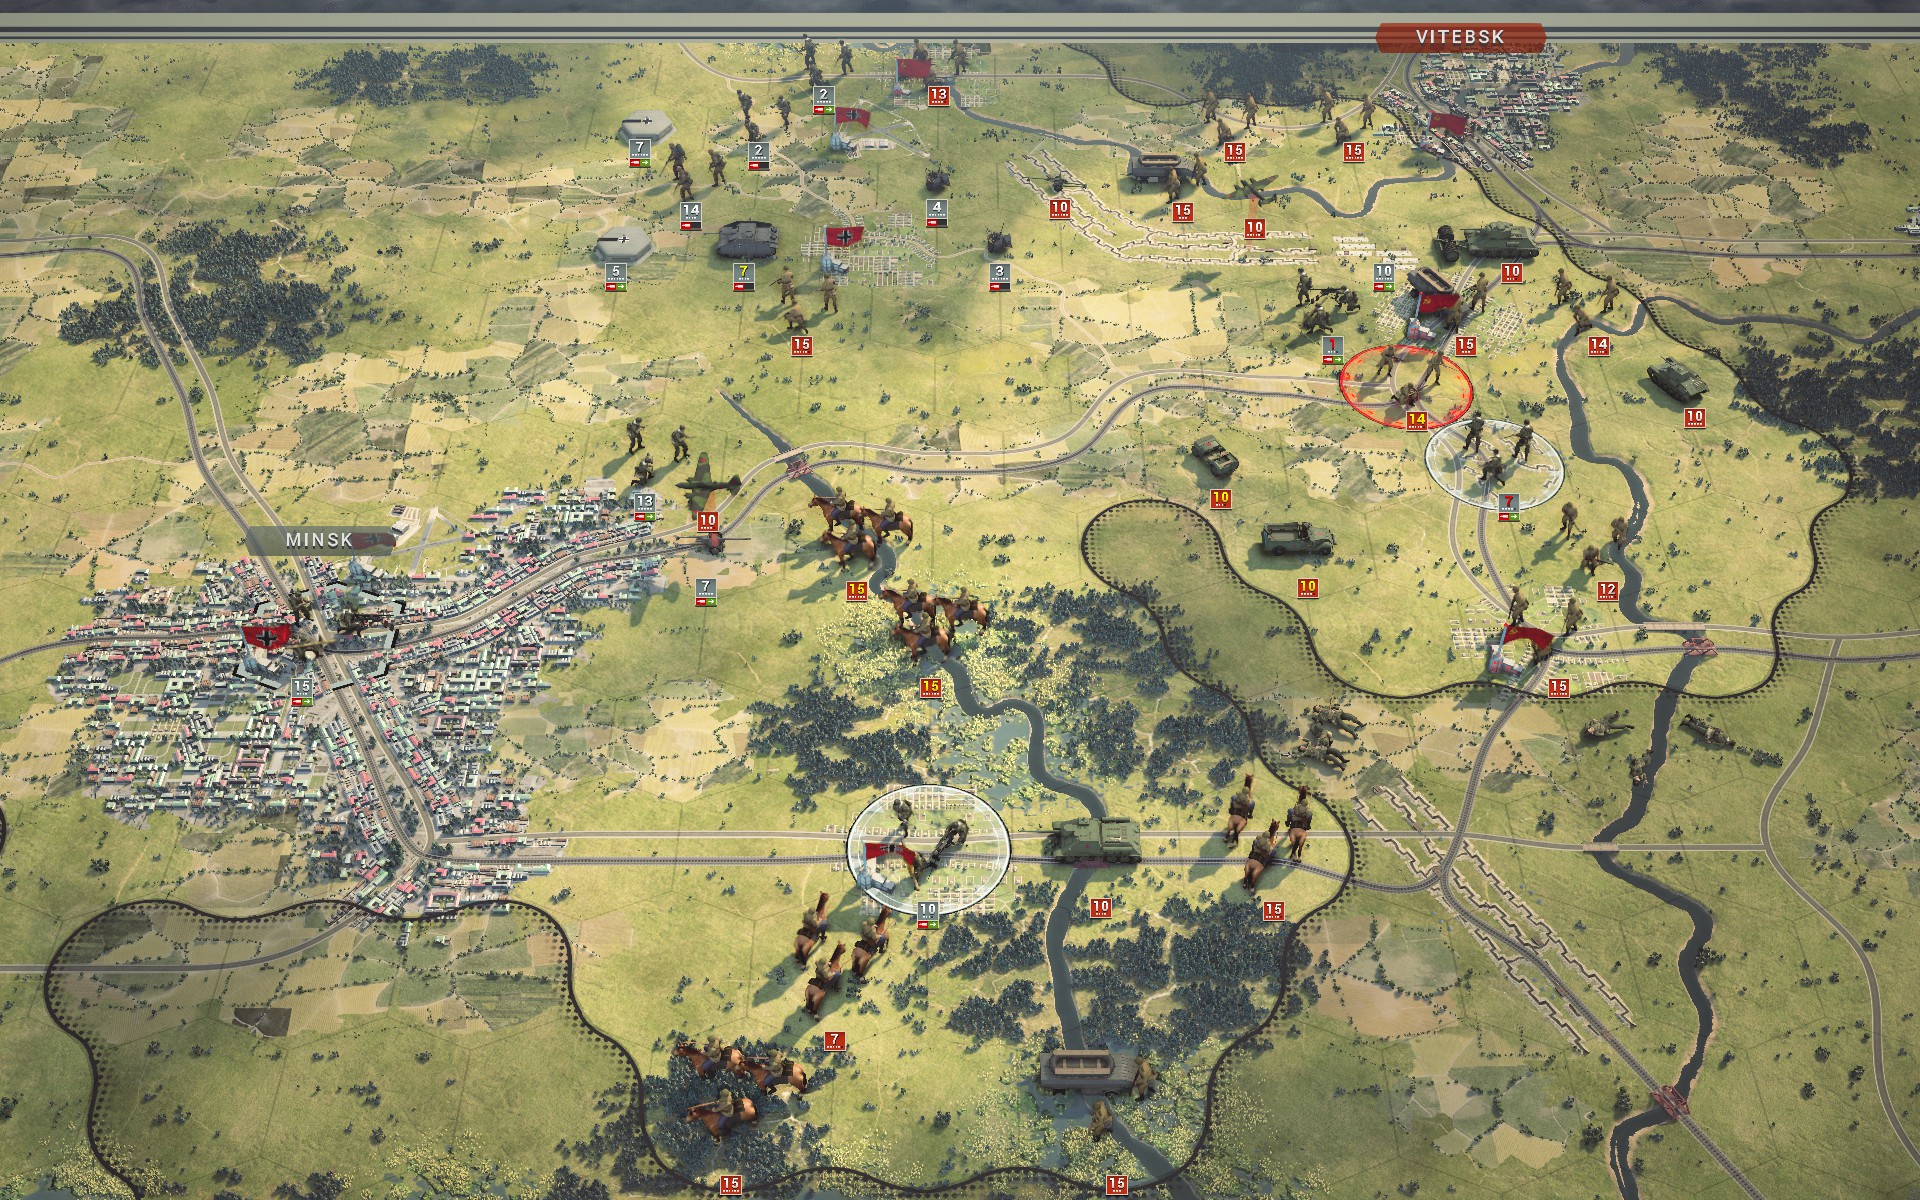
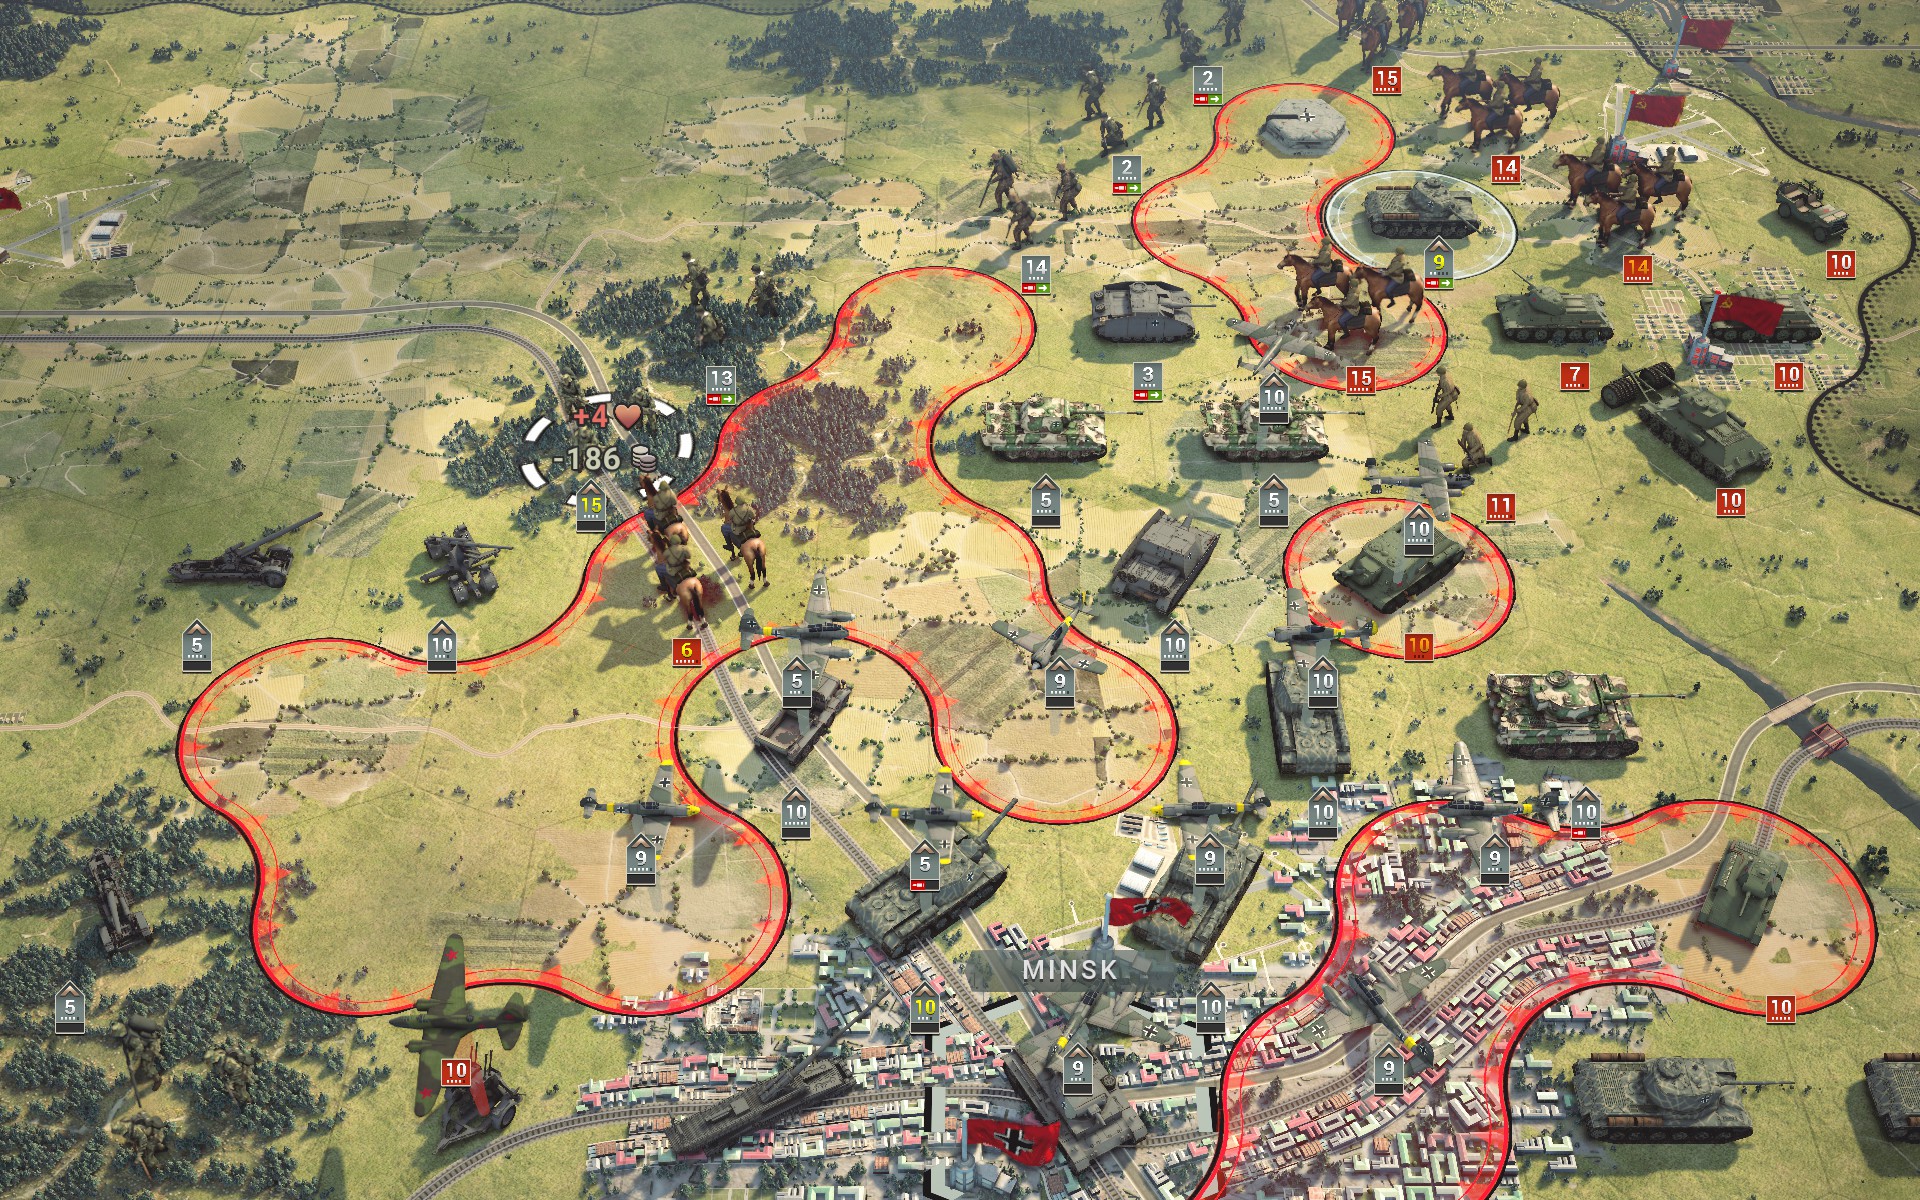
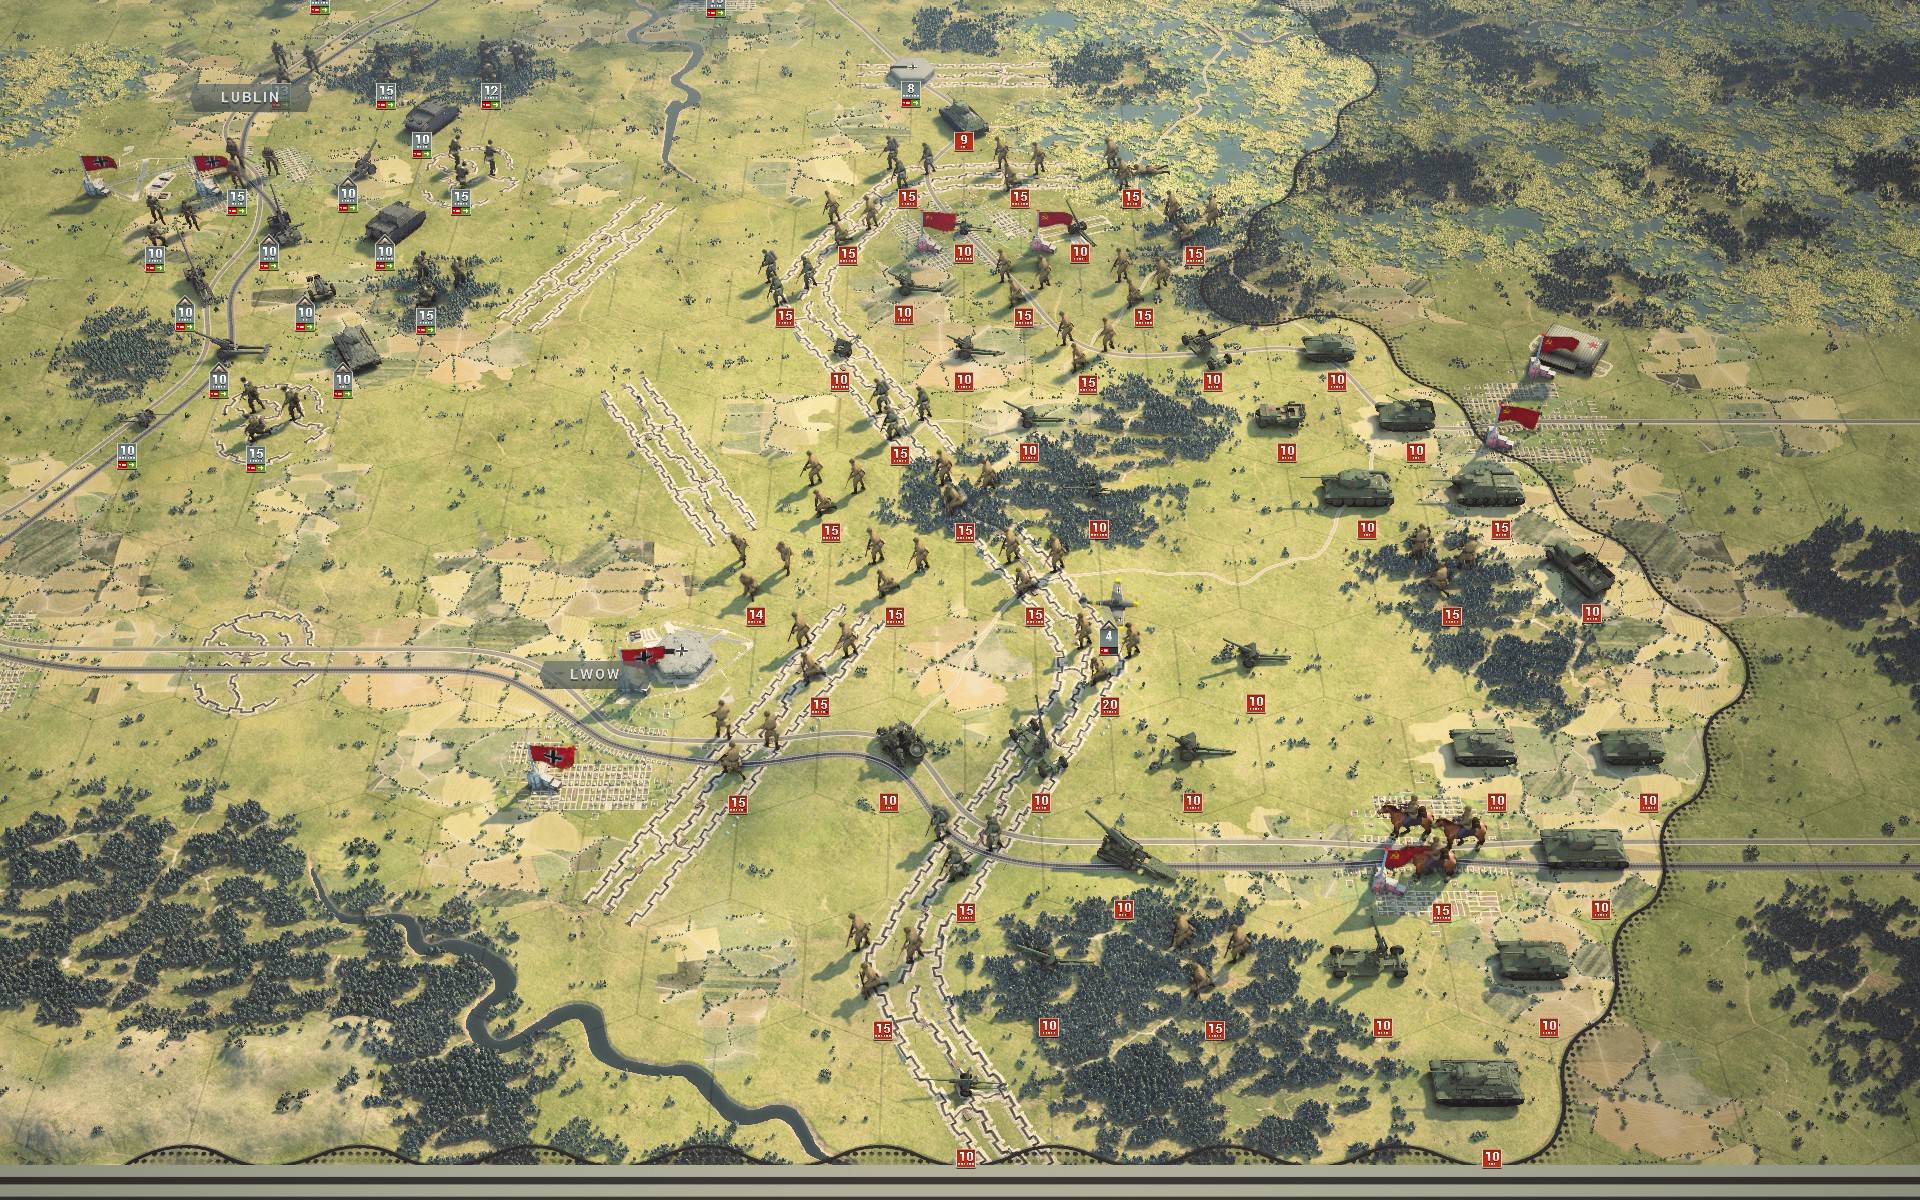
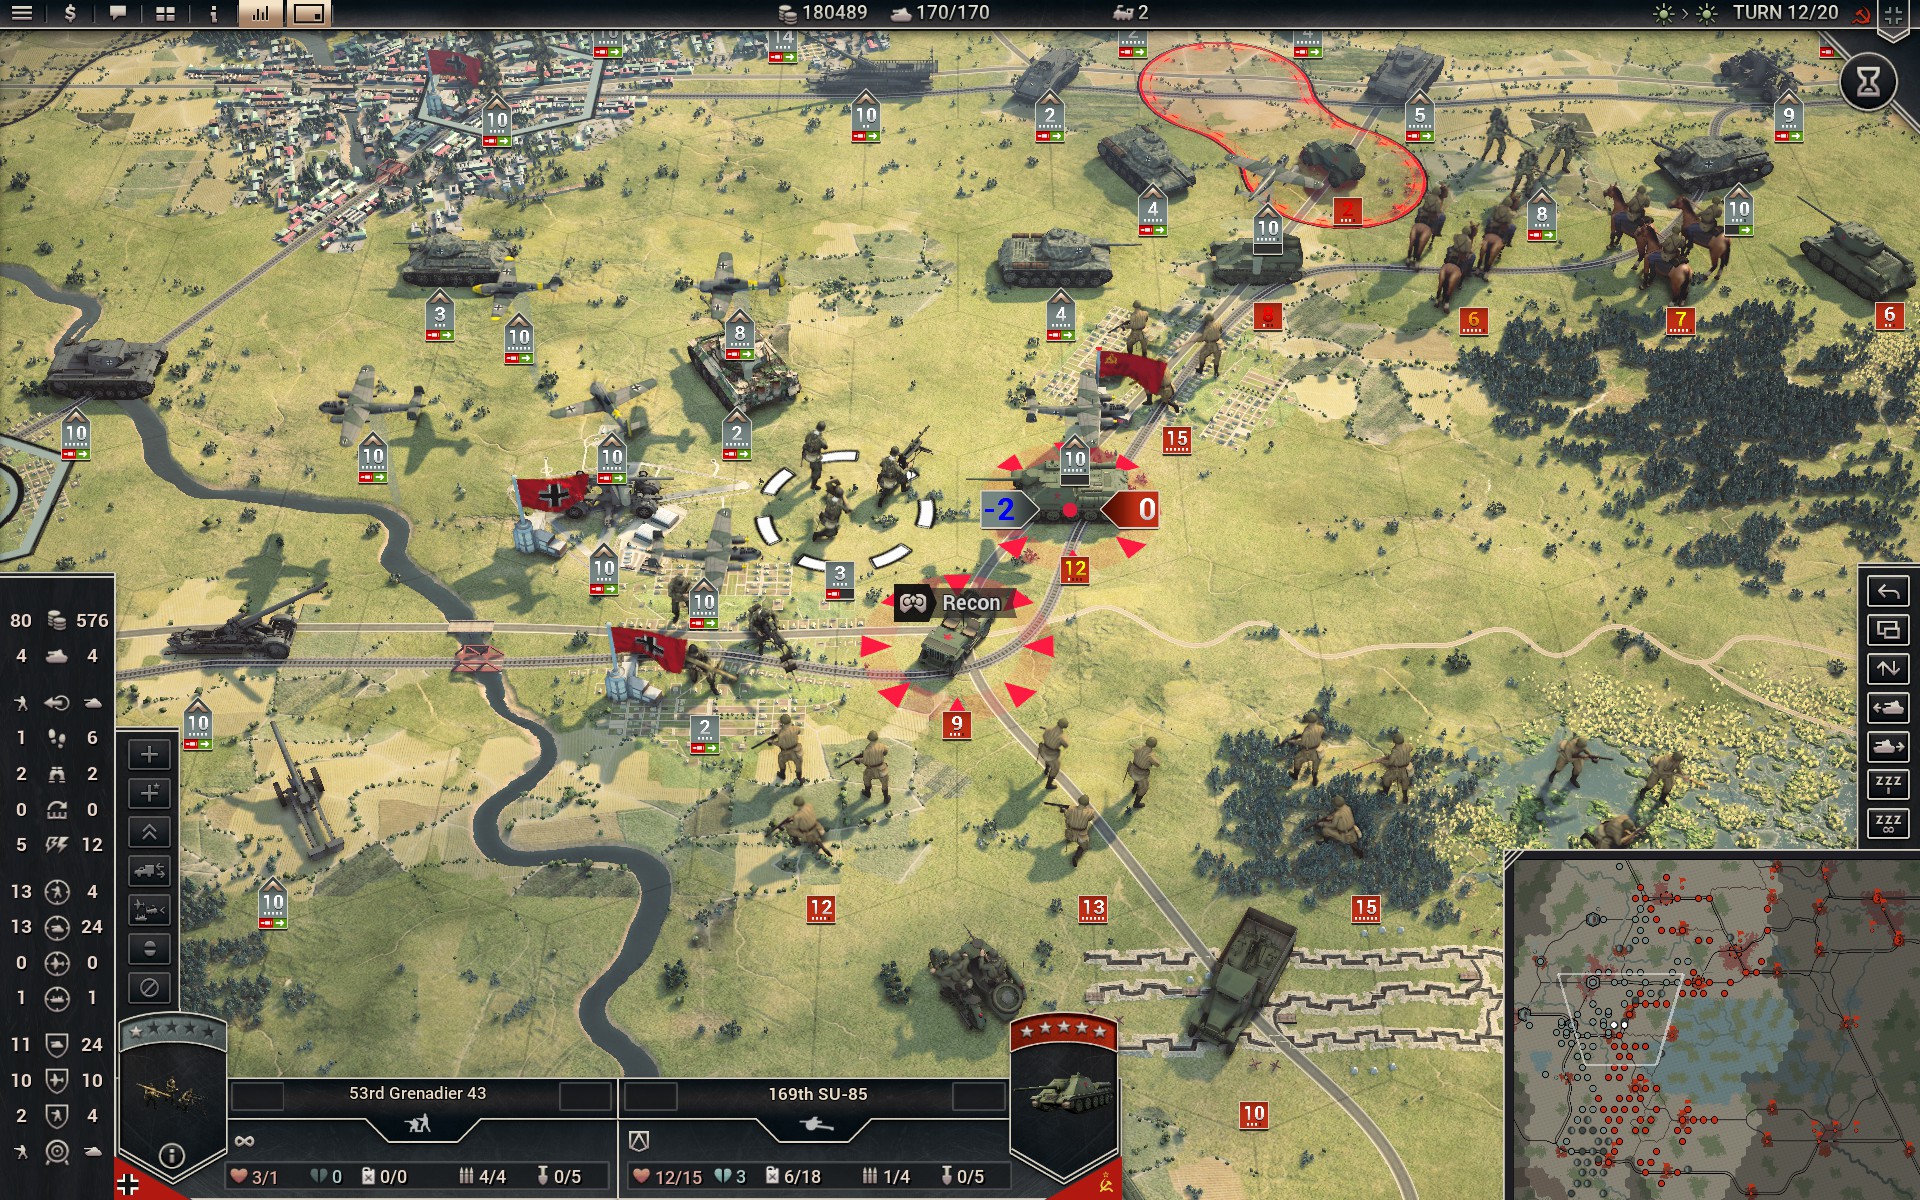
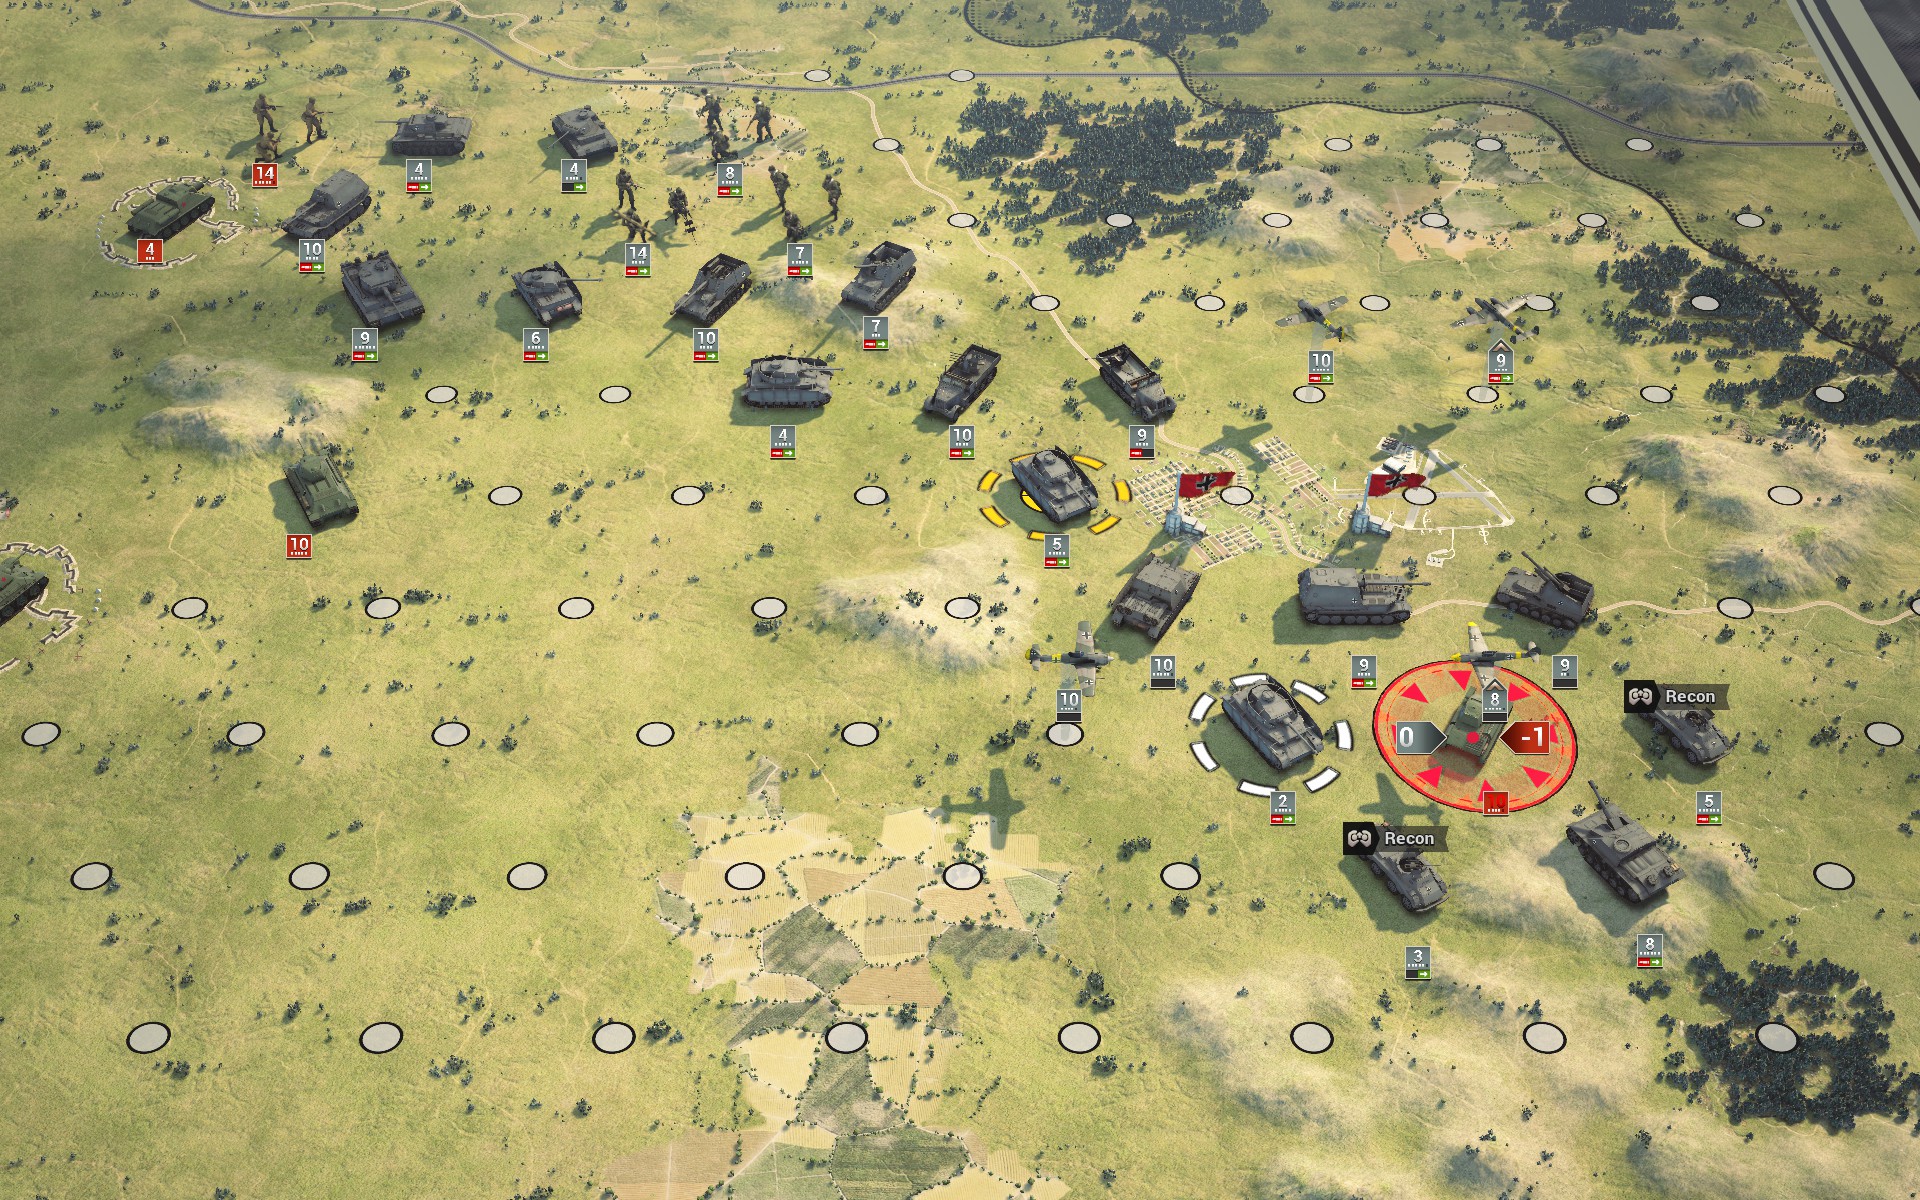
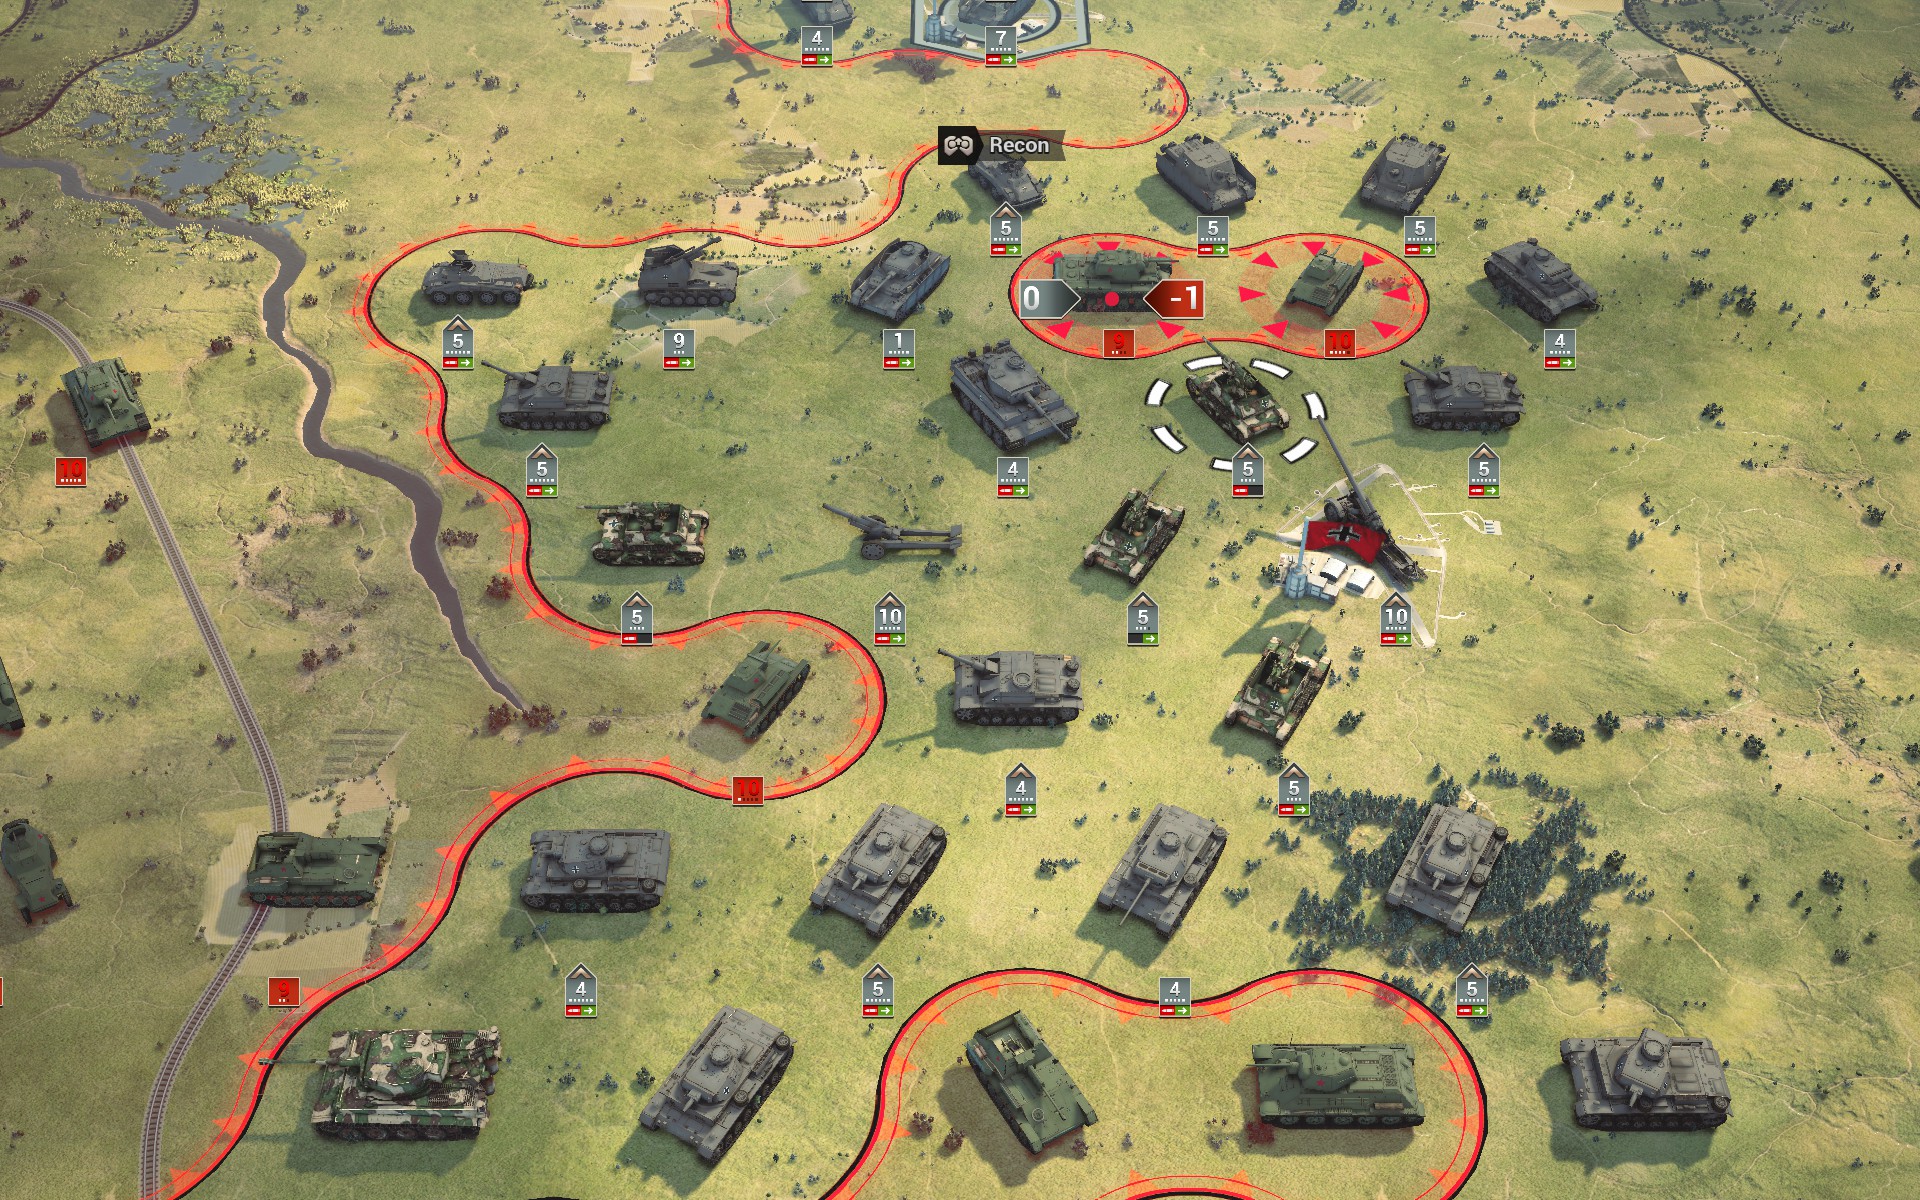
The Red Army is massing infantry and light armour to the east. As these forces could prove difficult to deal with should they reach the woodlands around the objectives, I decide to delay the advance north and instead eliminate this threat.
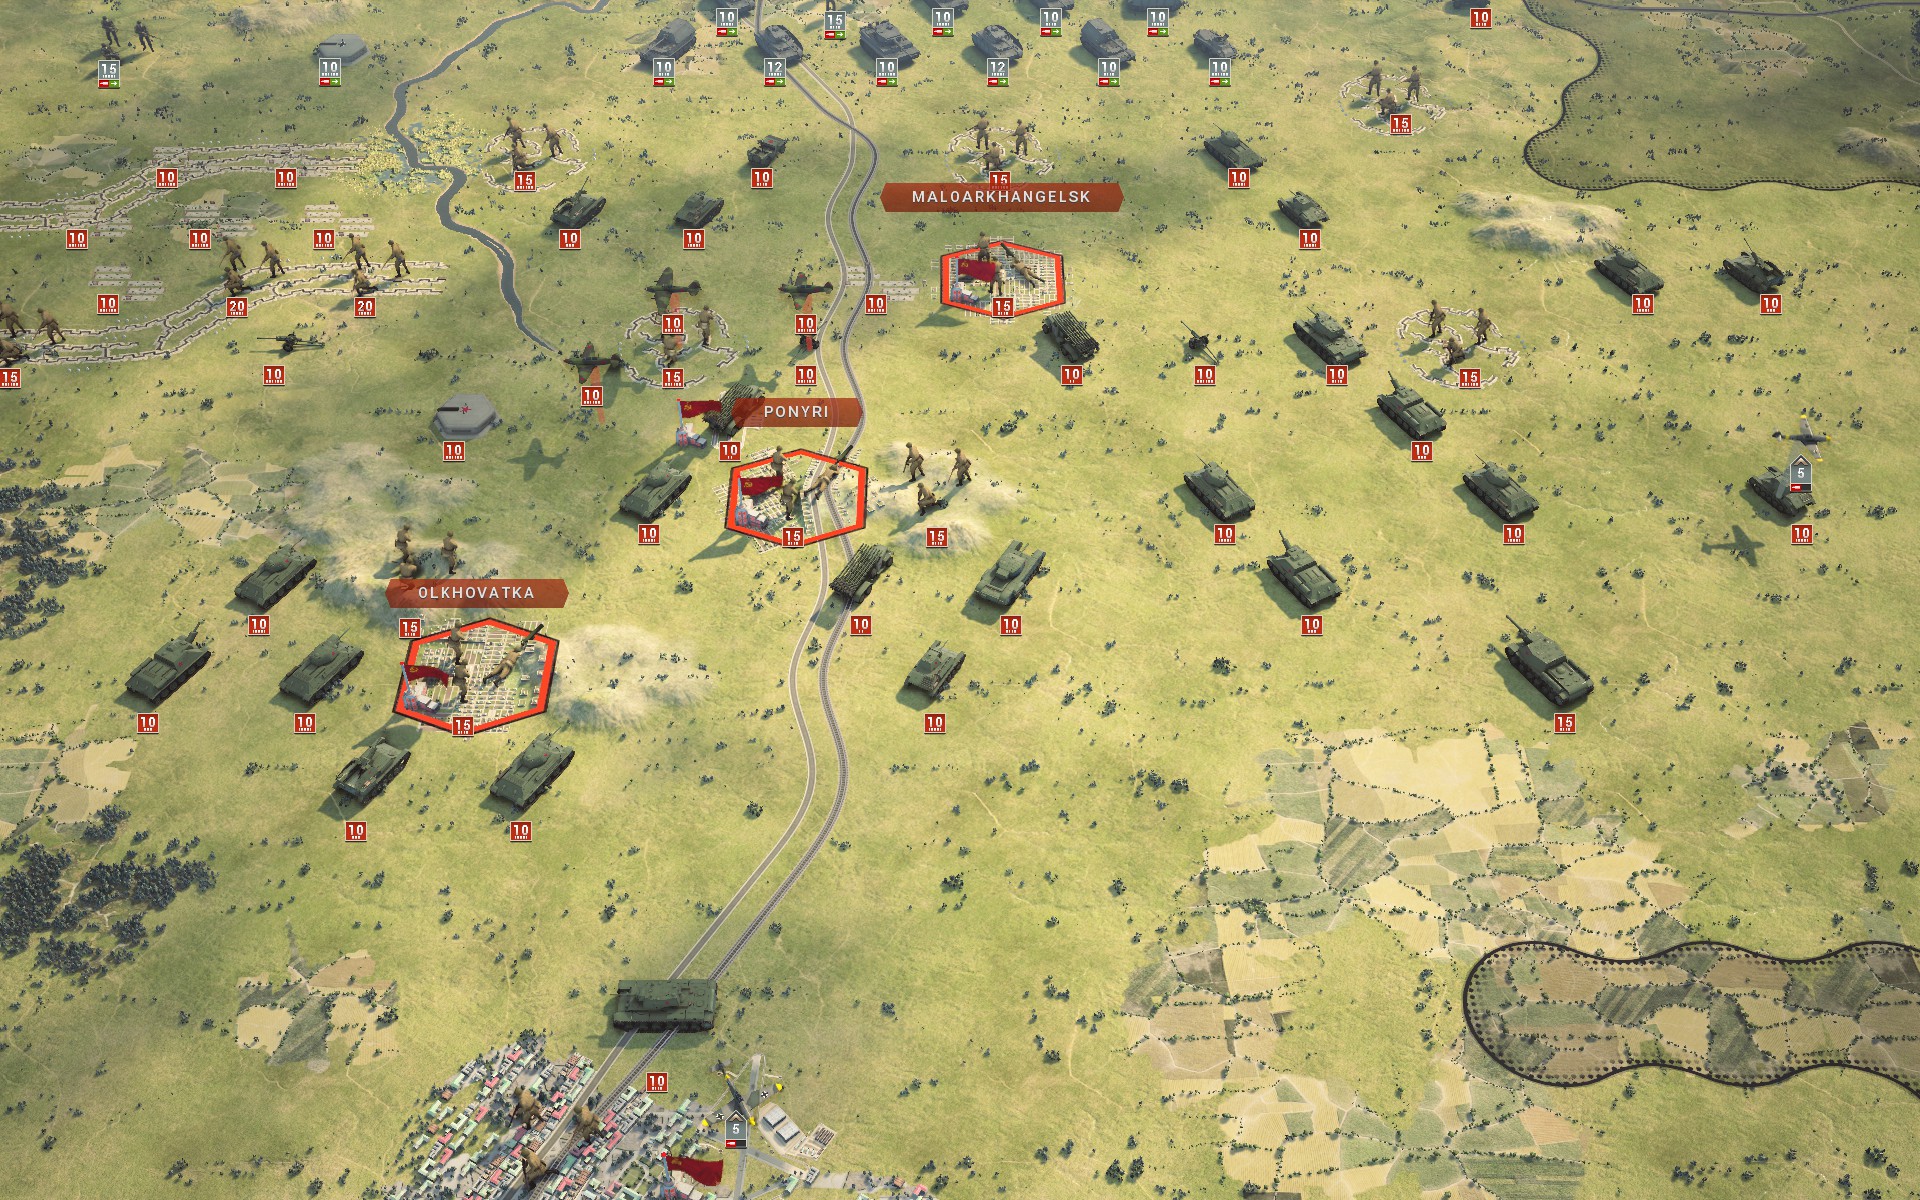
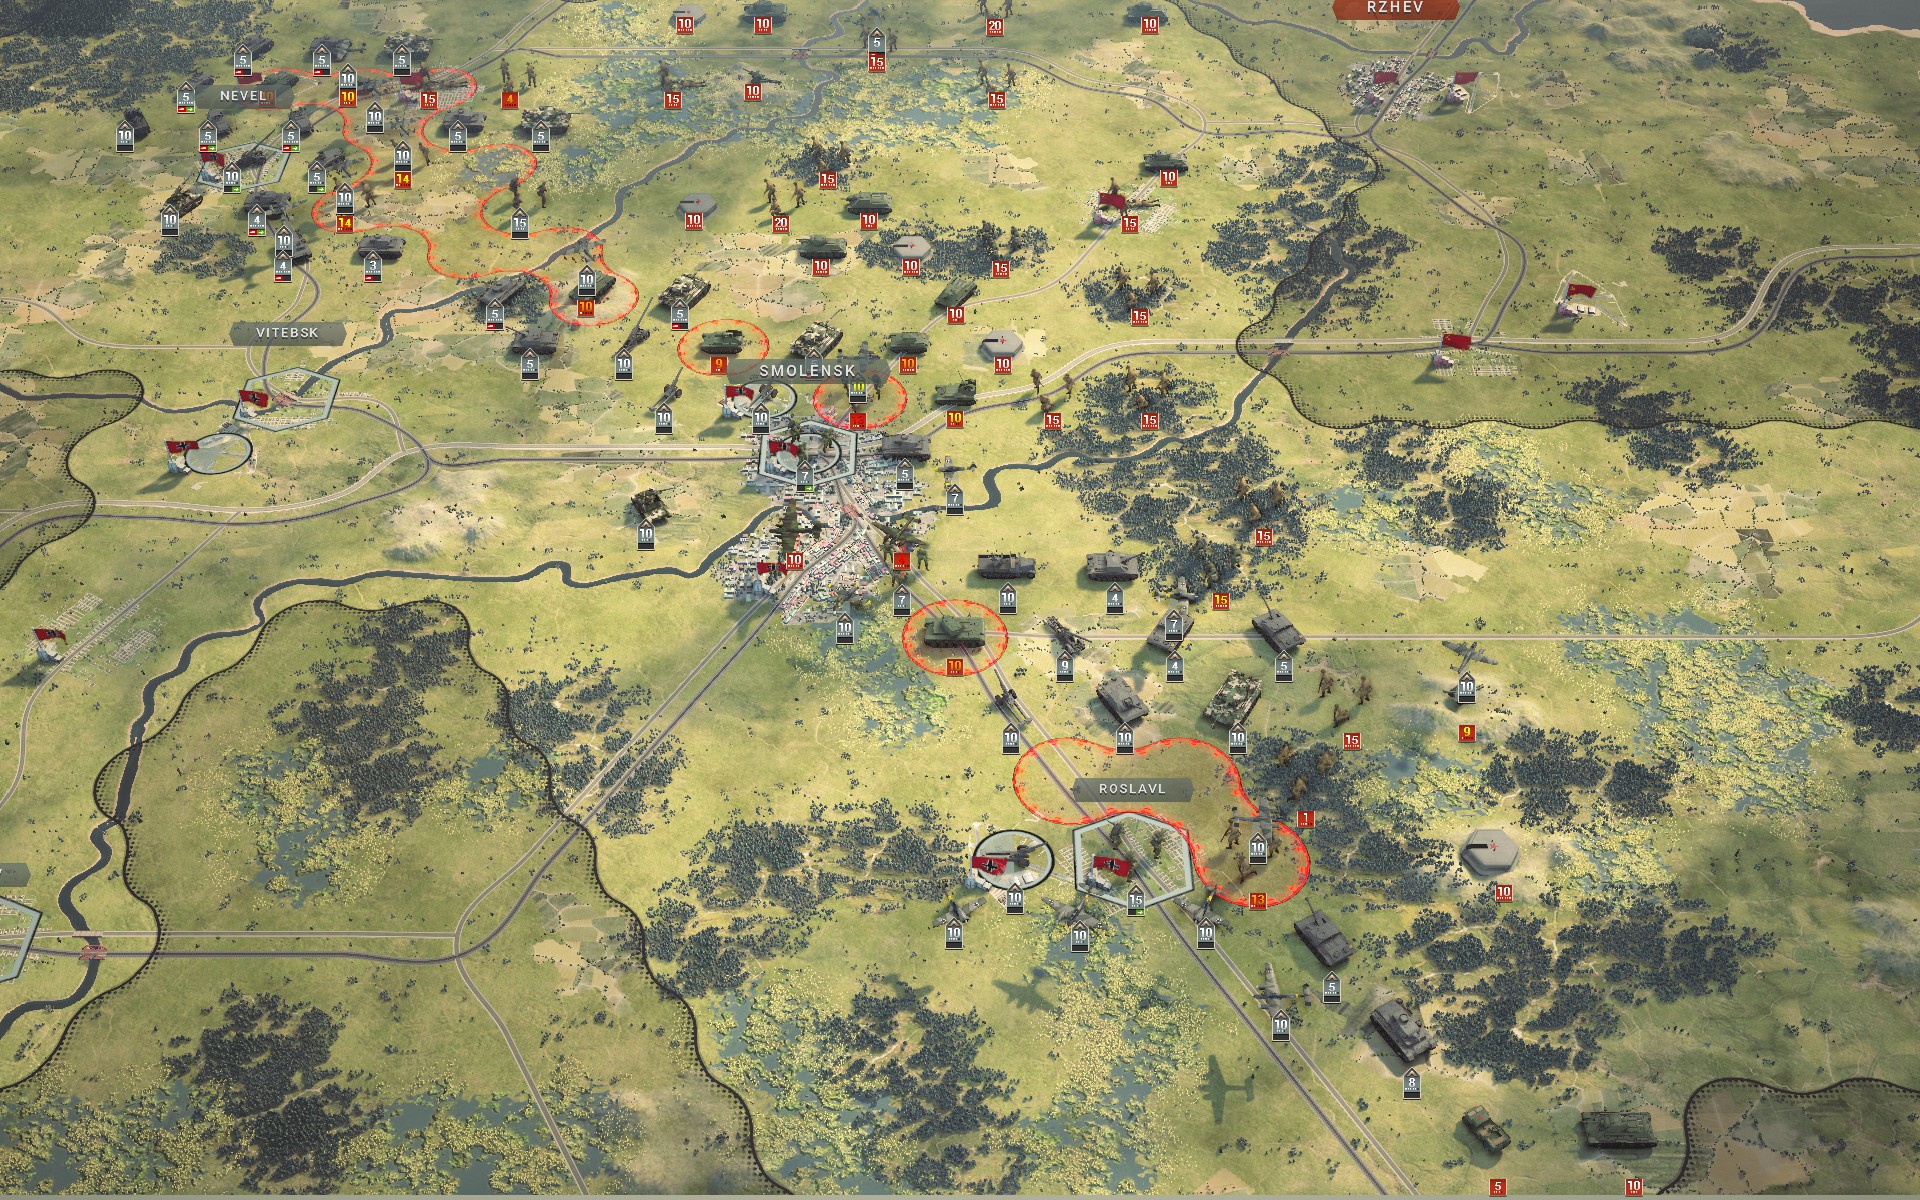
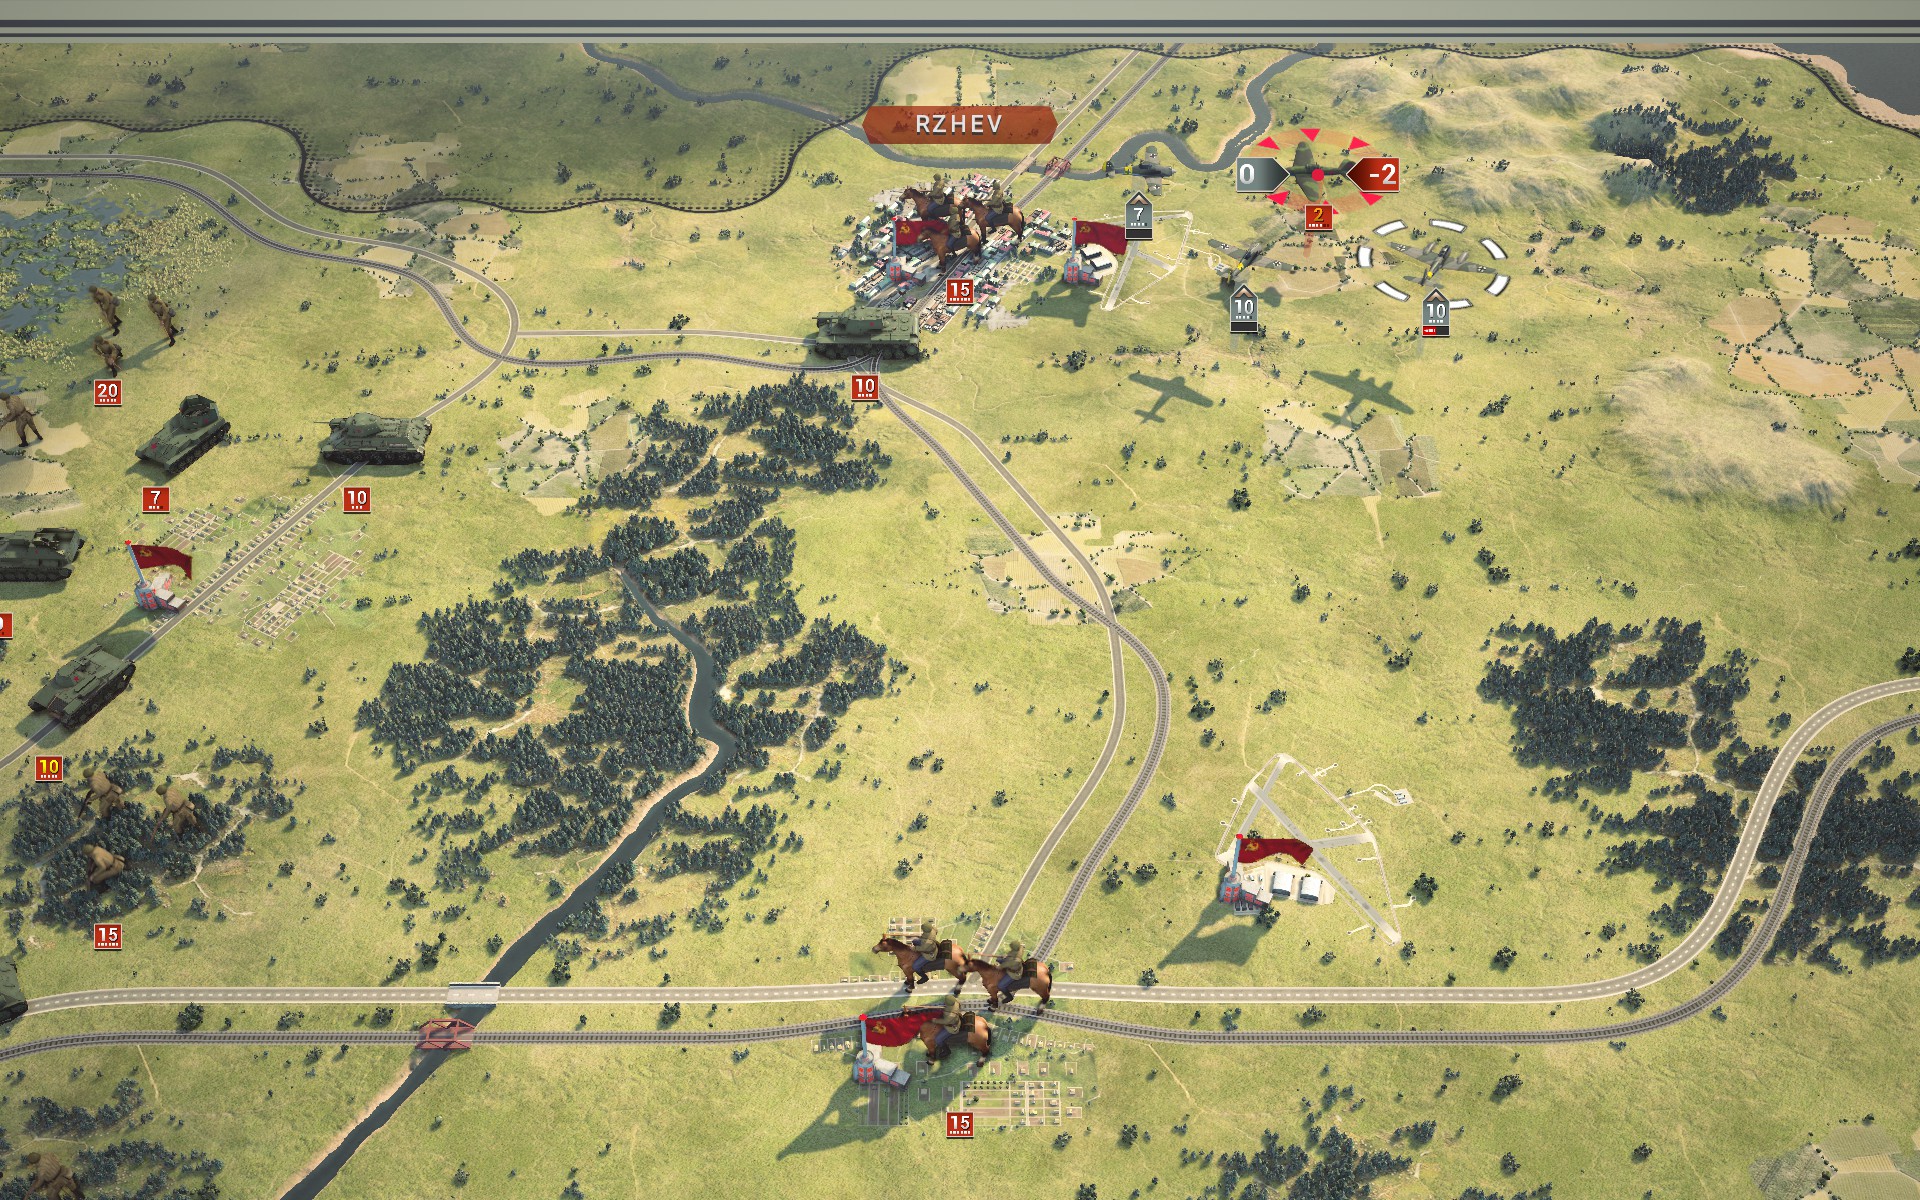
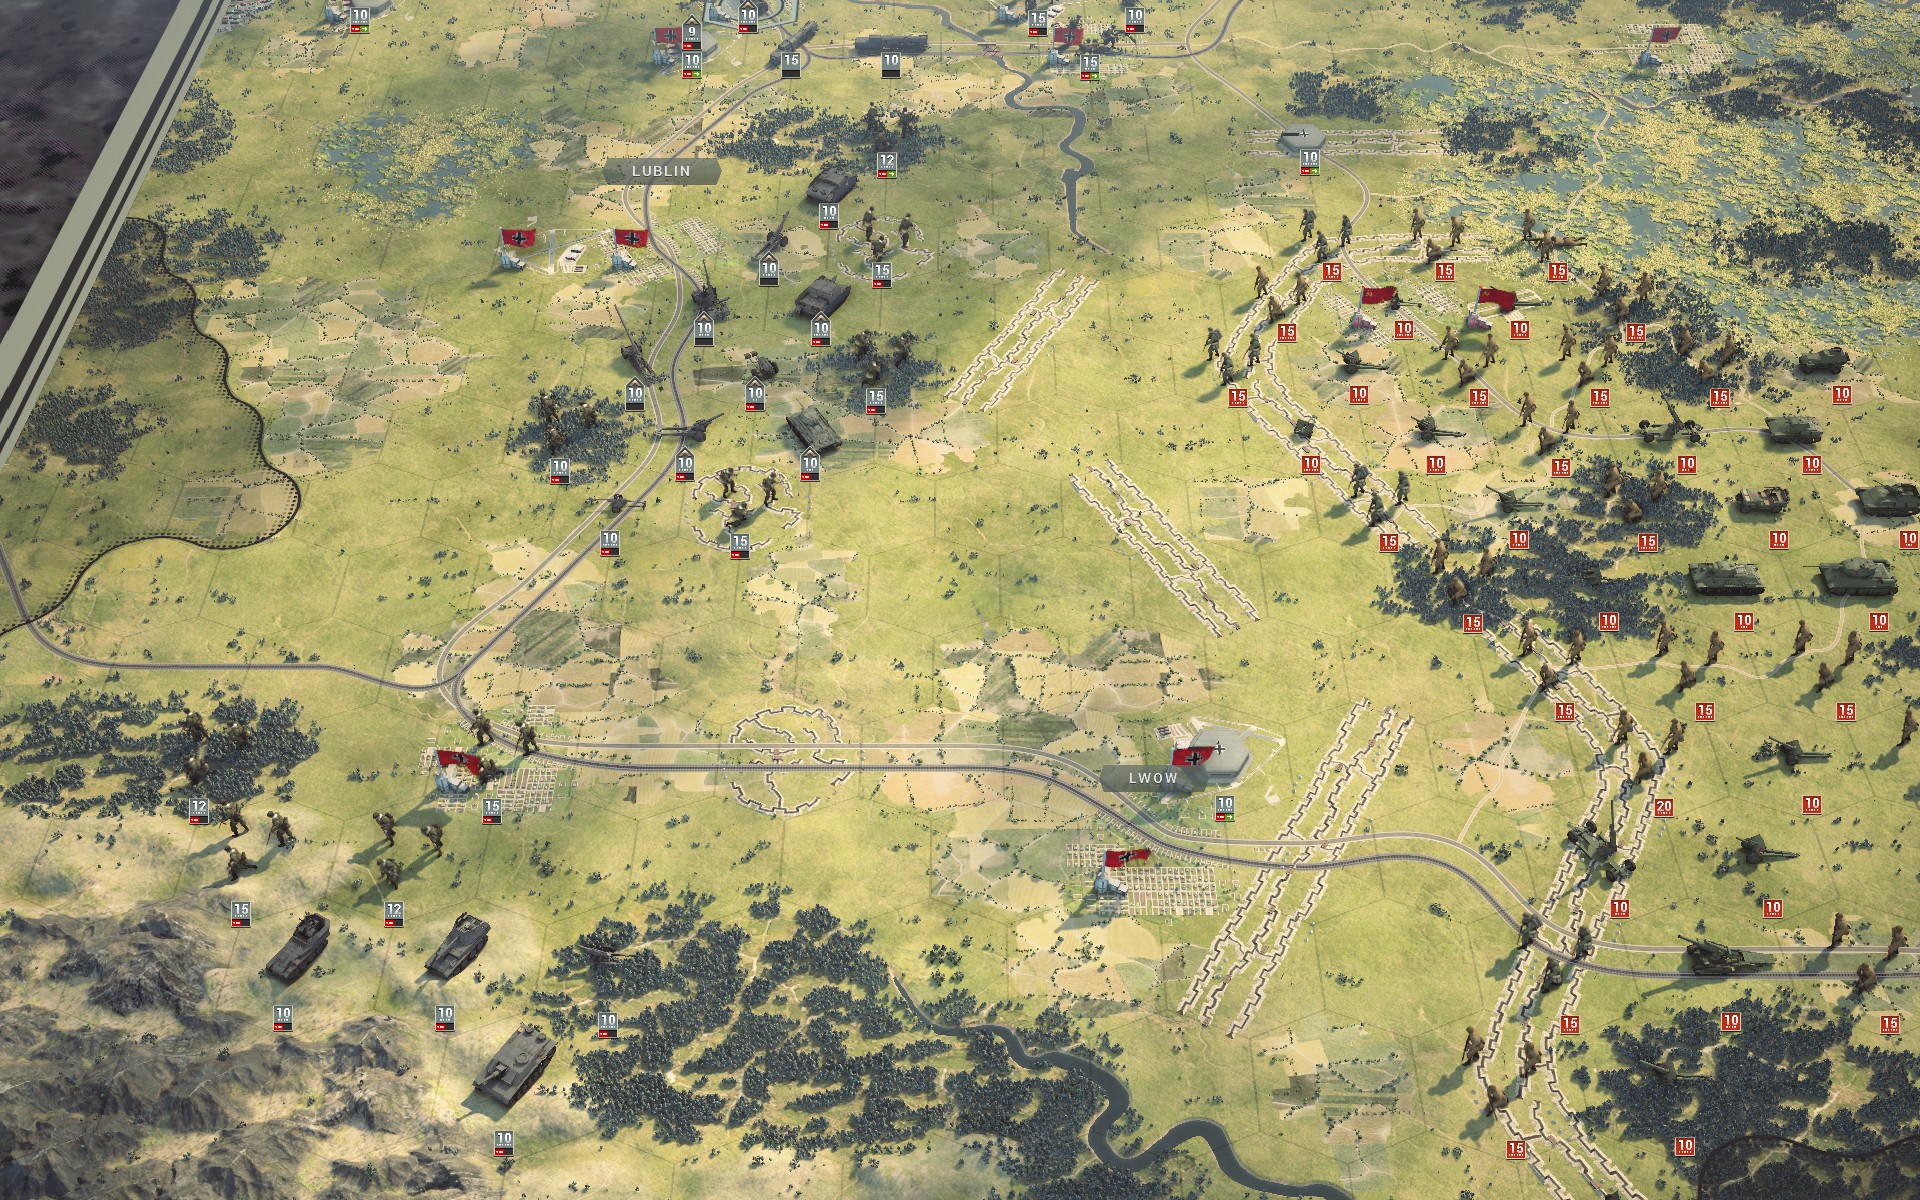
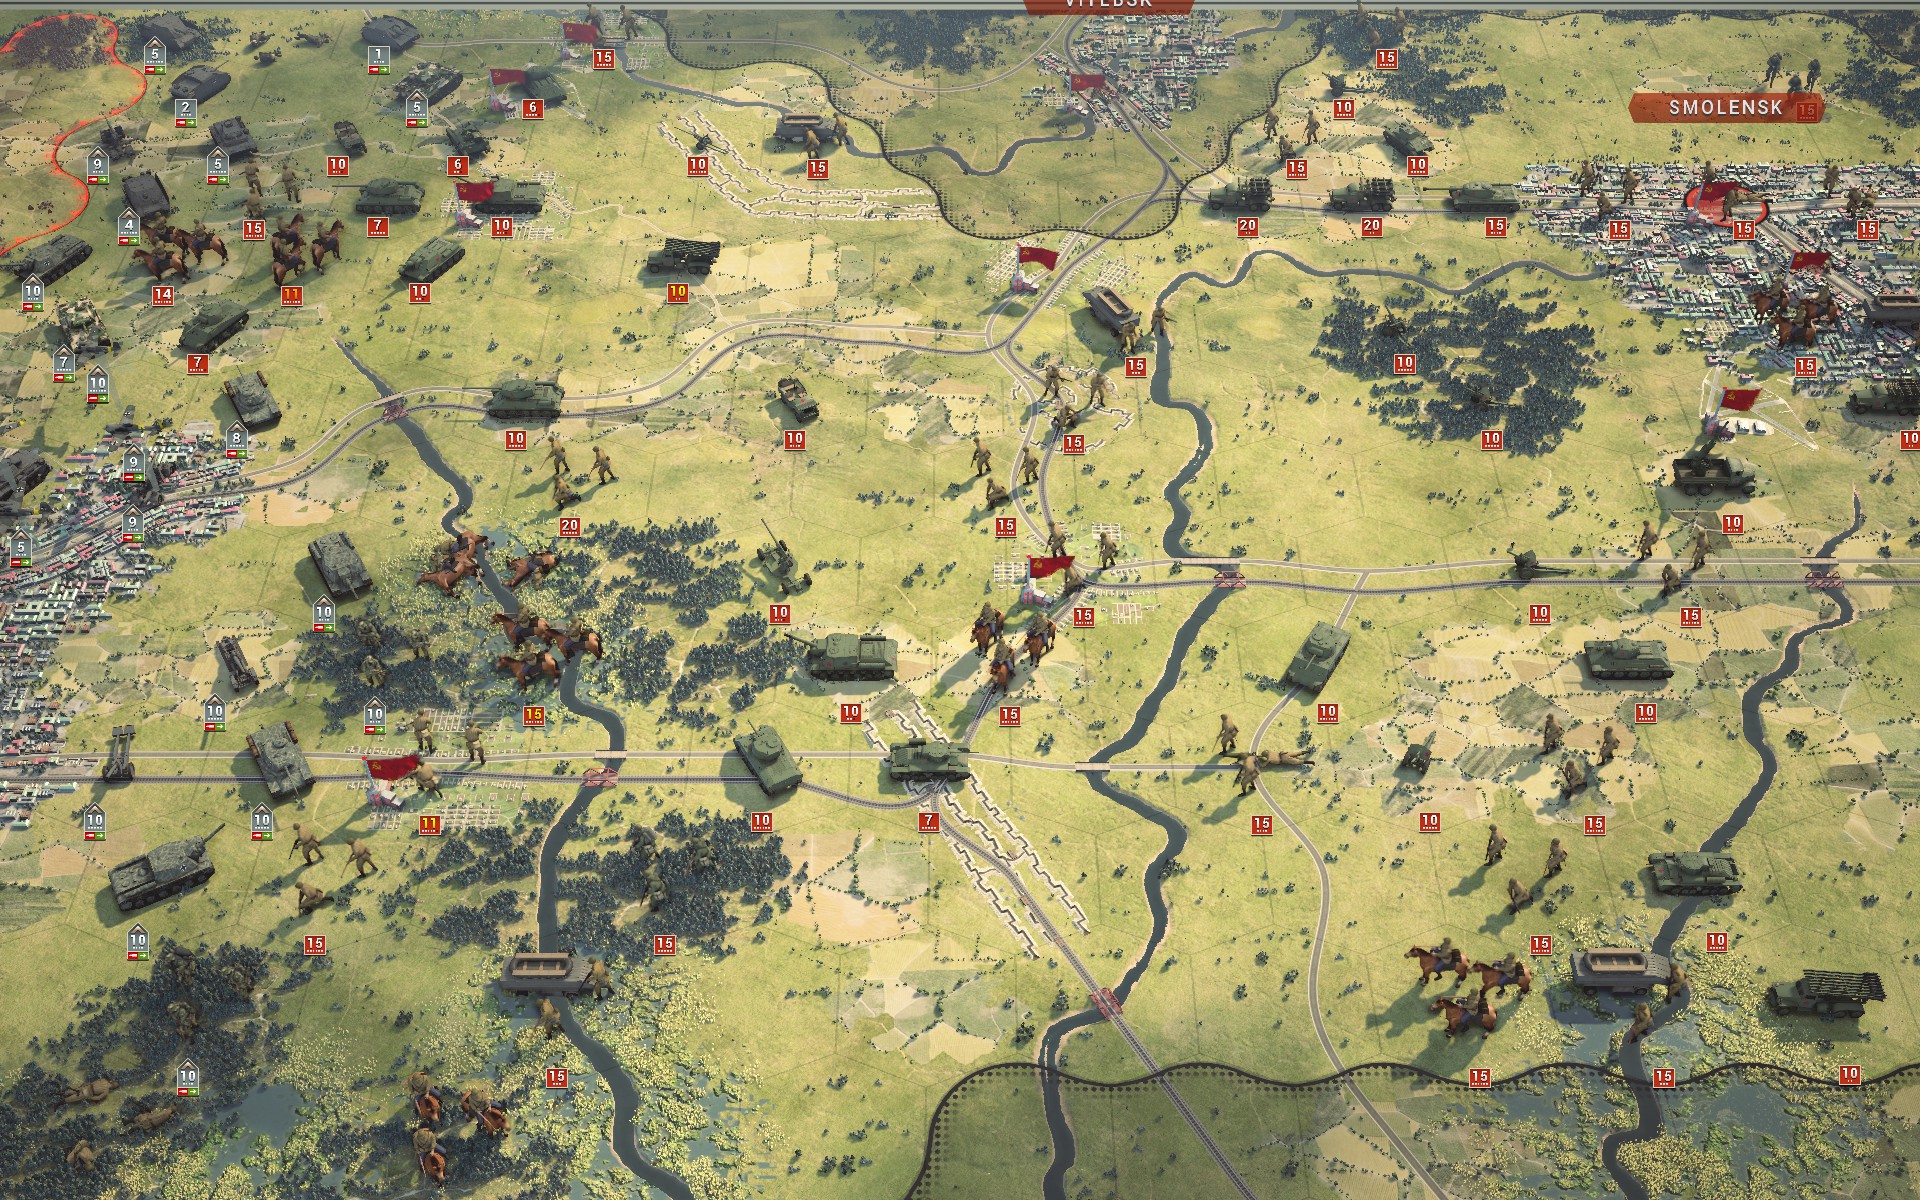
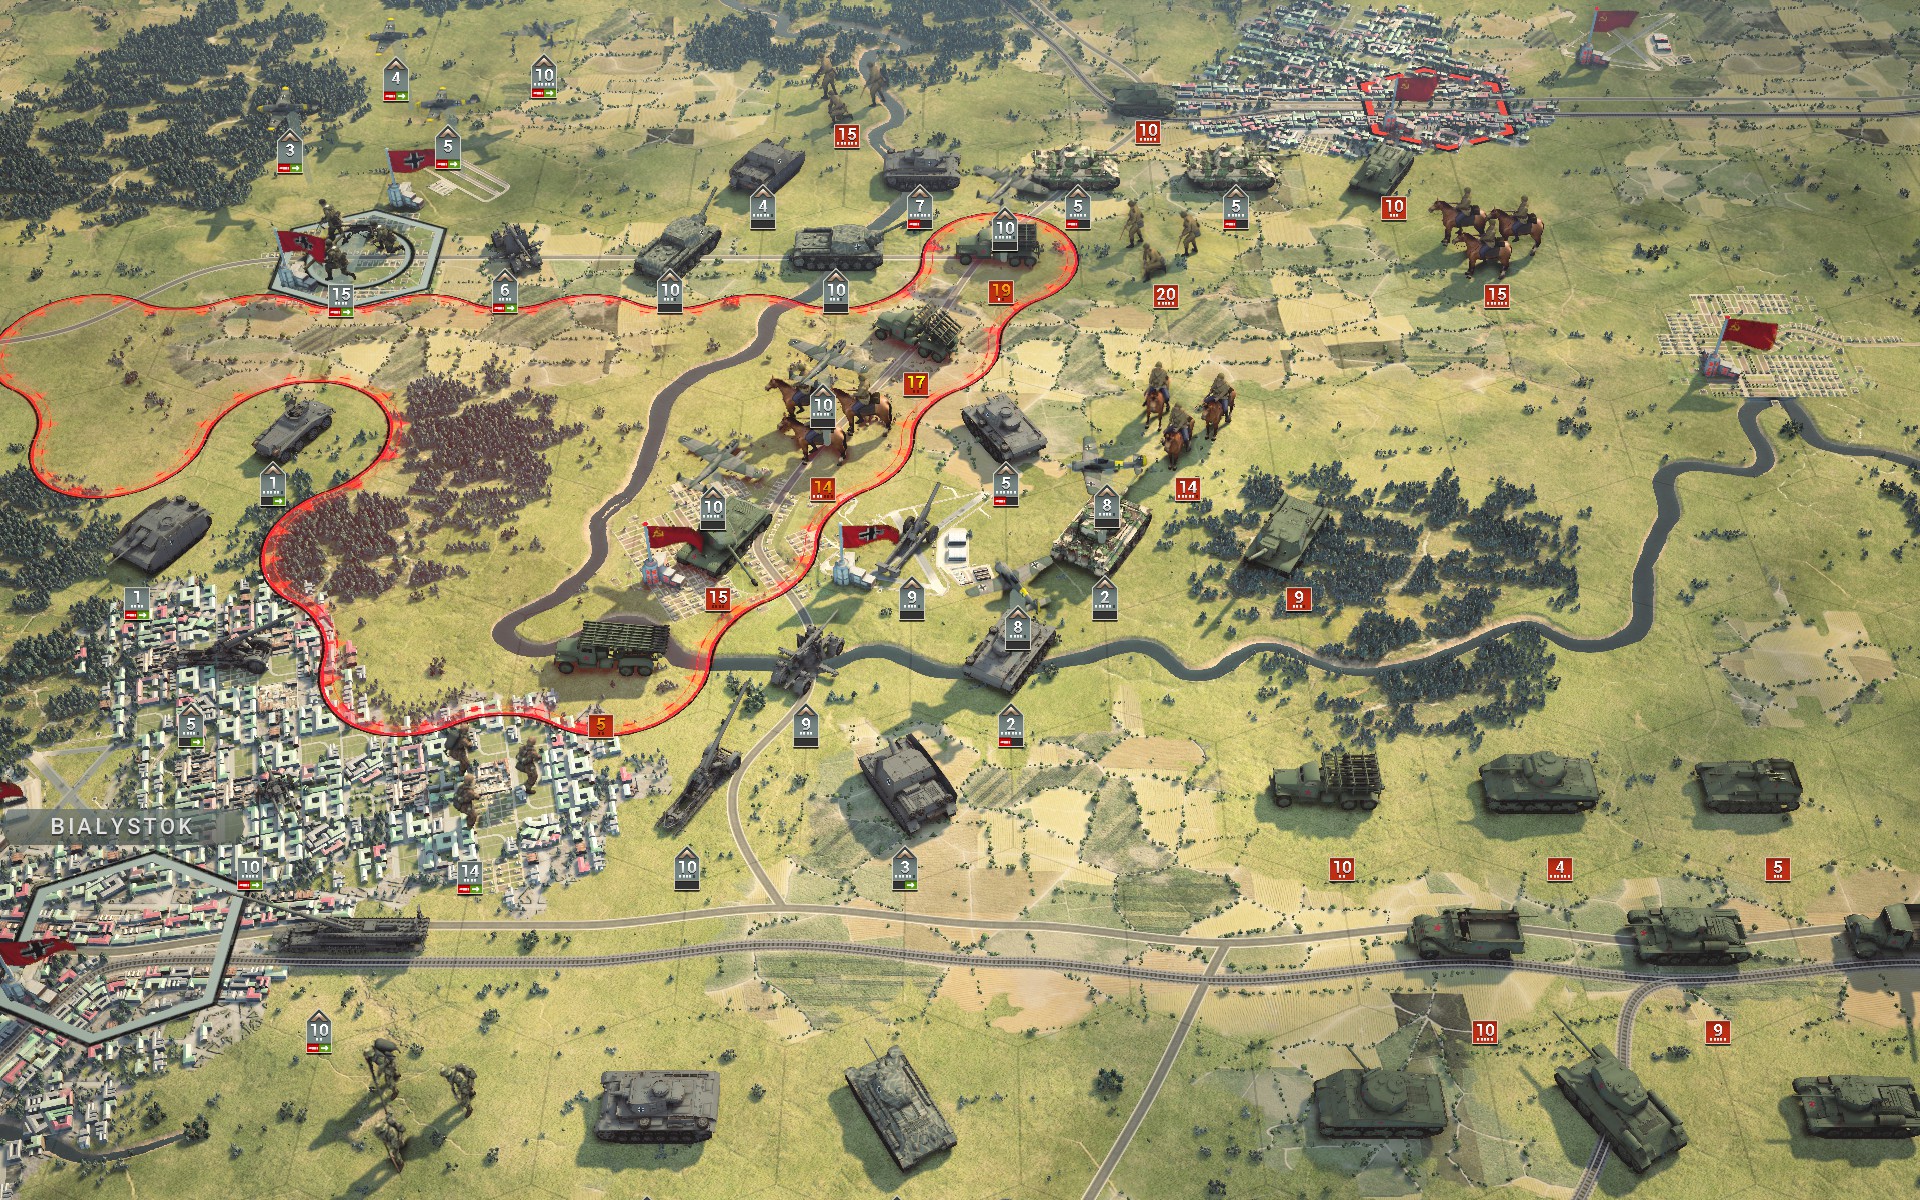
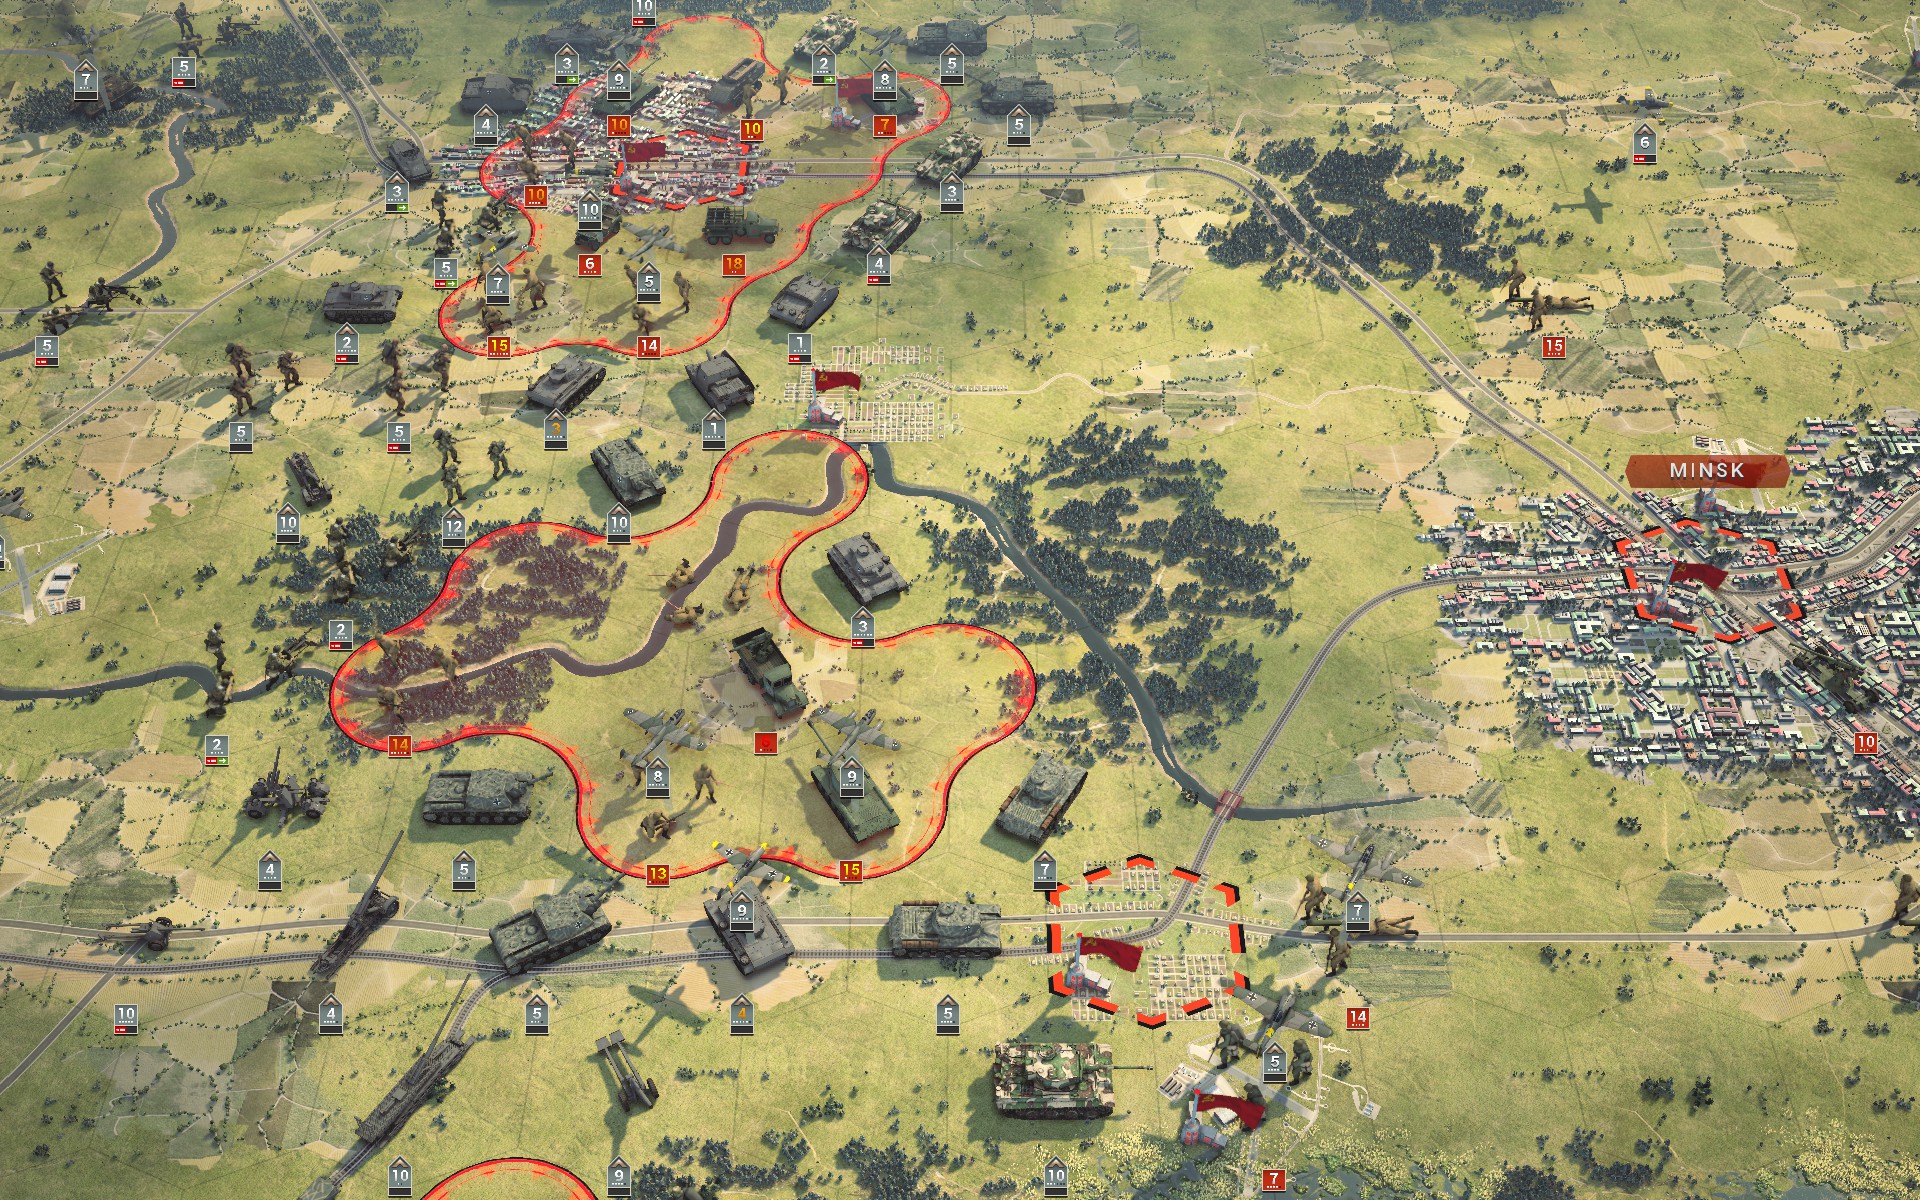
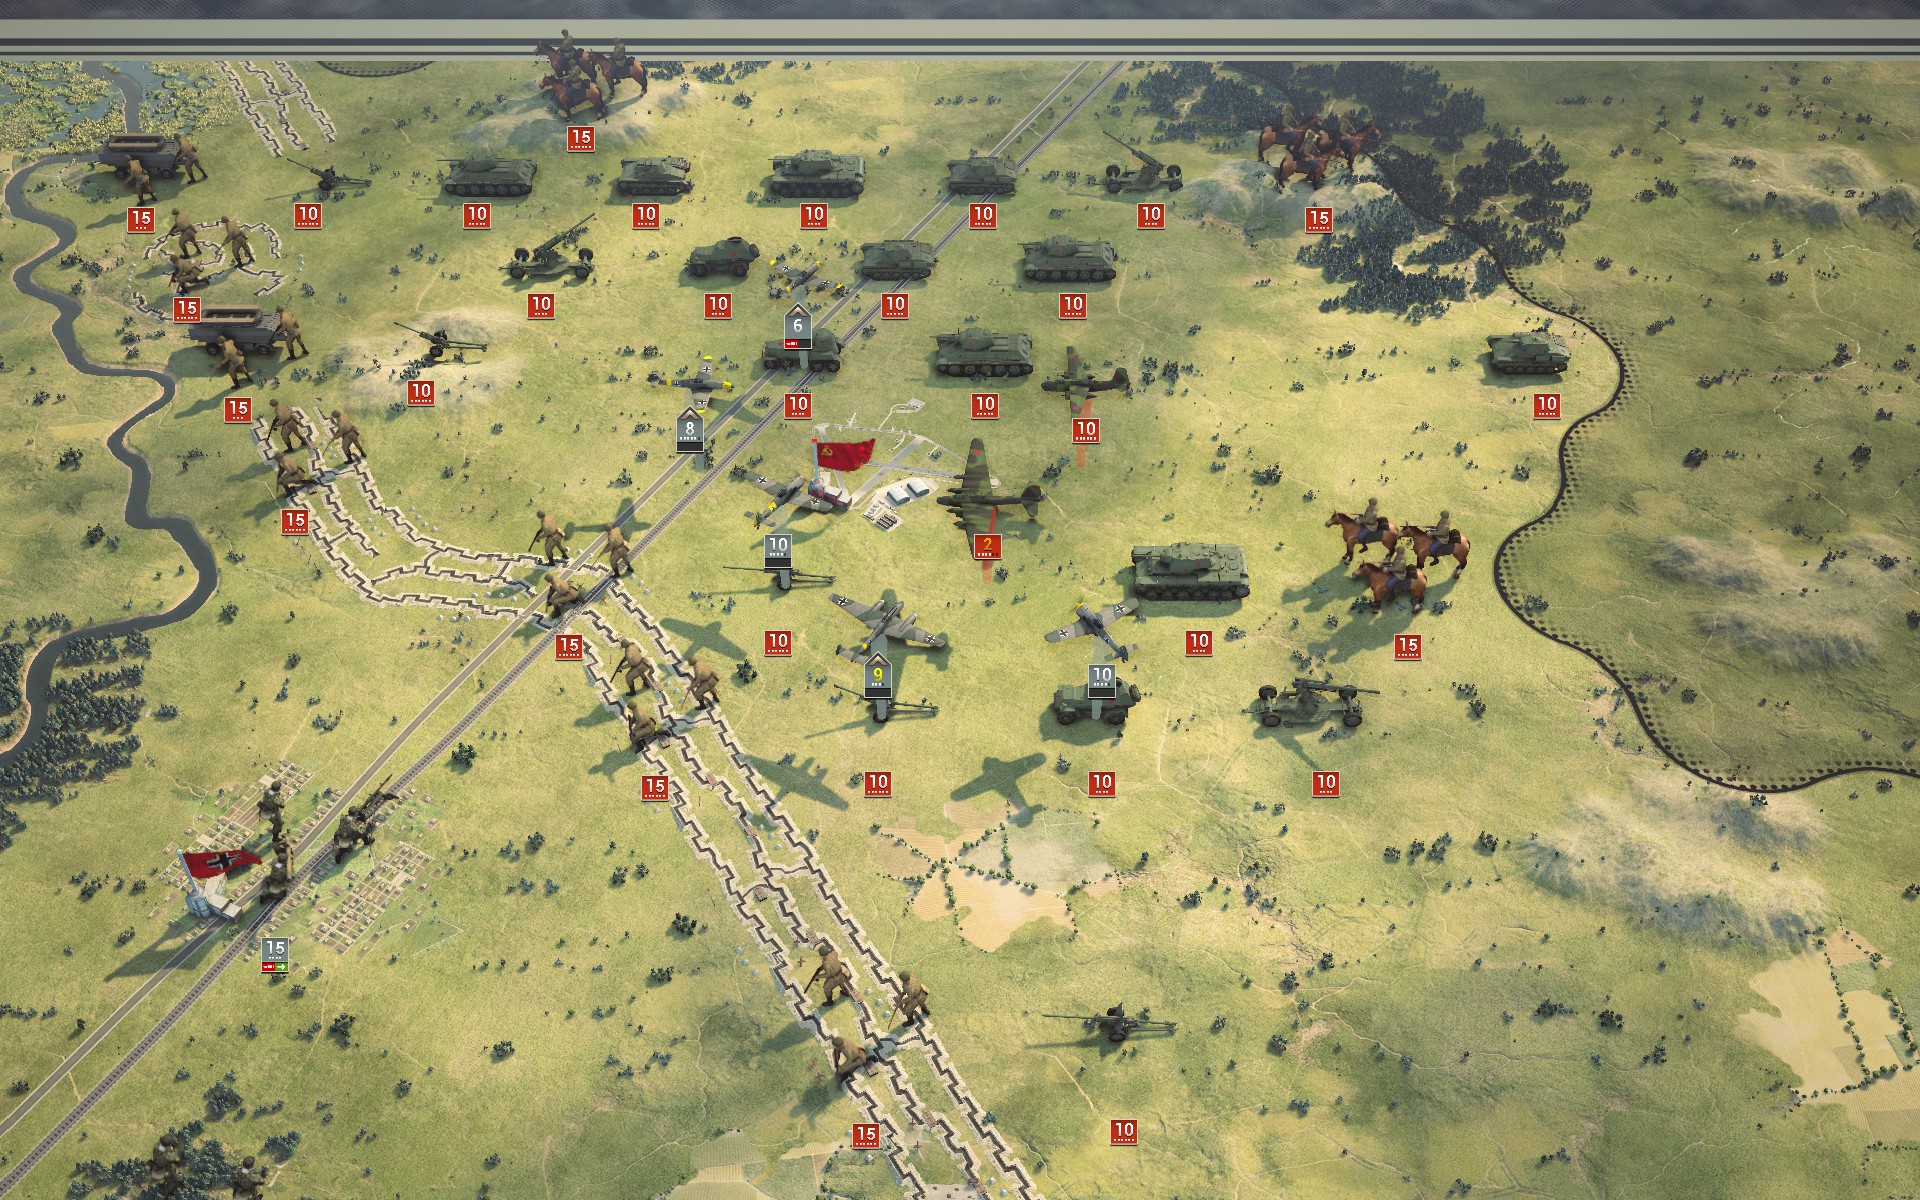
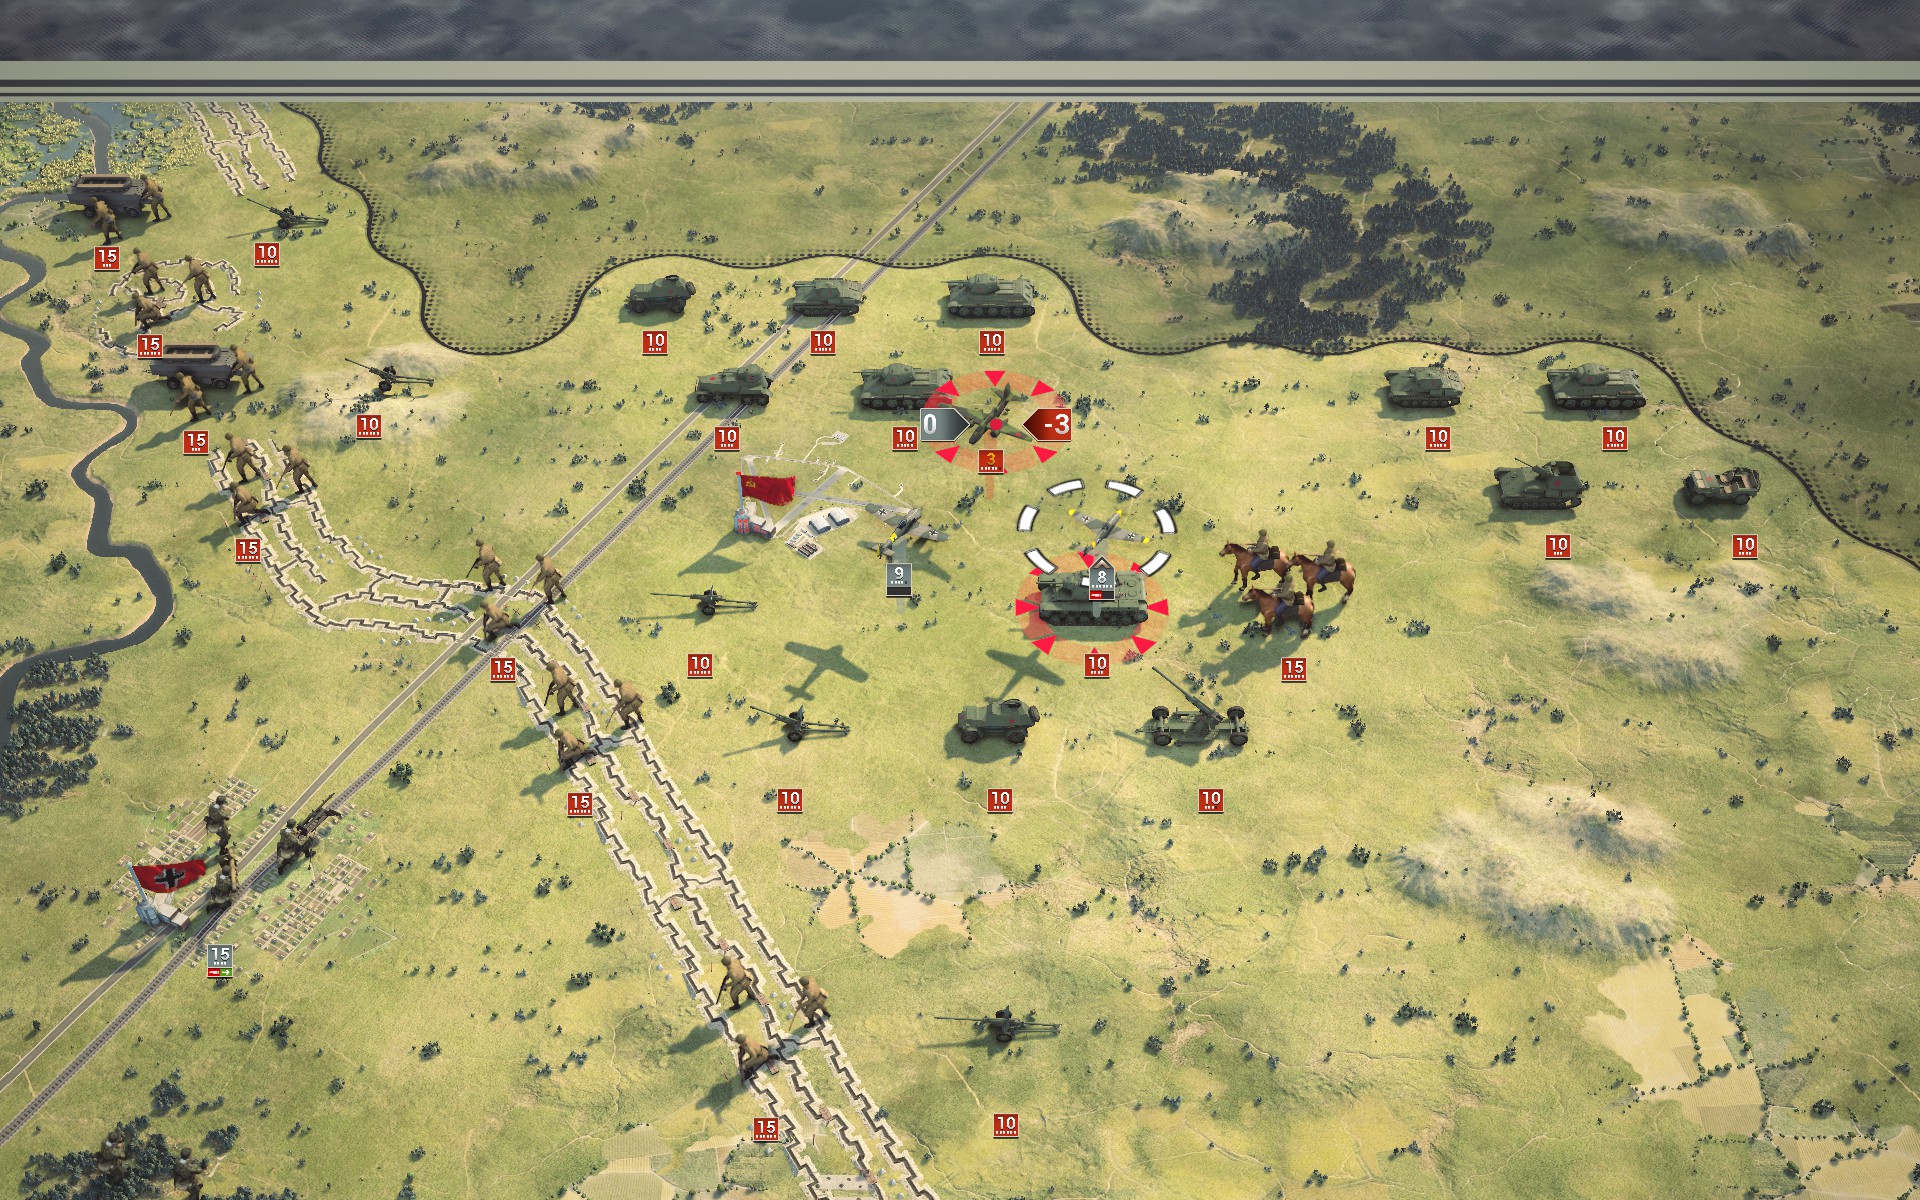
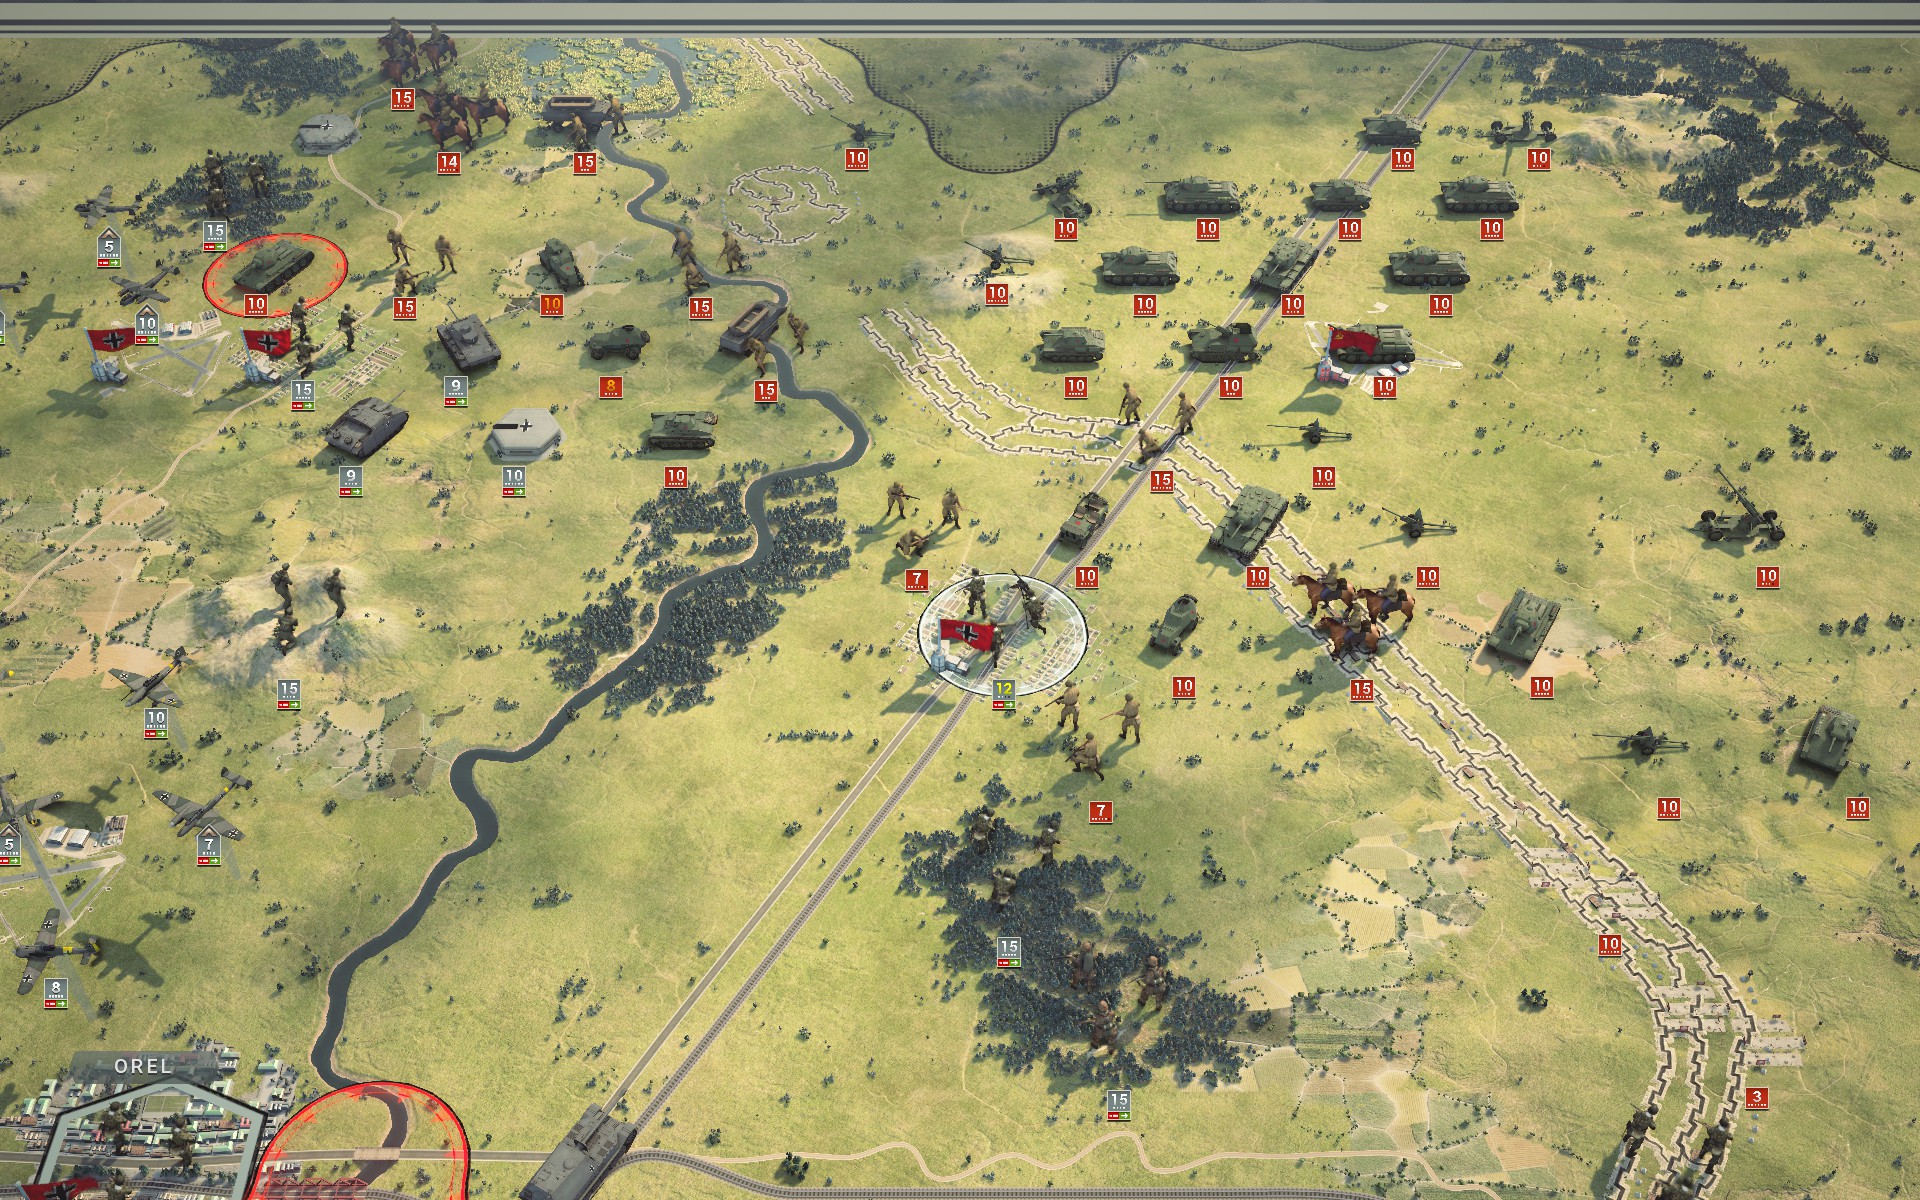
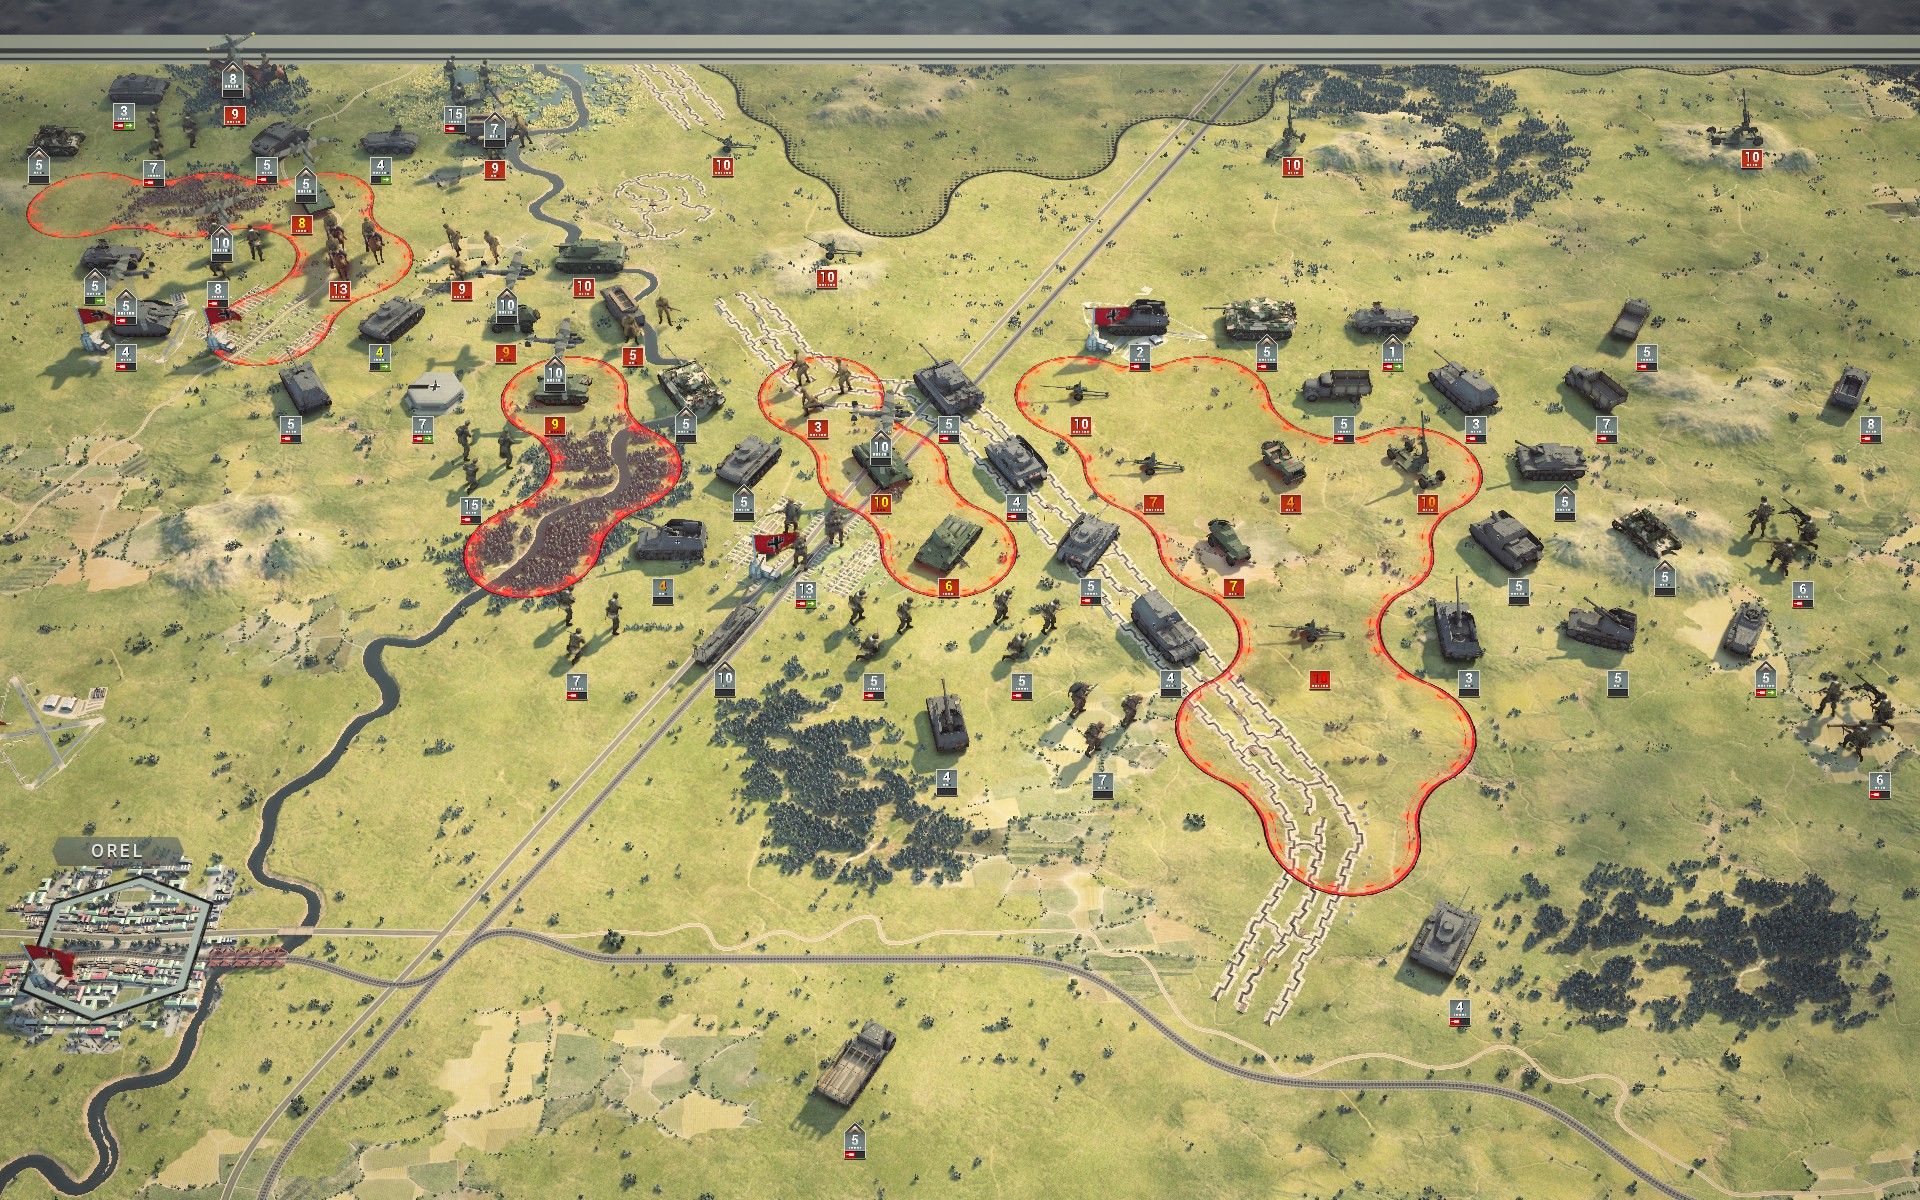
In the north the Soviet forces are more evenly distributed, forming multiple lines of defence. This works to my advantage as the auxiliaries won't need to engage them all.
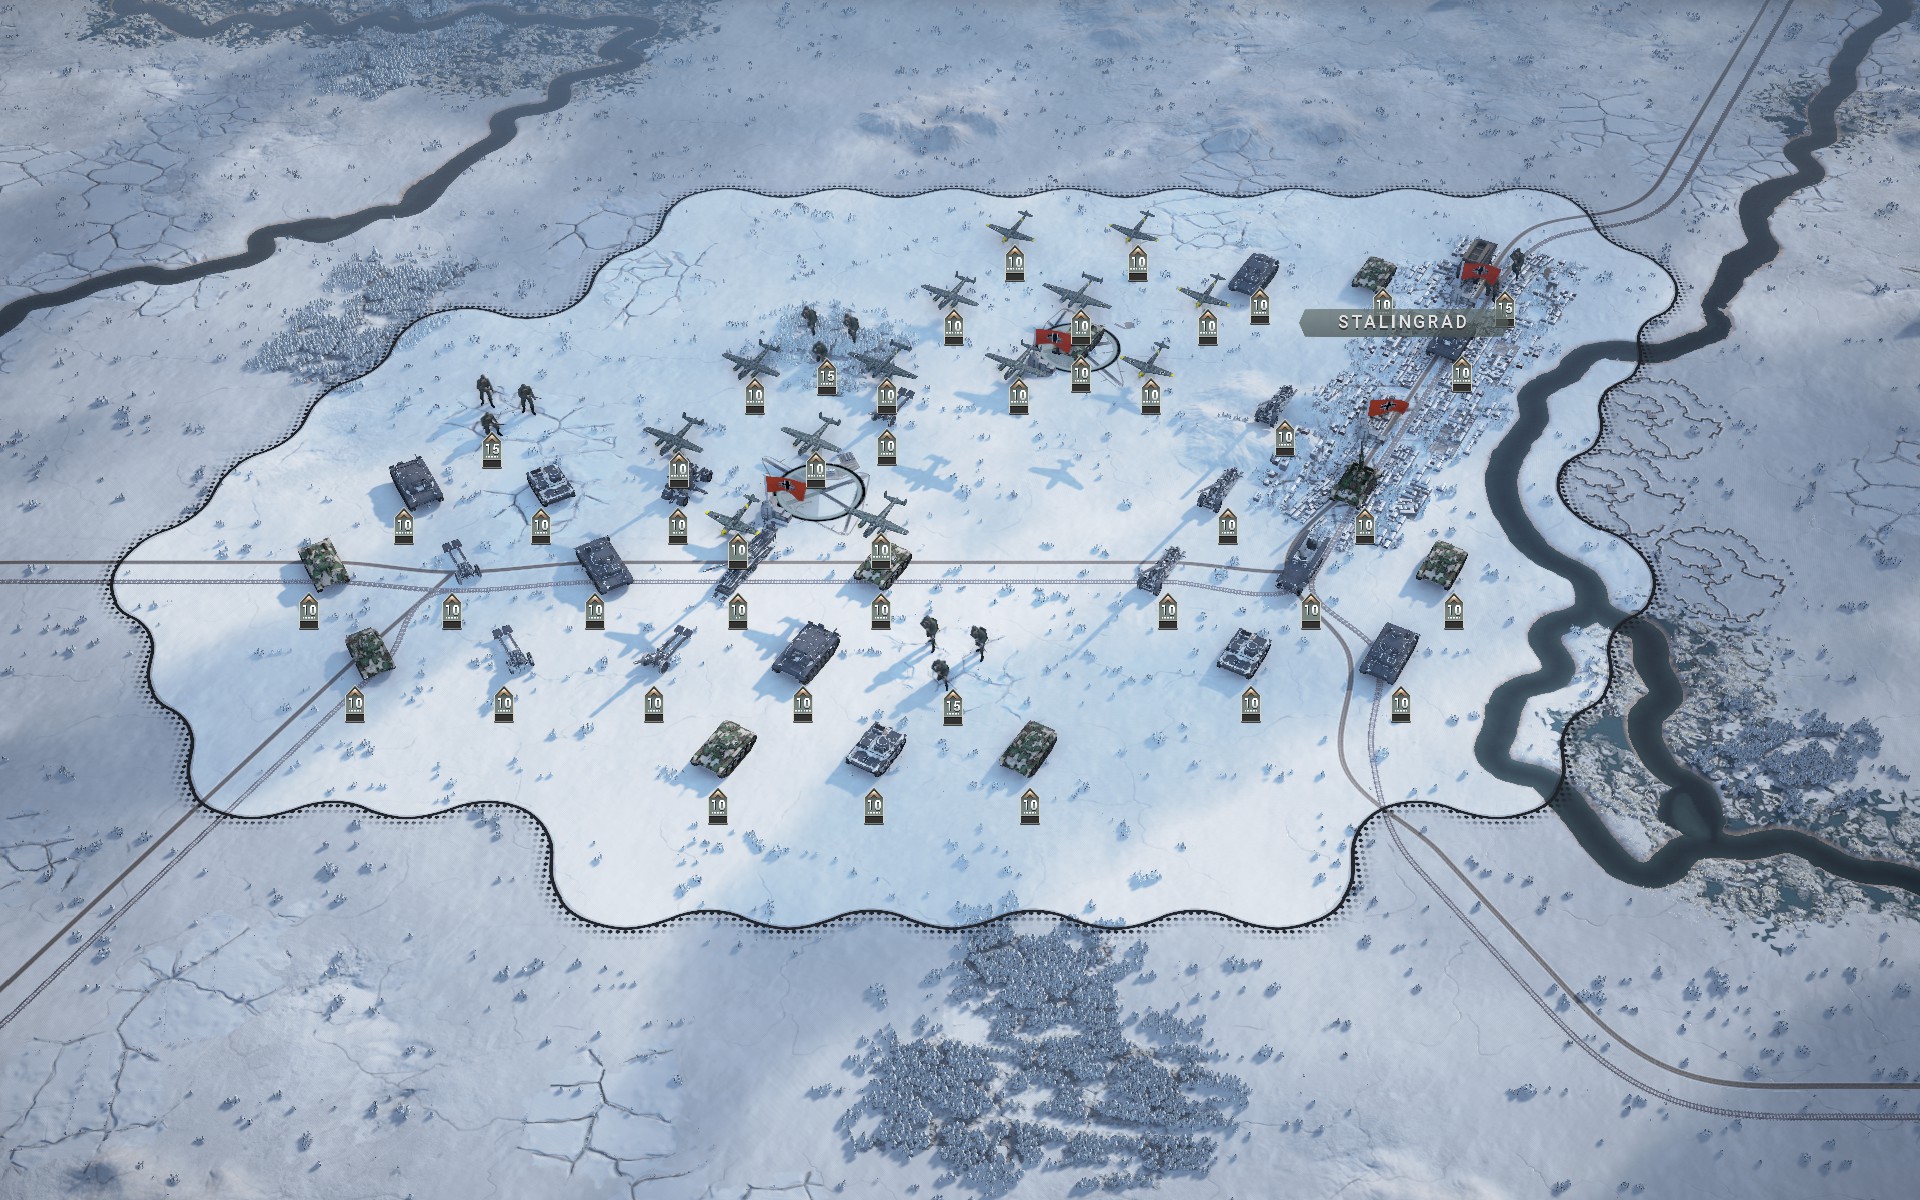
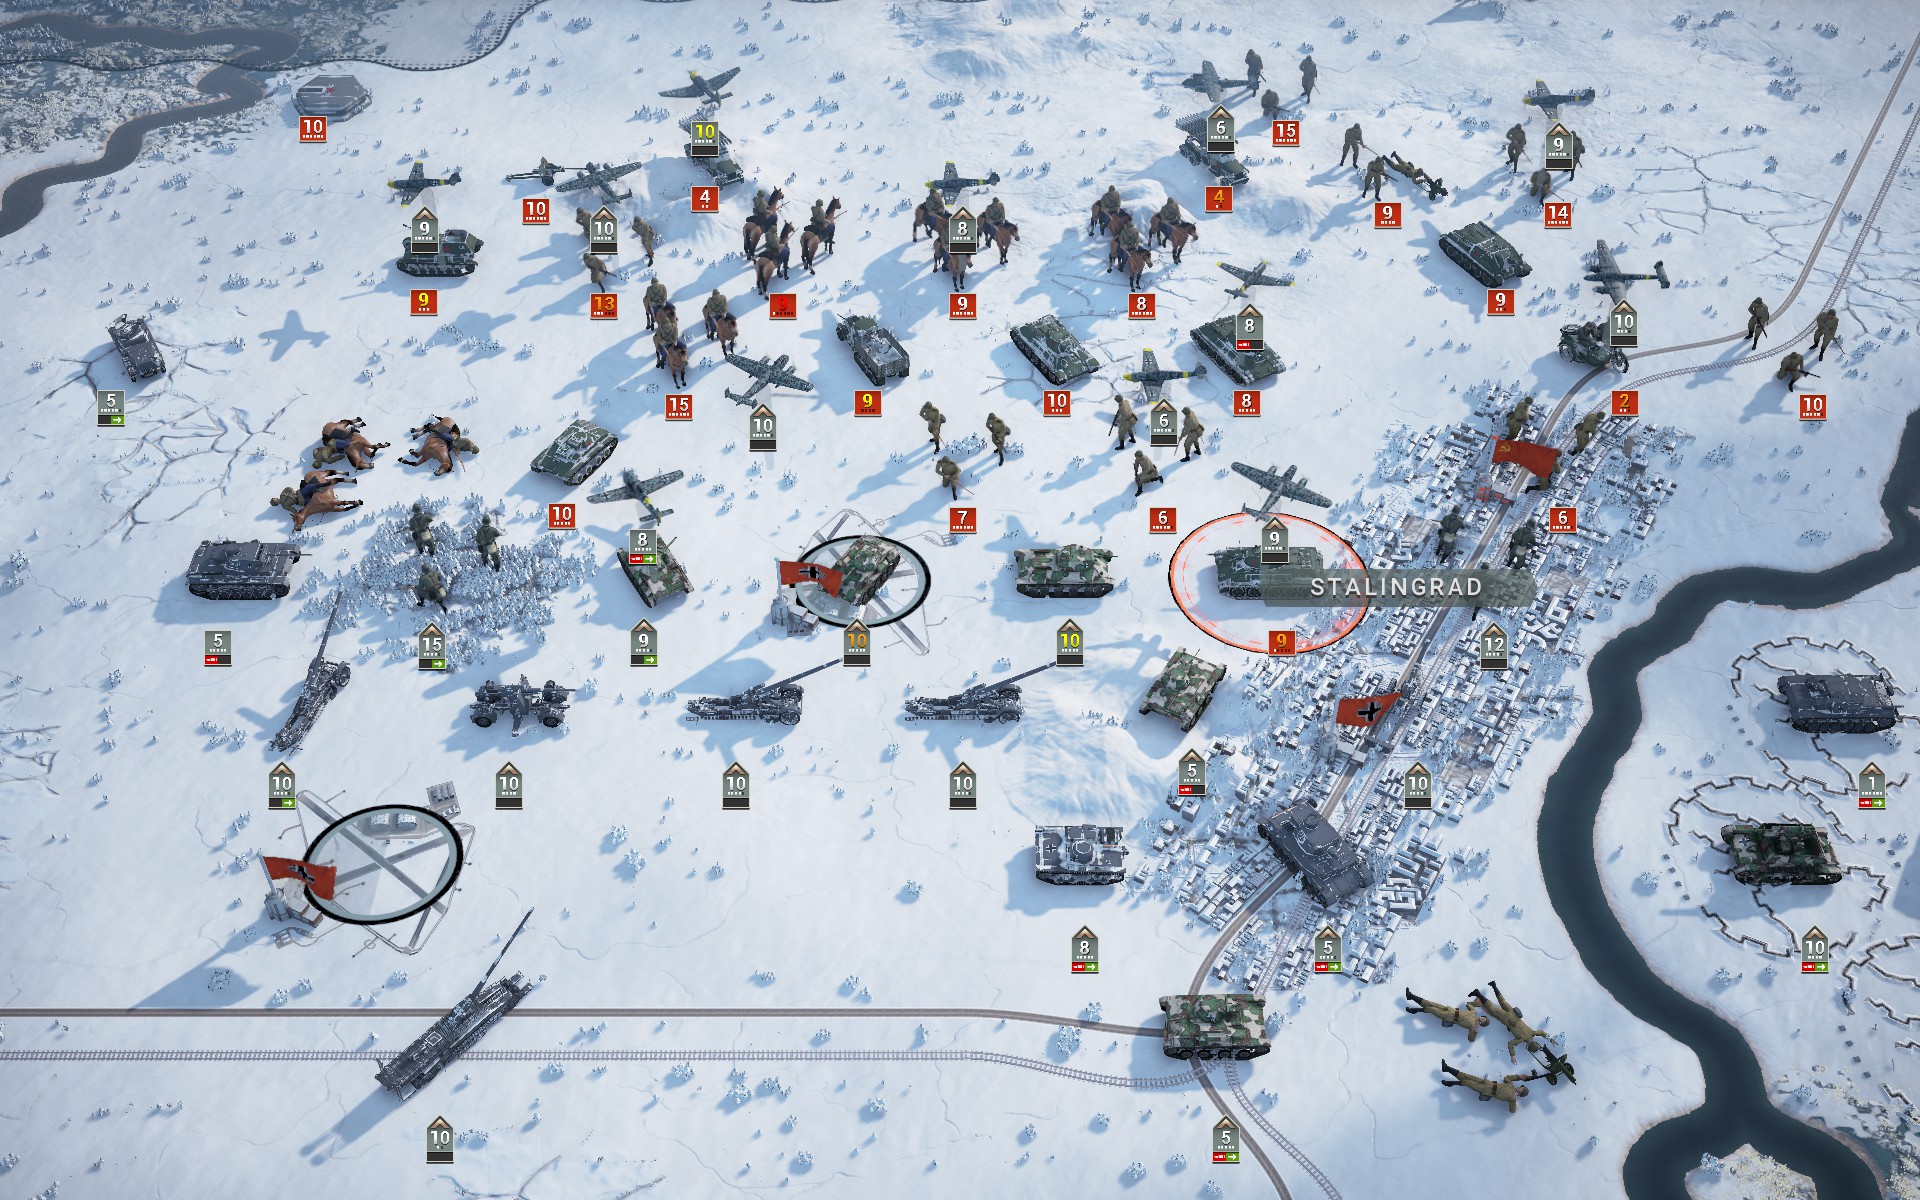
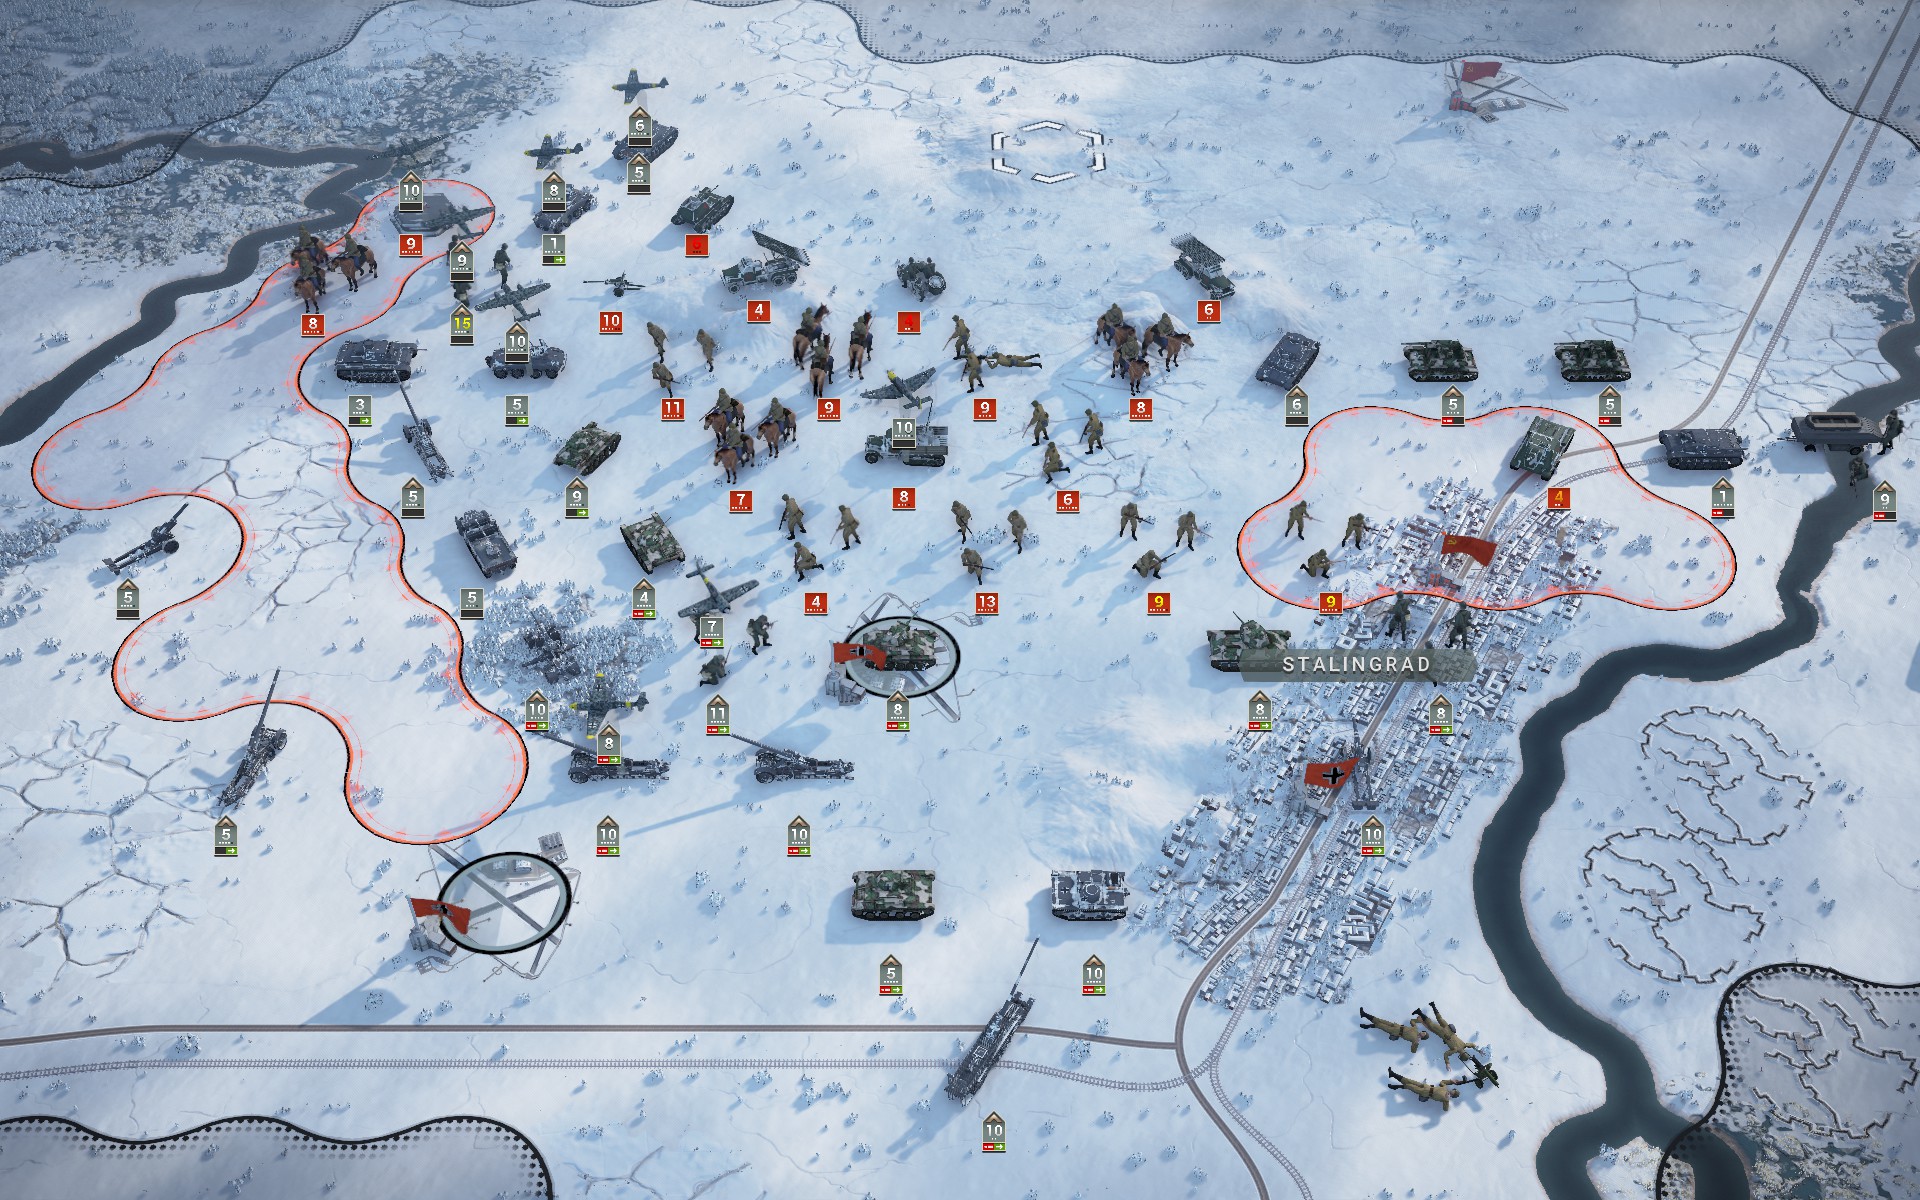
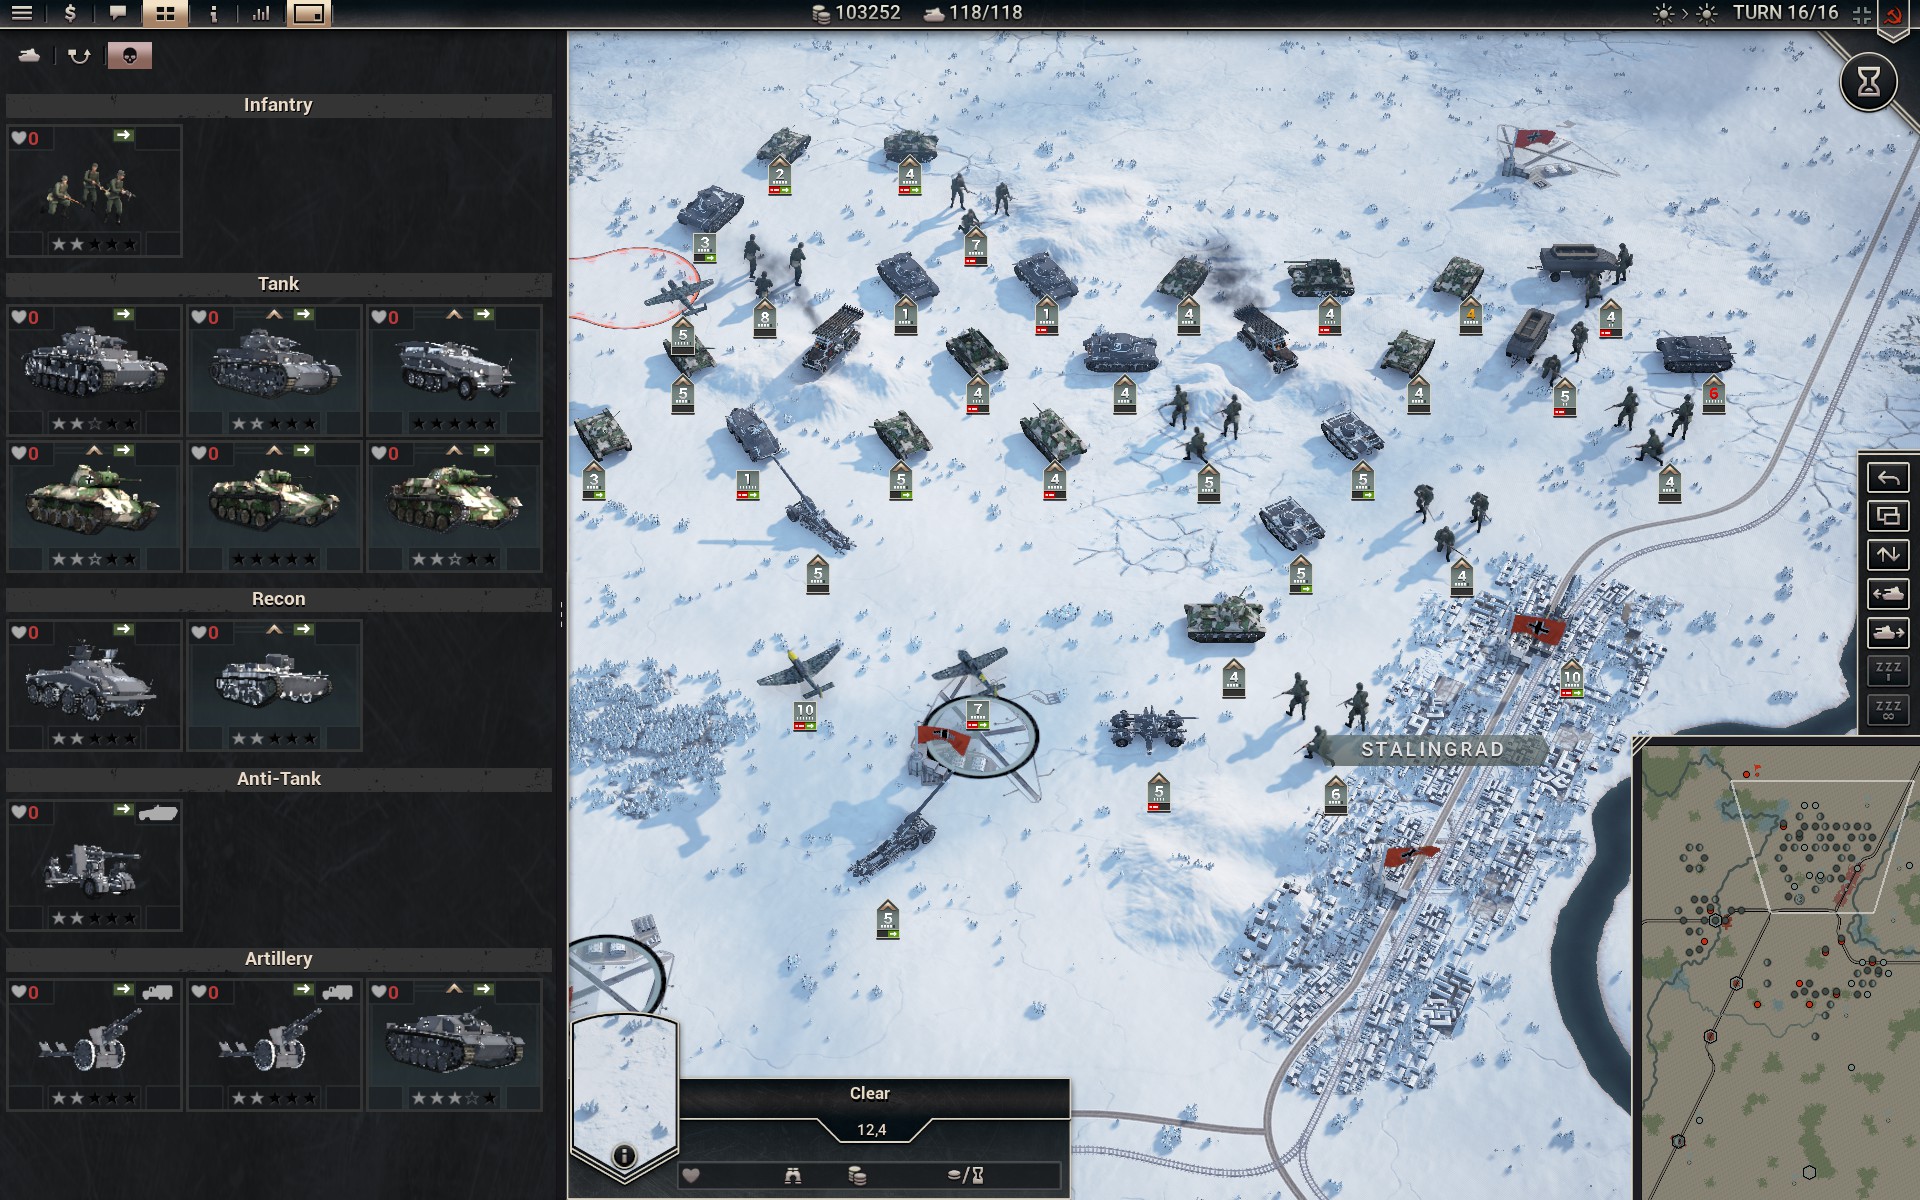
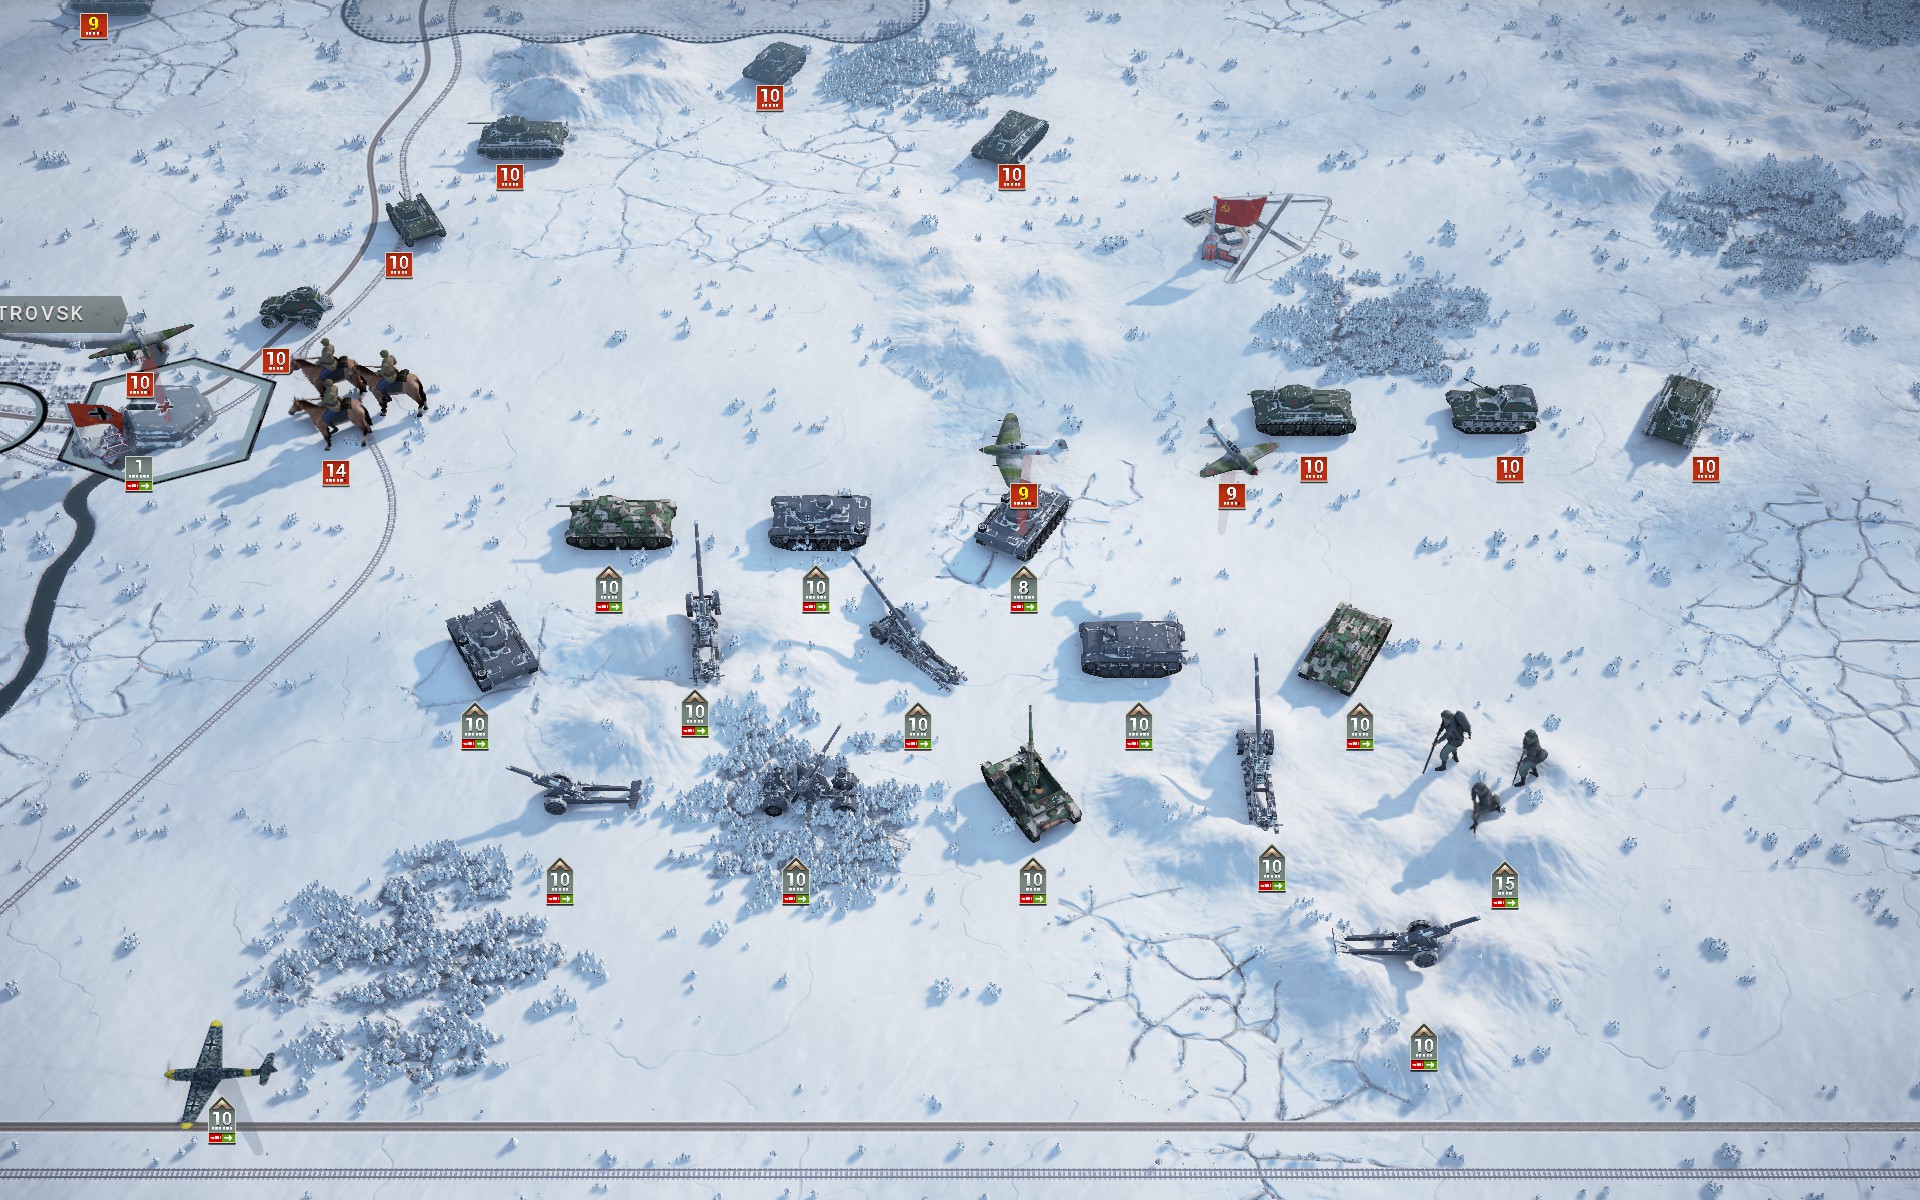
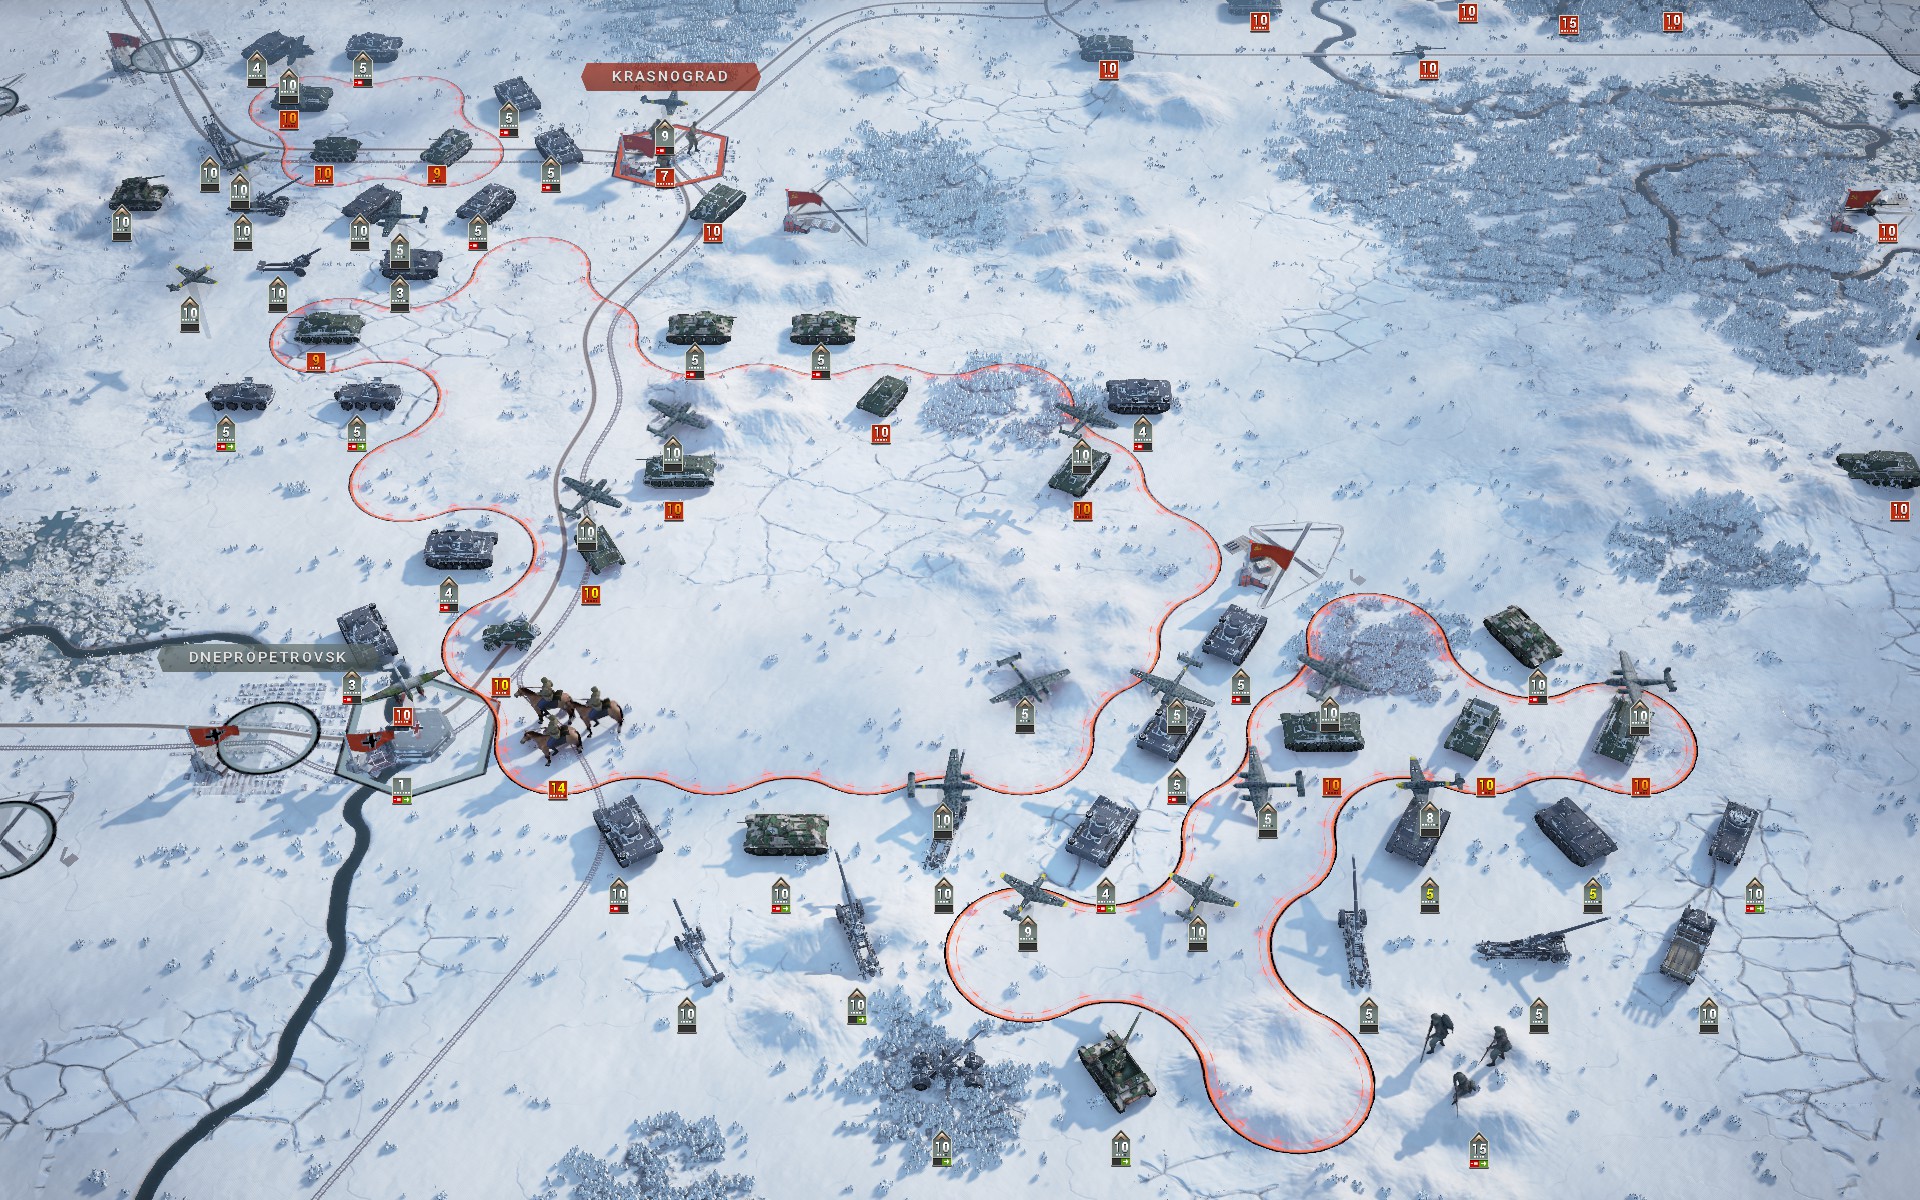
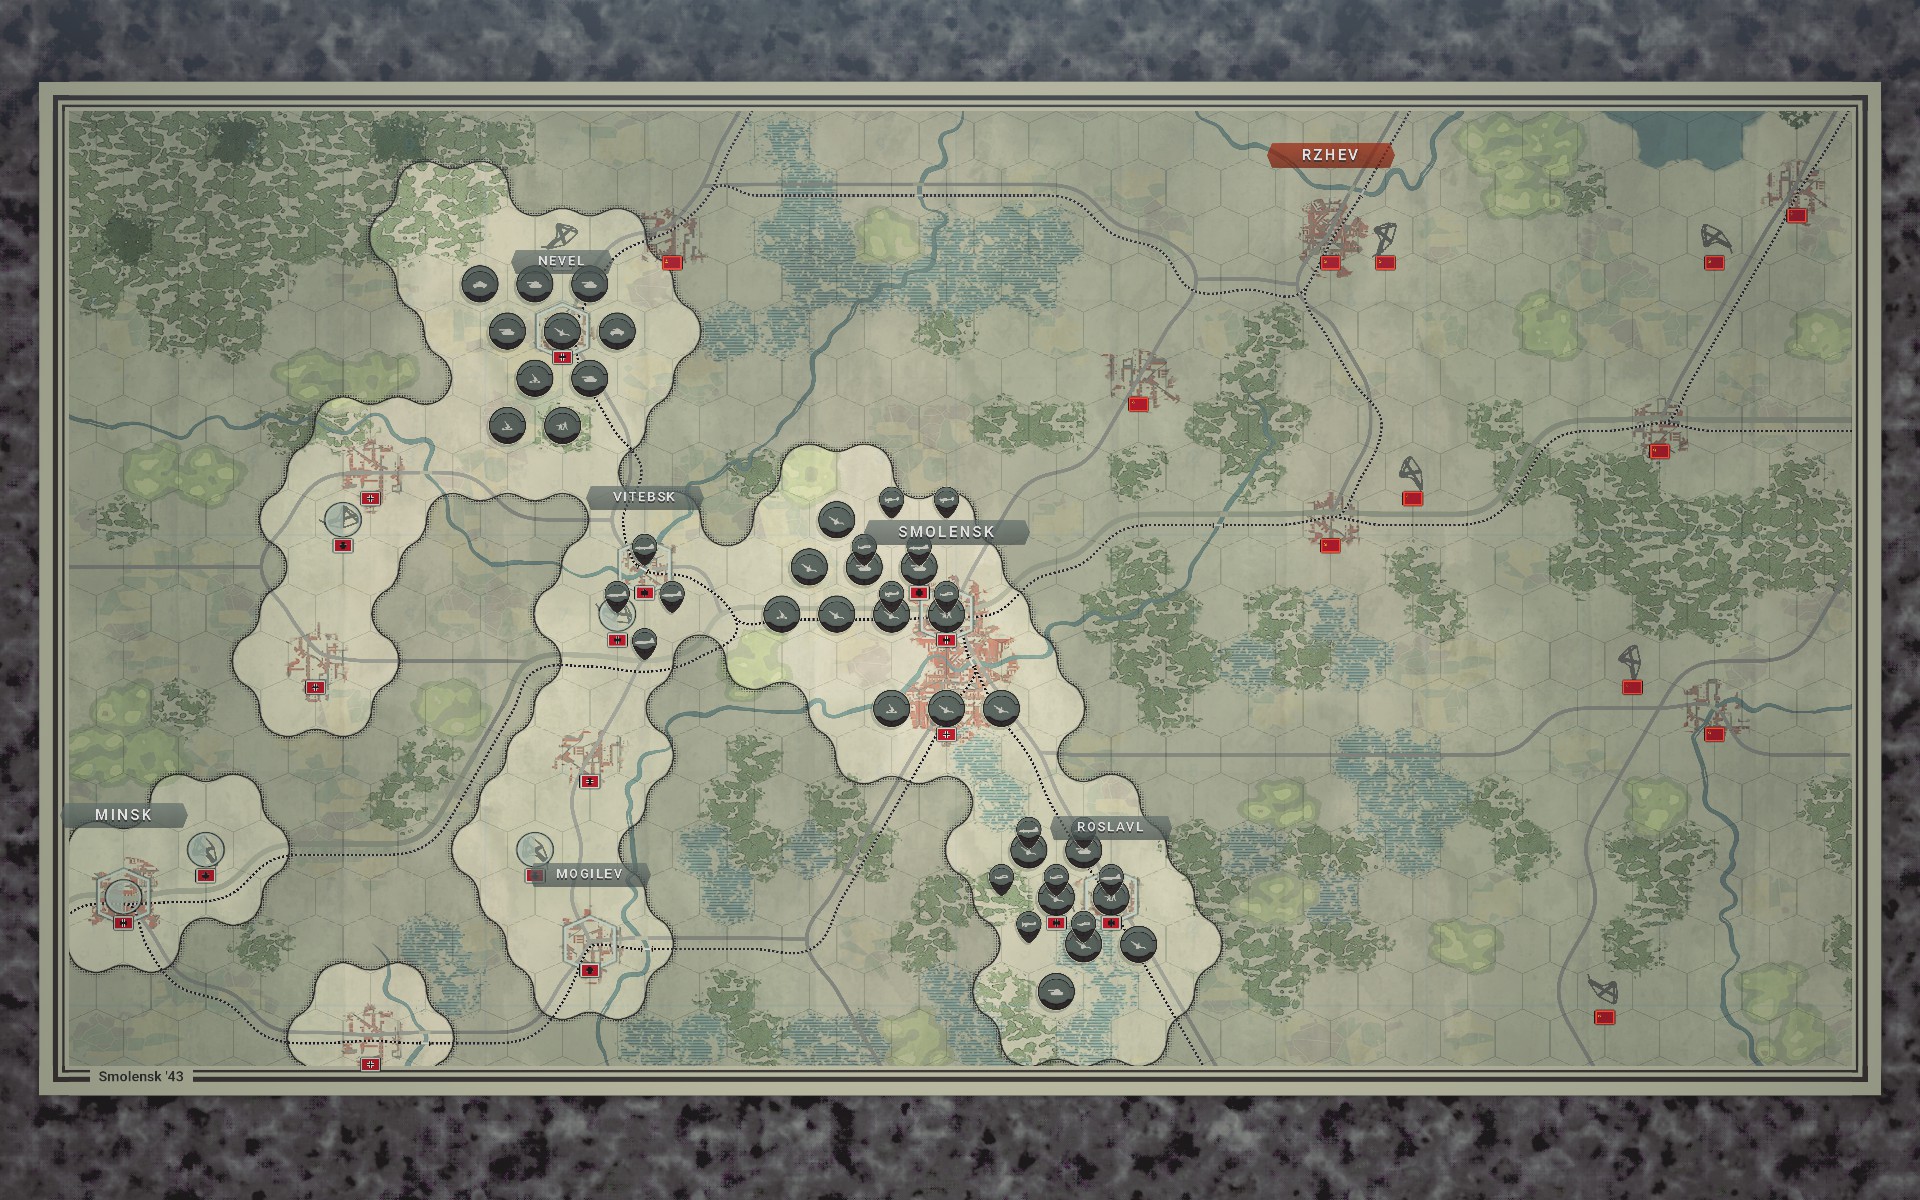
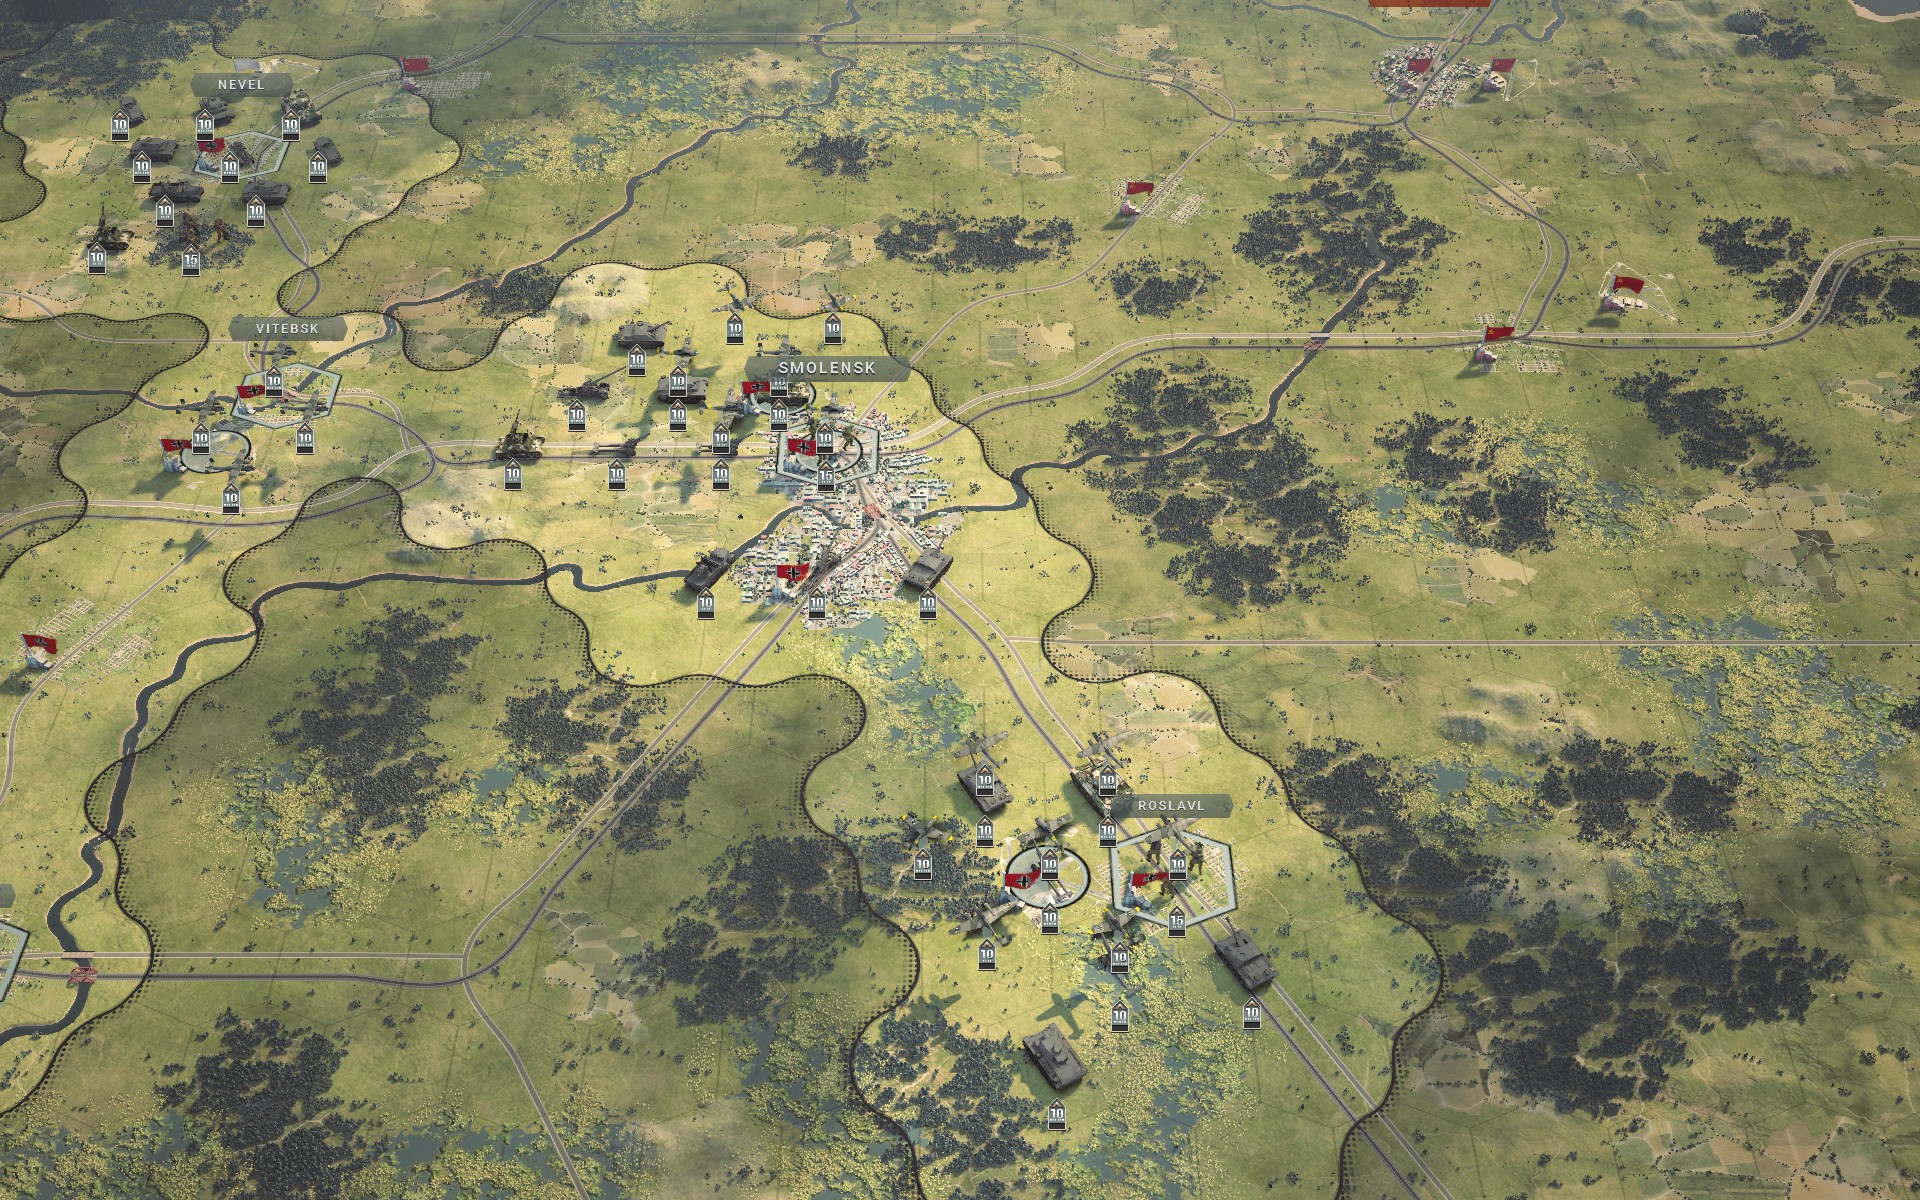
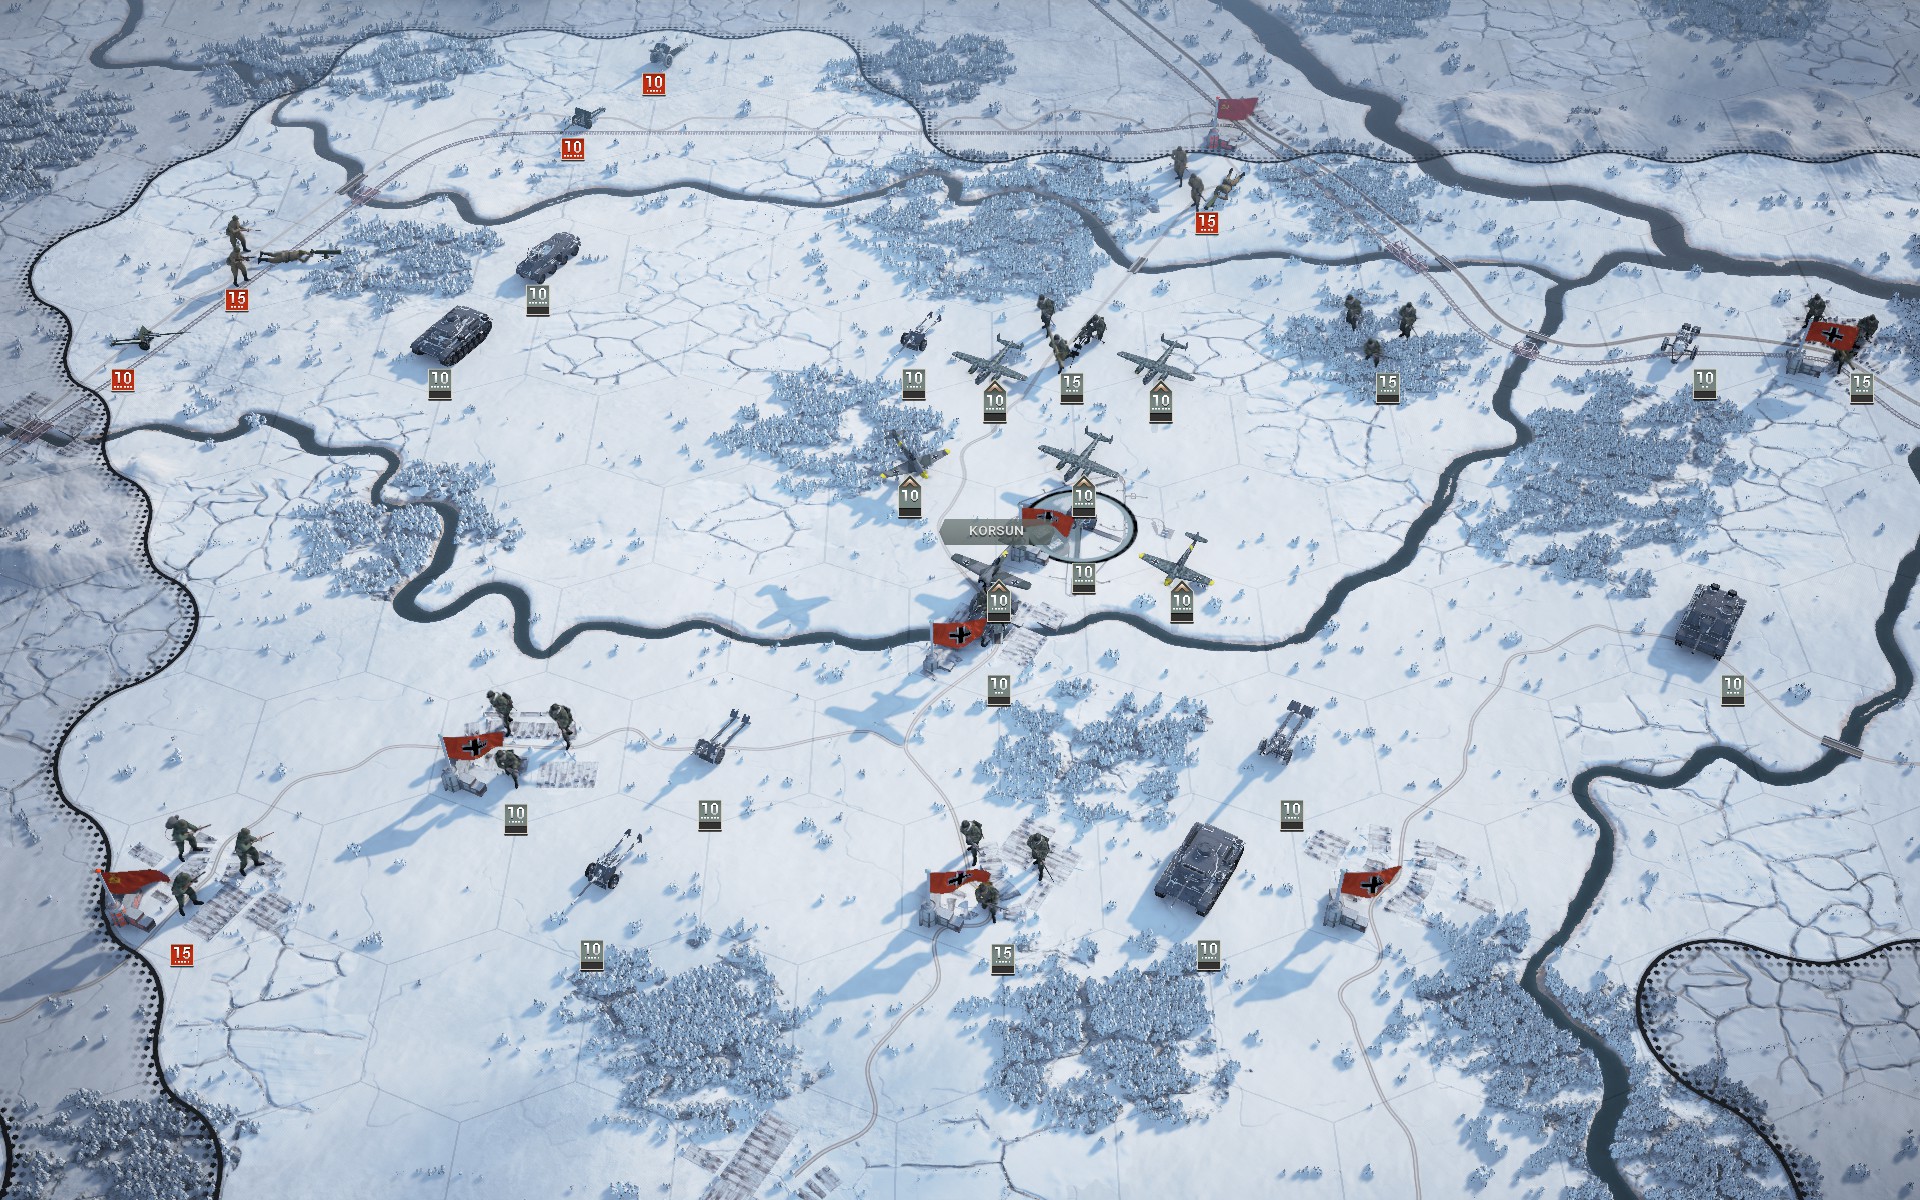
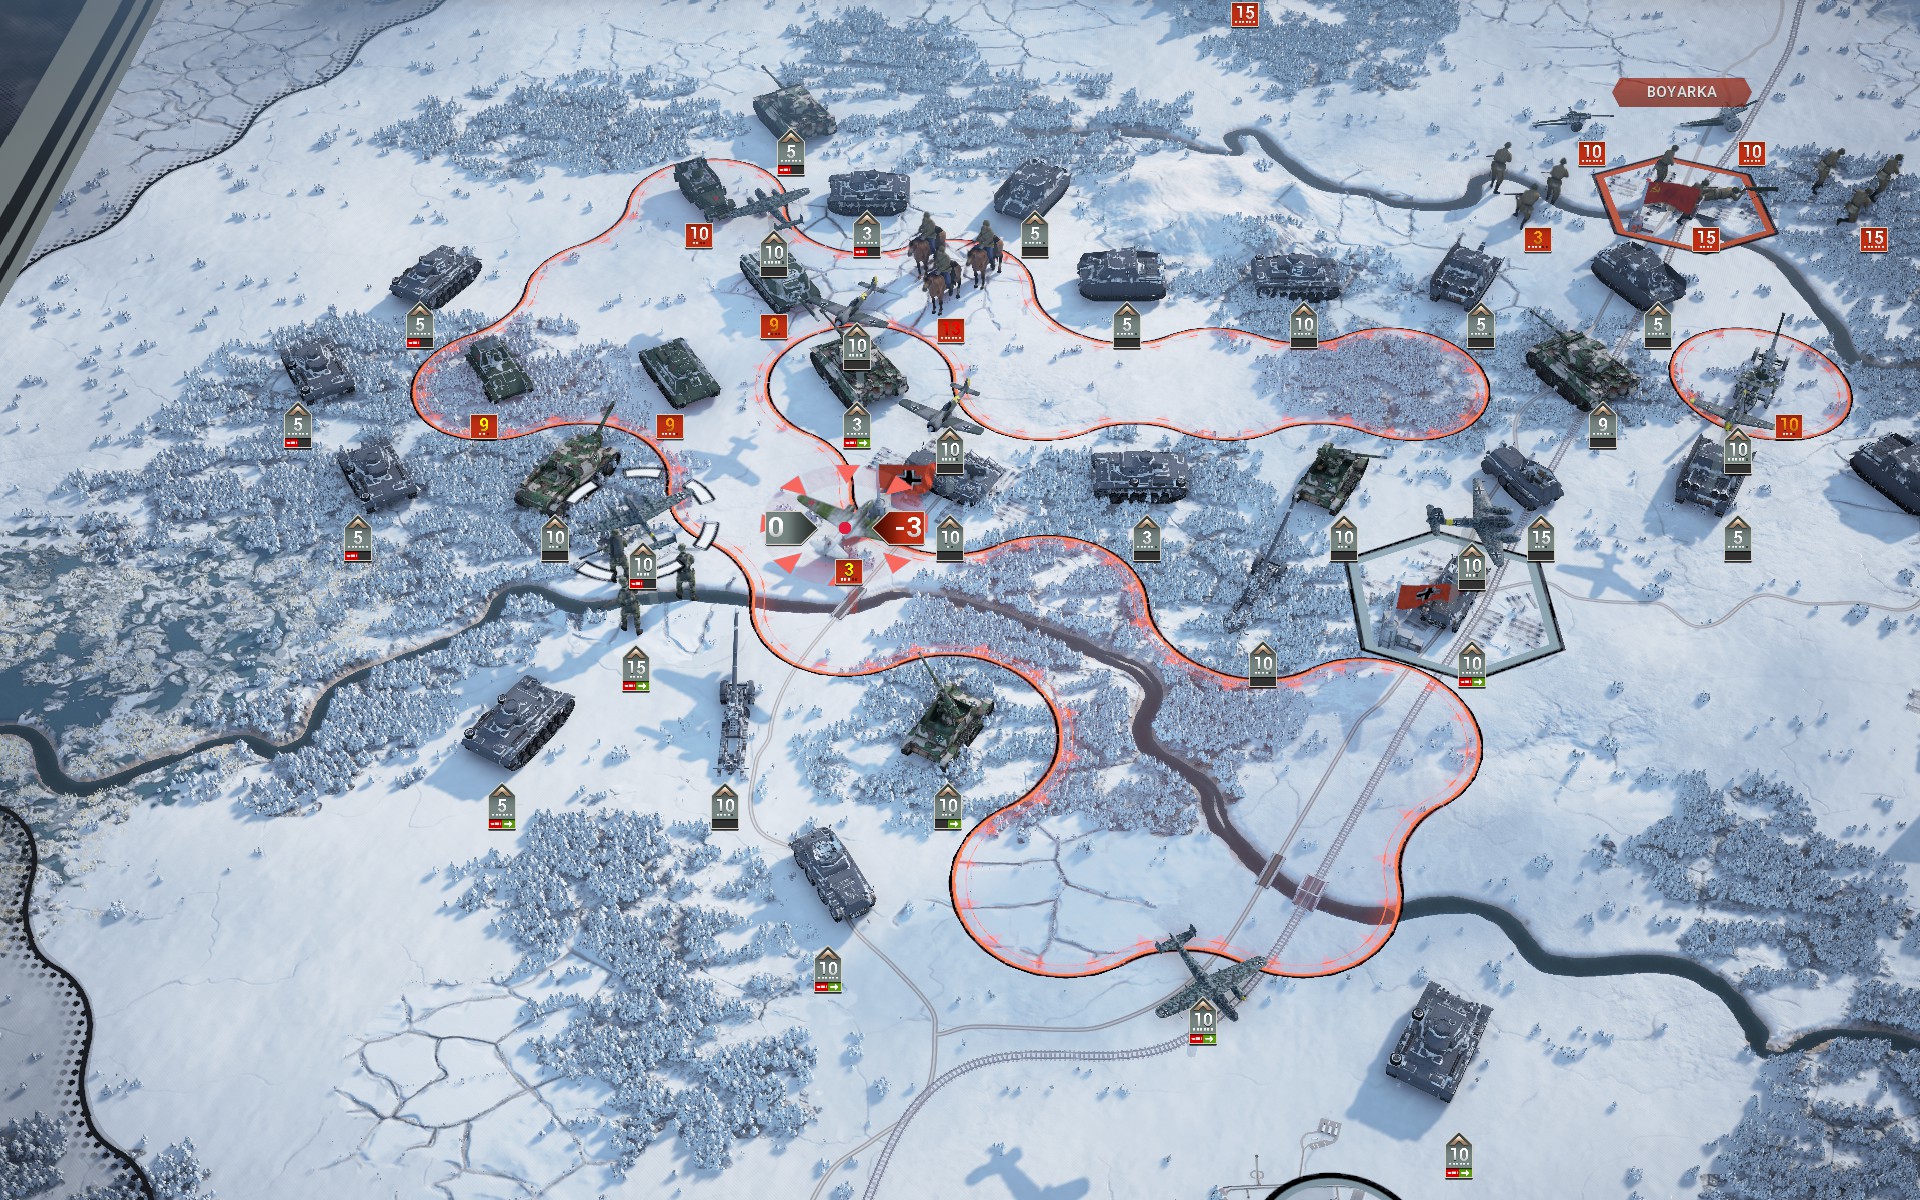
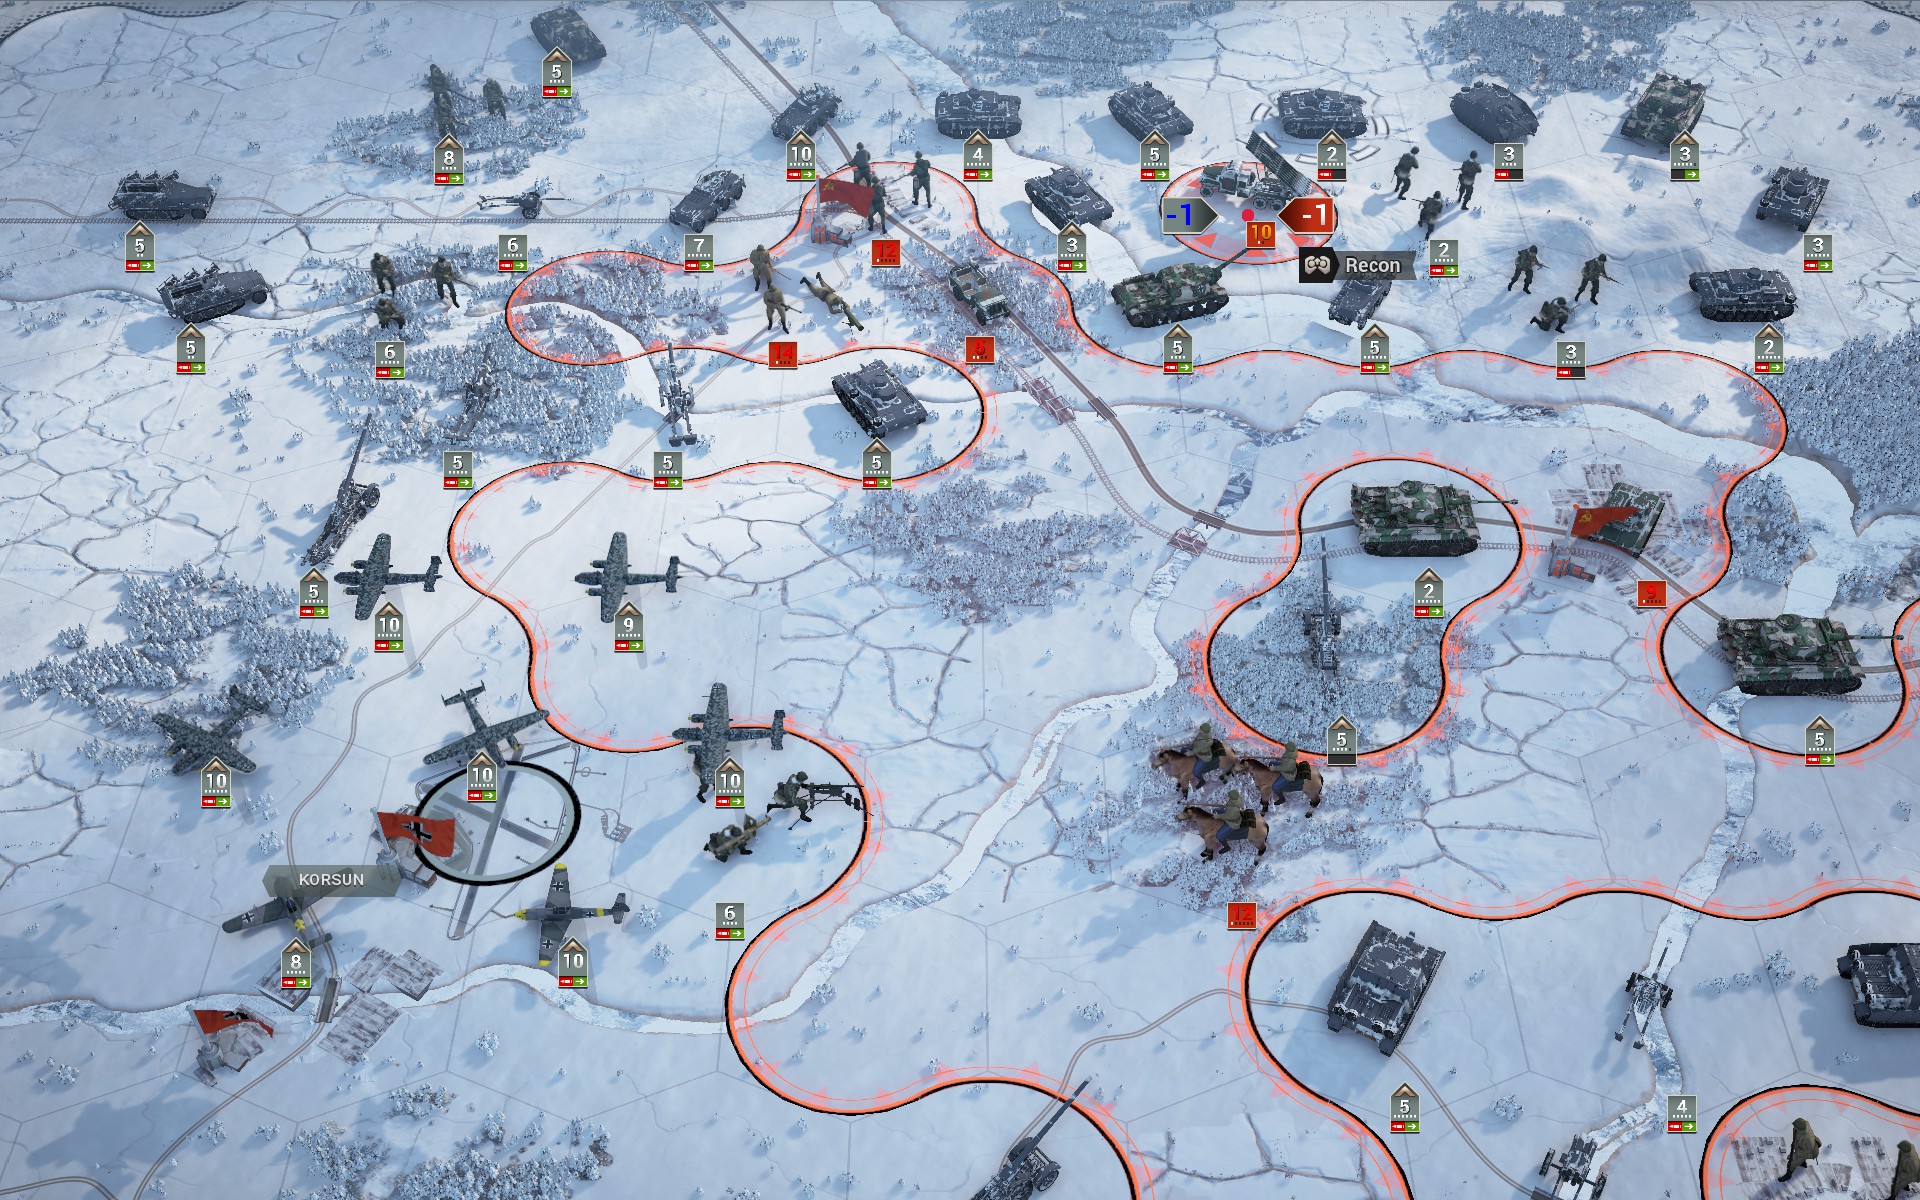
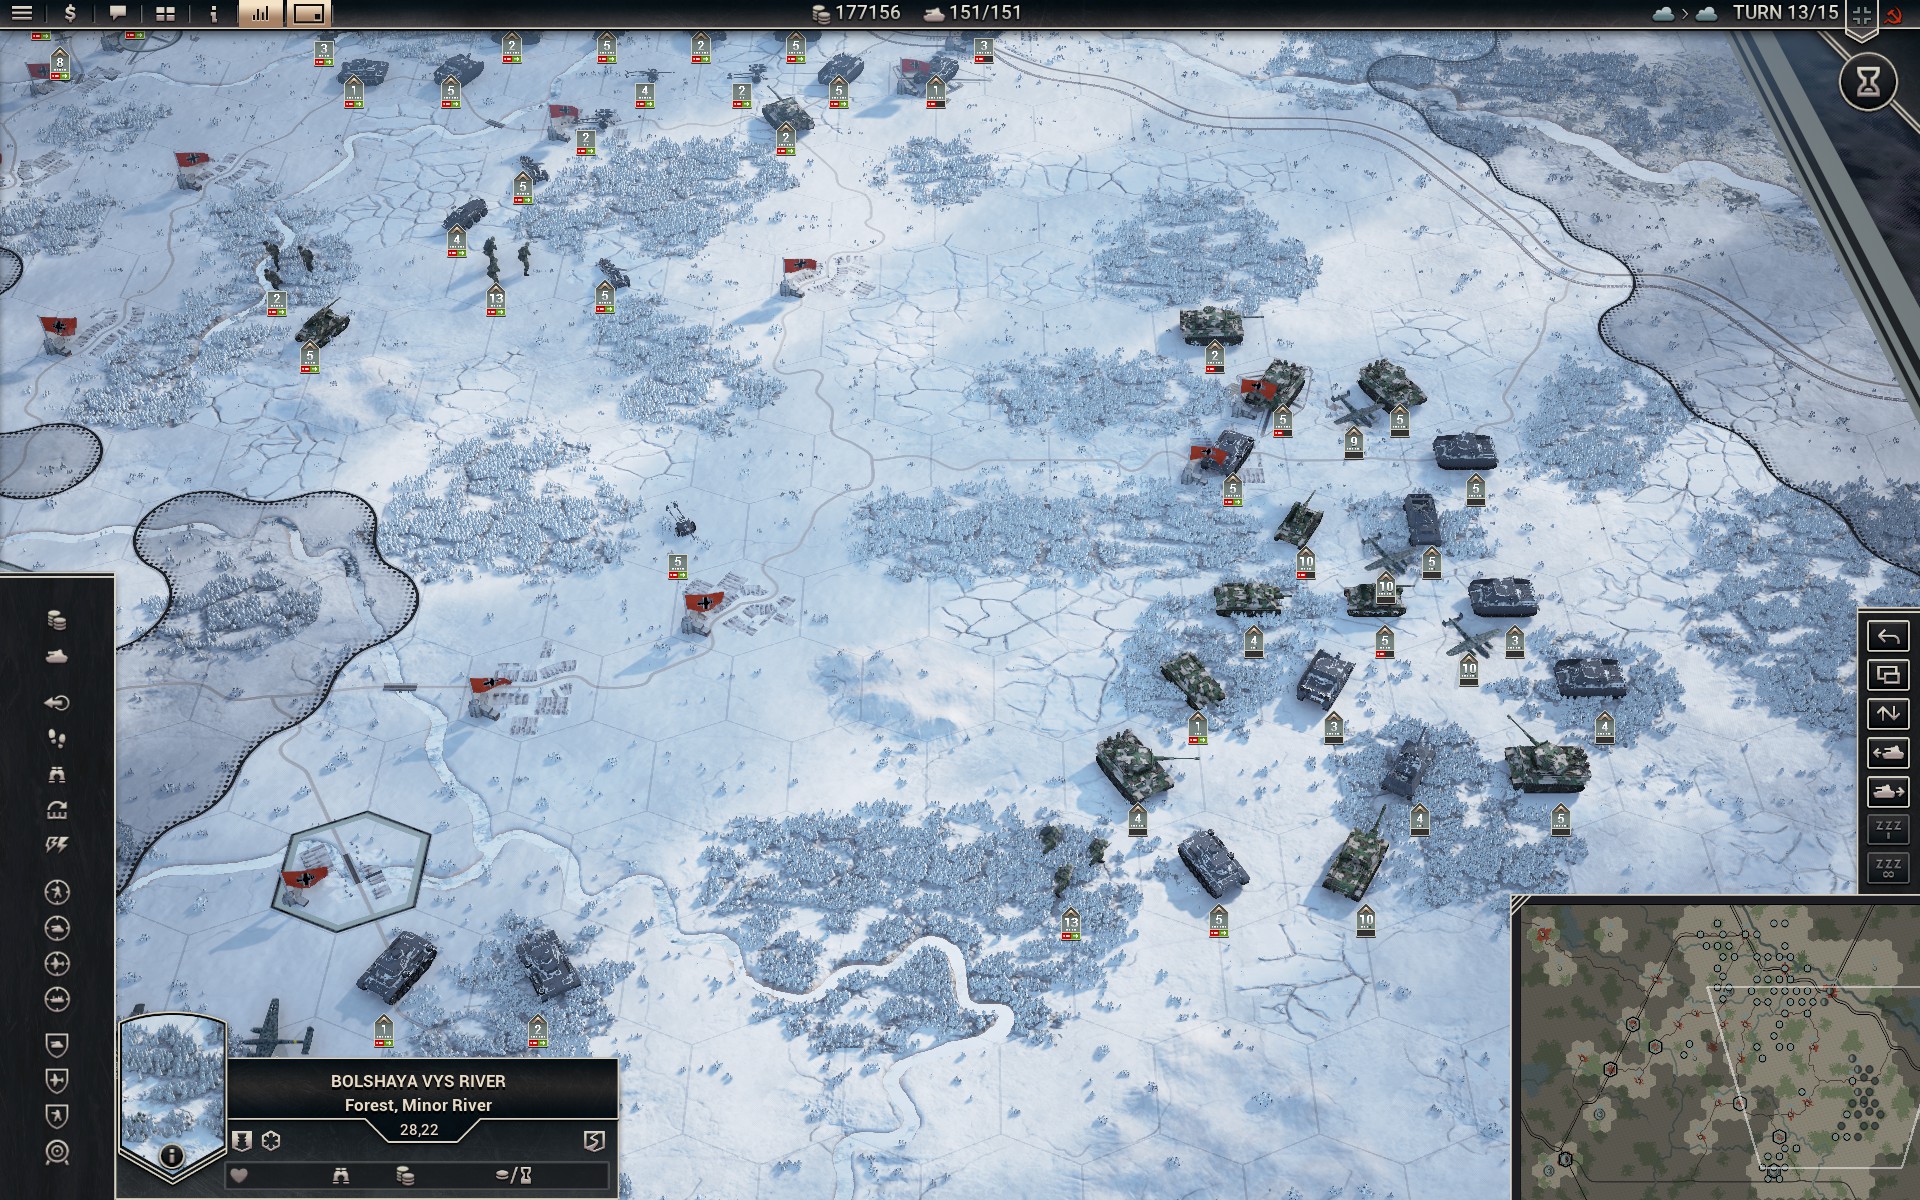
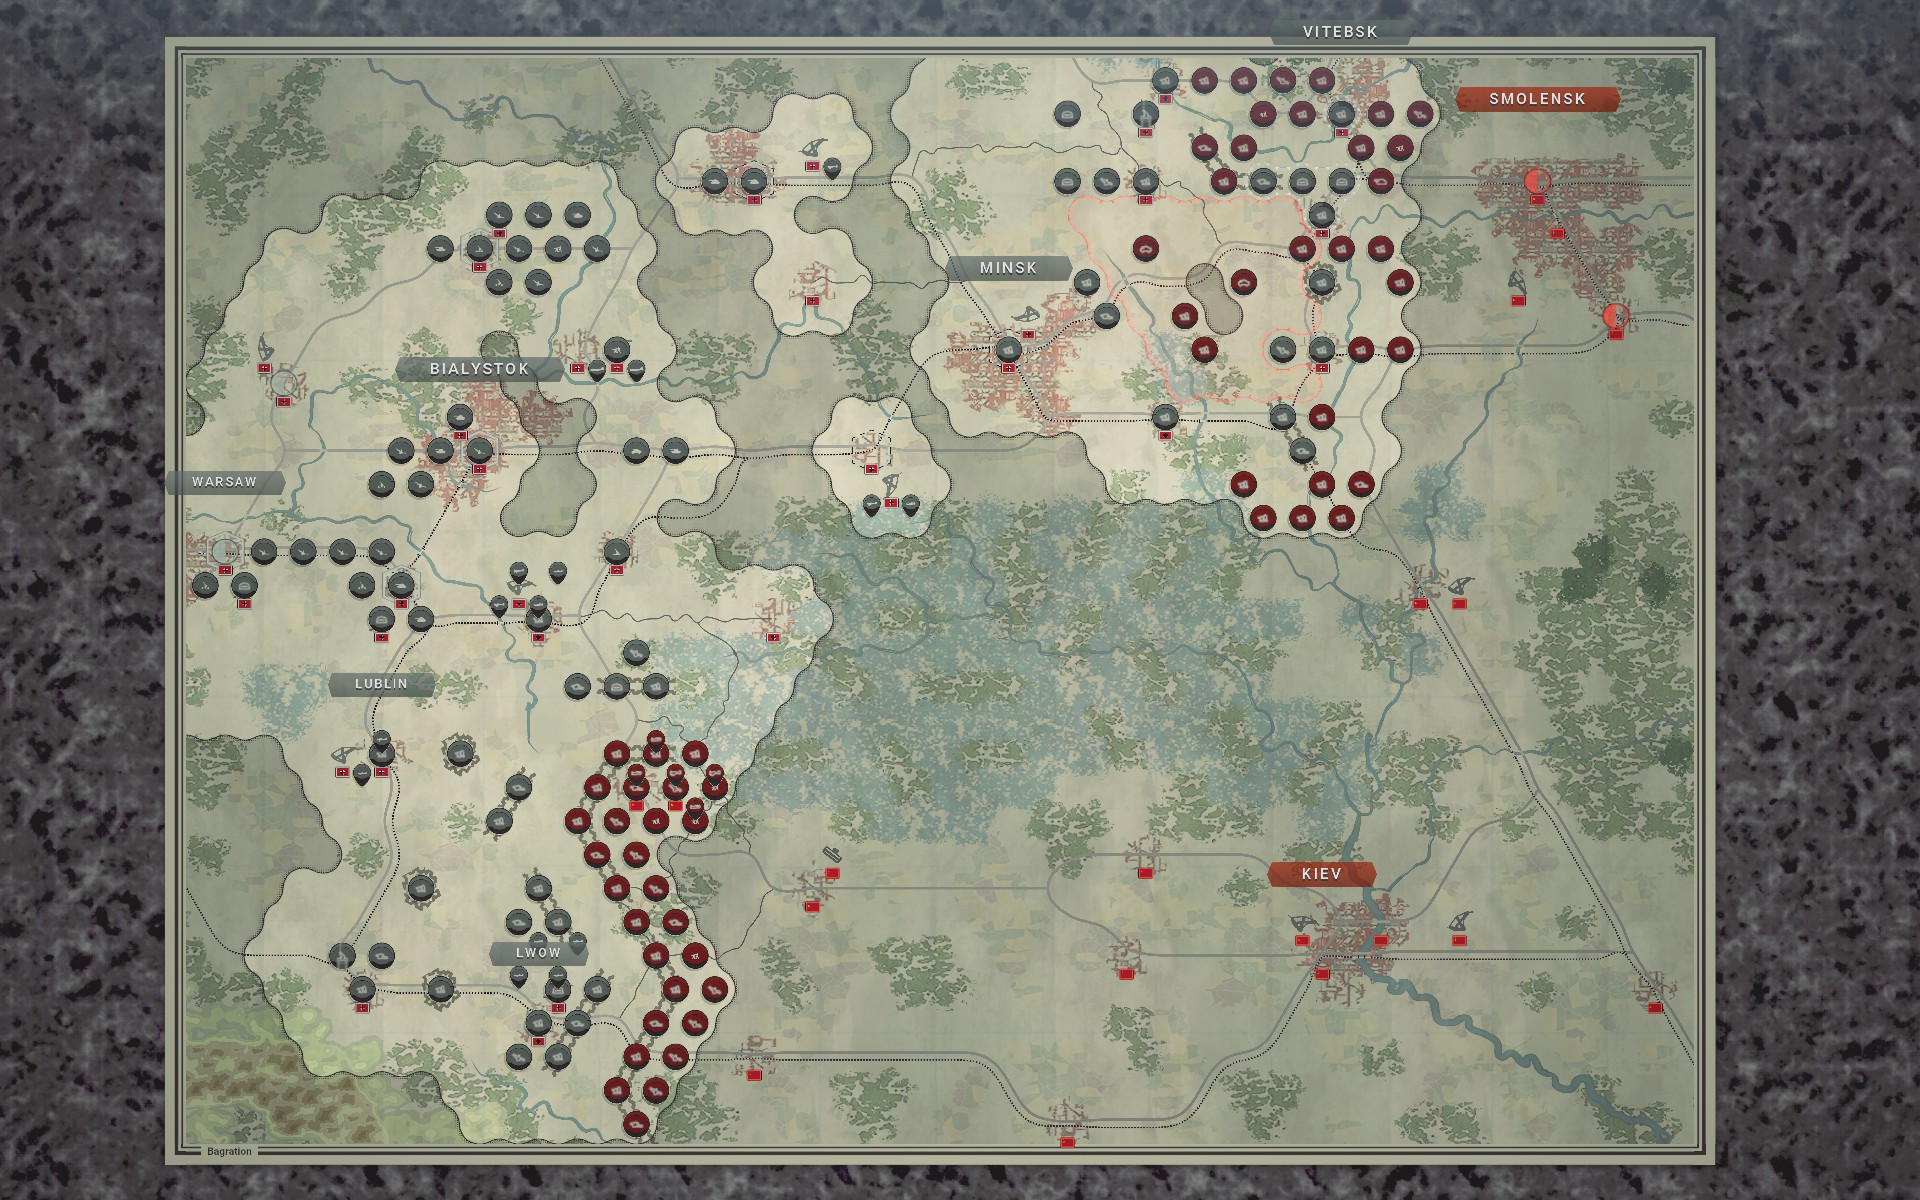
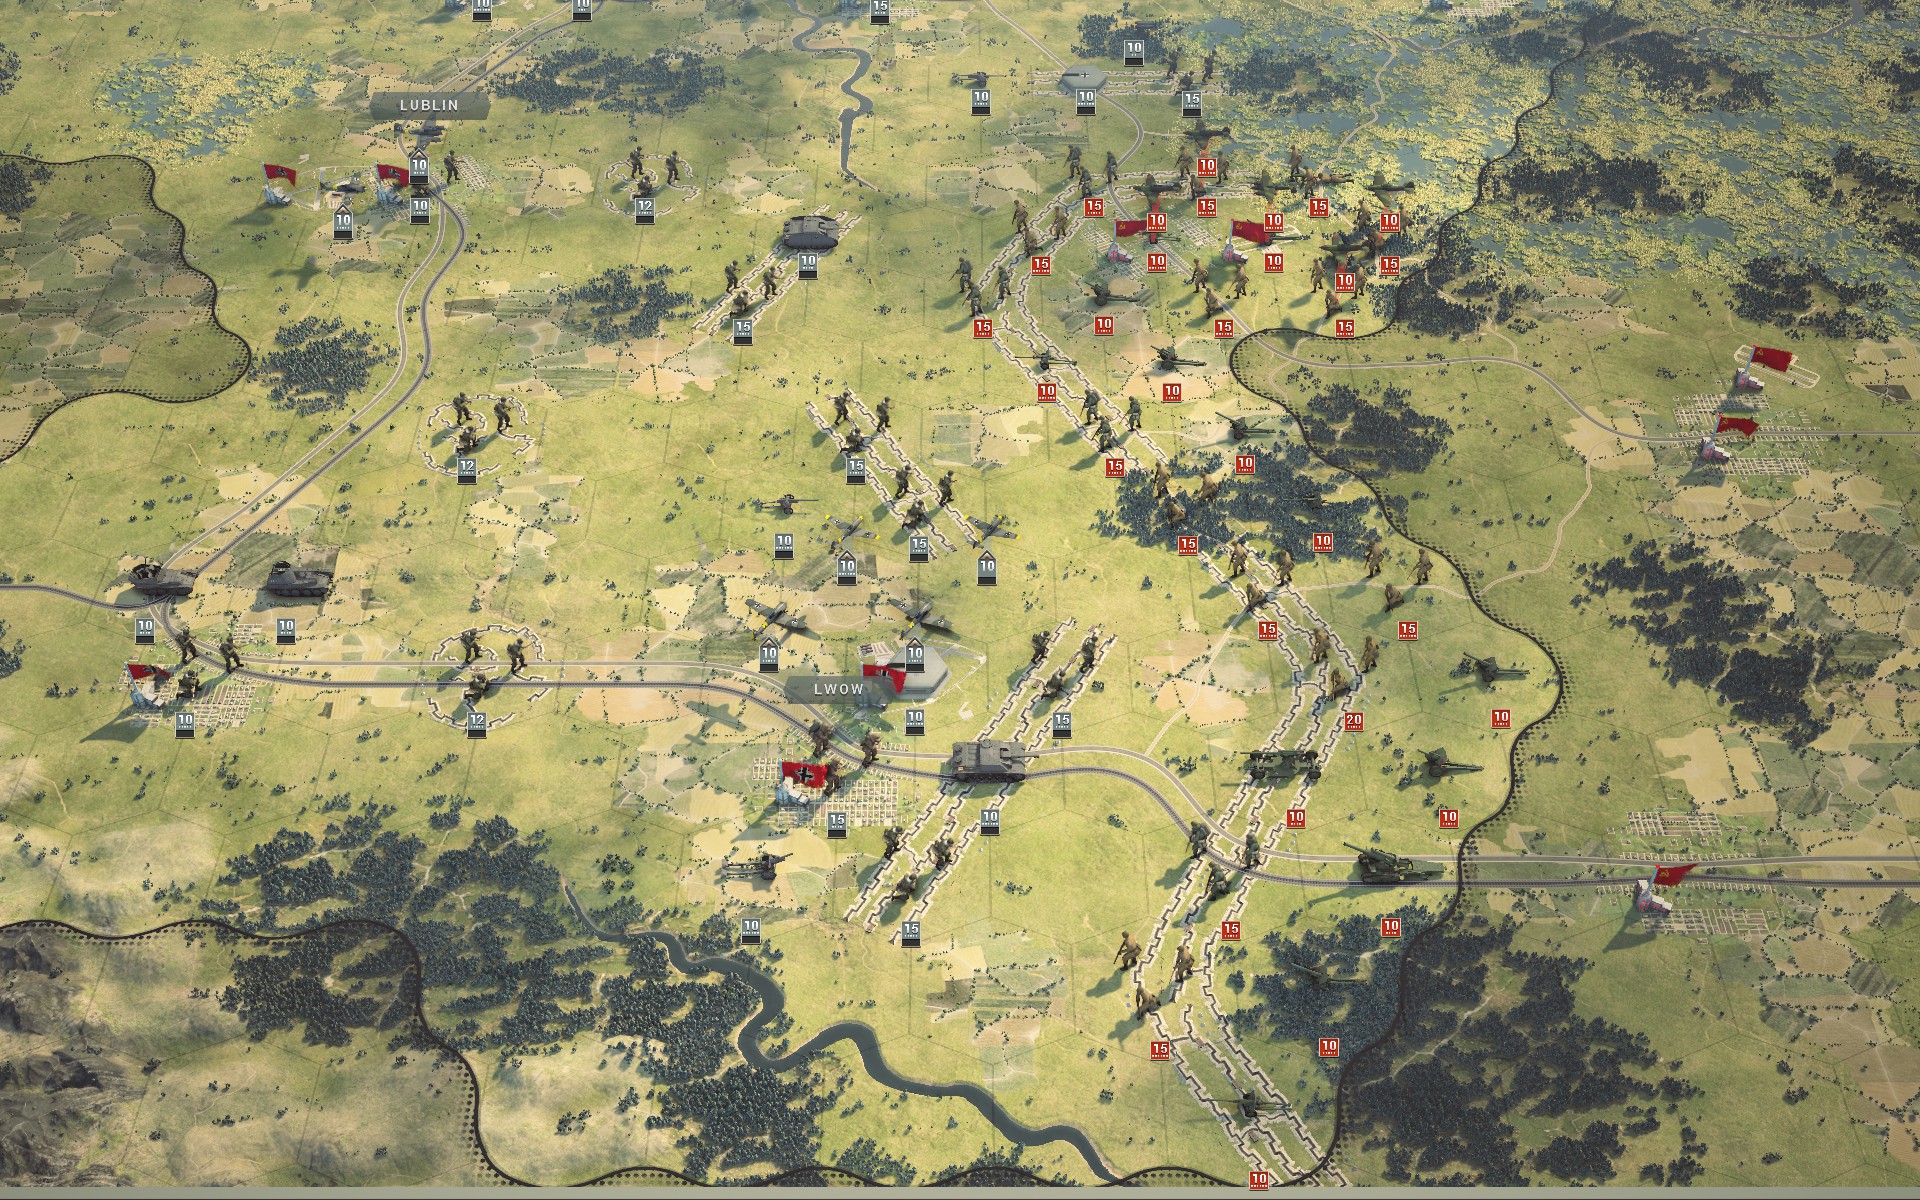
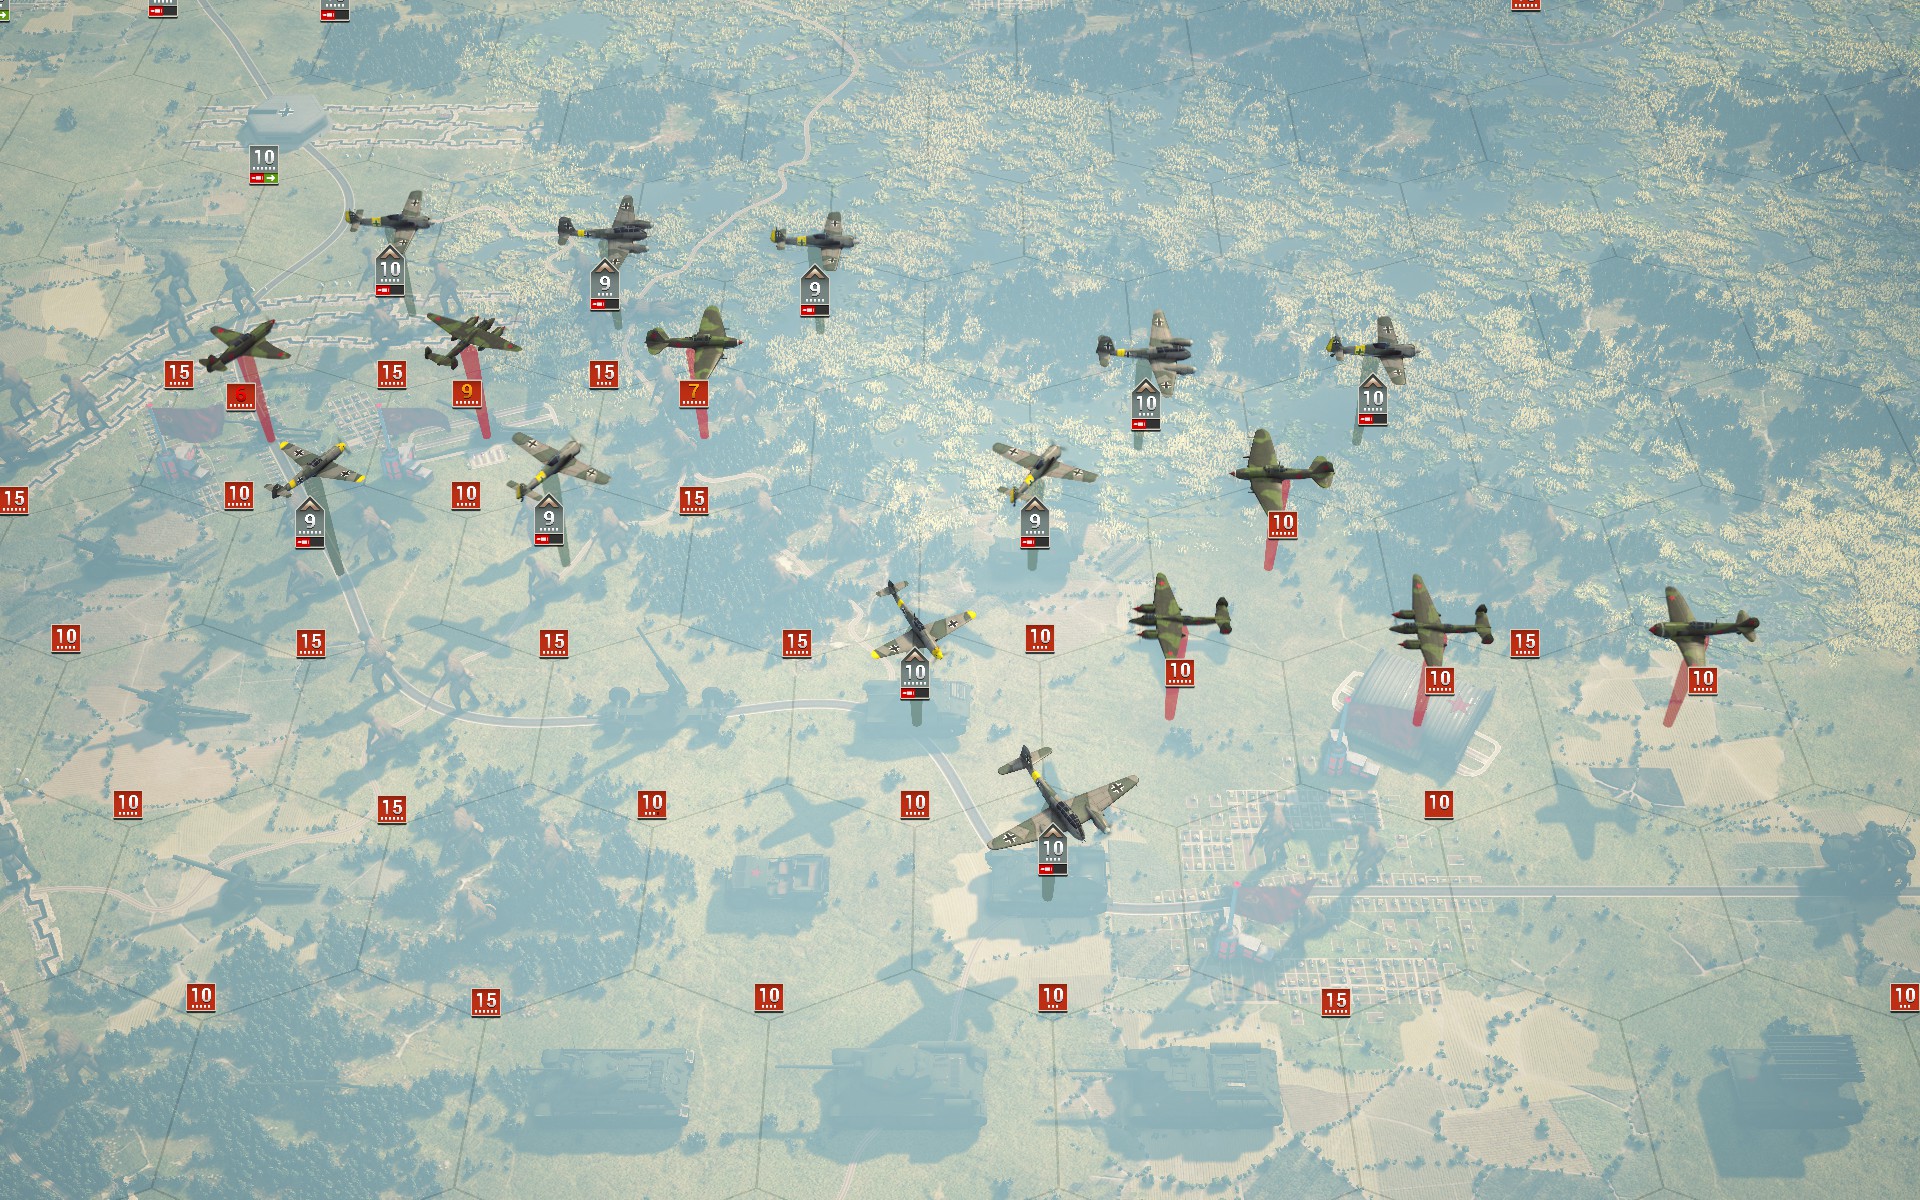
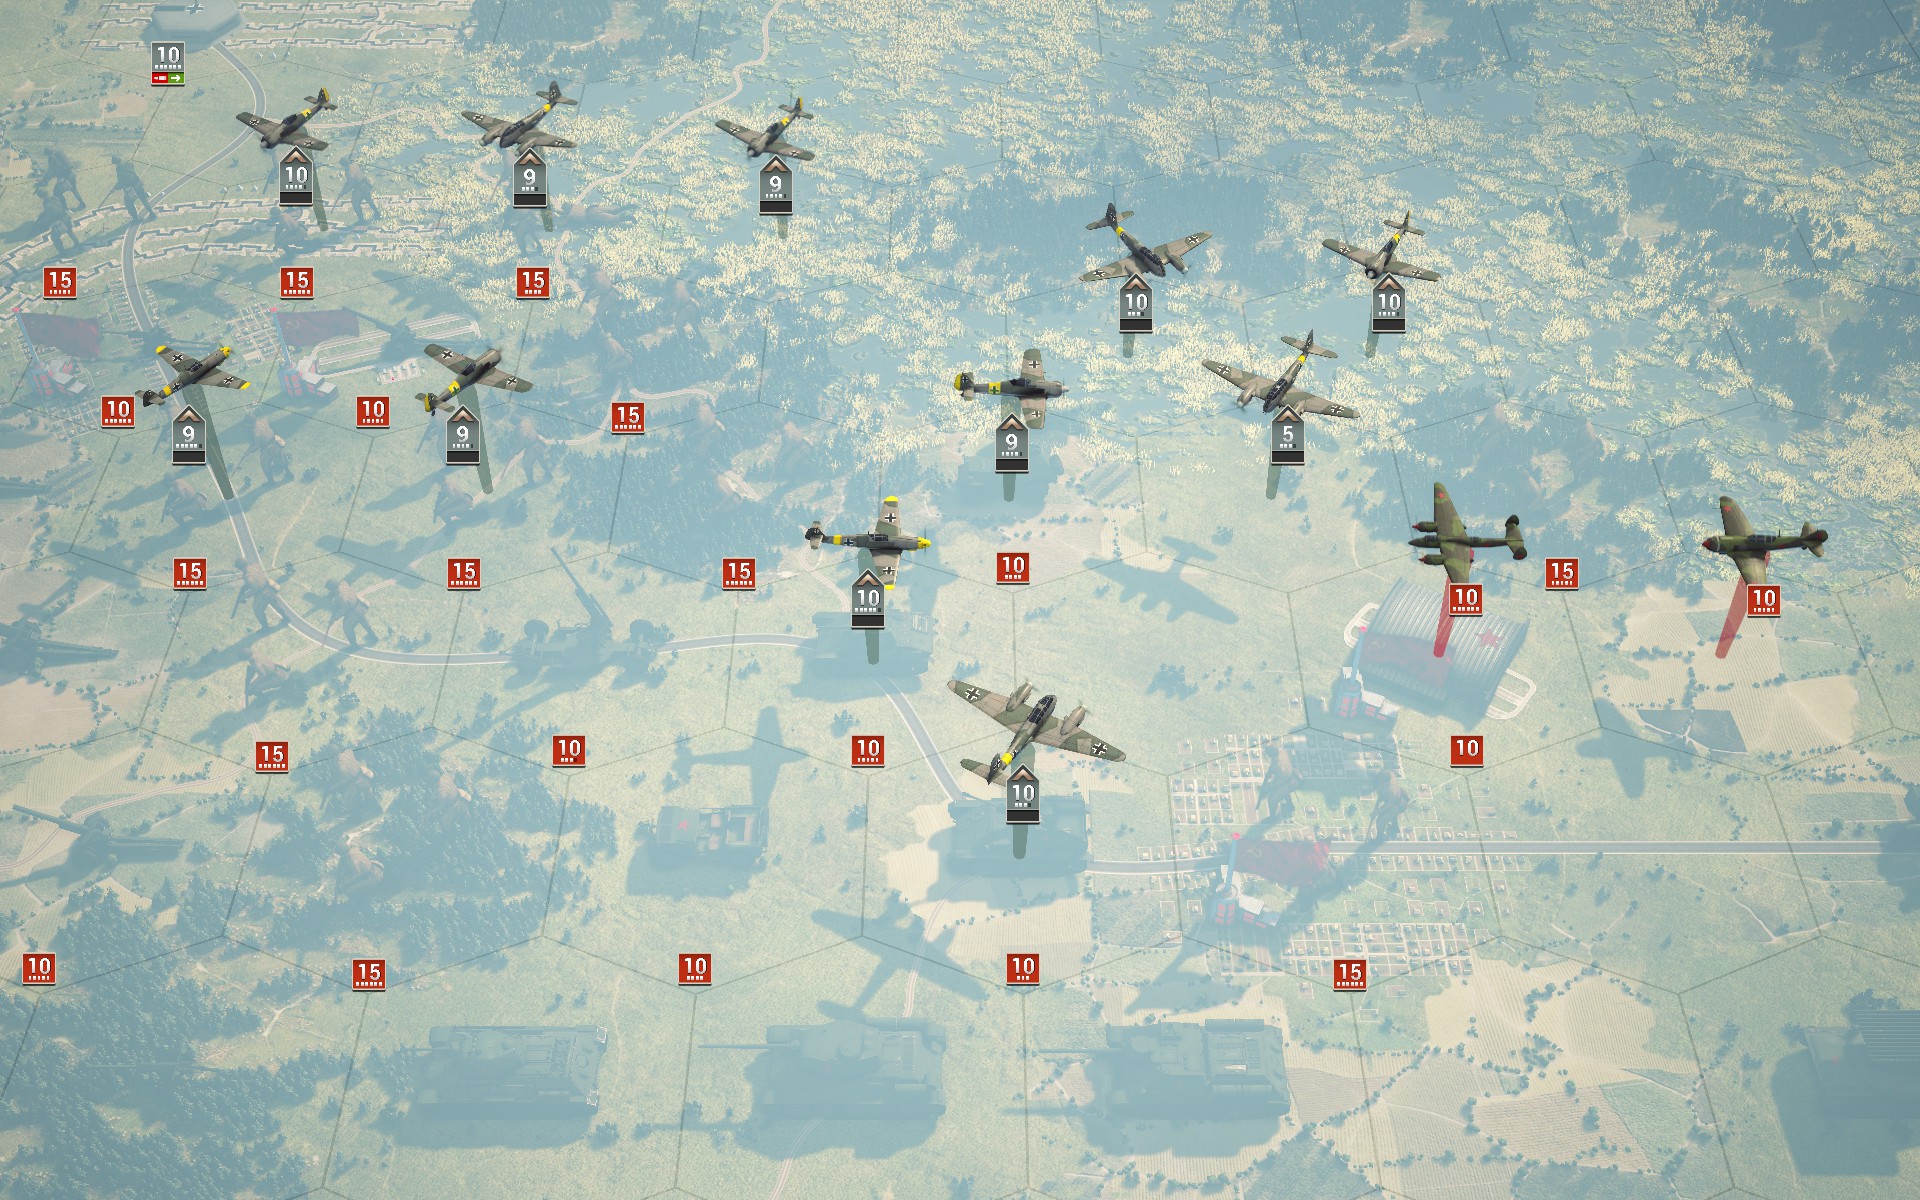
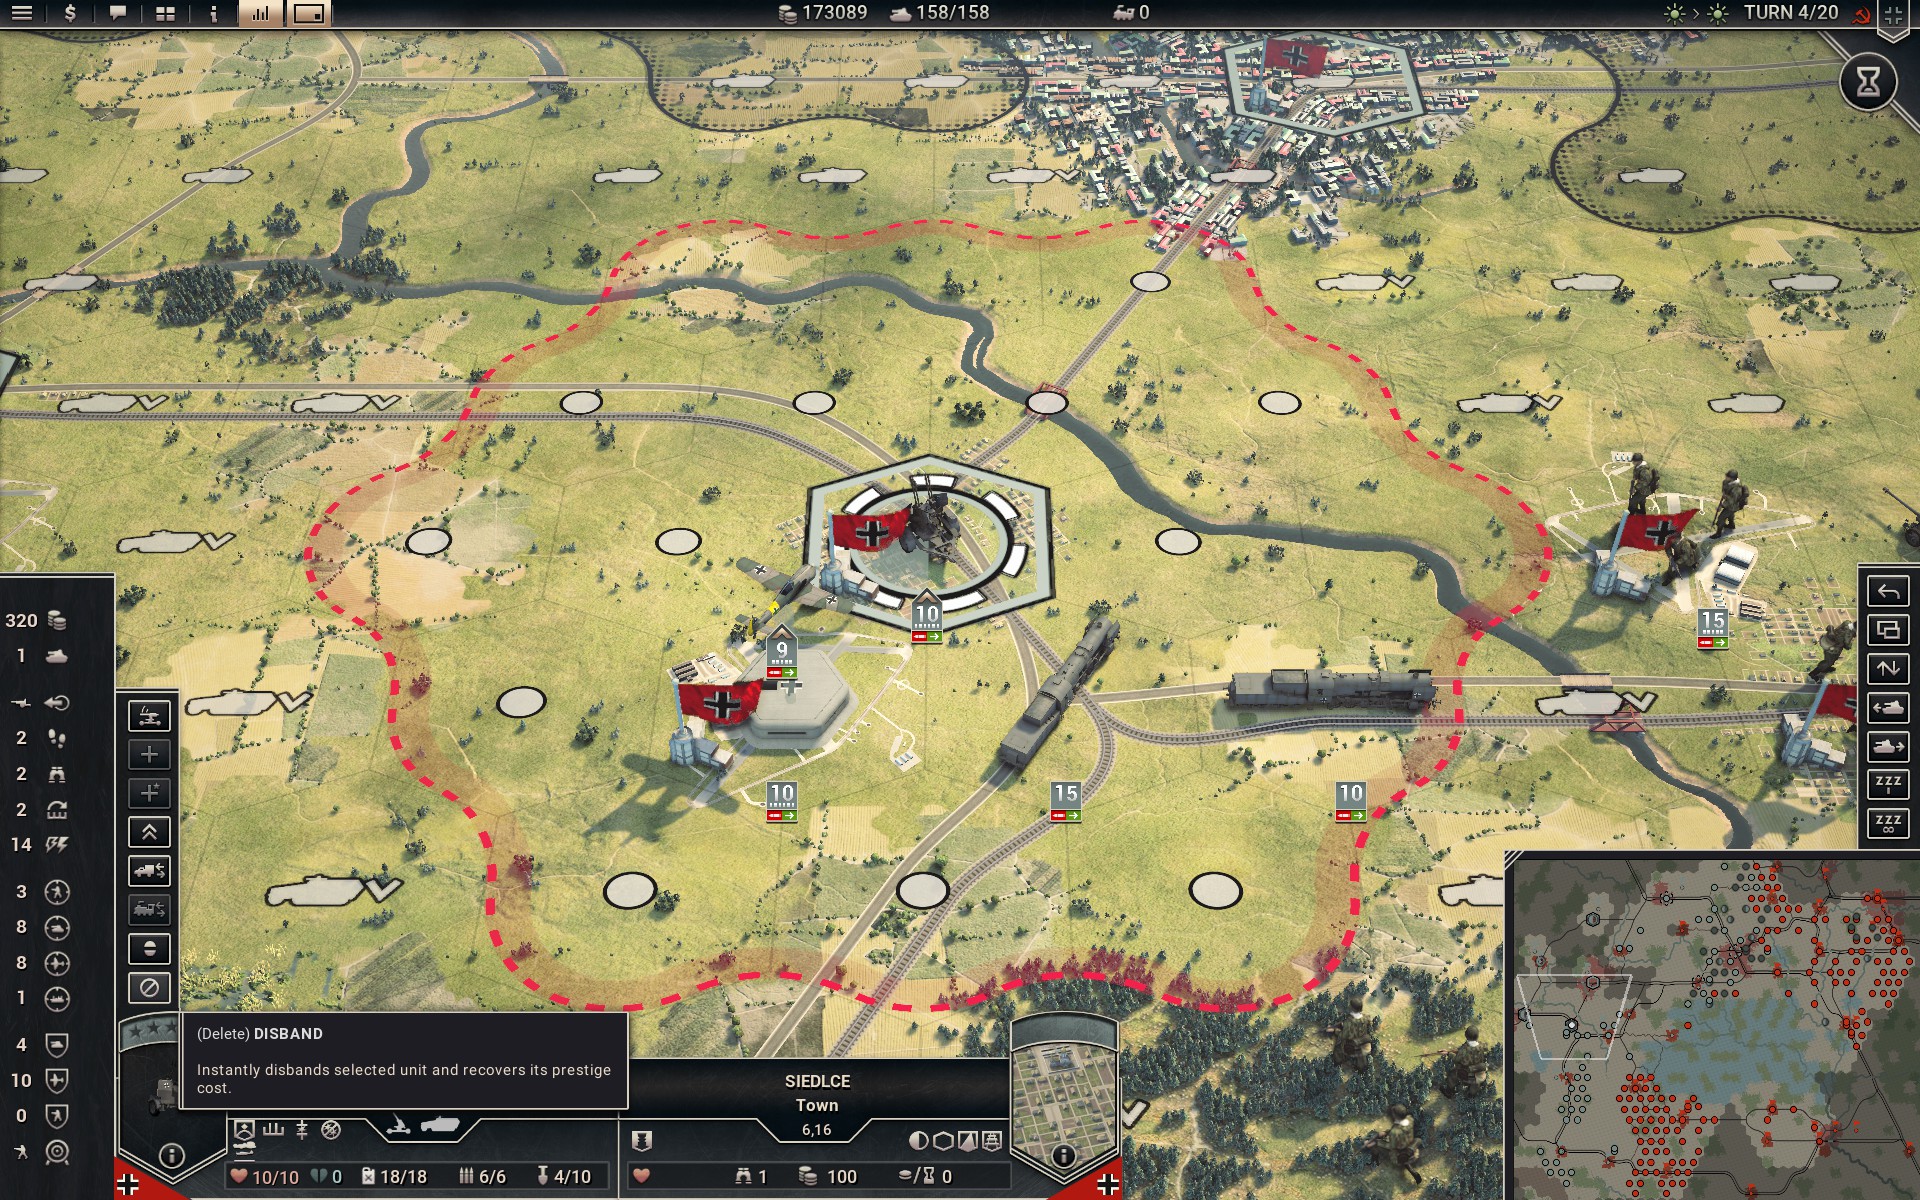
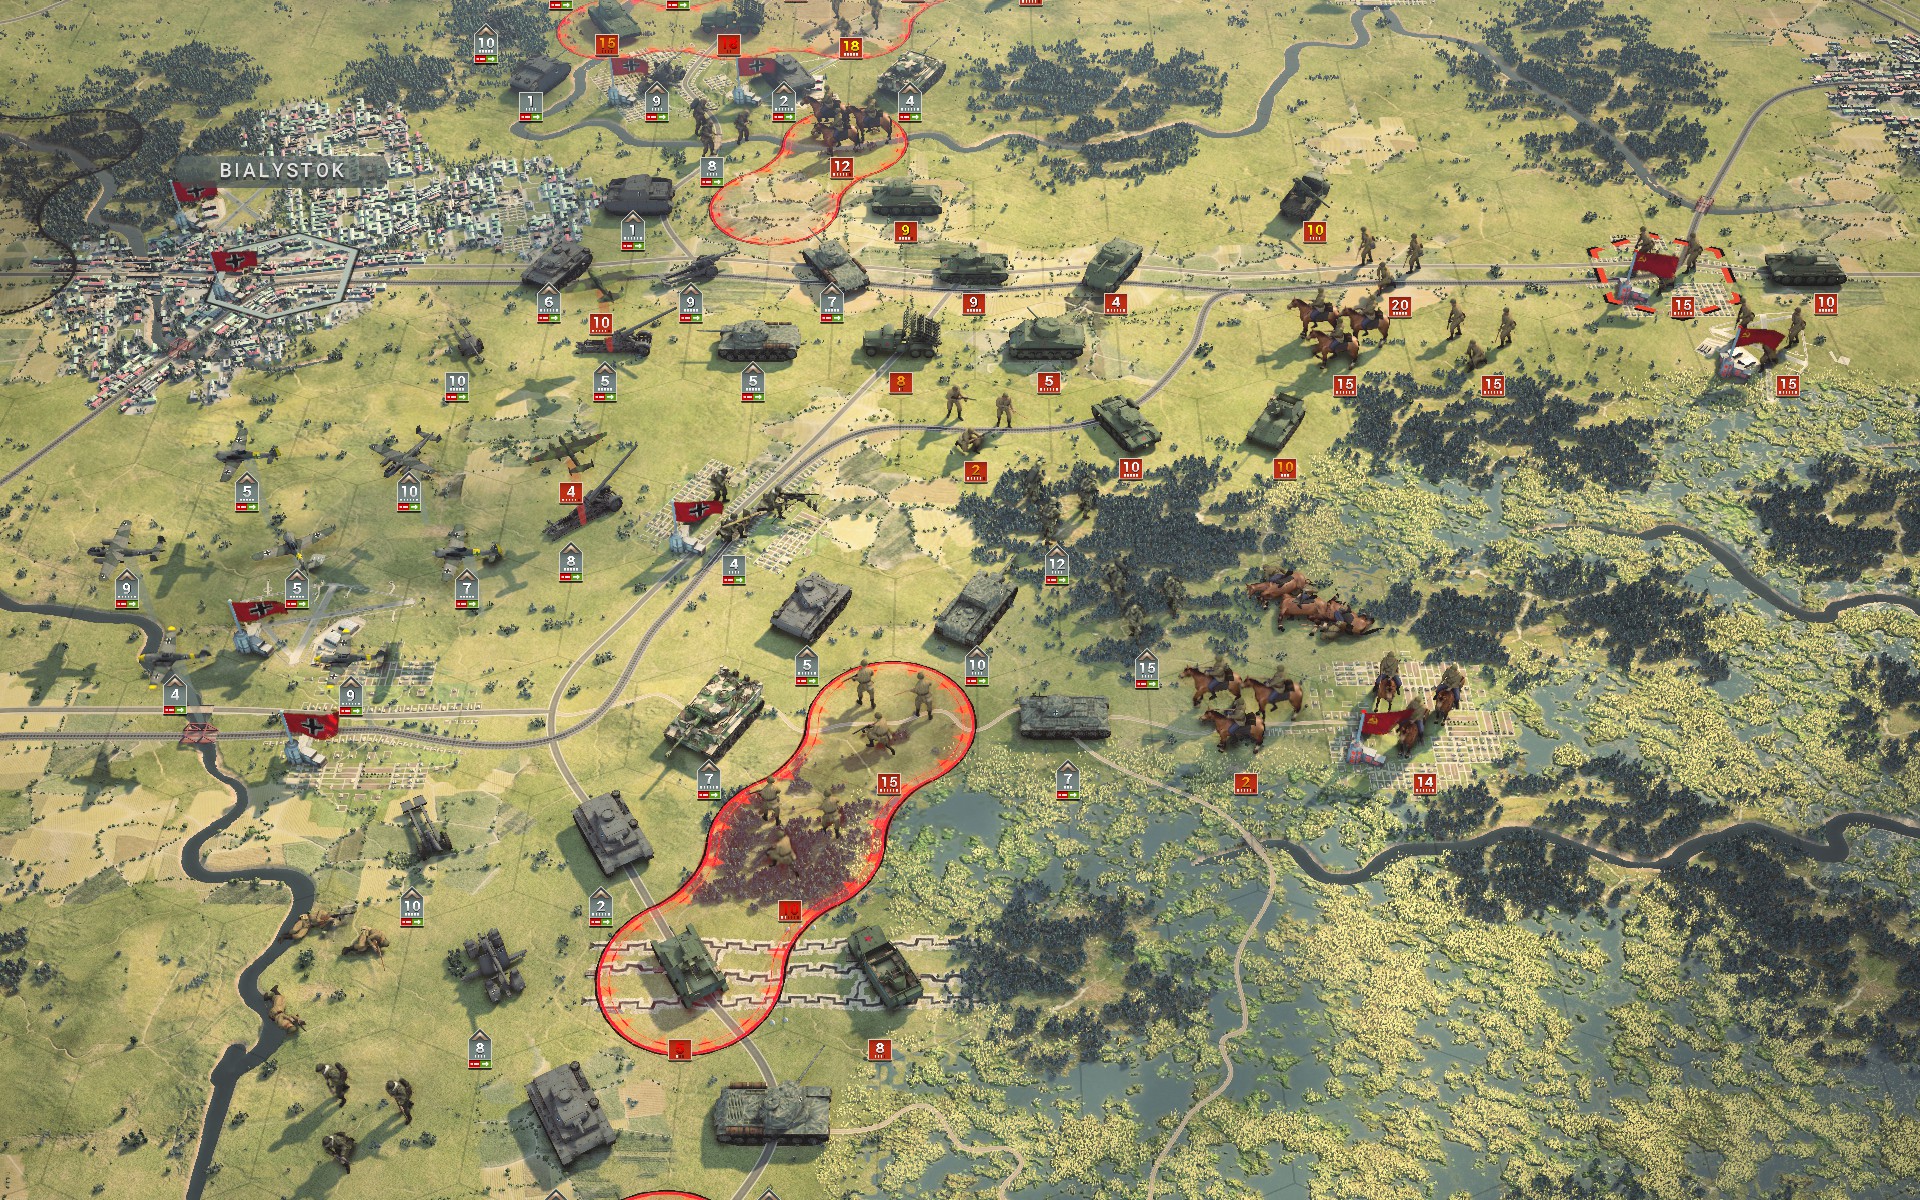
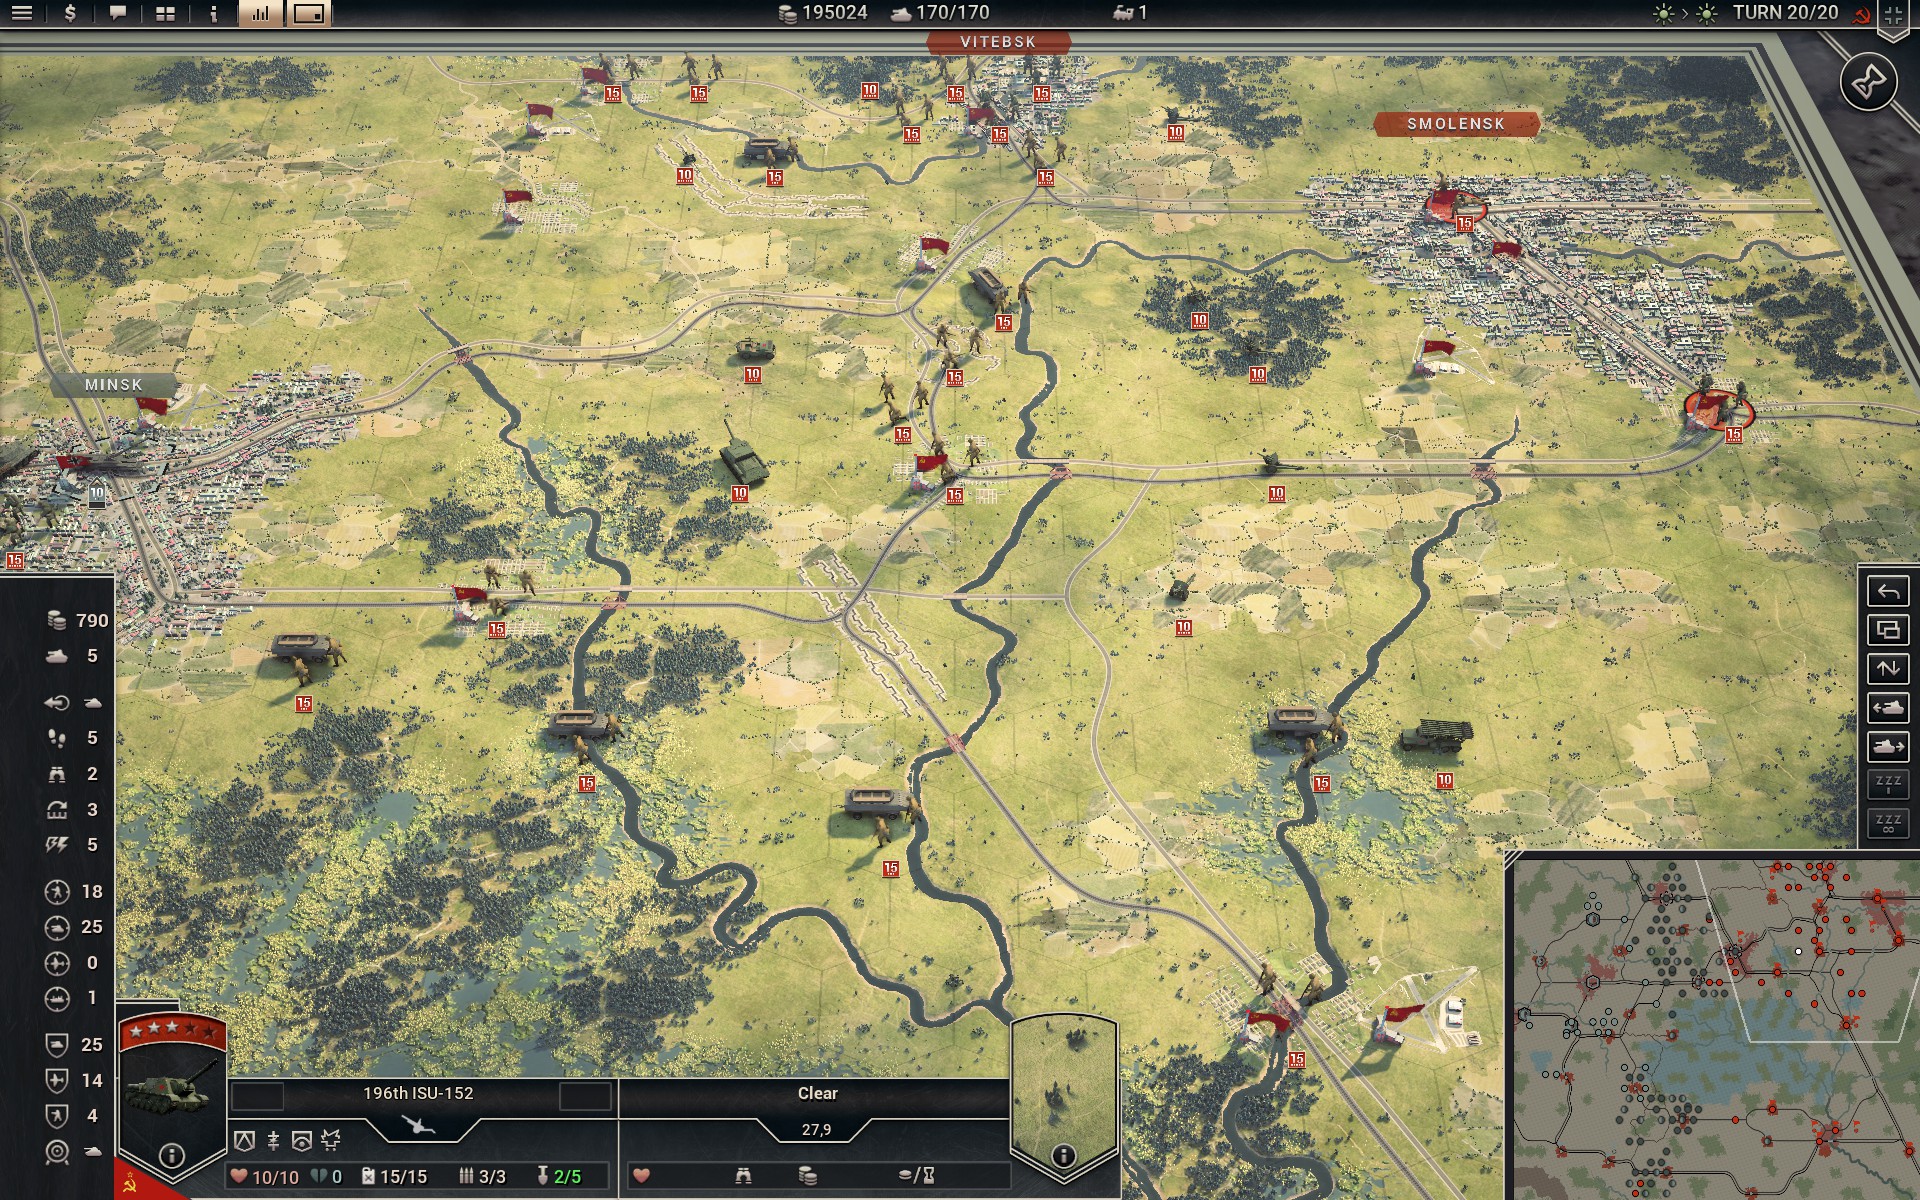
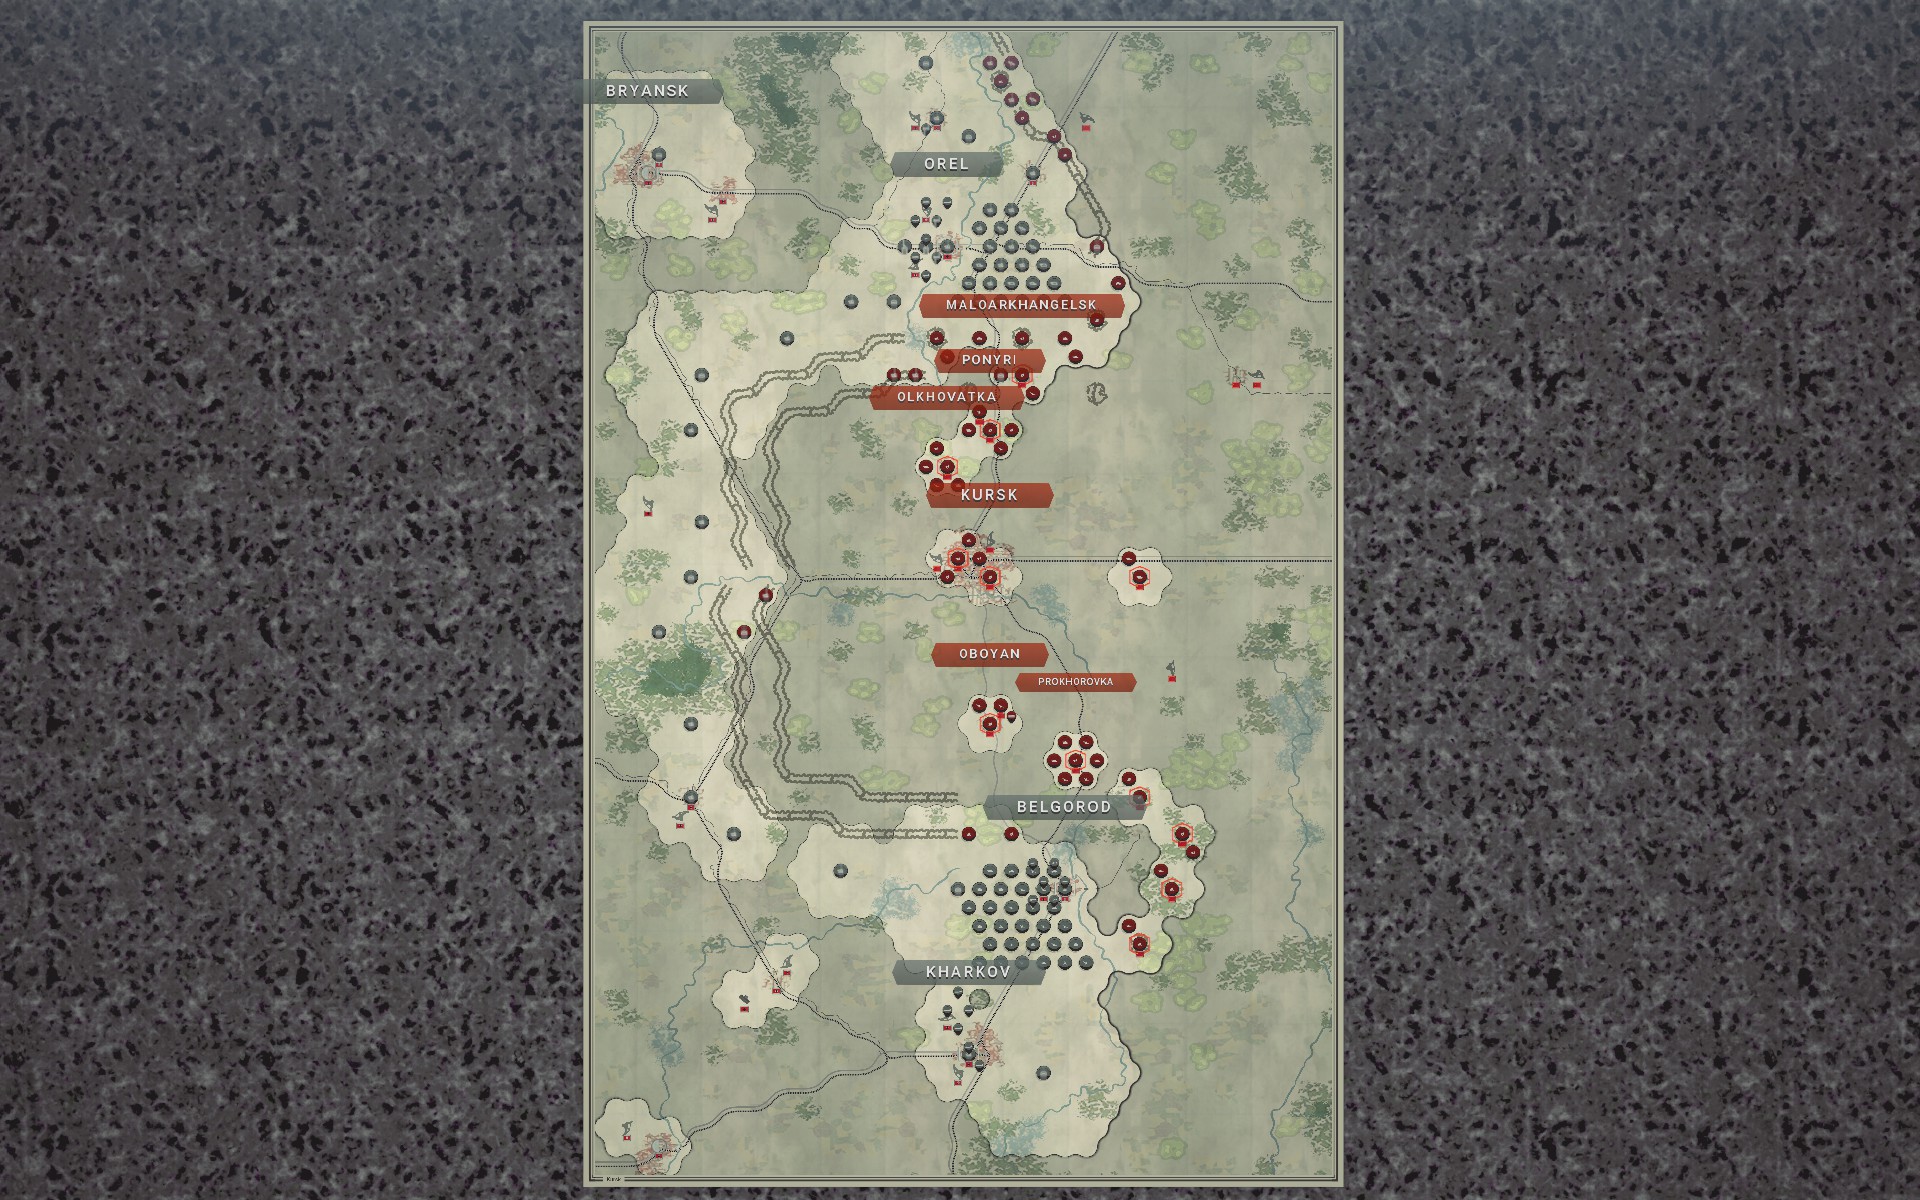
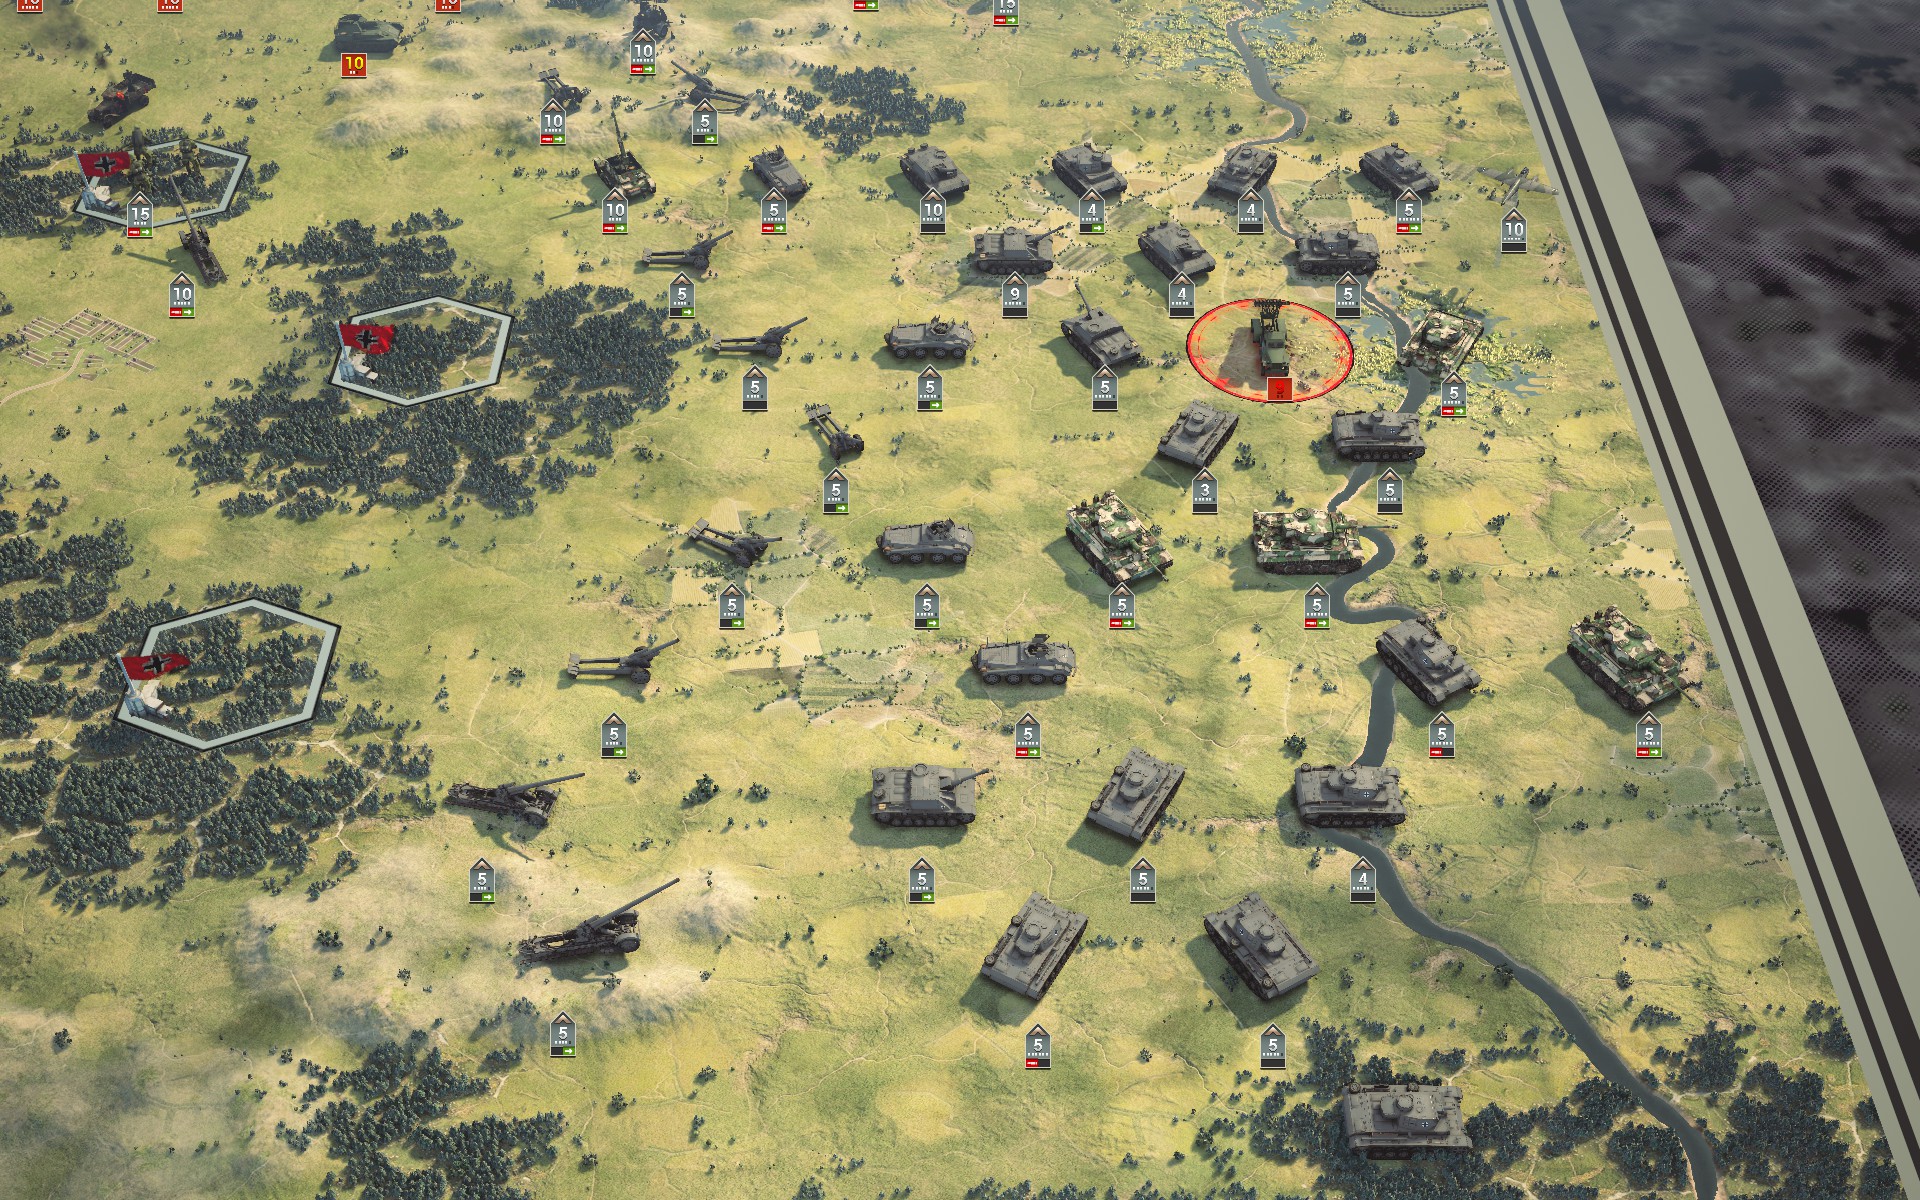
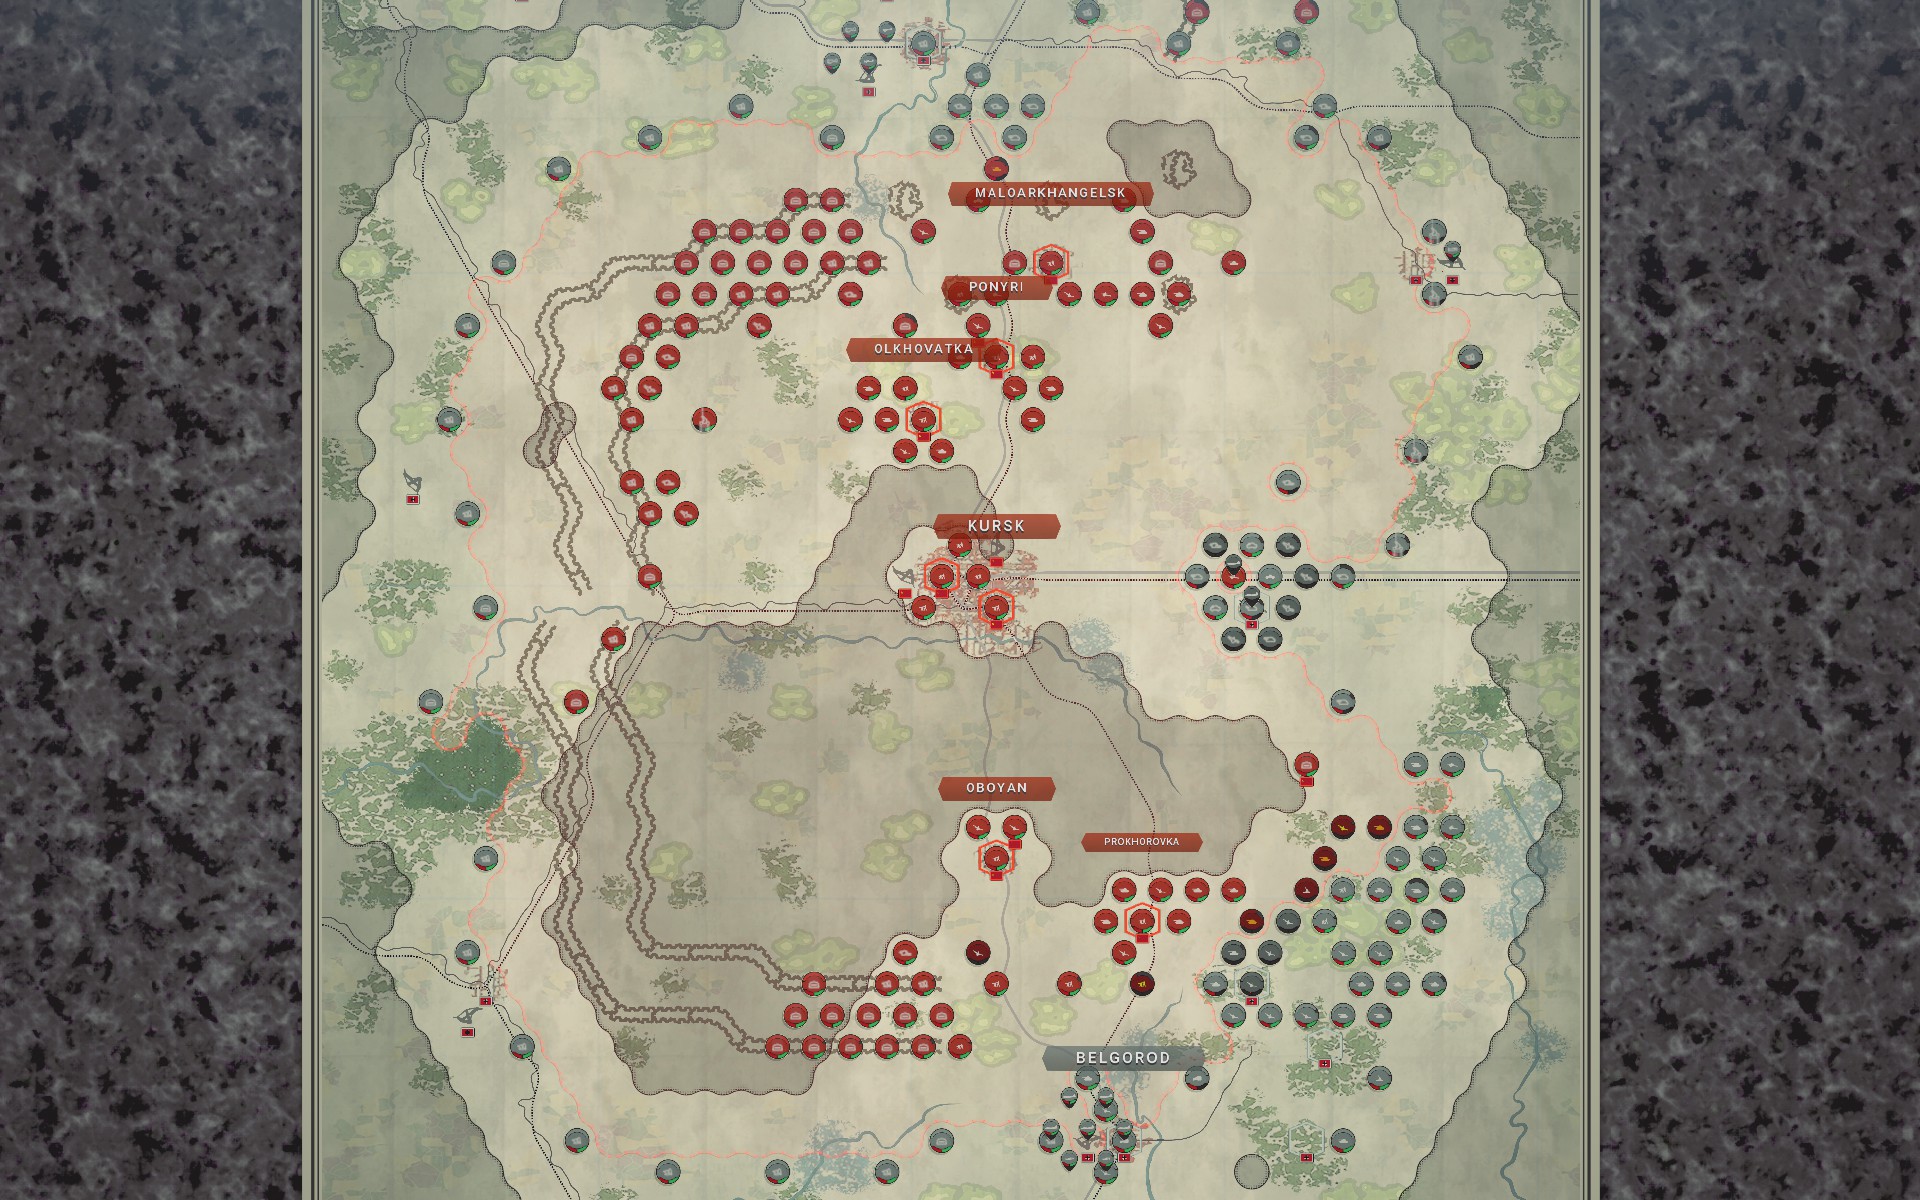
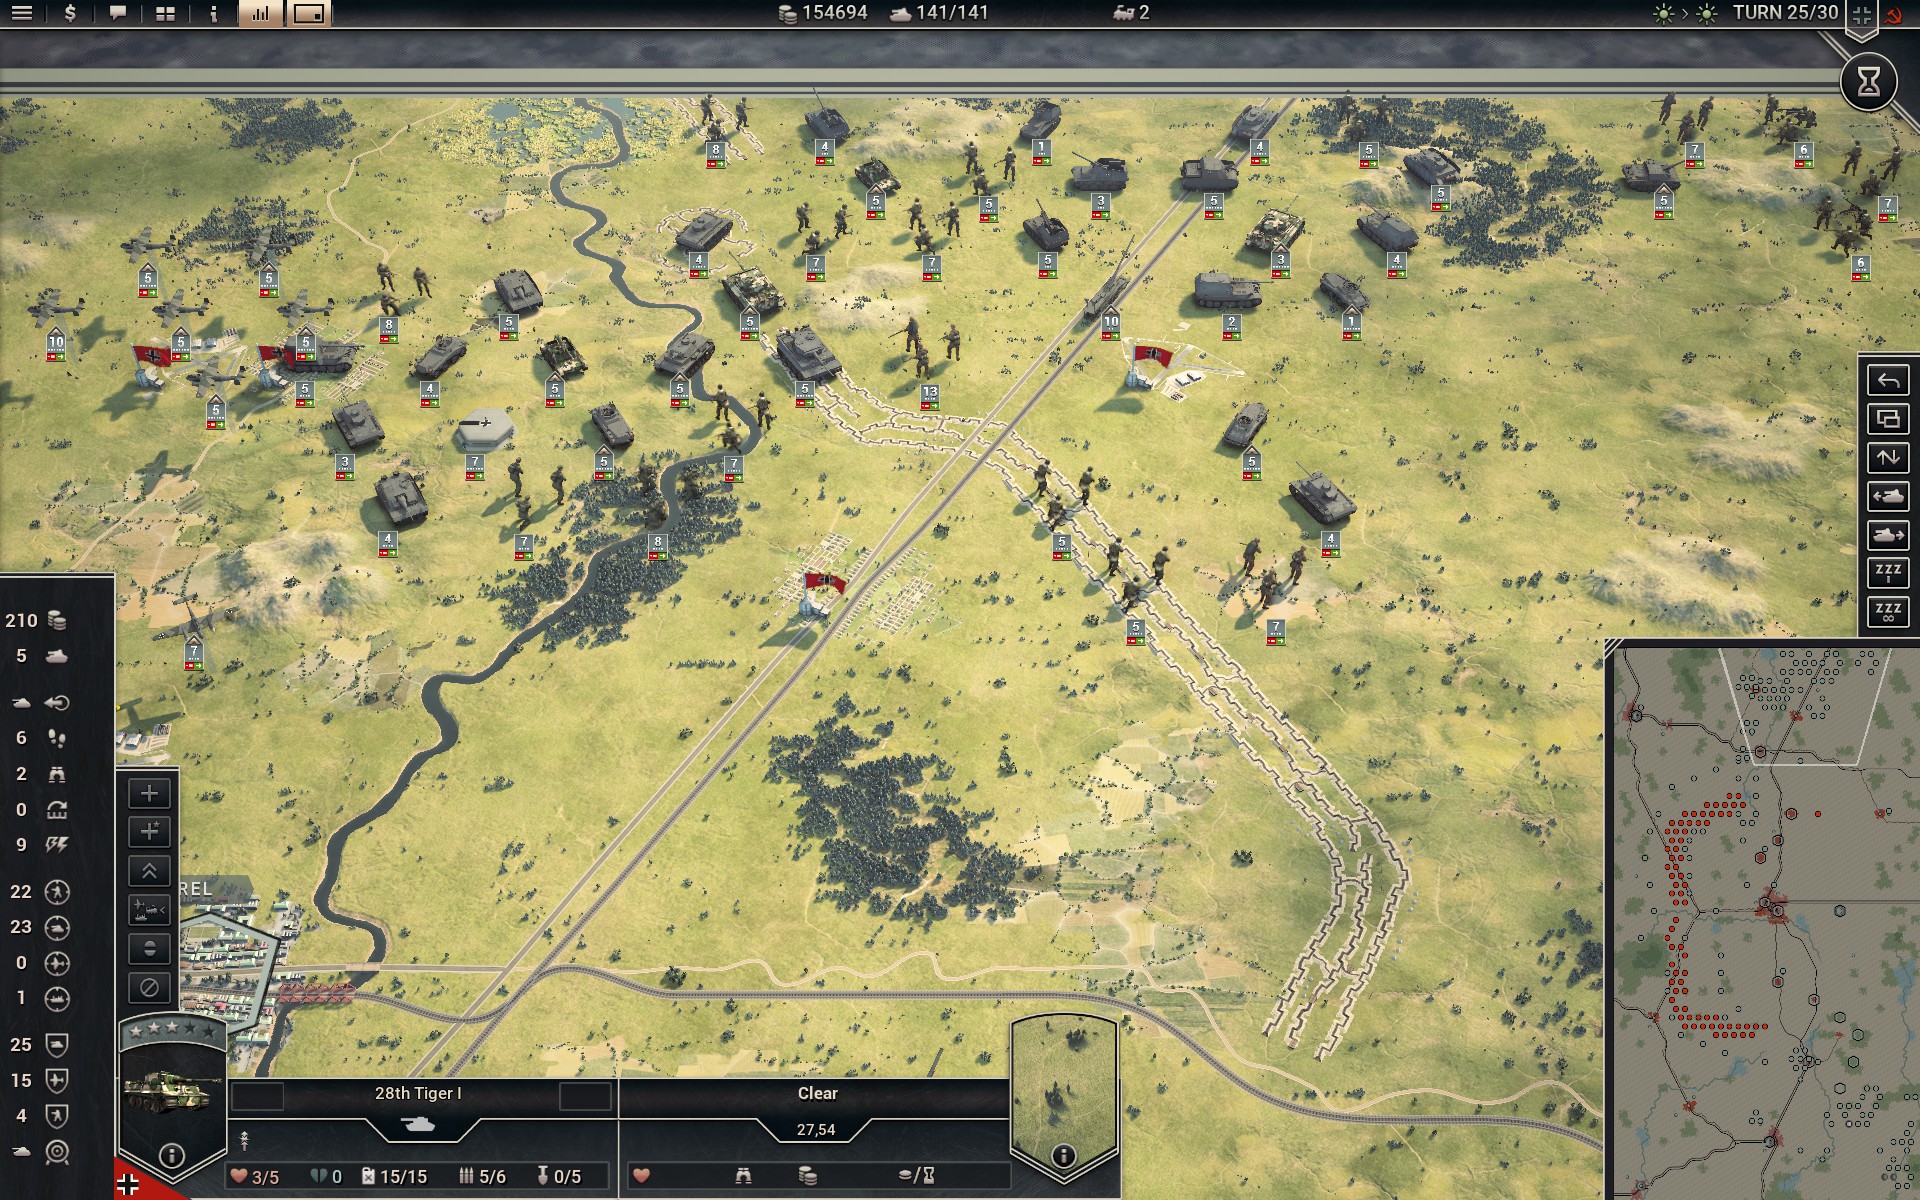
Strategic bombers are the last units to be numbered, so by looking at them you can get an idea of what kind of numbers you are facing. While a significant part of these will be minefields, this is by far the largest force I have faced to date. Even with a powerful auxiliary force at my disposal, I am heavily outnumbered, and a combination of guile and defeat in detail will be necessary to prevail; it'd be foolish to engage the Red Army directly.
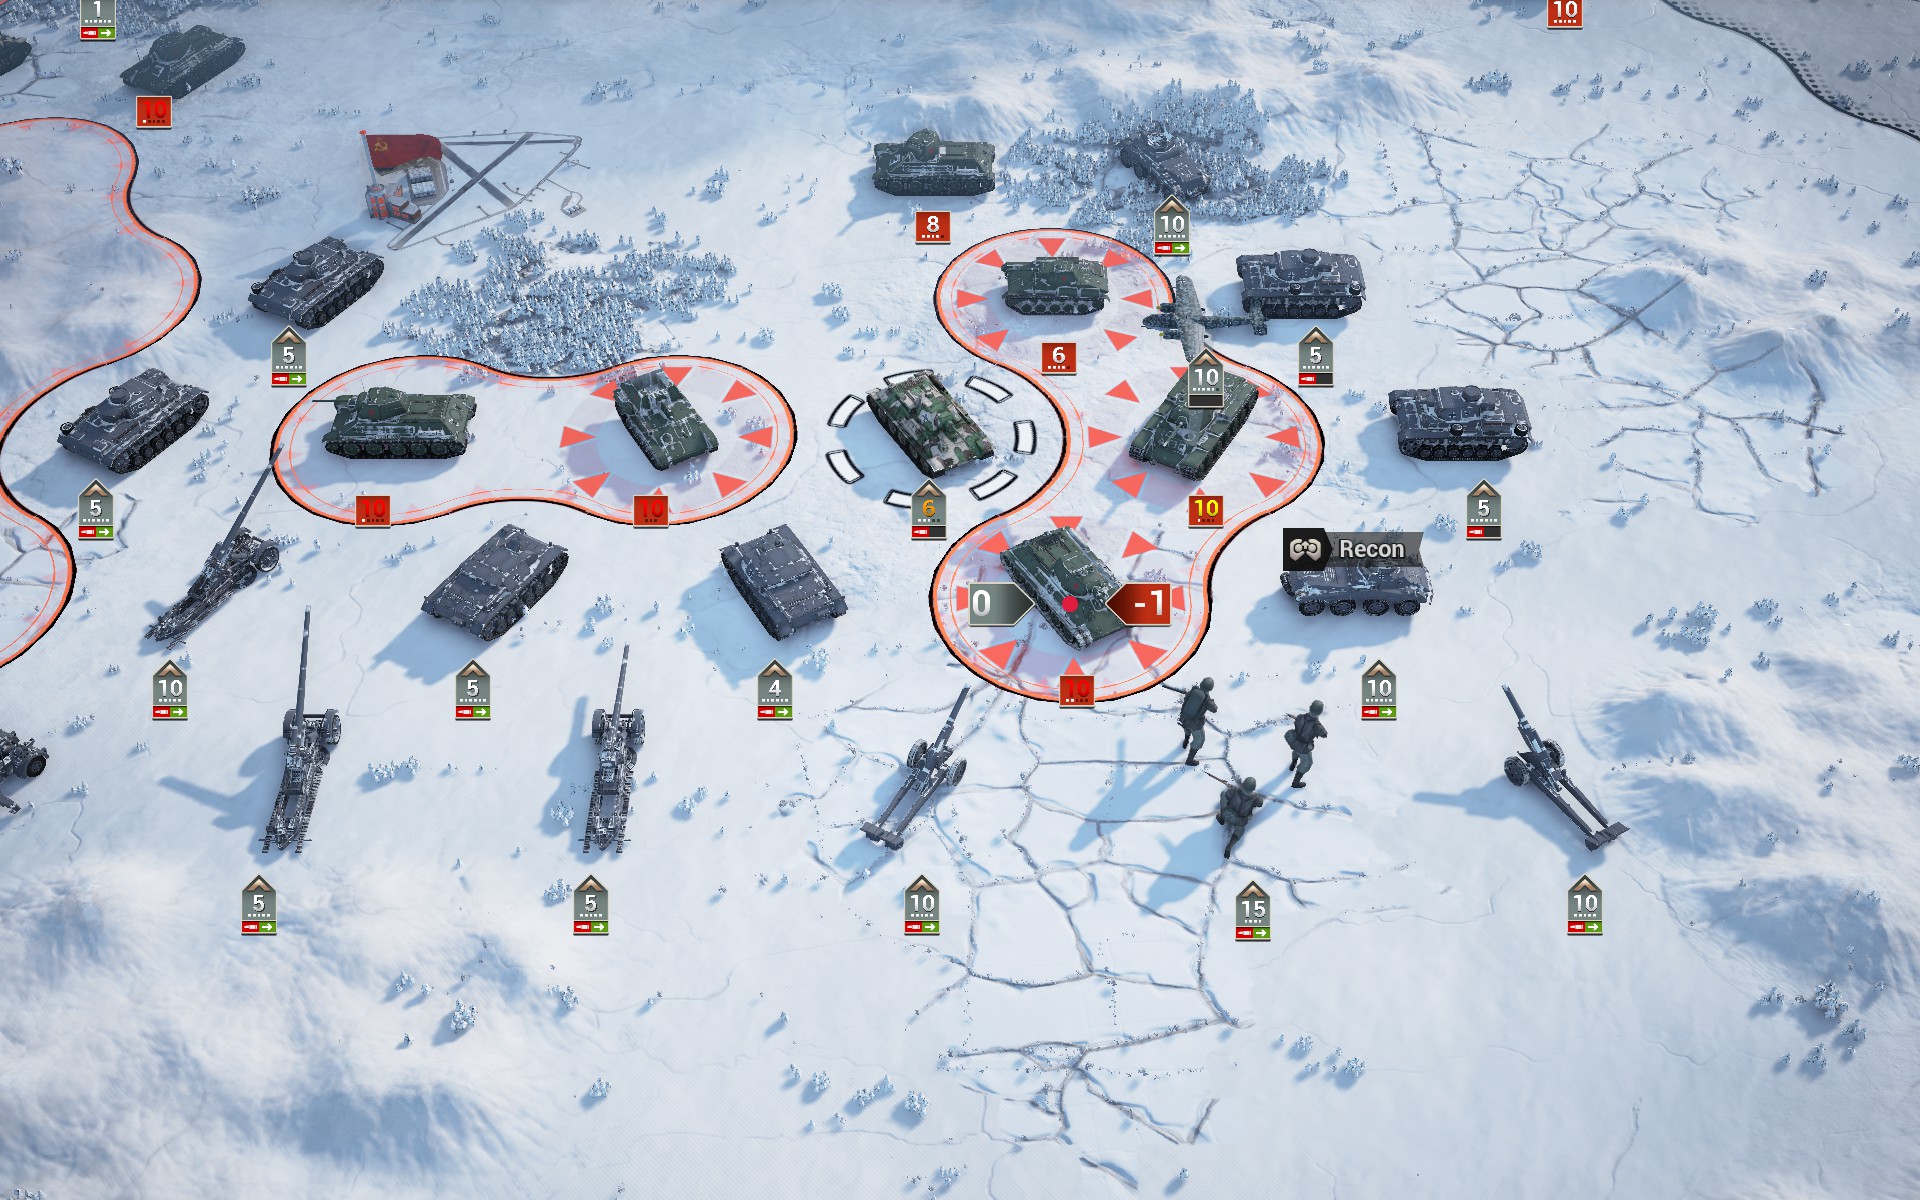
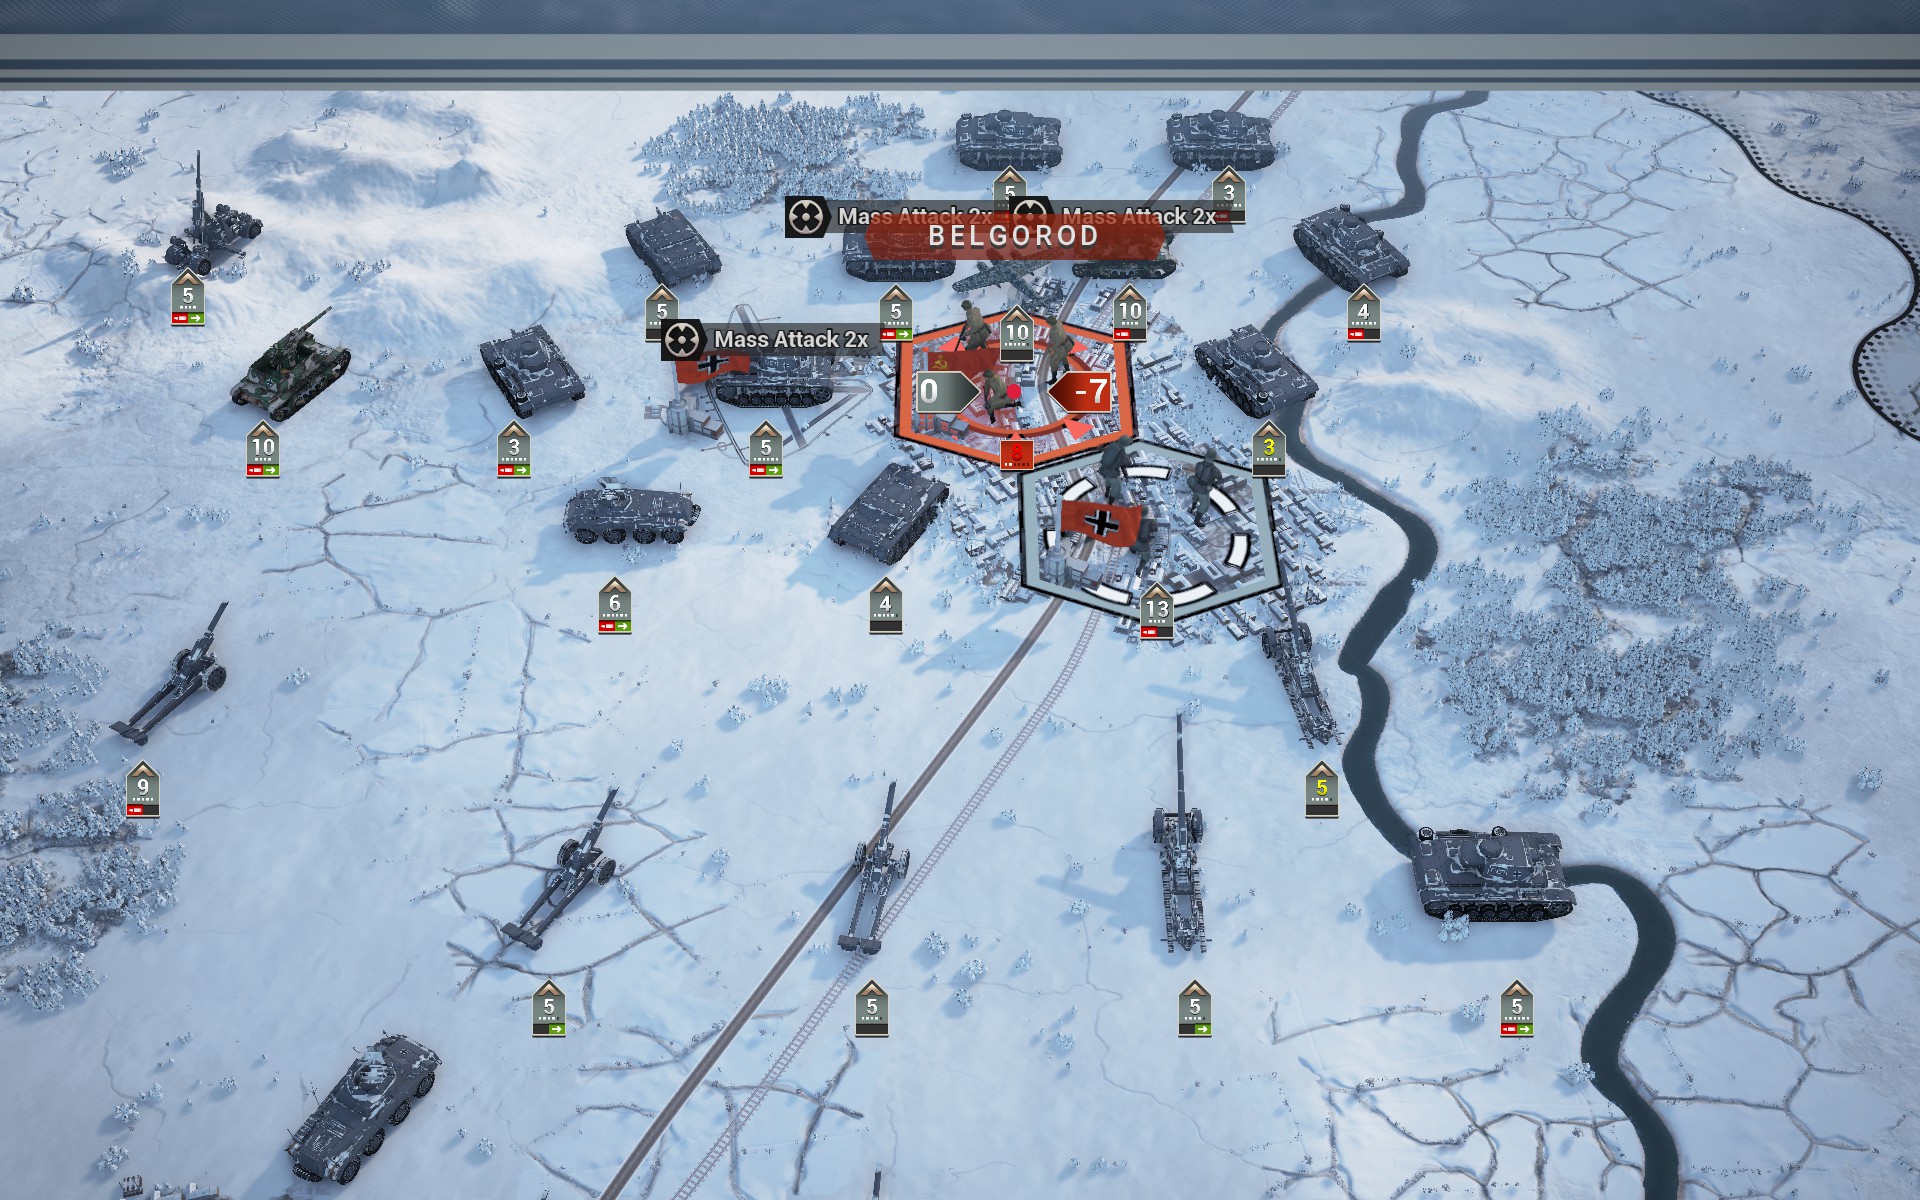
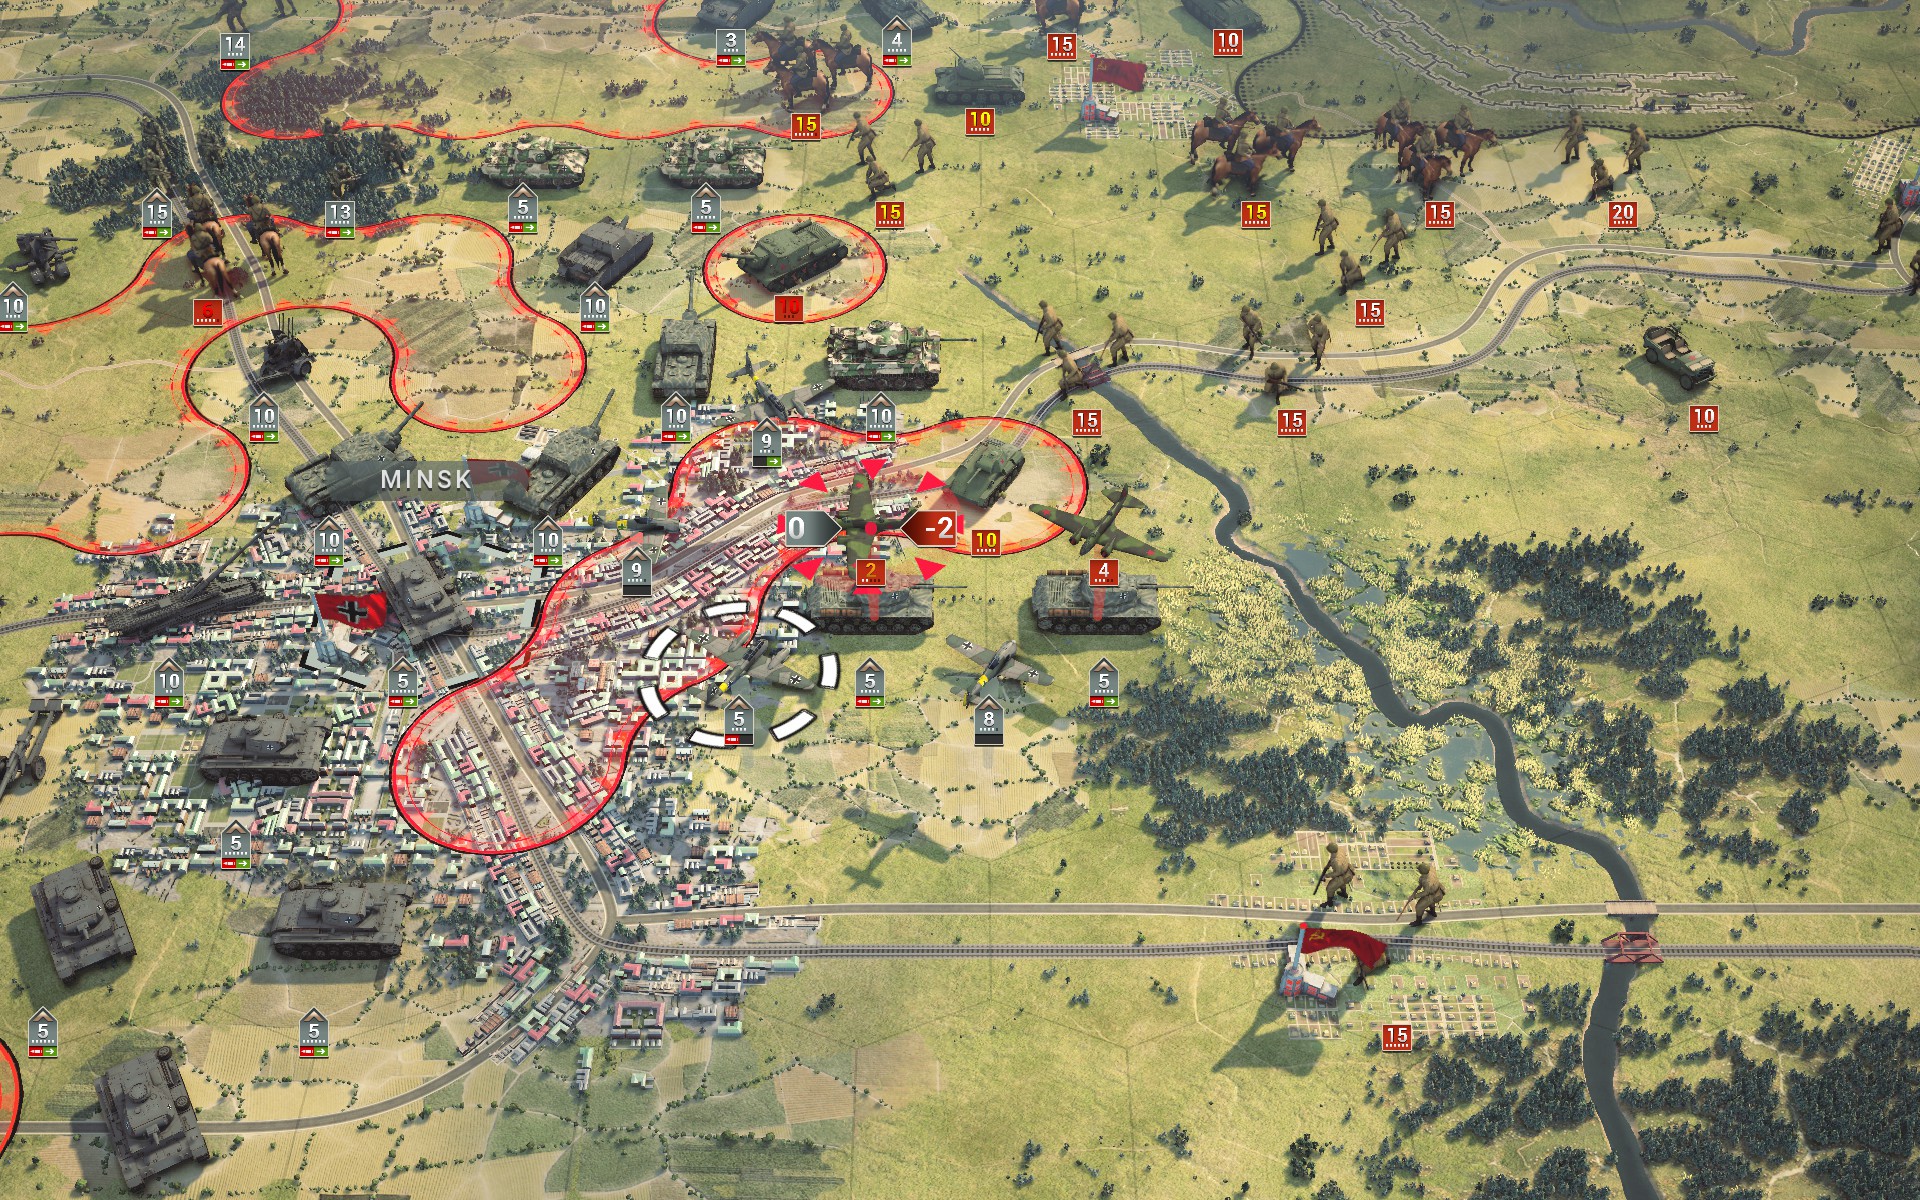
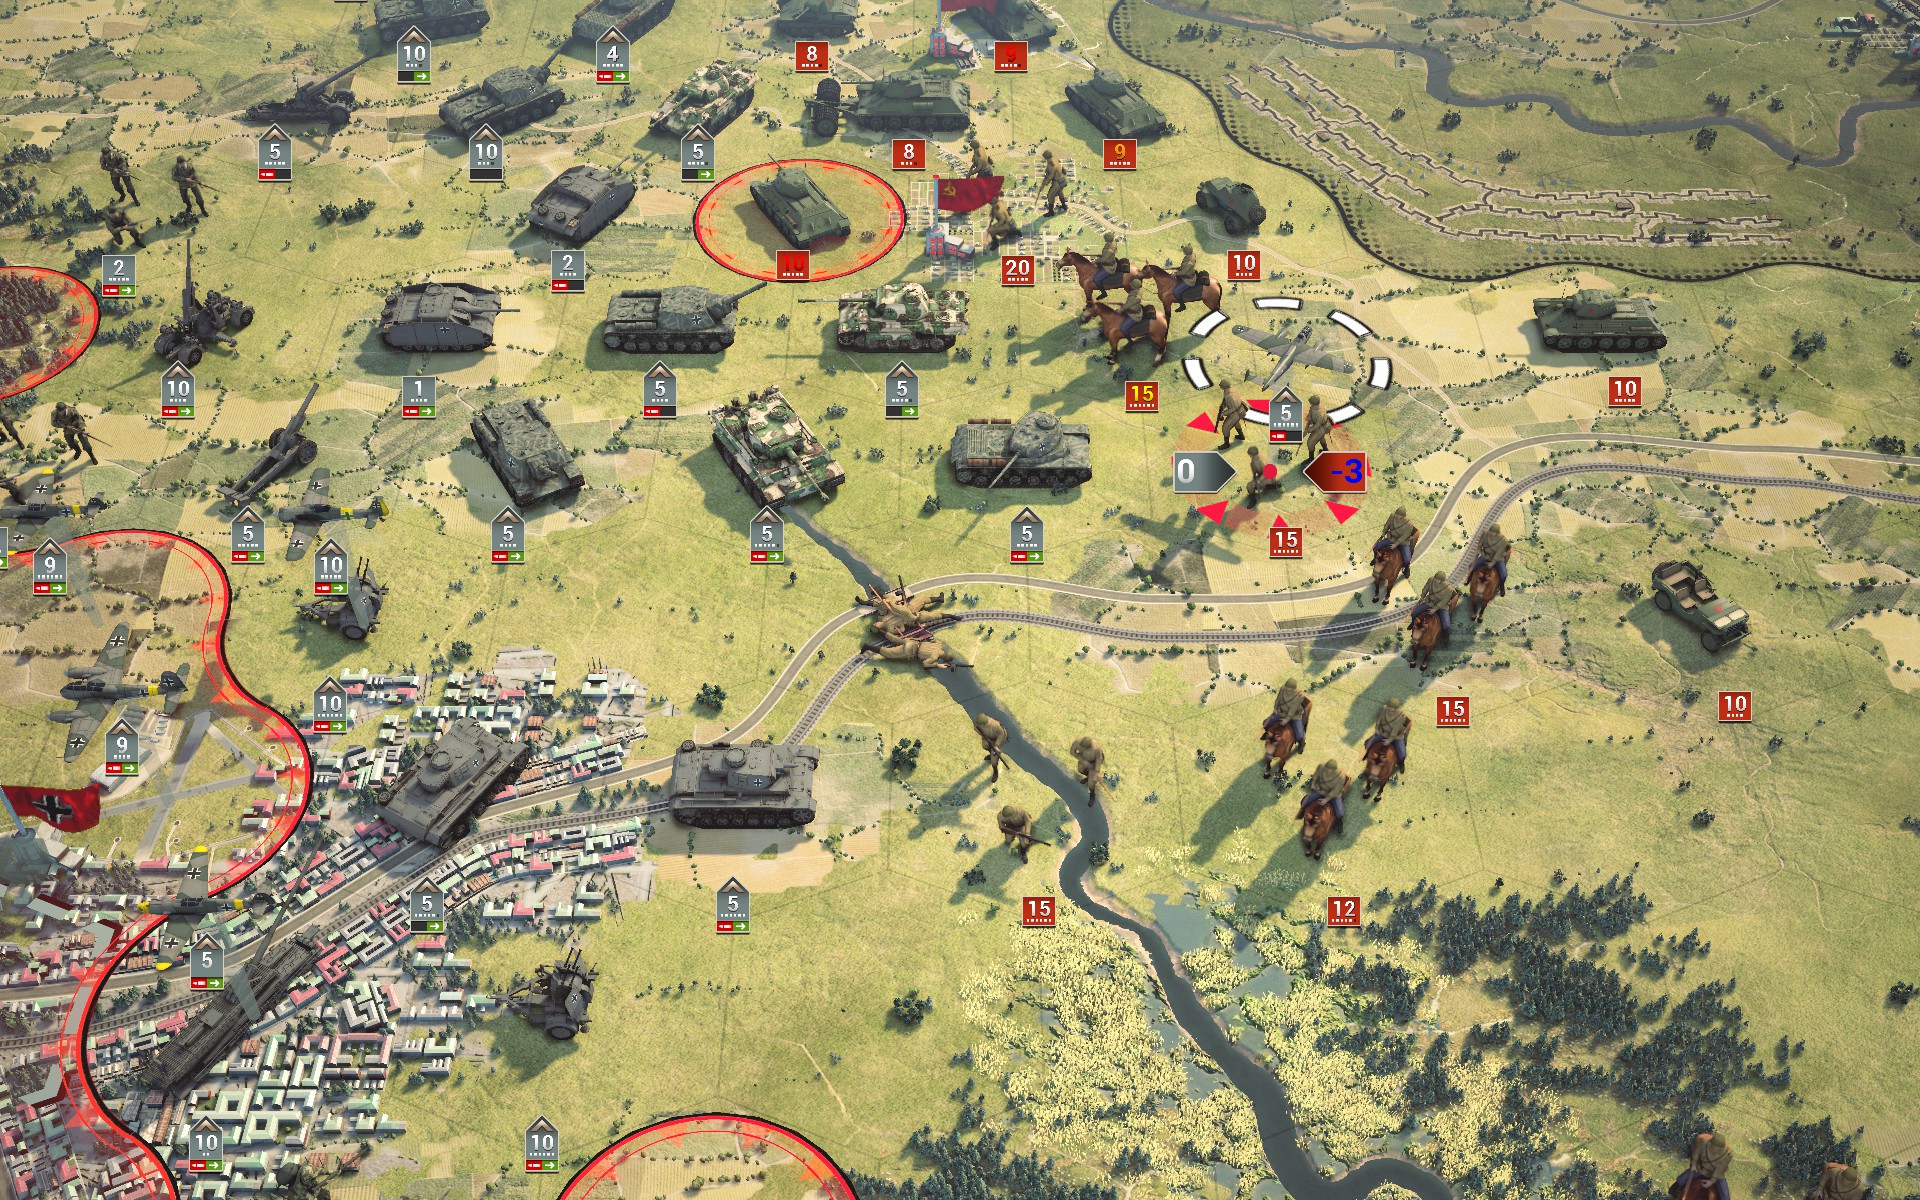
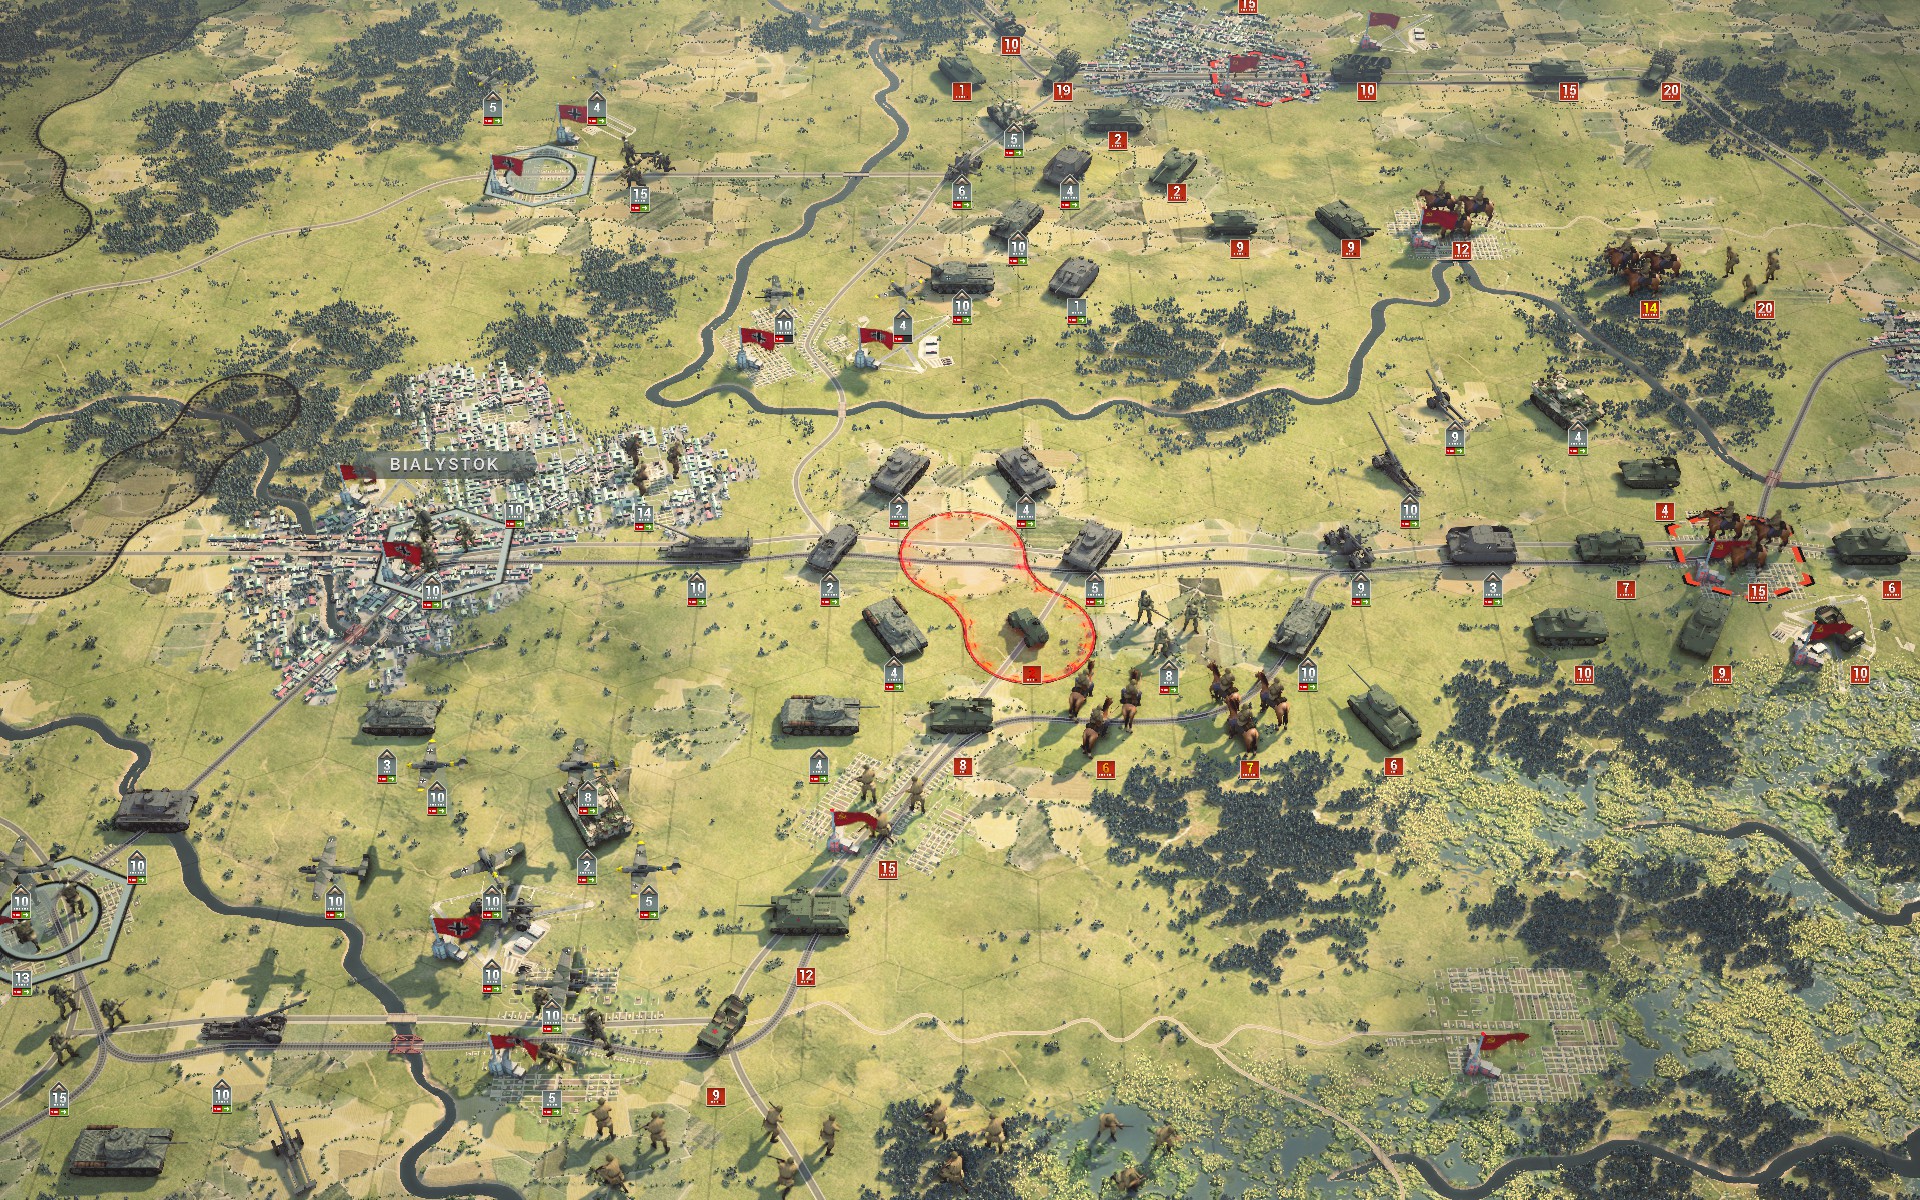
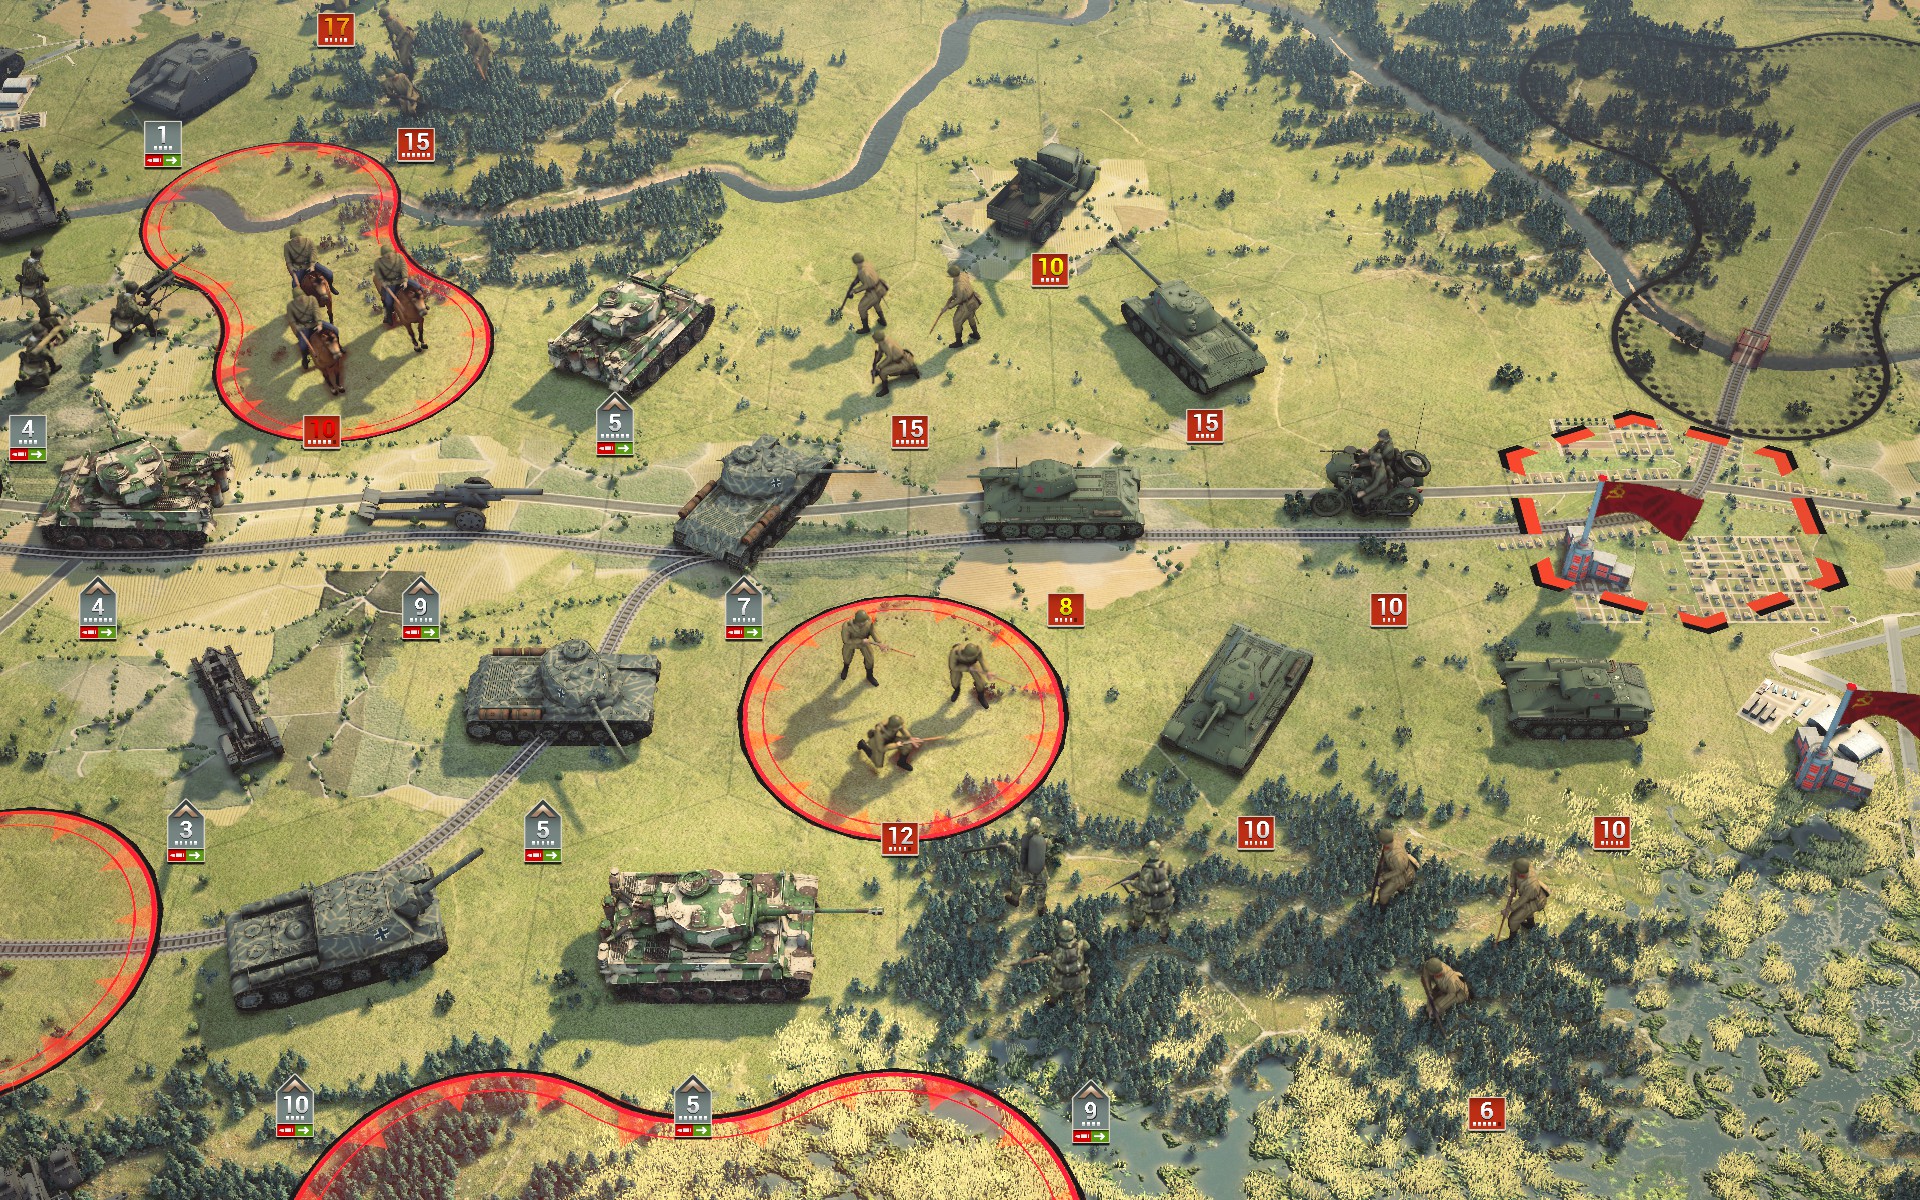
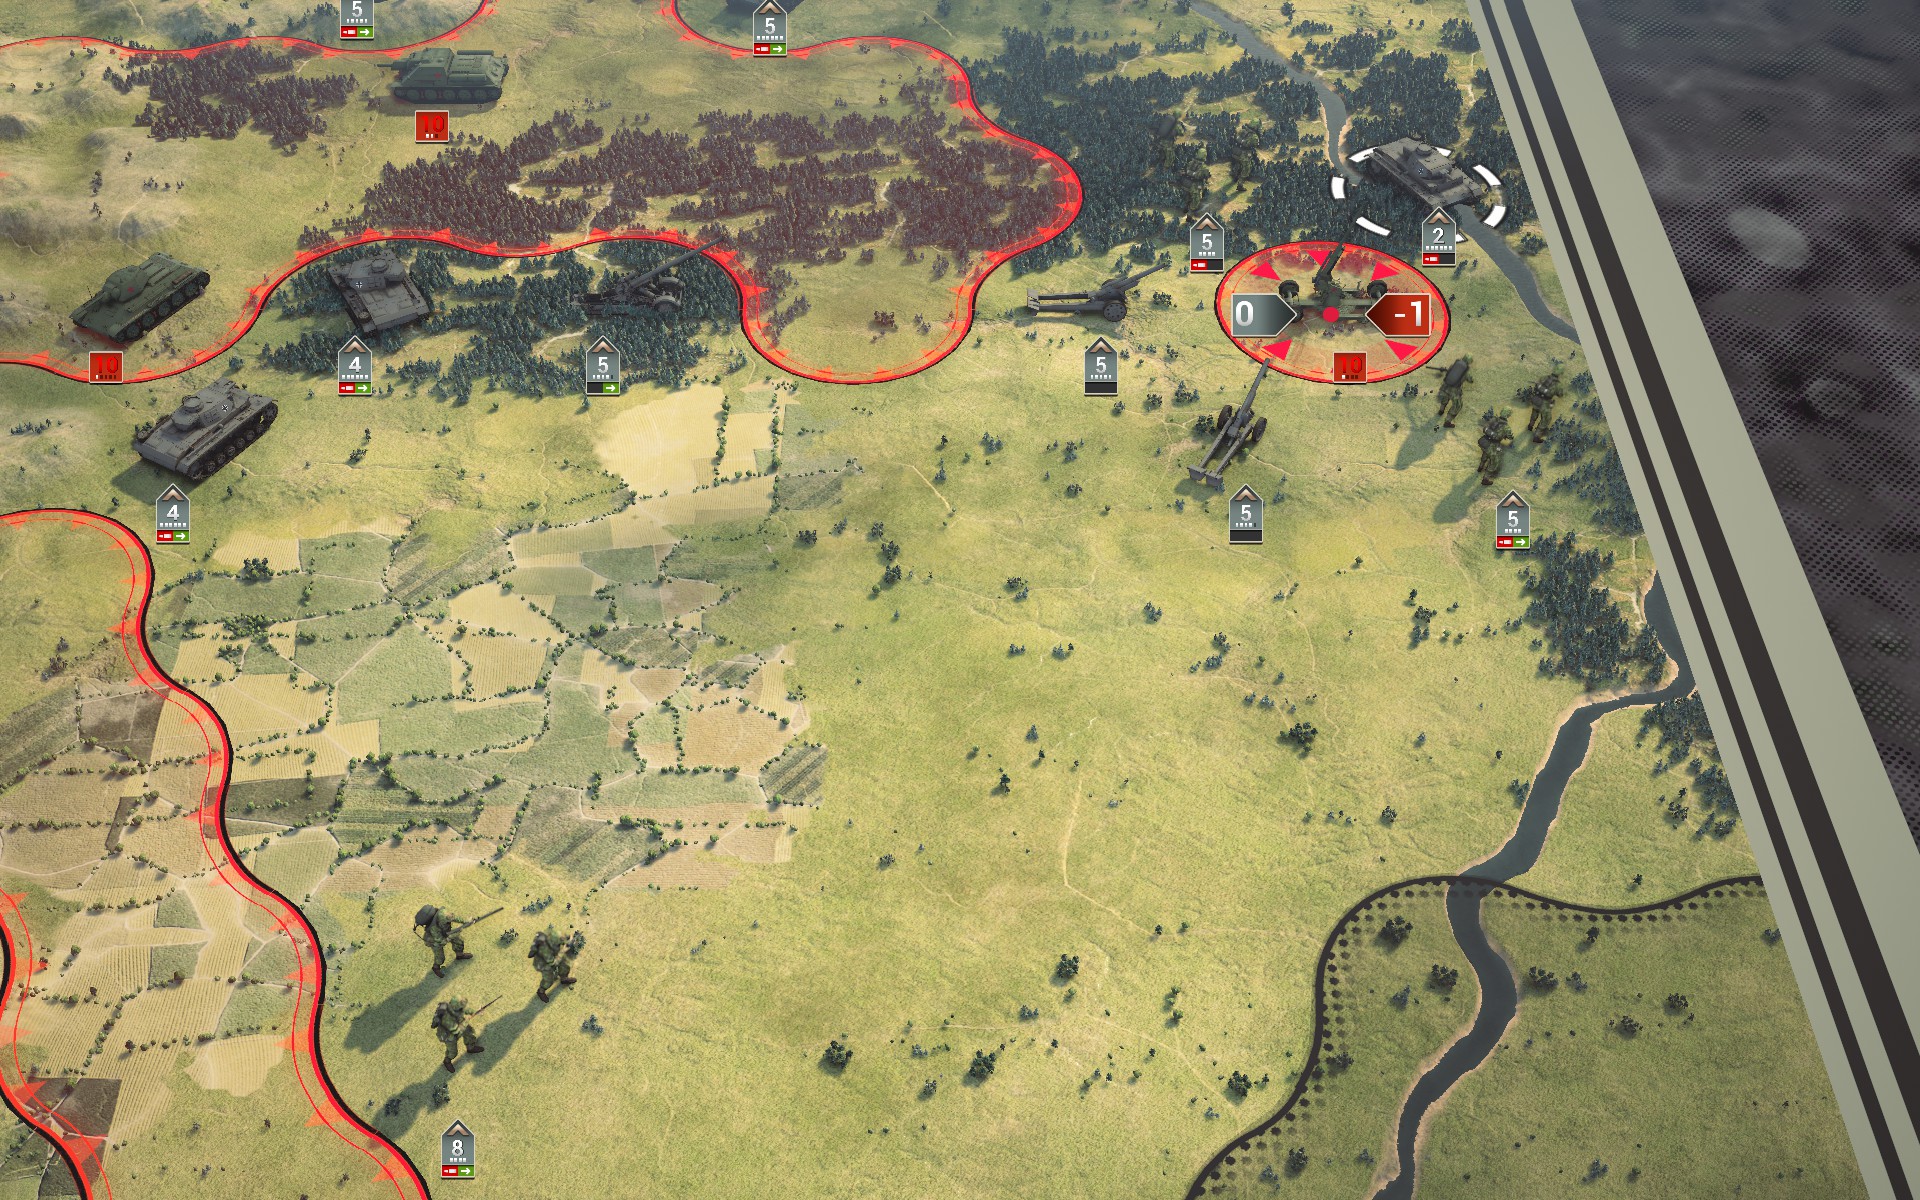
Supported by the IIINs, the StuH 42s cross the Donets to suppress the AT guns while the Tigers drive off the Soviet Guard.

The auxiliaries begin to make their way east, with the Nashorns and Elefants protecting the Panzers.
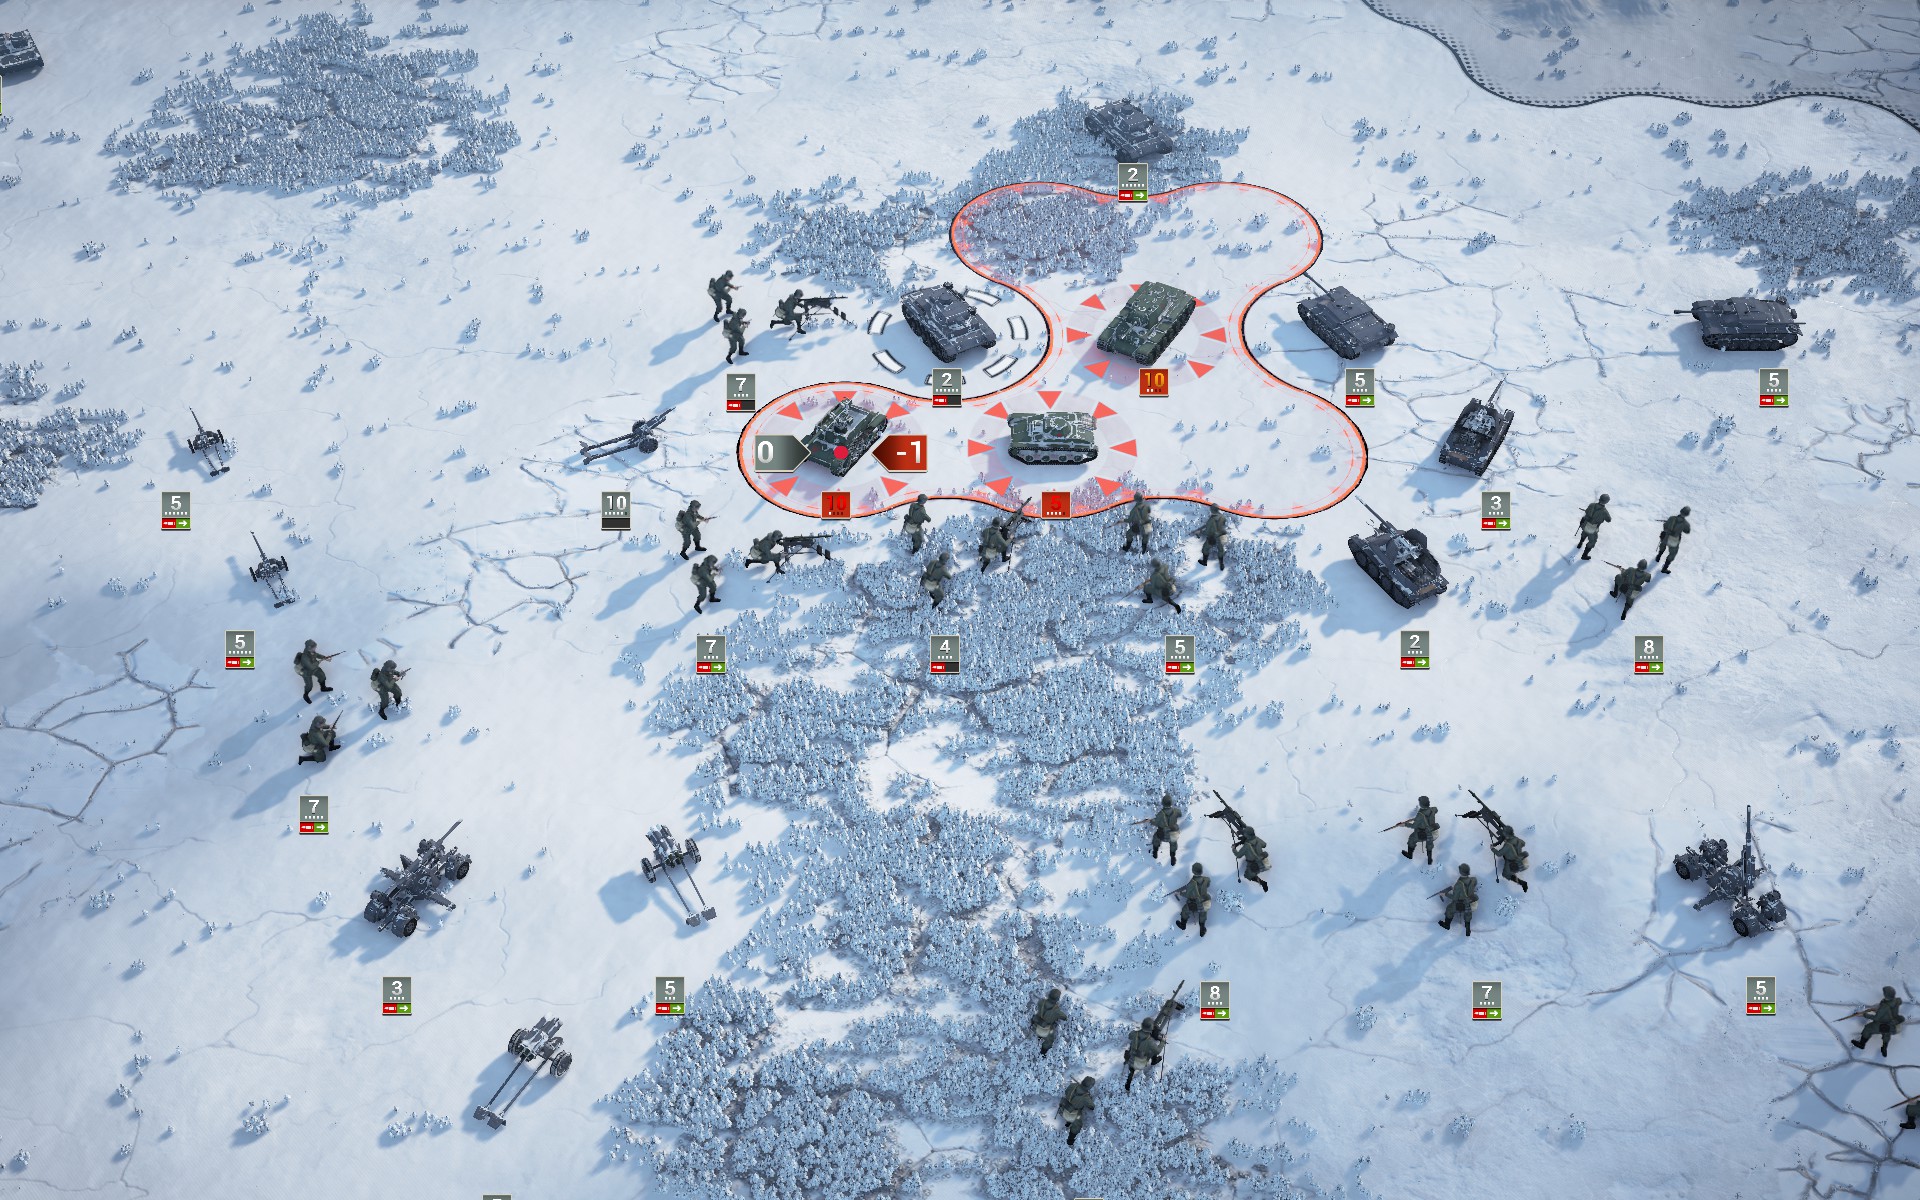
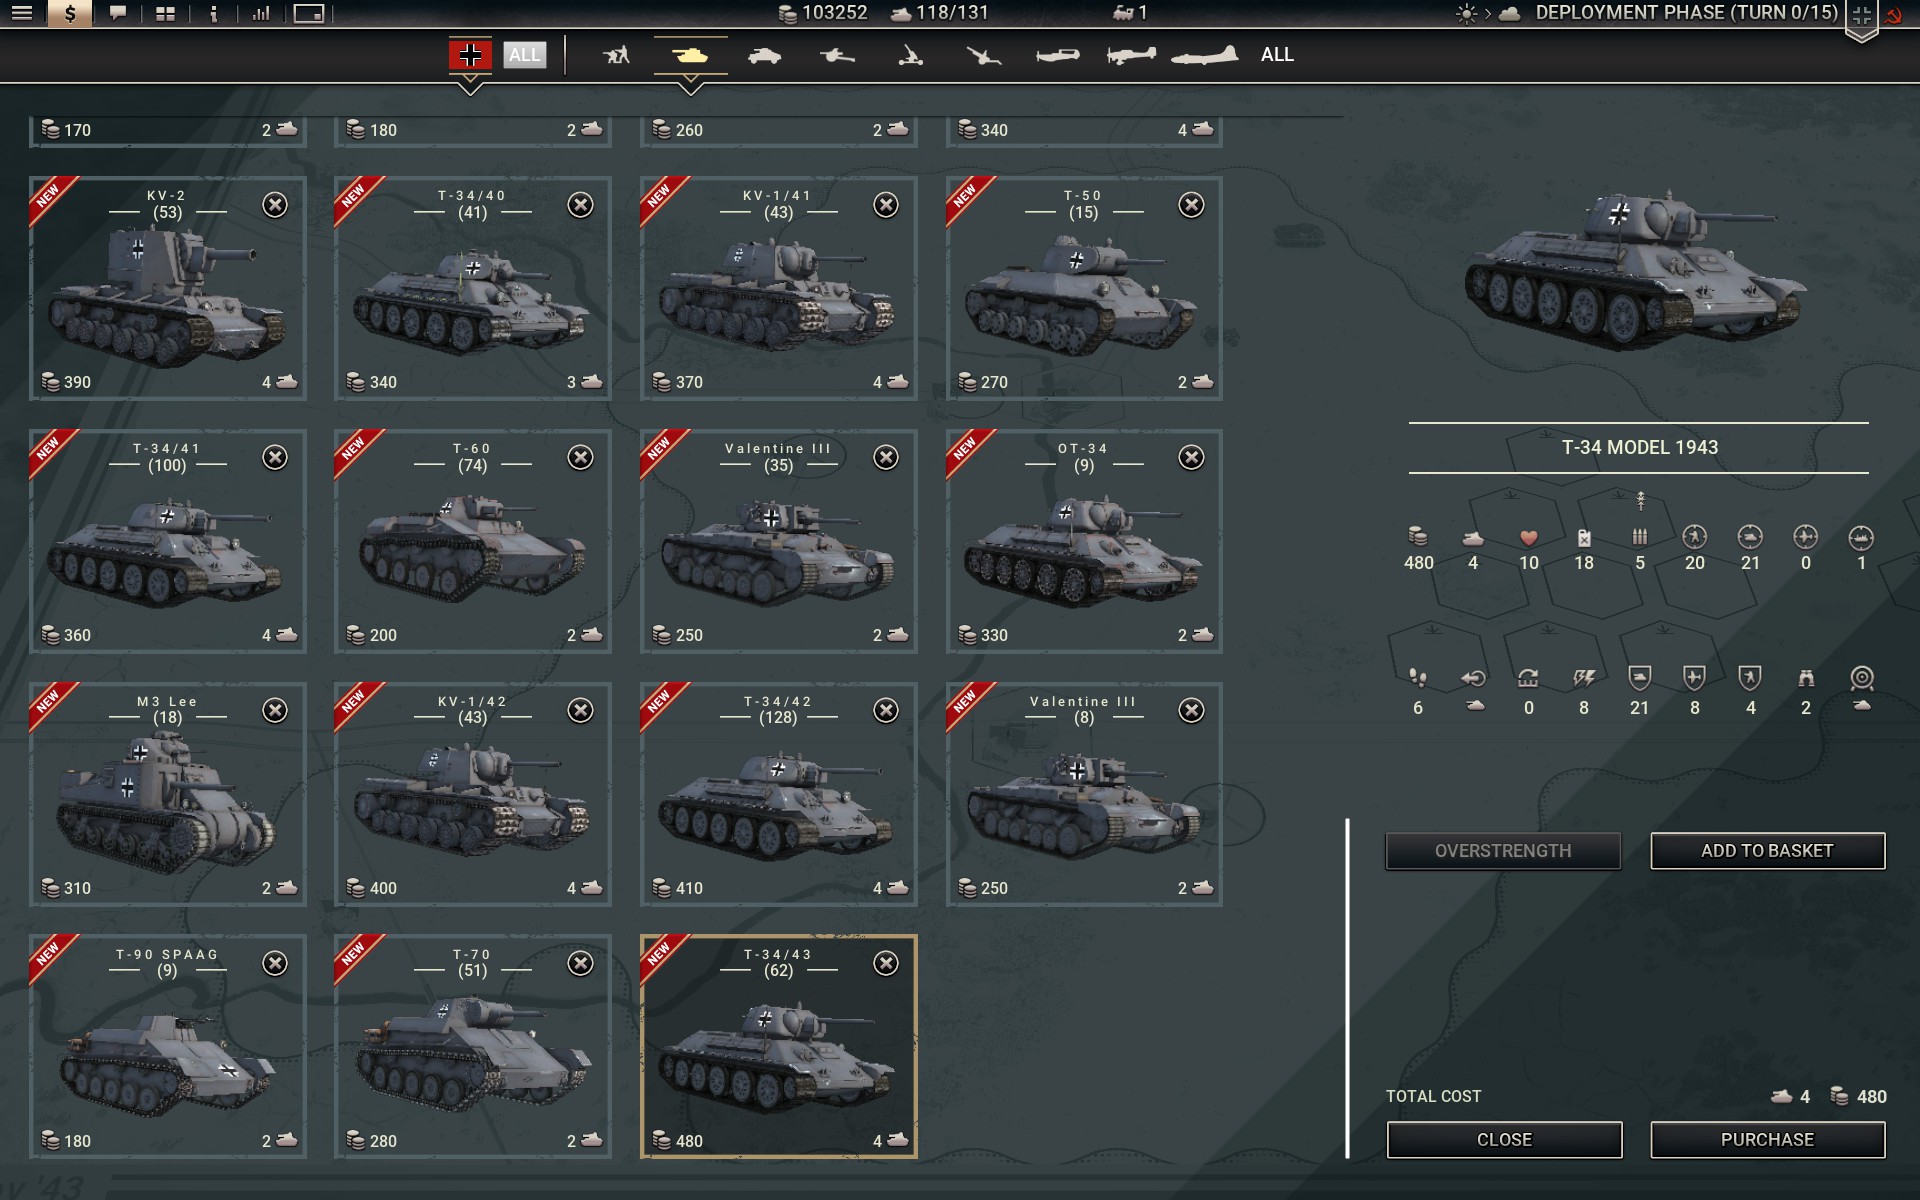
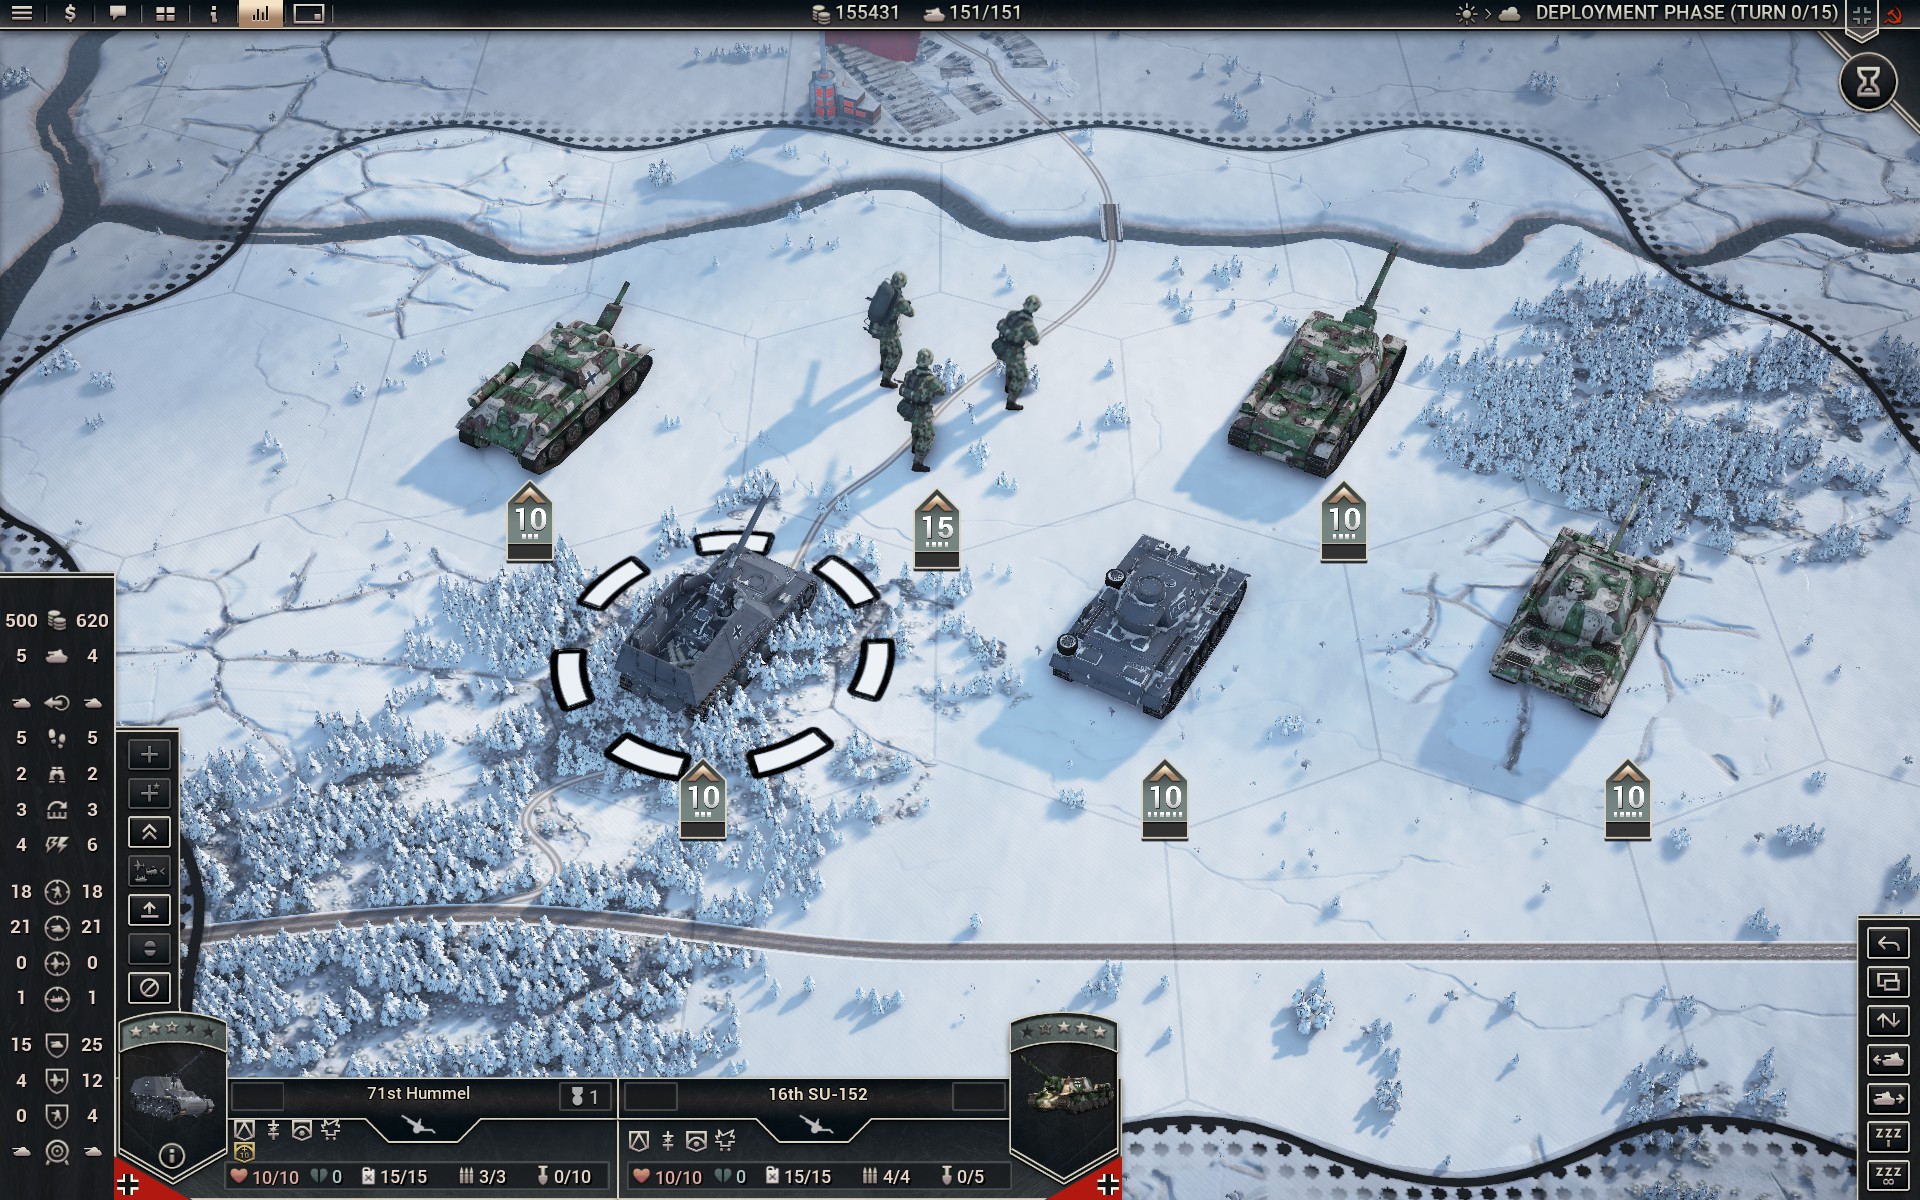
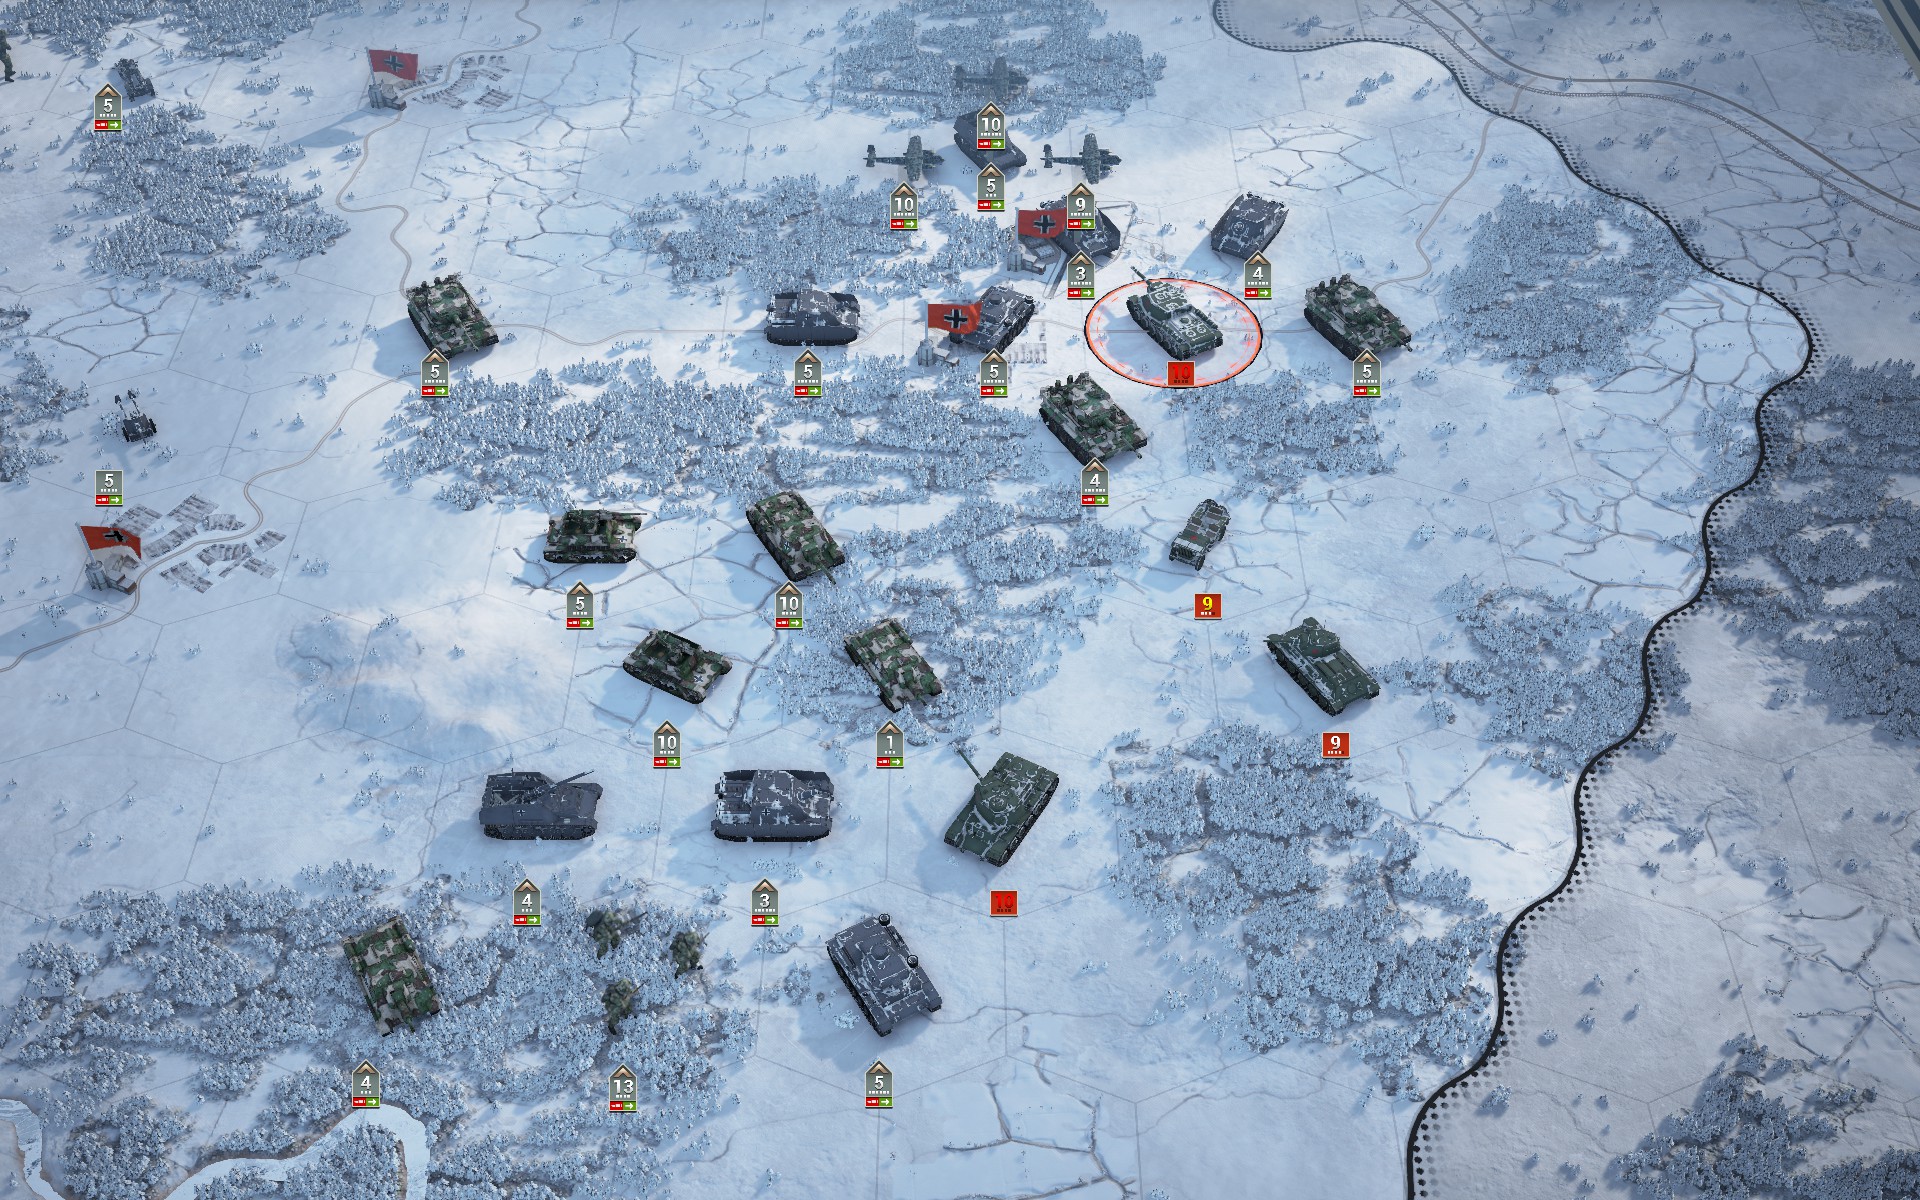
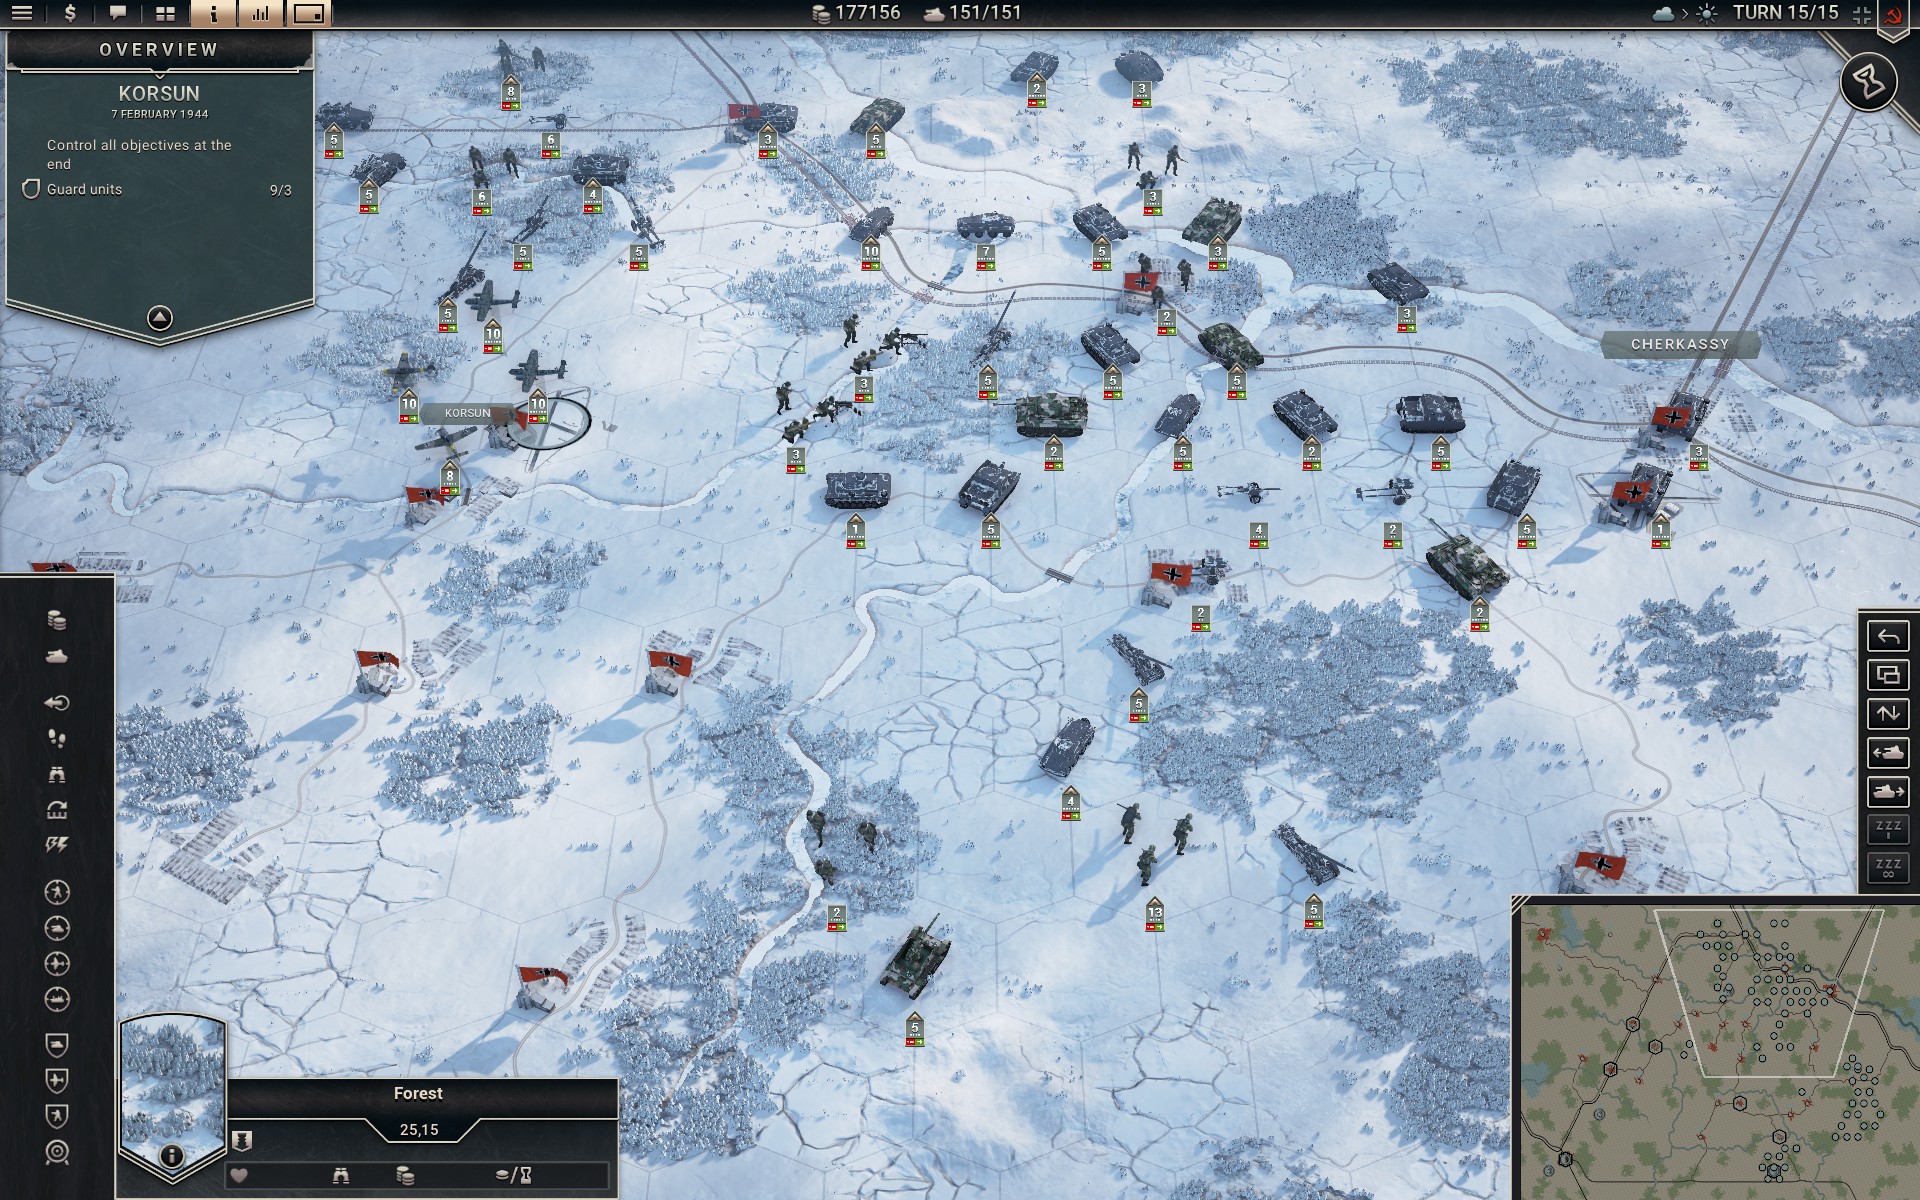
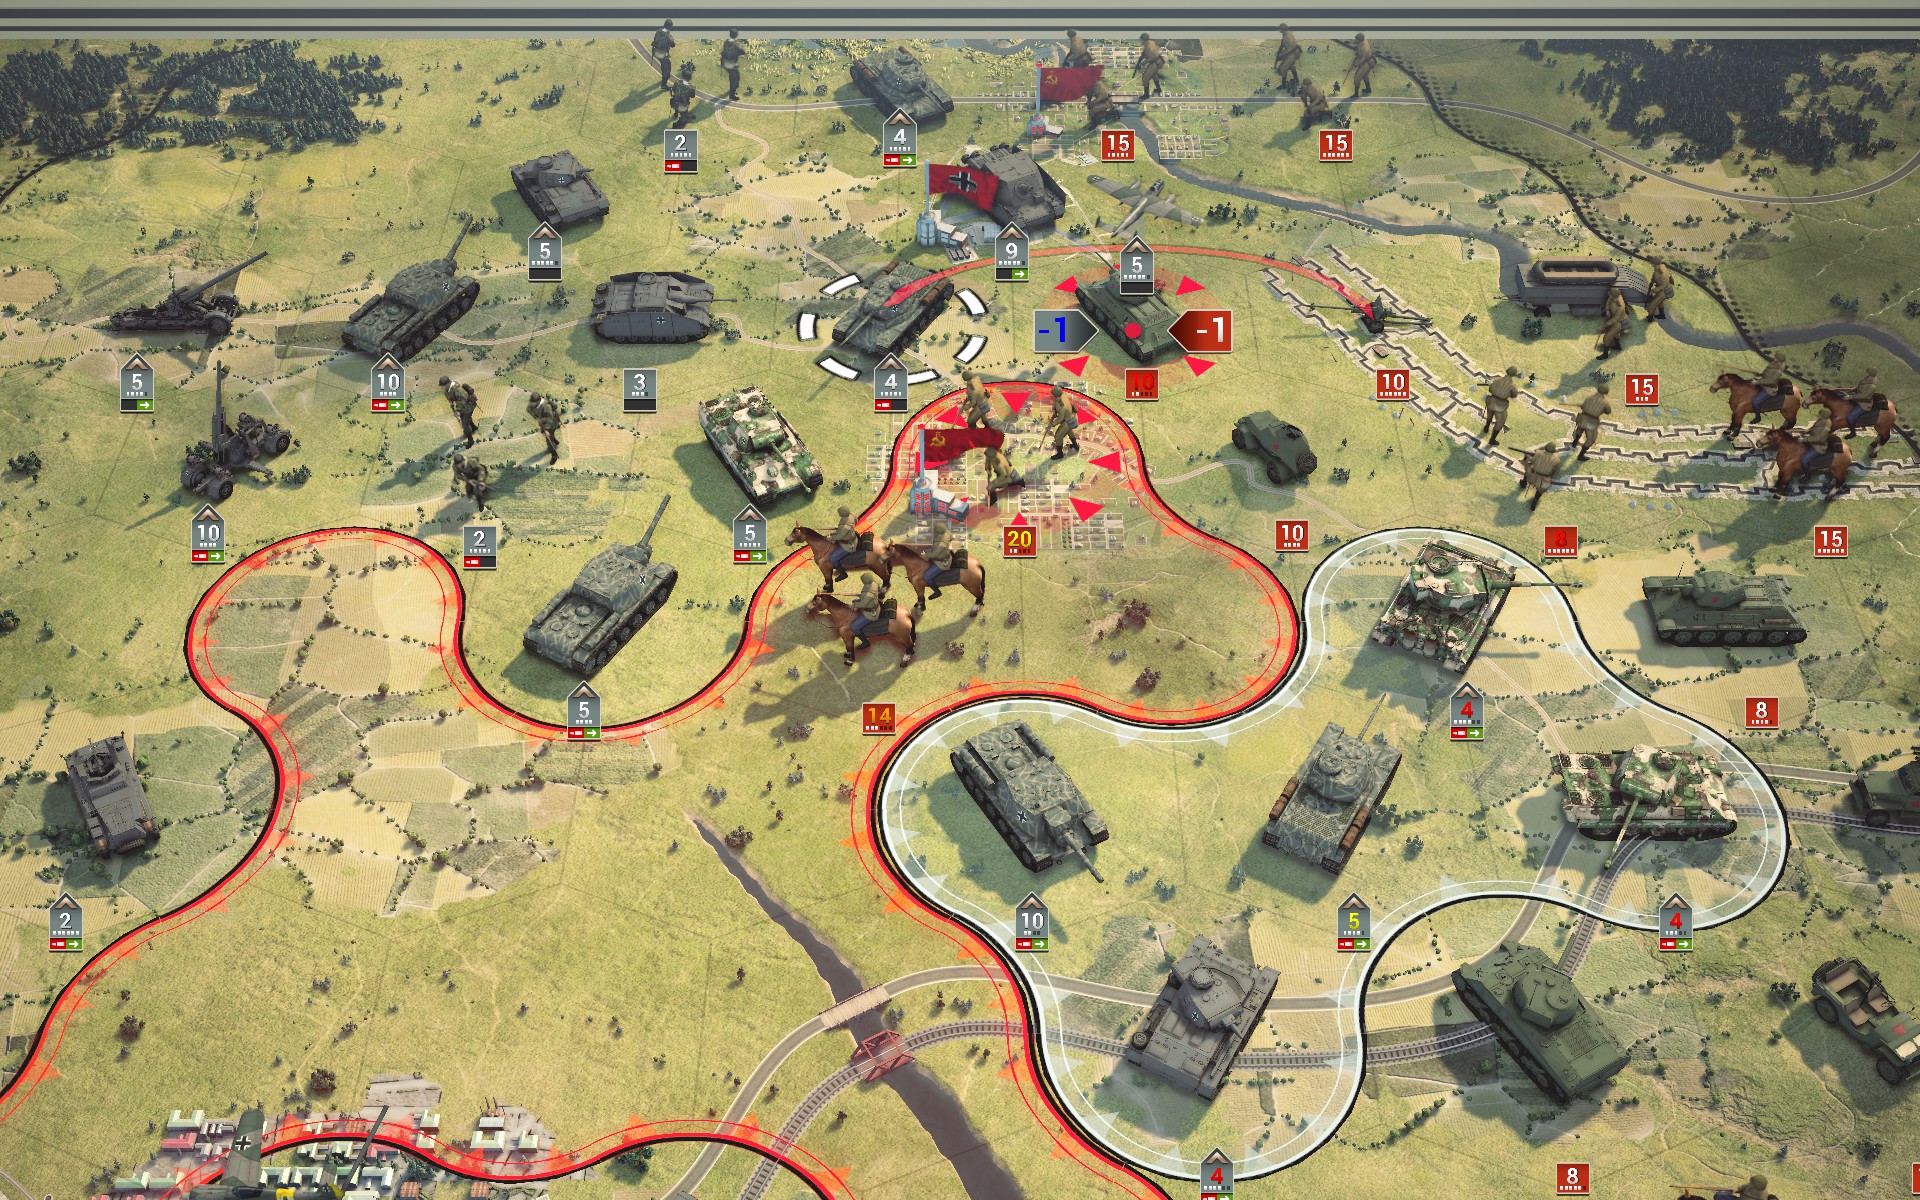
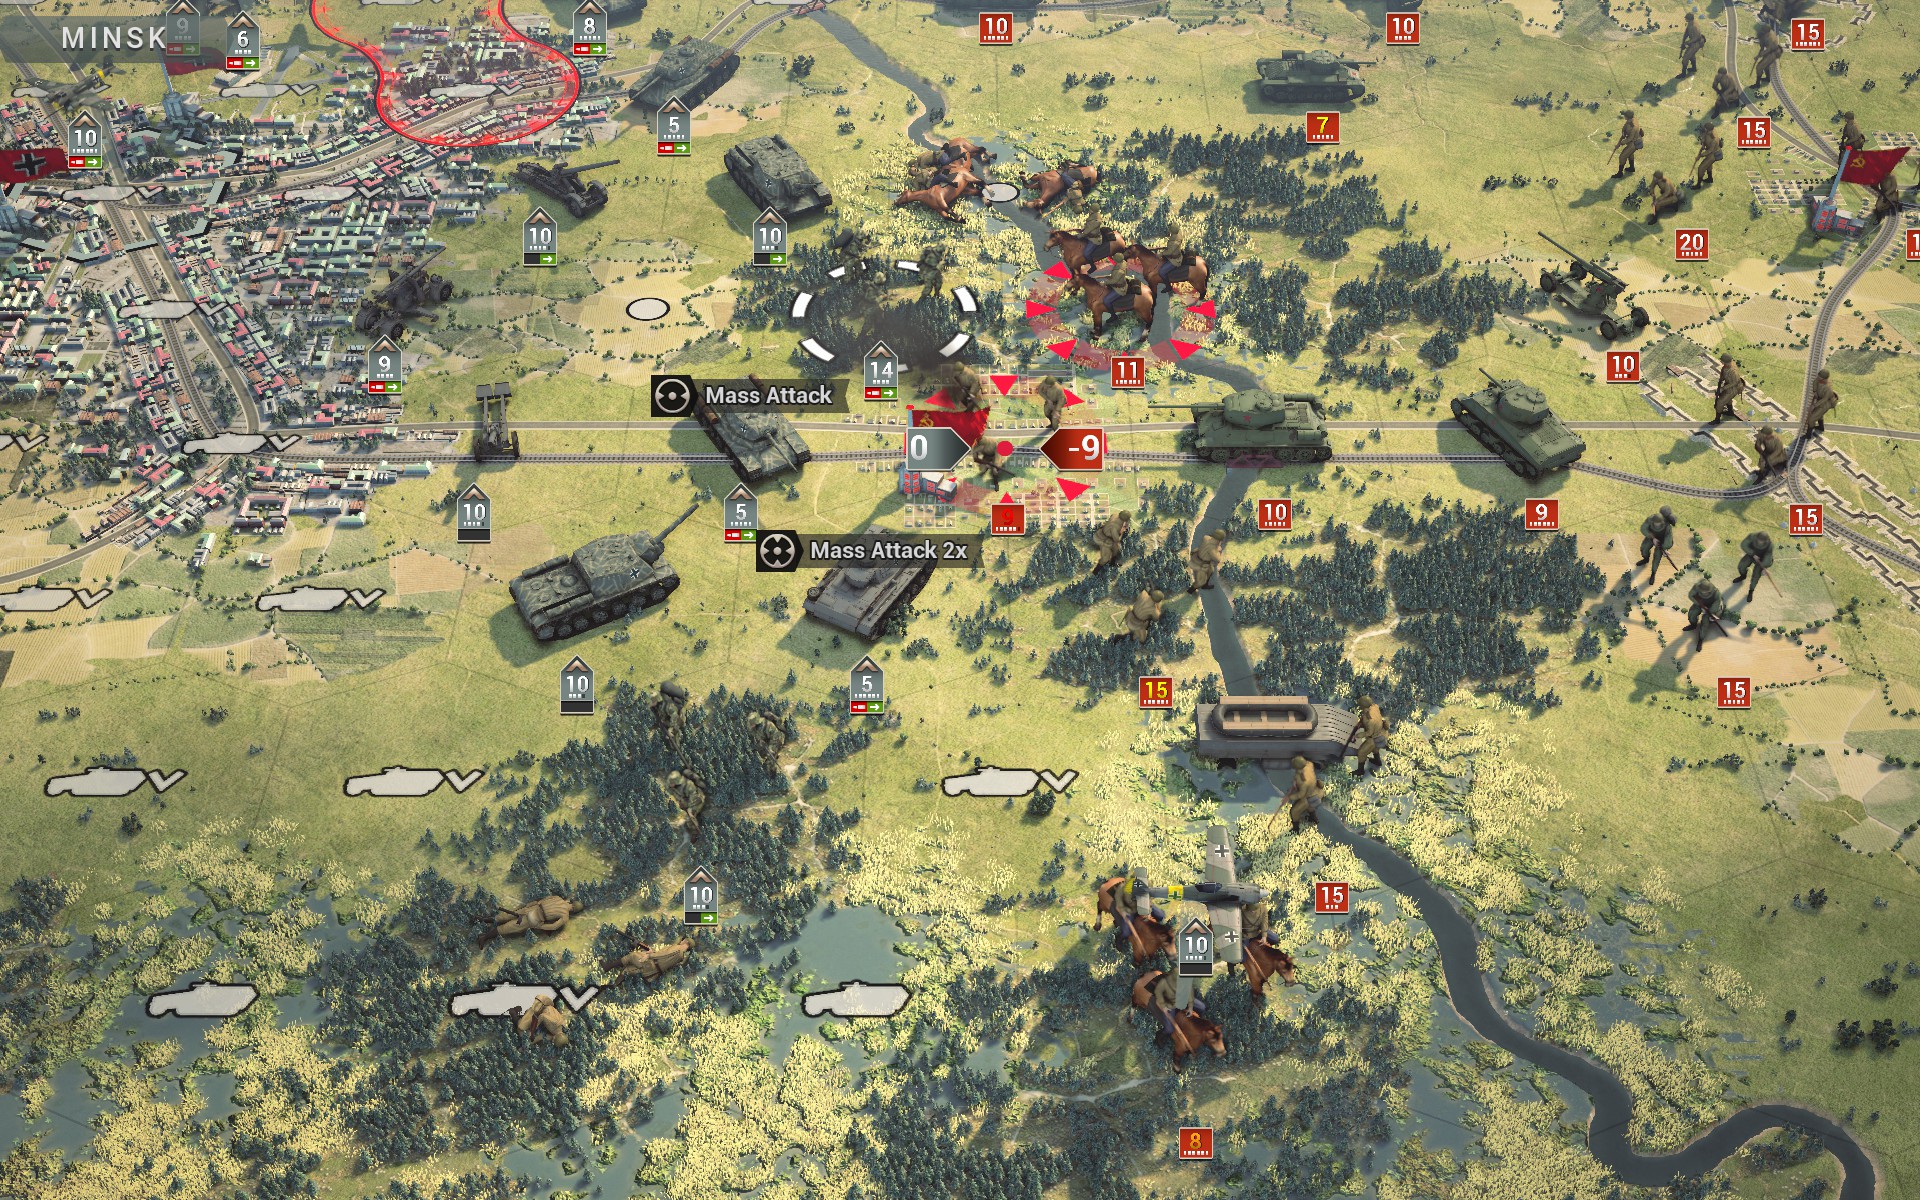
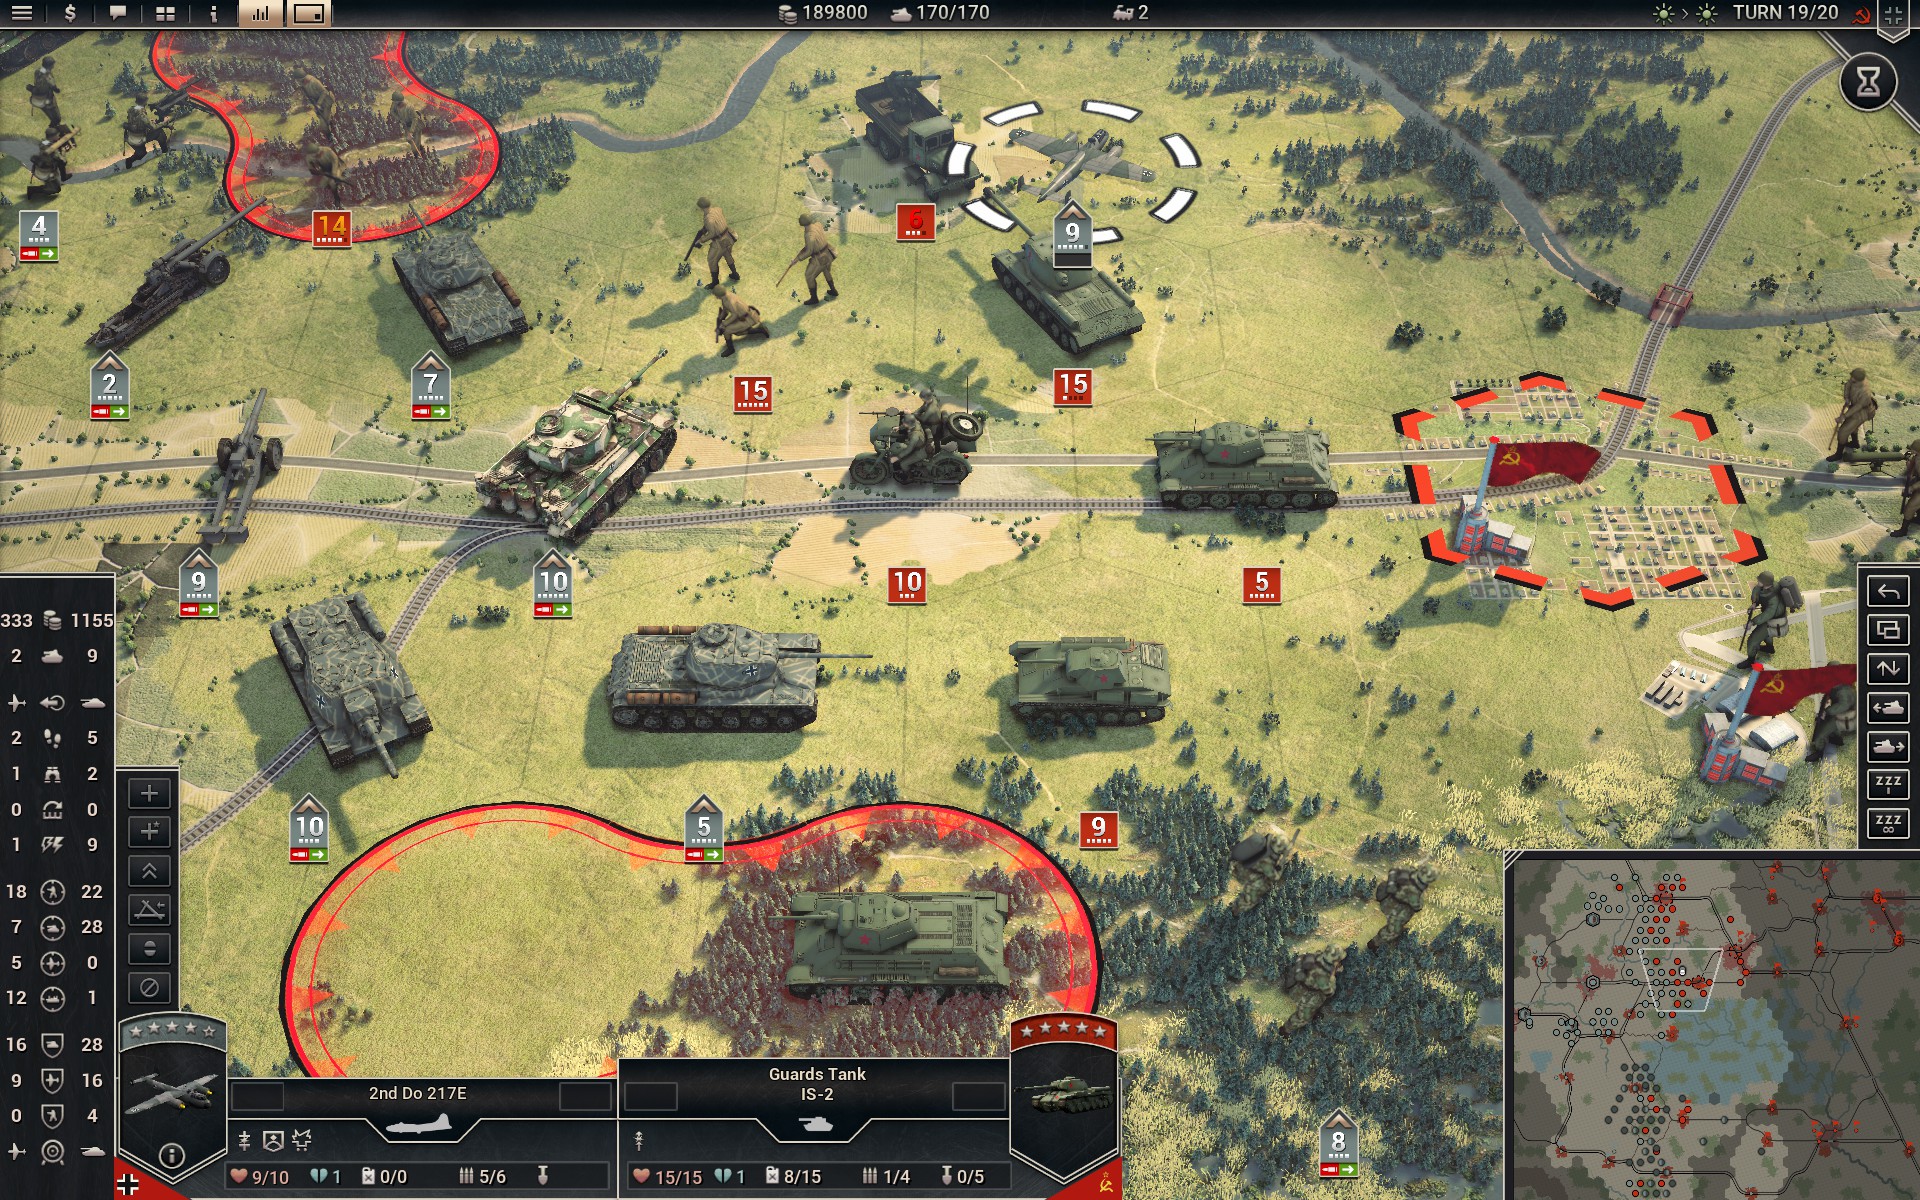
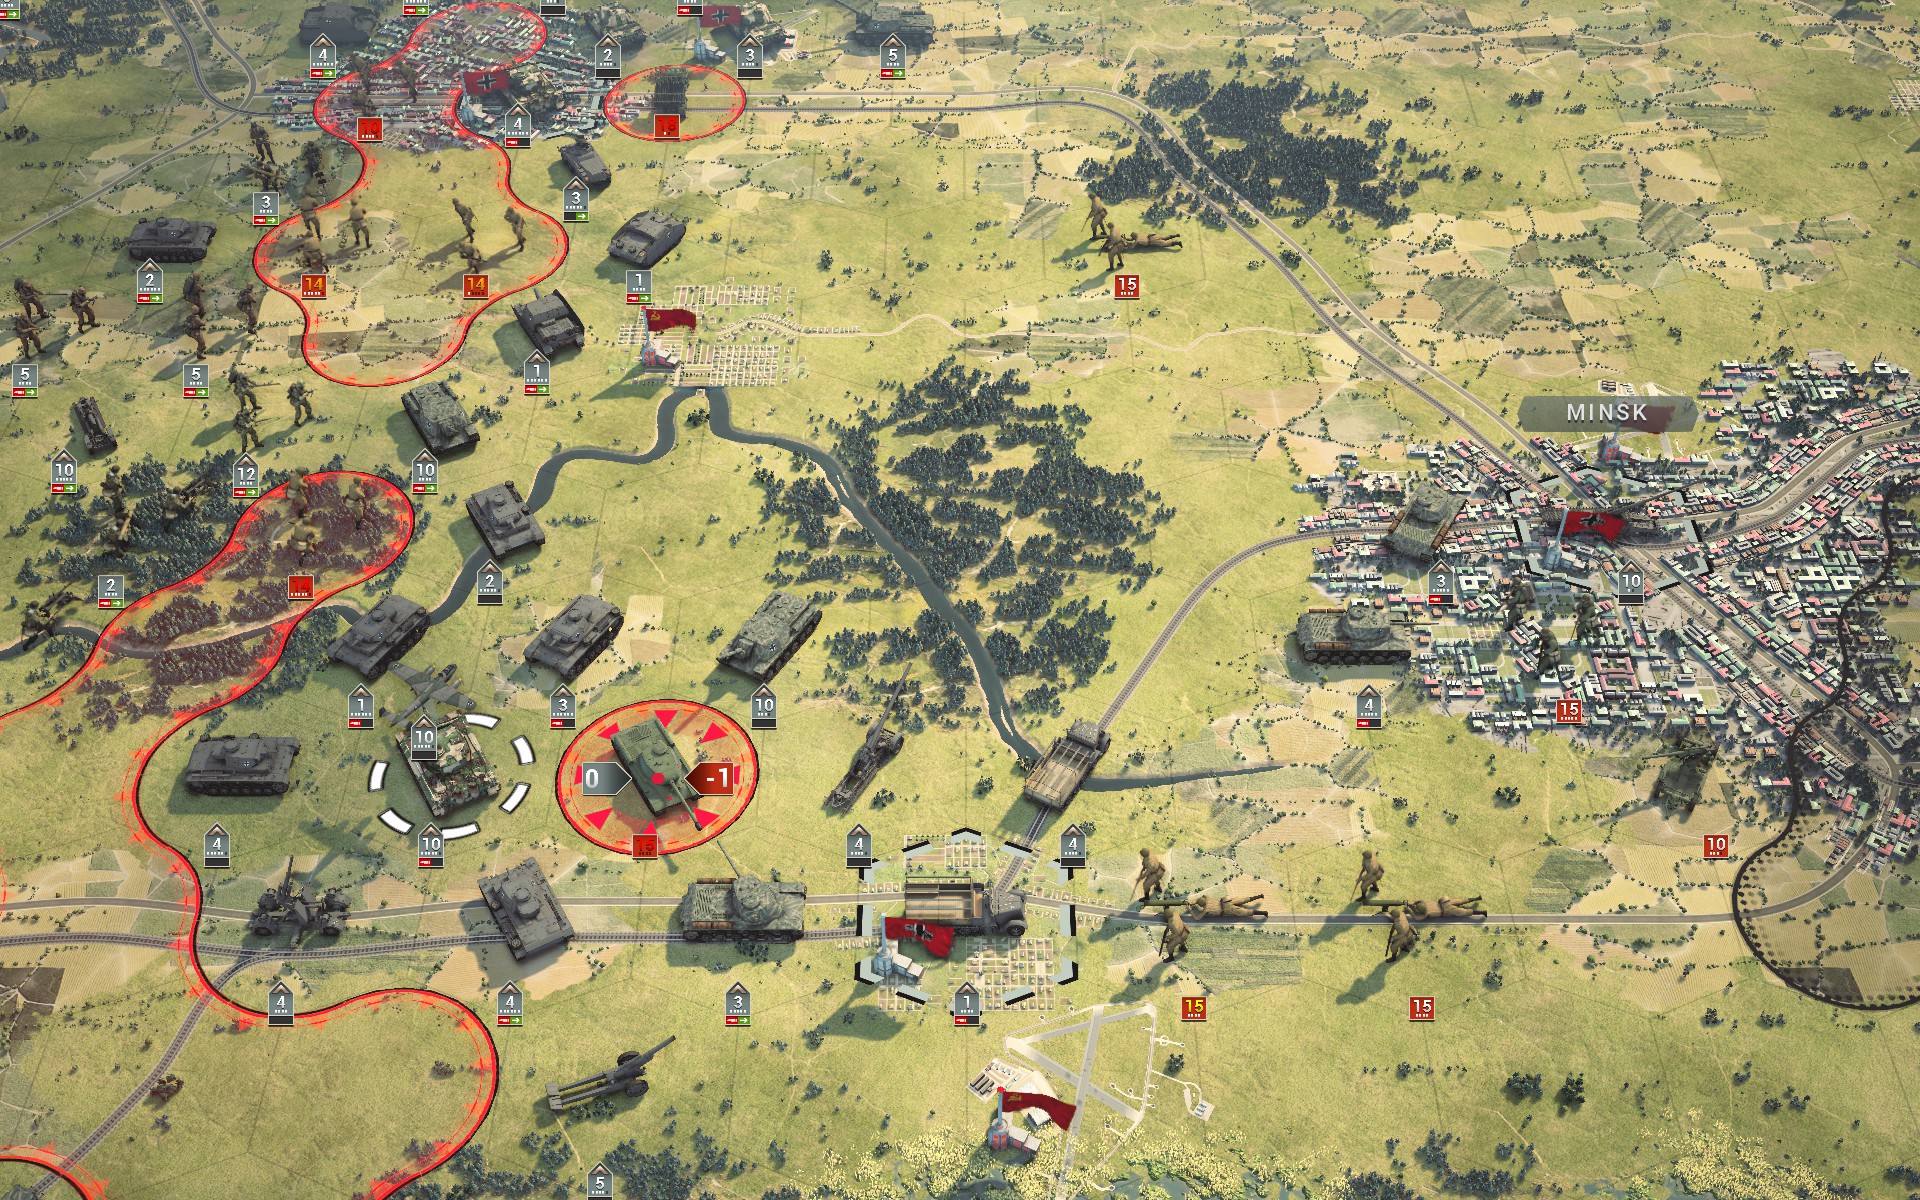
There are two 15-strength SU-152s near the supply depot. These units are rare and very powerful -- more on that
here -- so I definitely want to capture them.

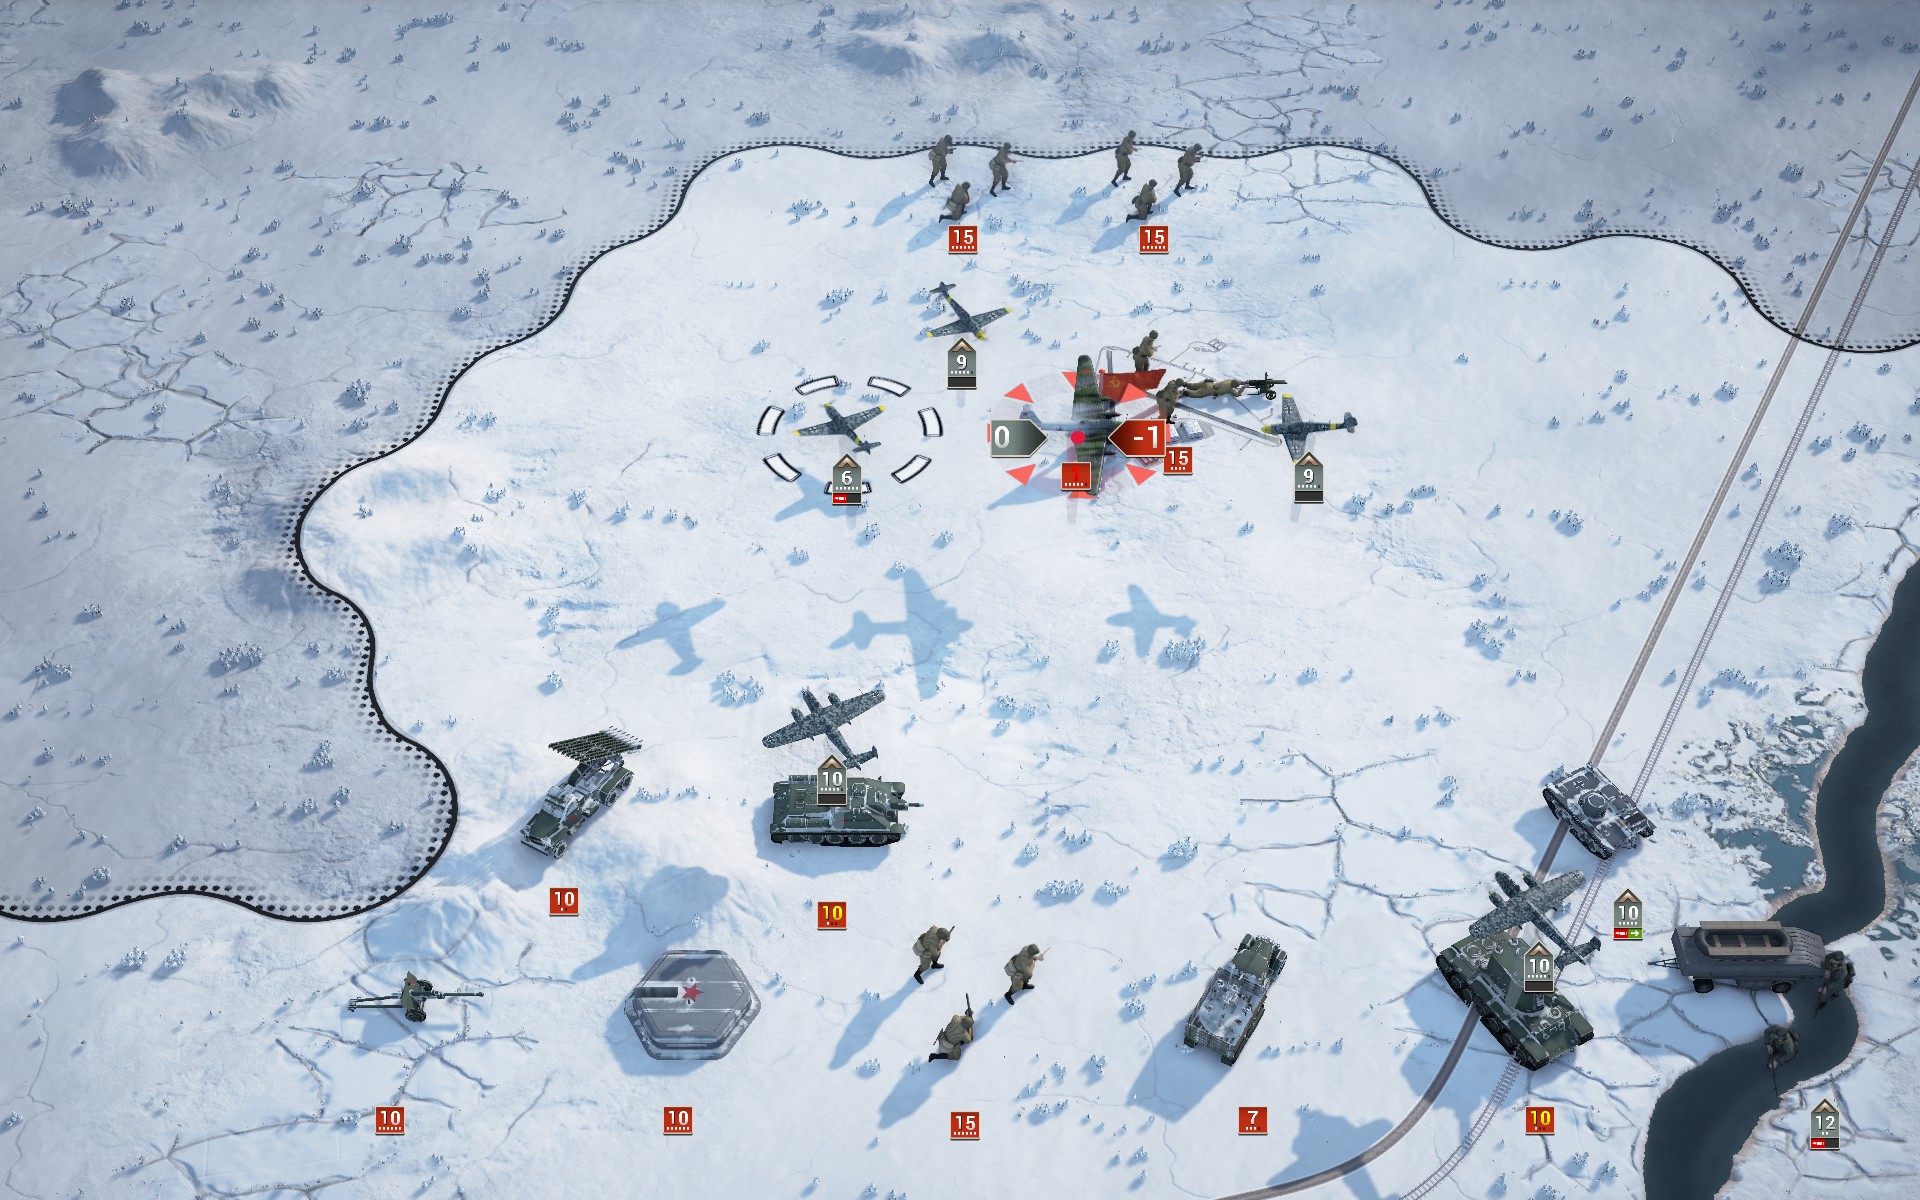
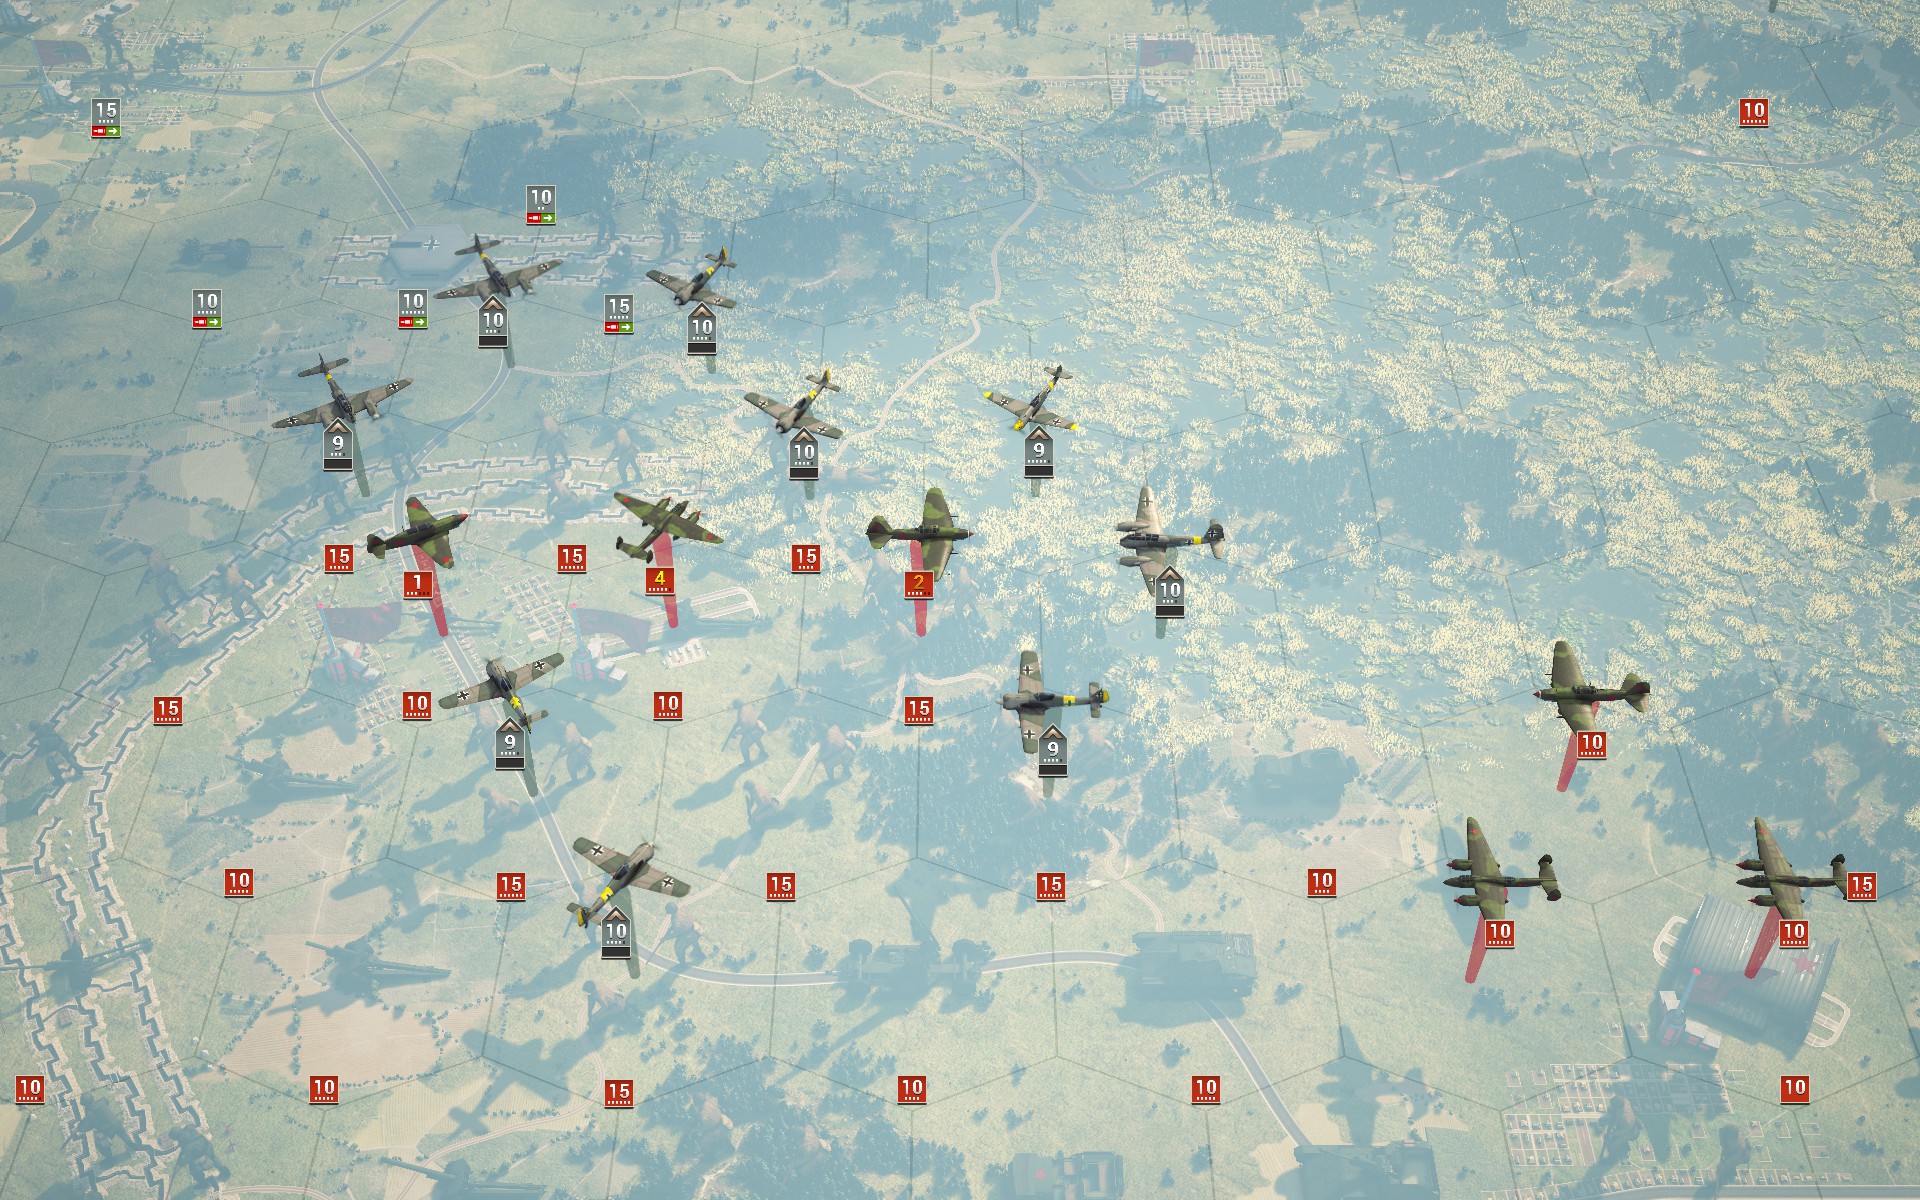
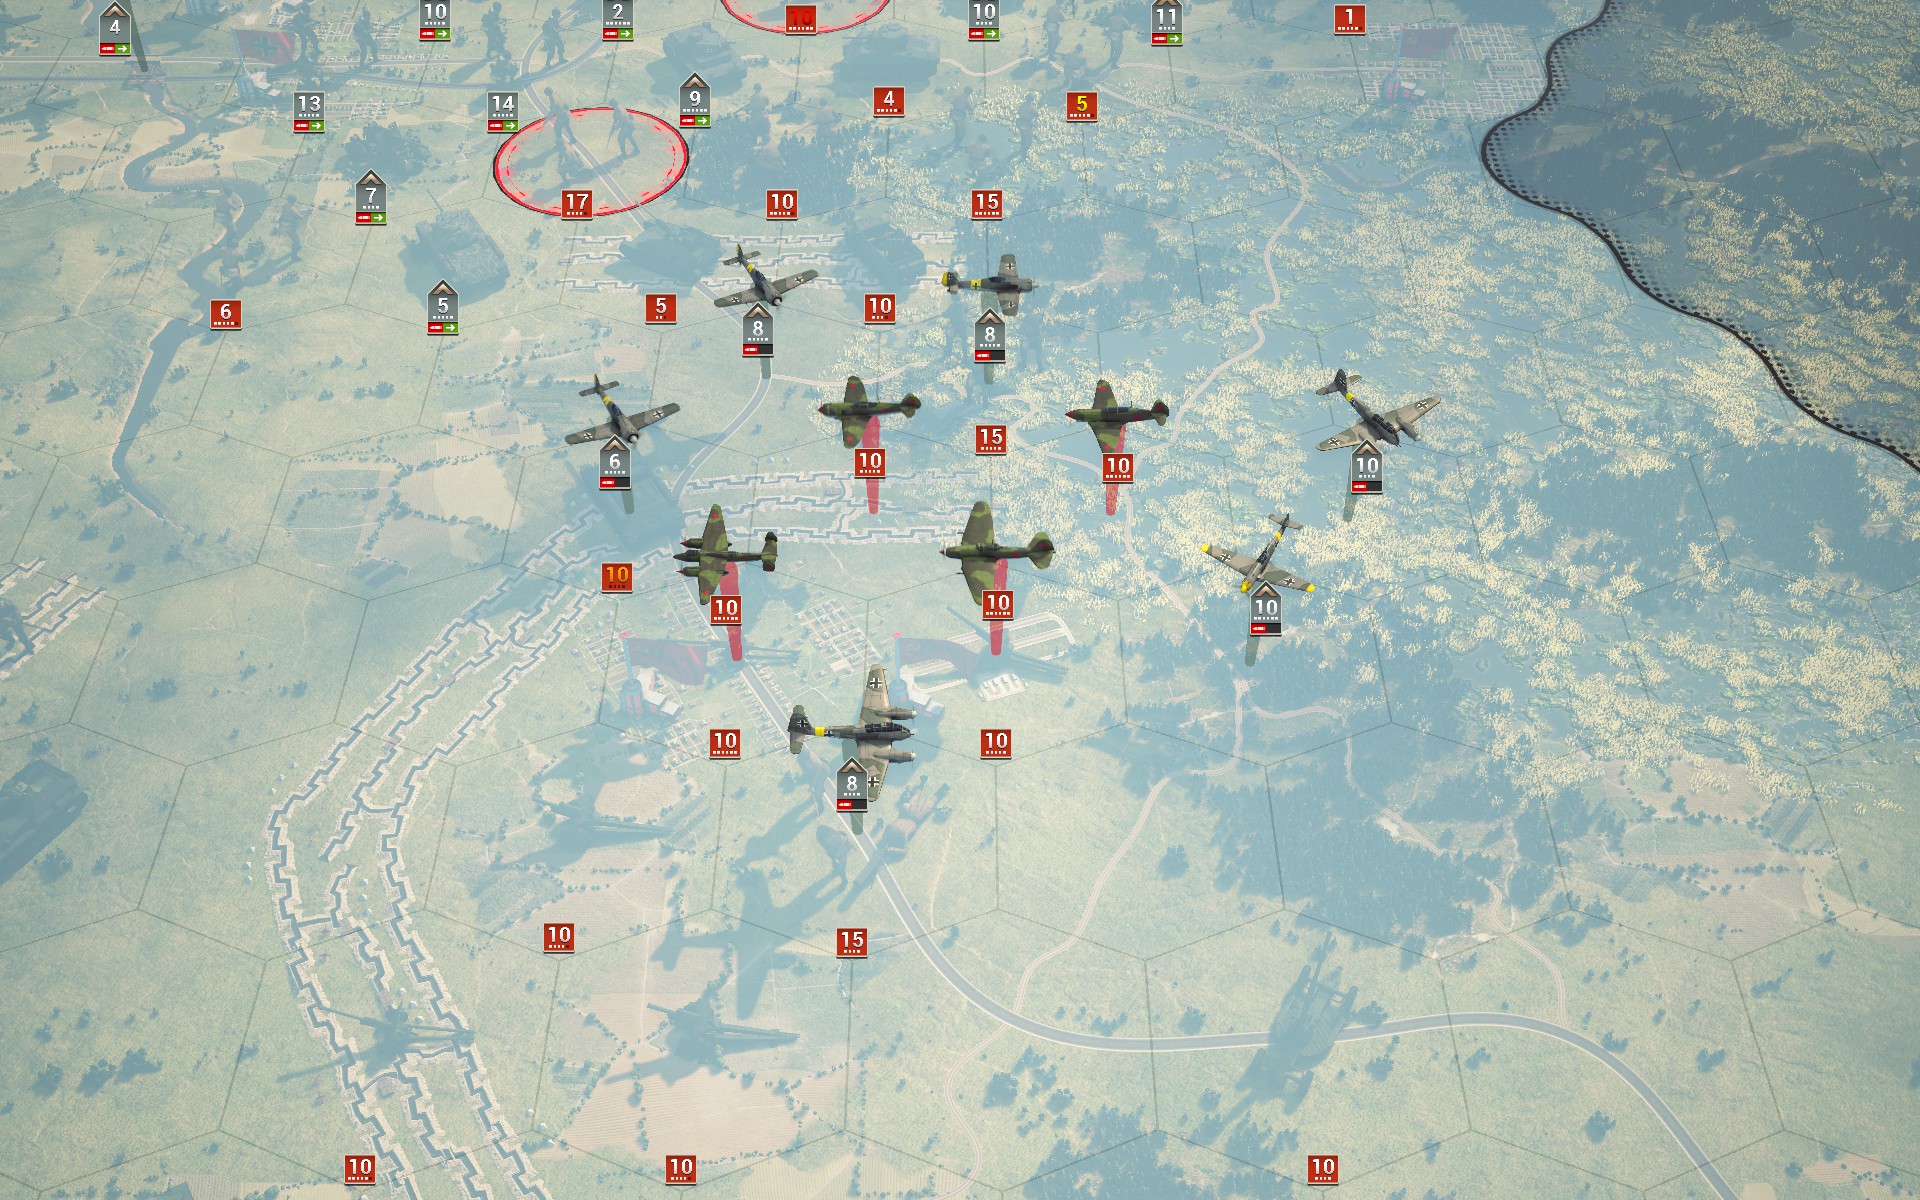
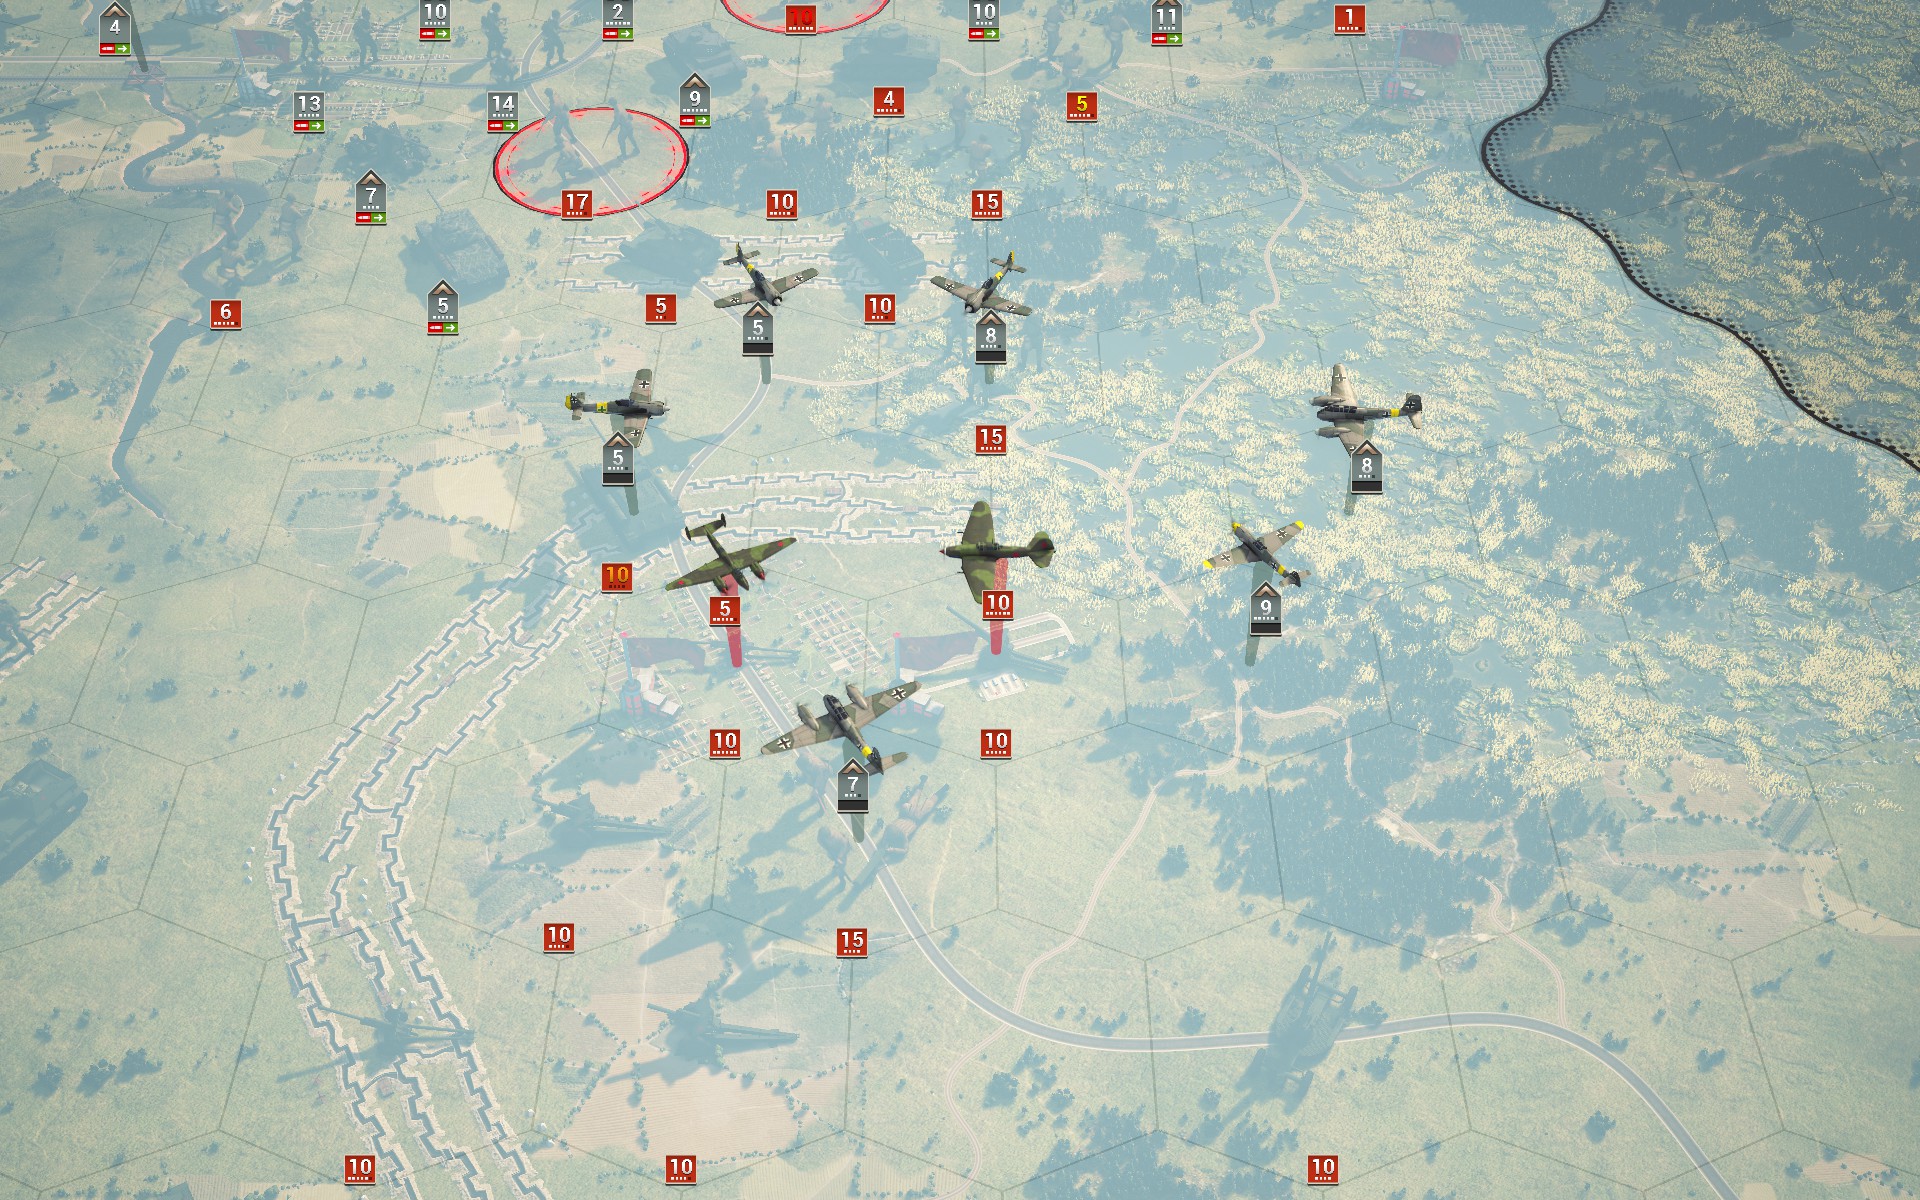
The Soviet air force attempts to stall my advance, but between the AA guns and the Fw 190As damage is minimal.
The Luftwaffe retaliates, shredding the Soviet fighters.
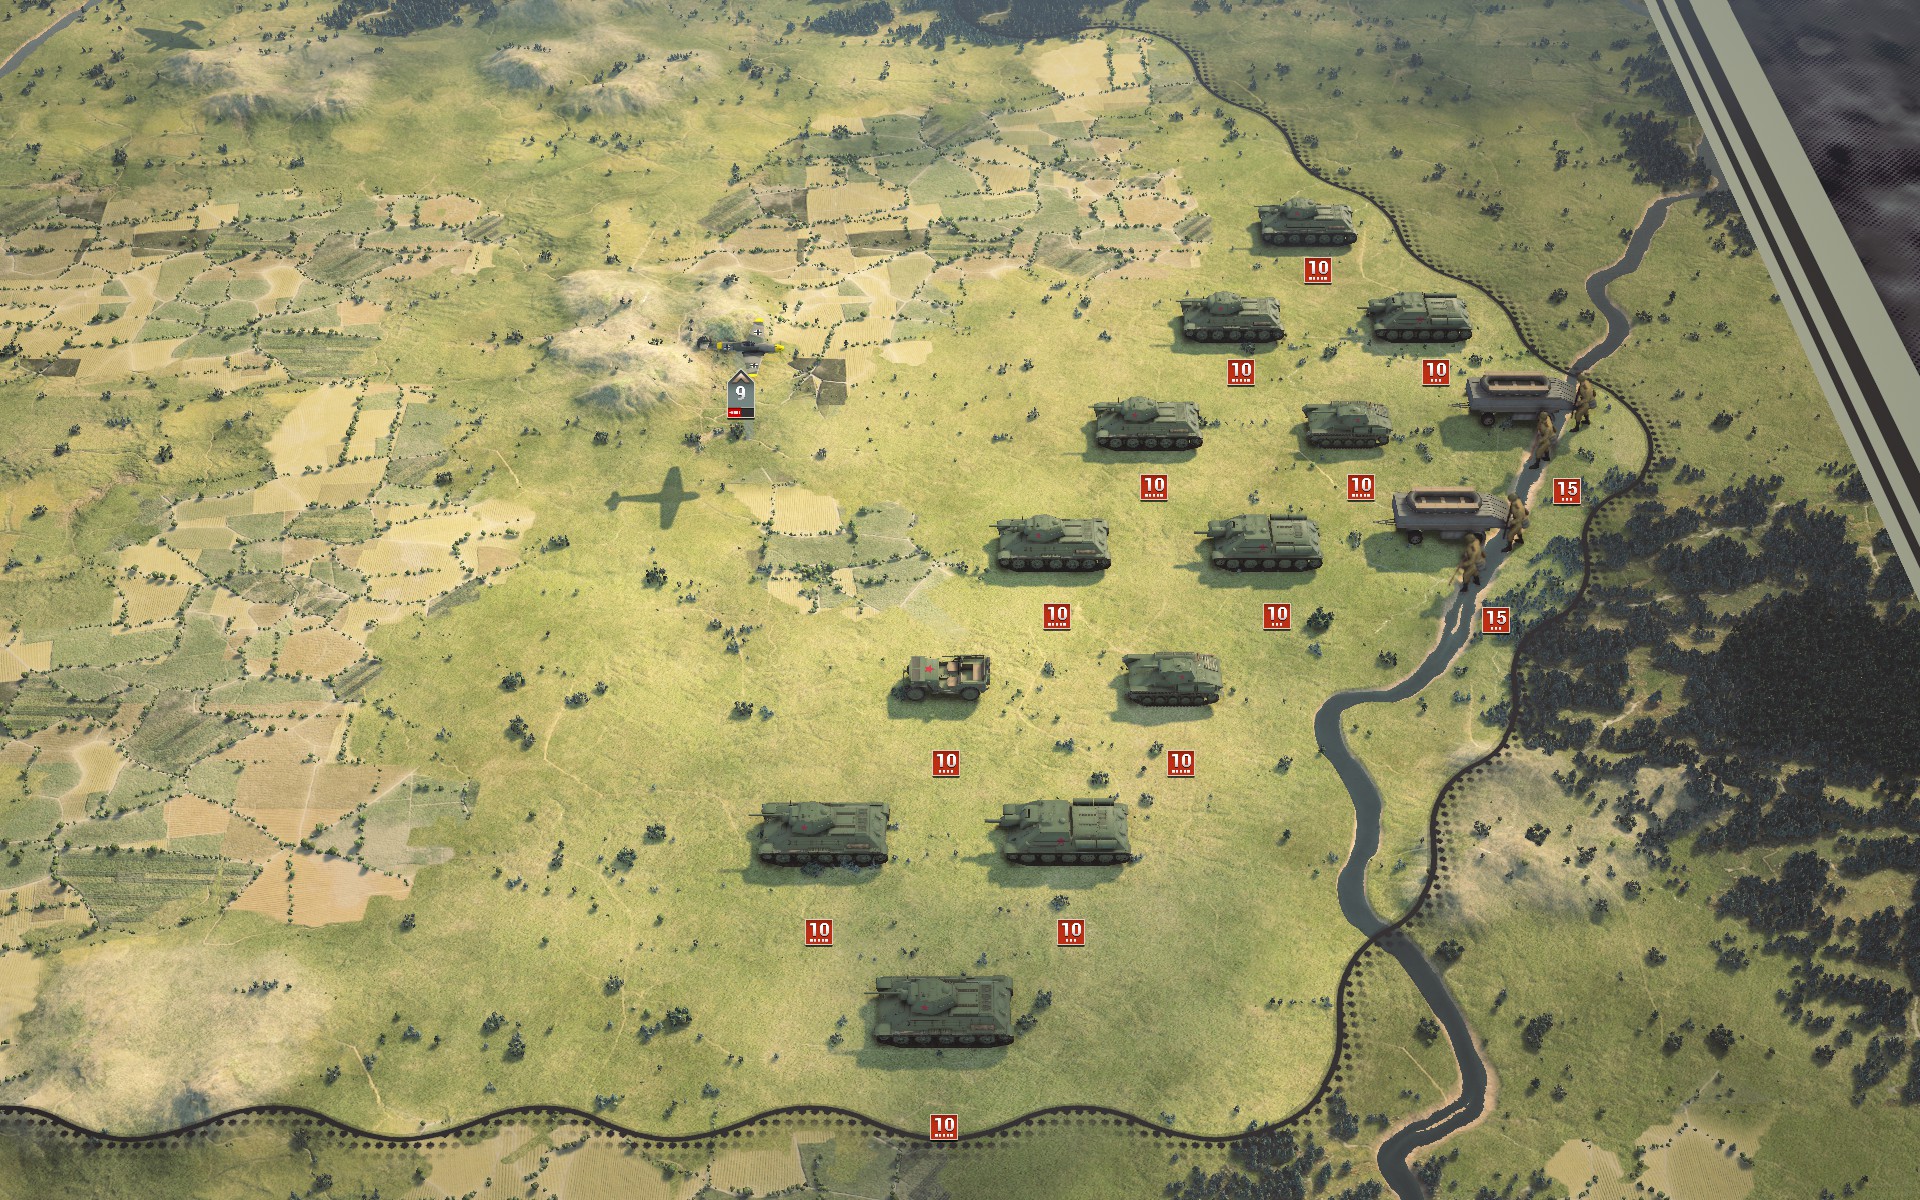
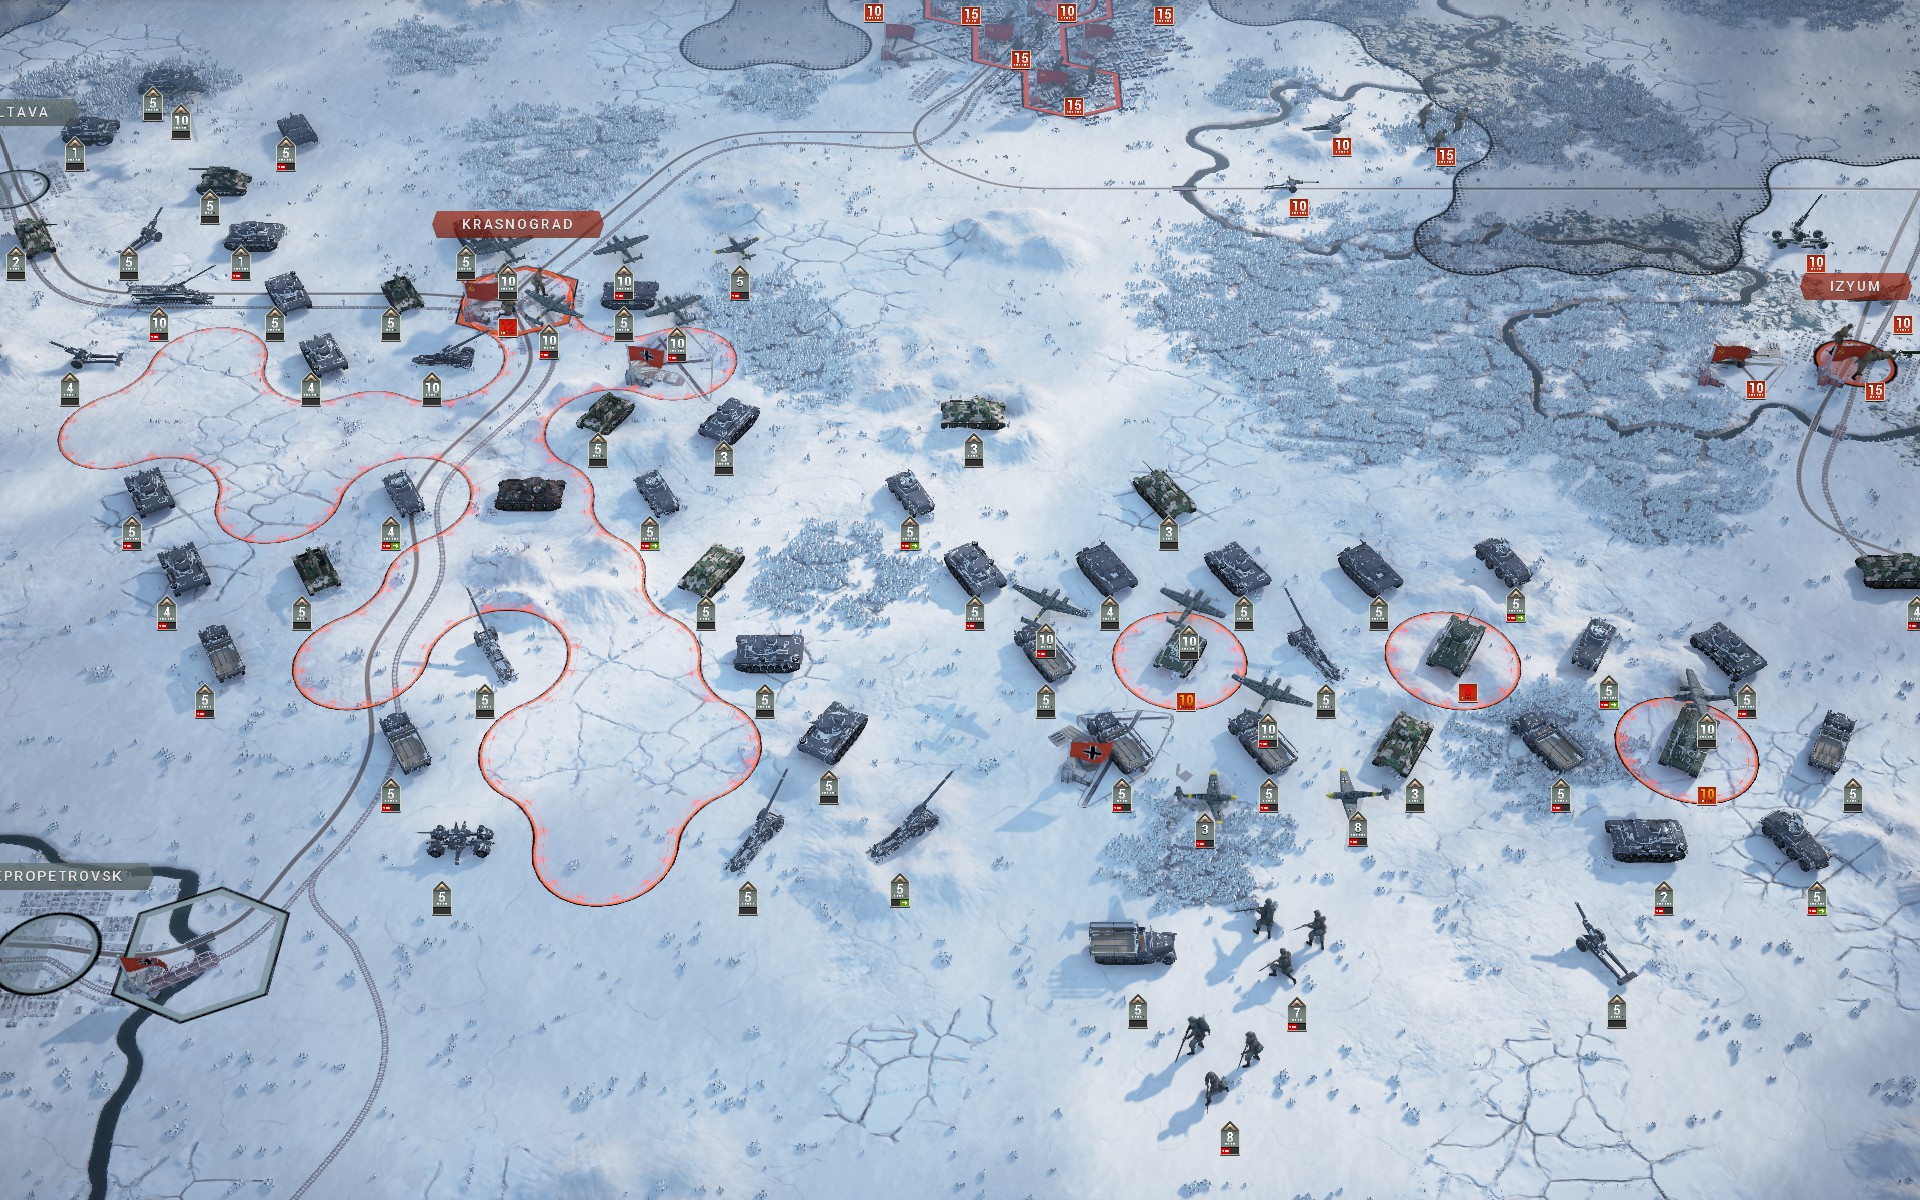
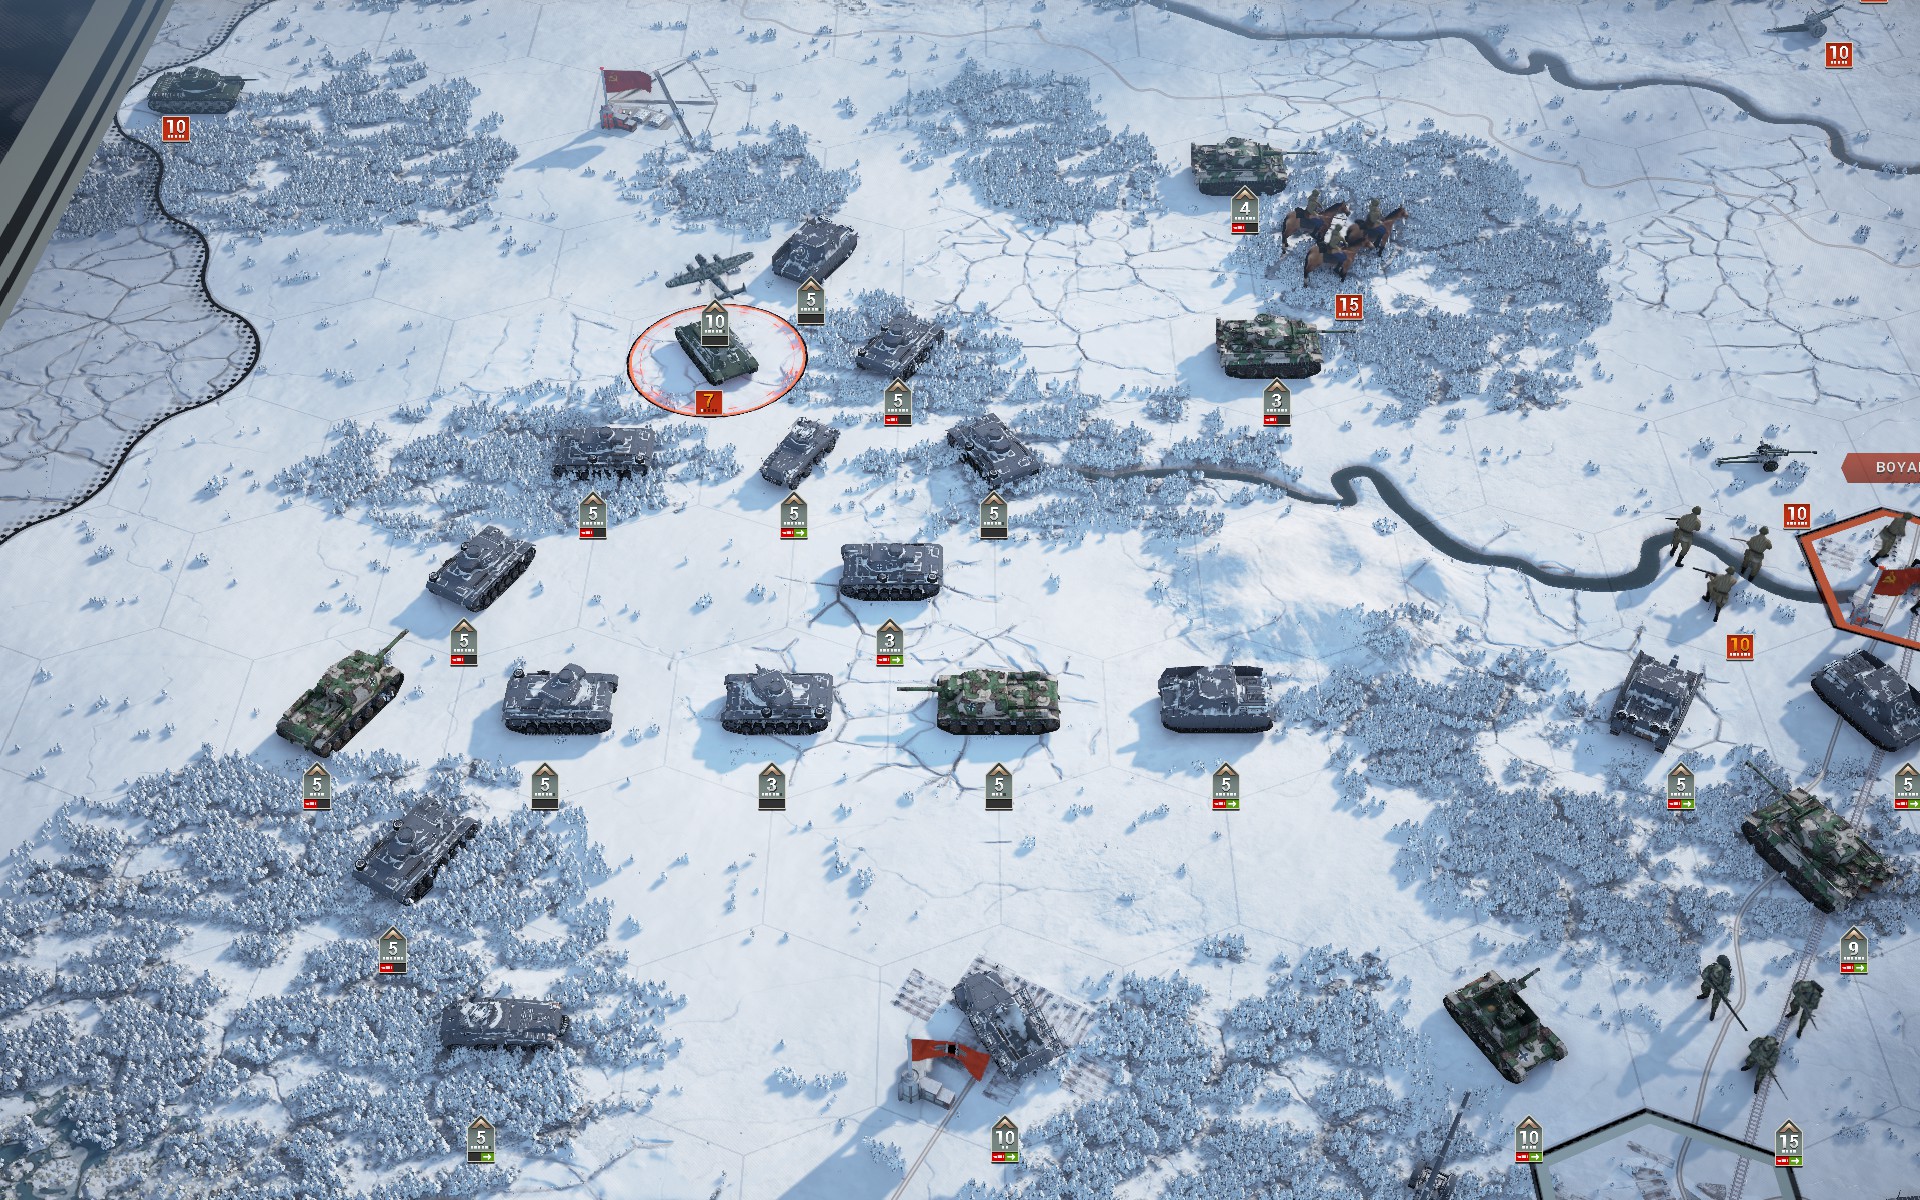
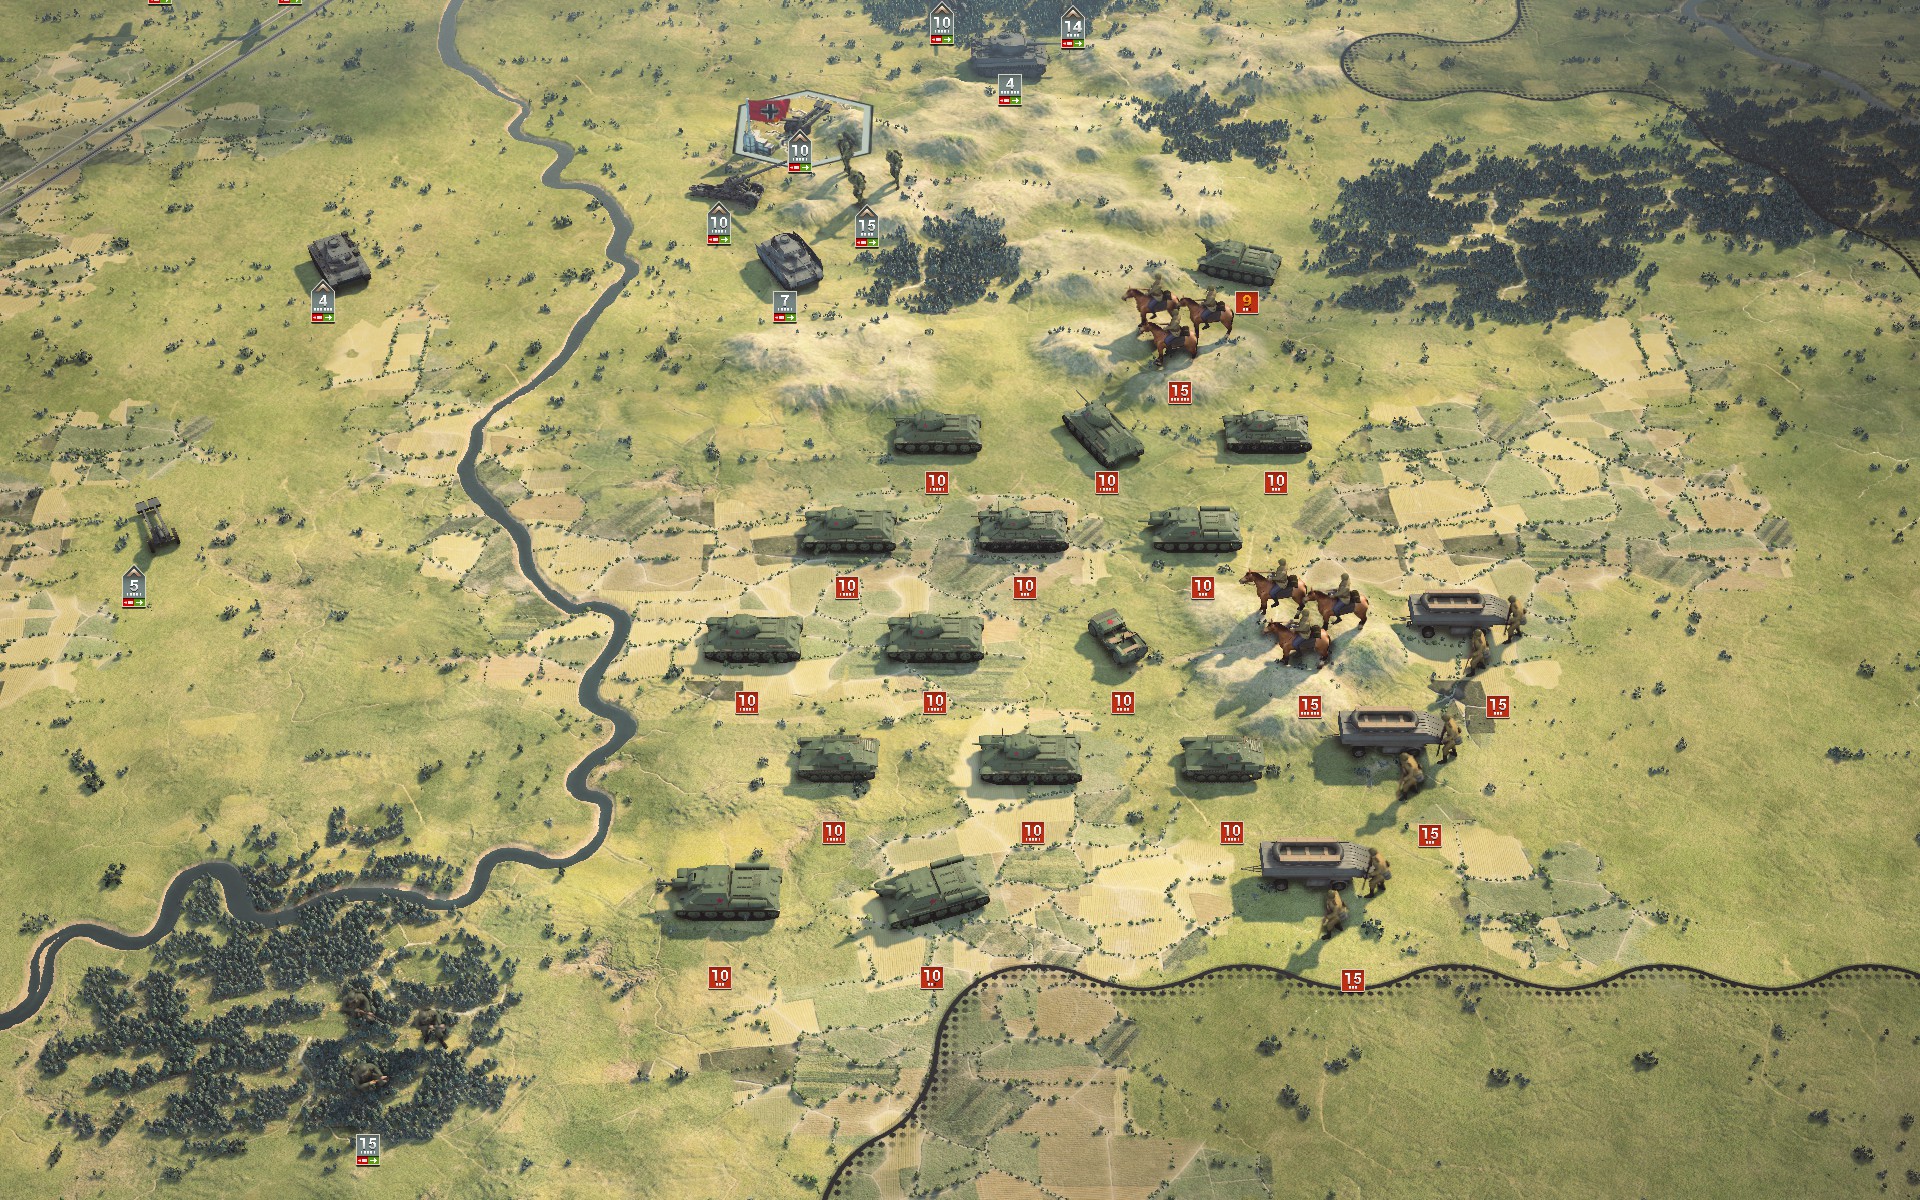
There is yet another large concentration of Soviet armour in the southeast. I suspect they will be ordered to advance once my forces capture Prokhorovka or Kursk, but I will keep an eye on them to ensure I am not caught unawares.
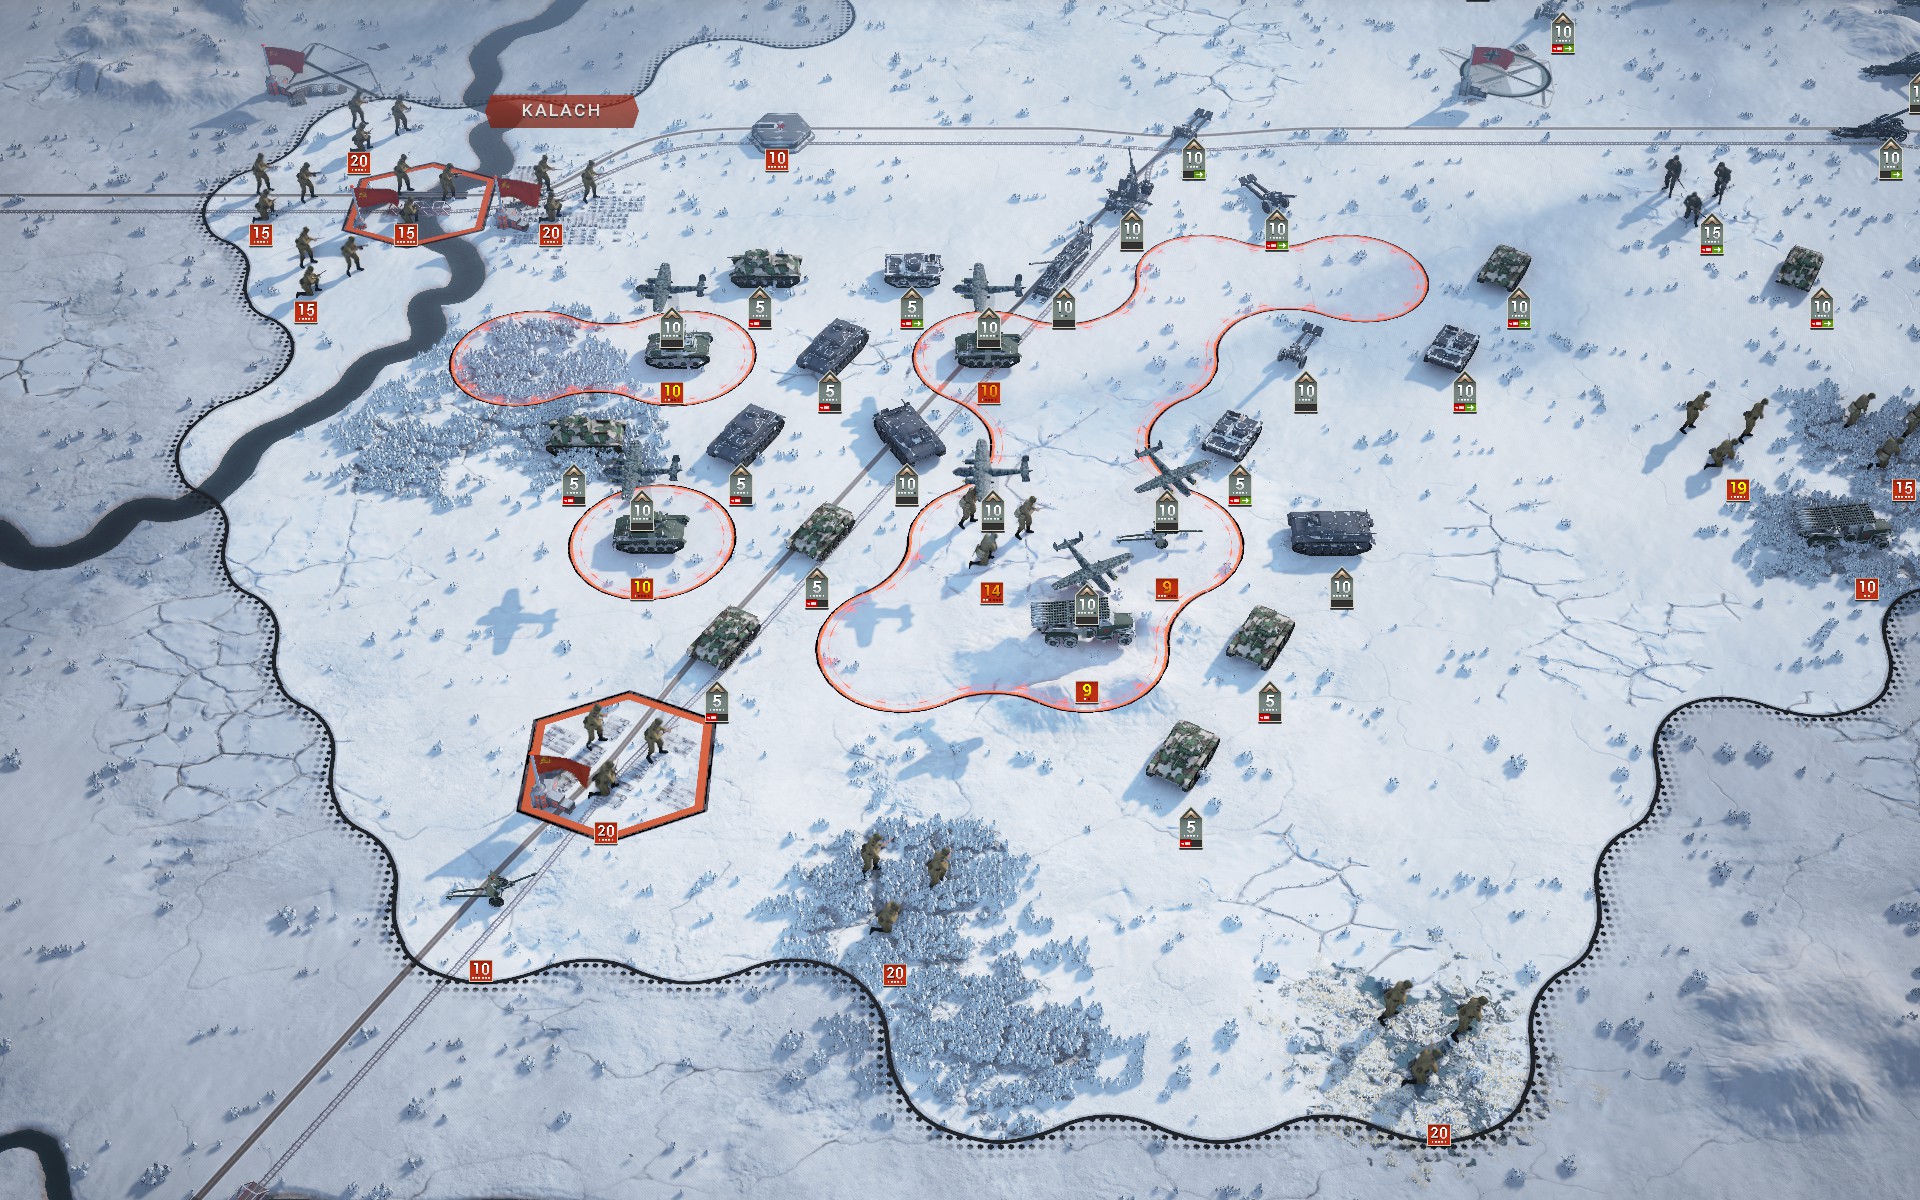
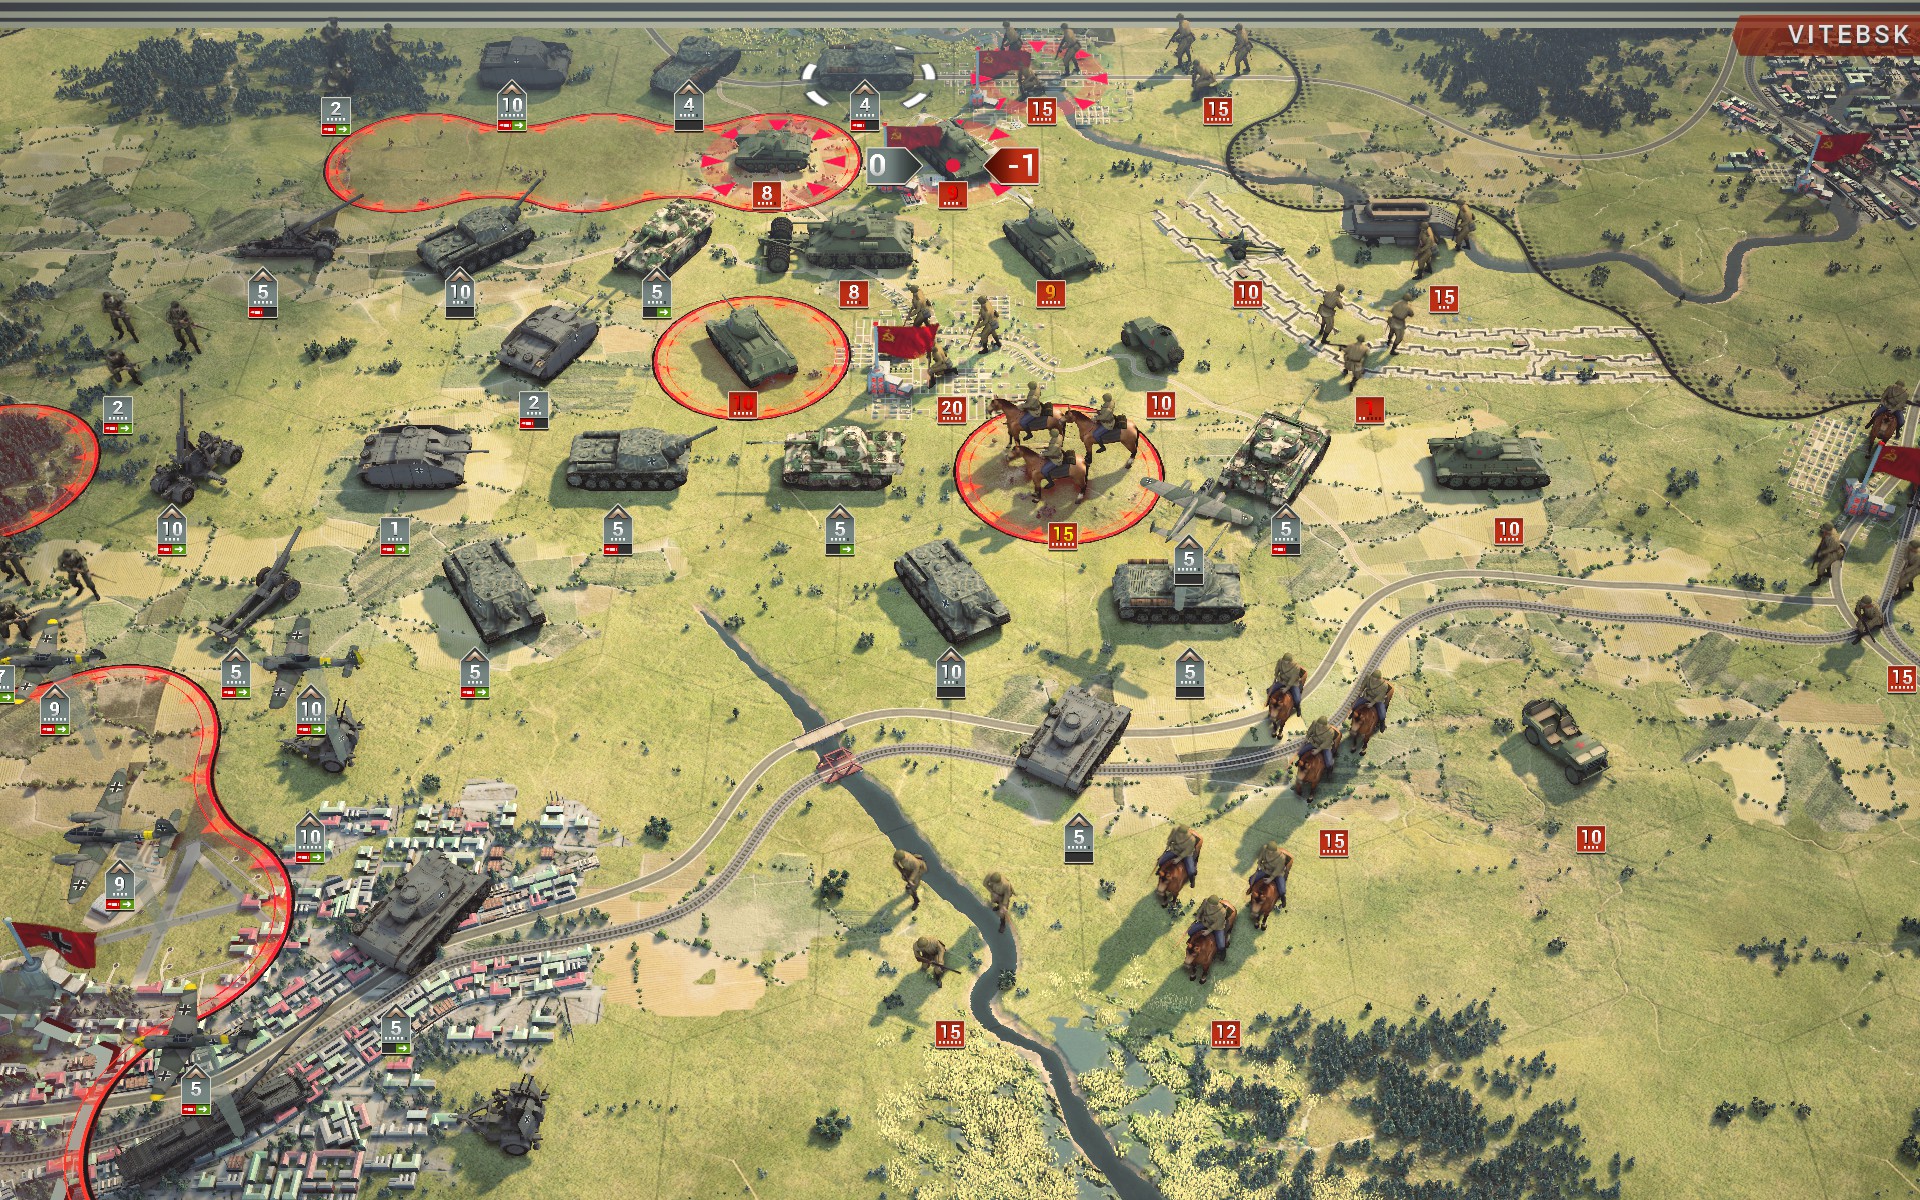
The StuH 42s and IIINs surround the objectives.

The auxiliaries come under heavy fire from SU-122s as they advance east, but damage is fortunately limited.
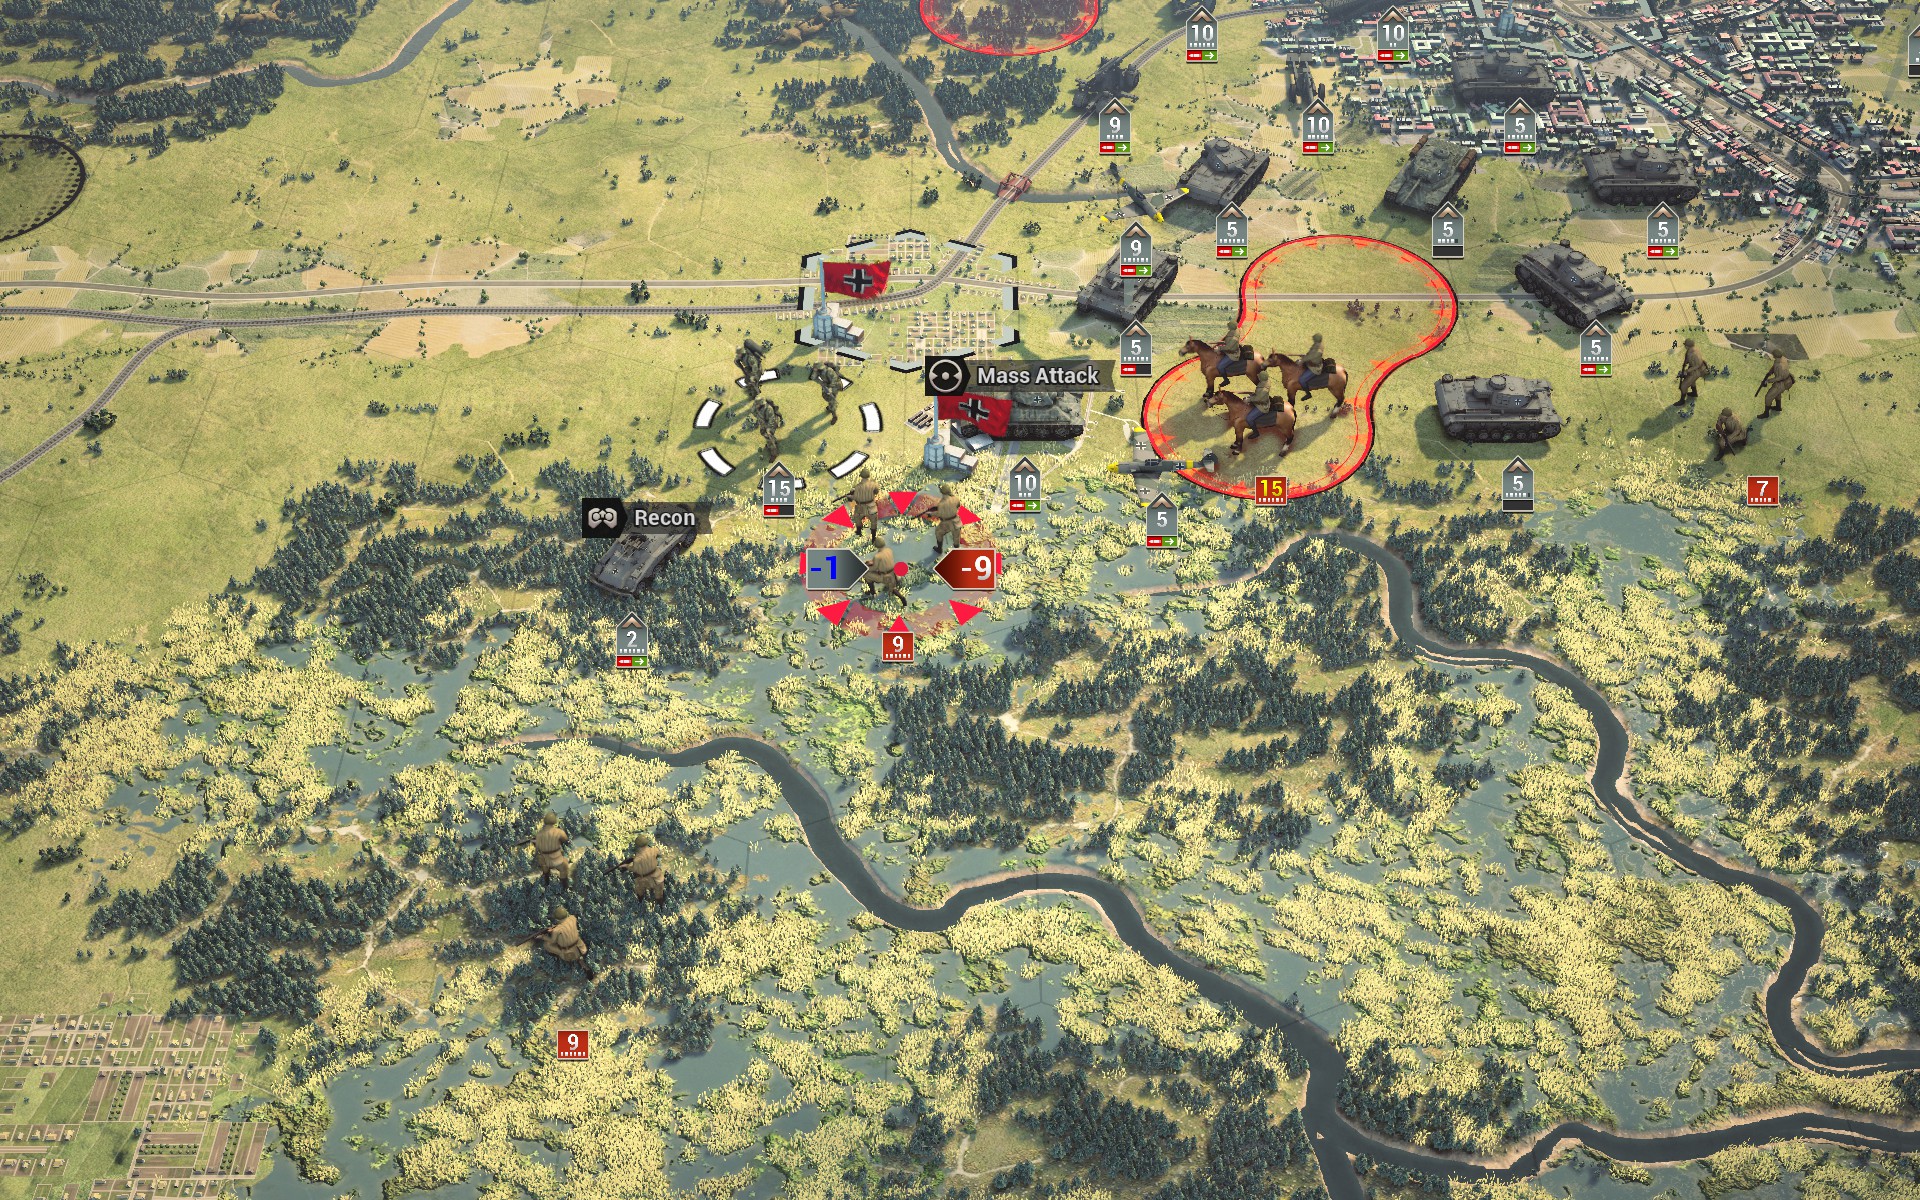
The Bridgeburners see off two battalions of Soviet infantry.
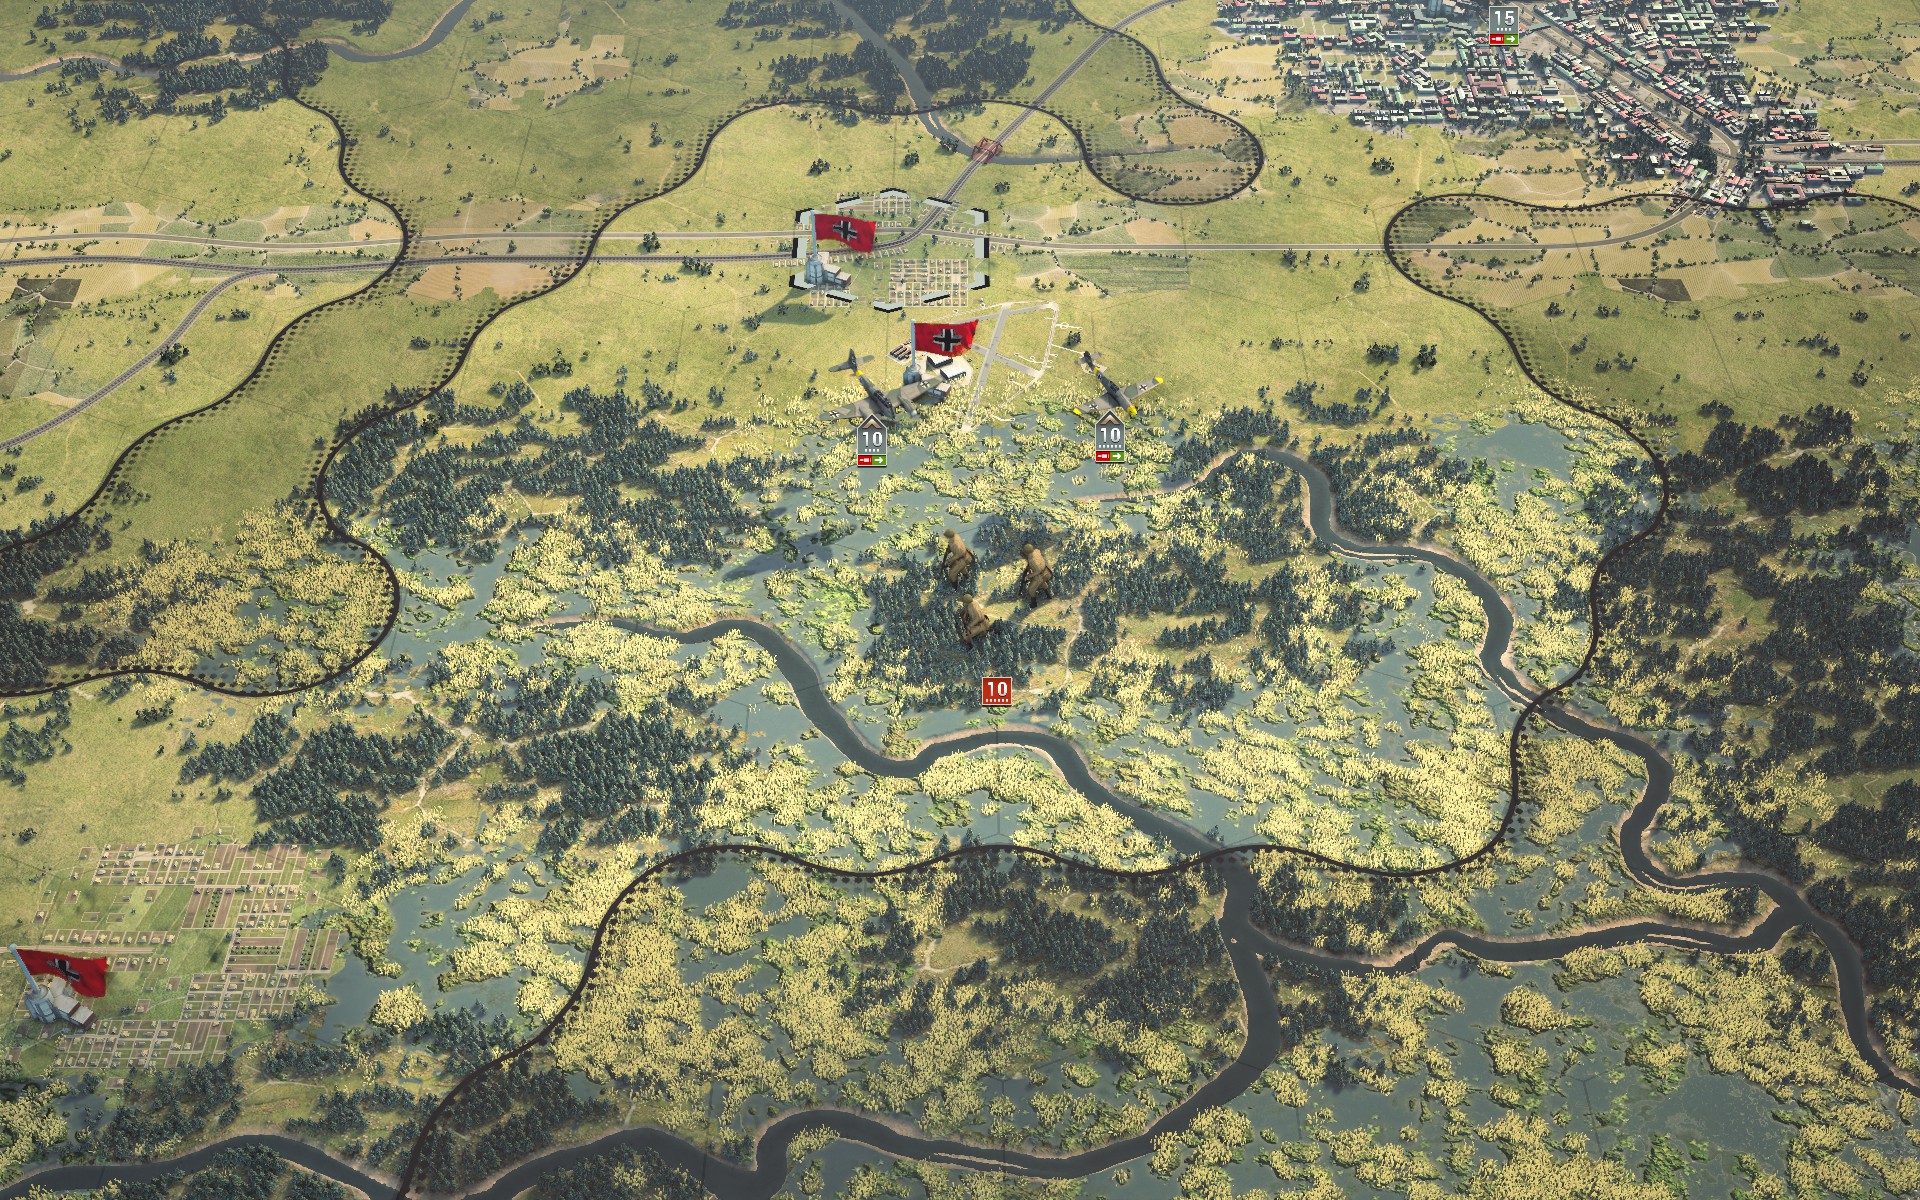
A recon captures the airfield near Livny, forcing the remaining Soviet aircraft in the north to rebase.
My forces consolidate their positions around the objectives.
The Luftwaffe hunts down the last Soviet bomber in the south.
The Bridgeburners receive reinforcements to bring them back up to full operational capacity.

The Crimson Guard storm the last objective; Soviet Regulars are no match for the elite mechanized Pioniere.
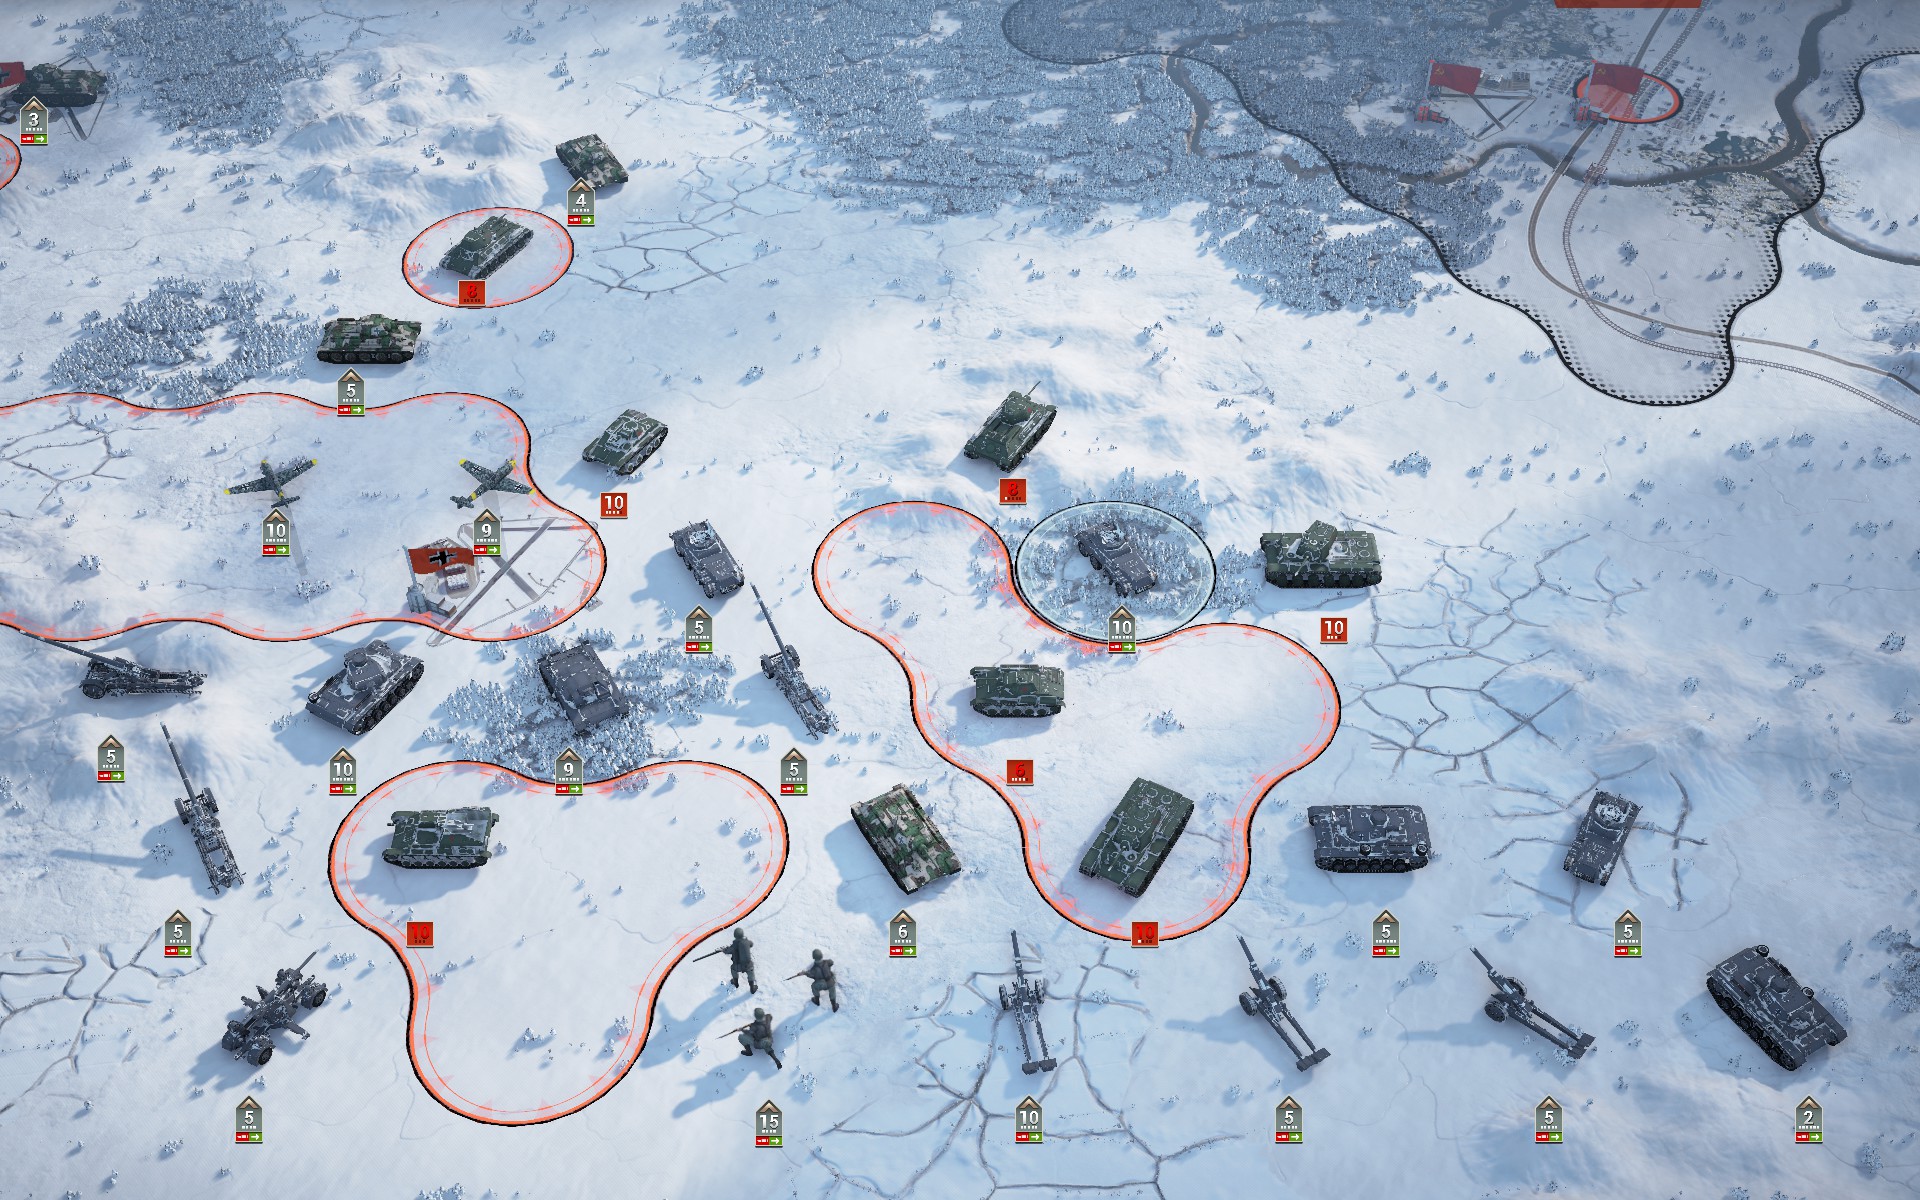
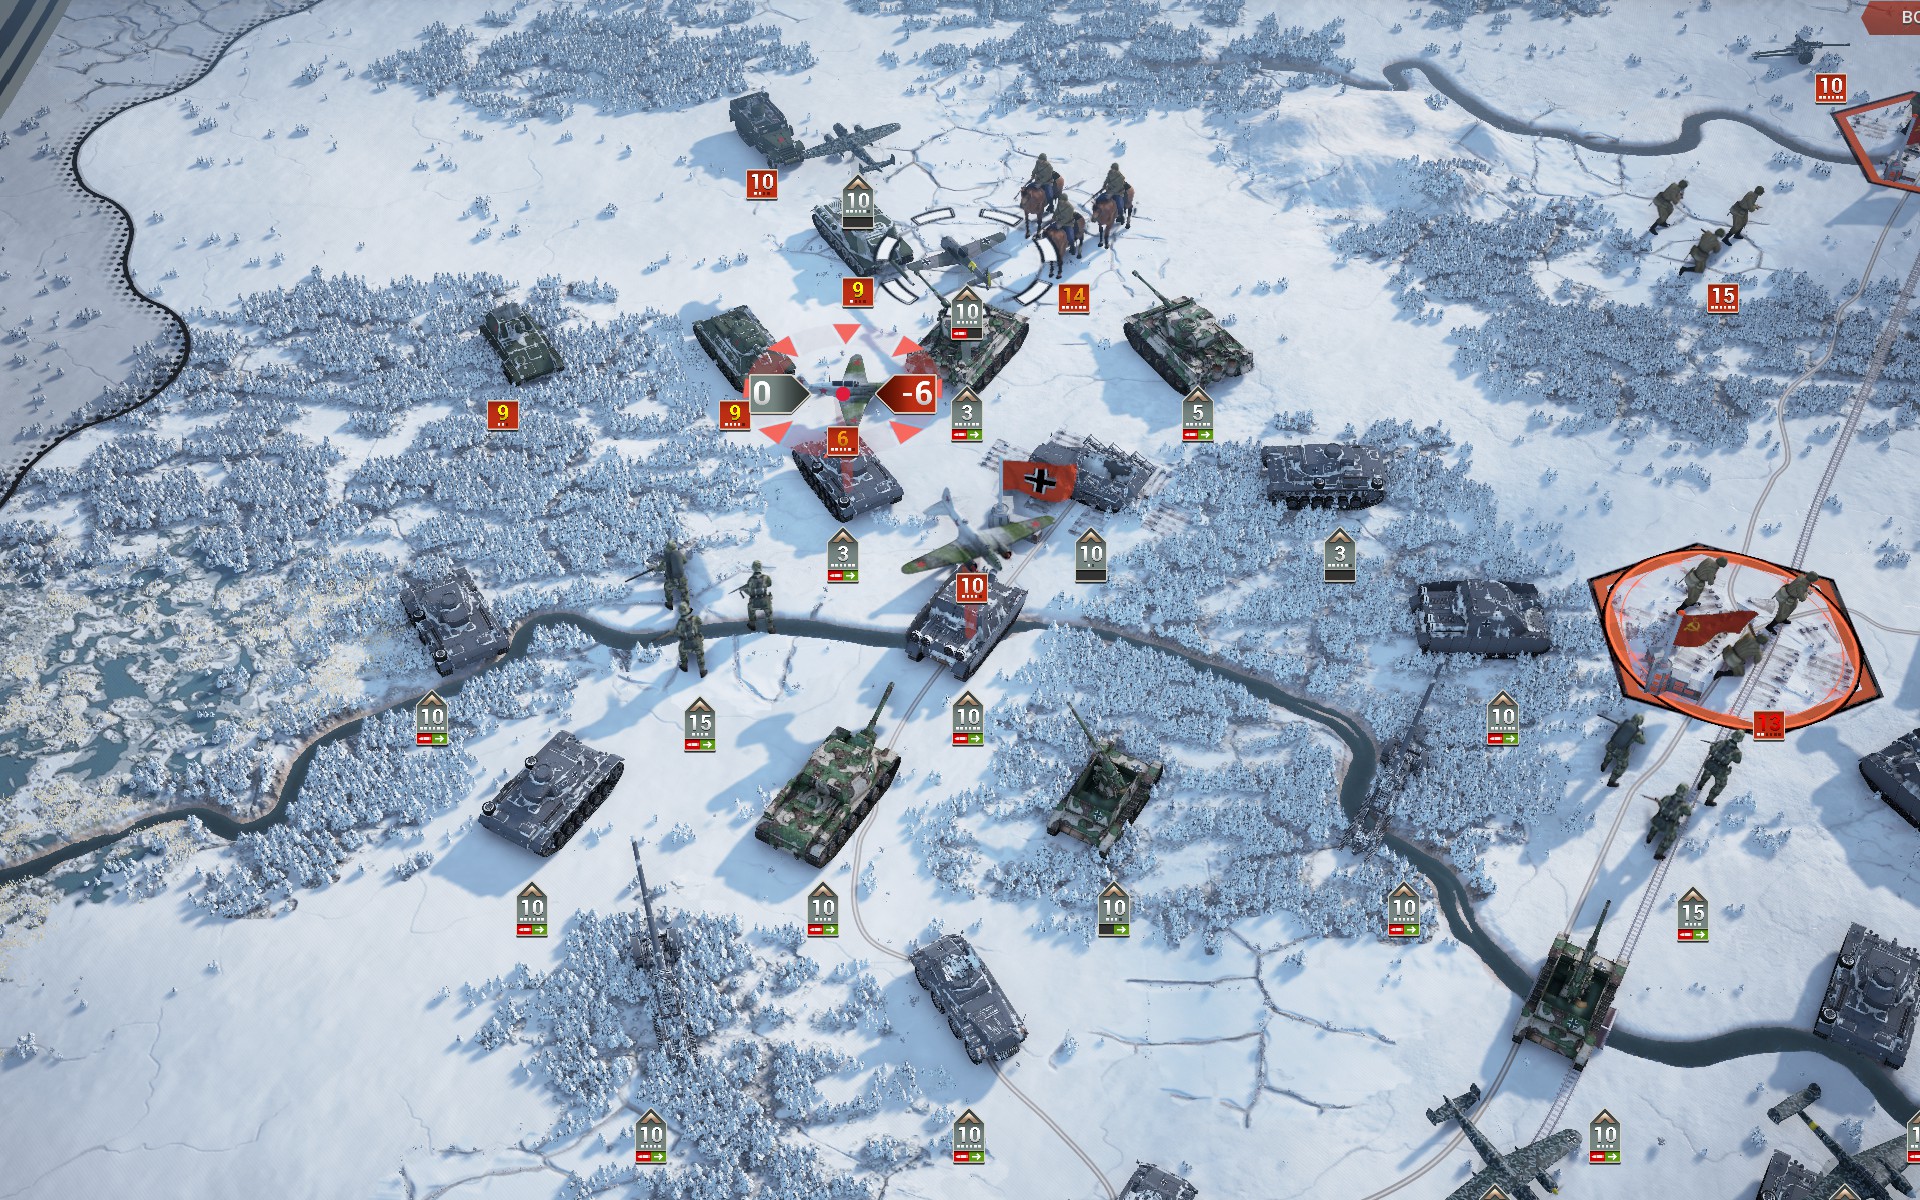
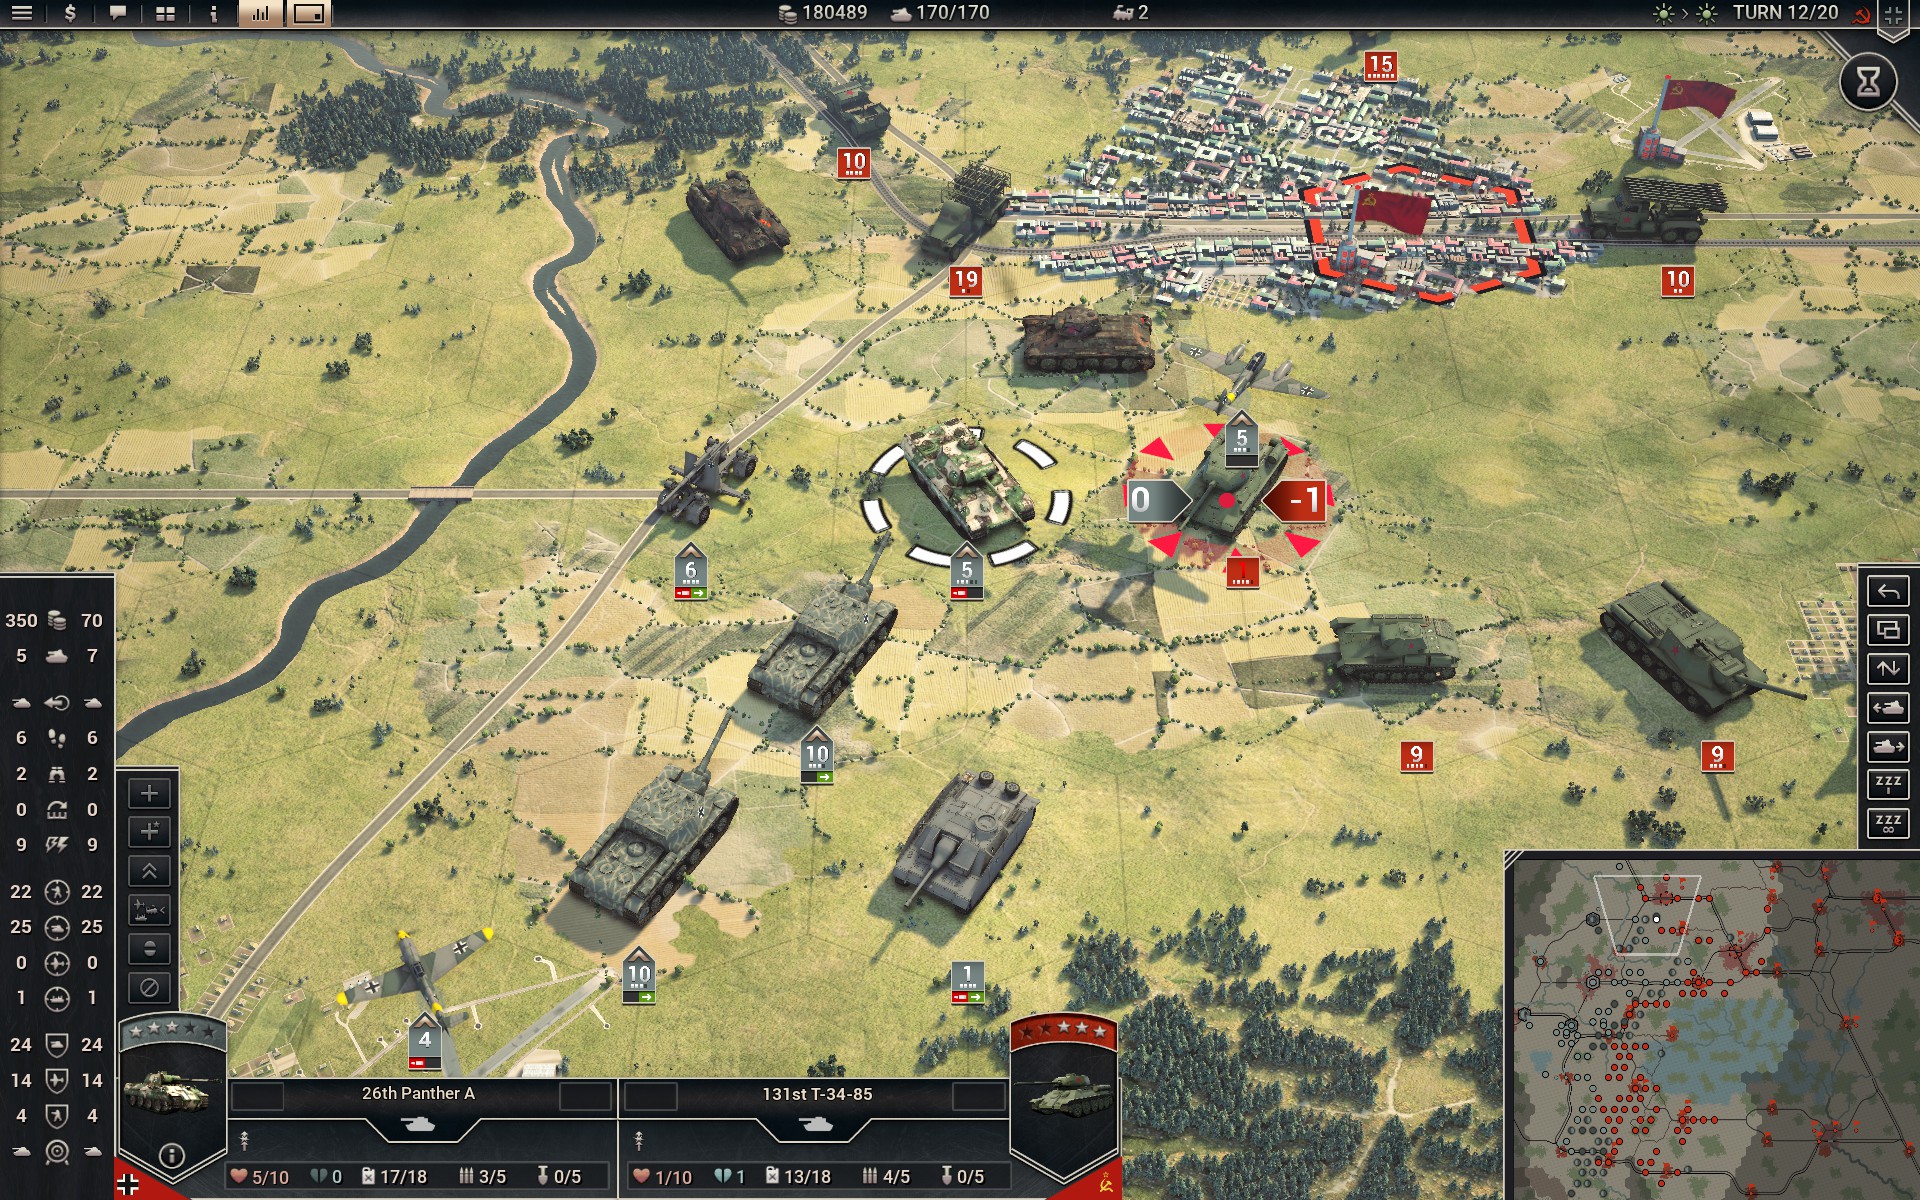
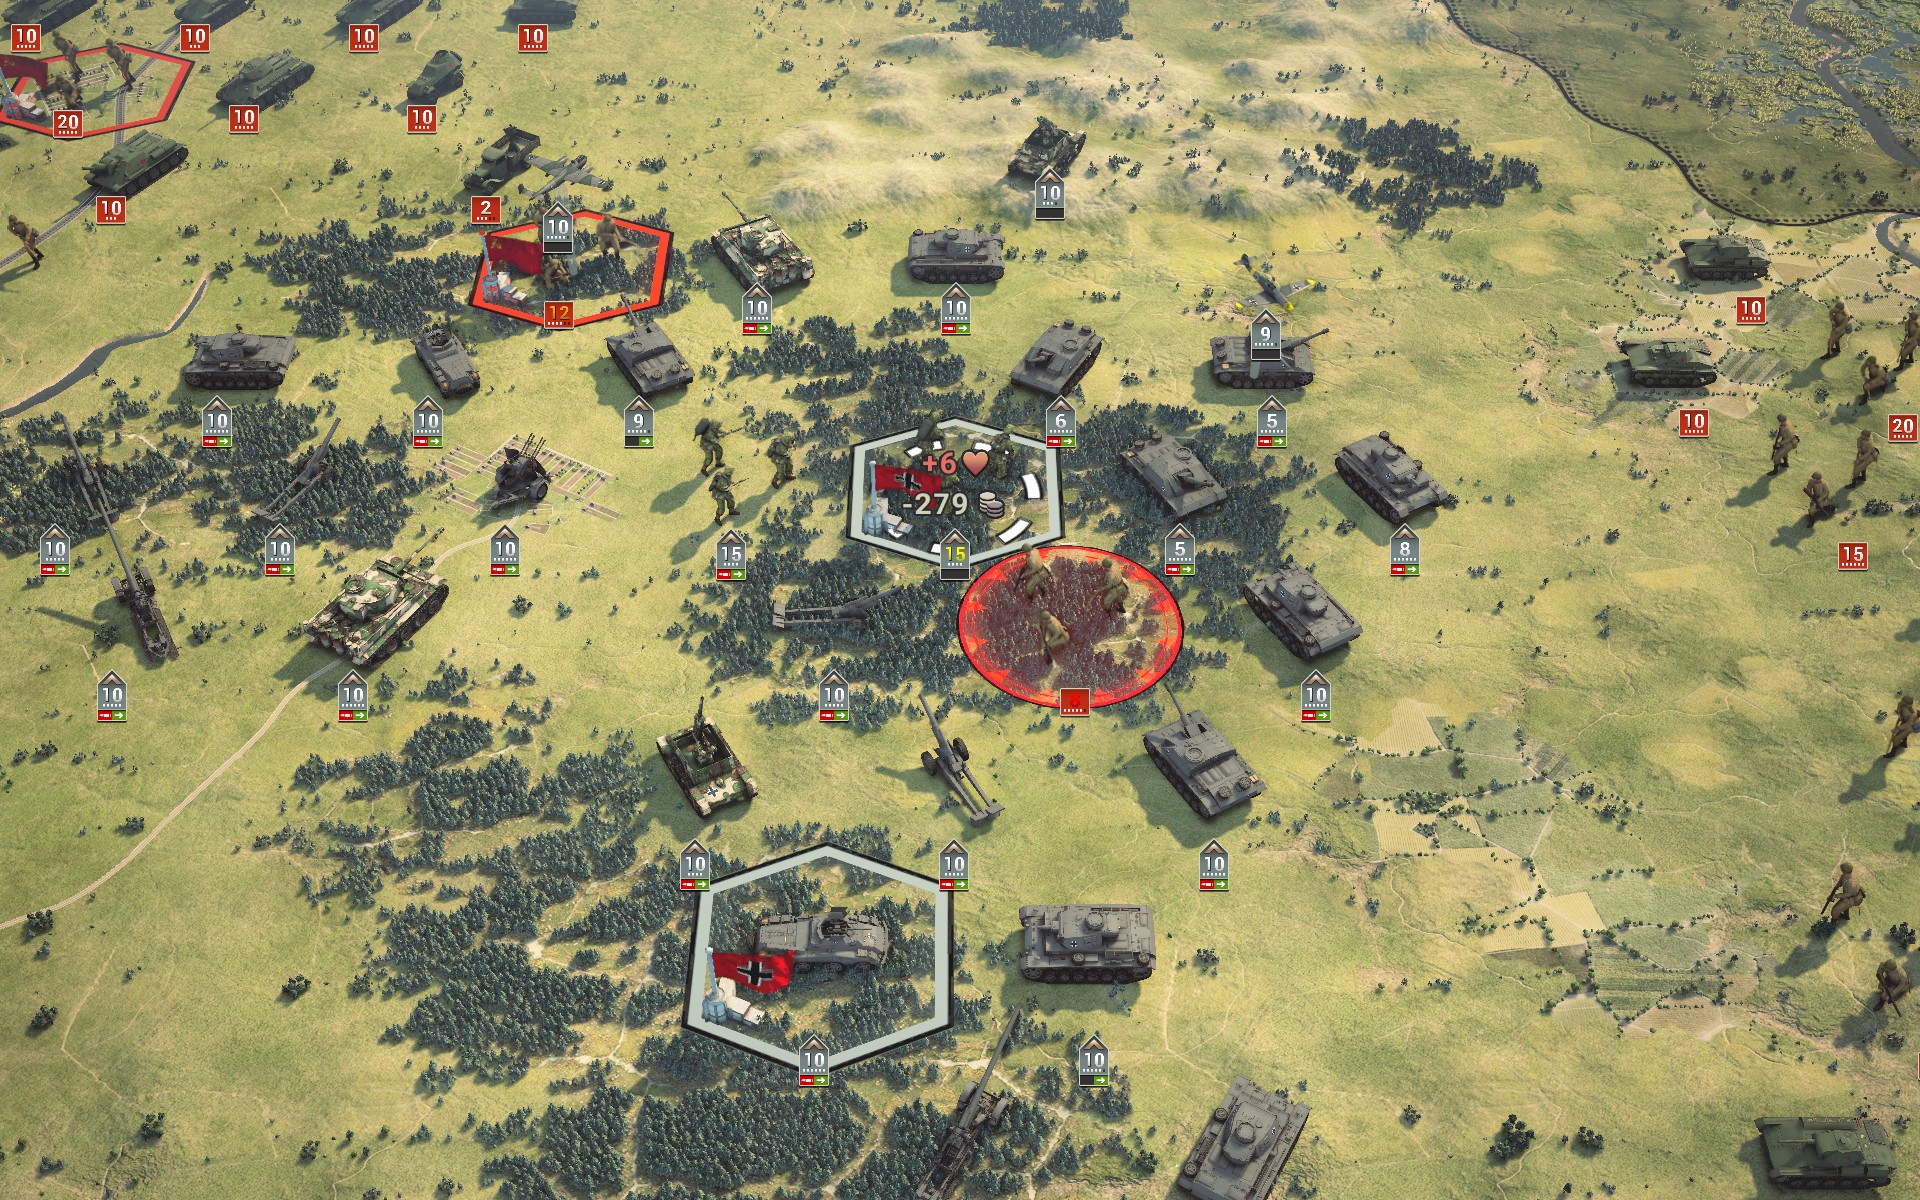
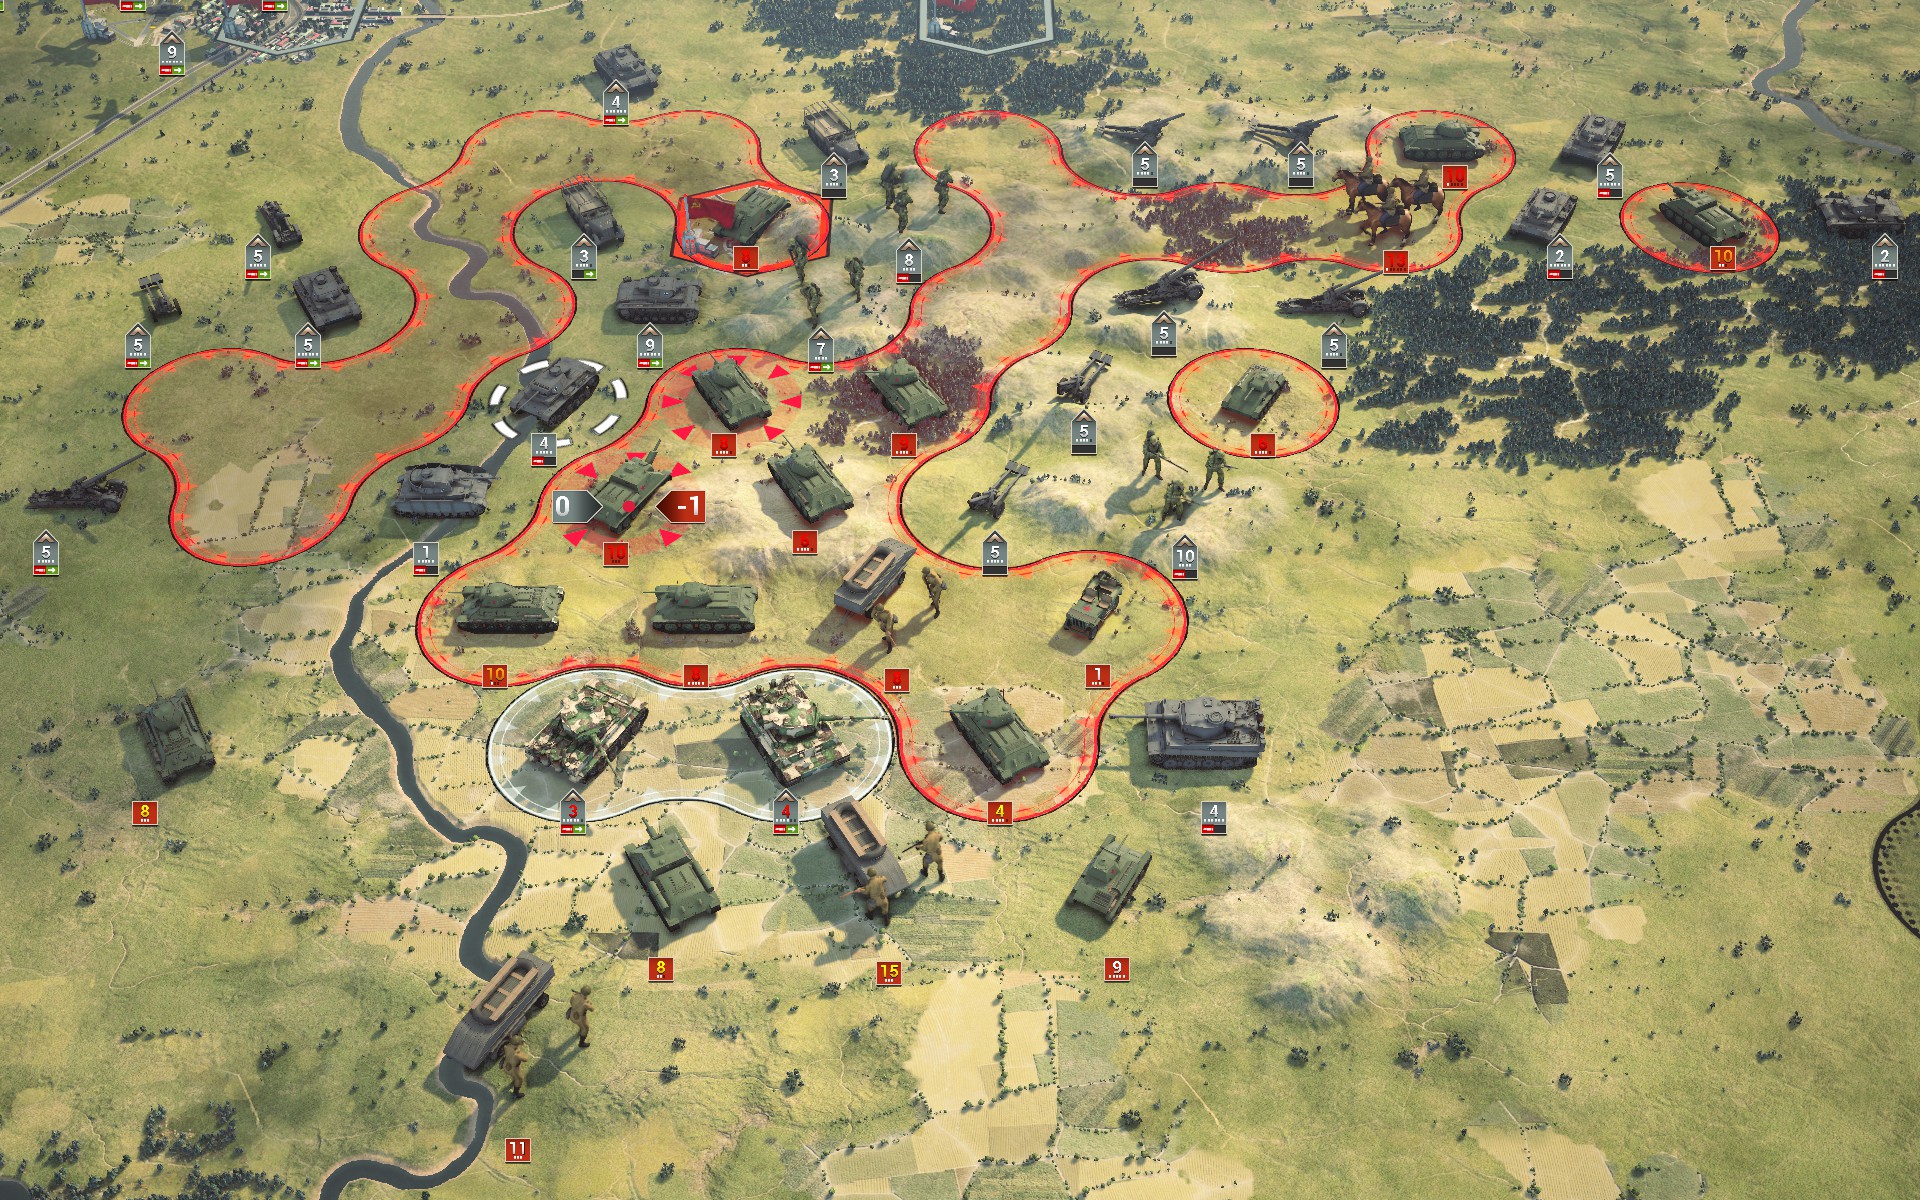
The Tigers strike the centre of the Soviet formation while the IIINs advance along the flanks.
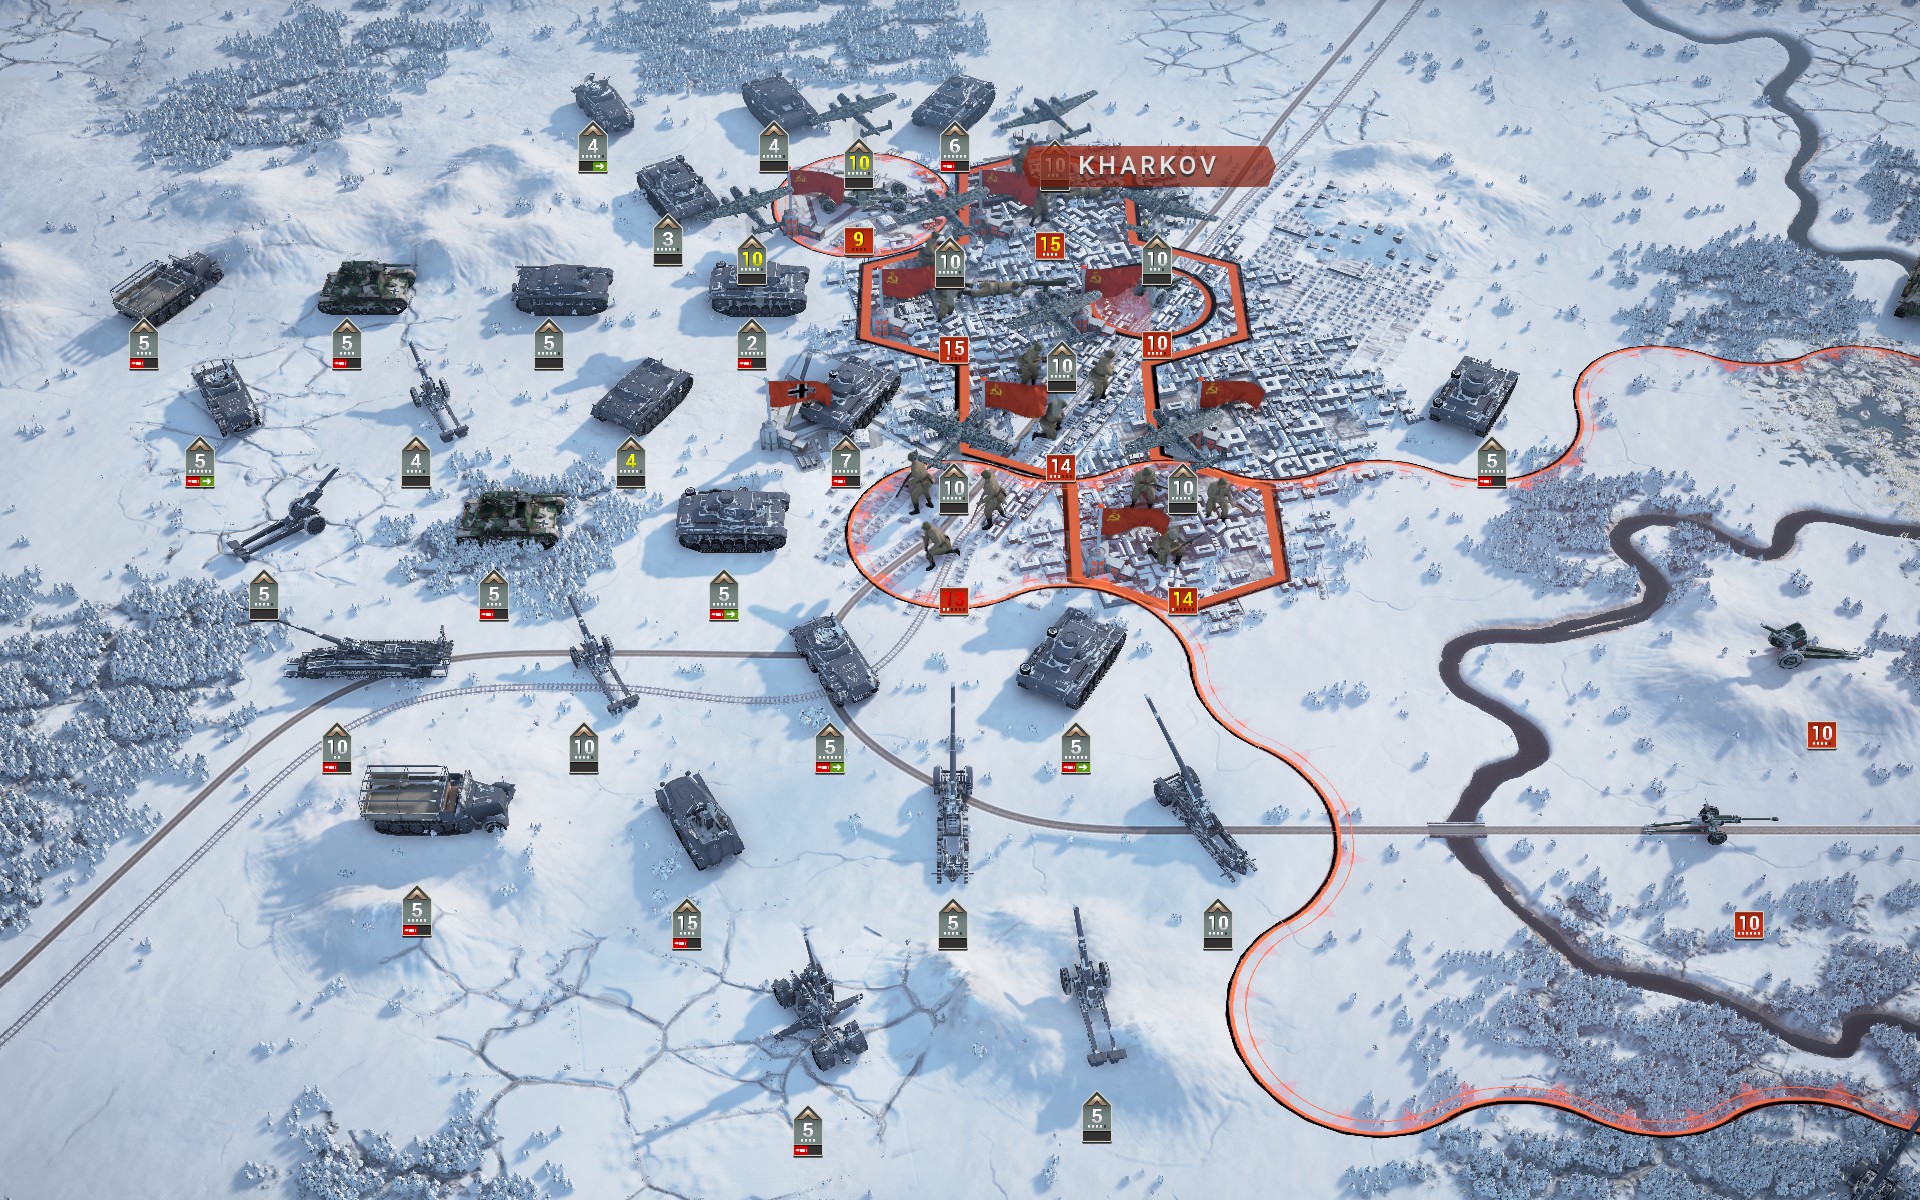
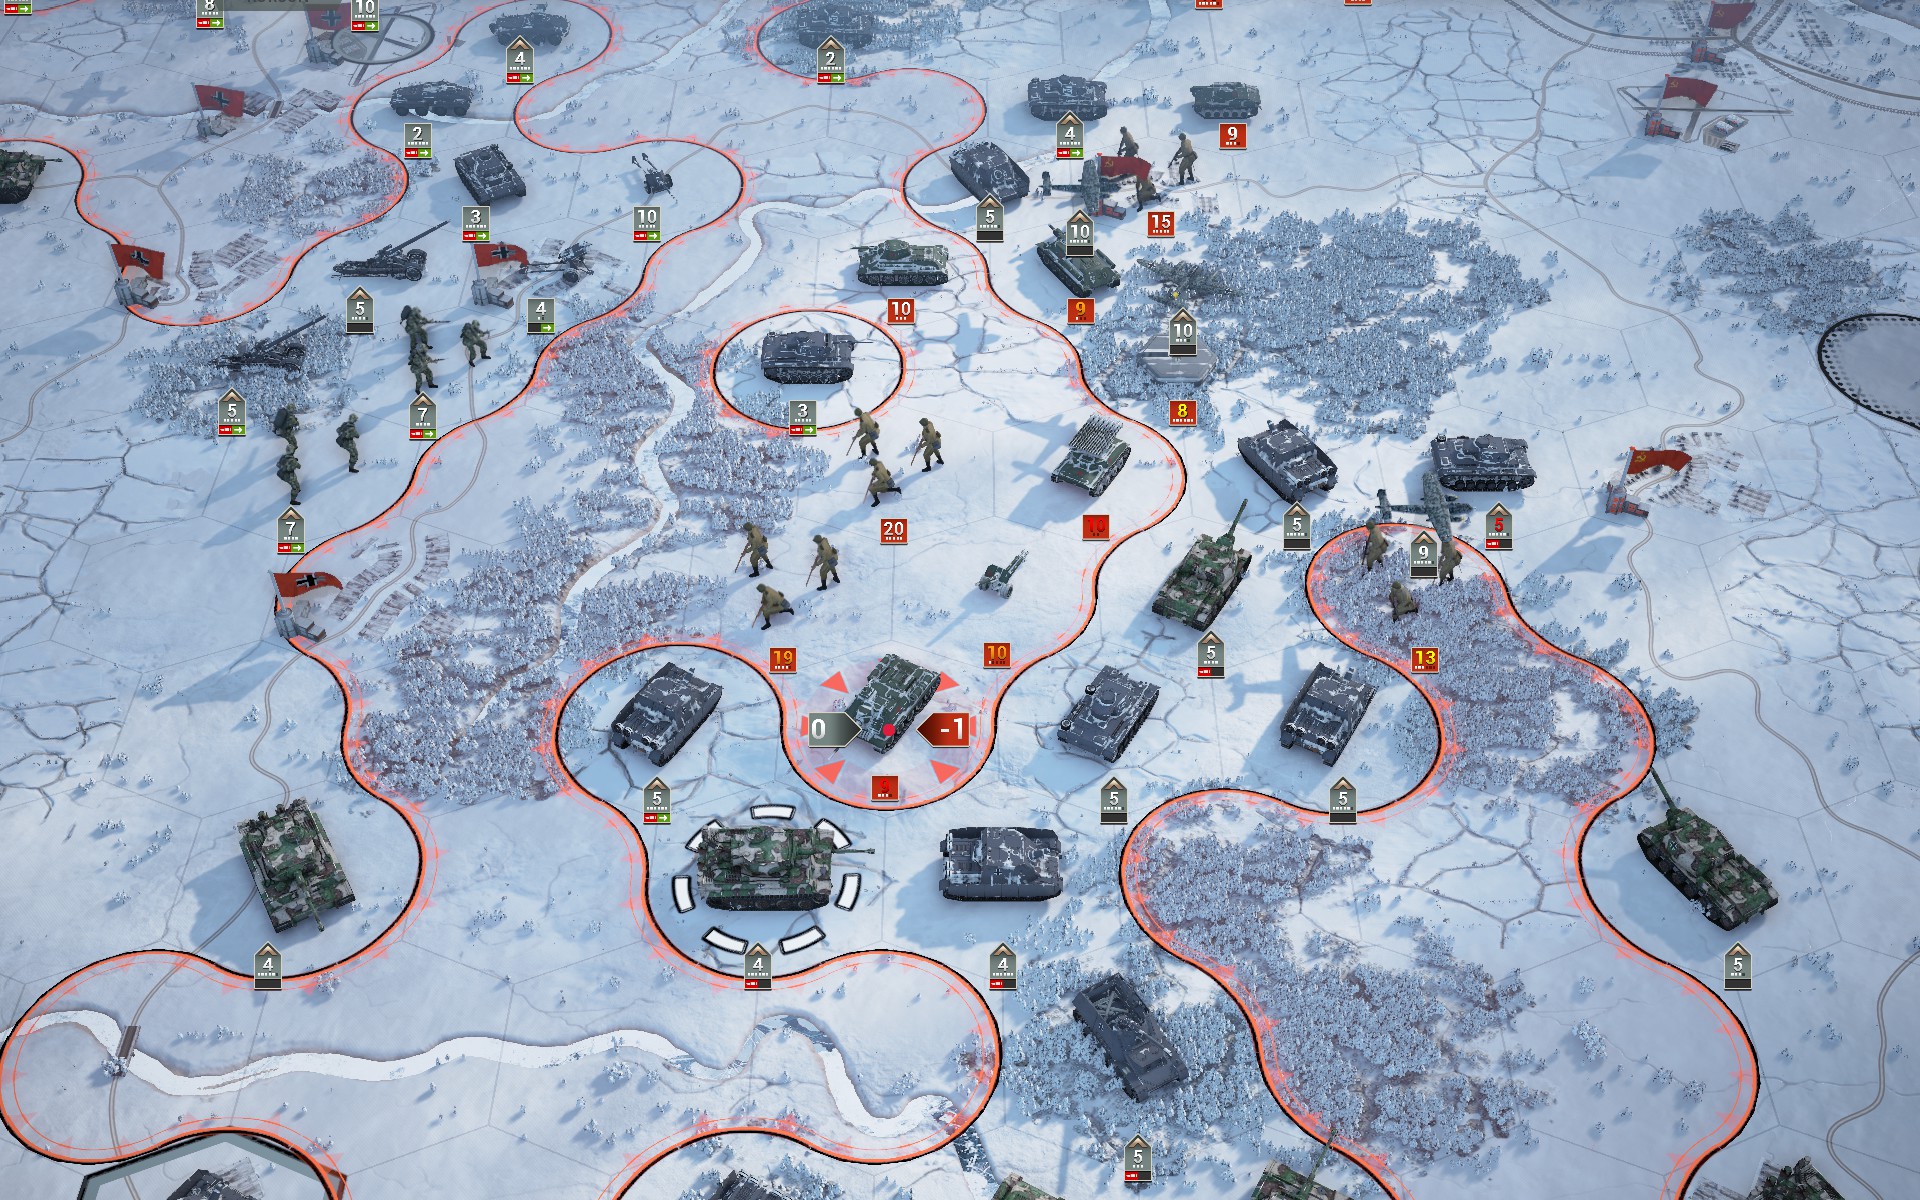
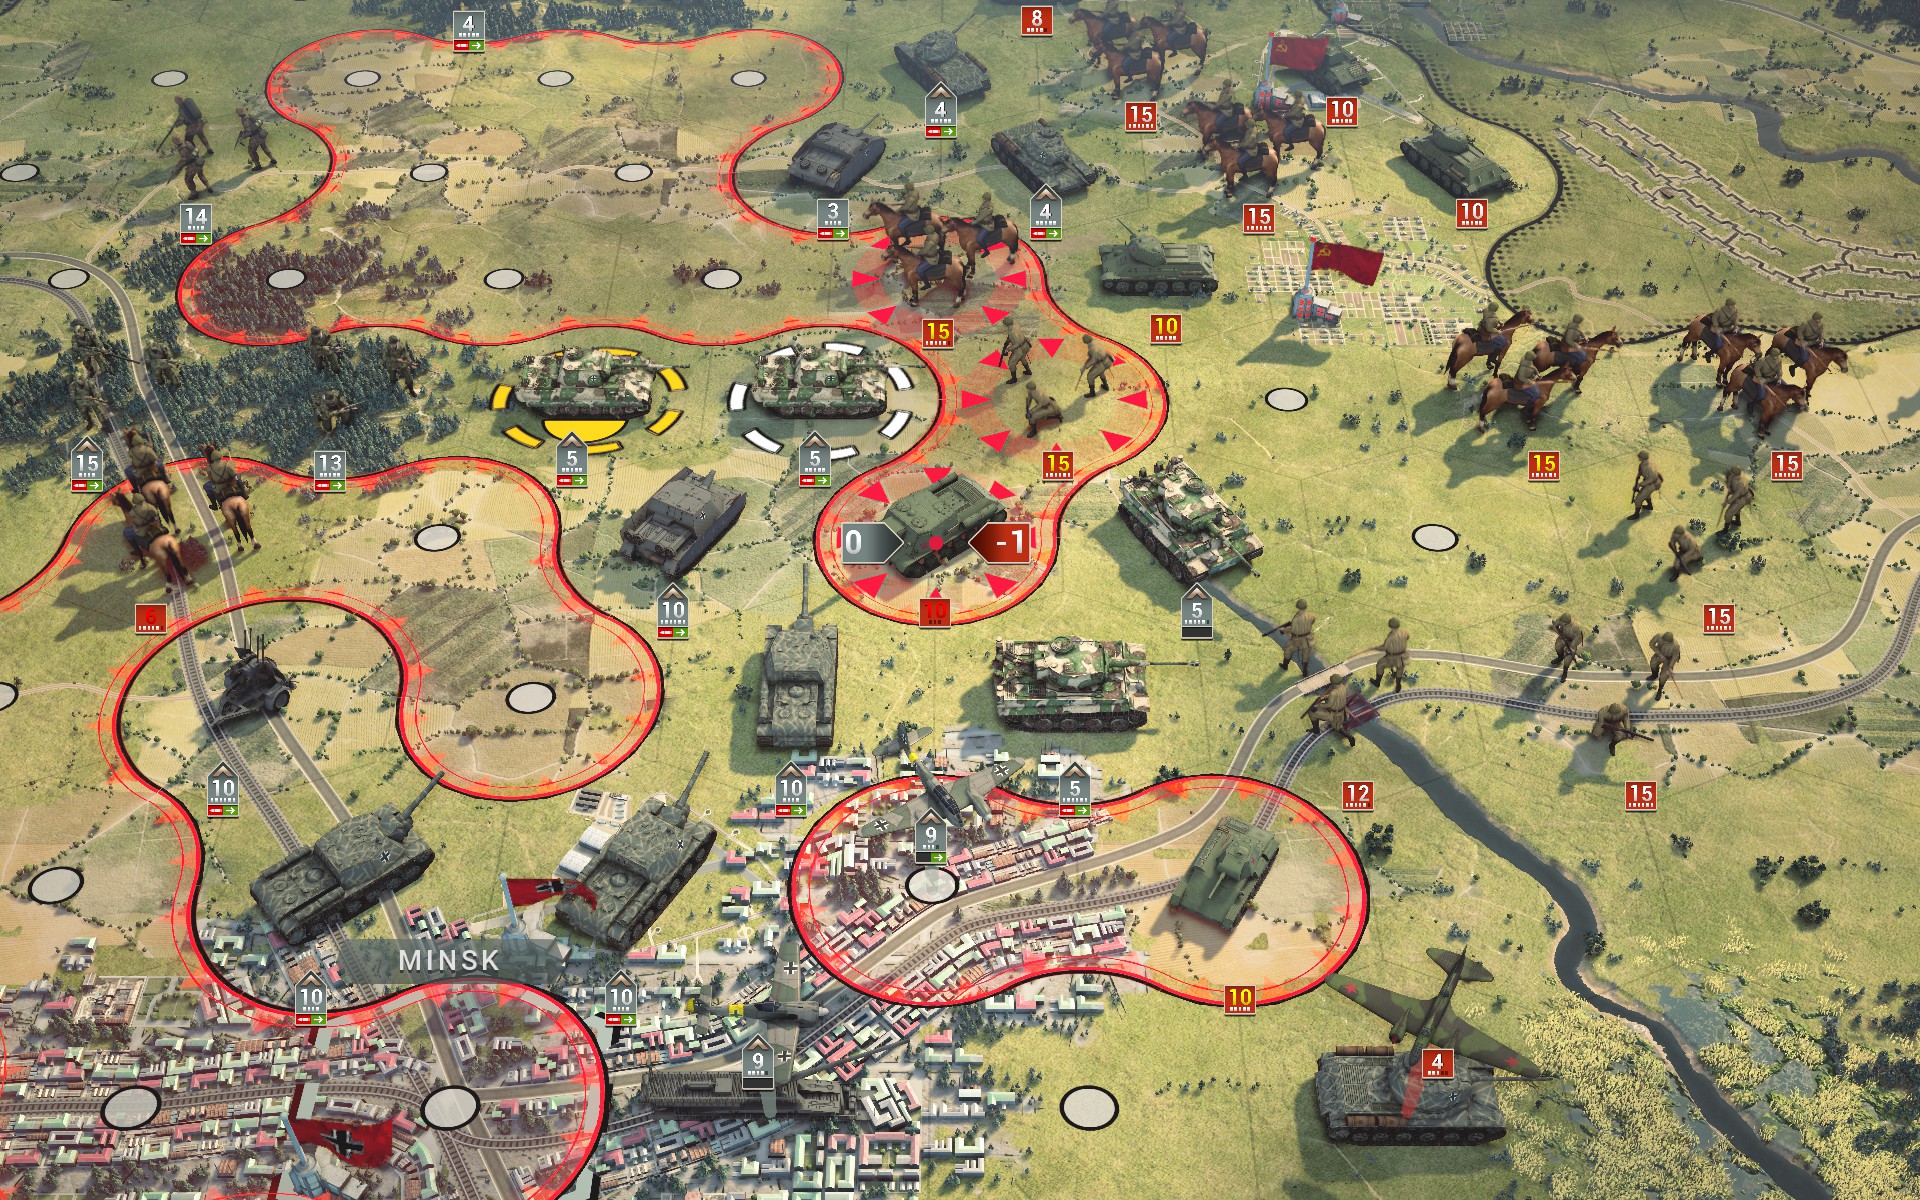
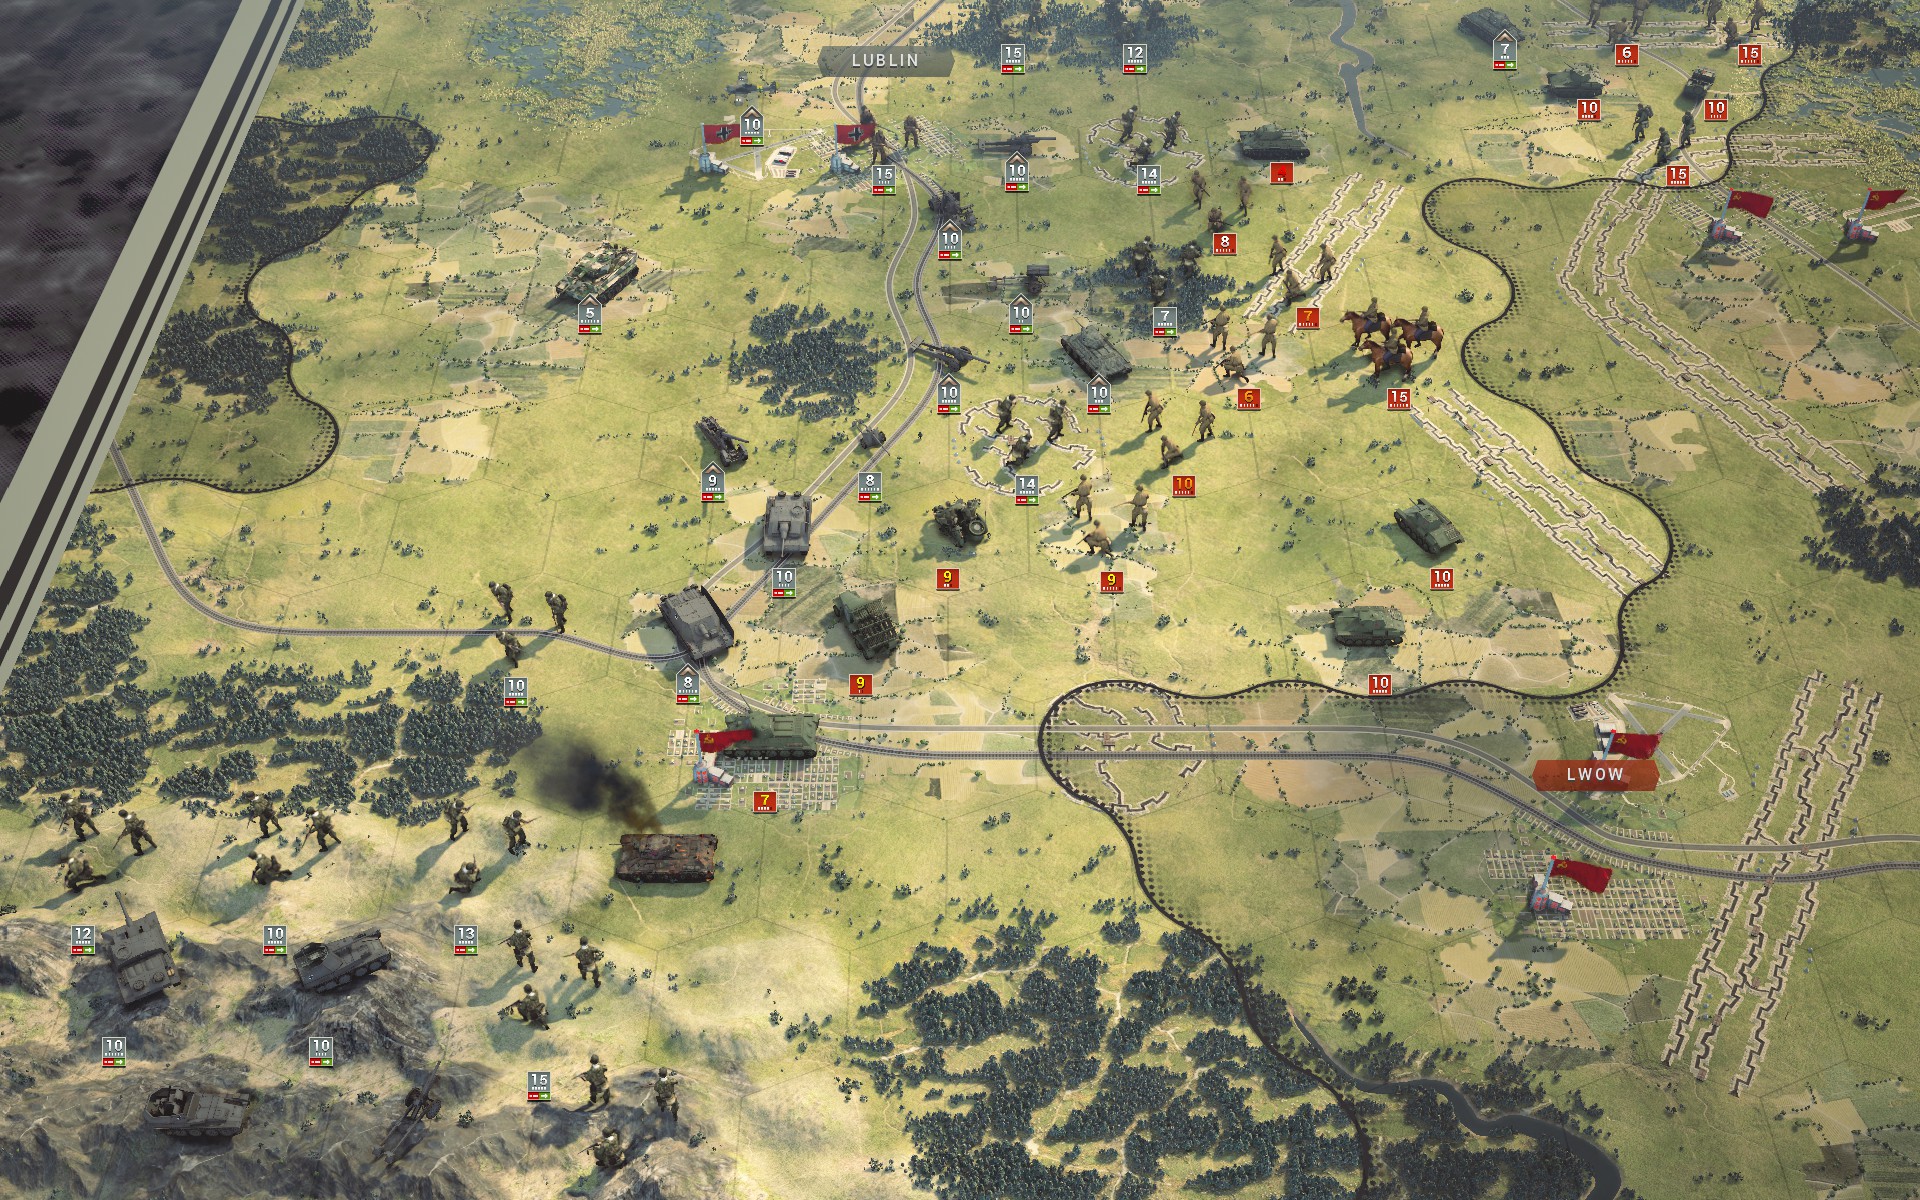
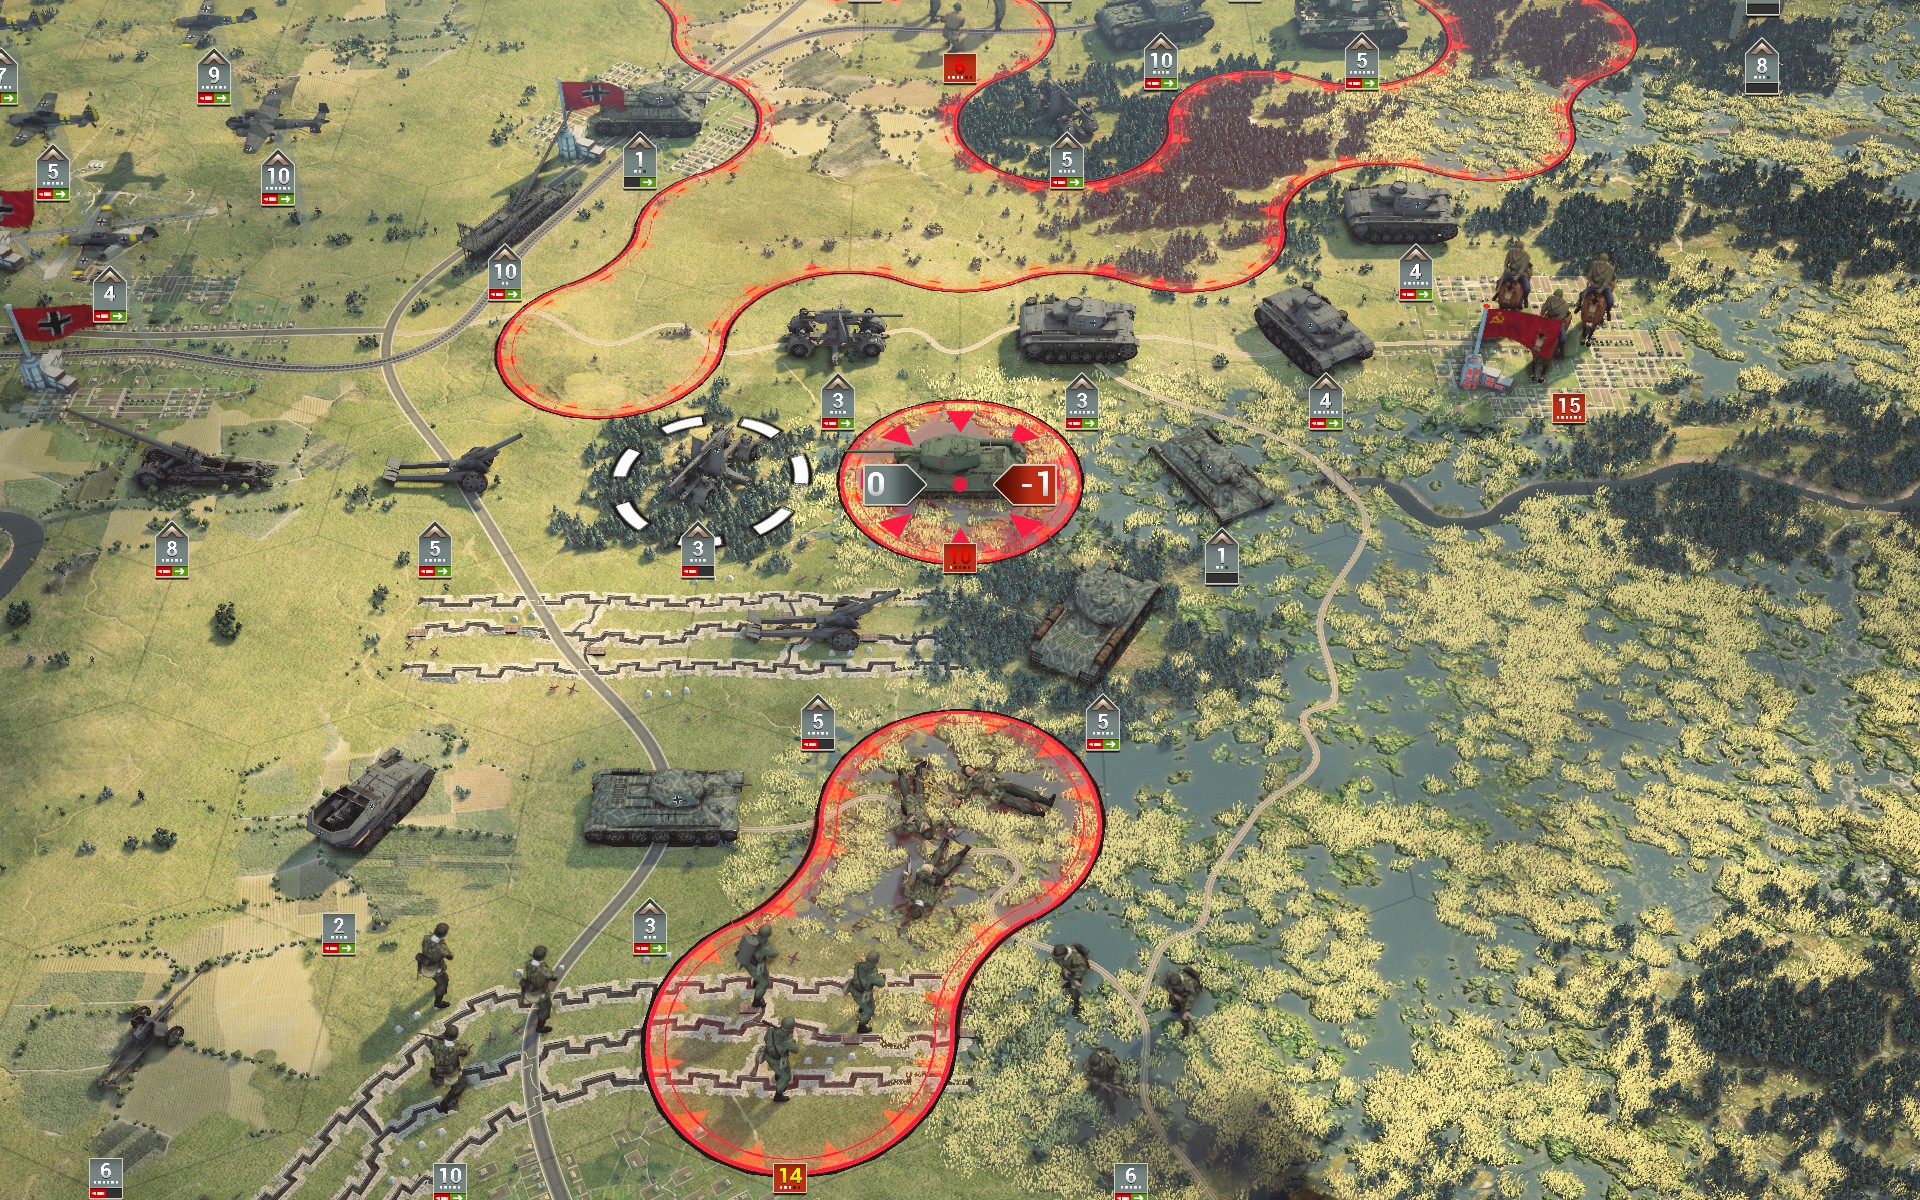
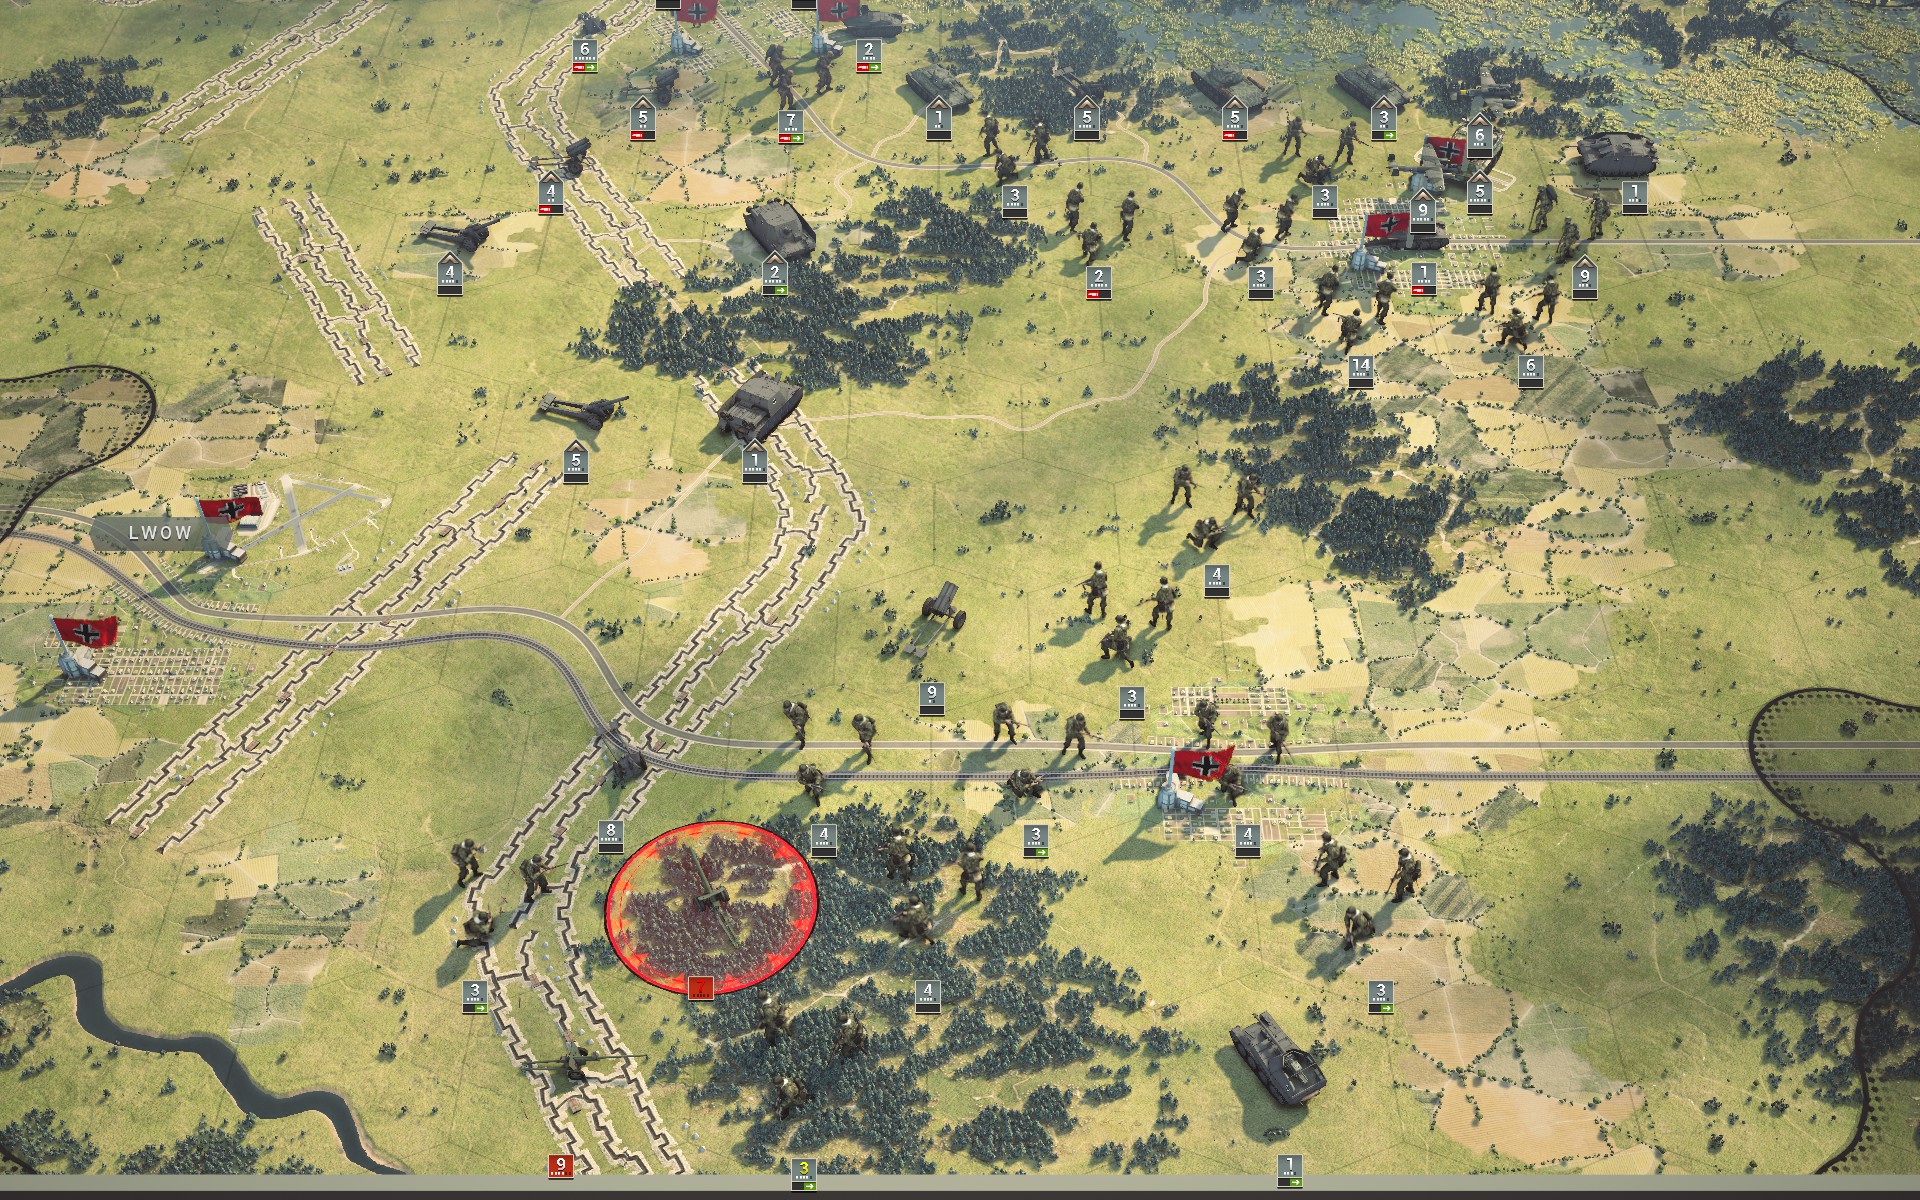
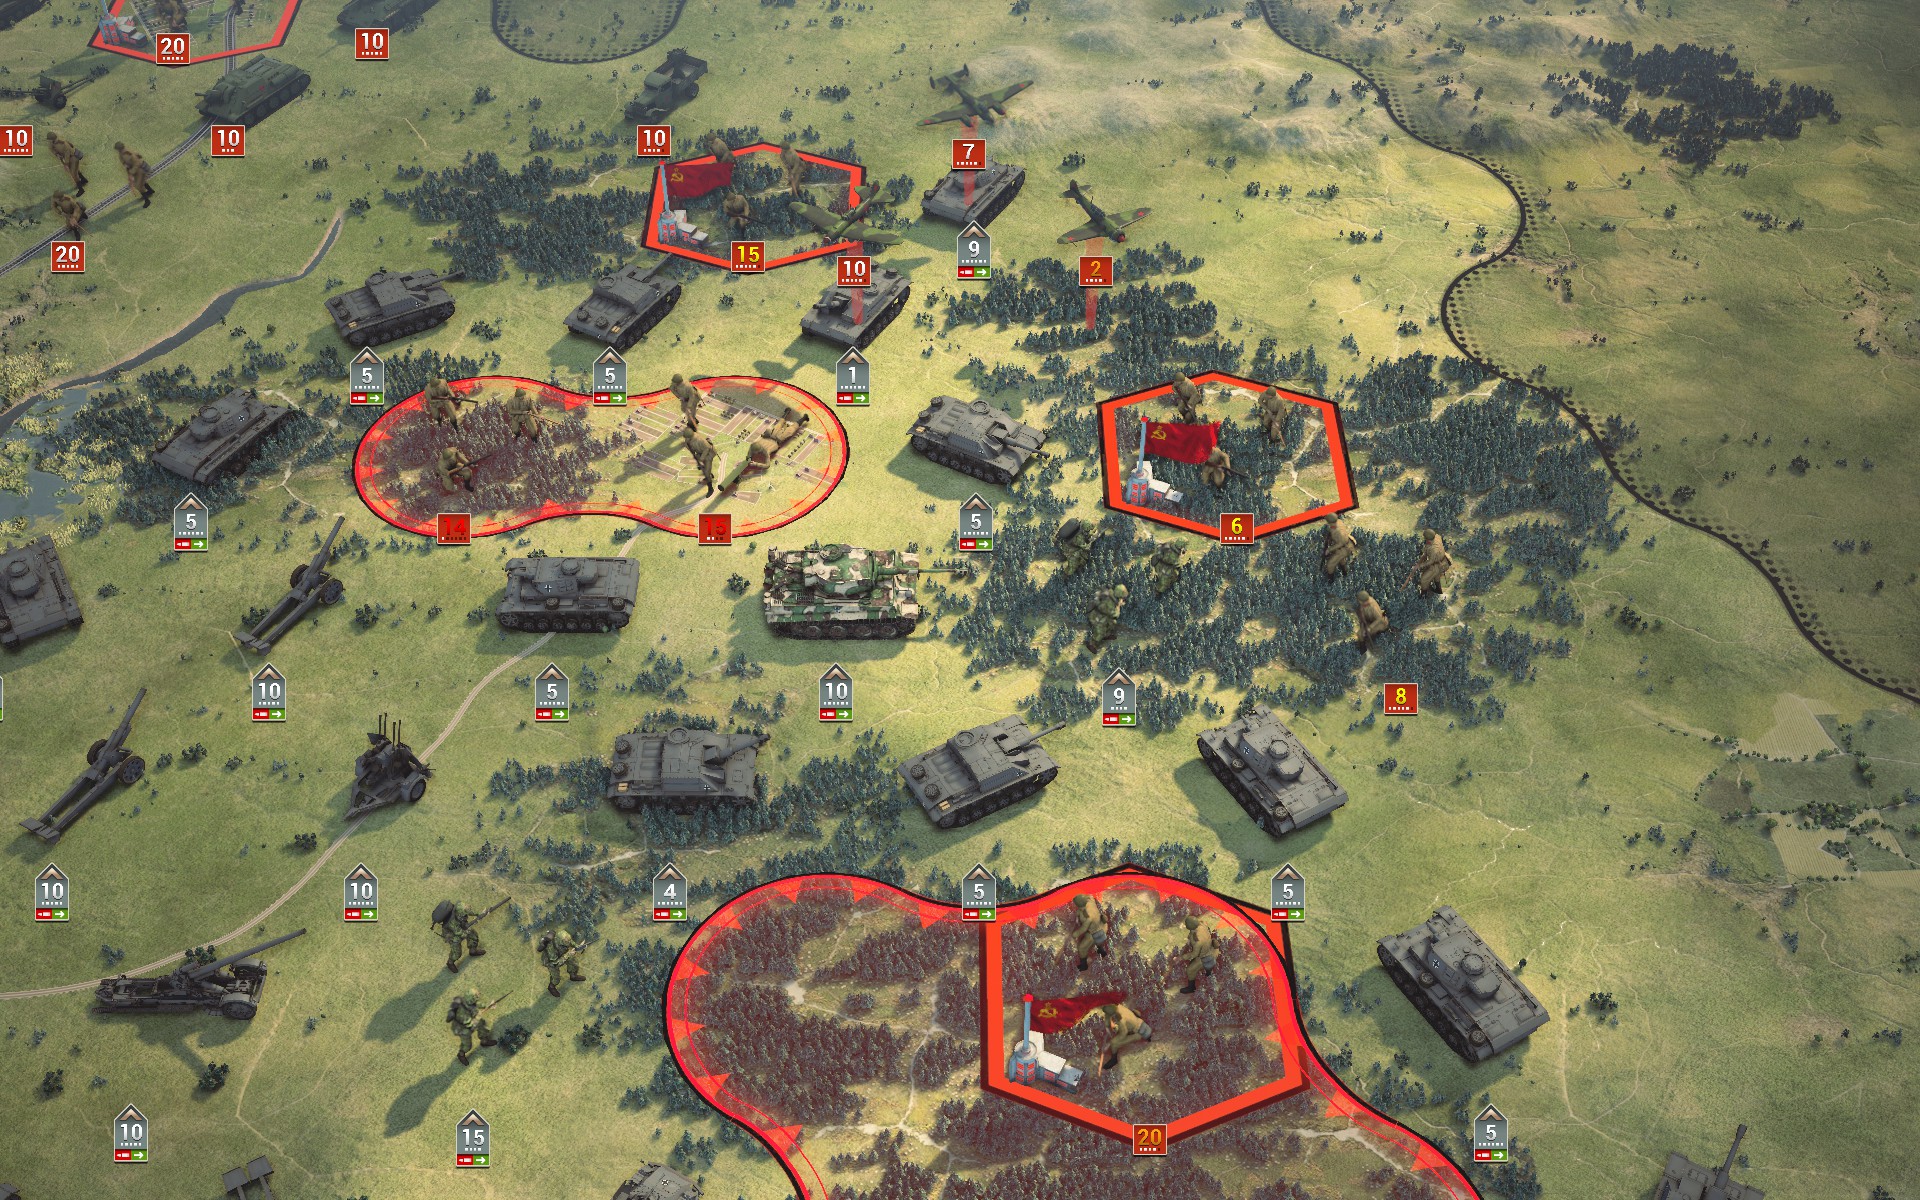
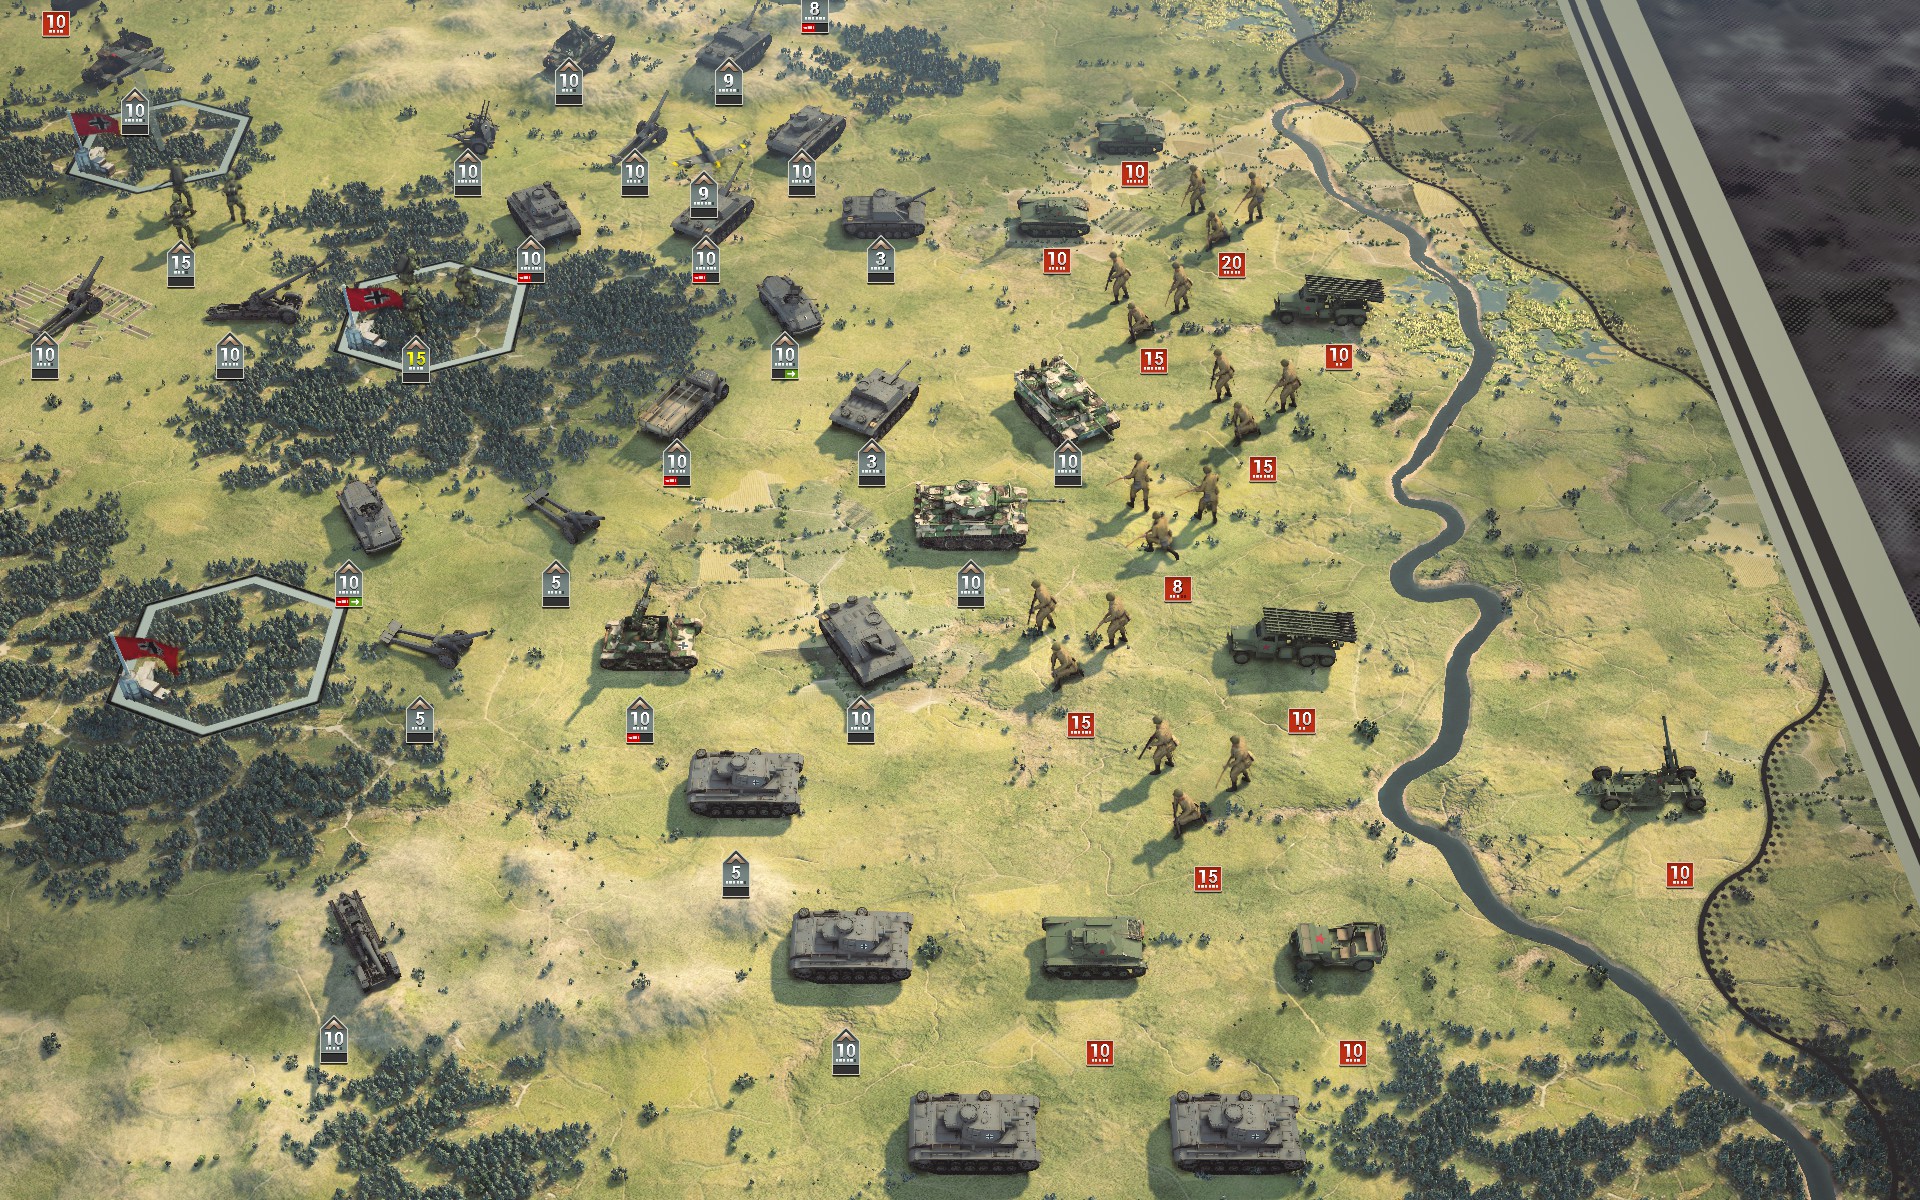
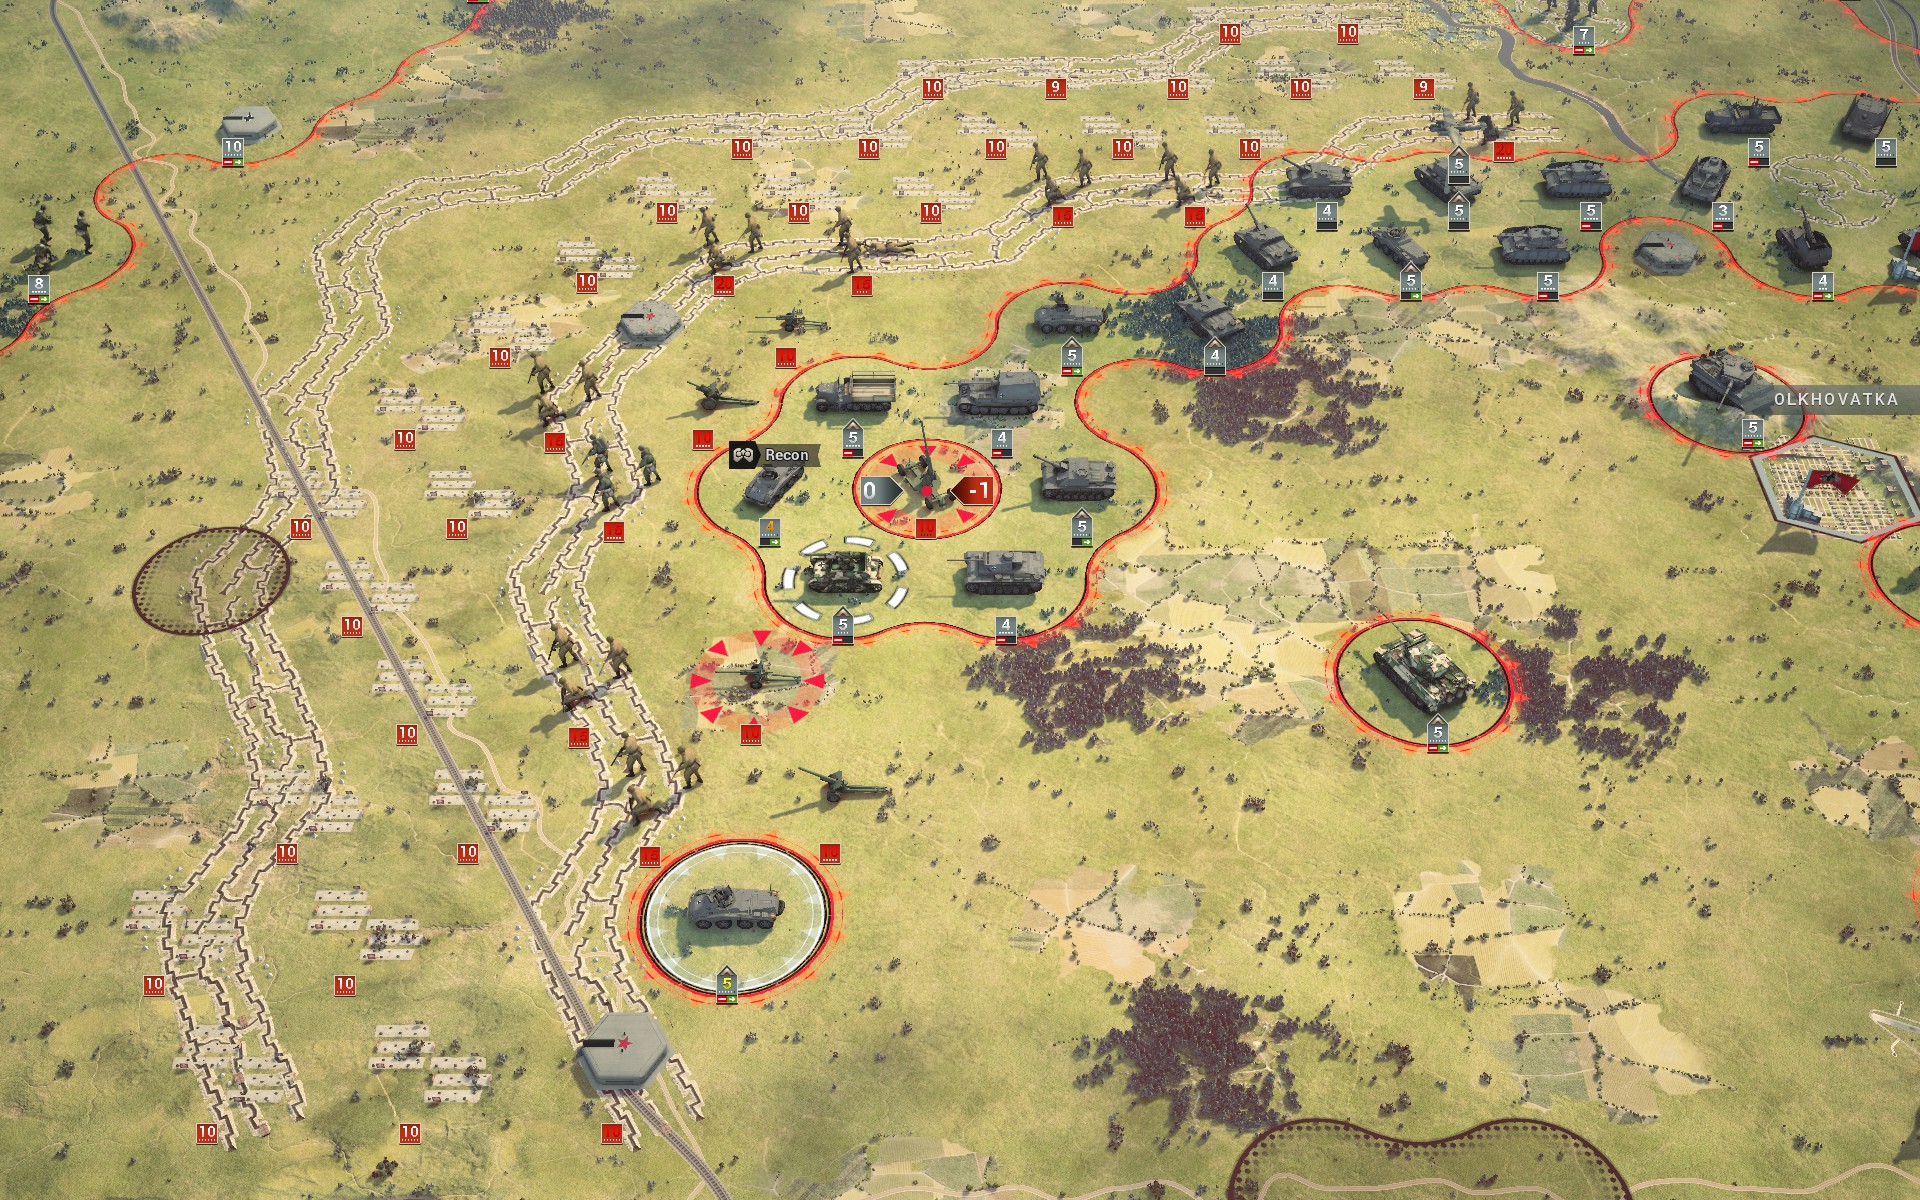
The fortified earthworks to the west are defended by large numbers of Soviet infantry, supported by artillery and AT guns.

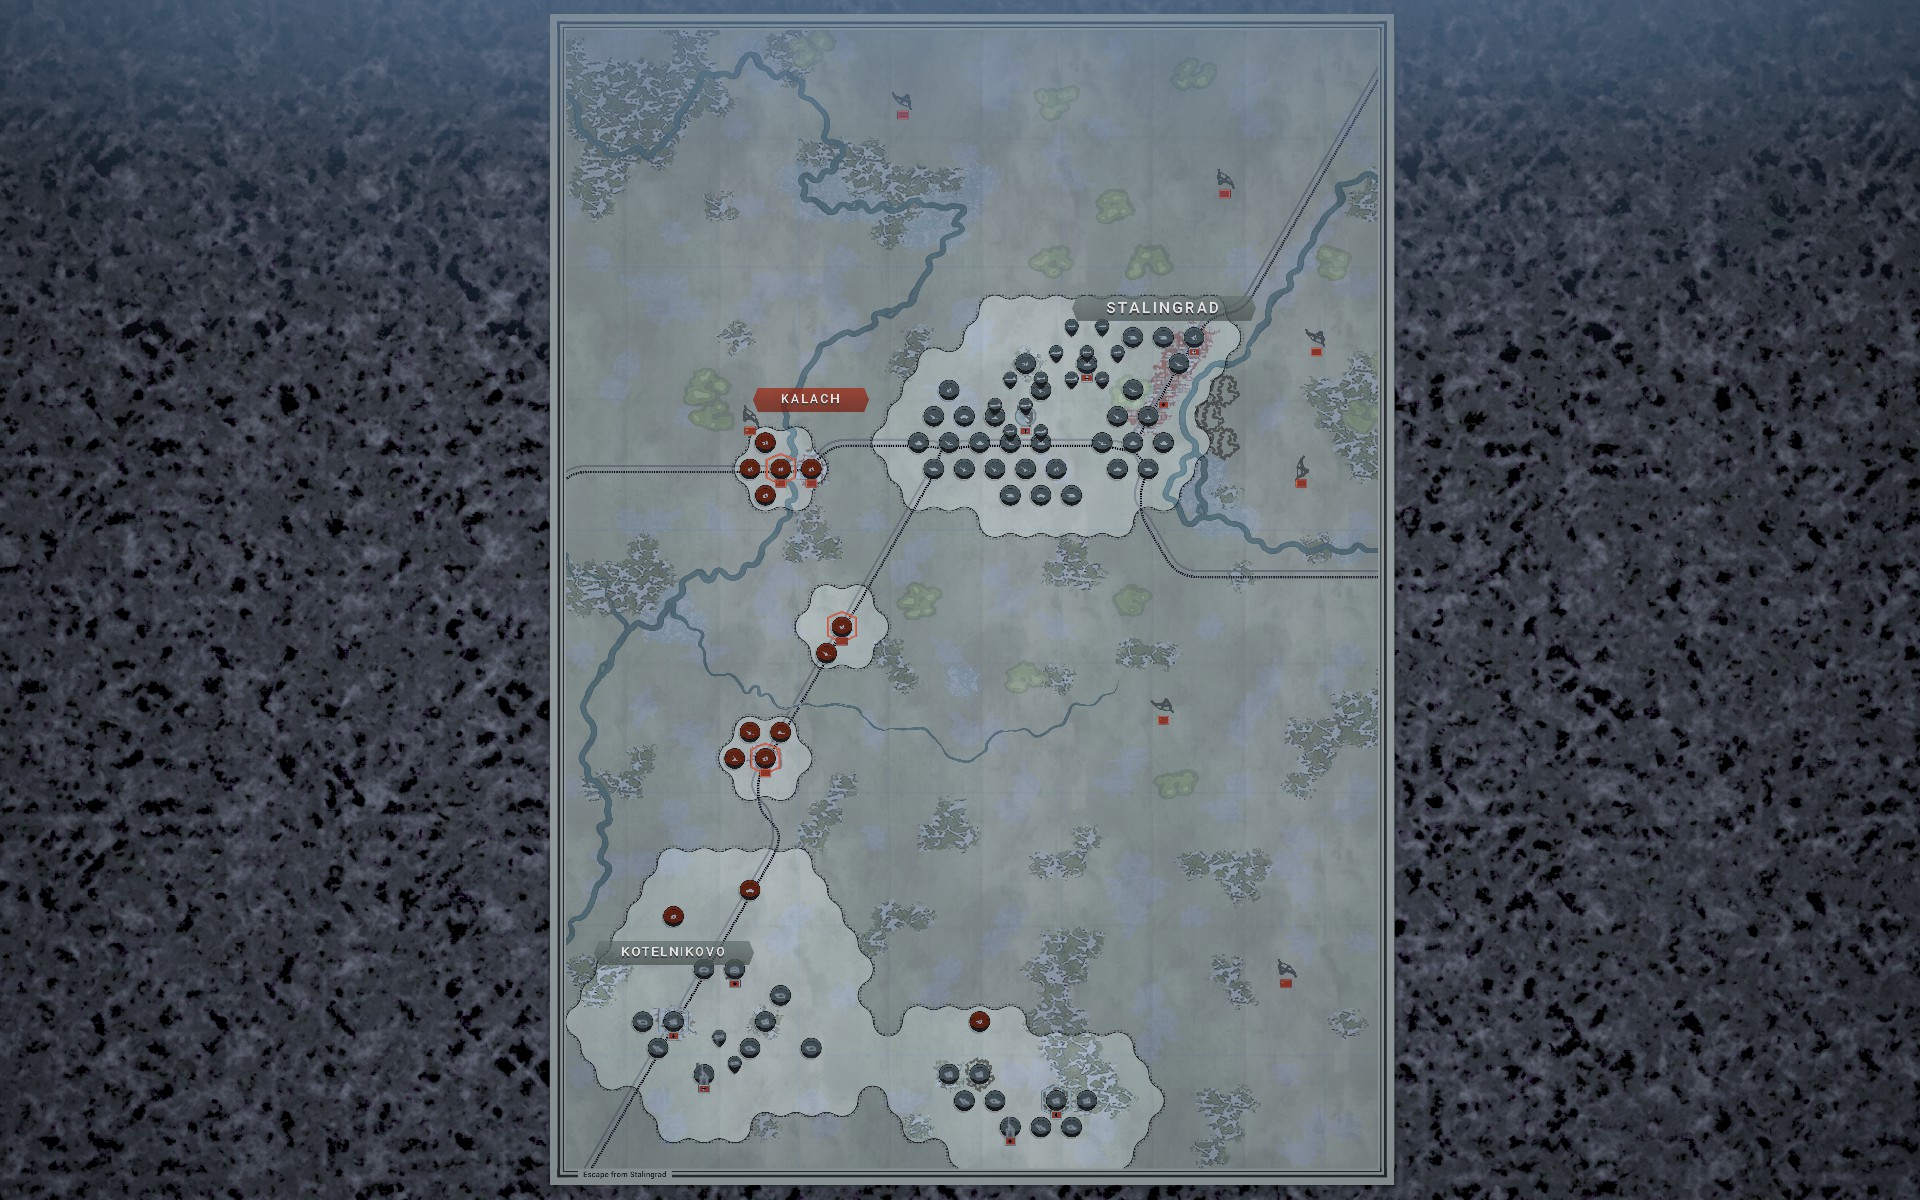
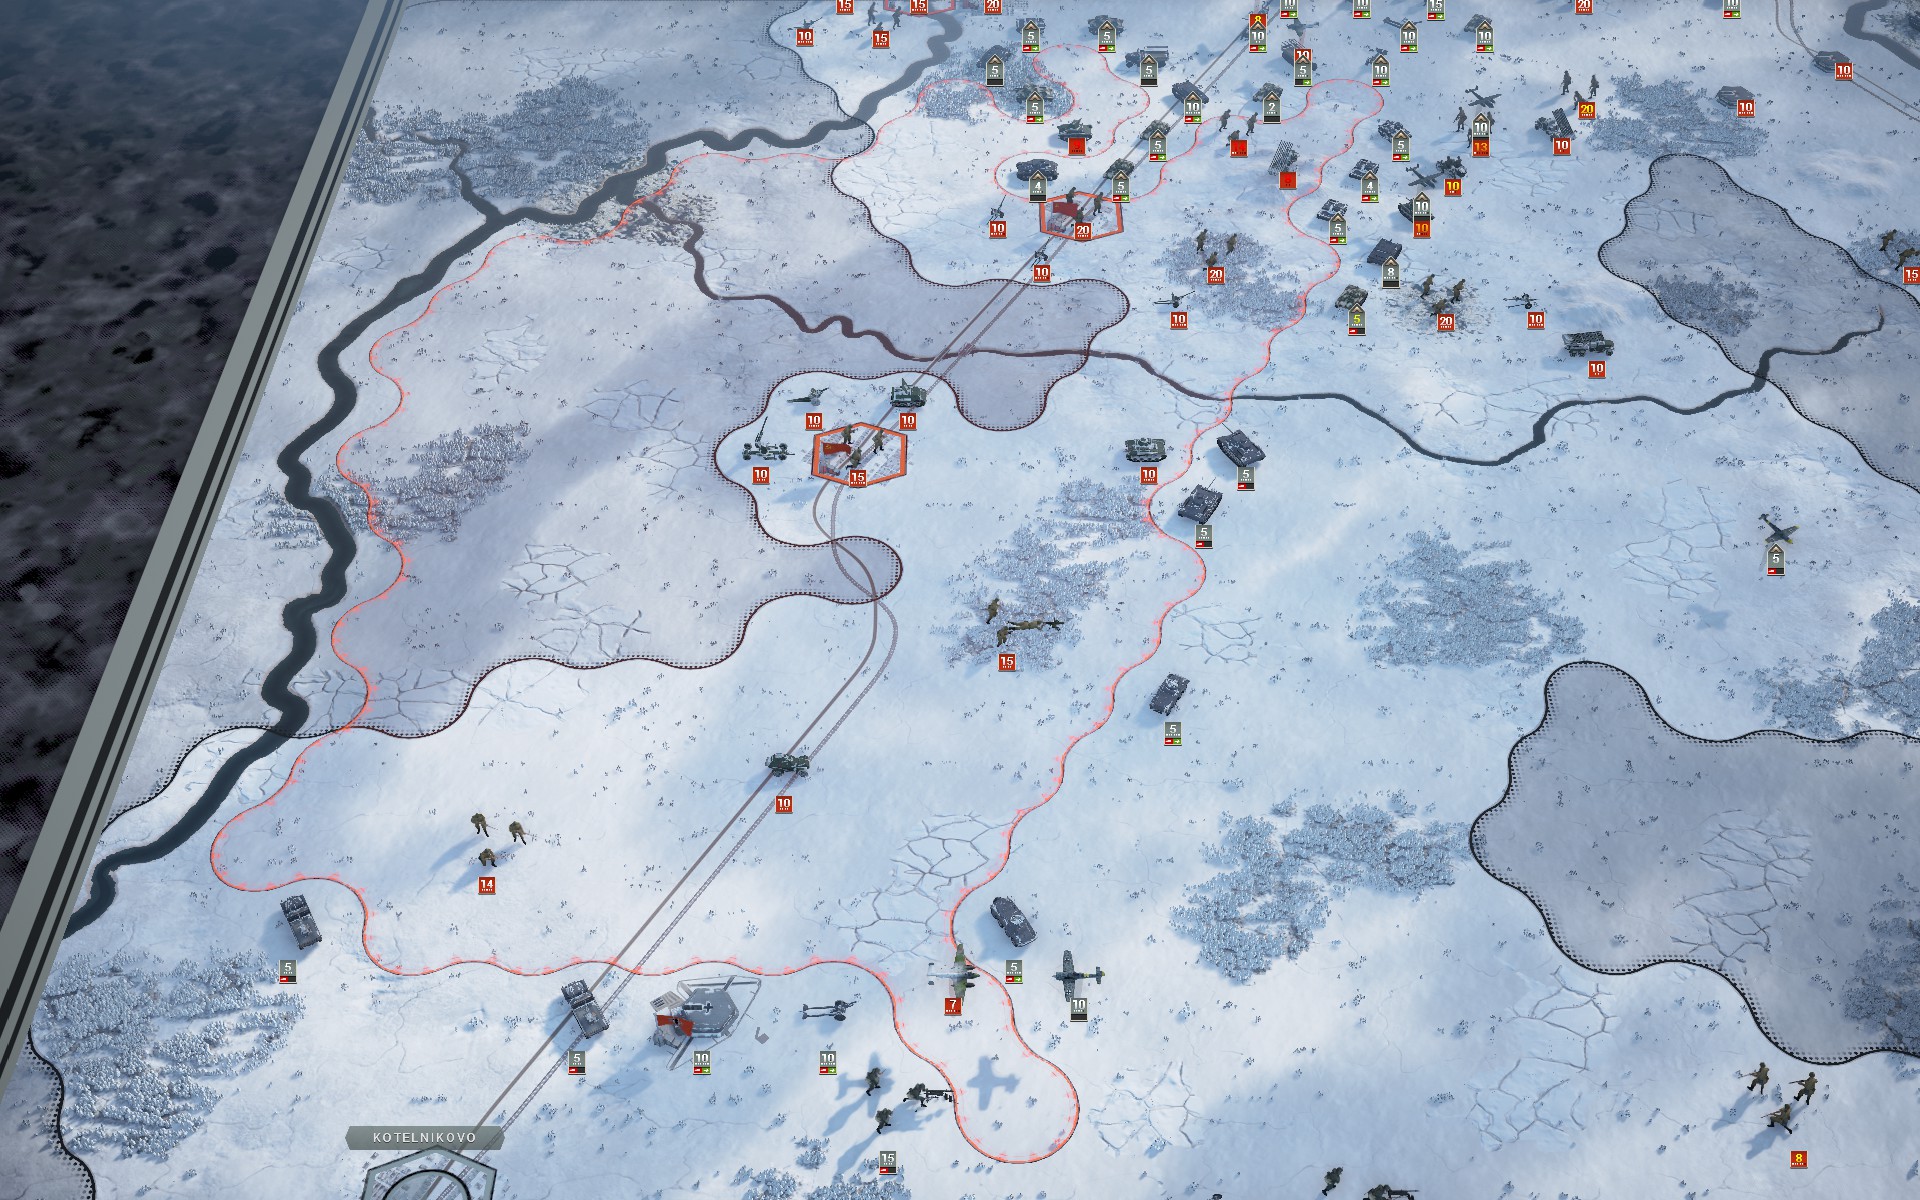
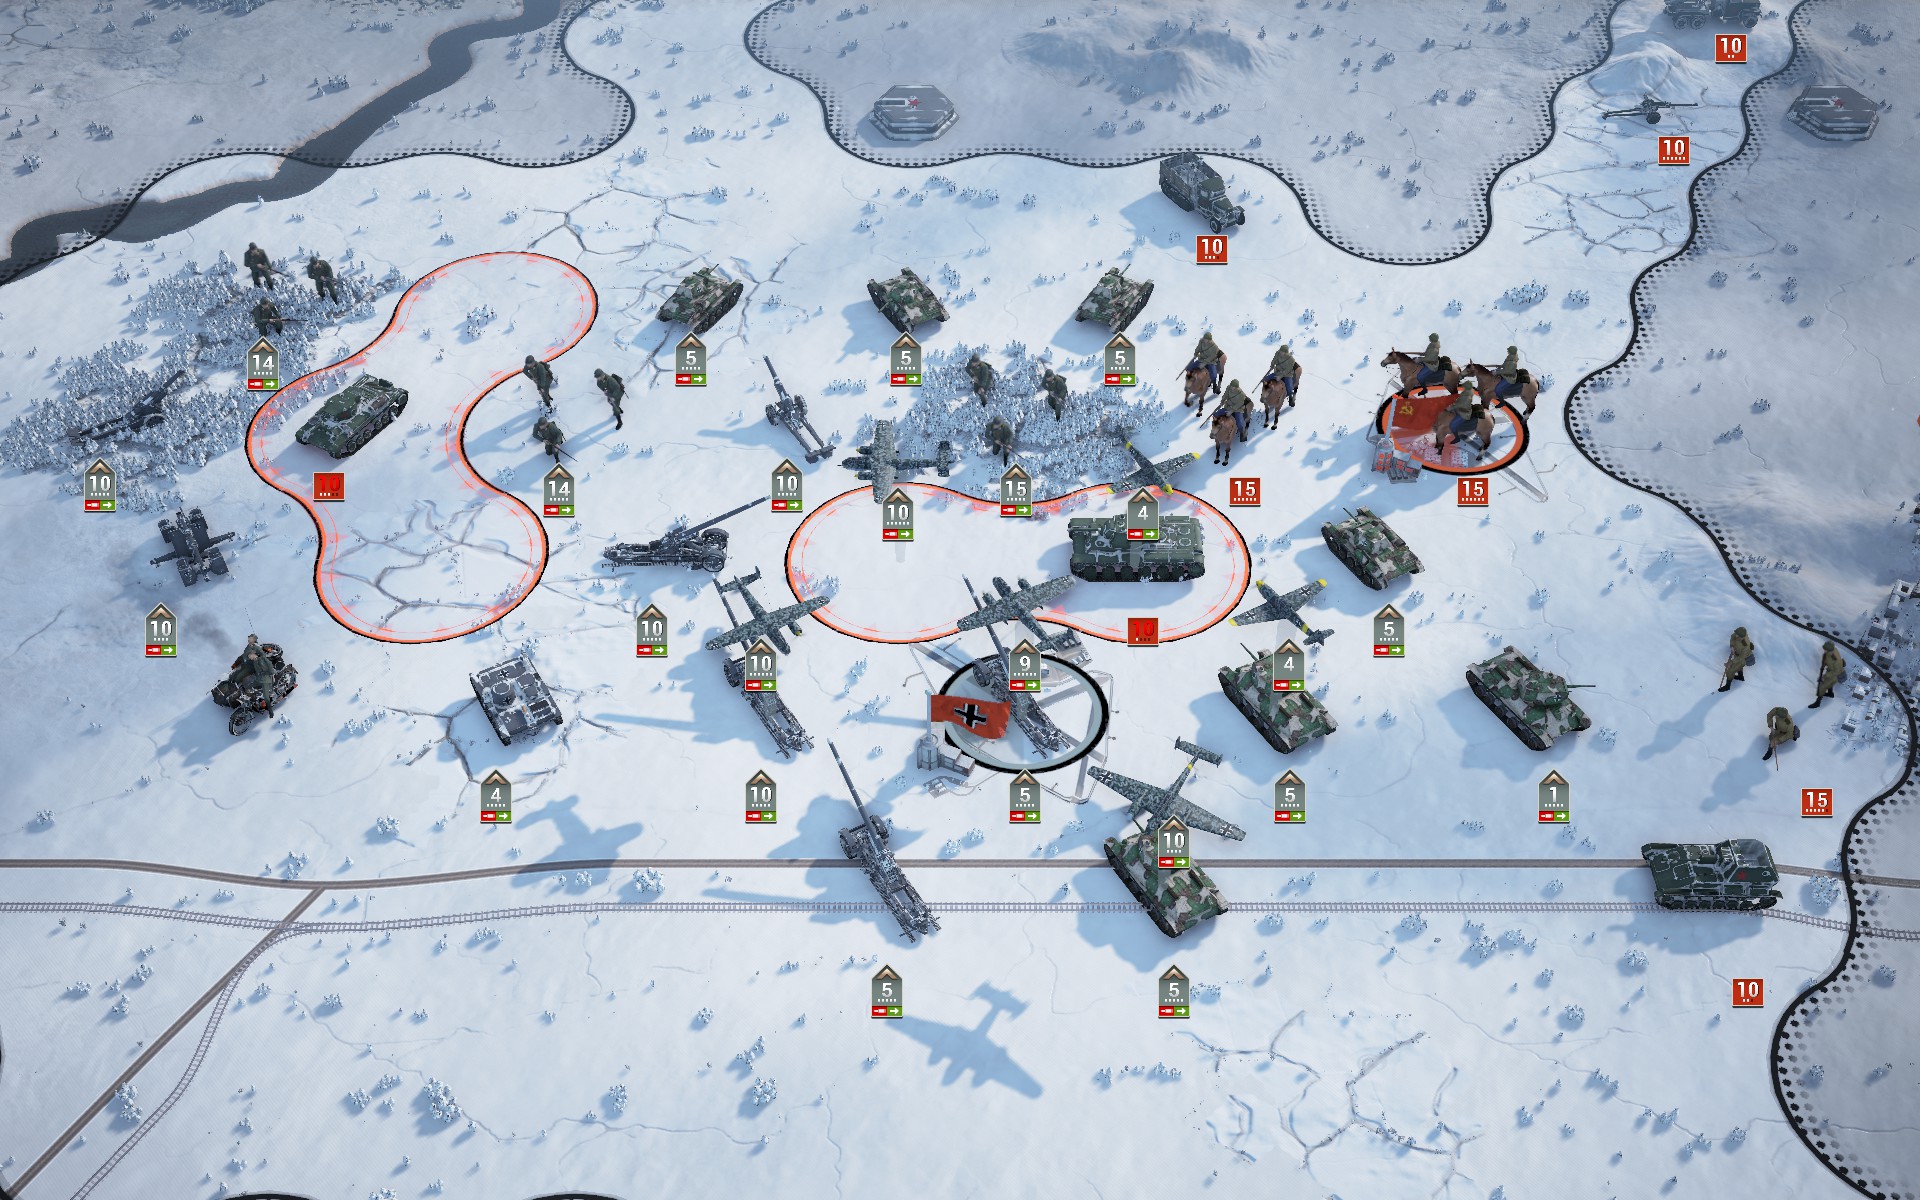
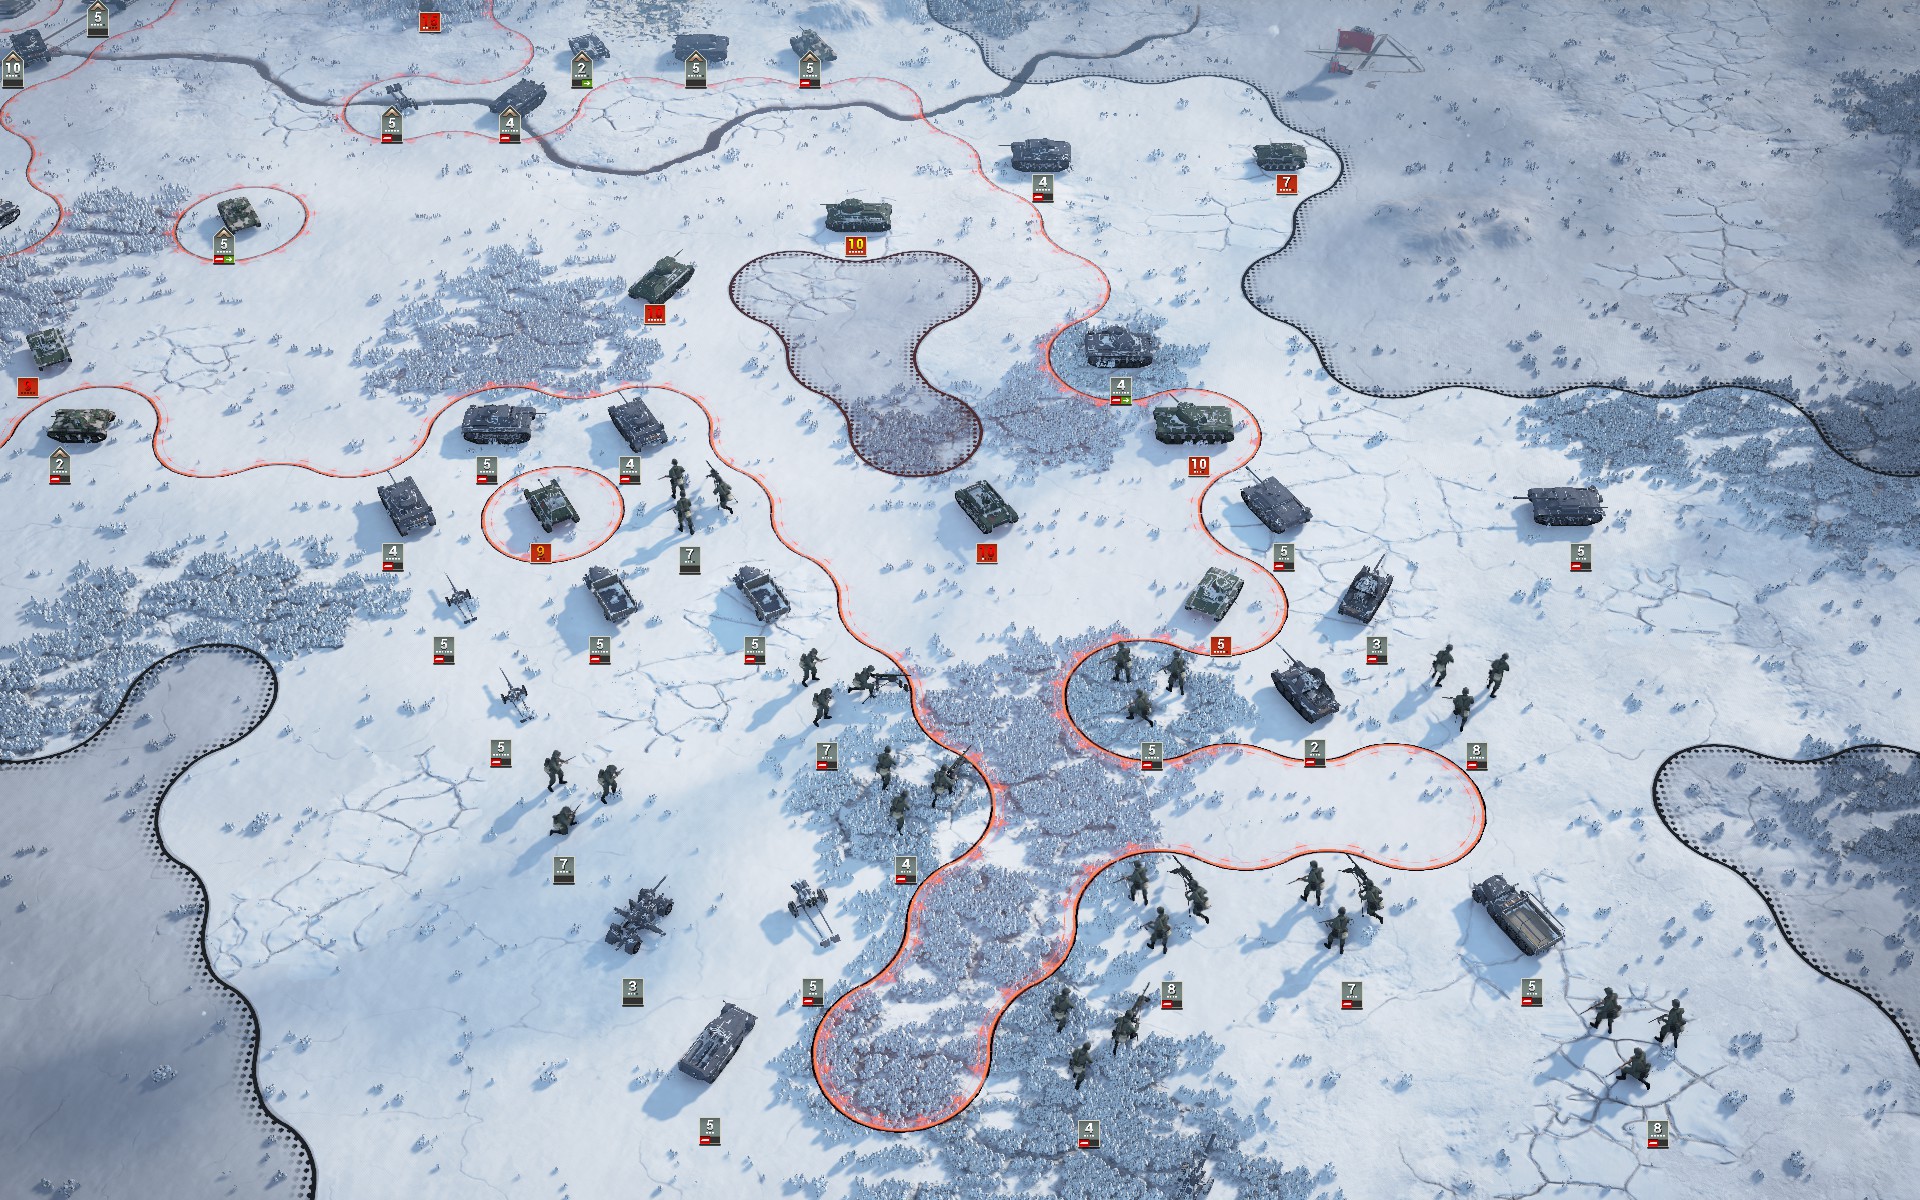
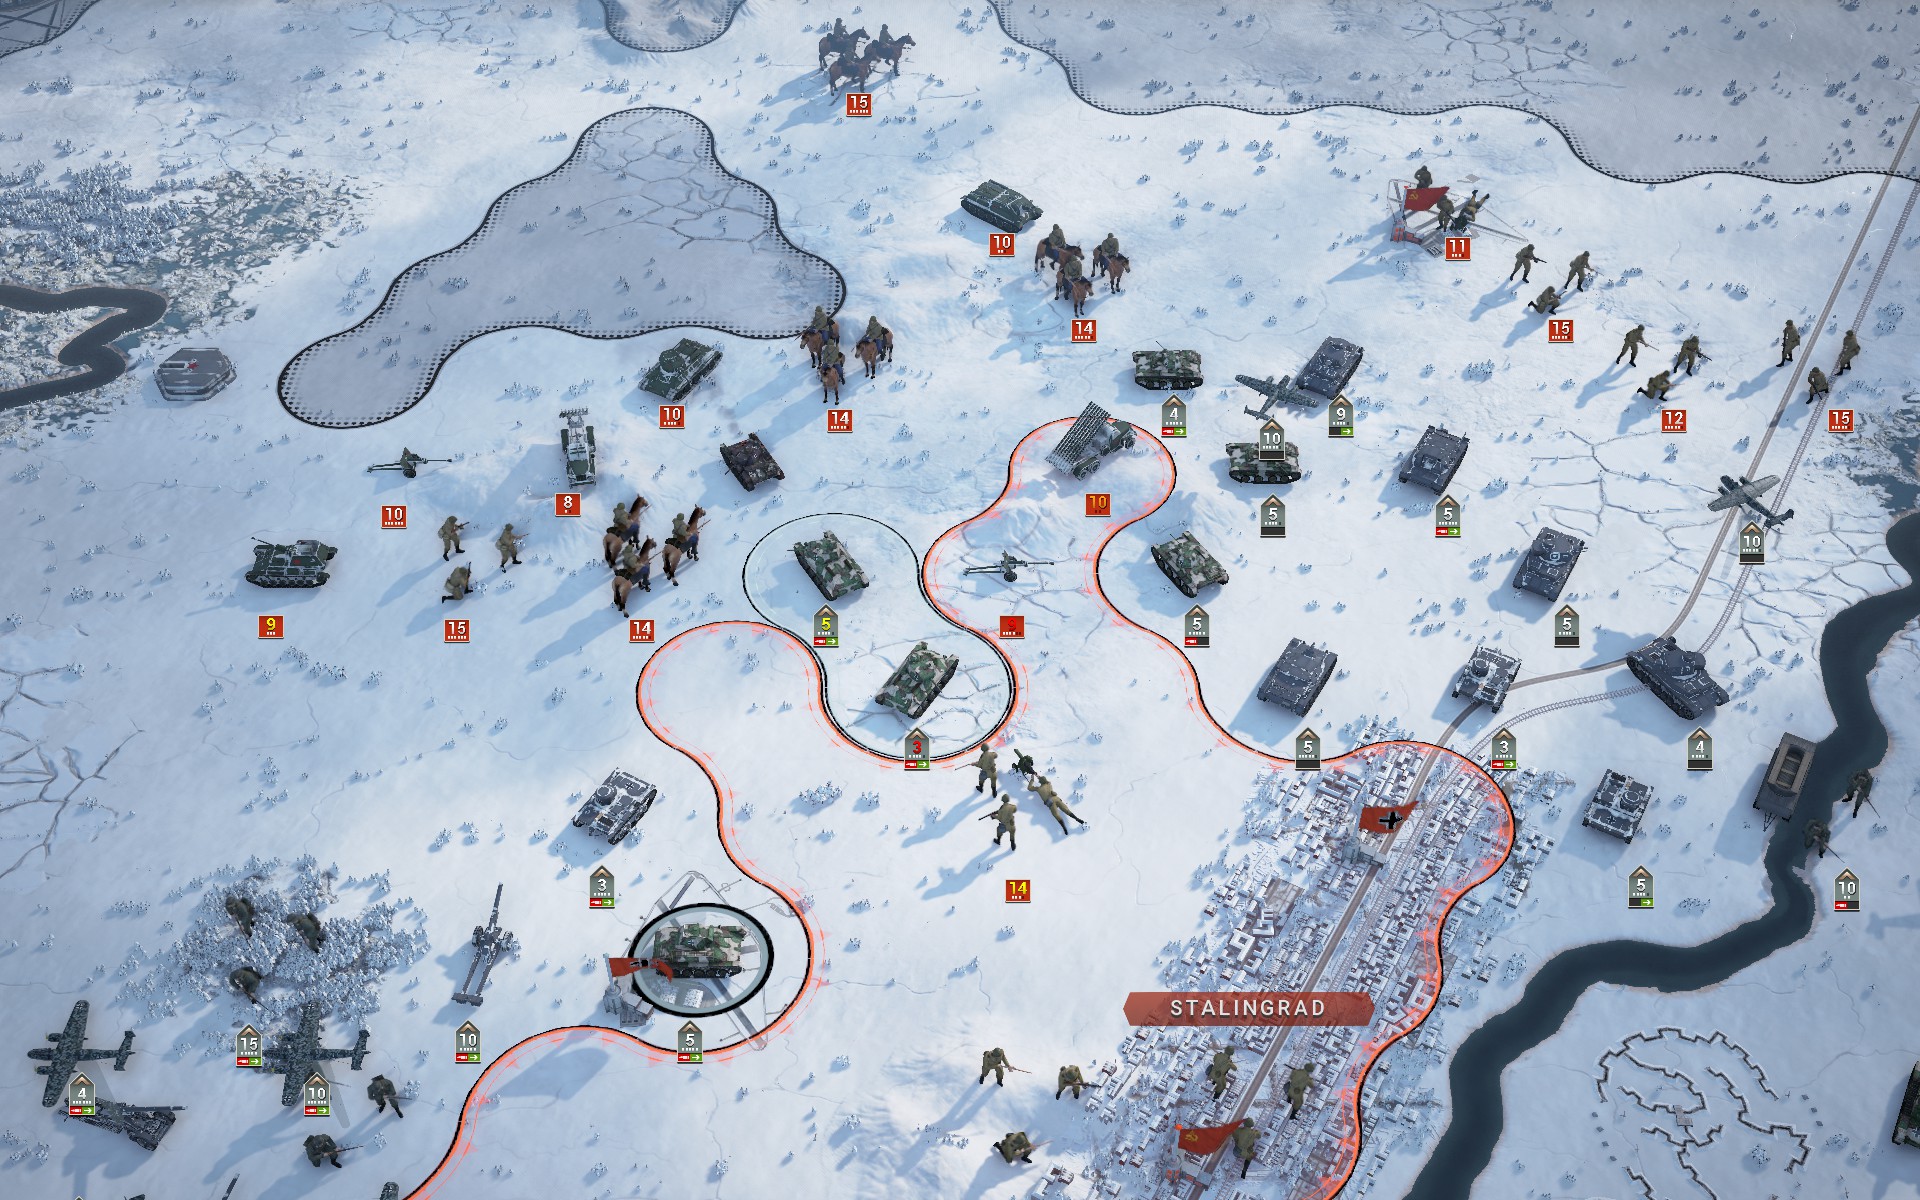
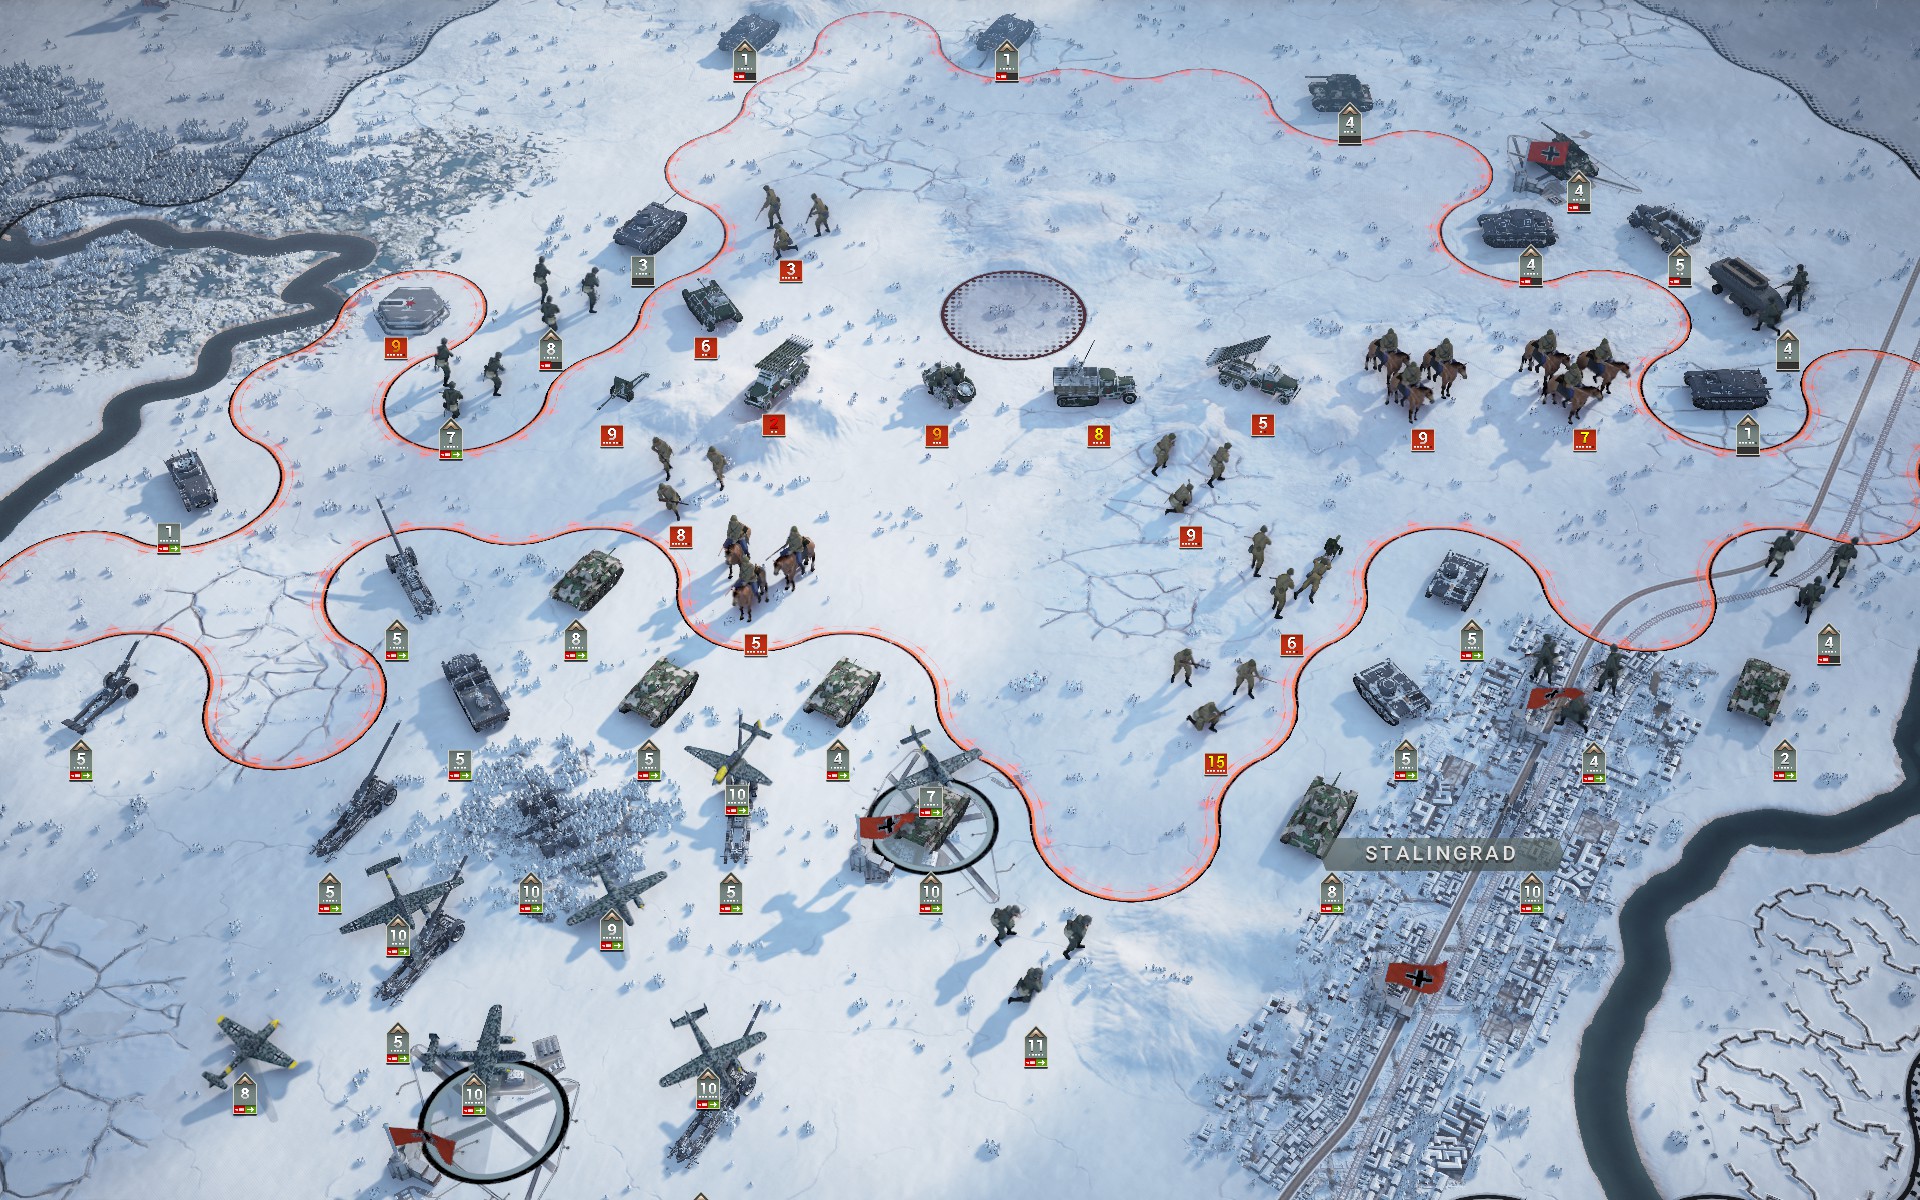
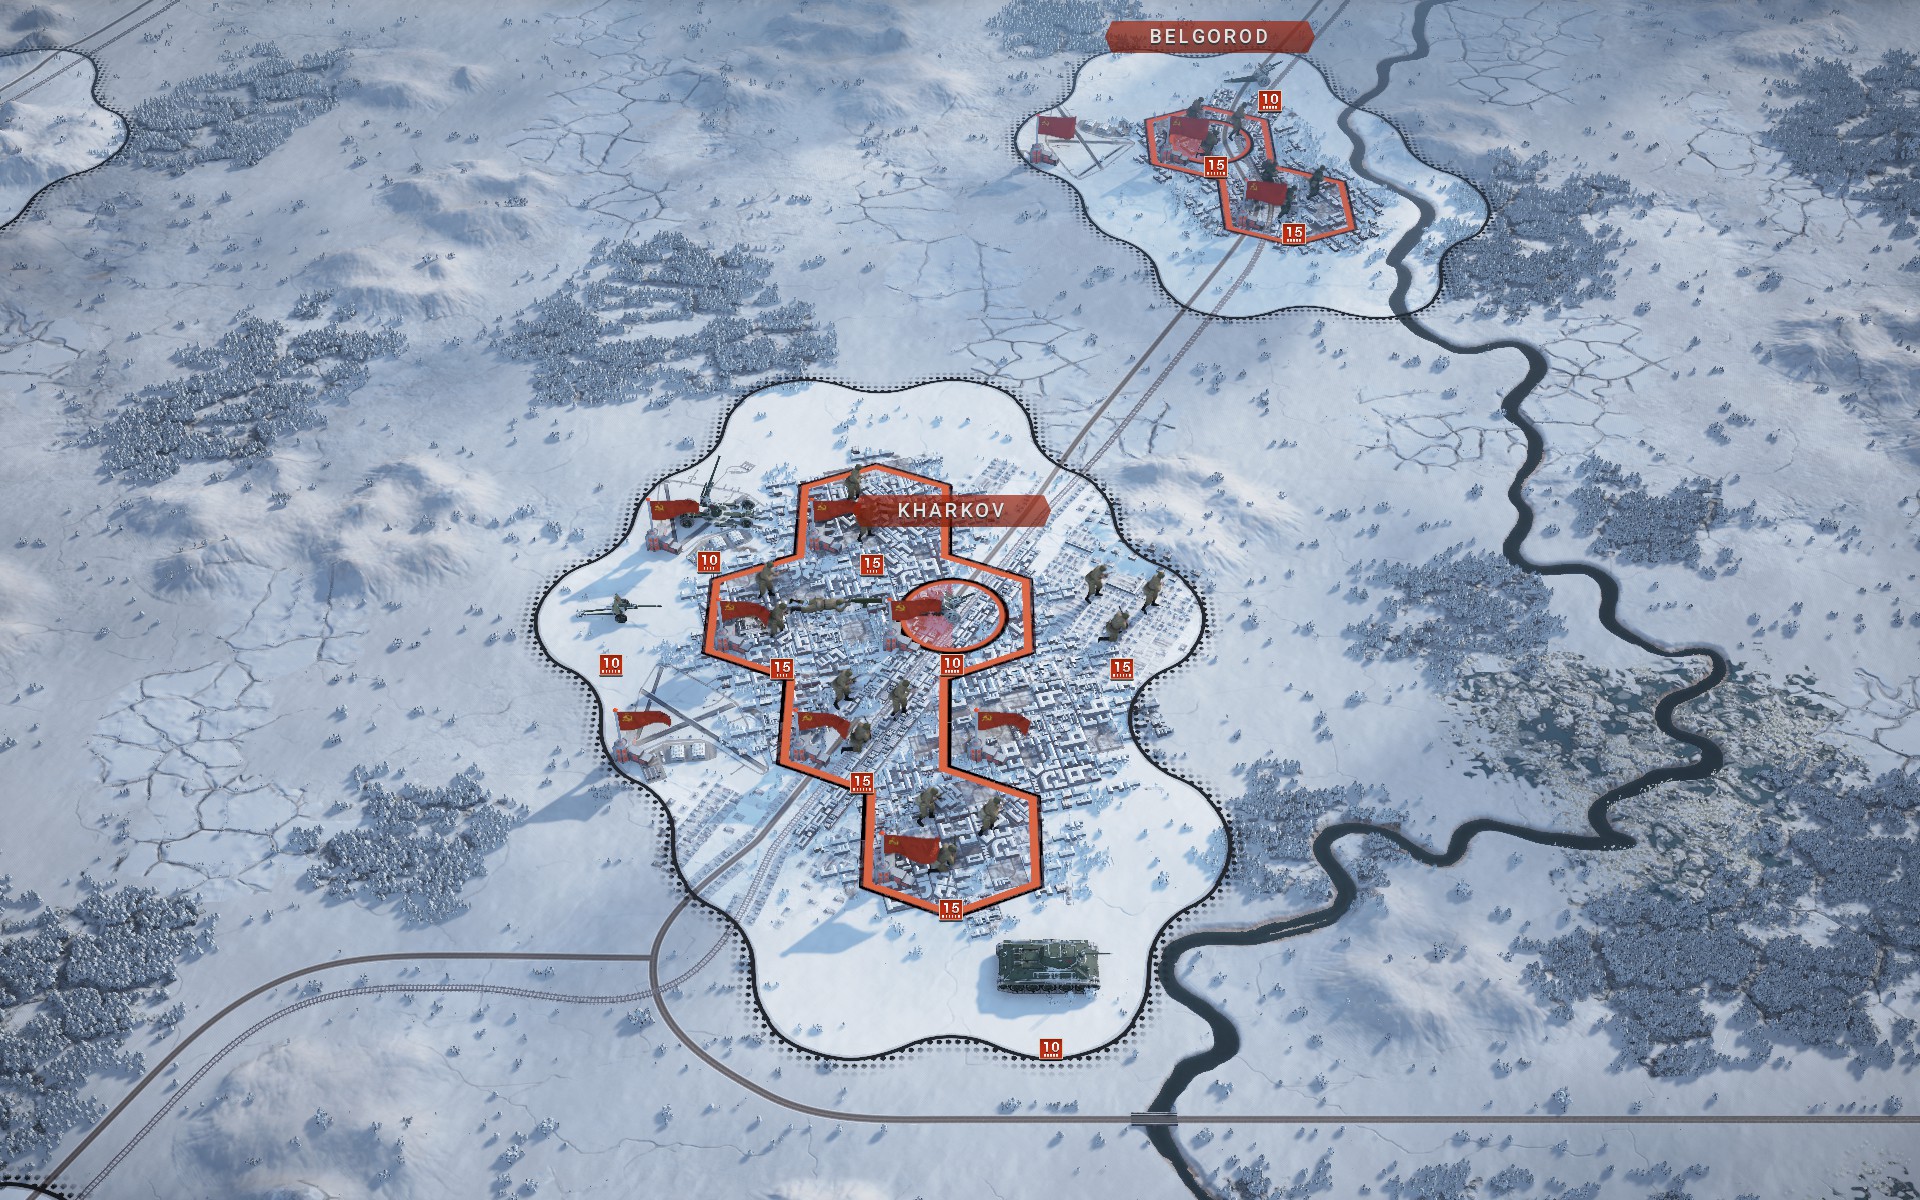
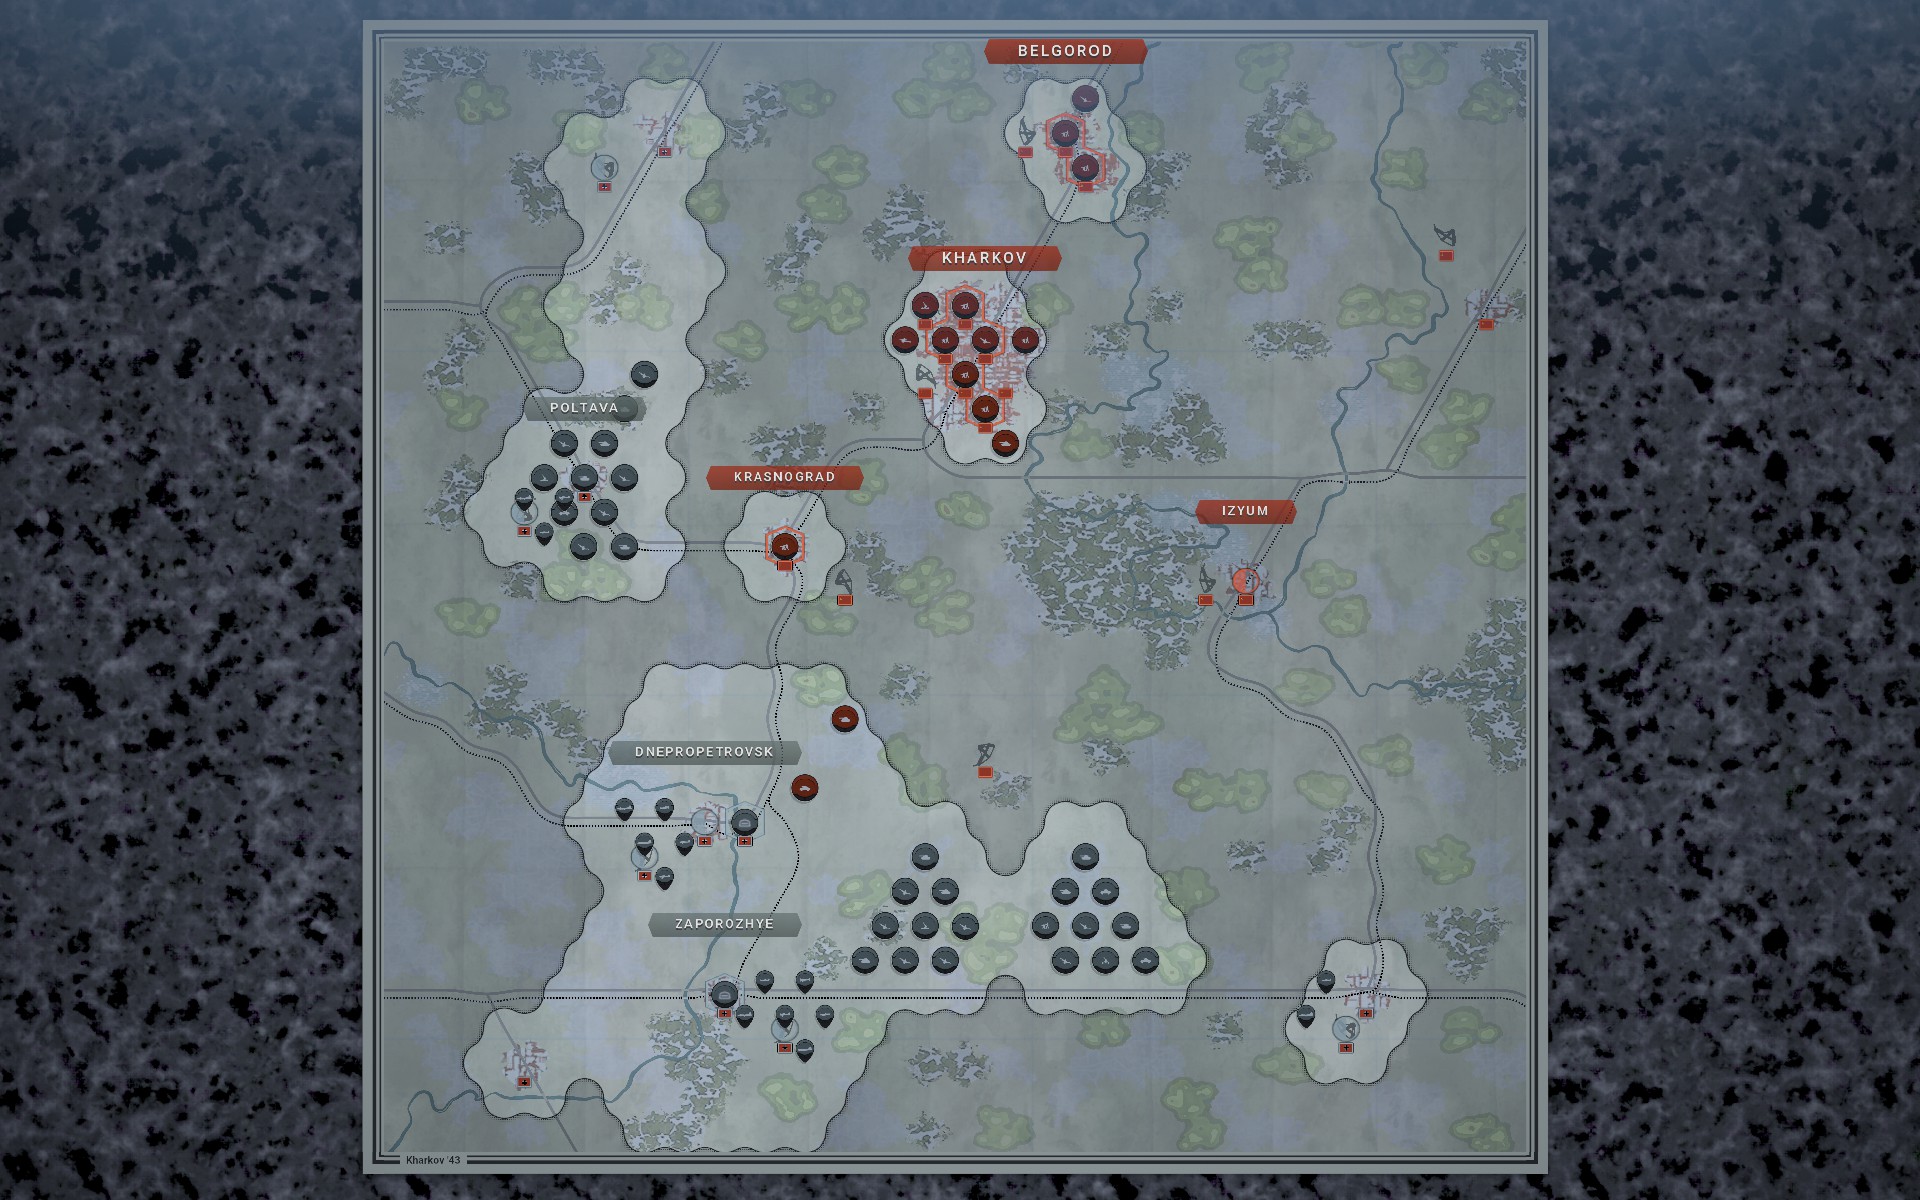
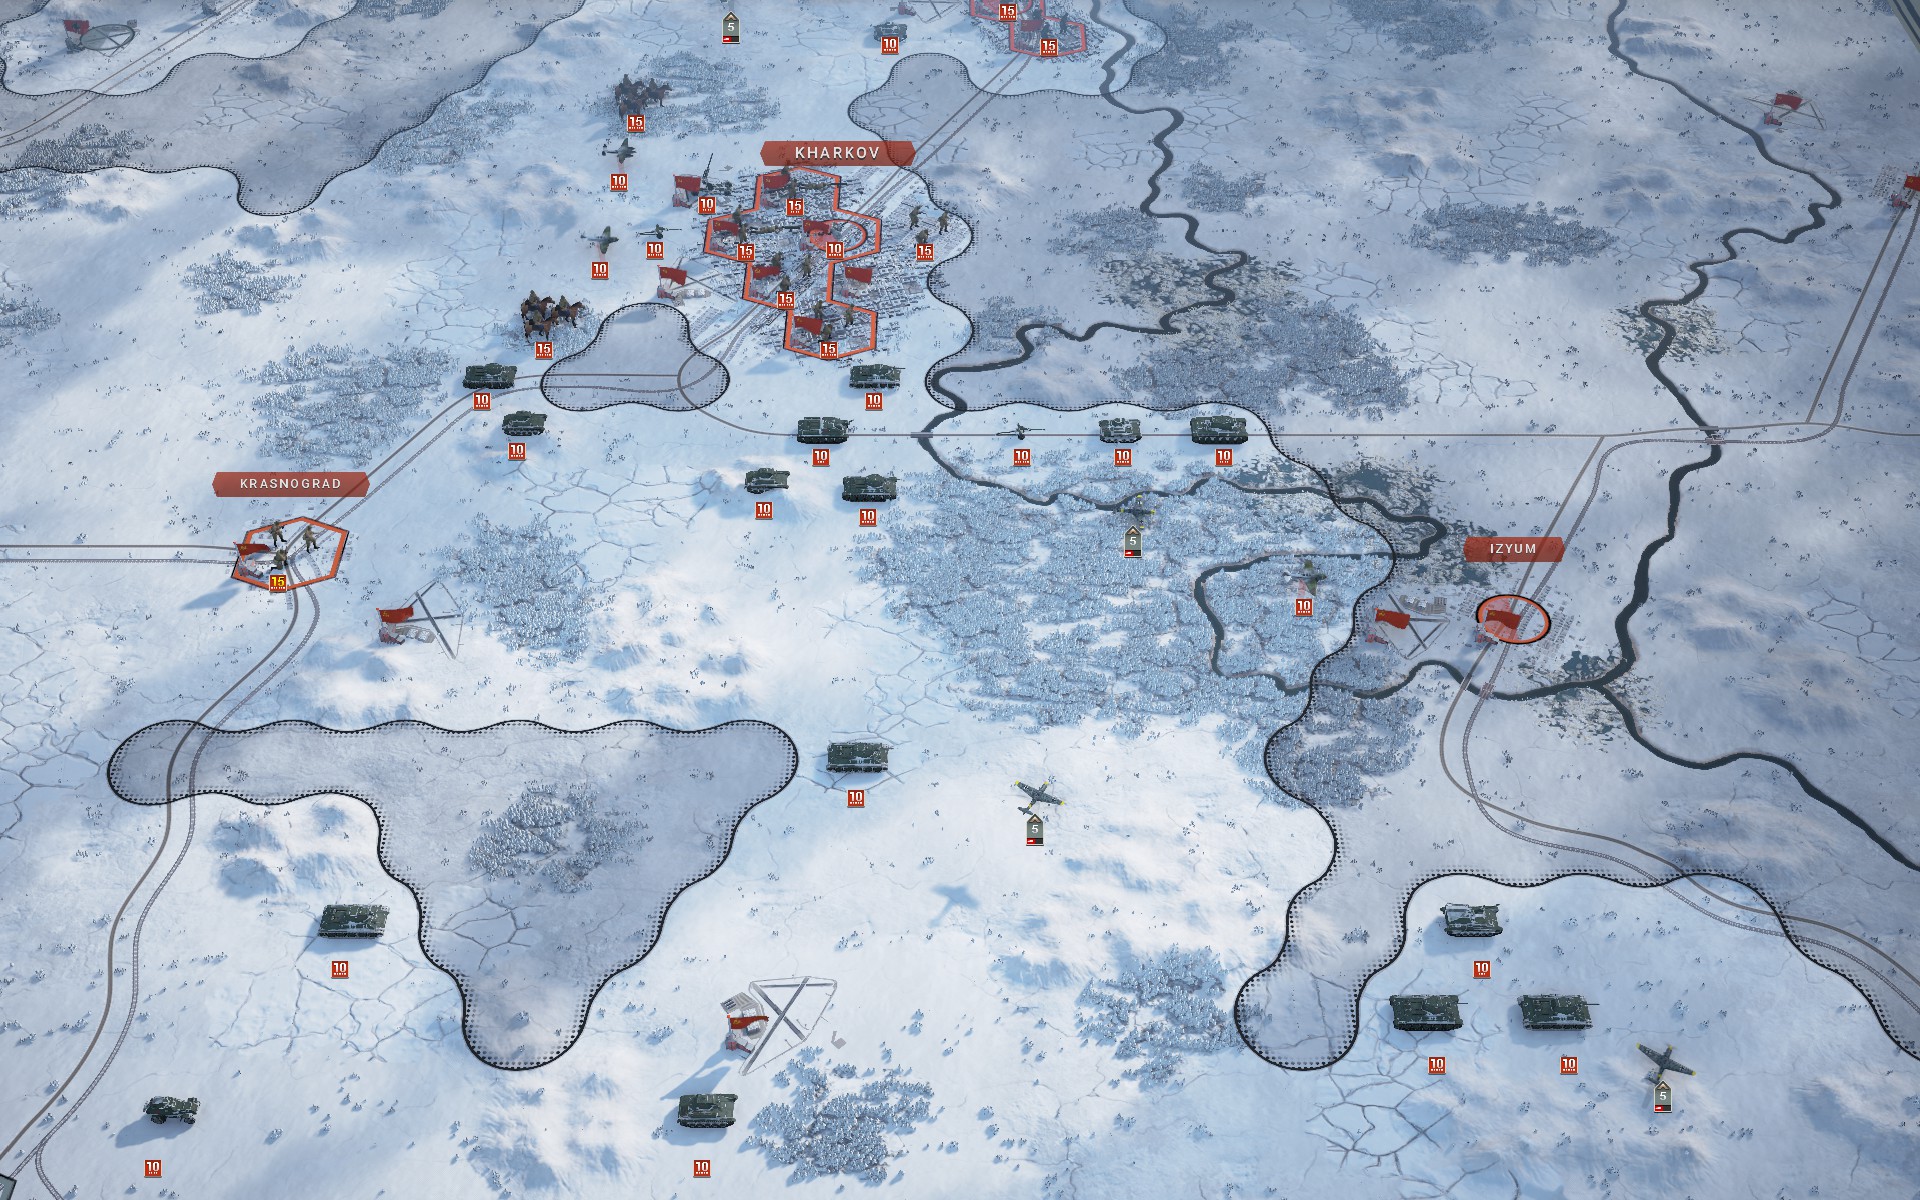
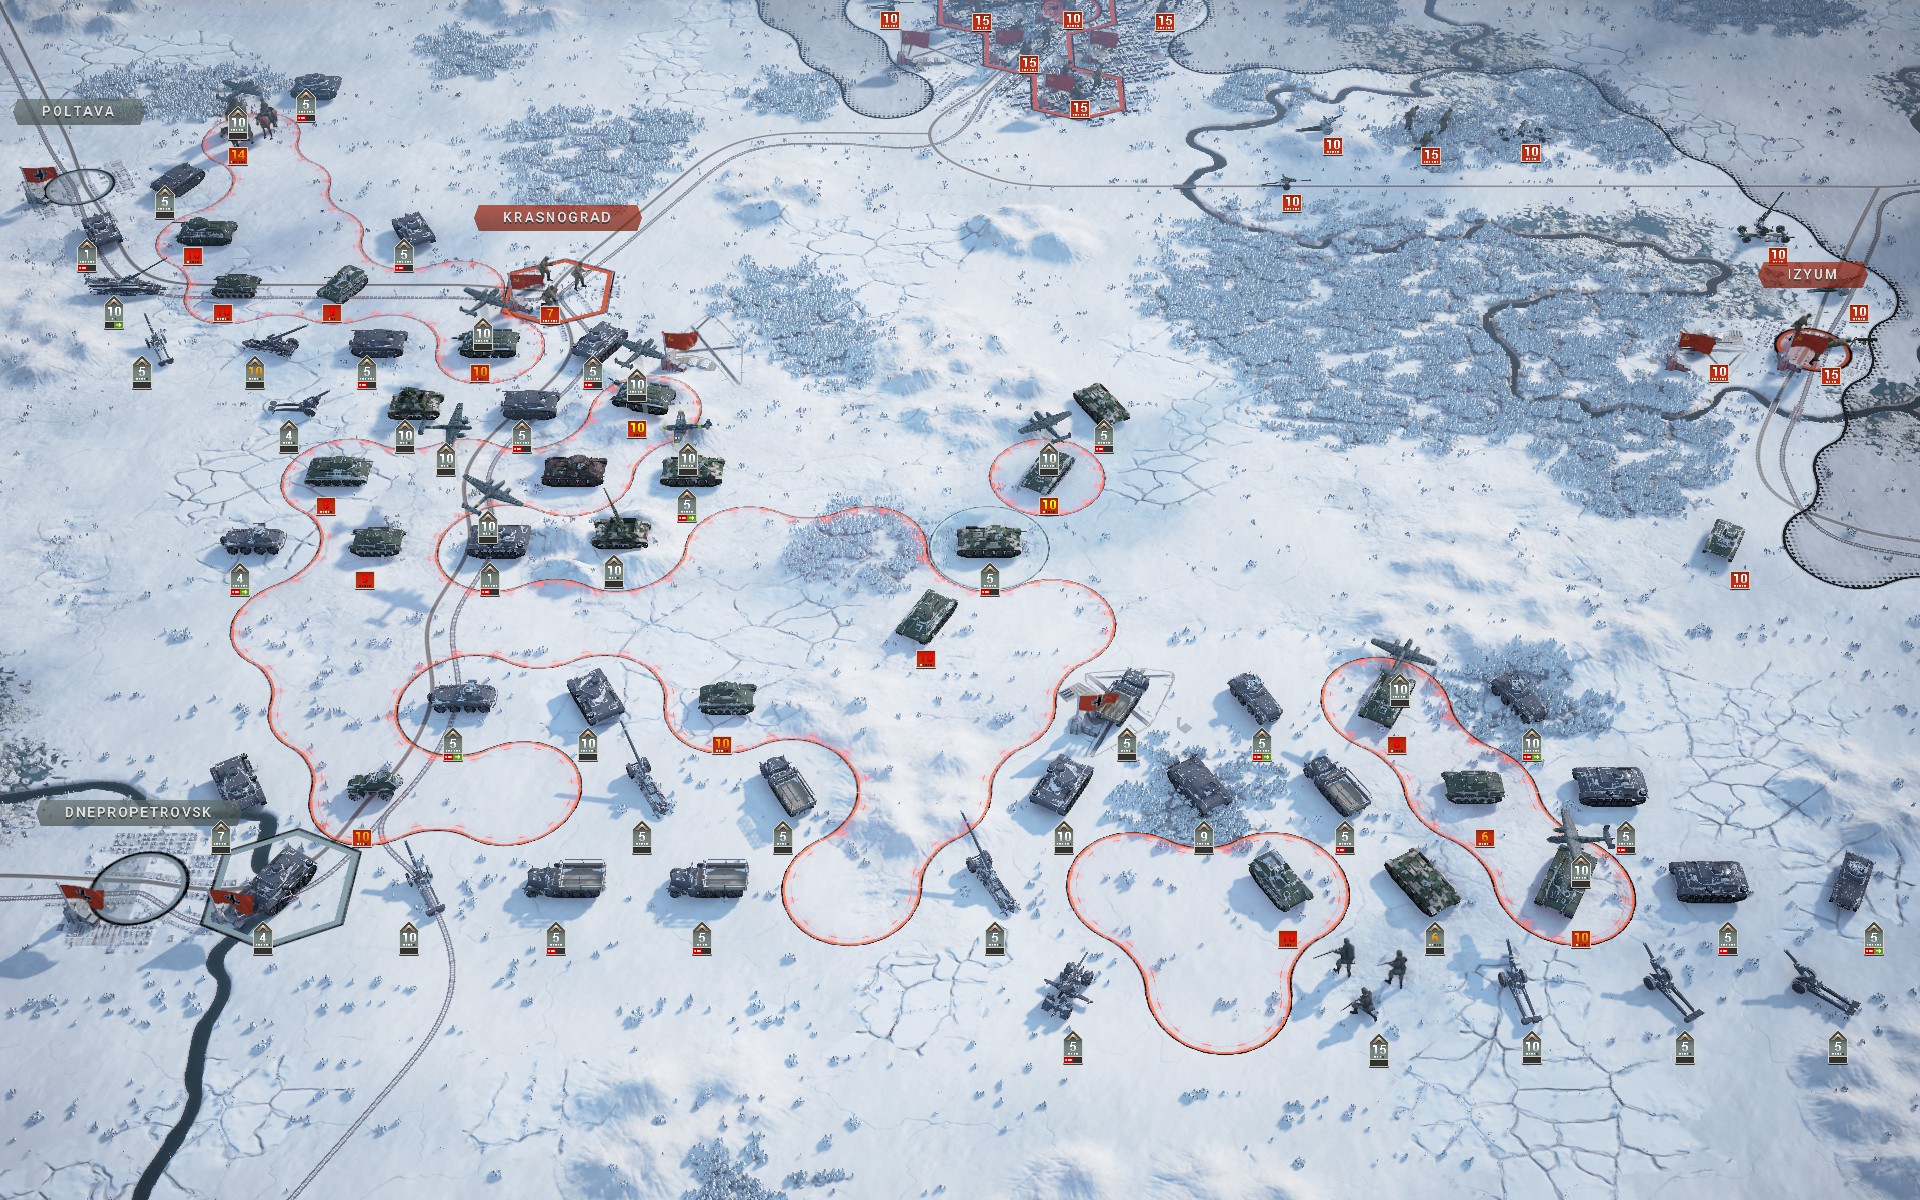
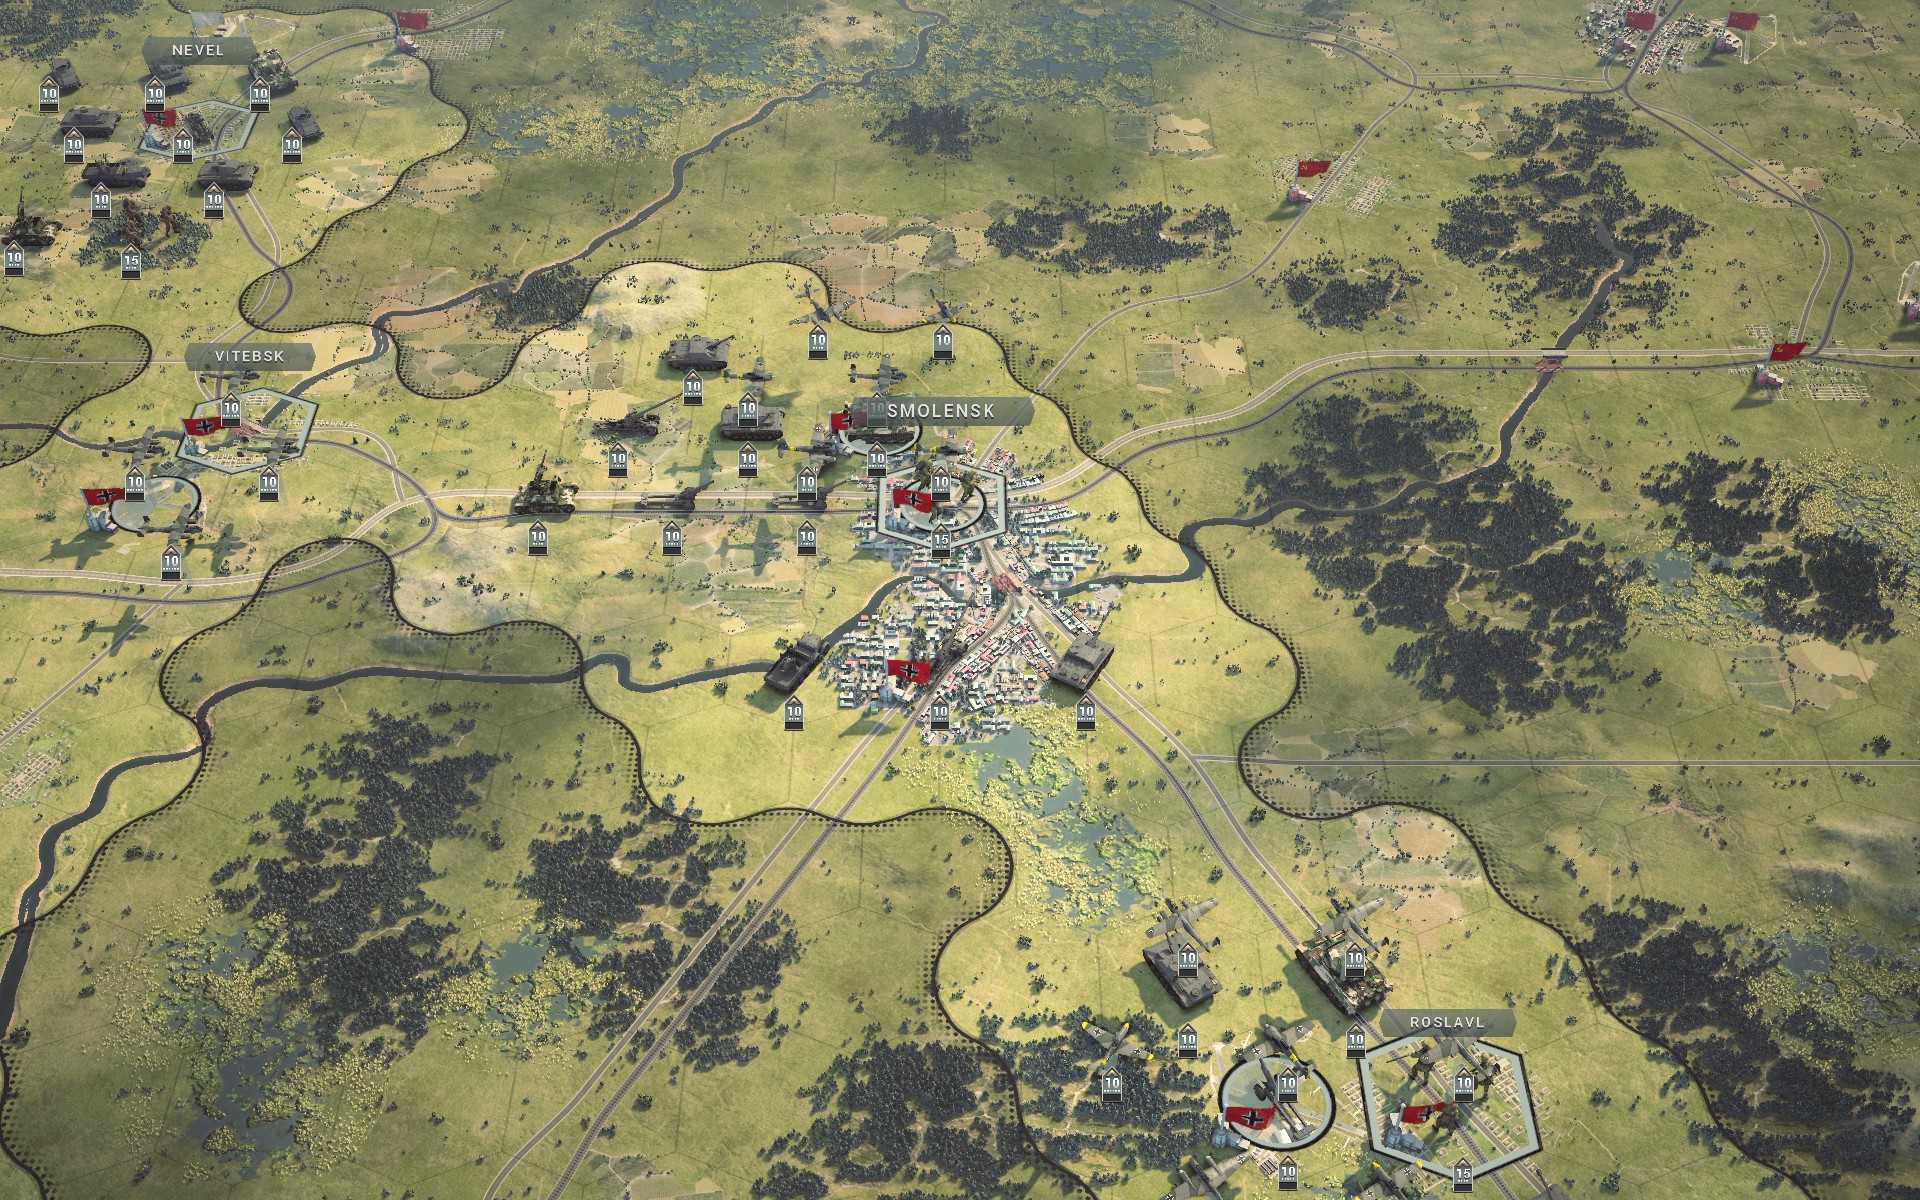
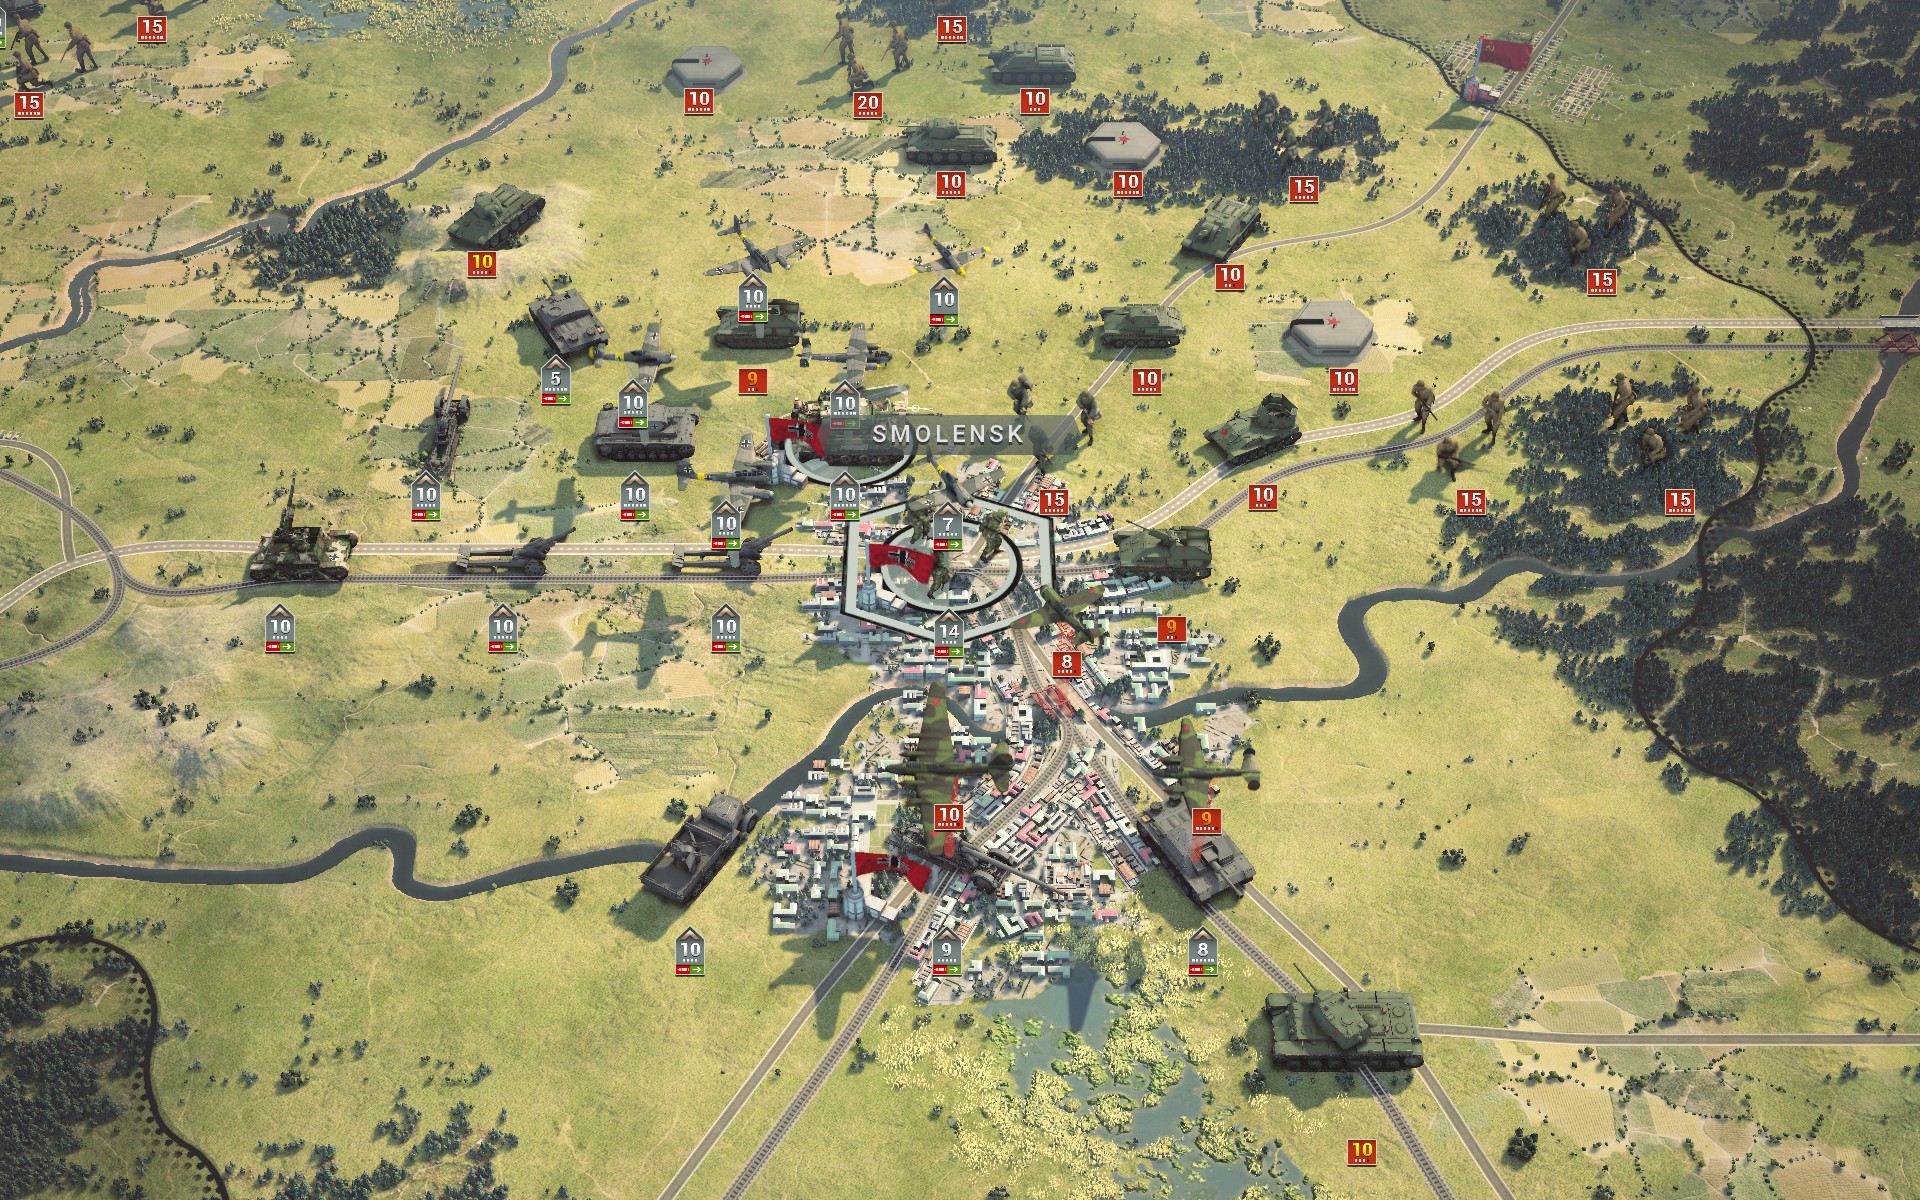
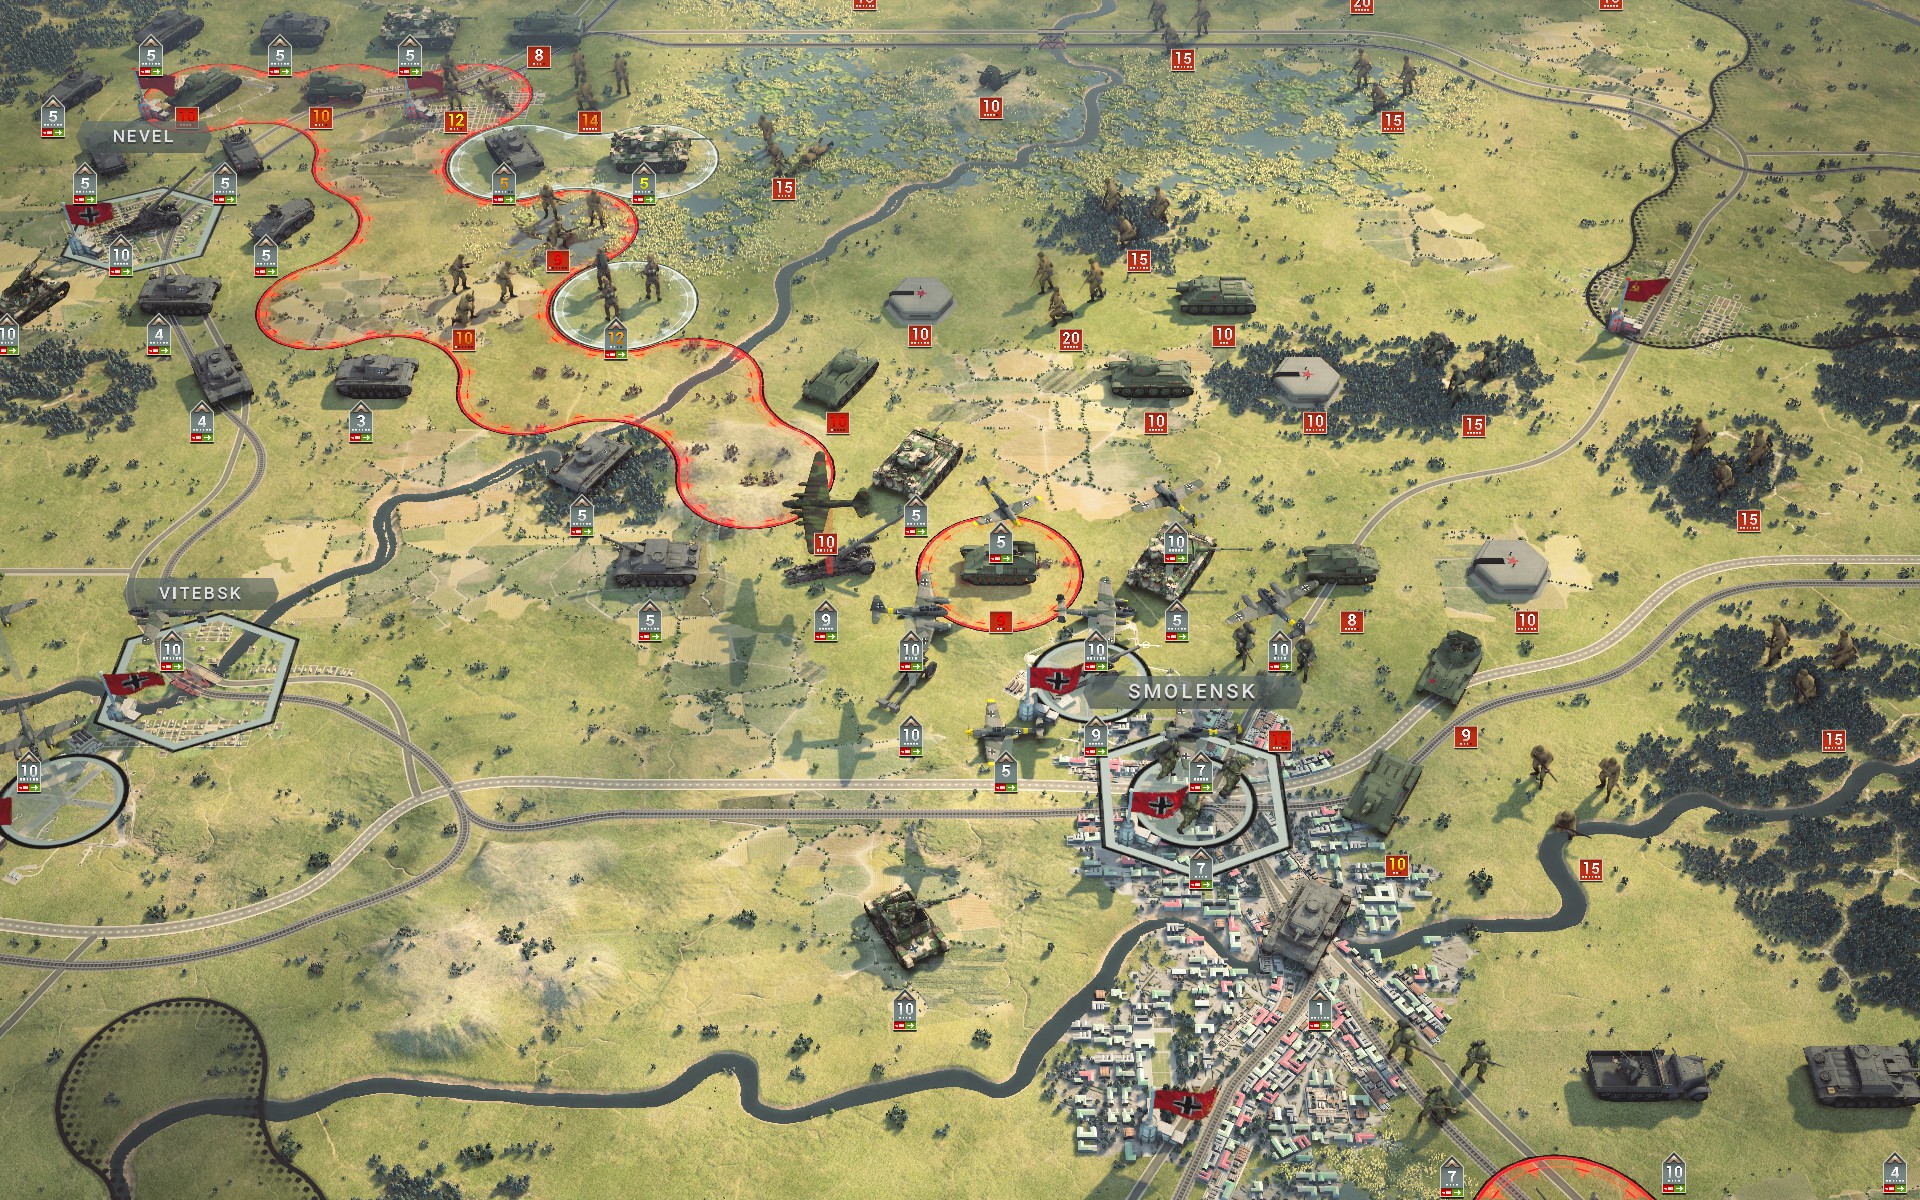
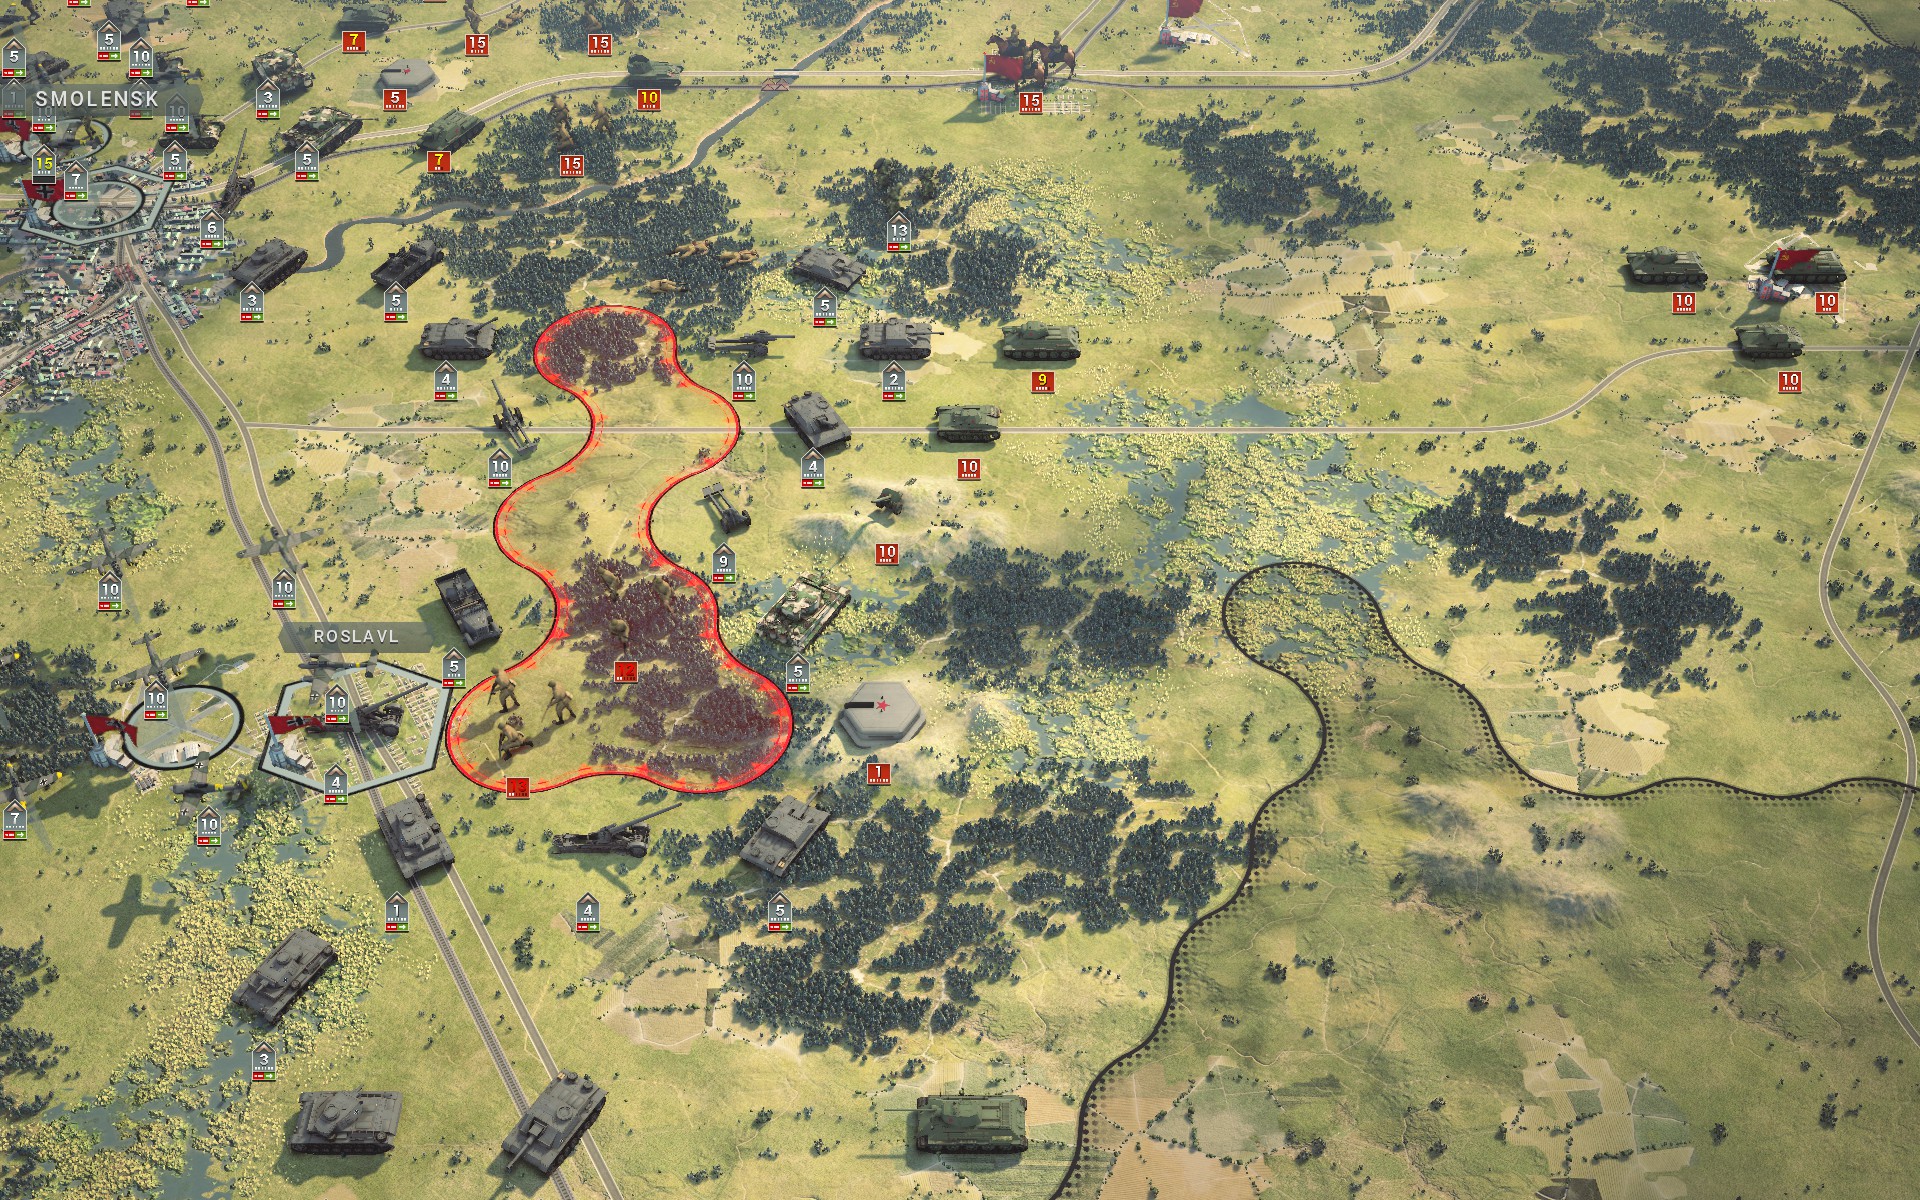
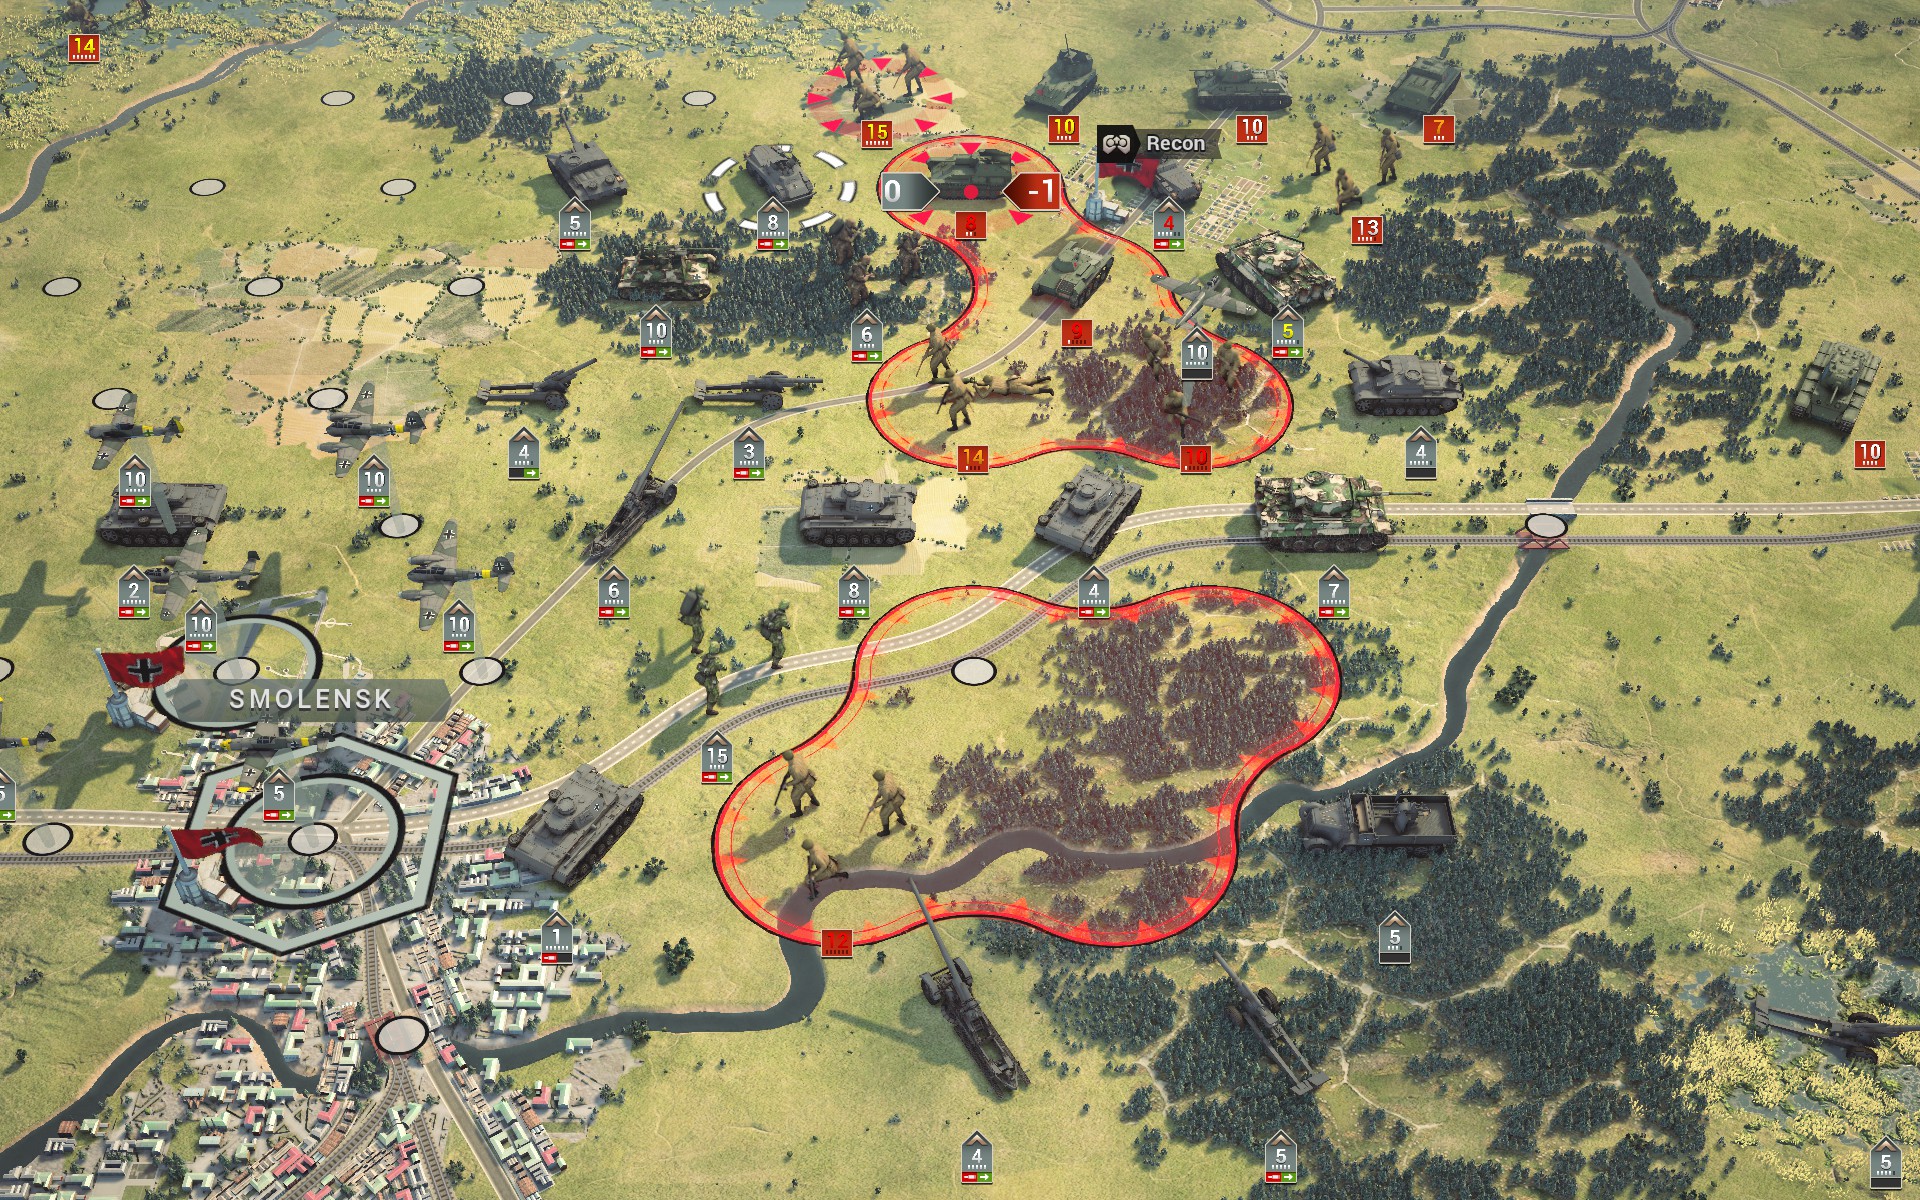
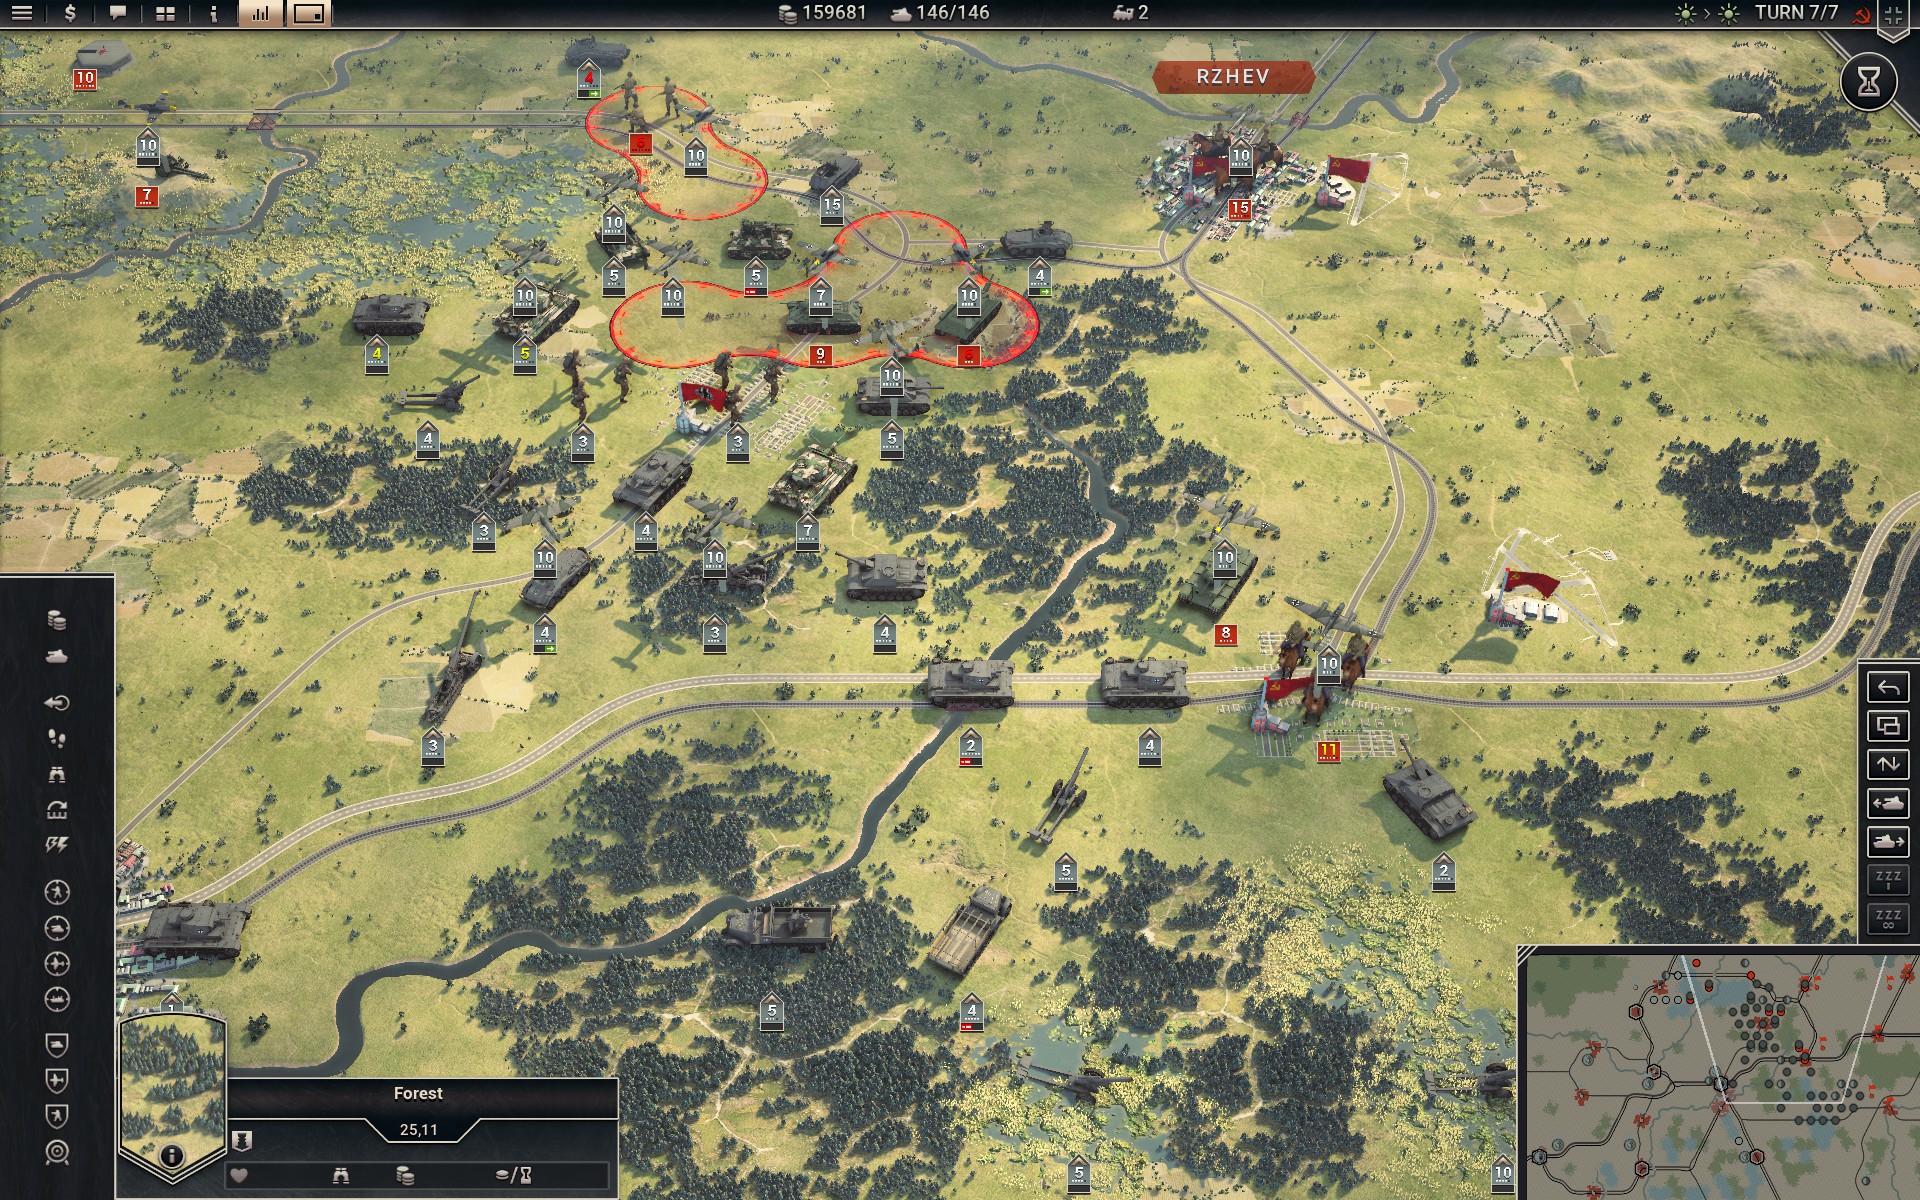
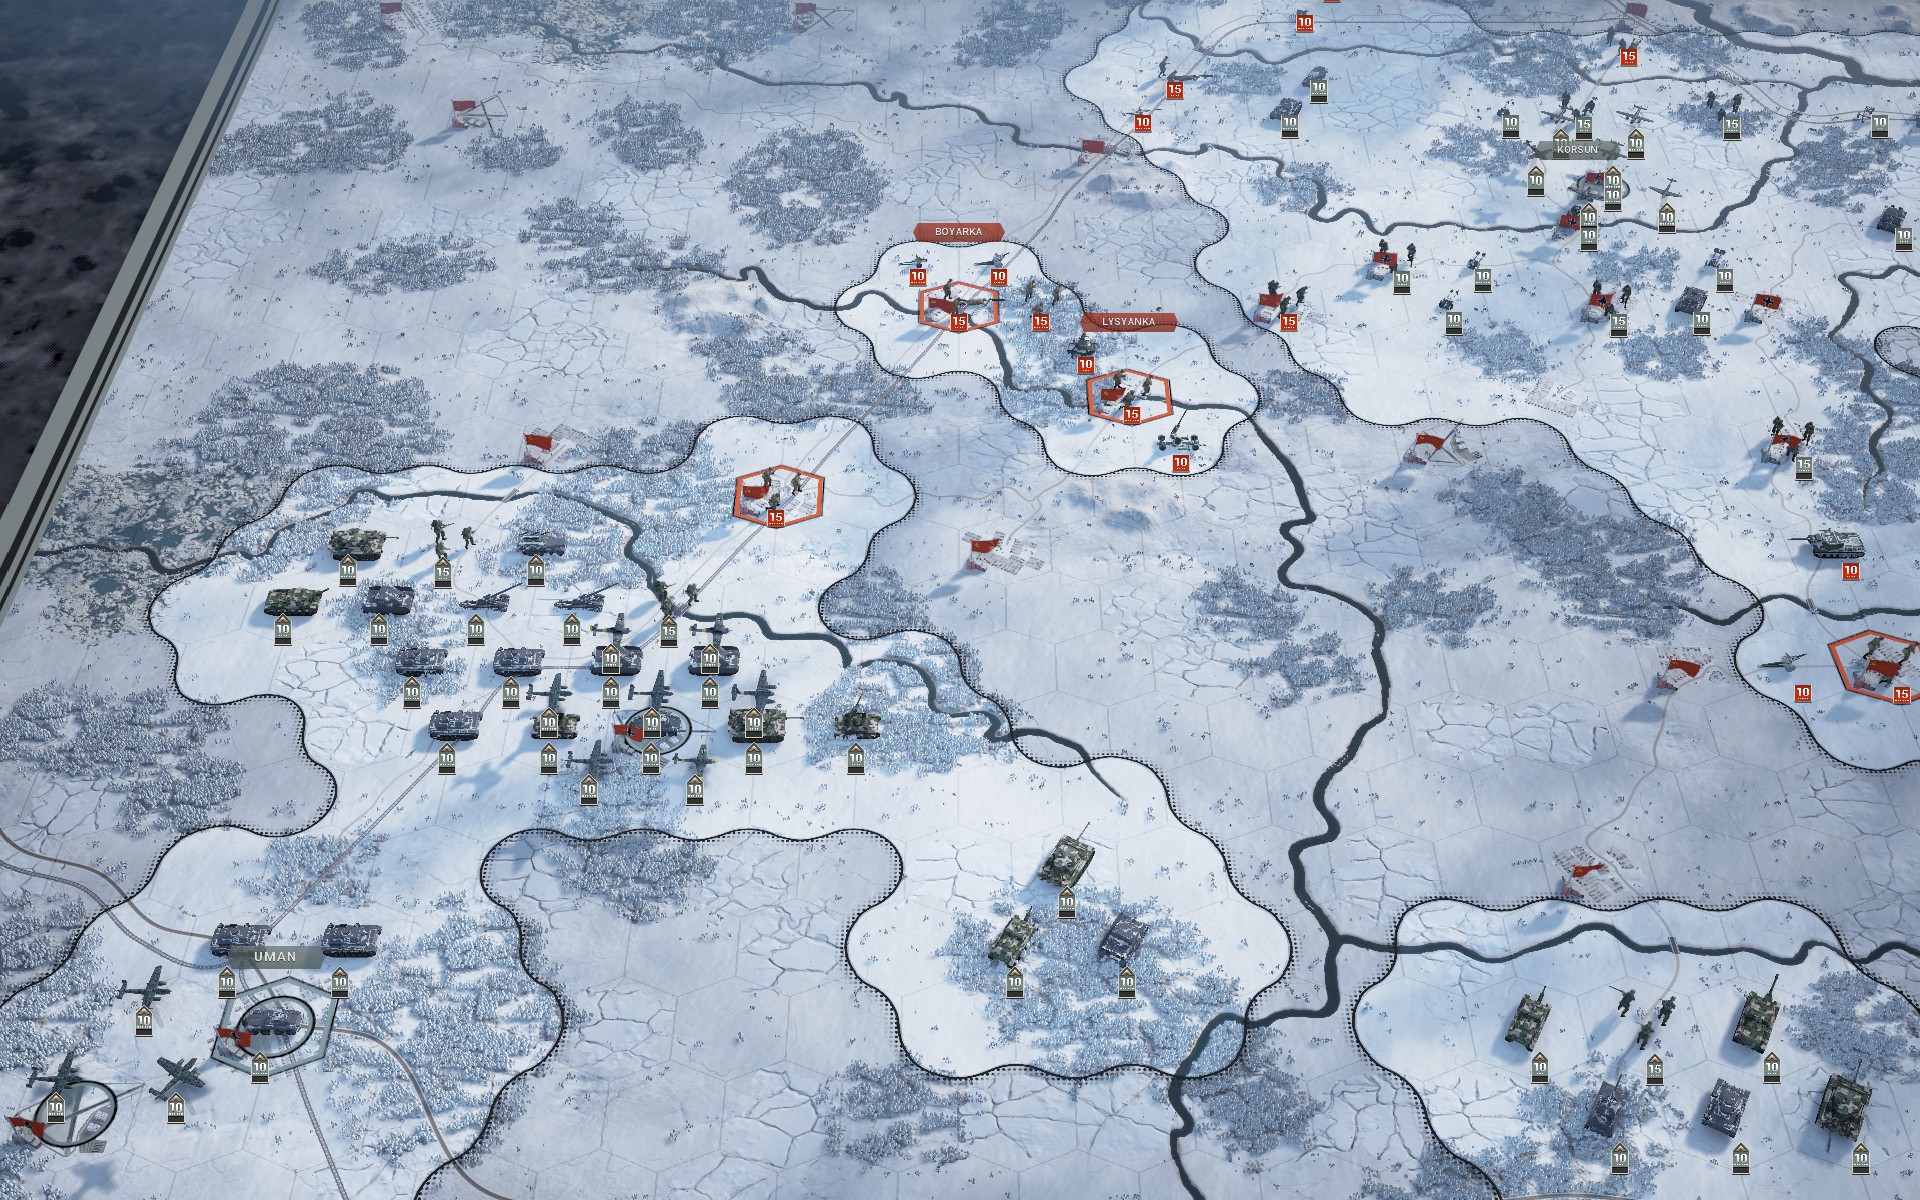
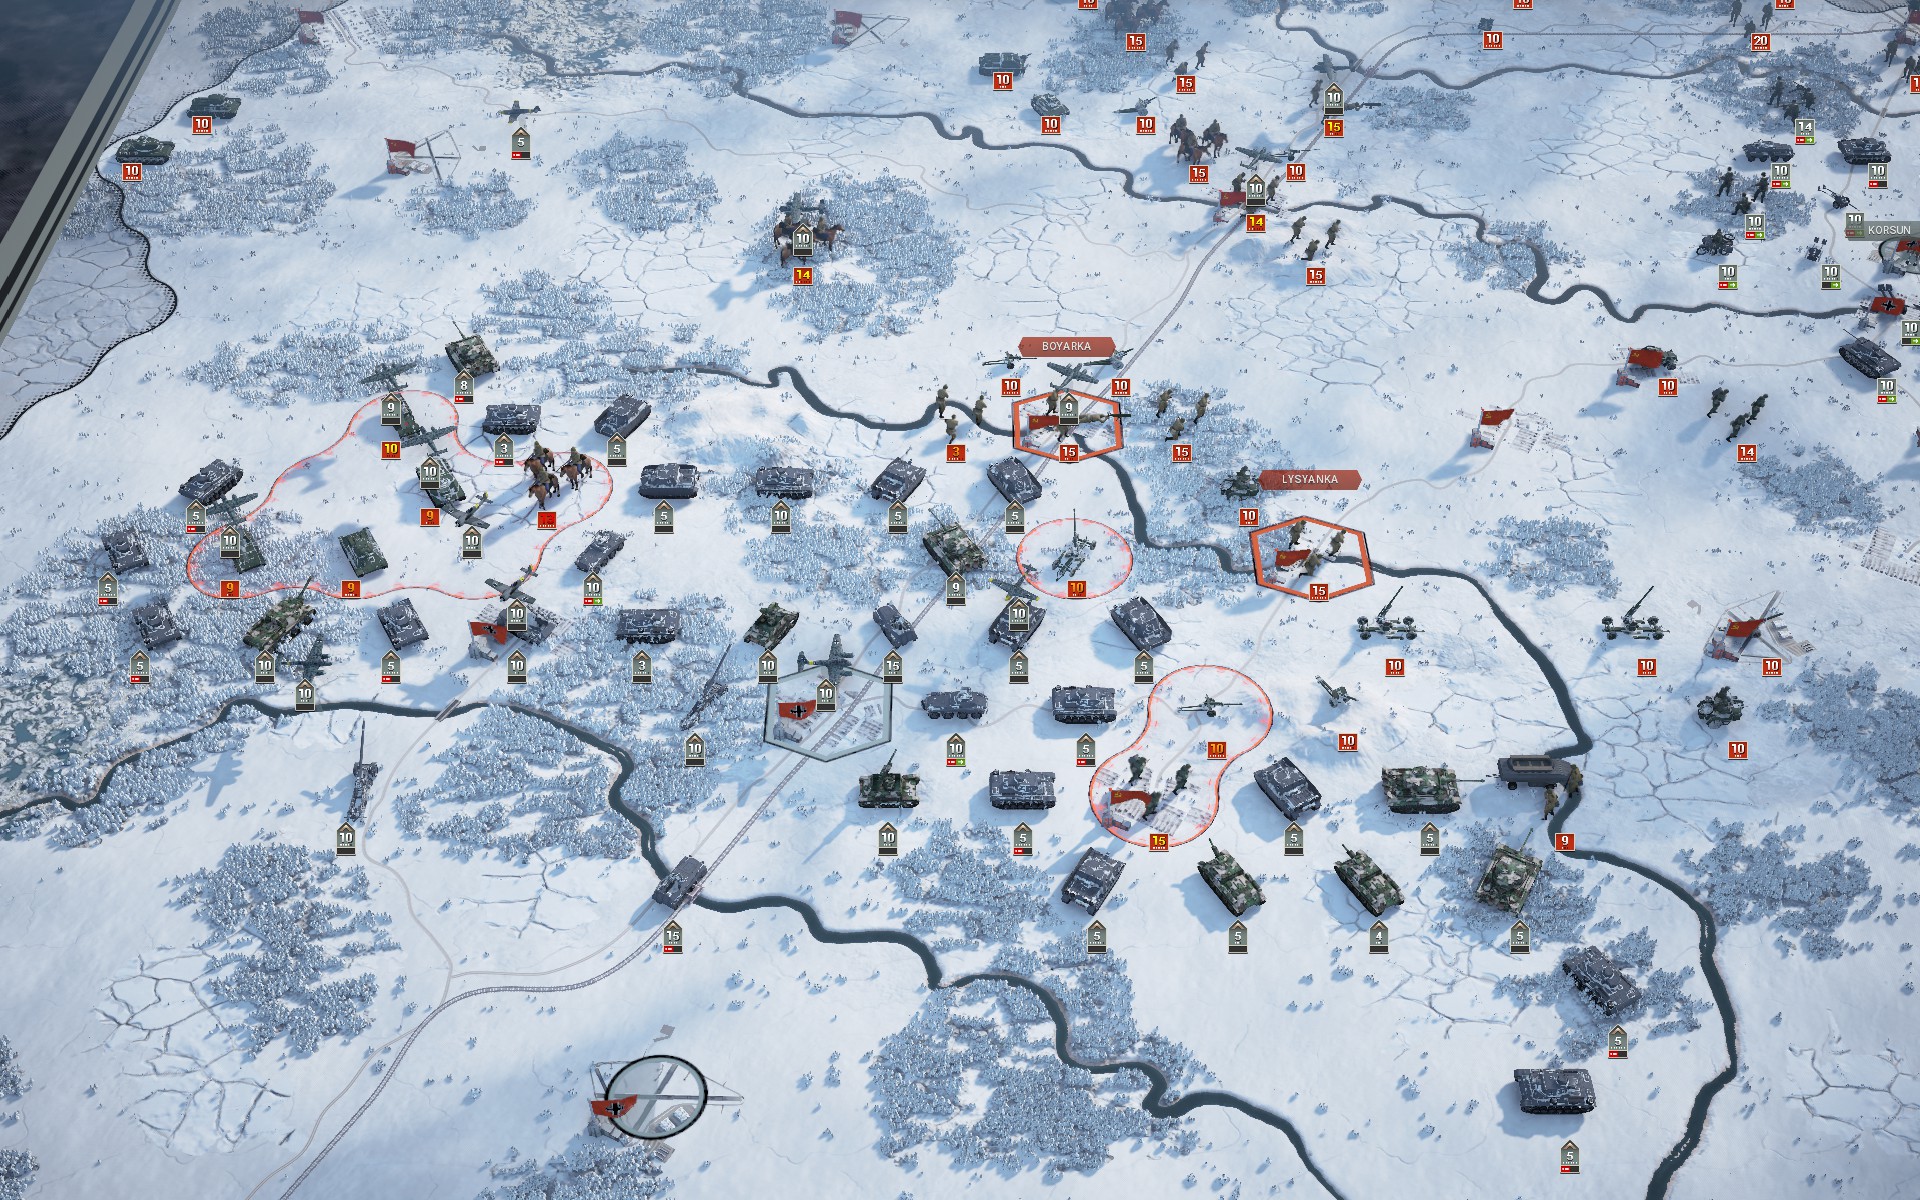
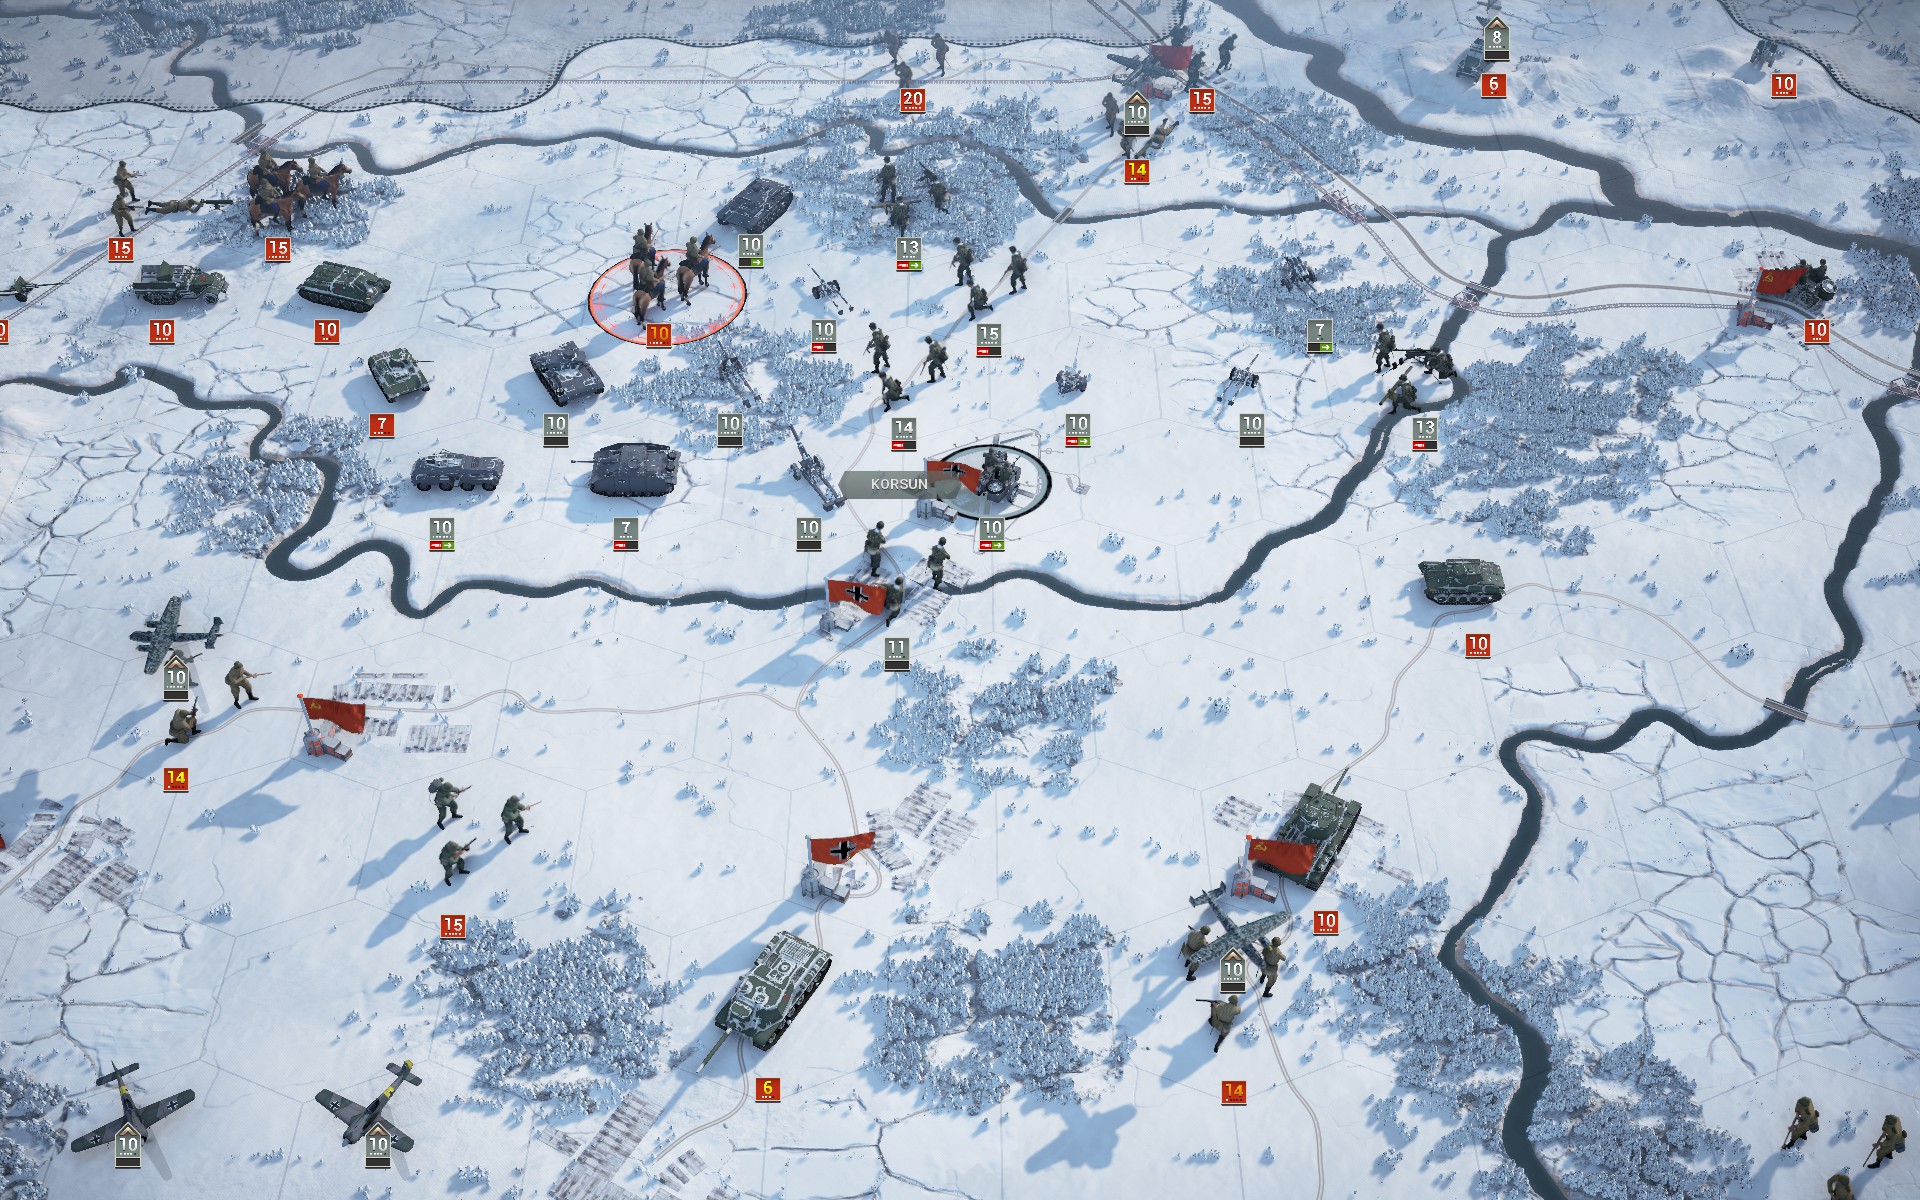
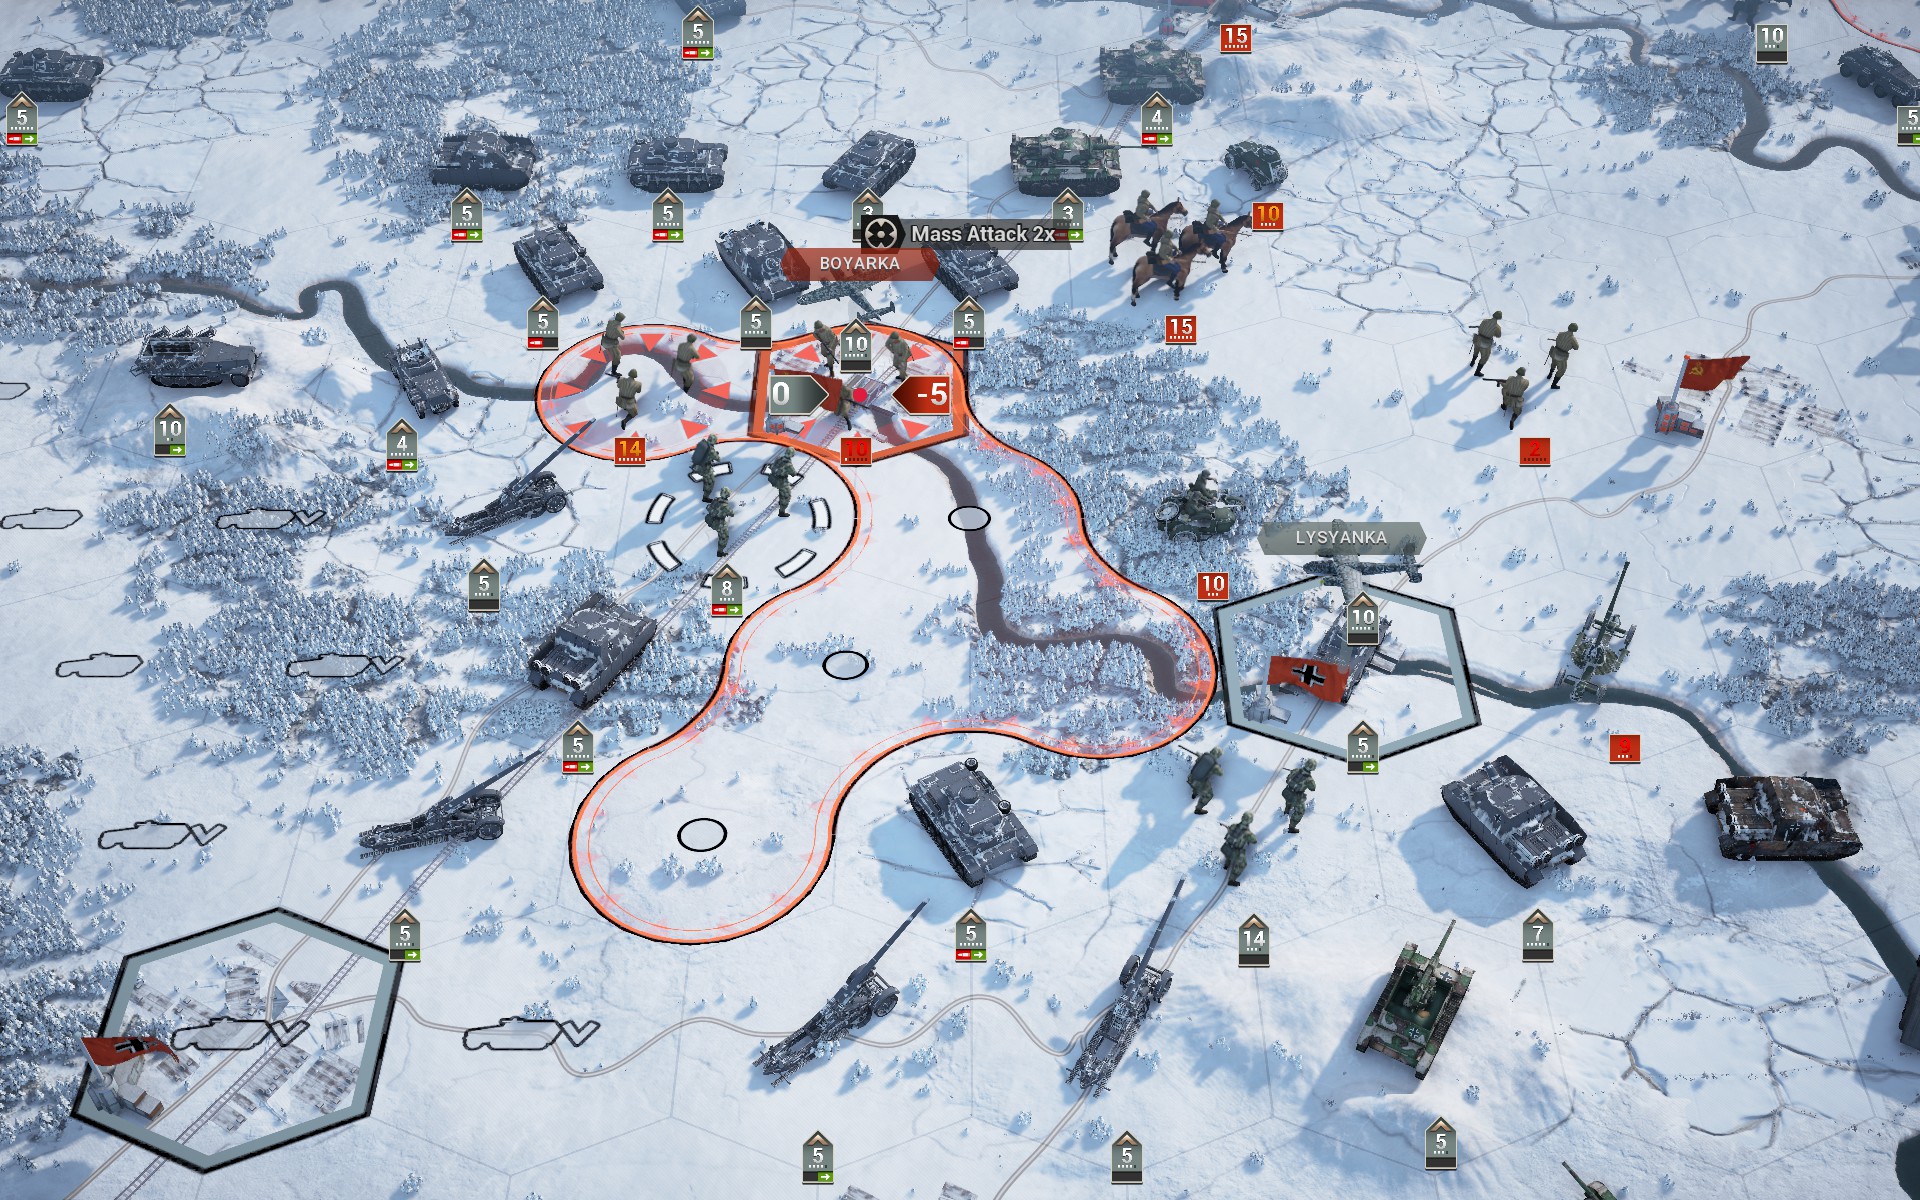
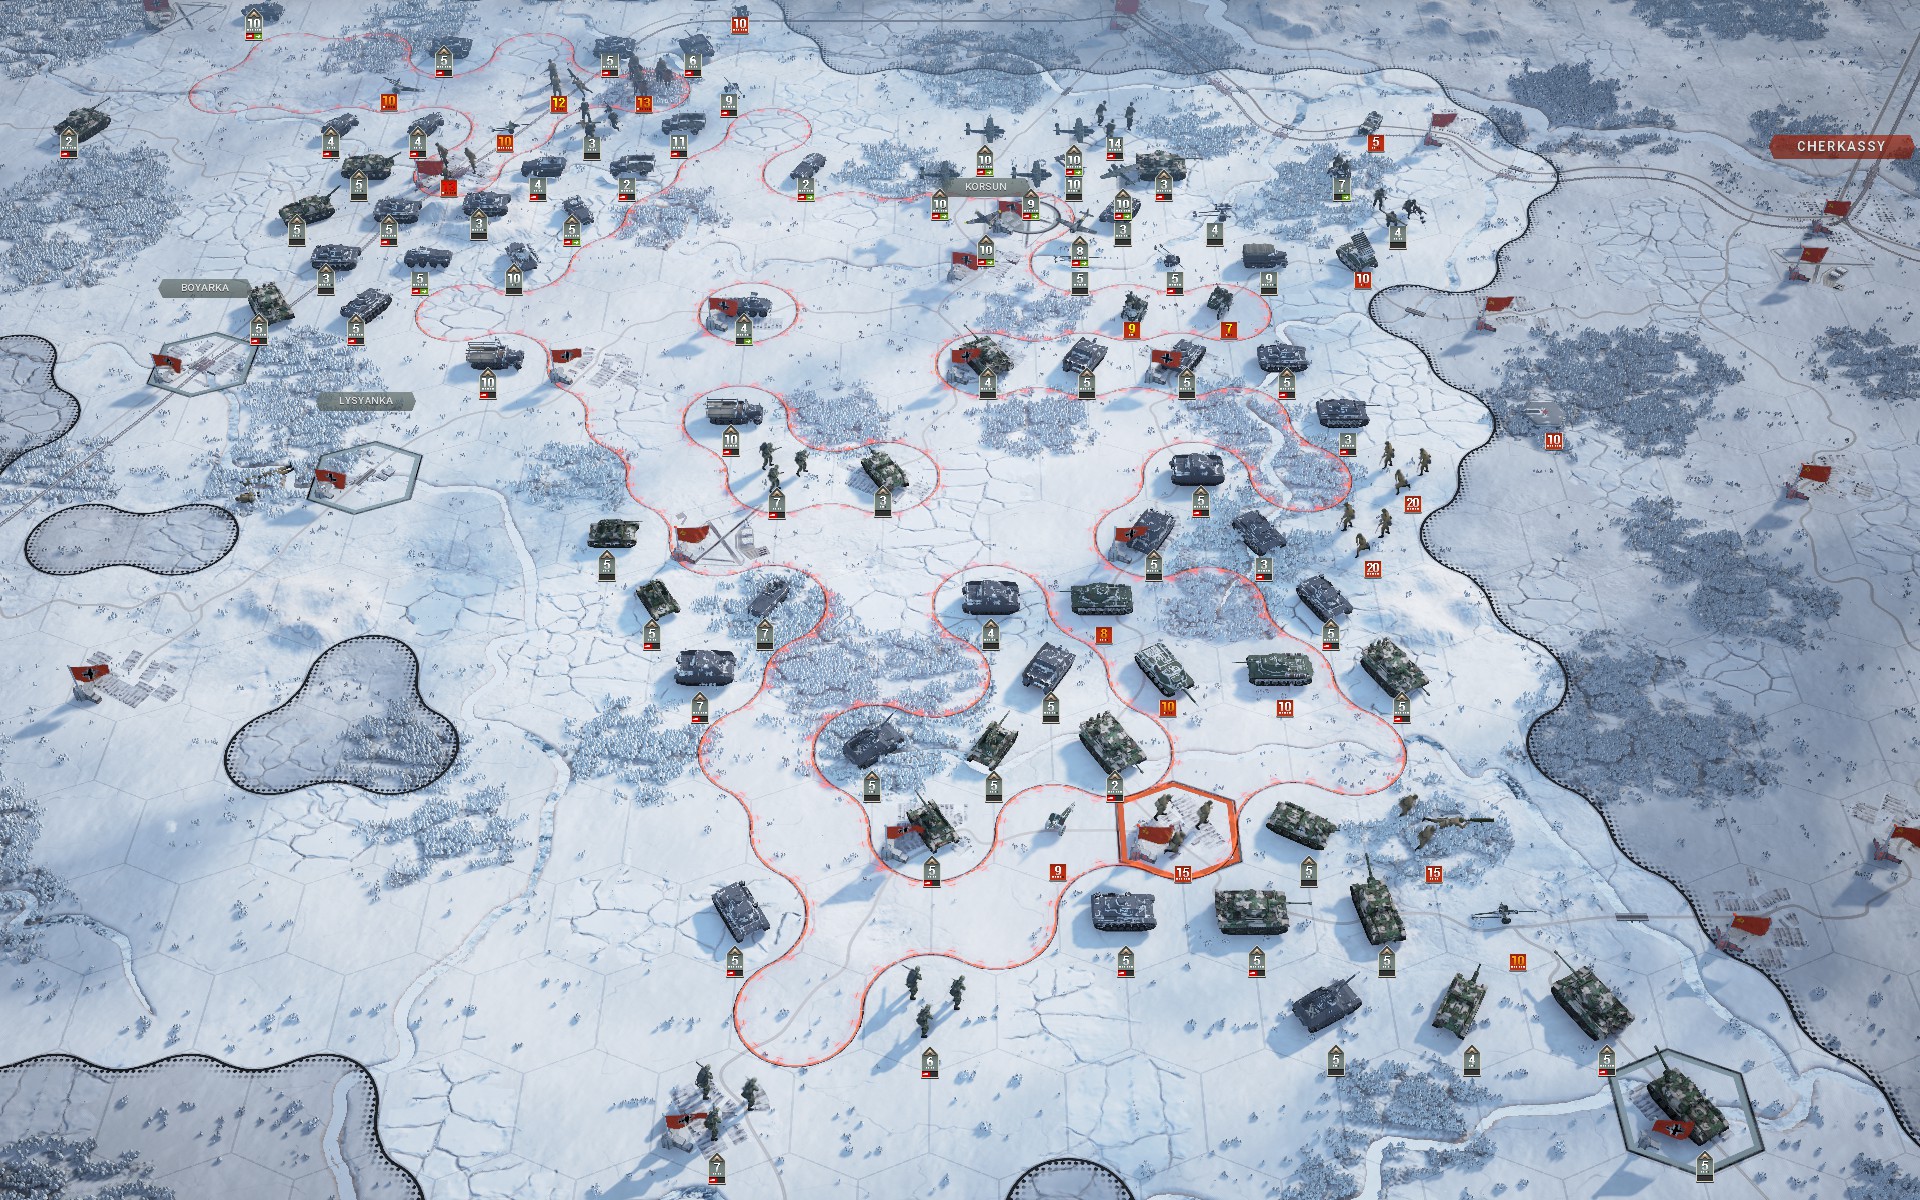
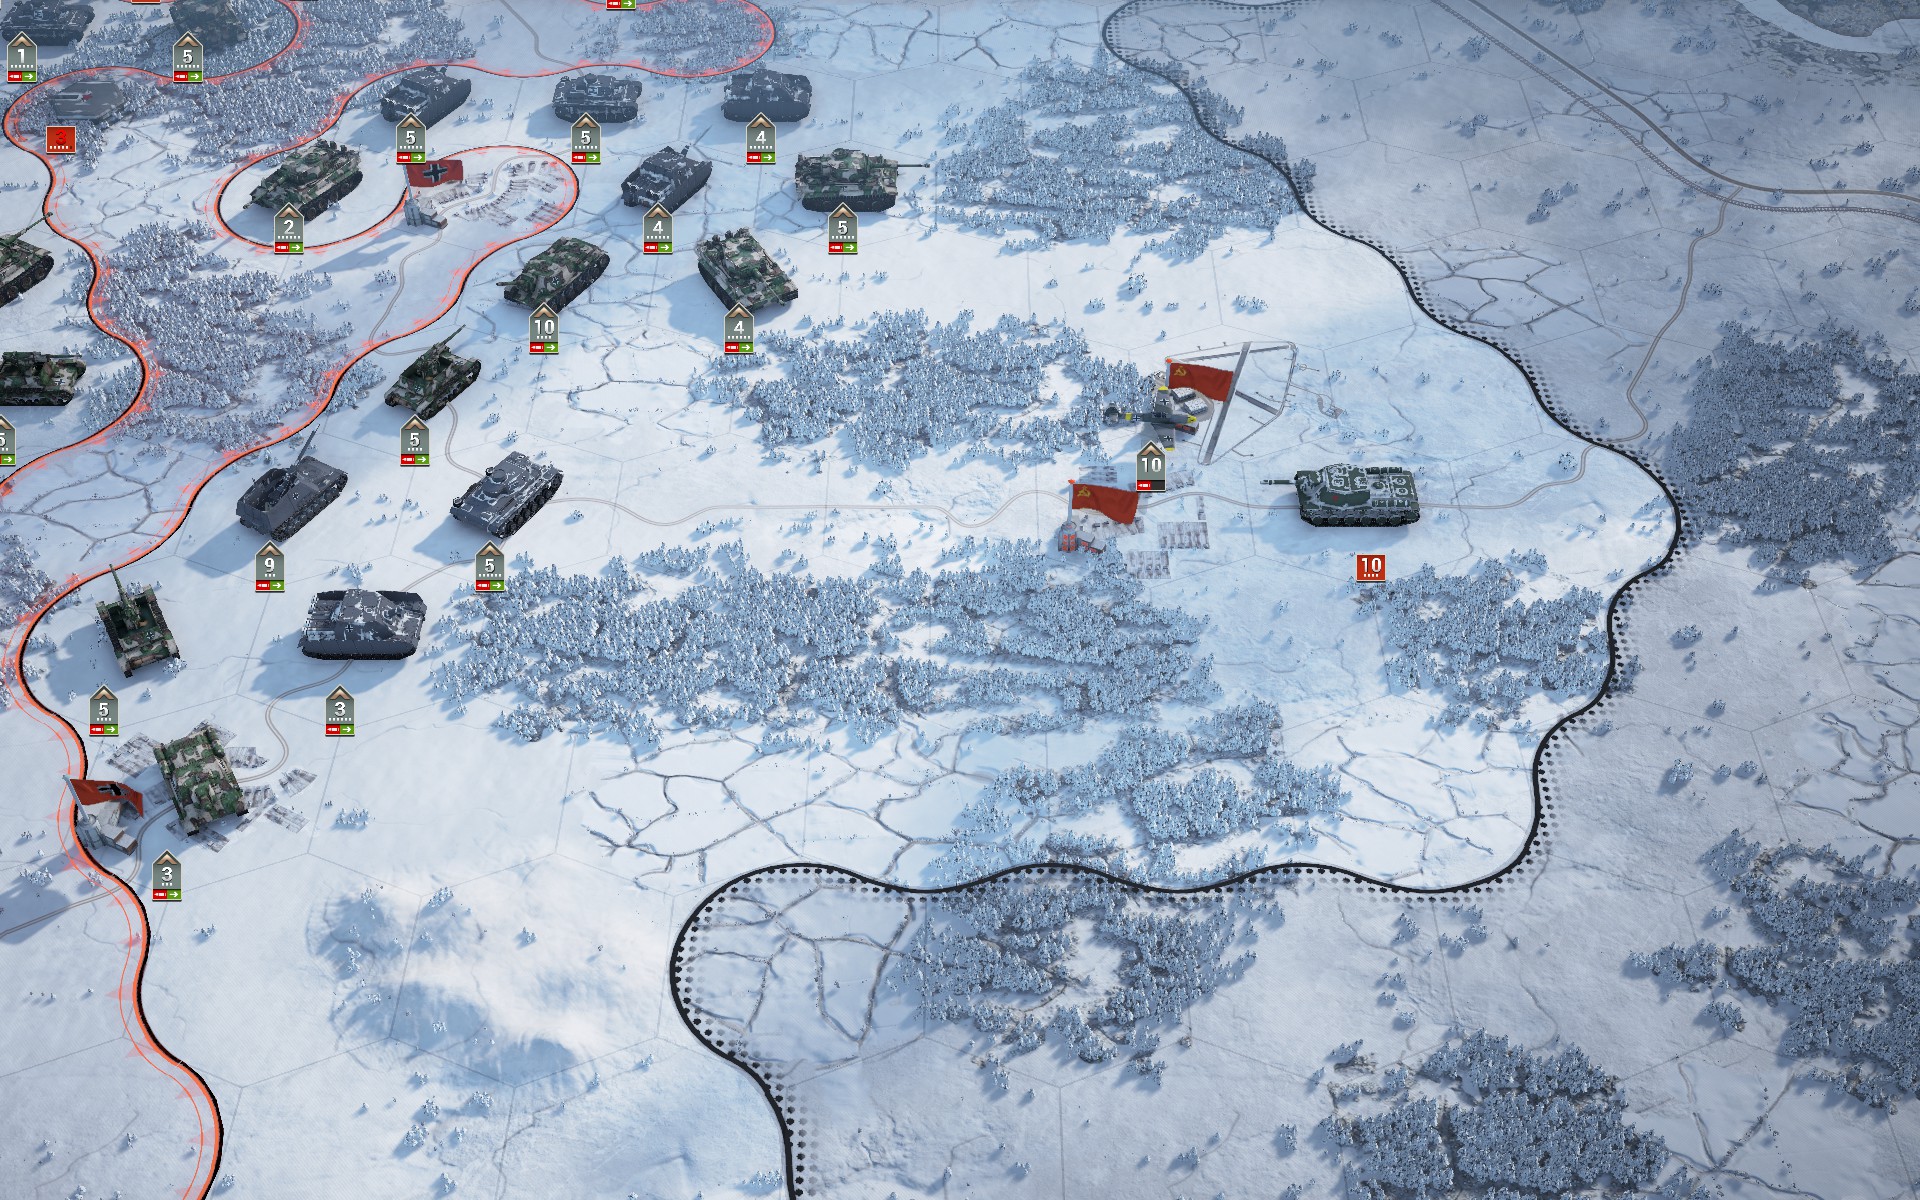
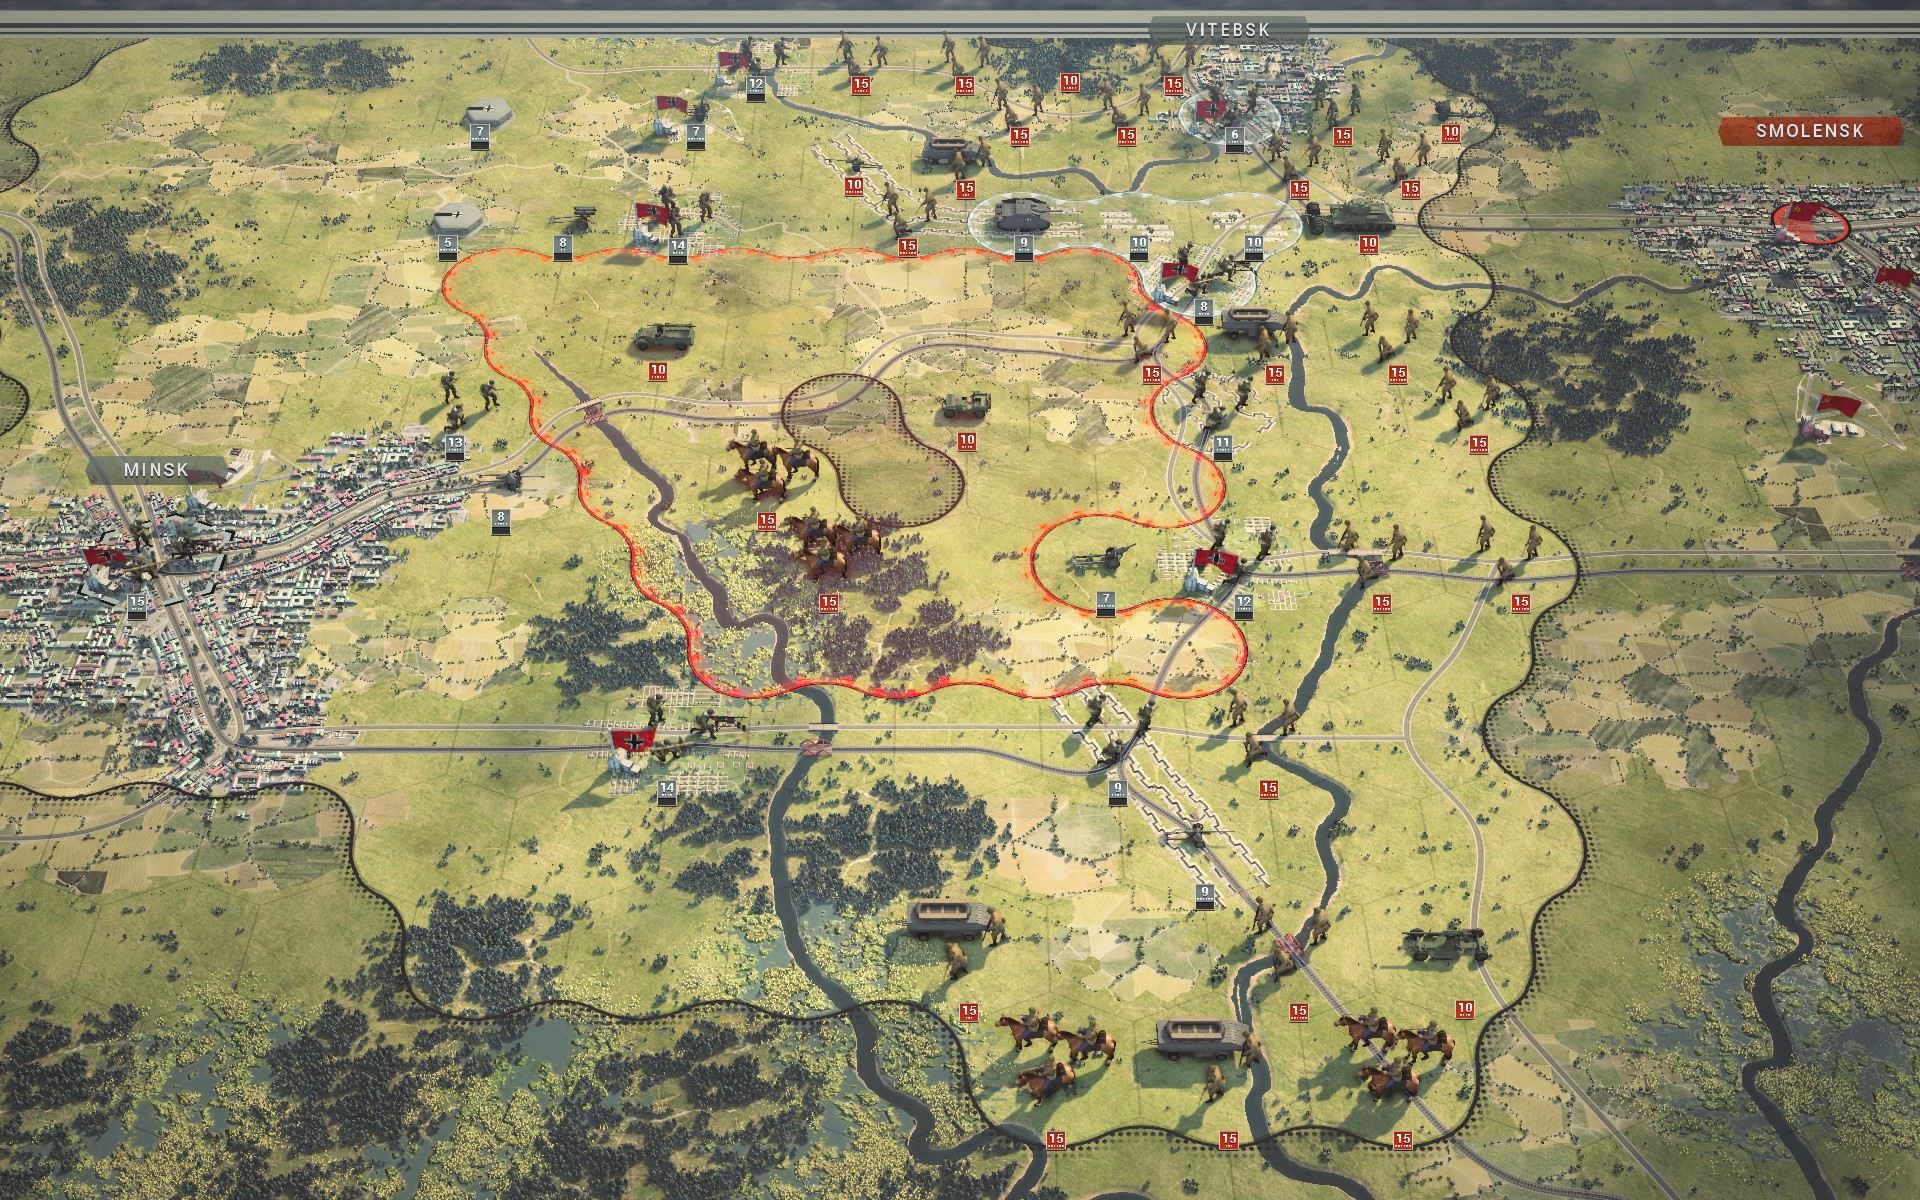
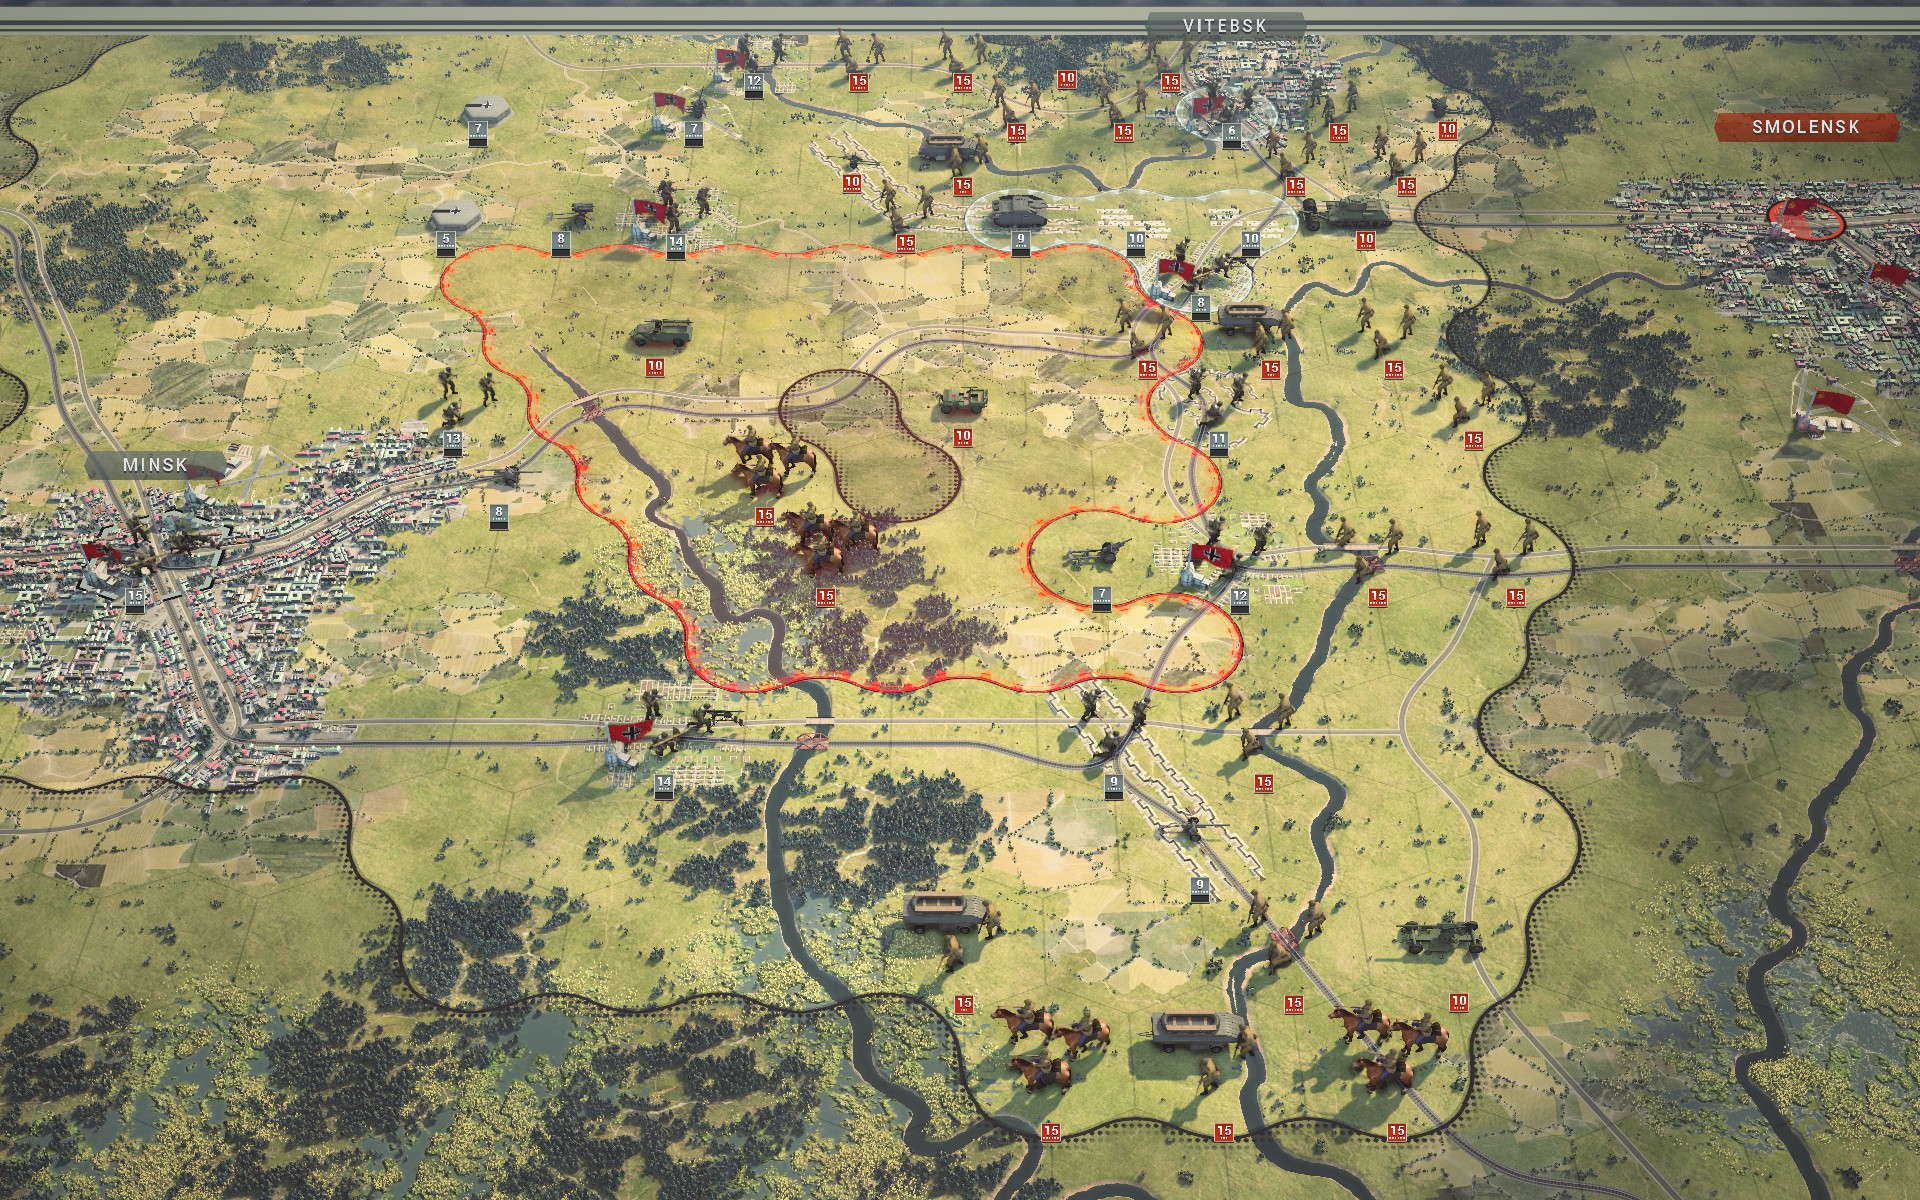
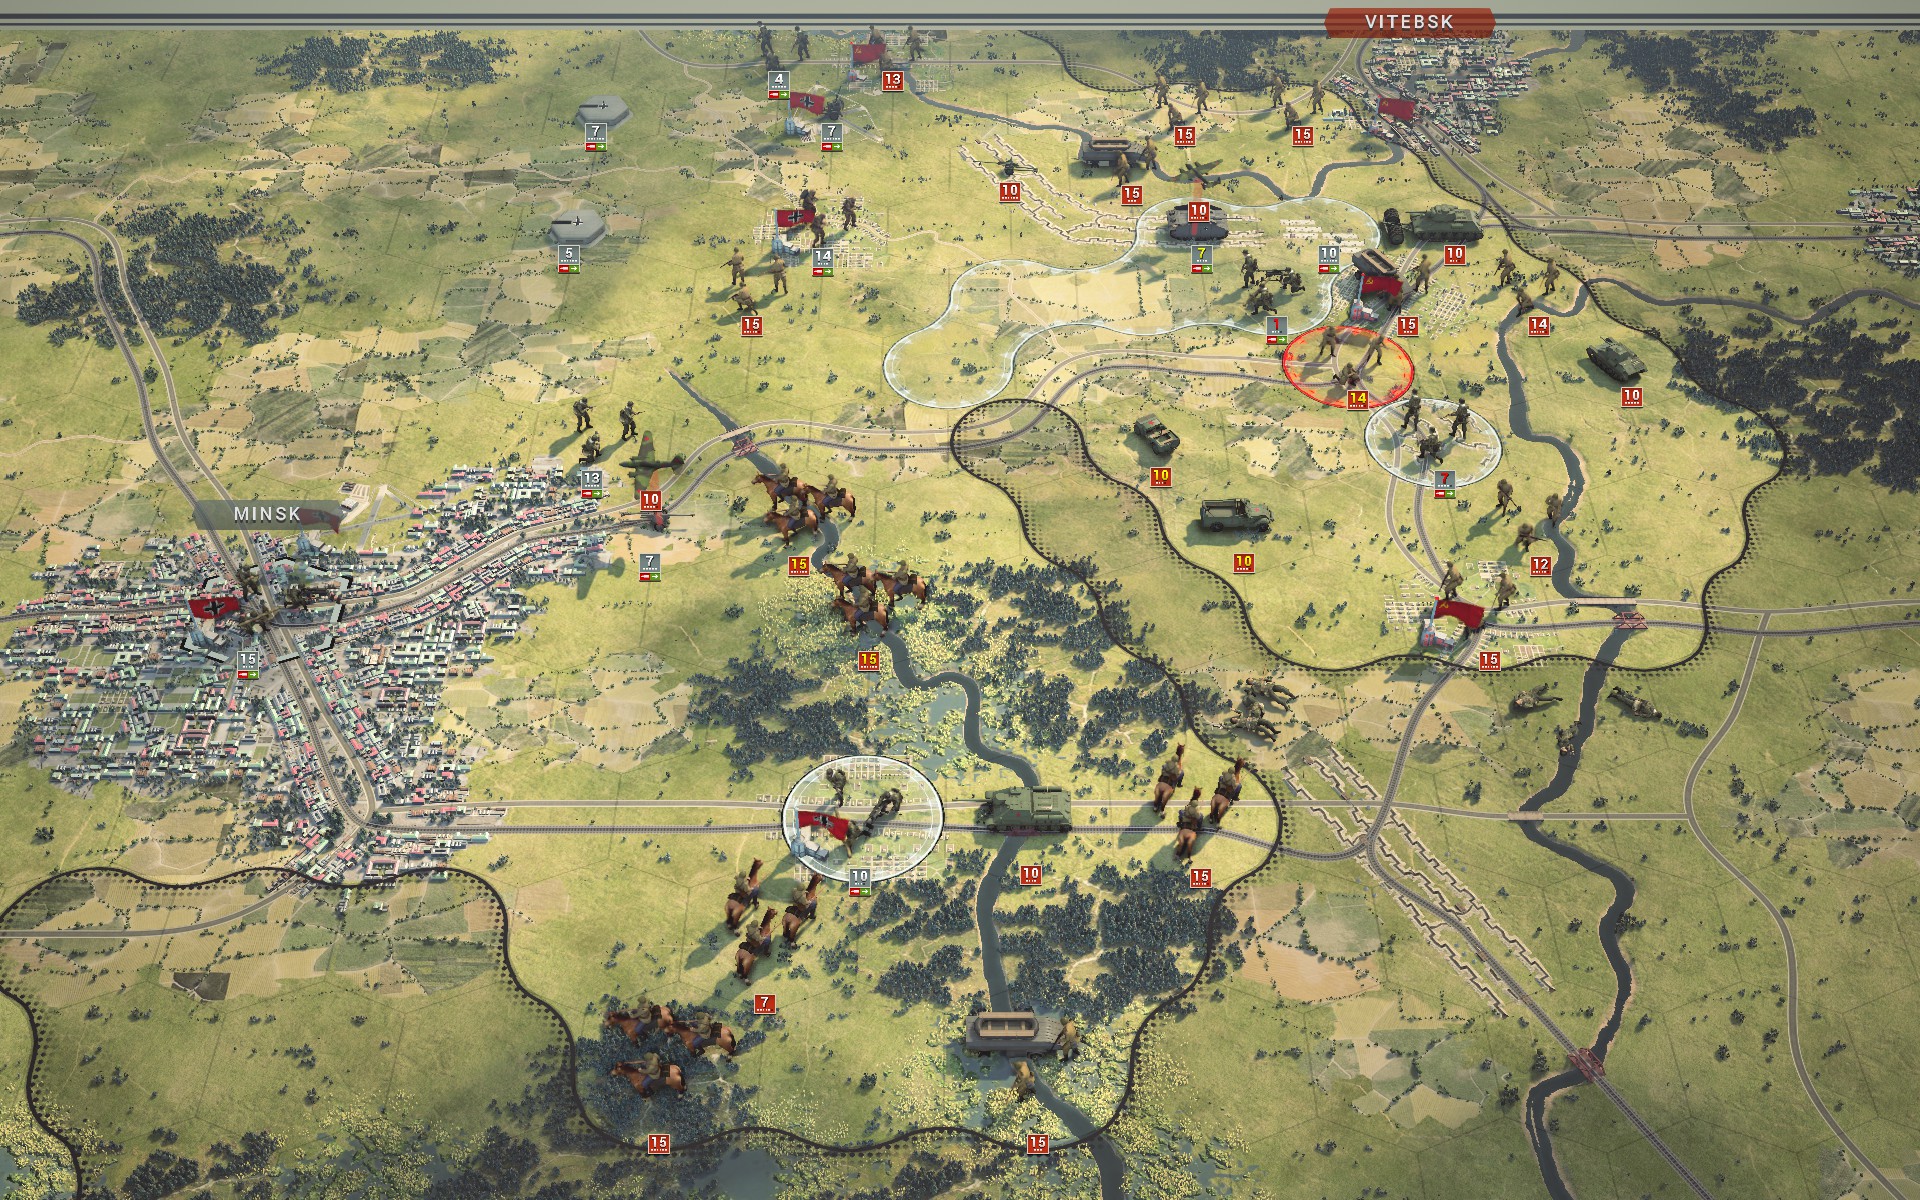
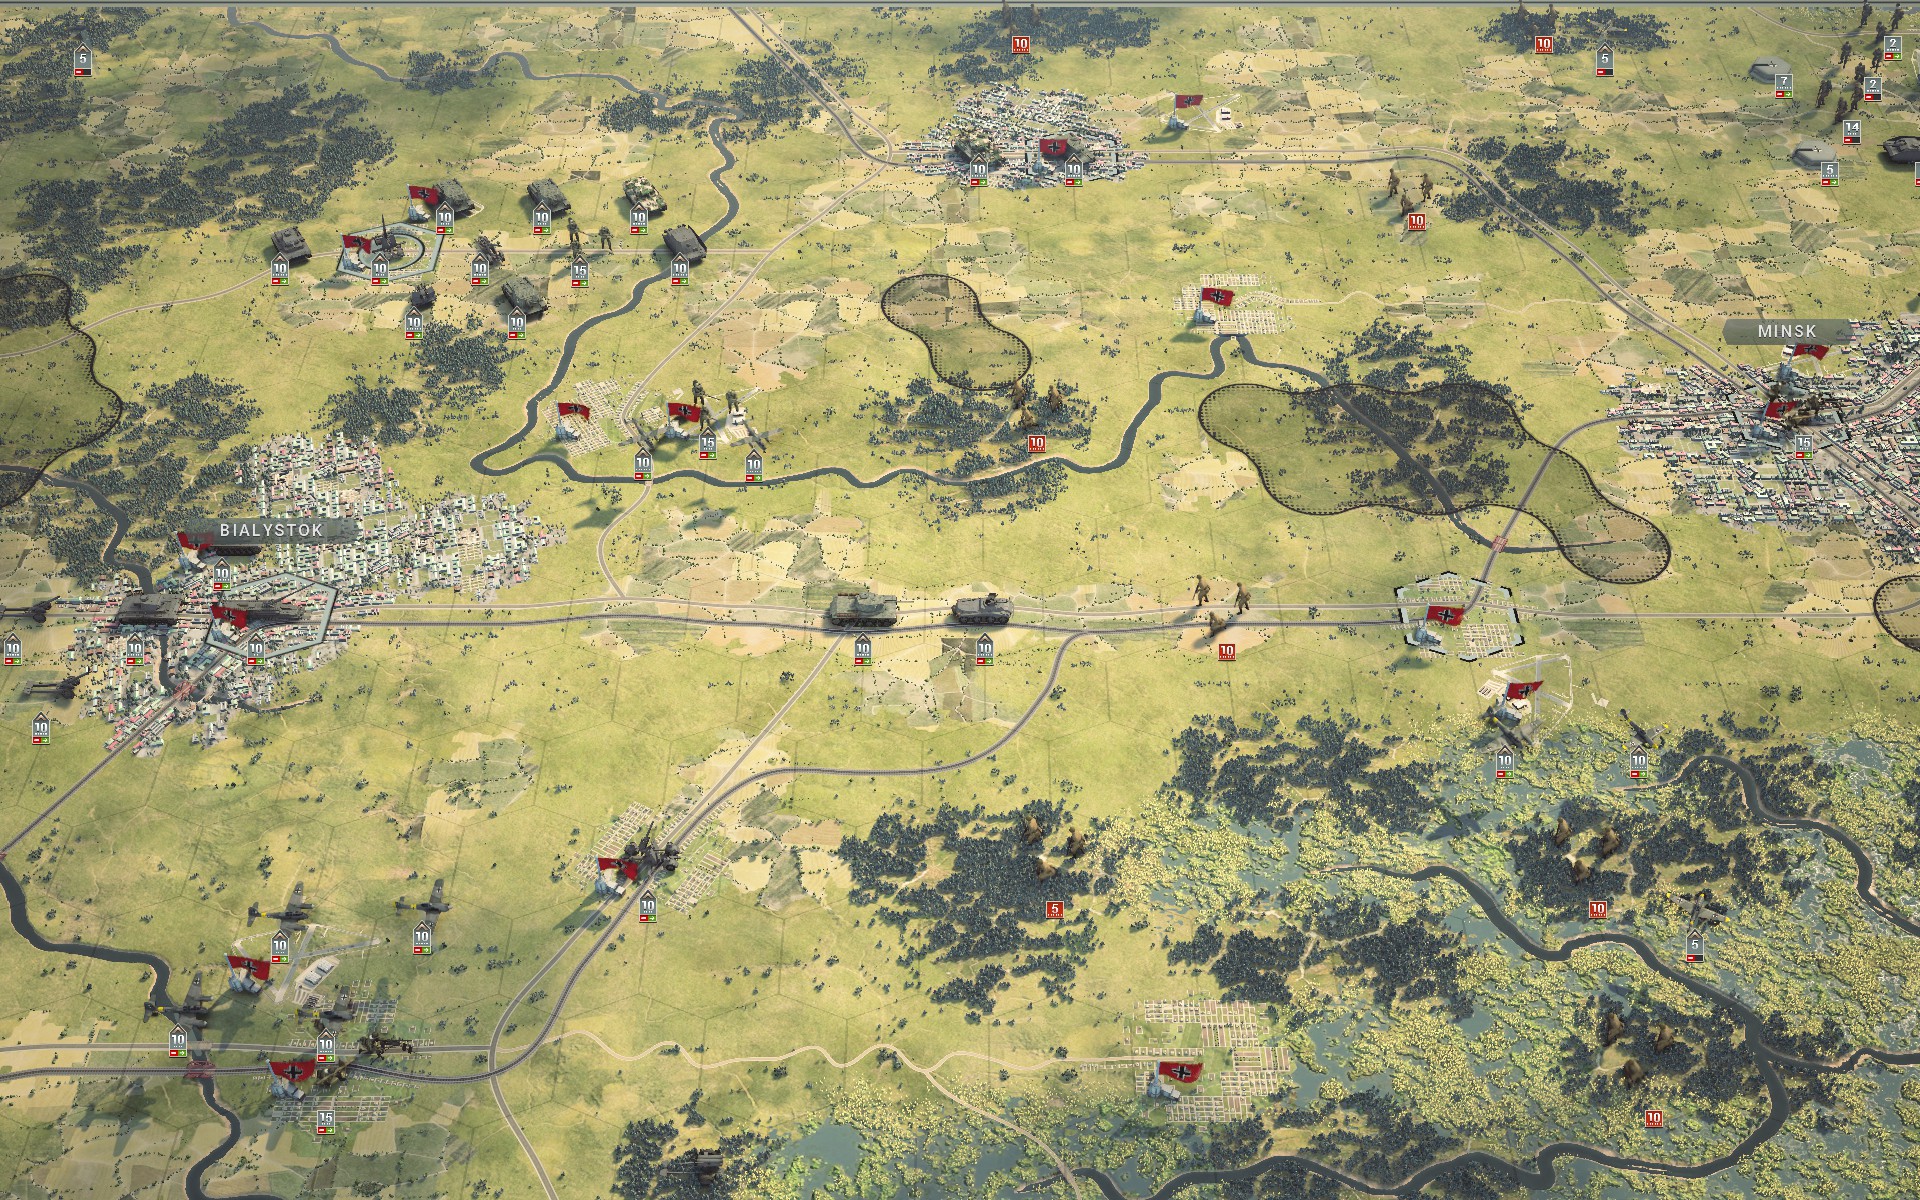
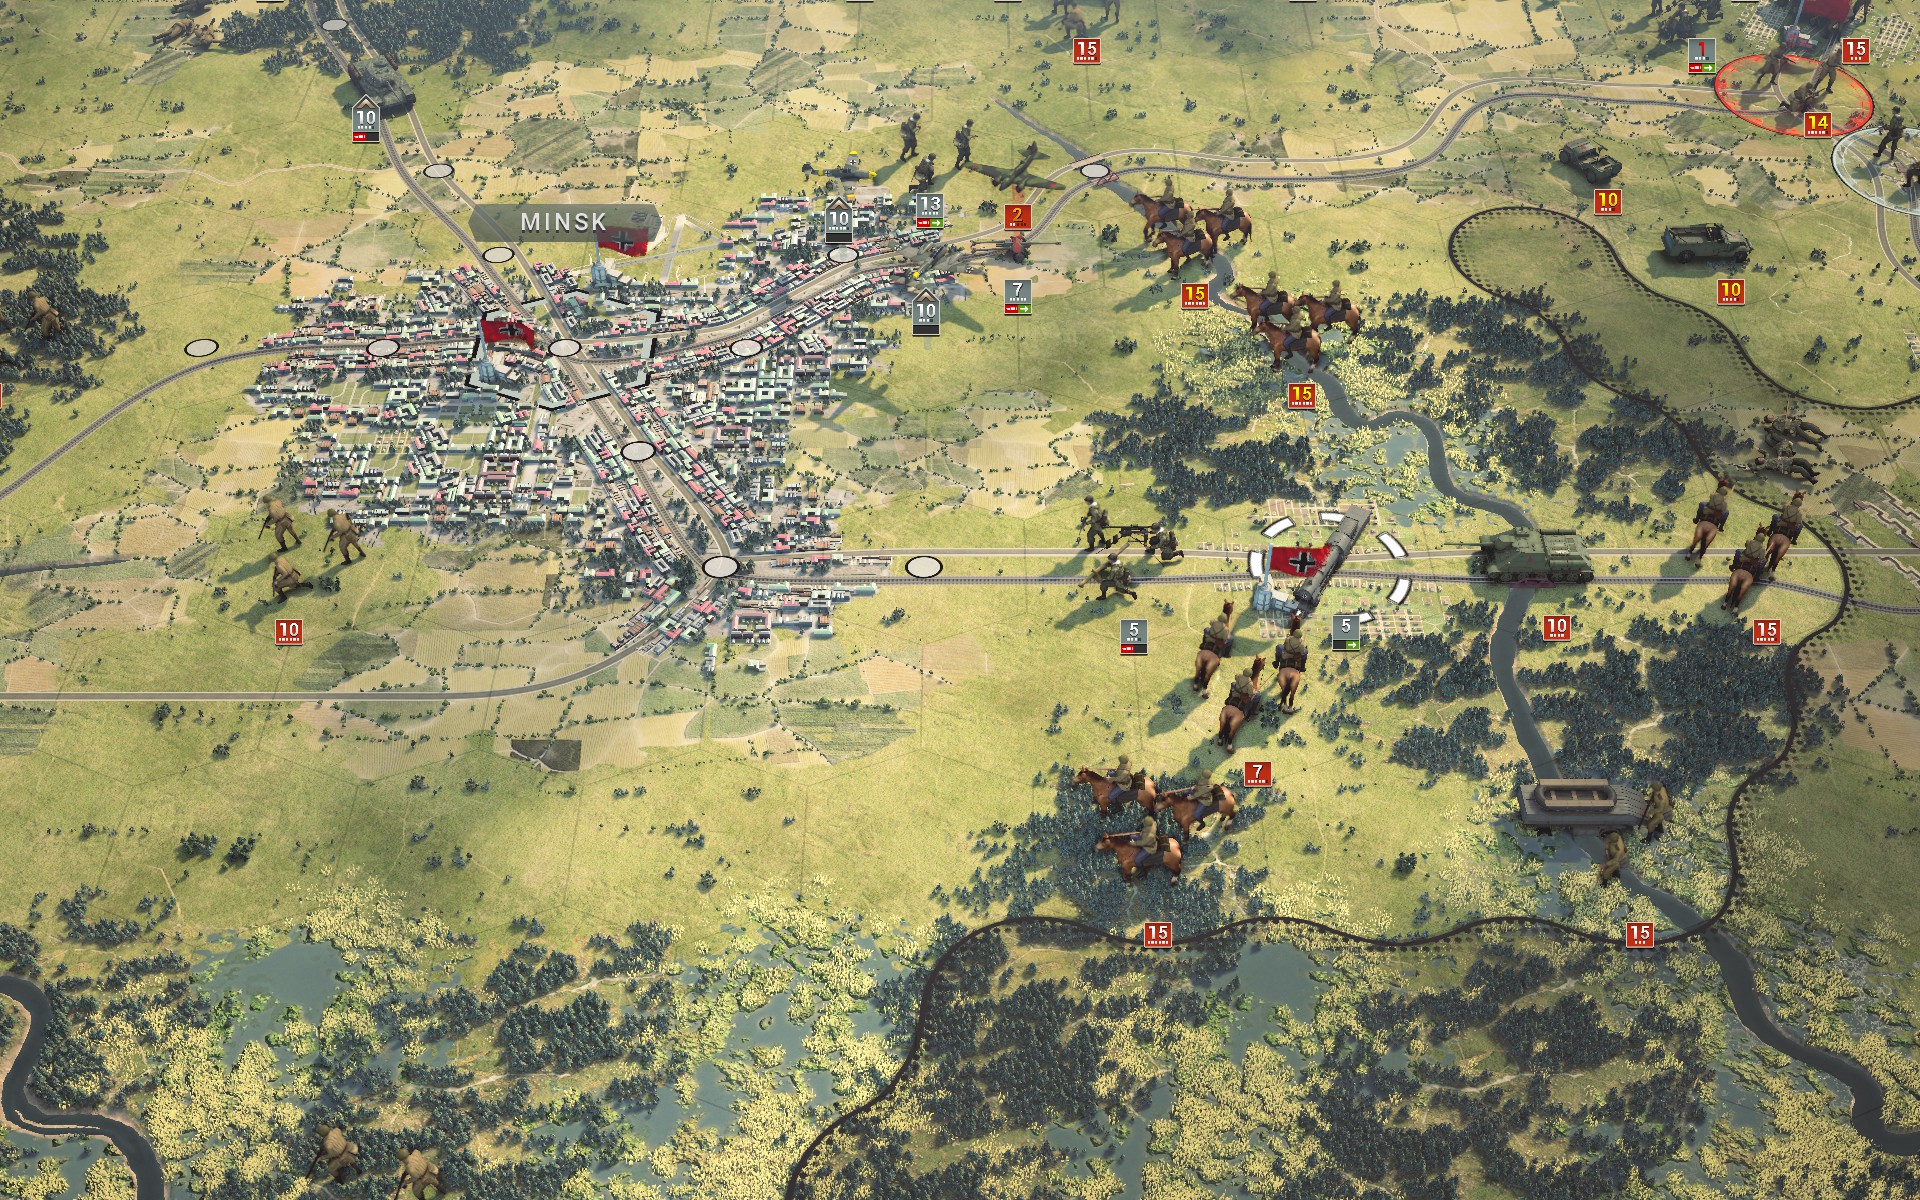
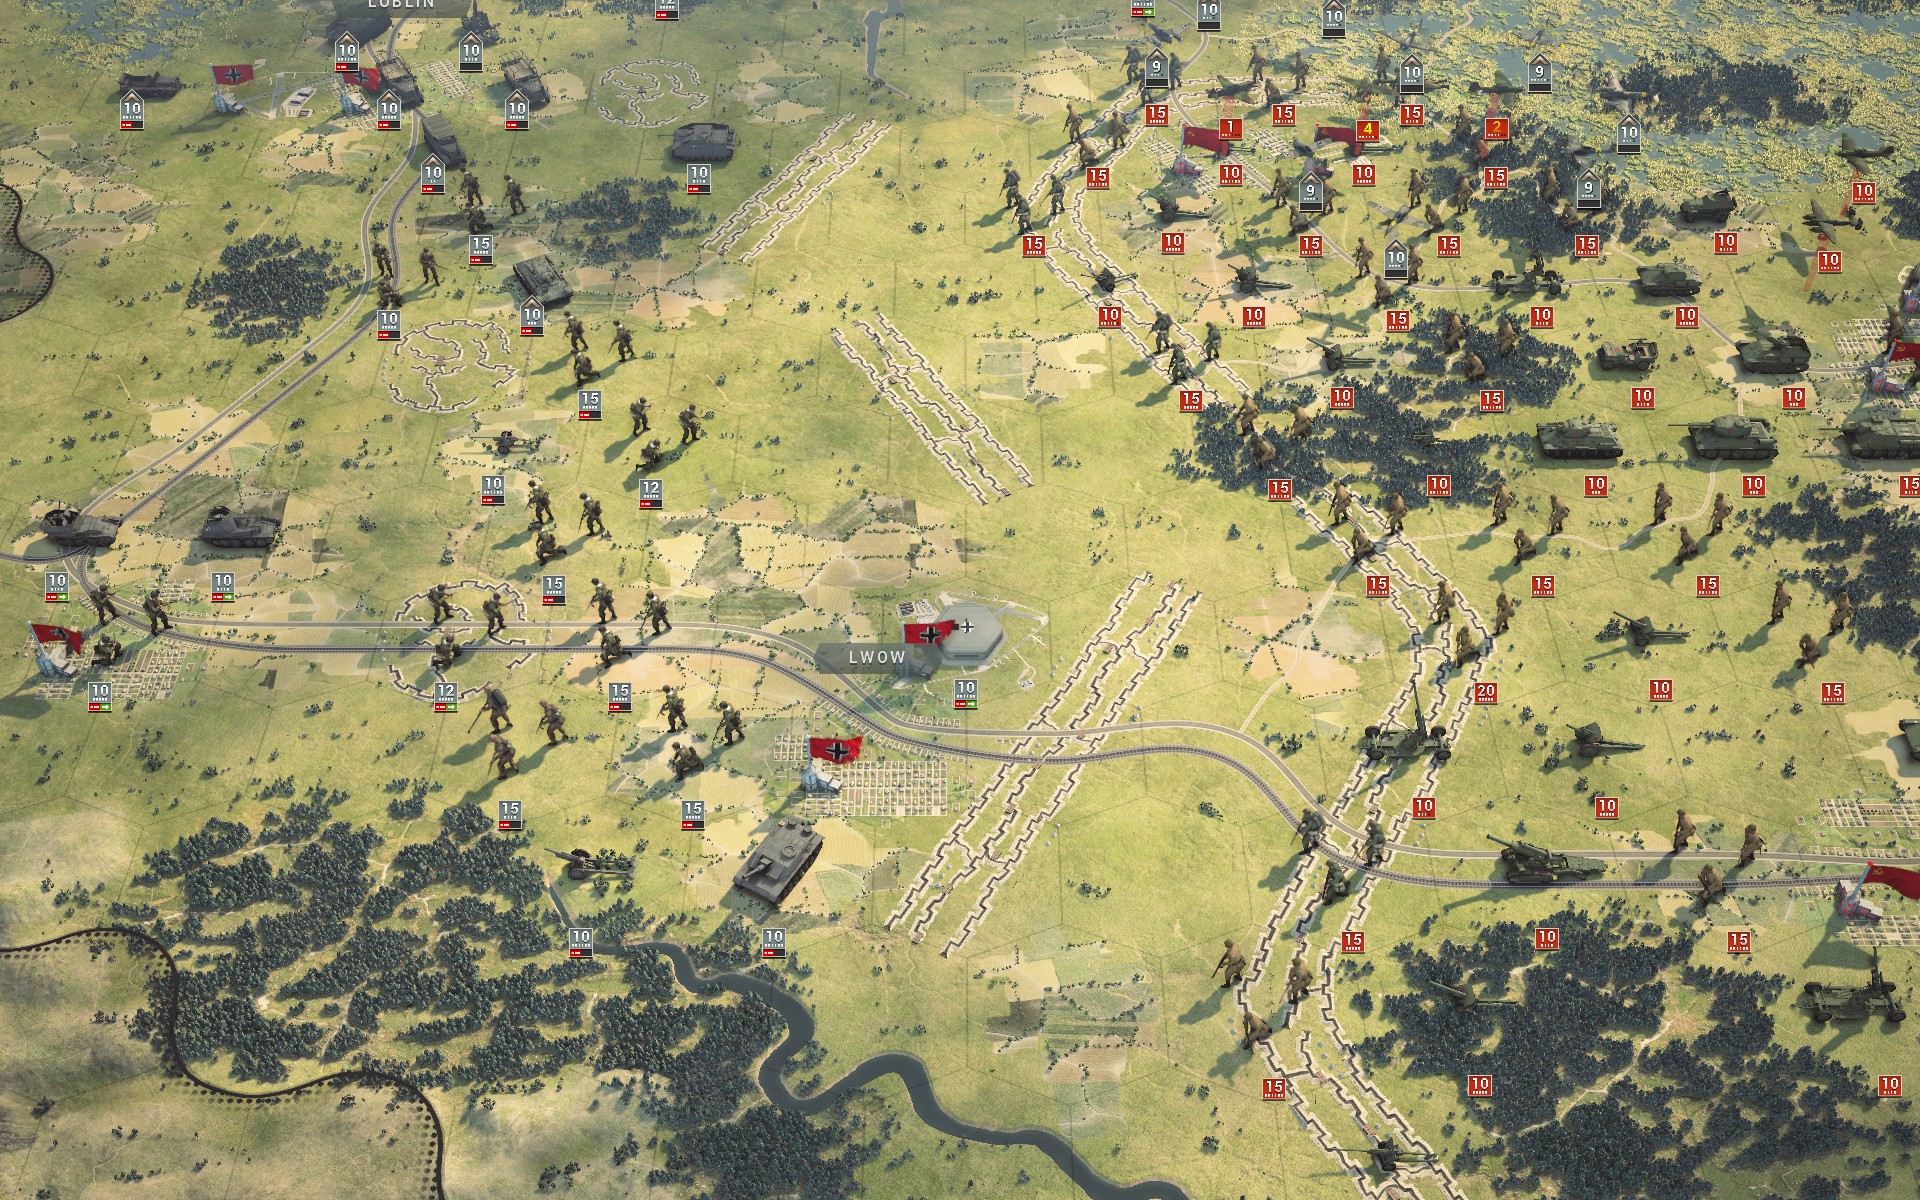
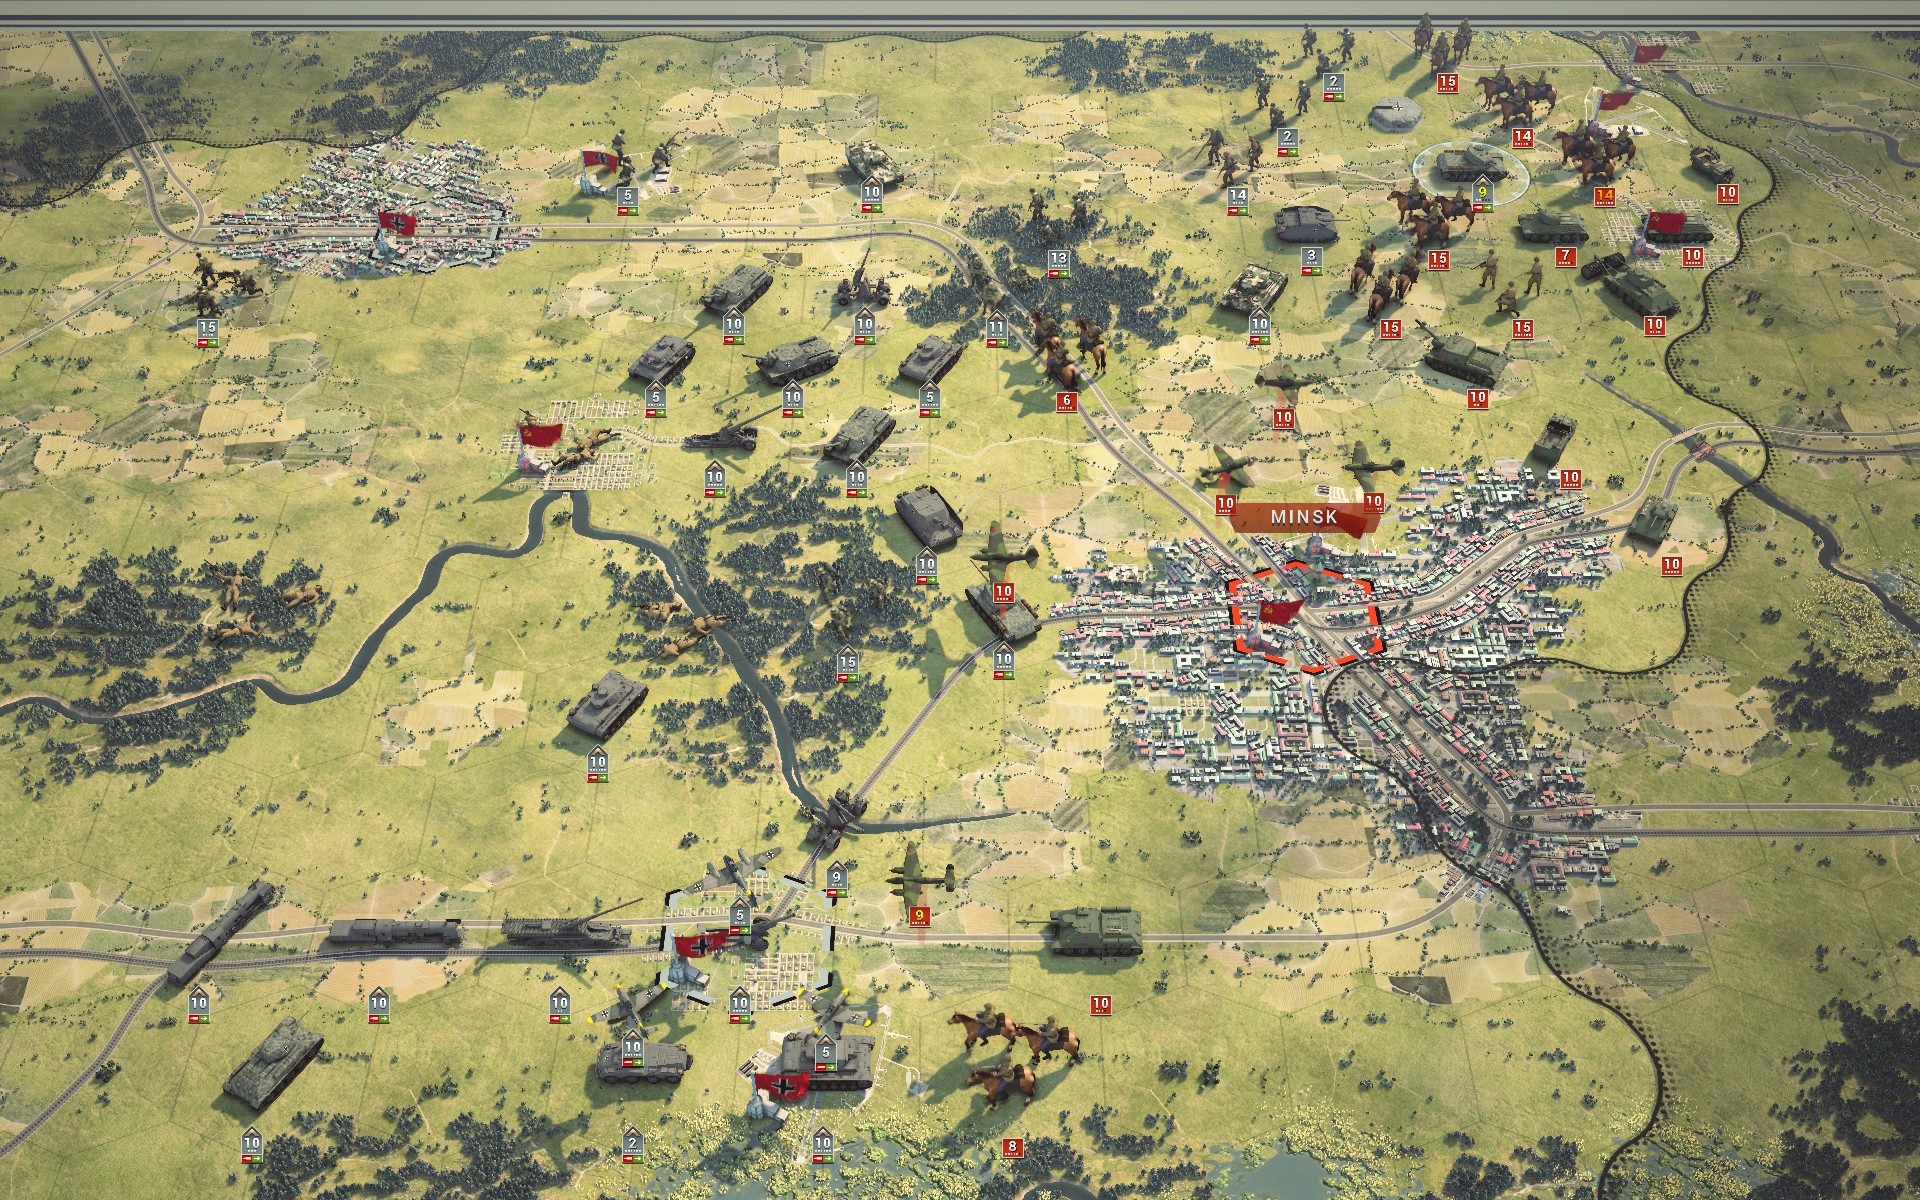
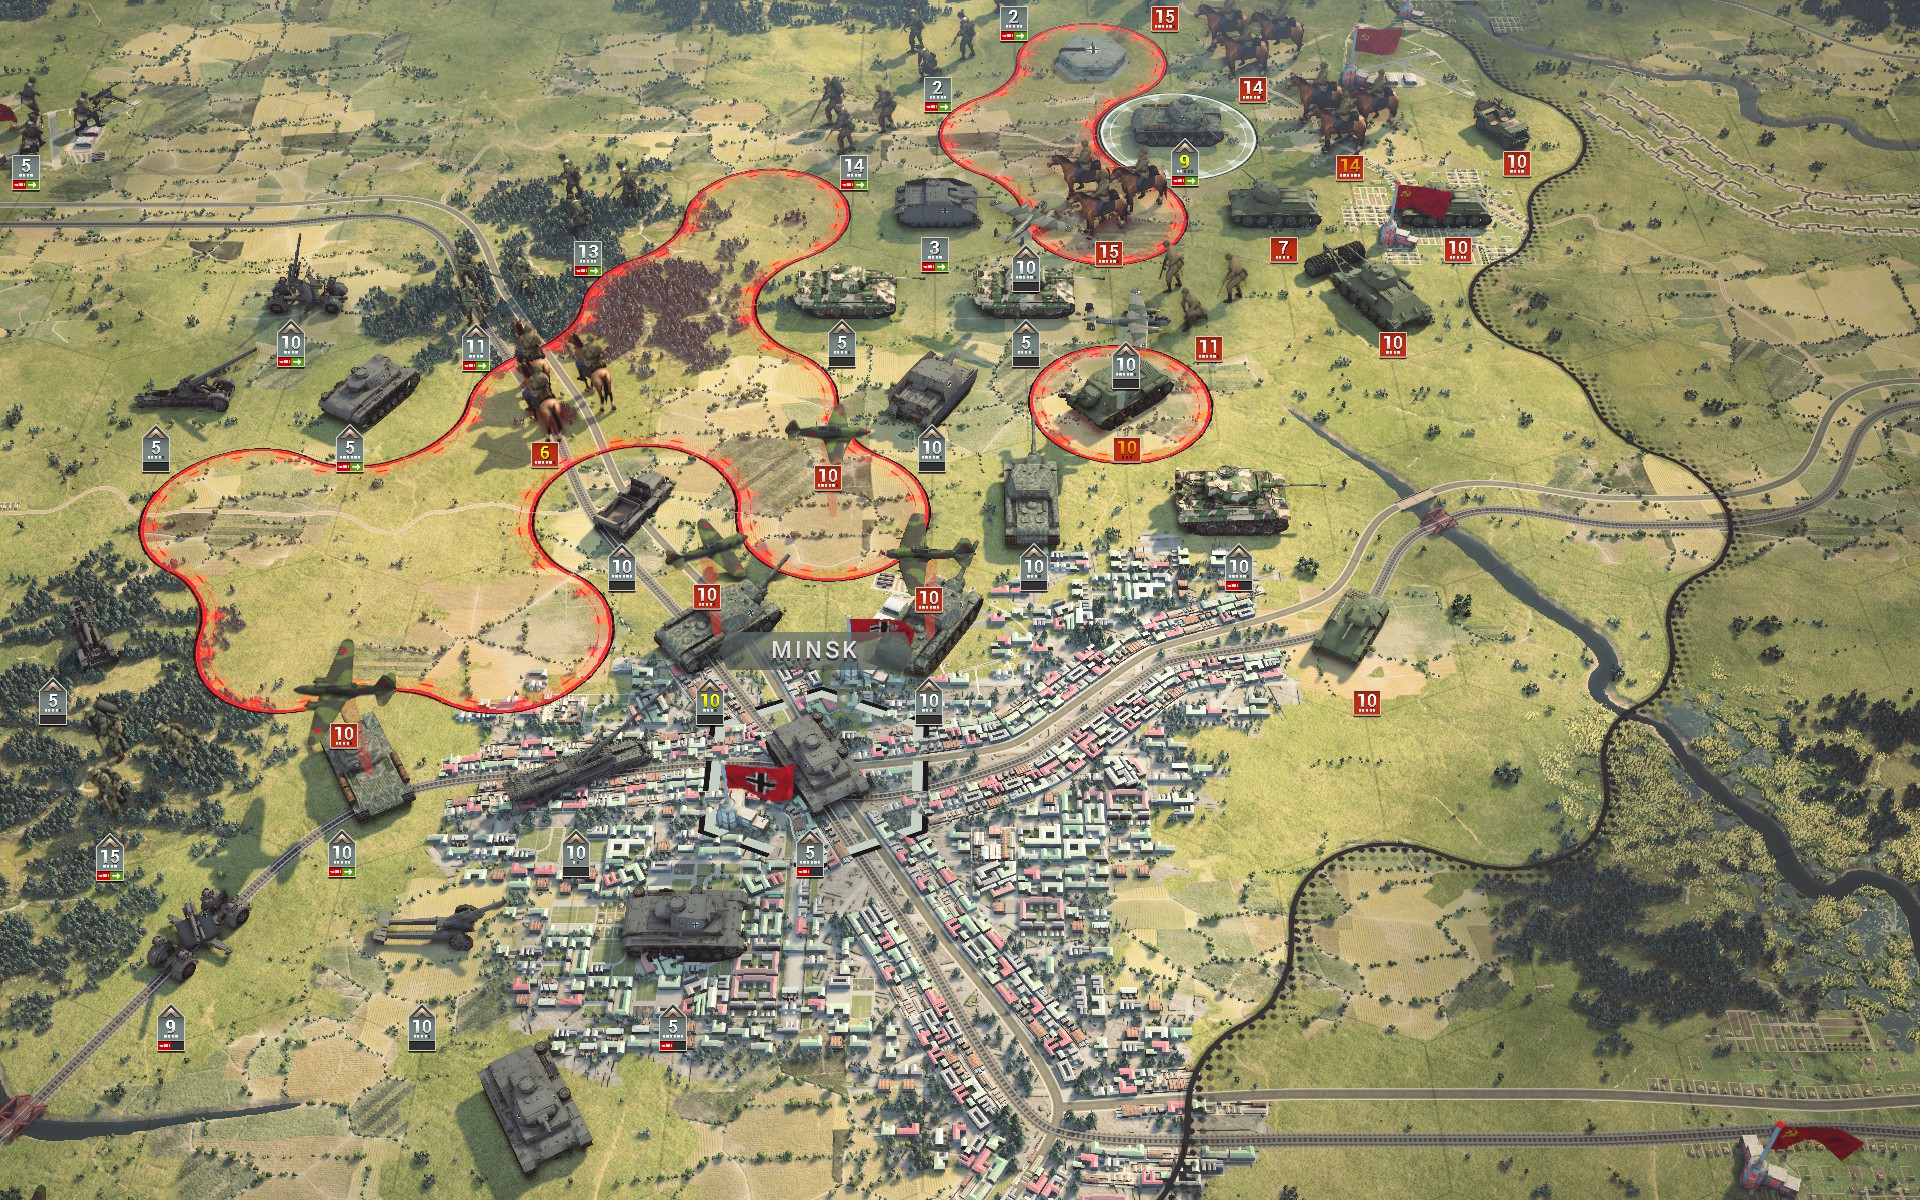
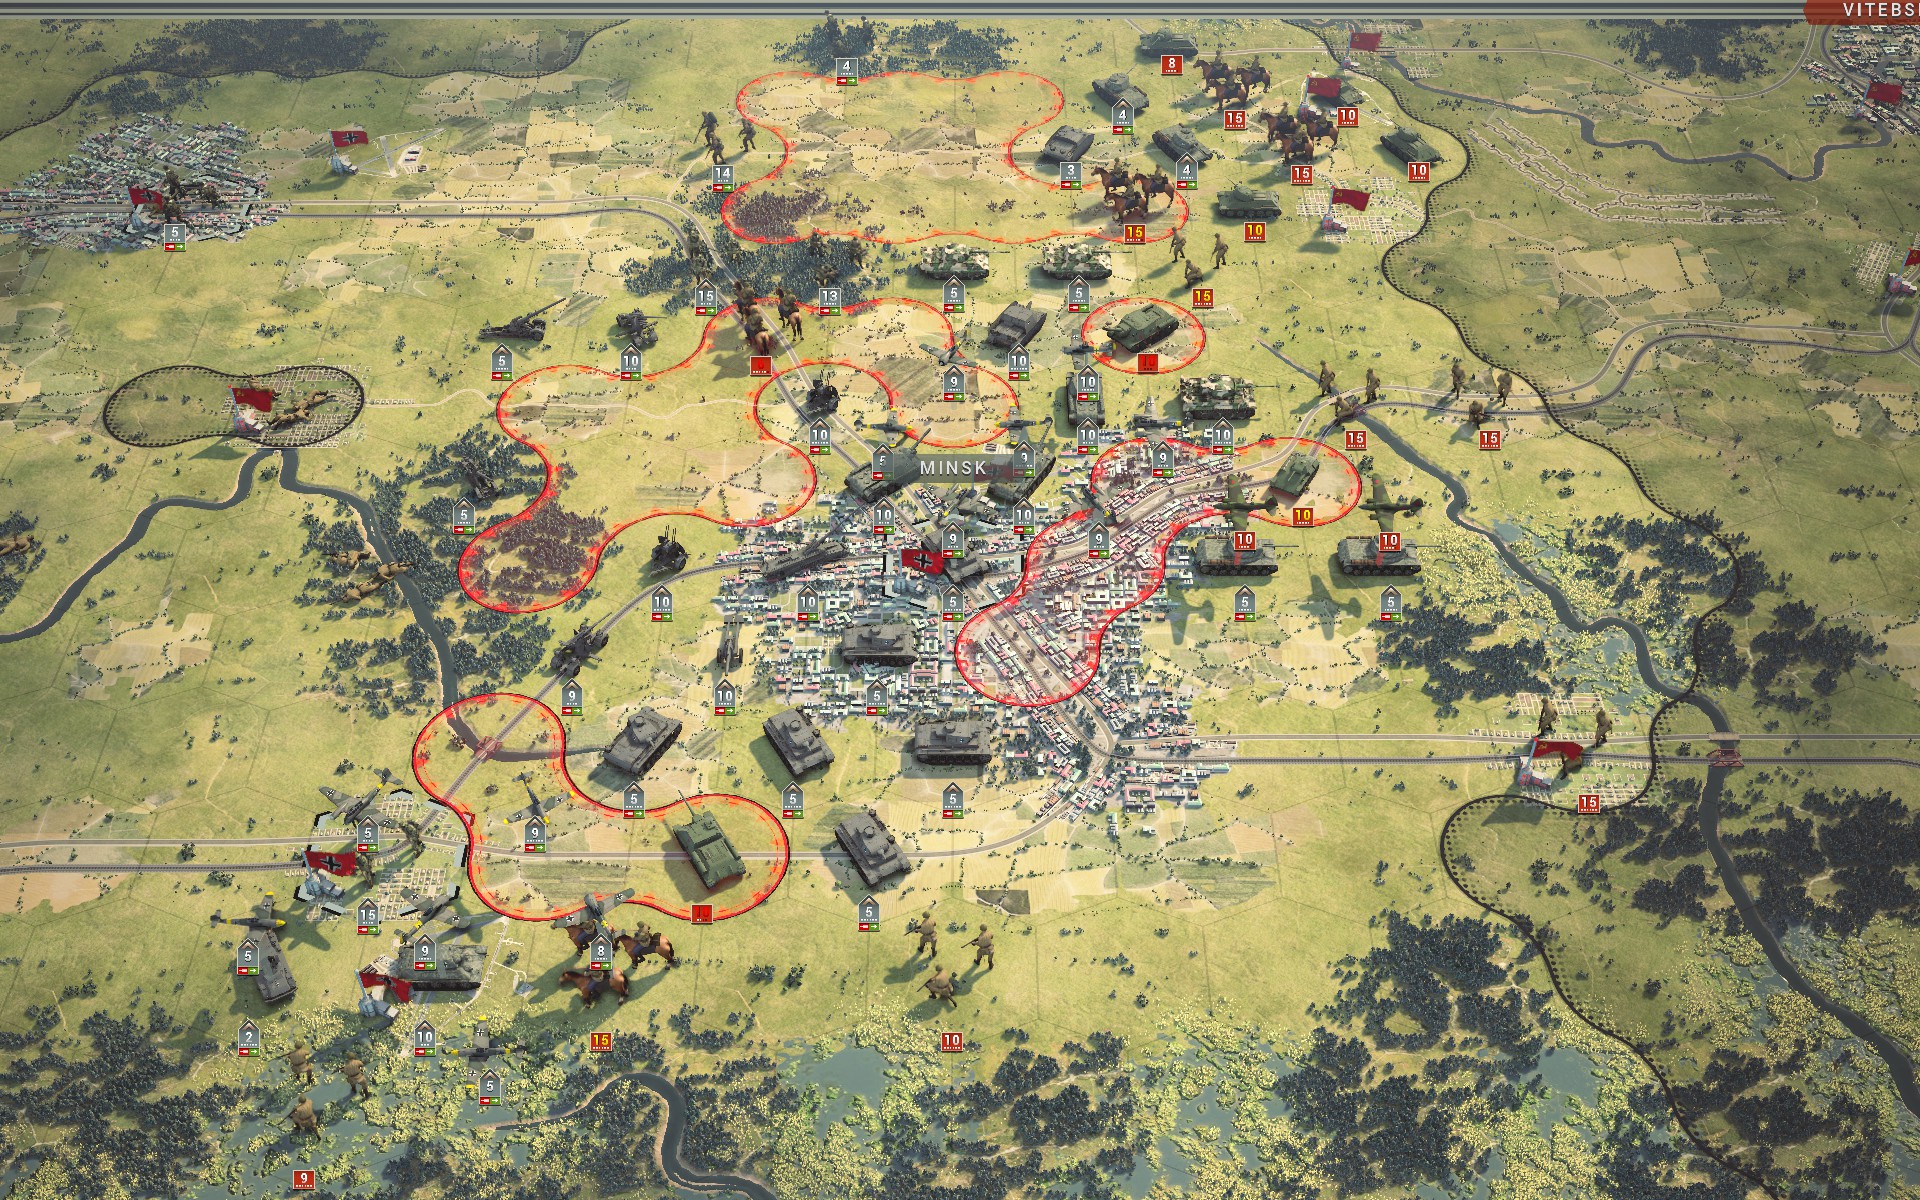
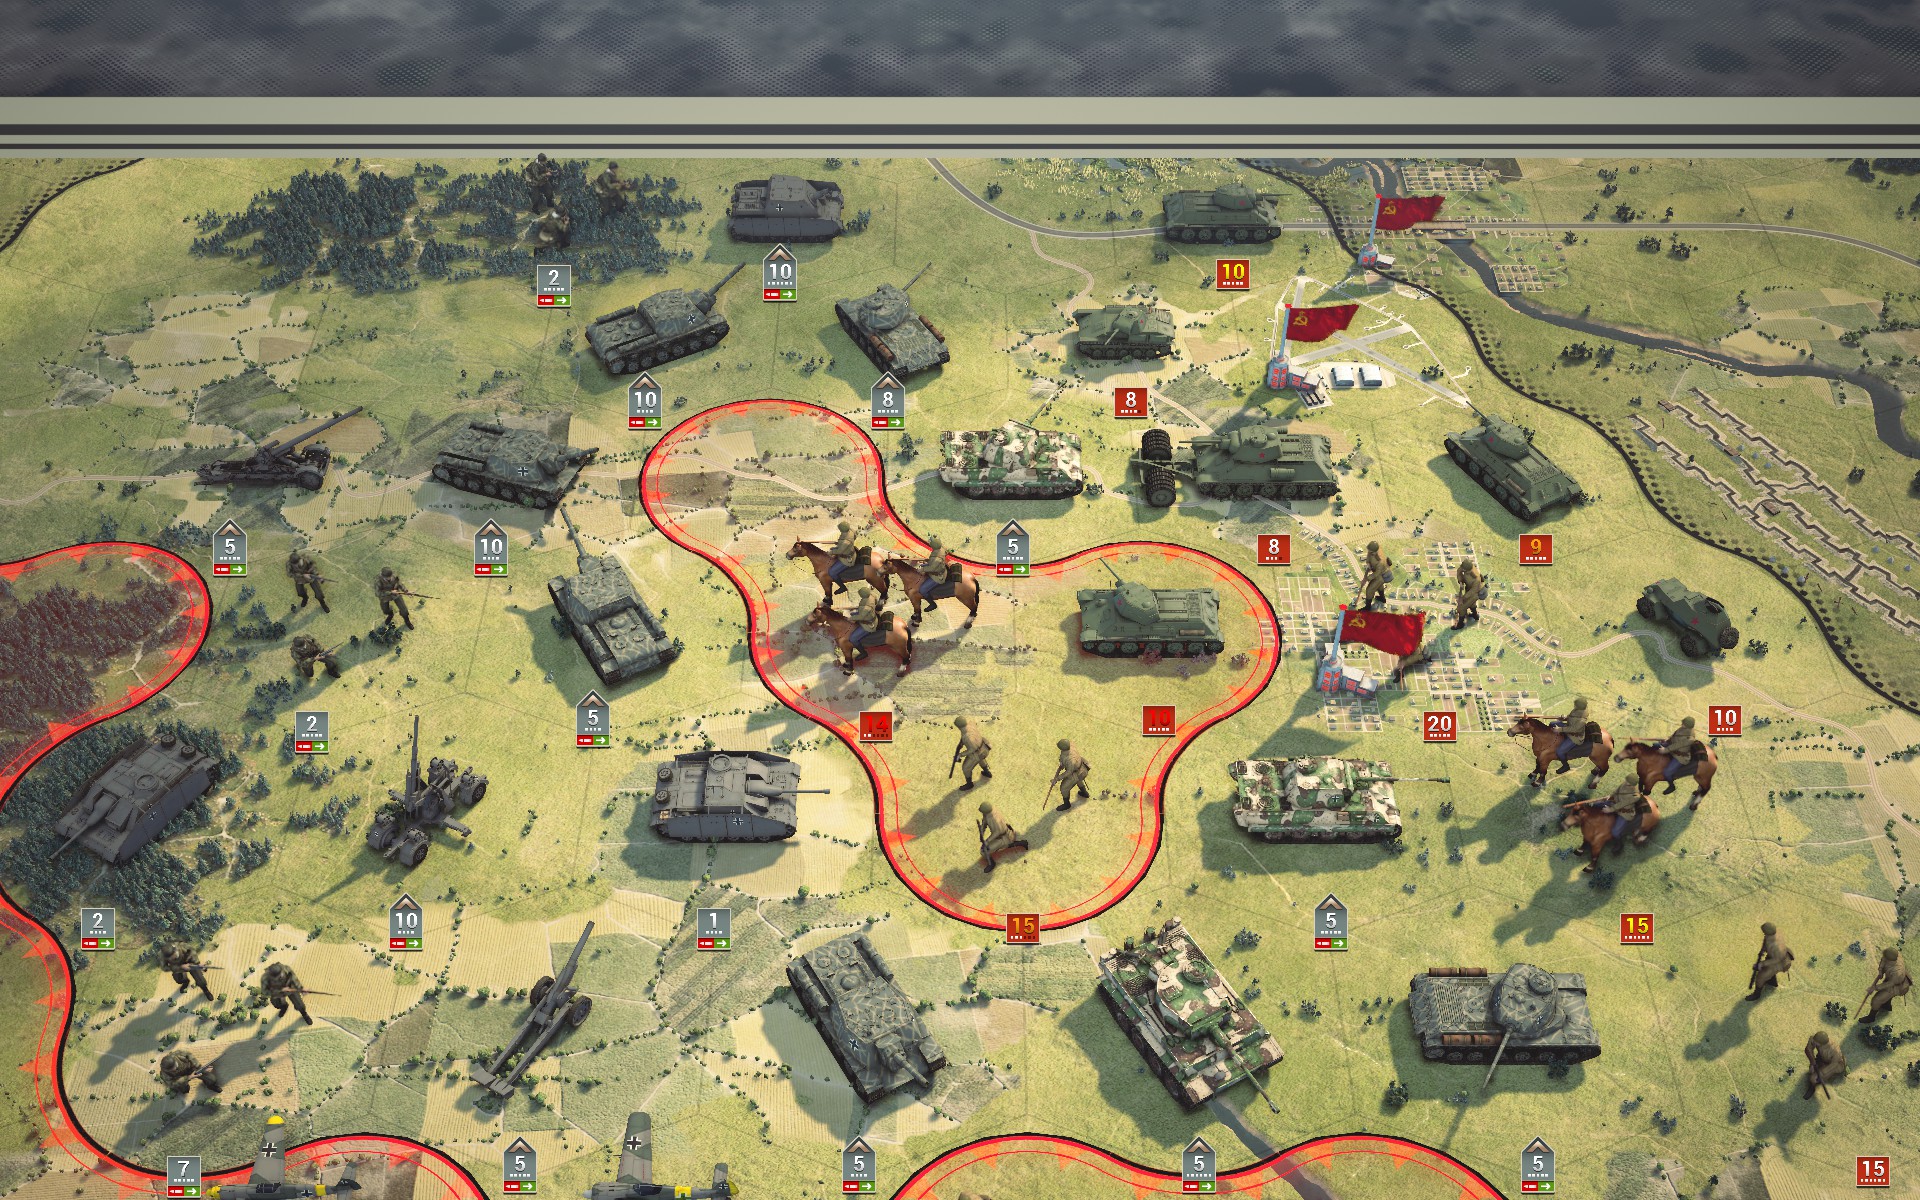
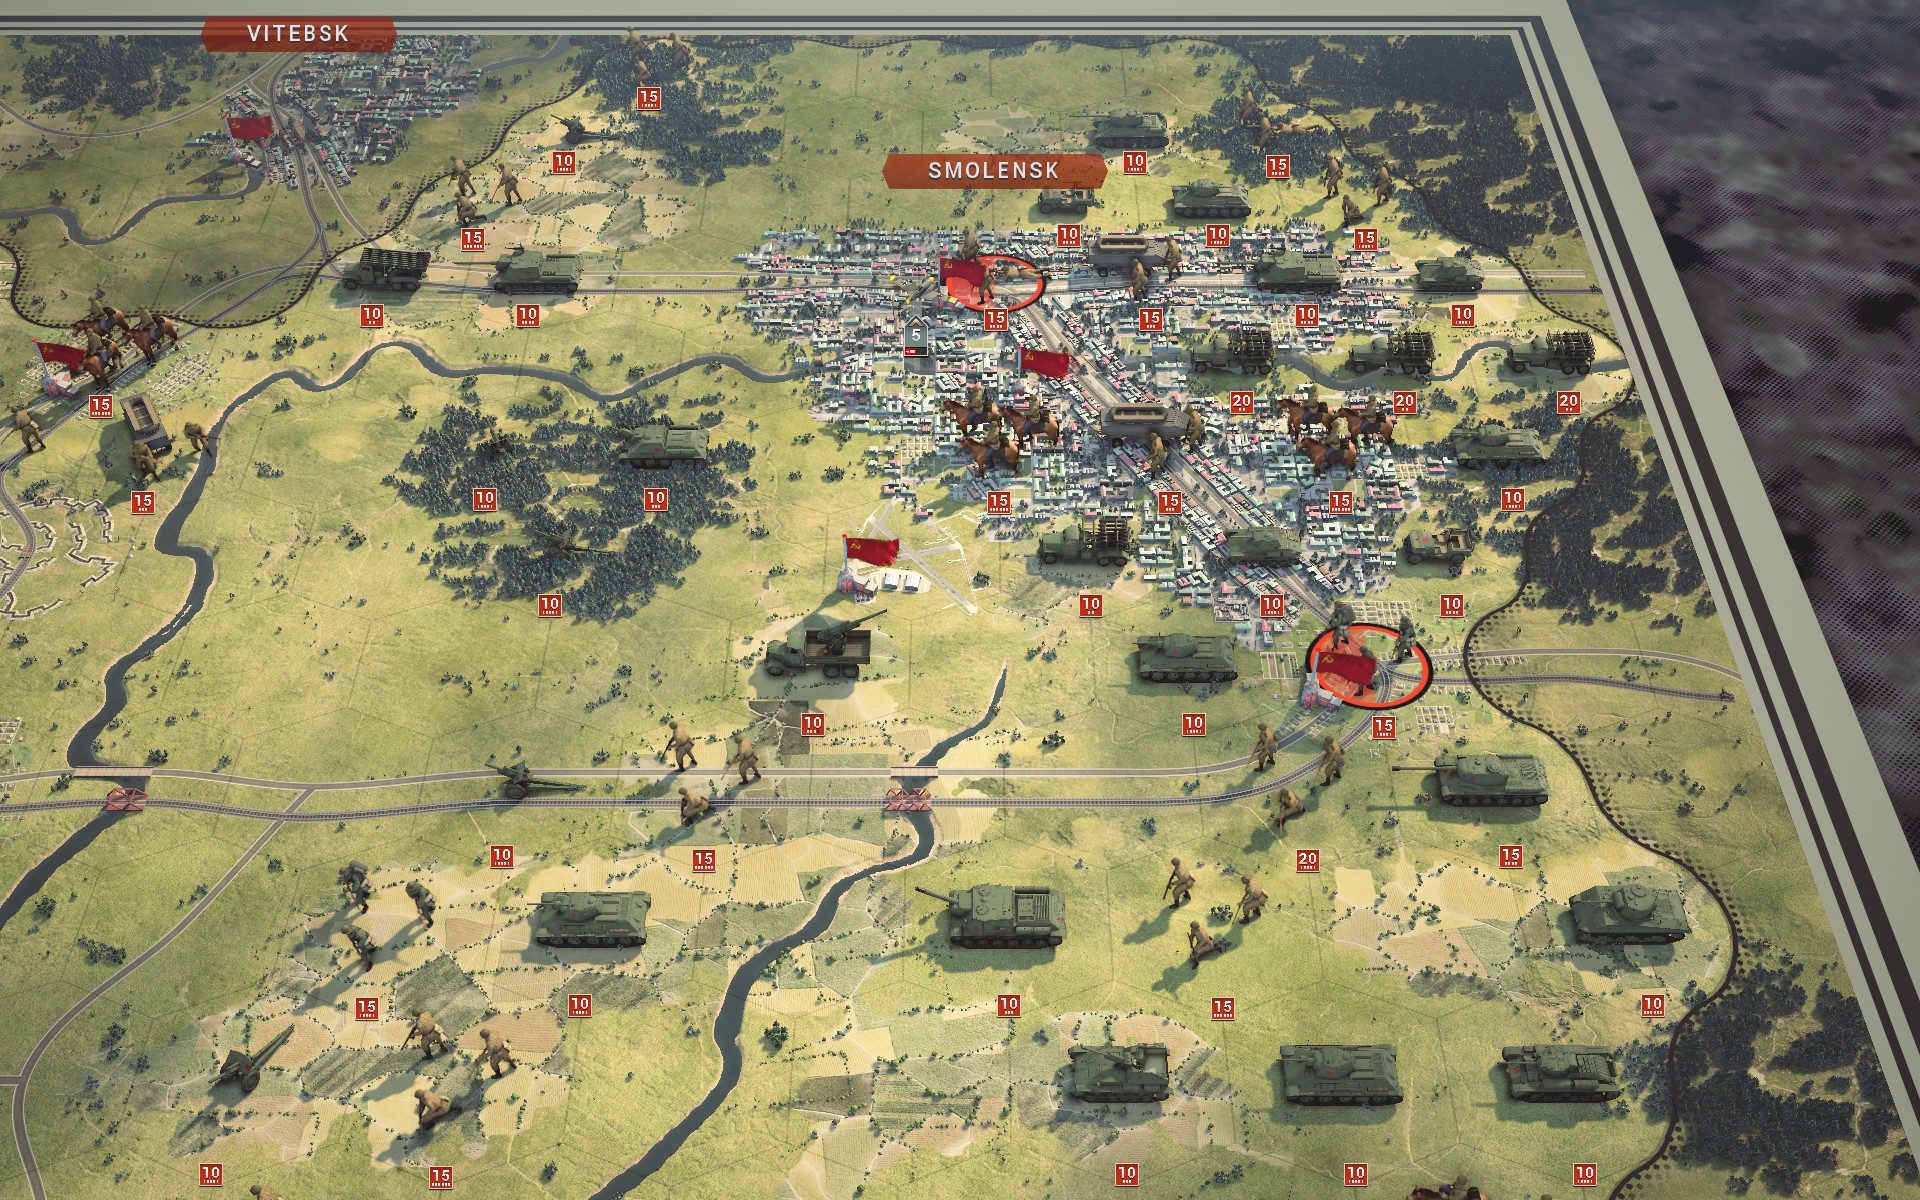
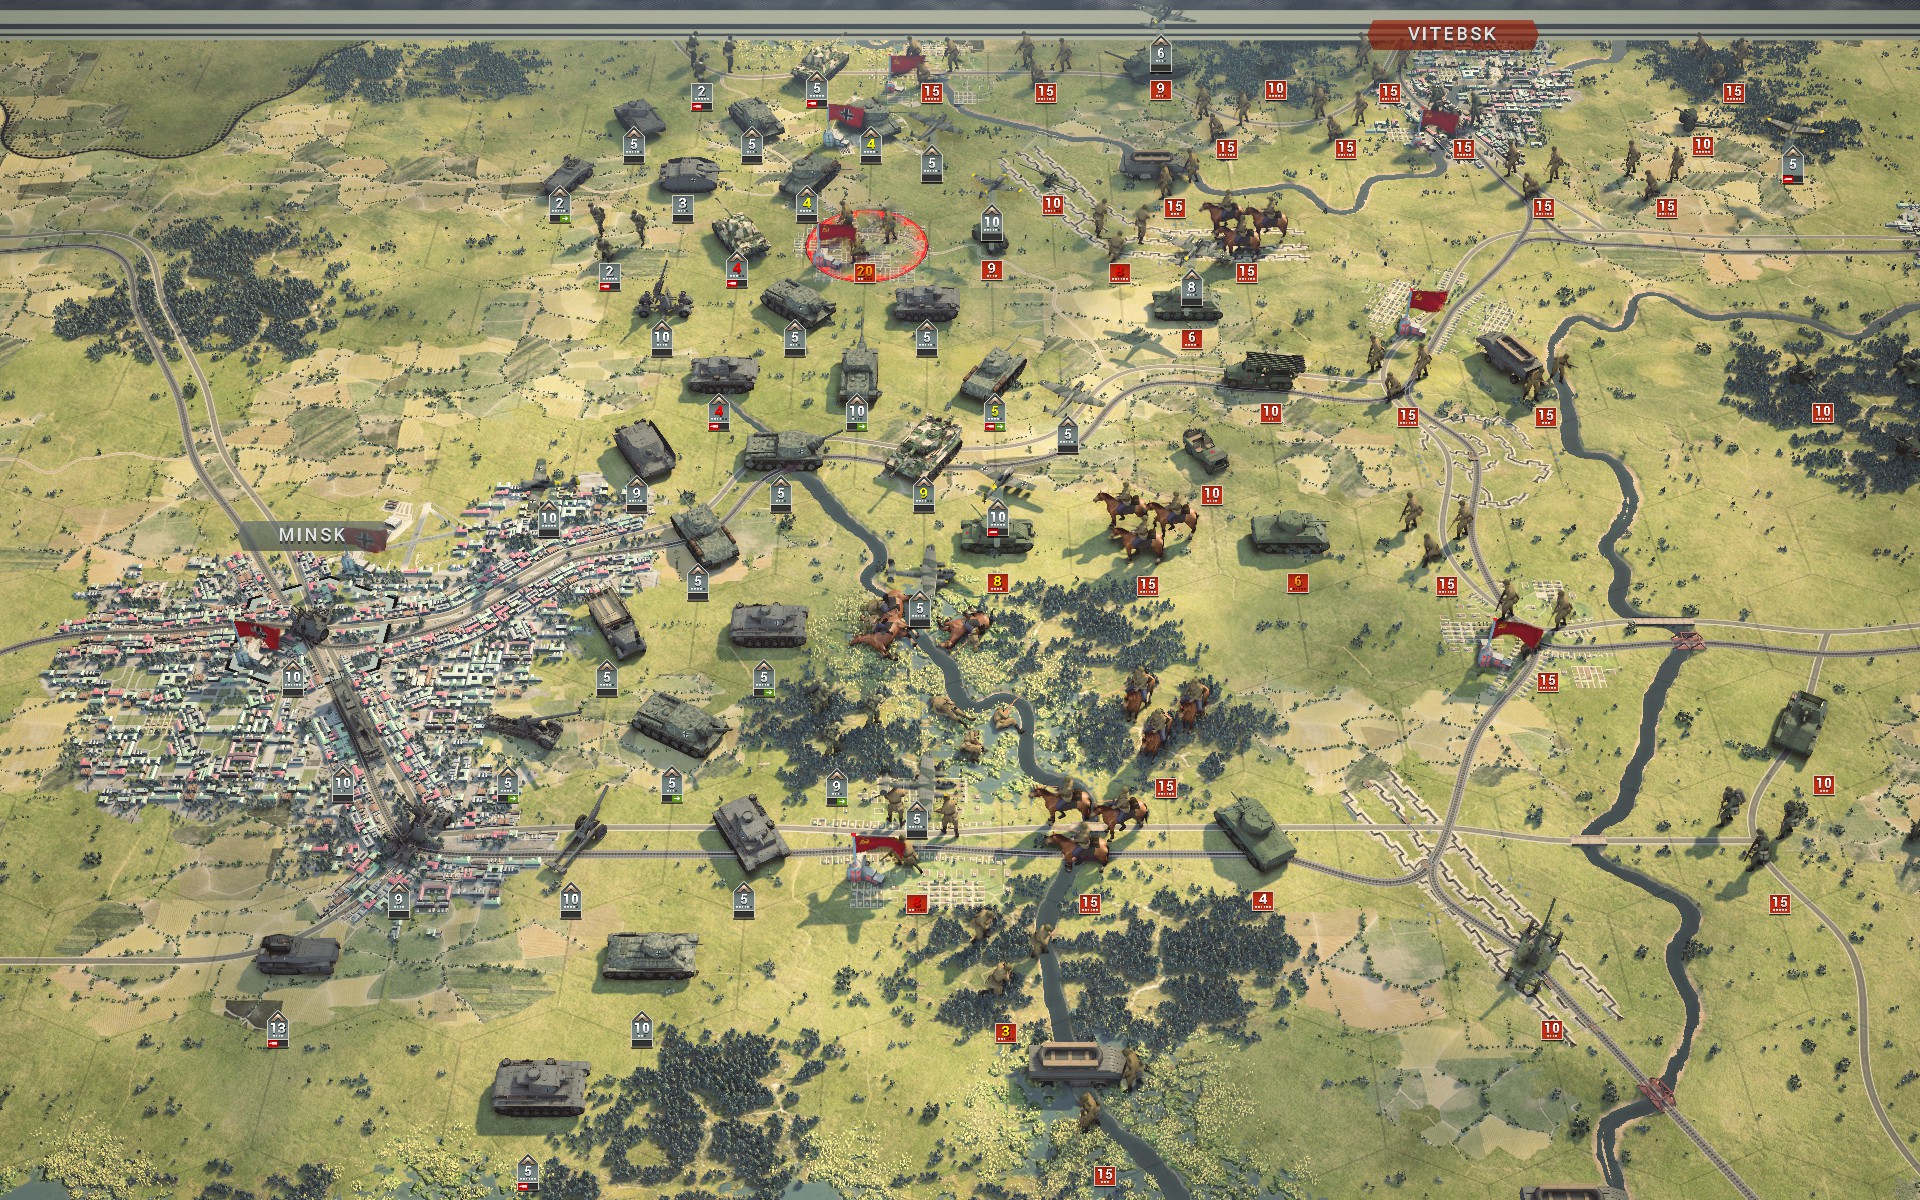
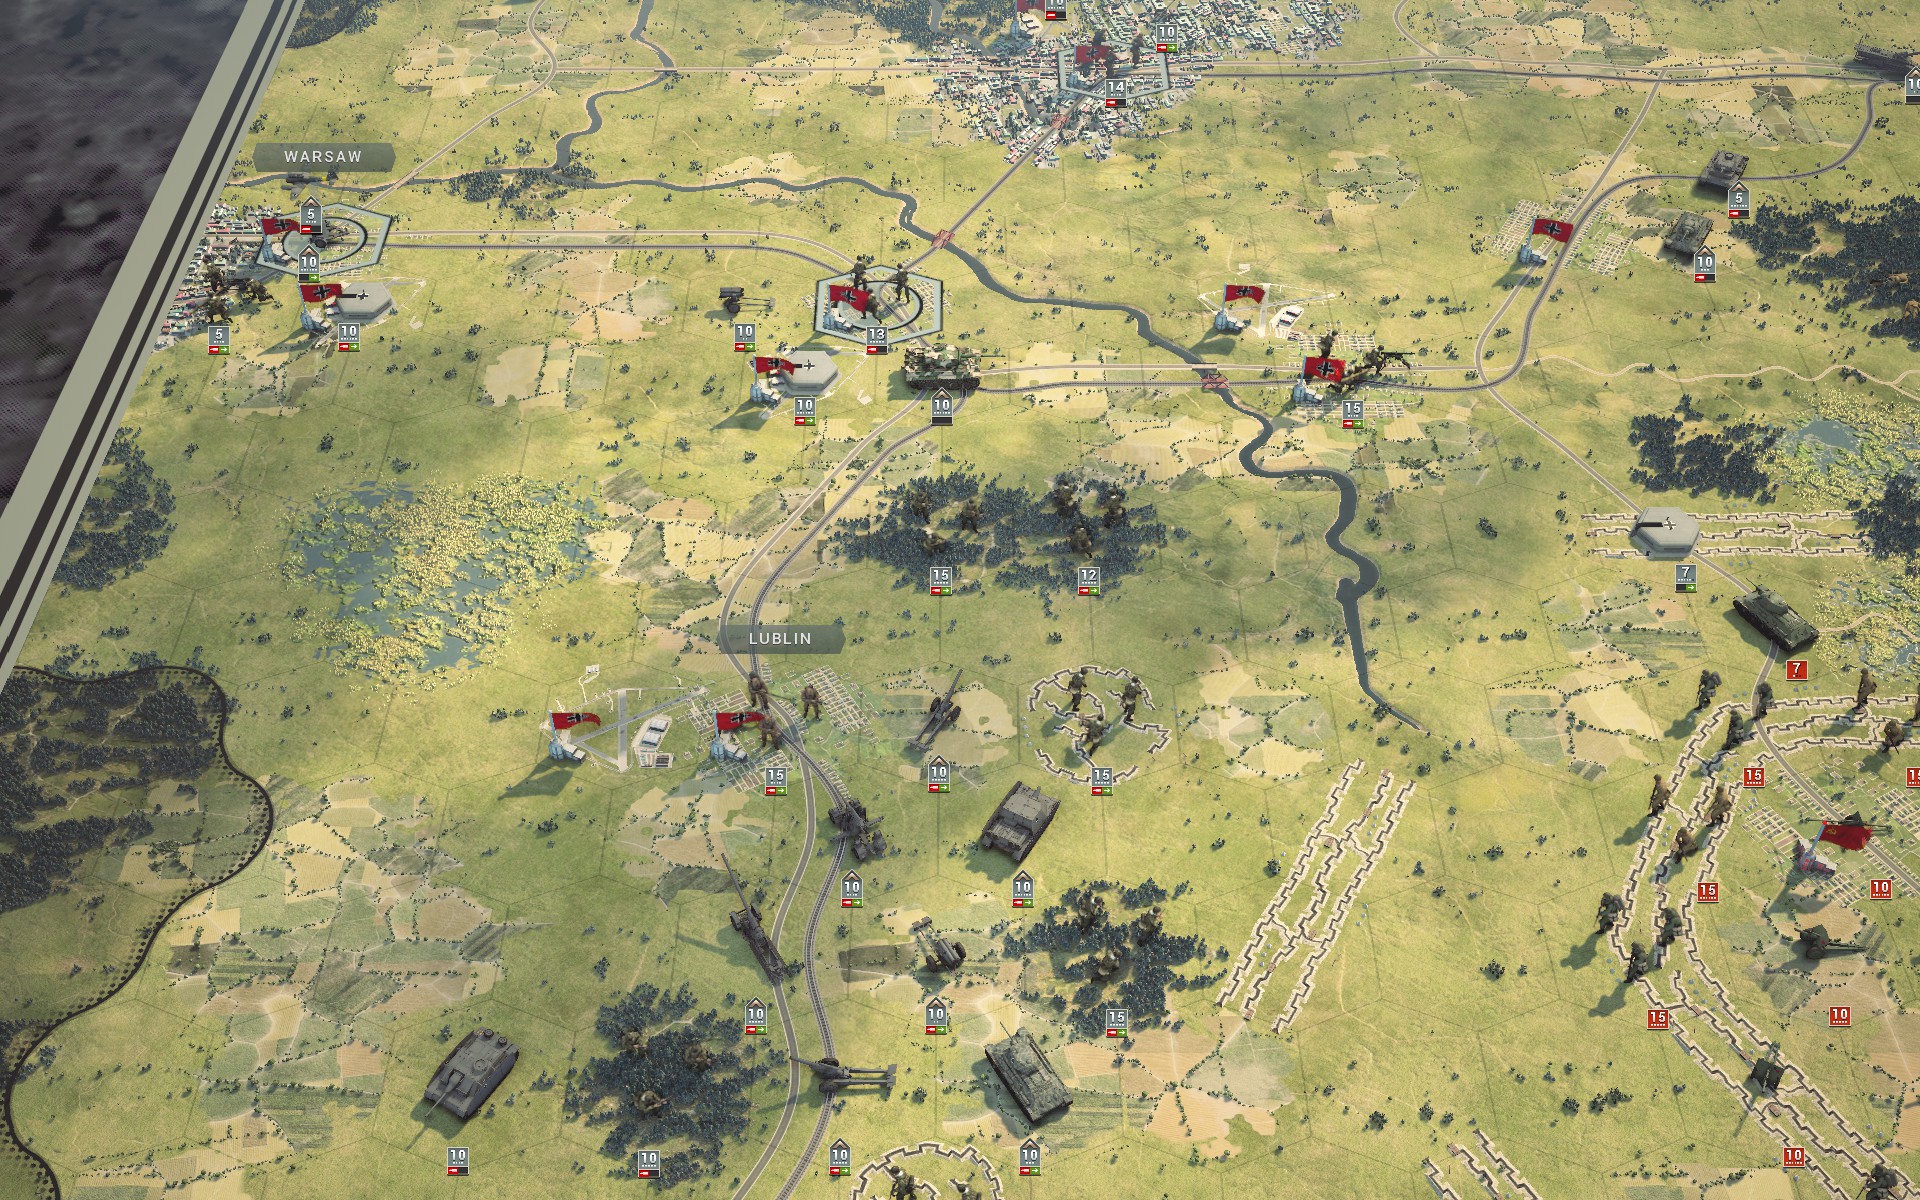
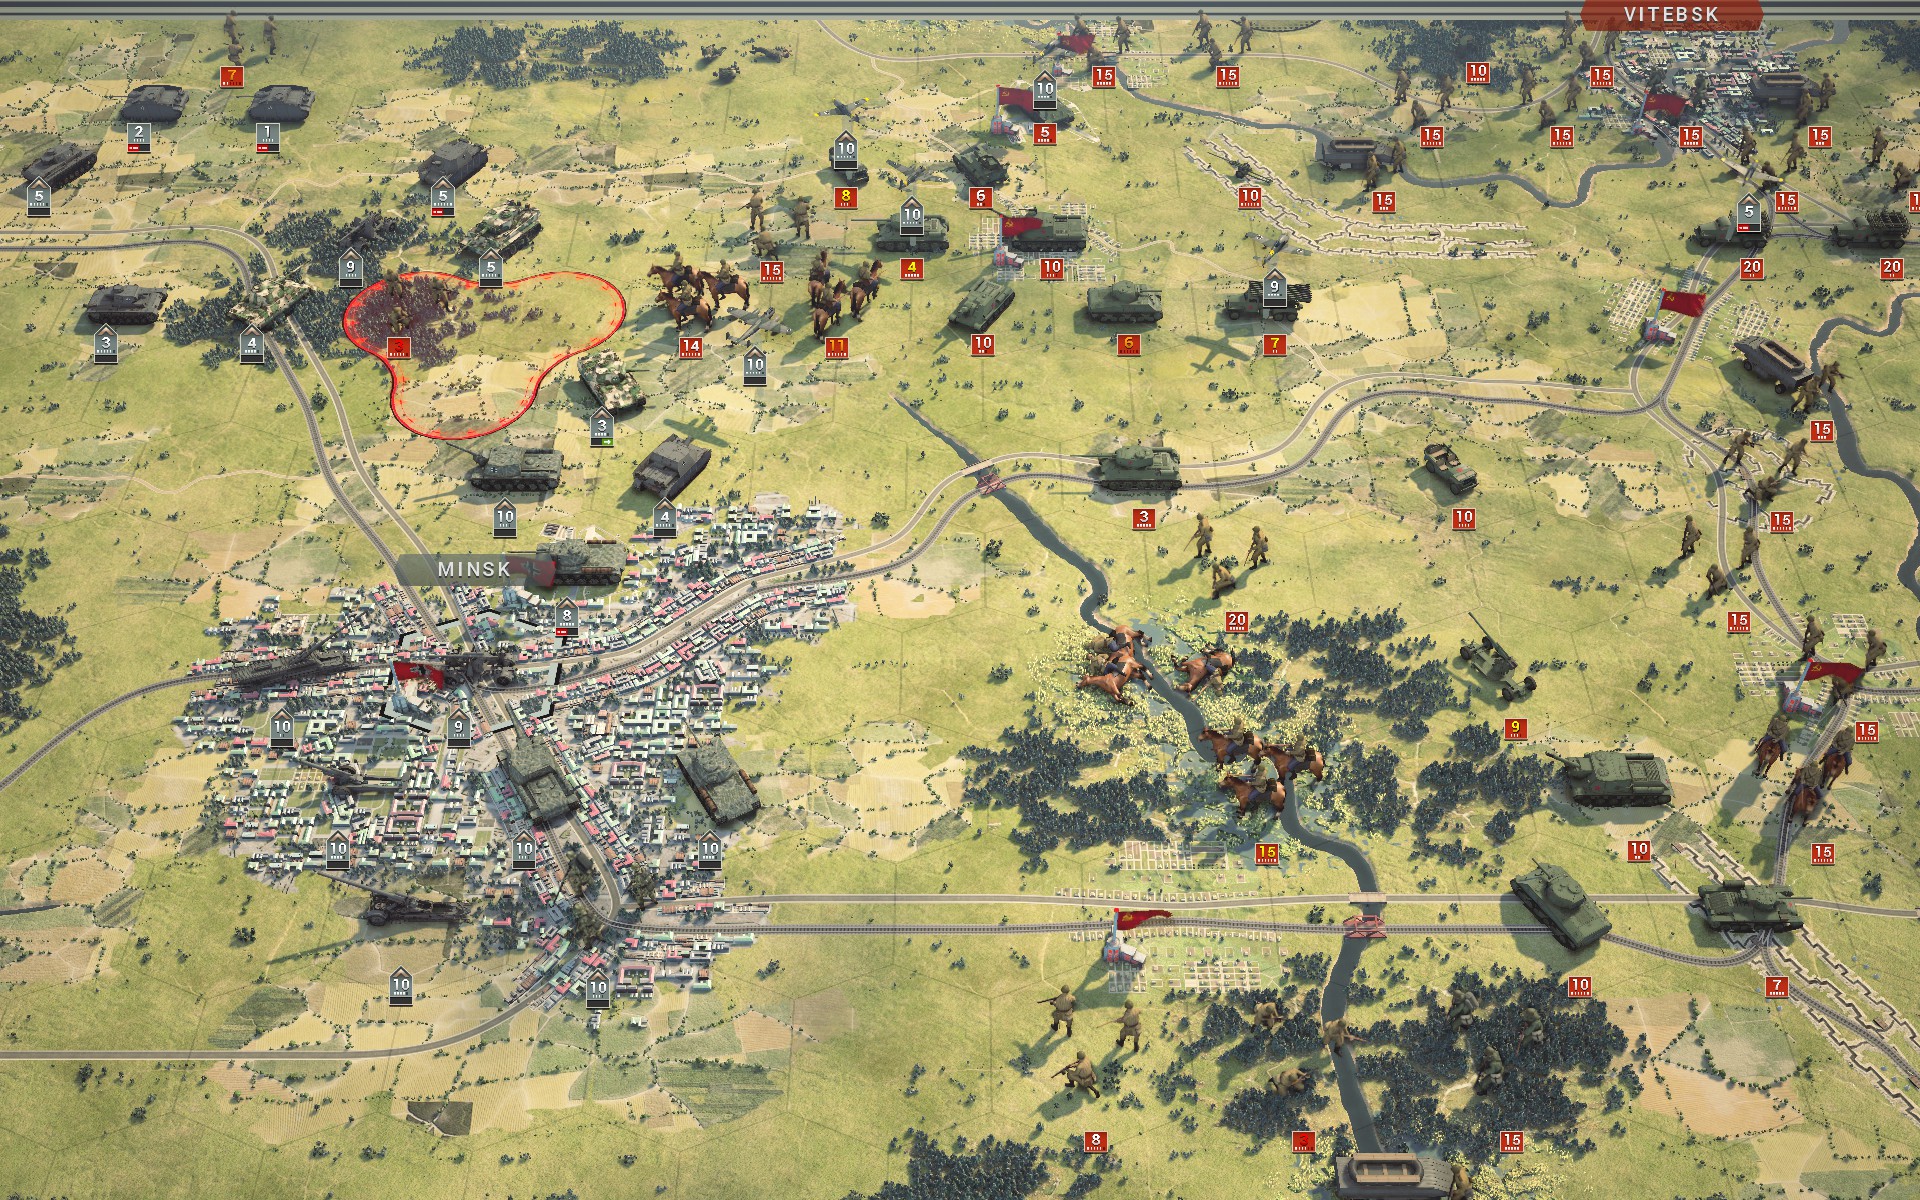
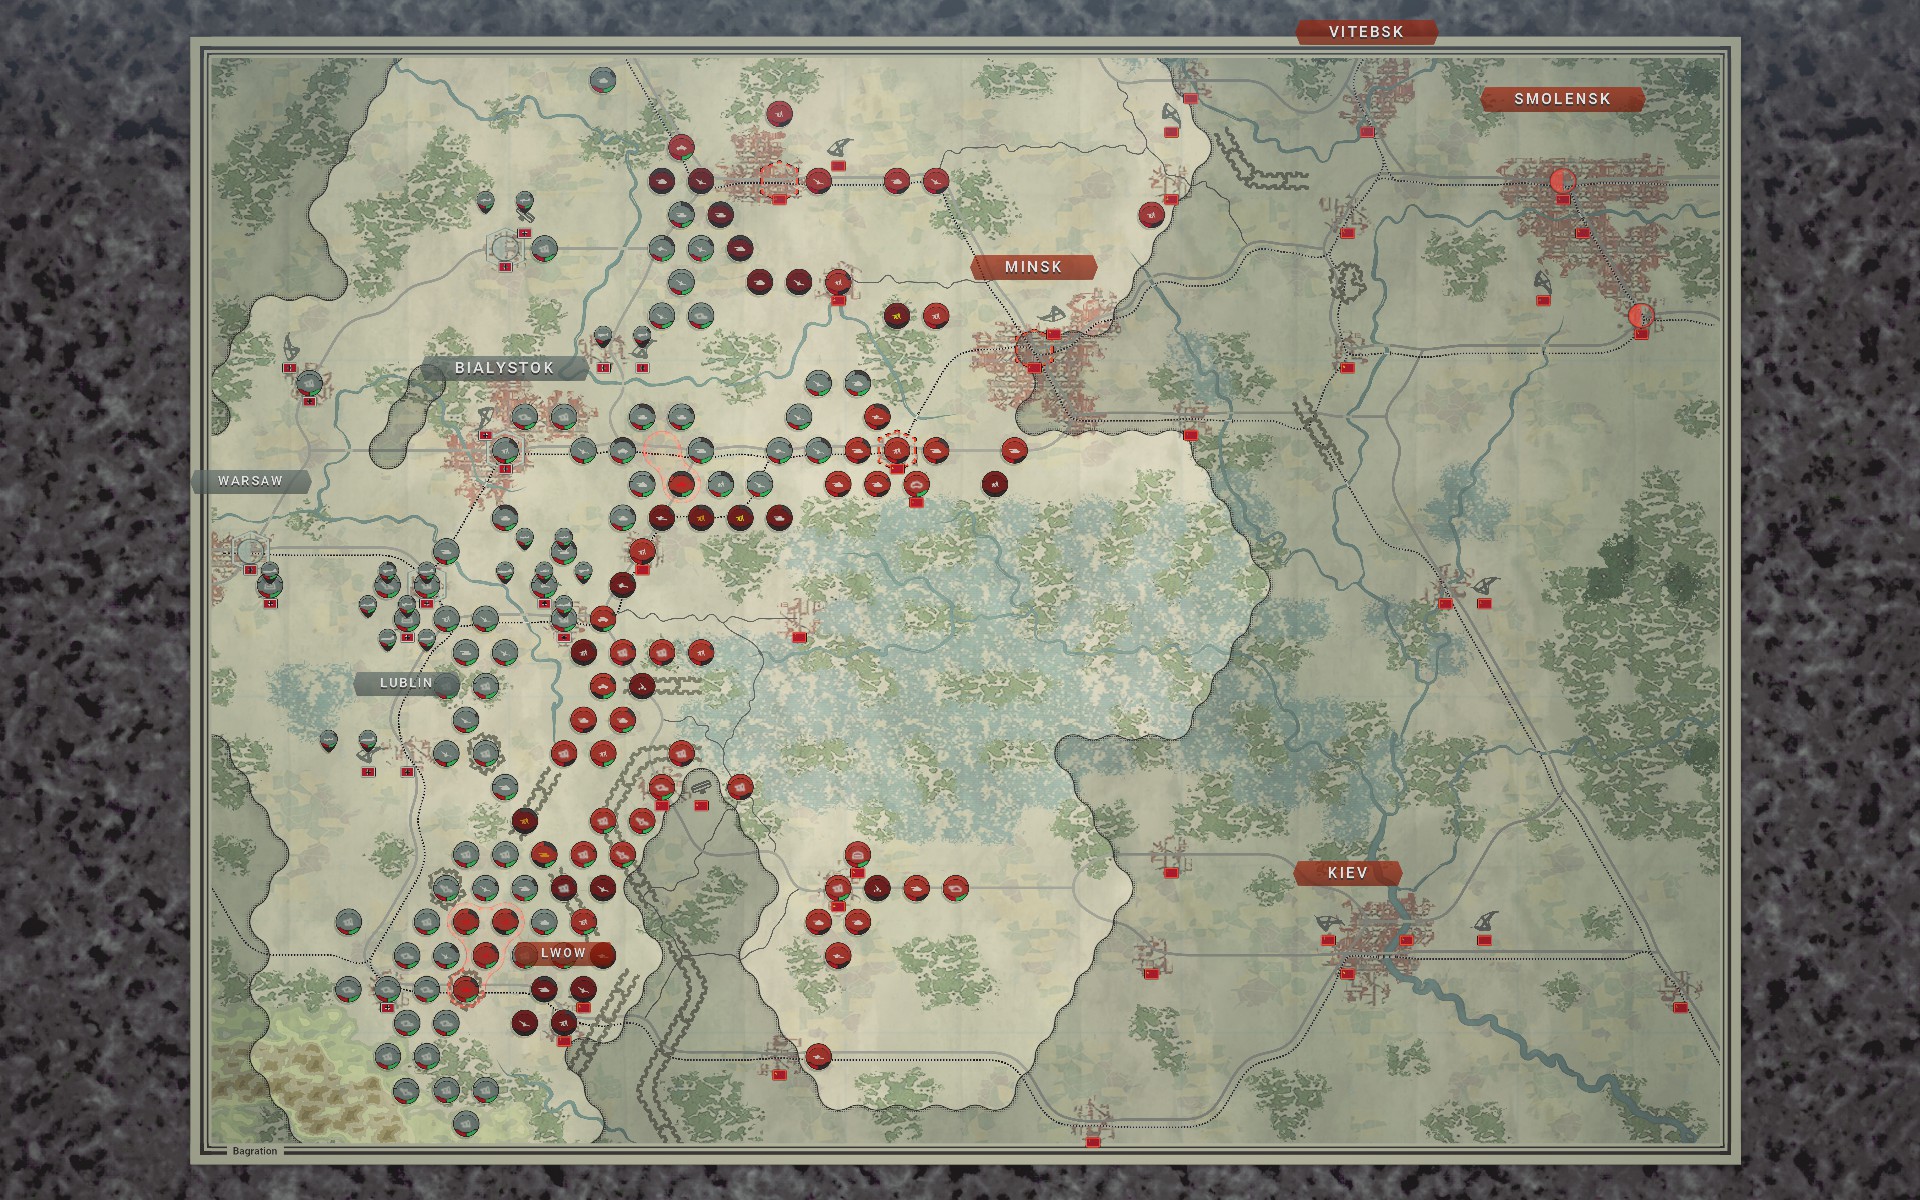
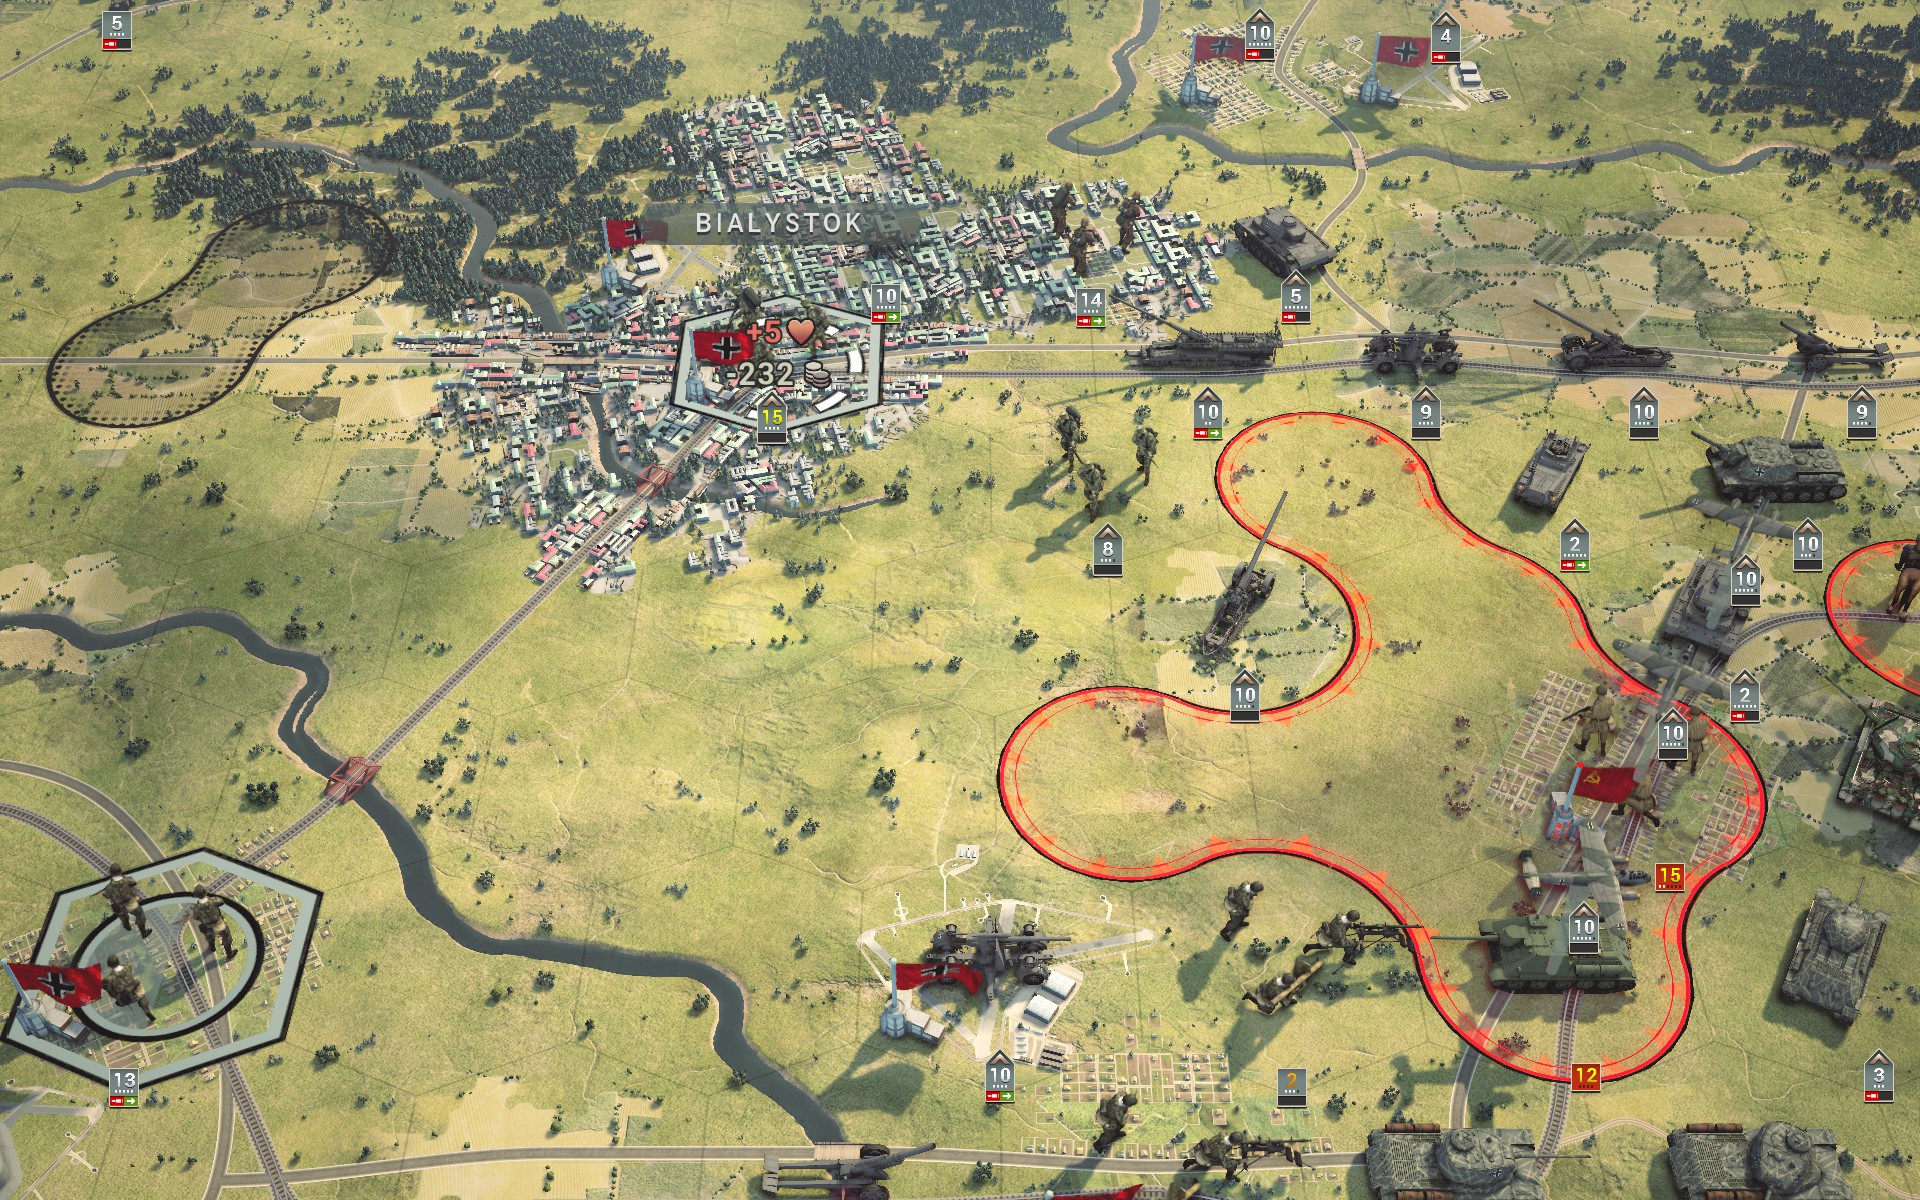
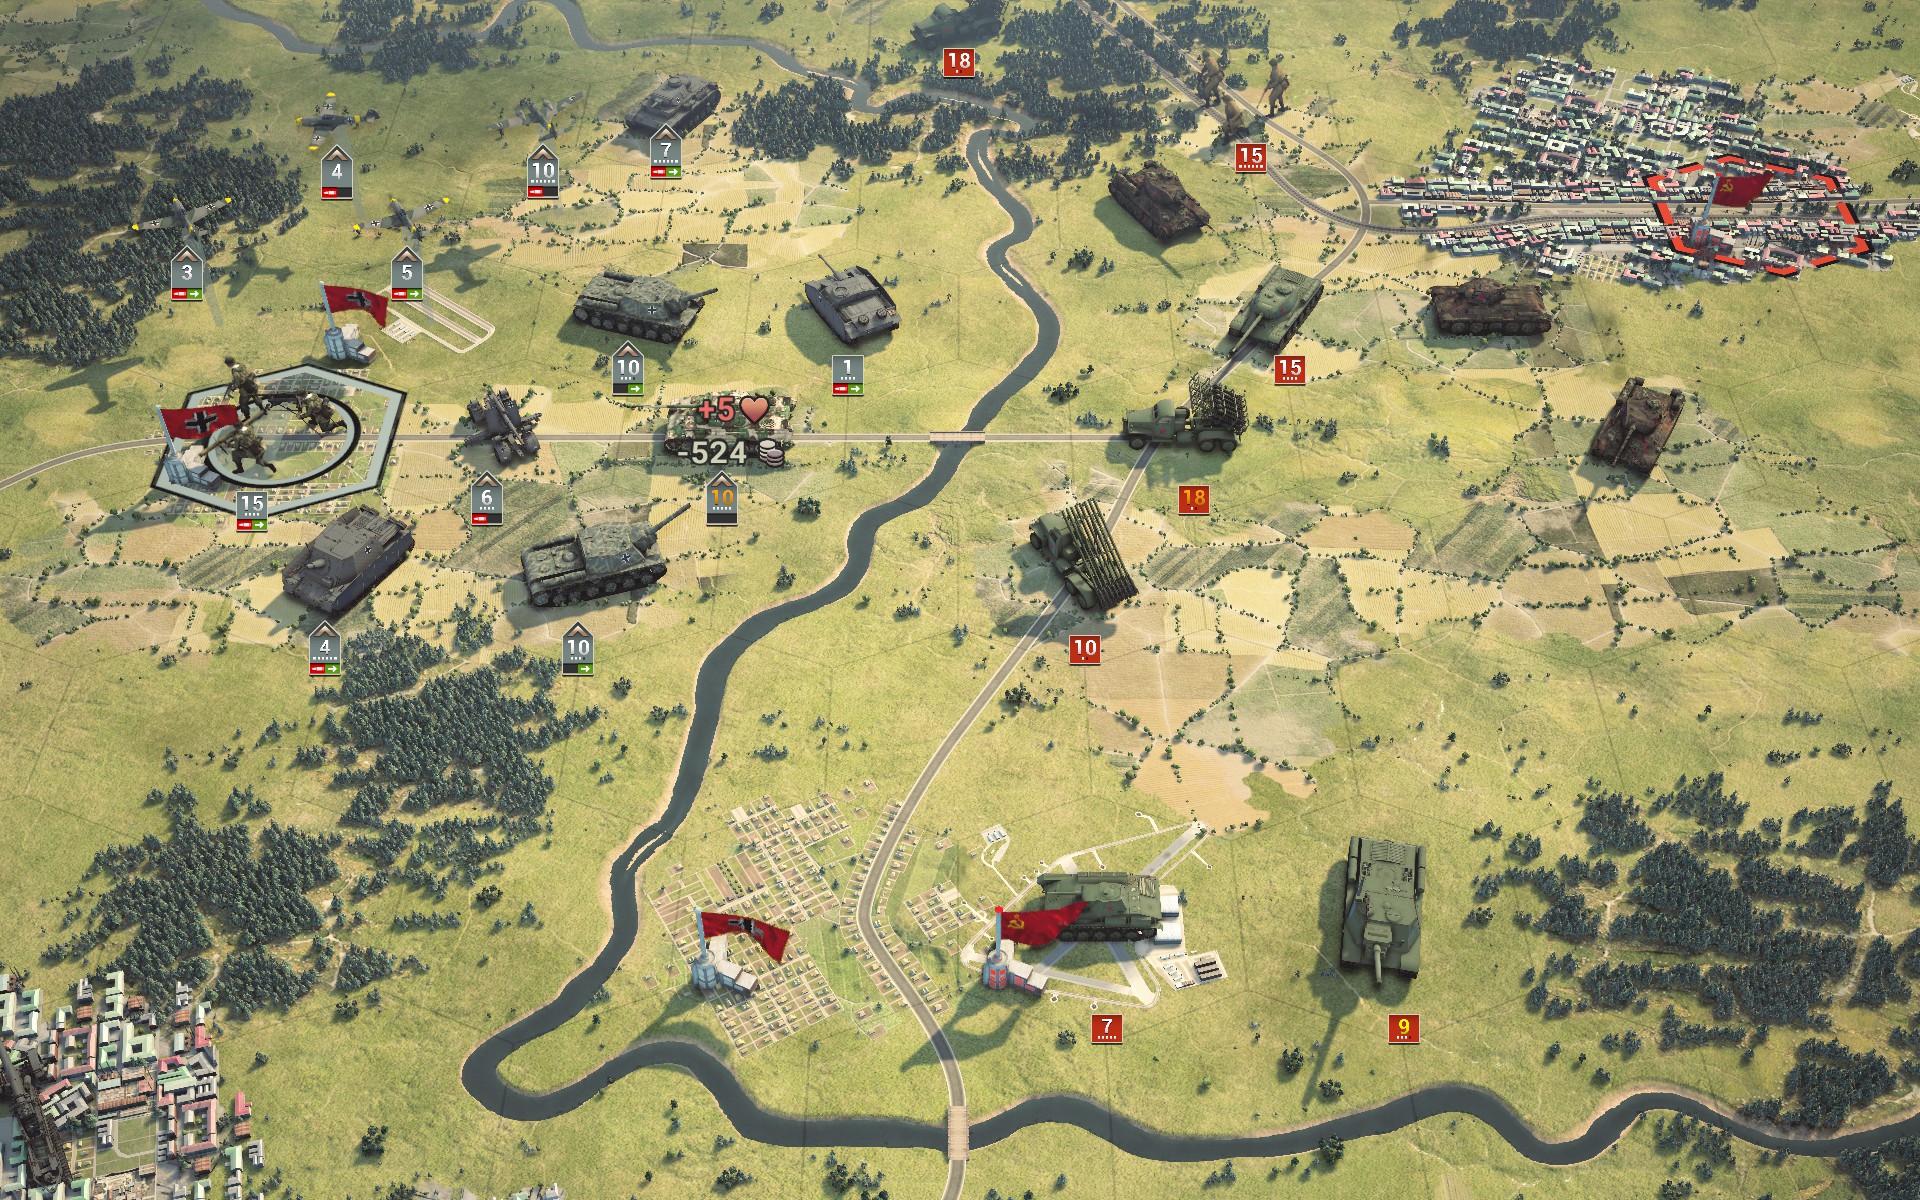
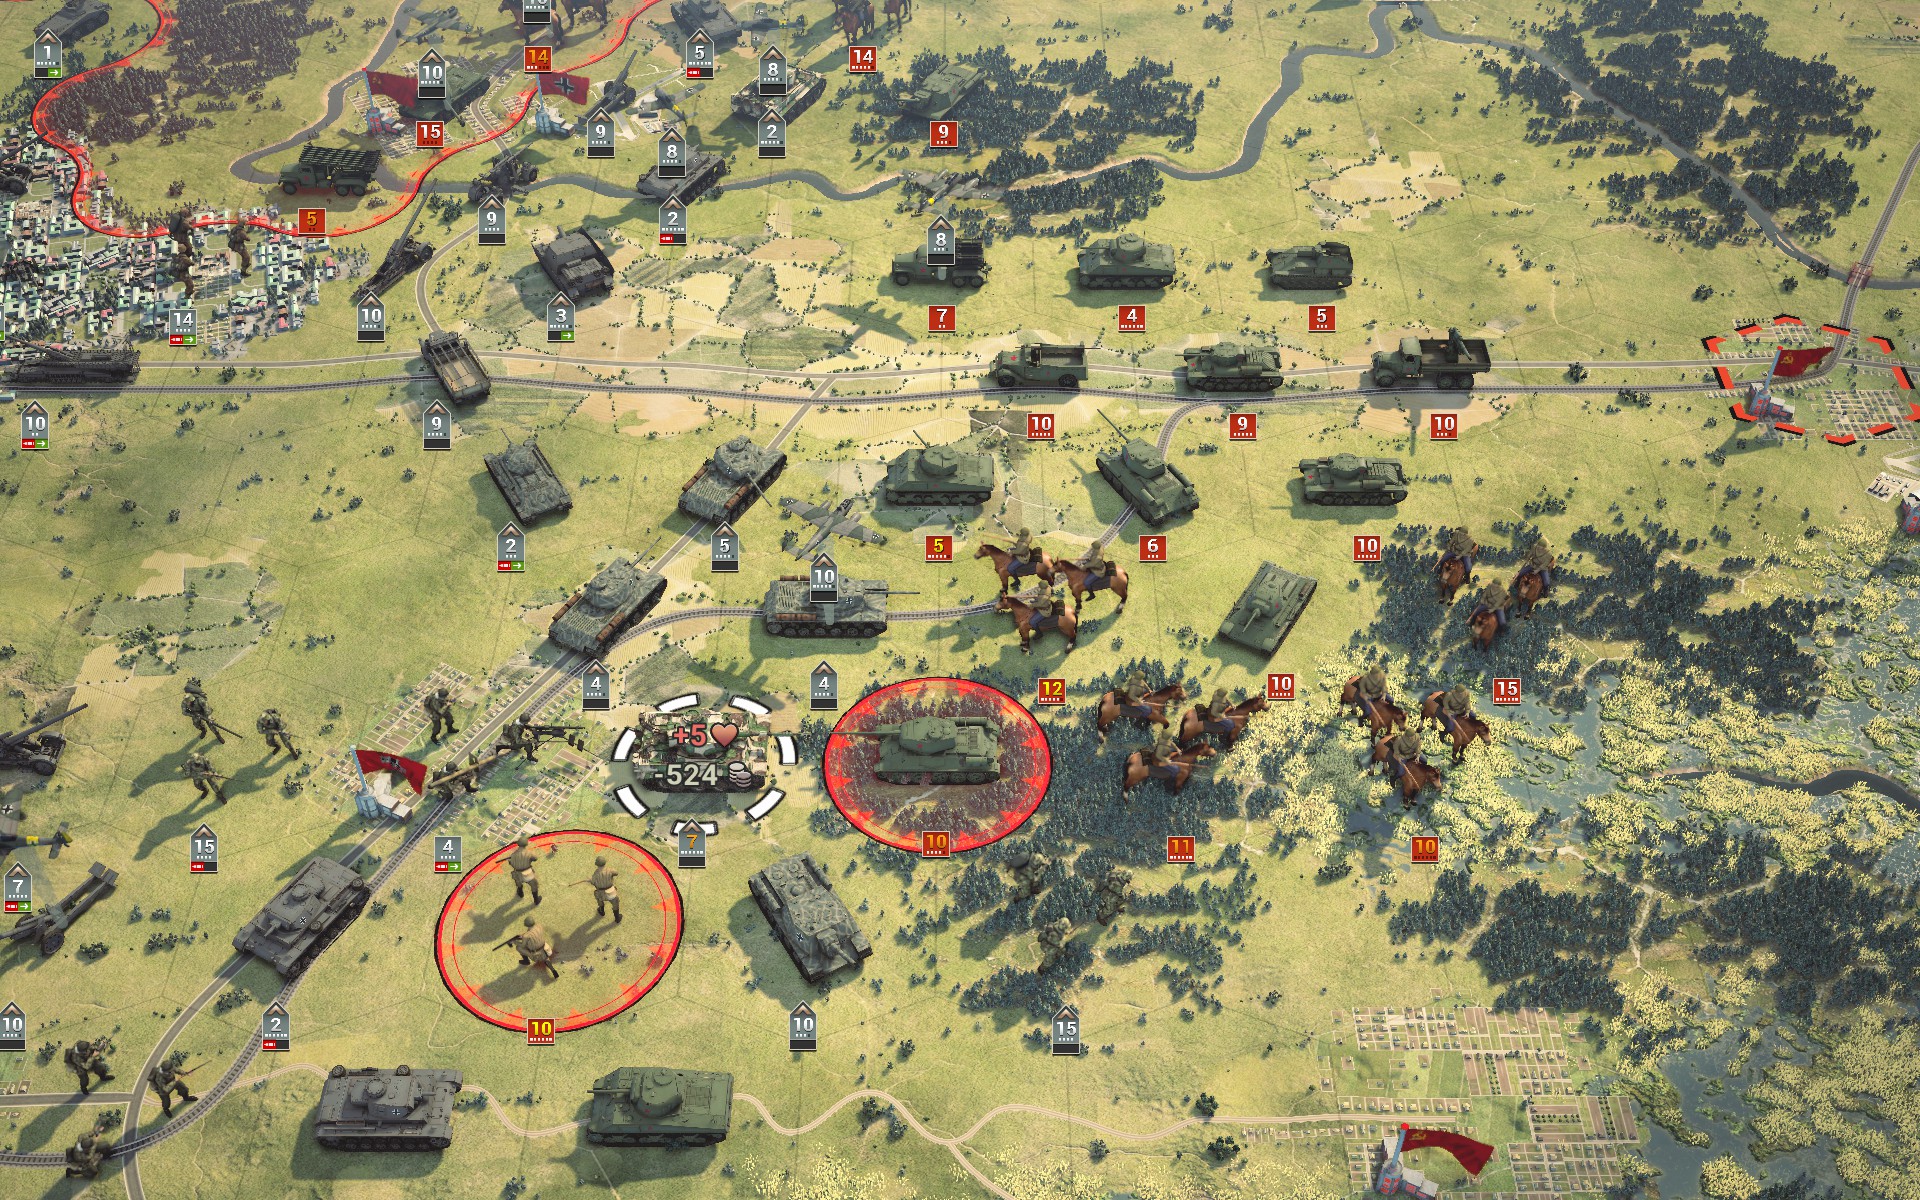
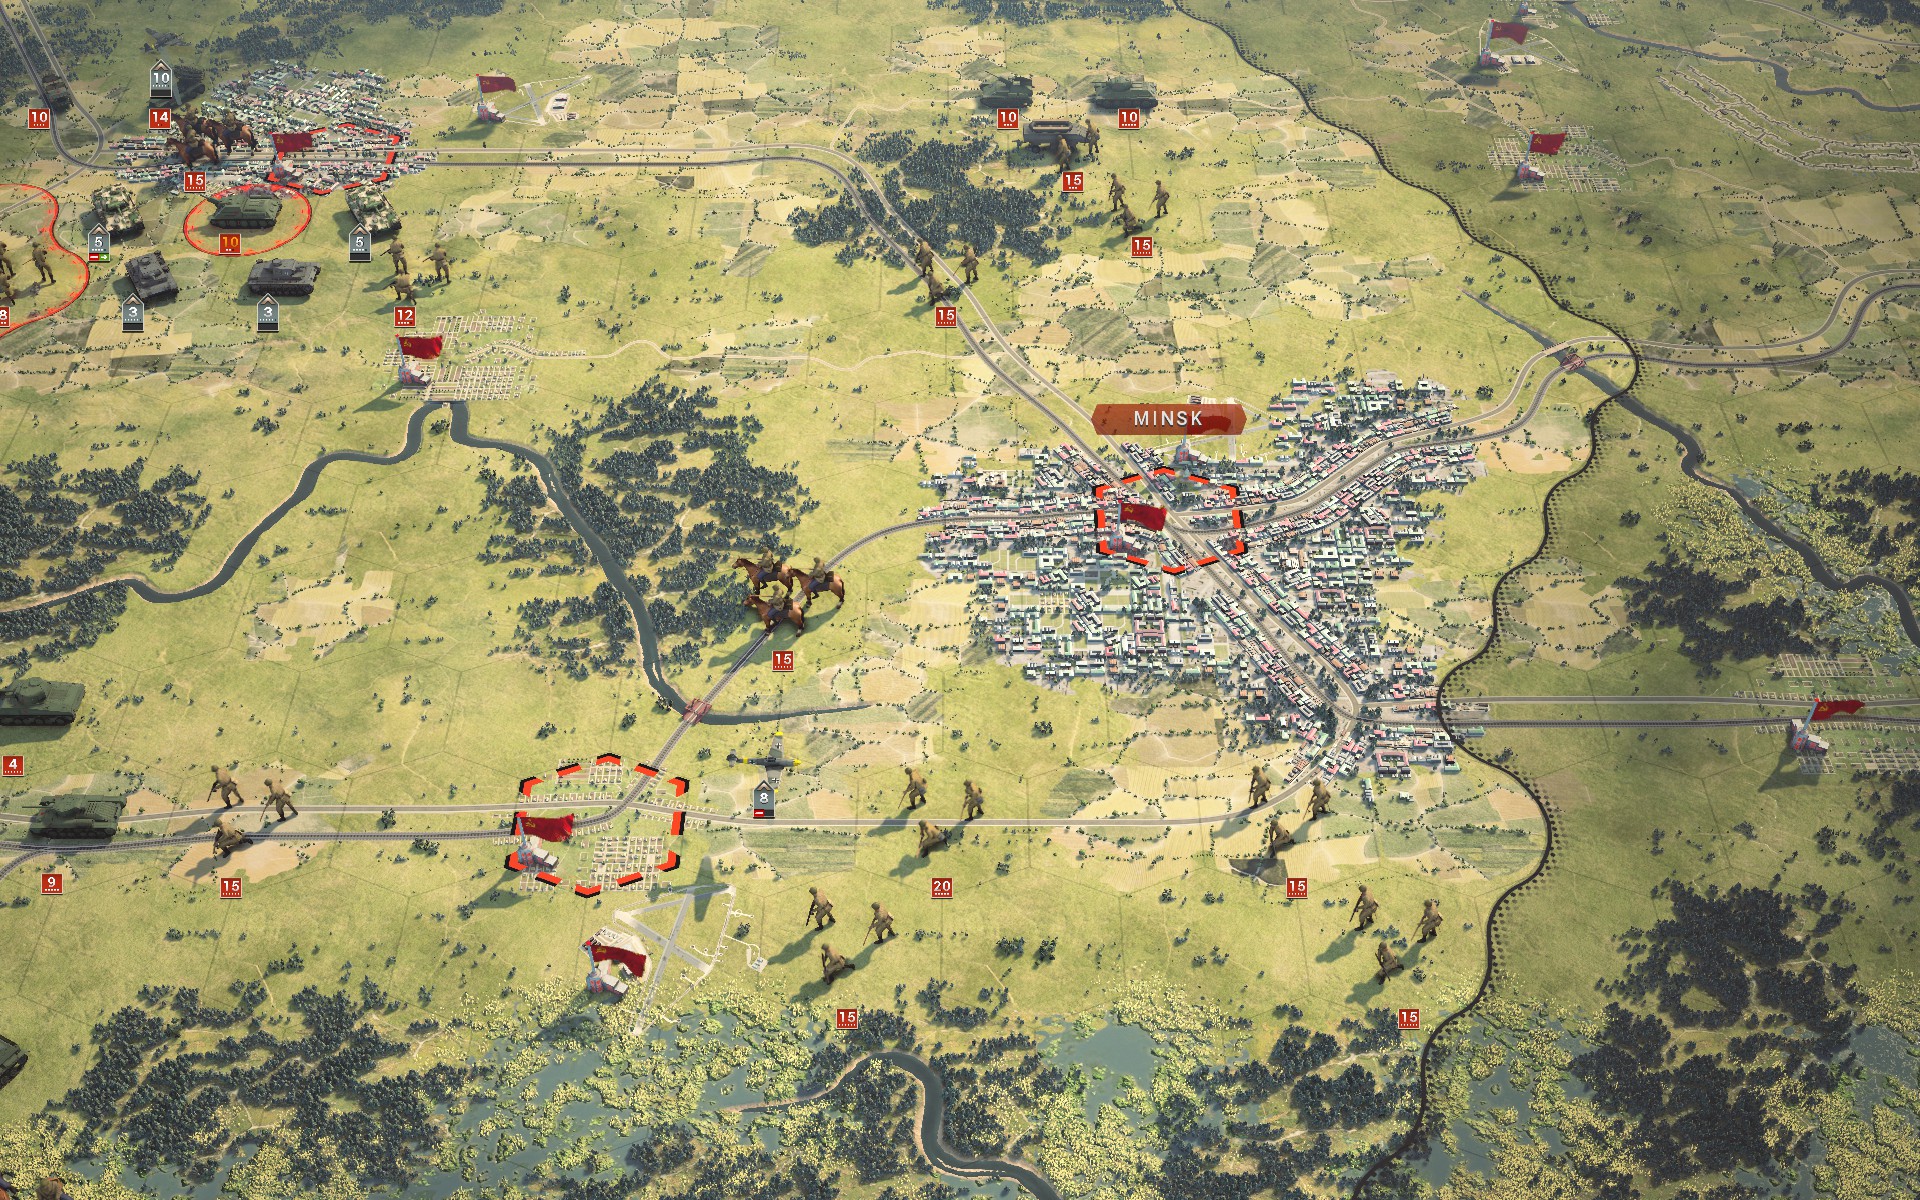
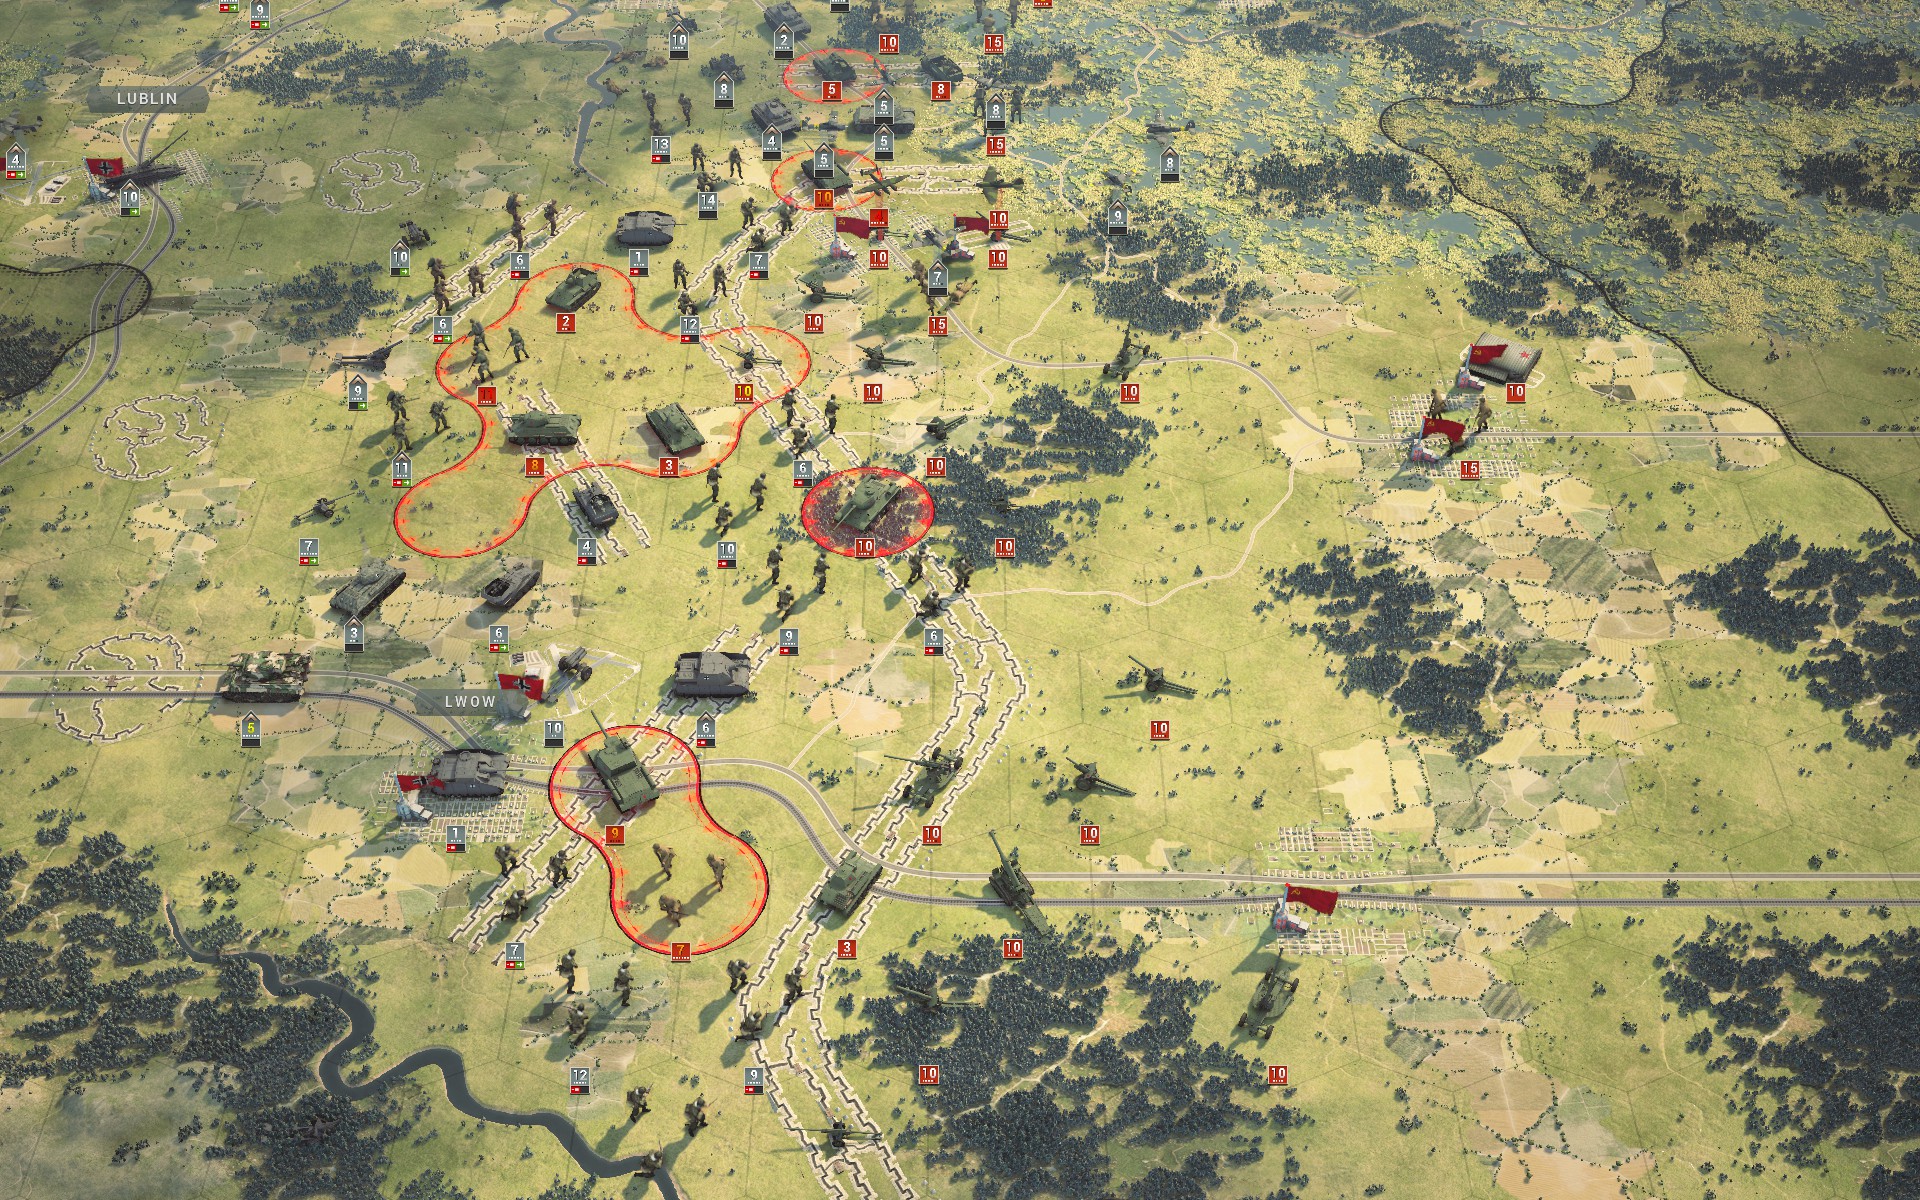
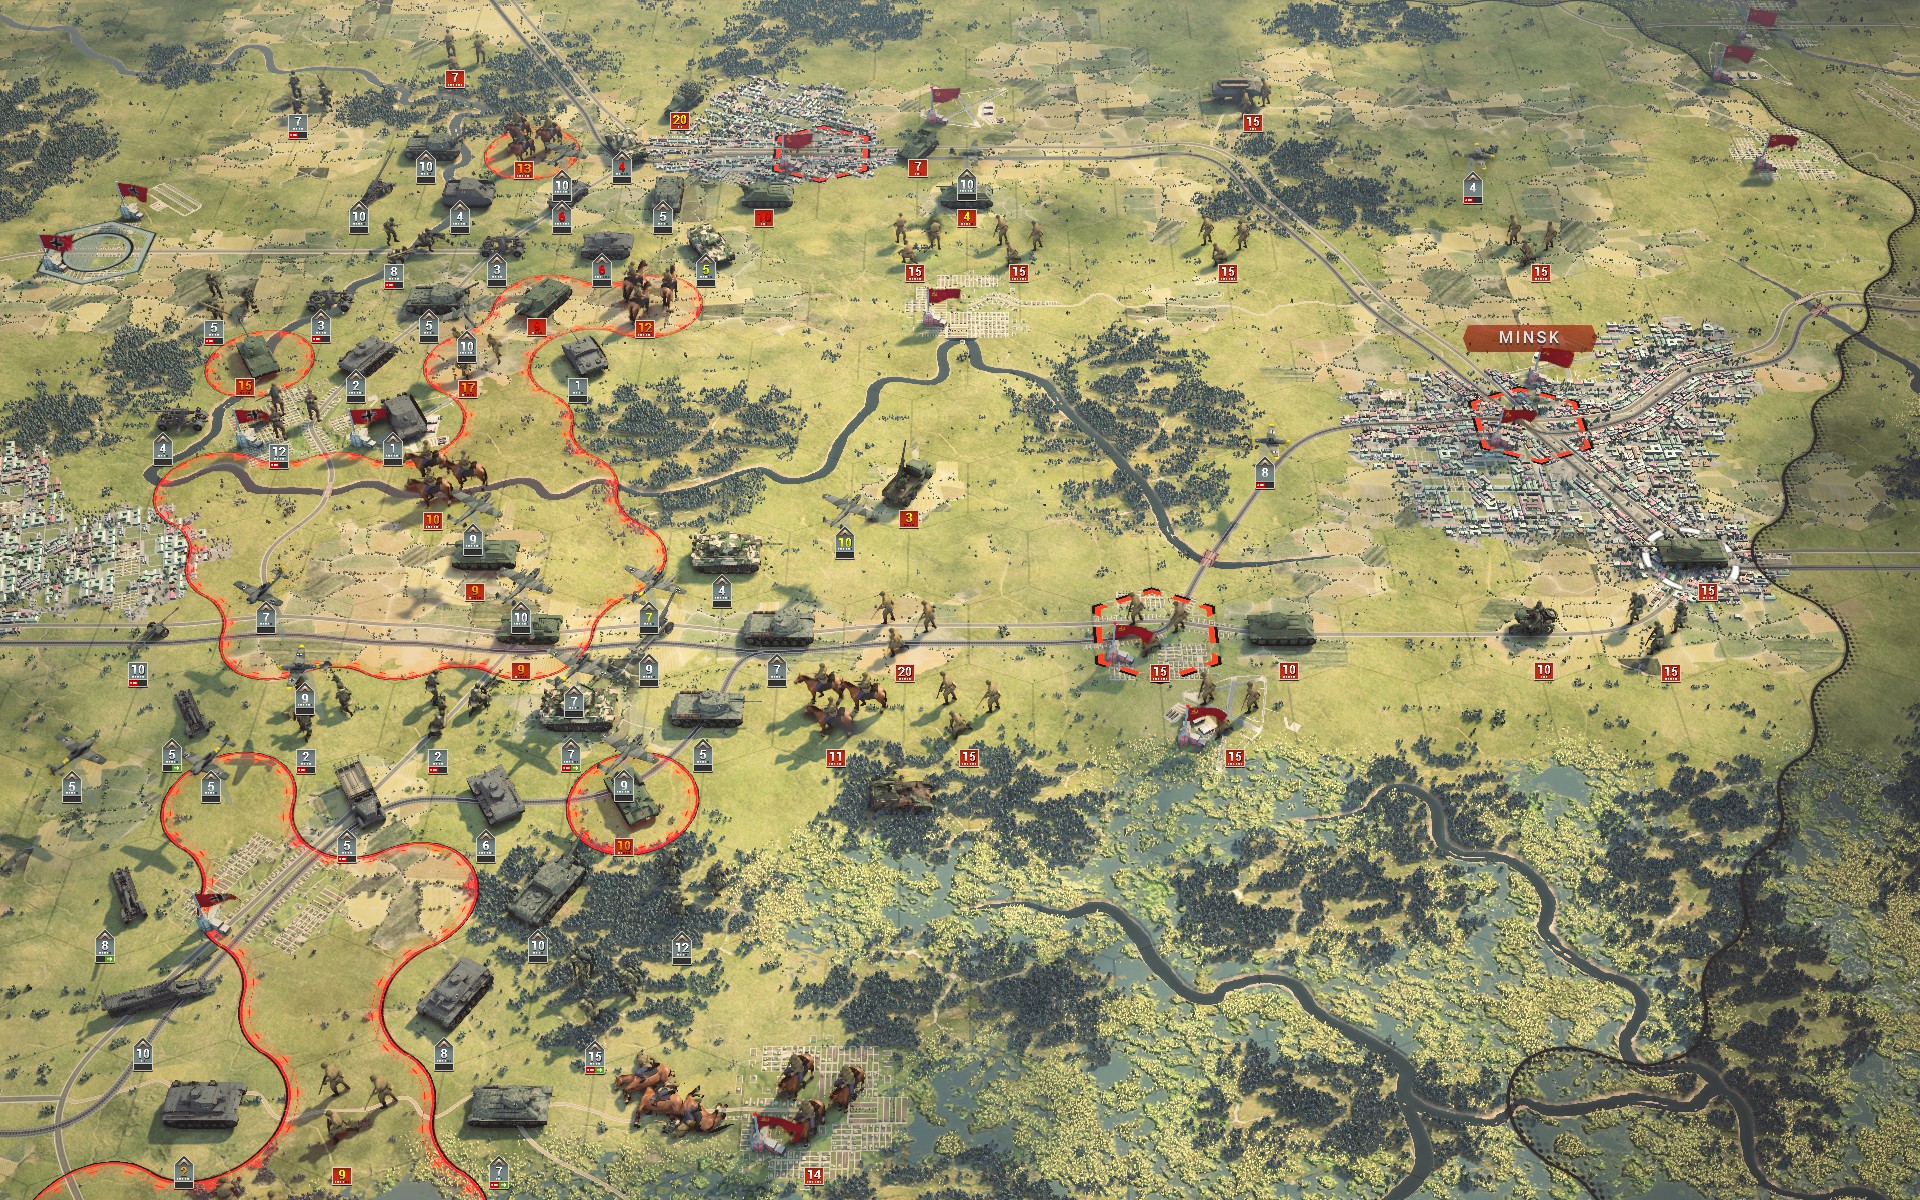
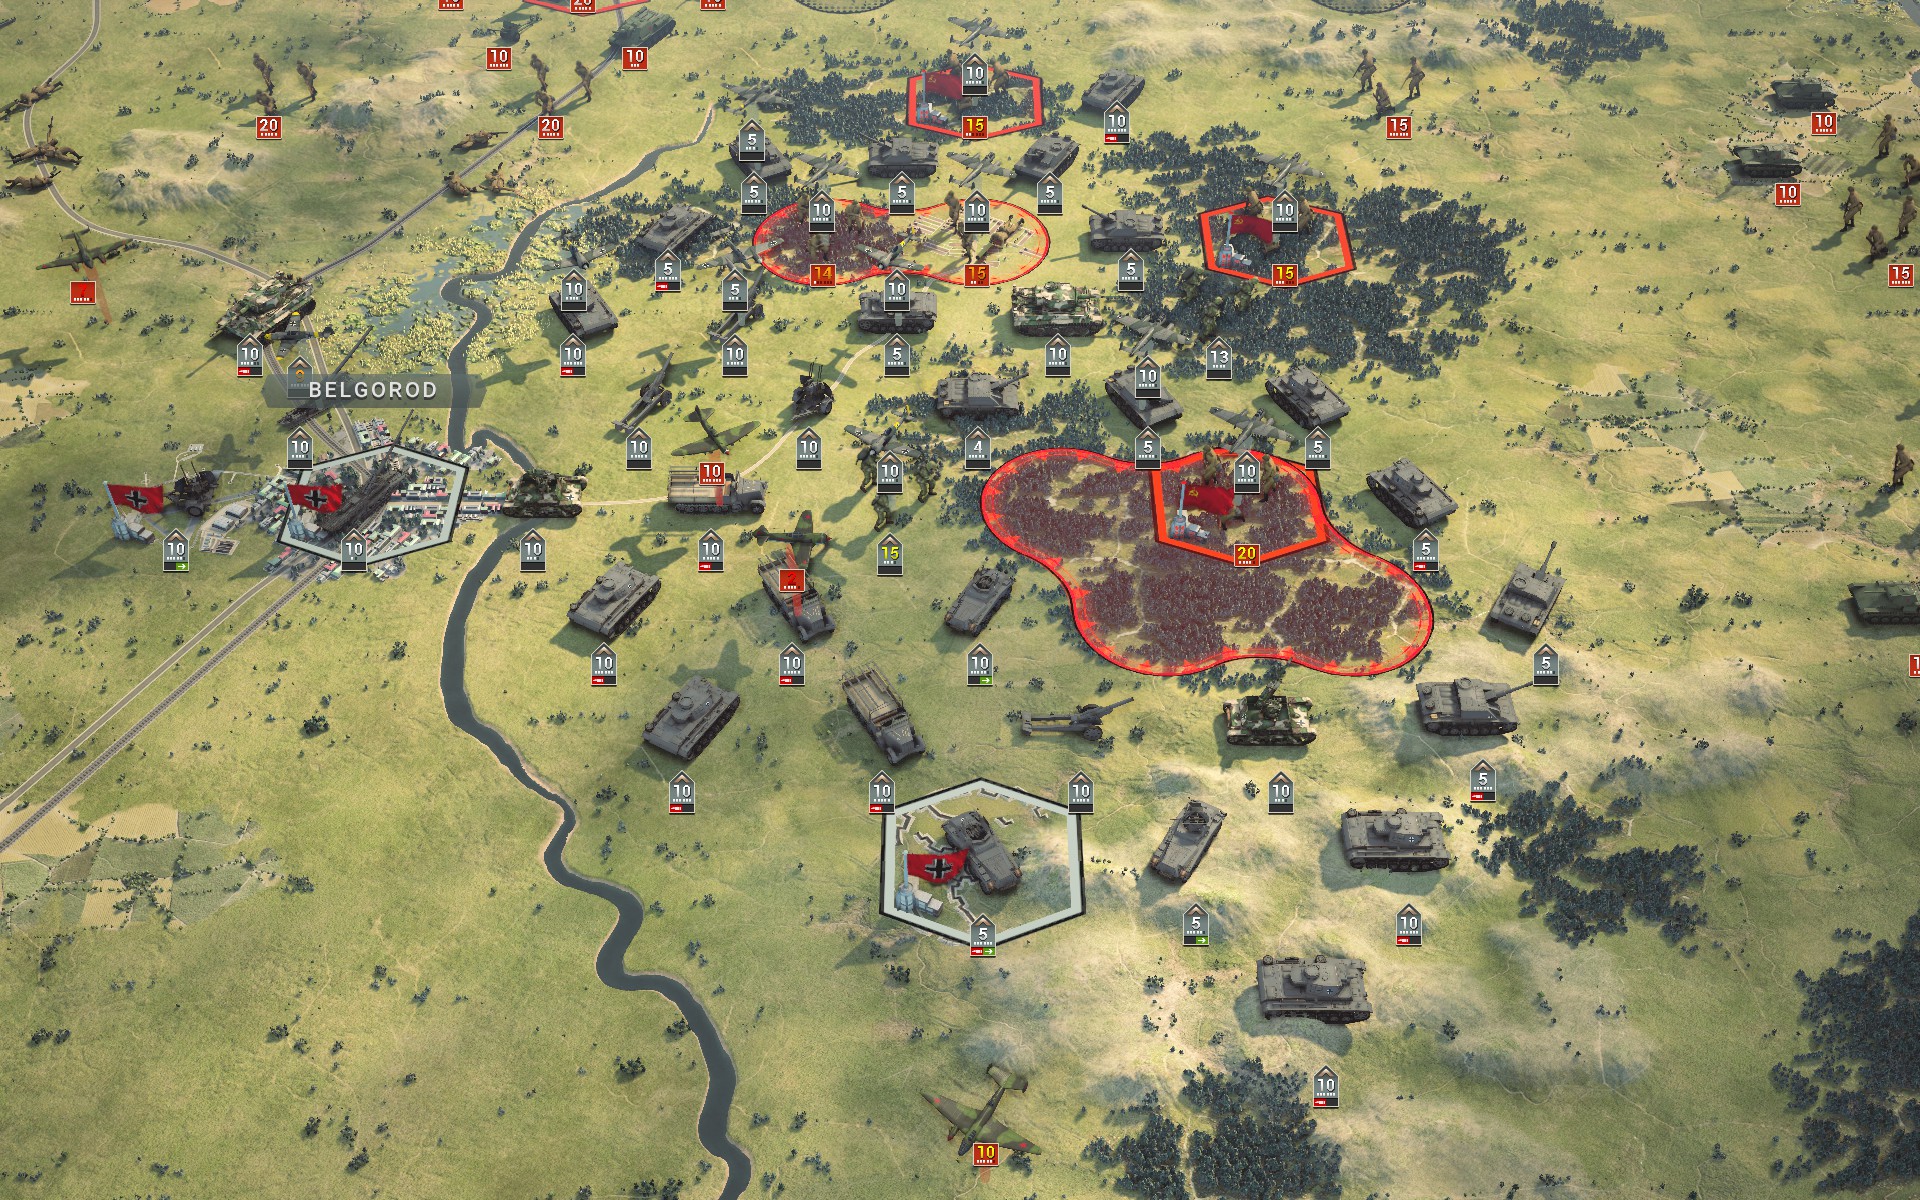
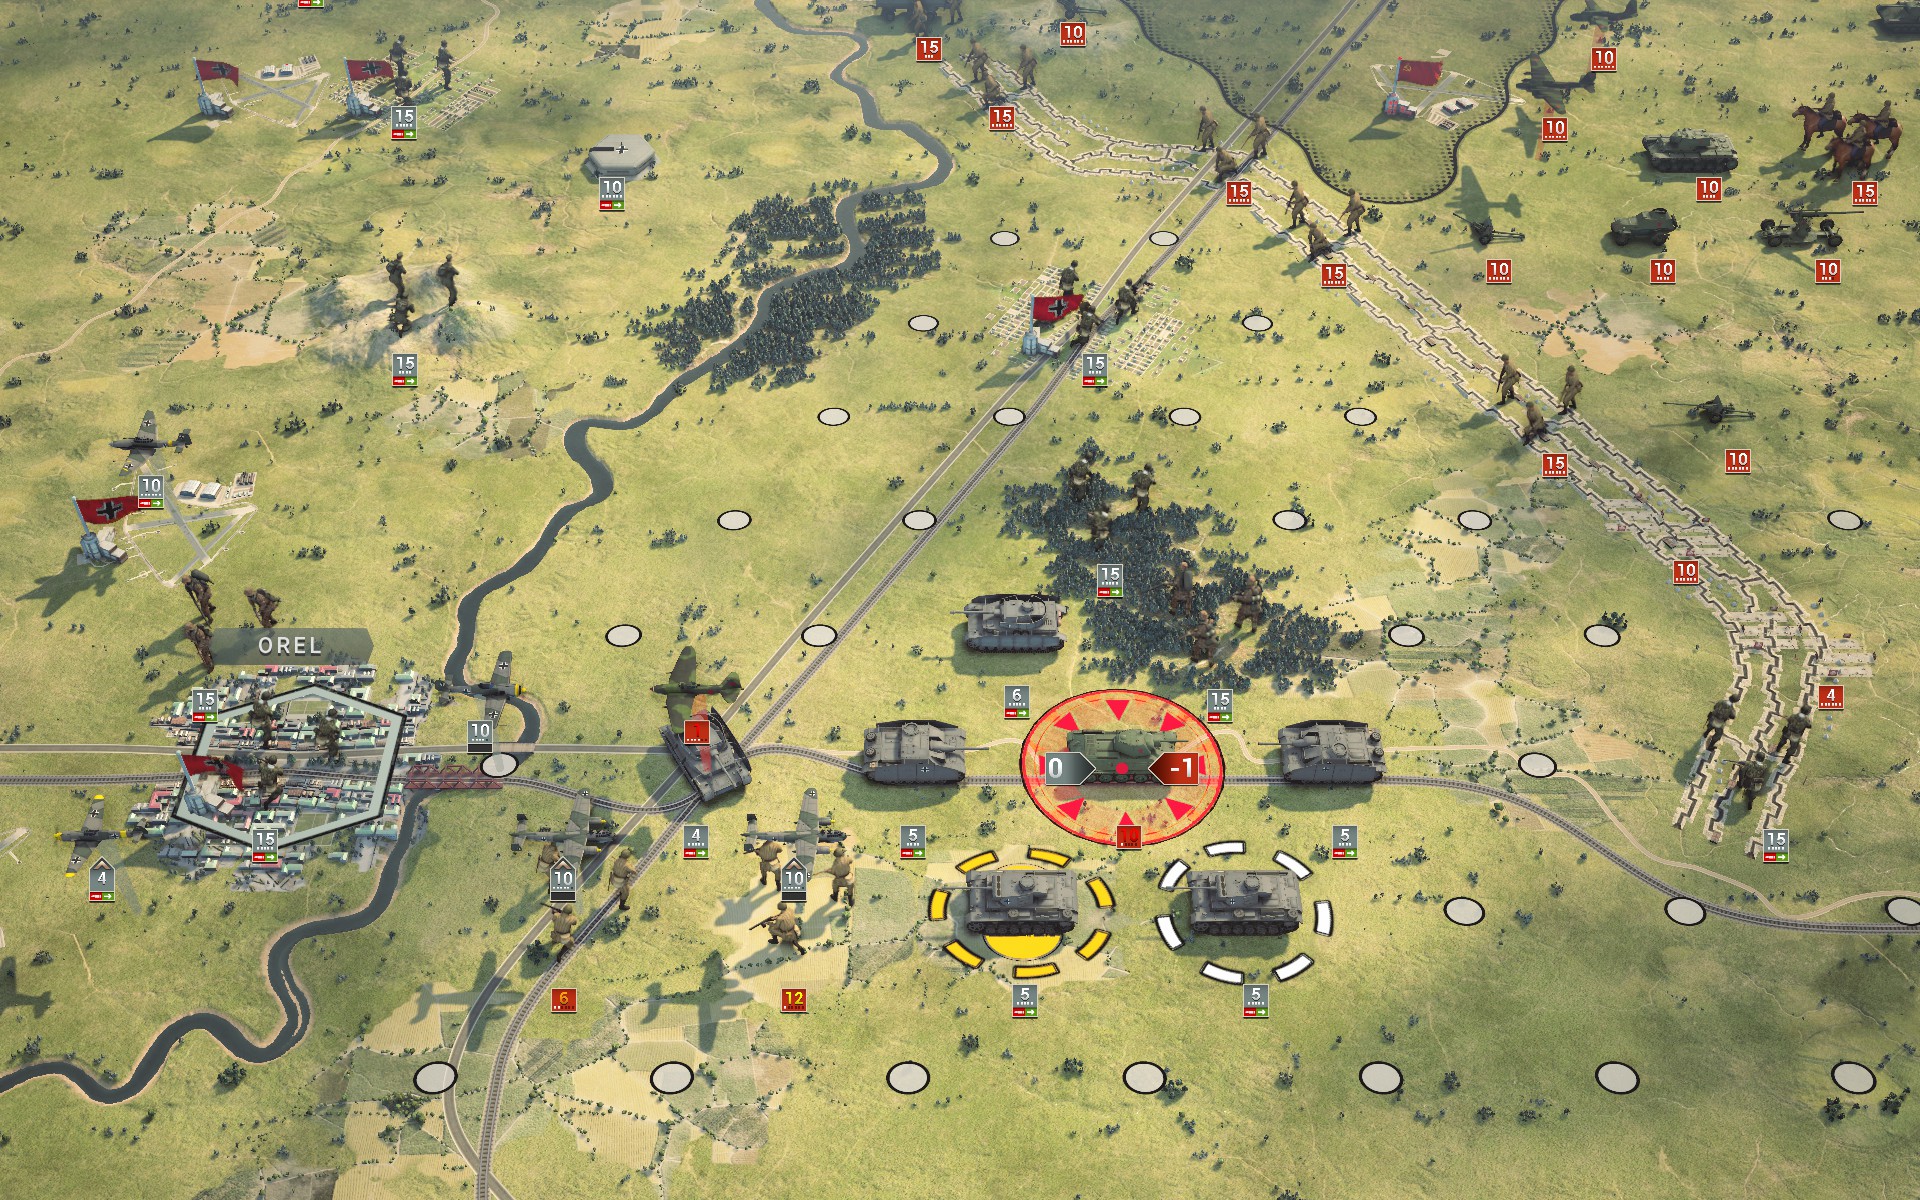
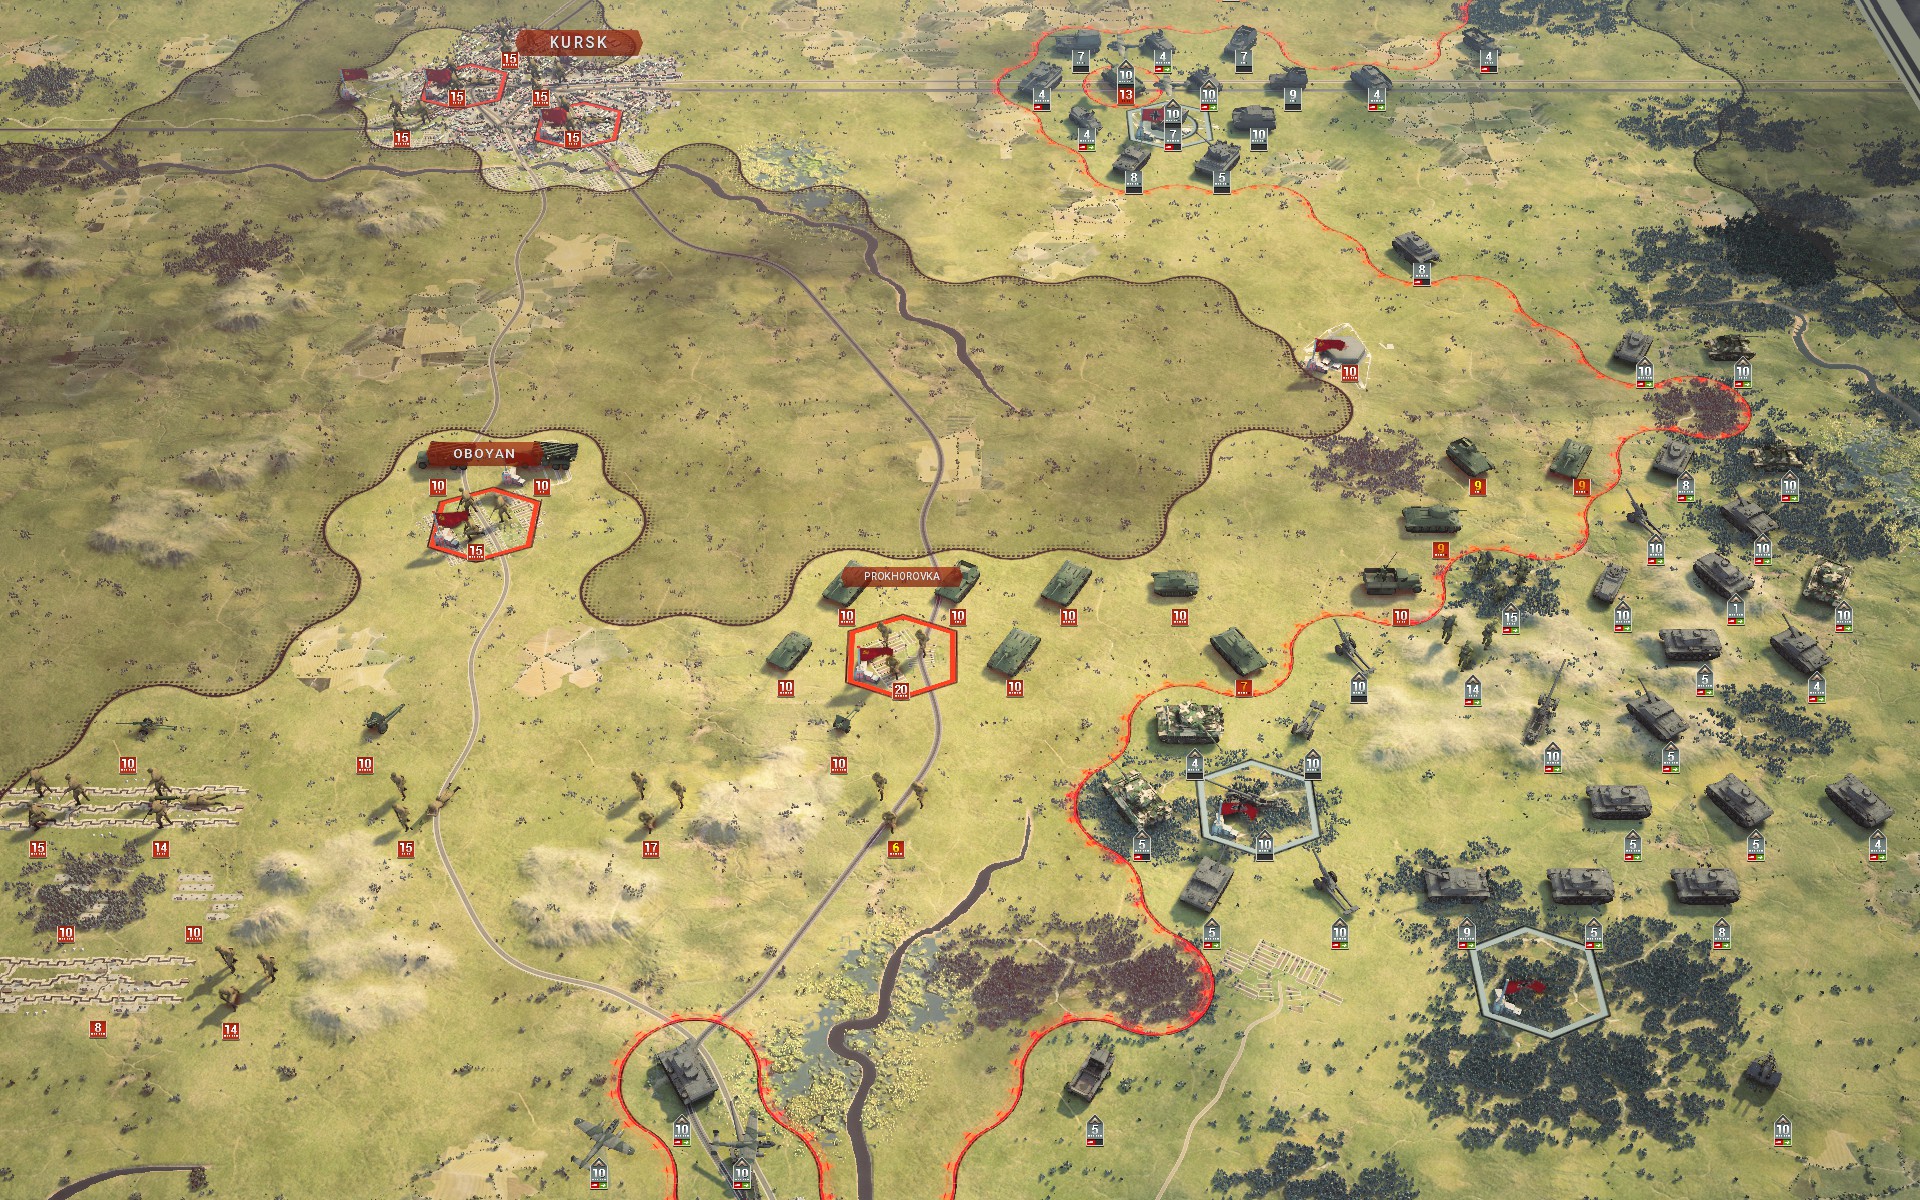
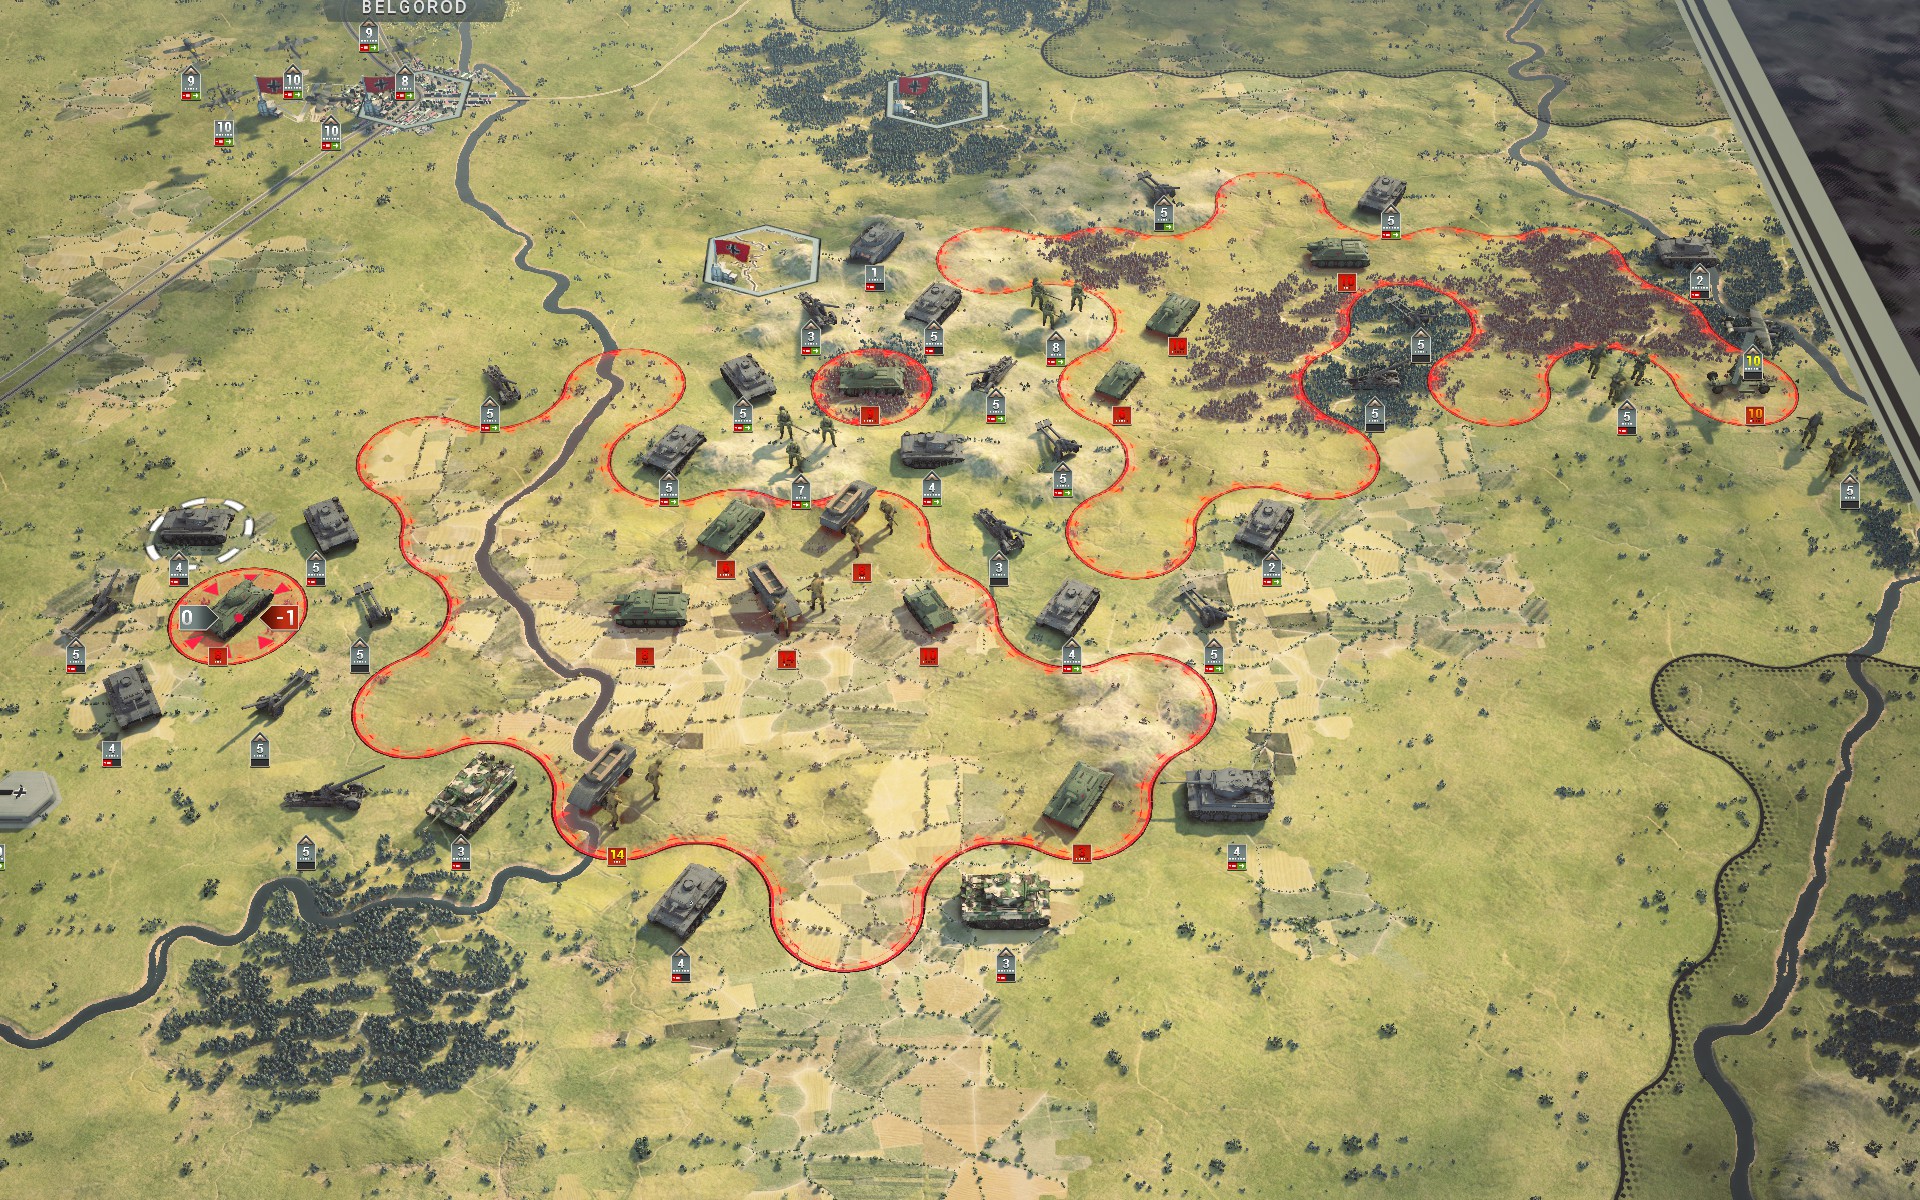
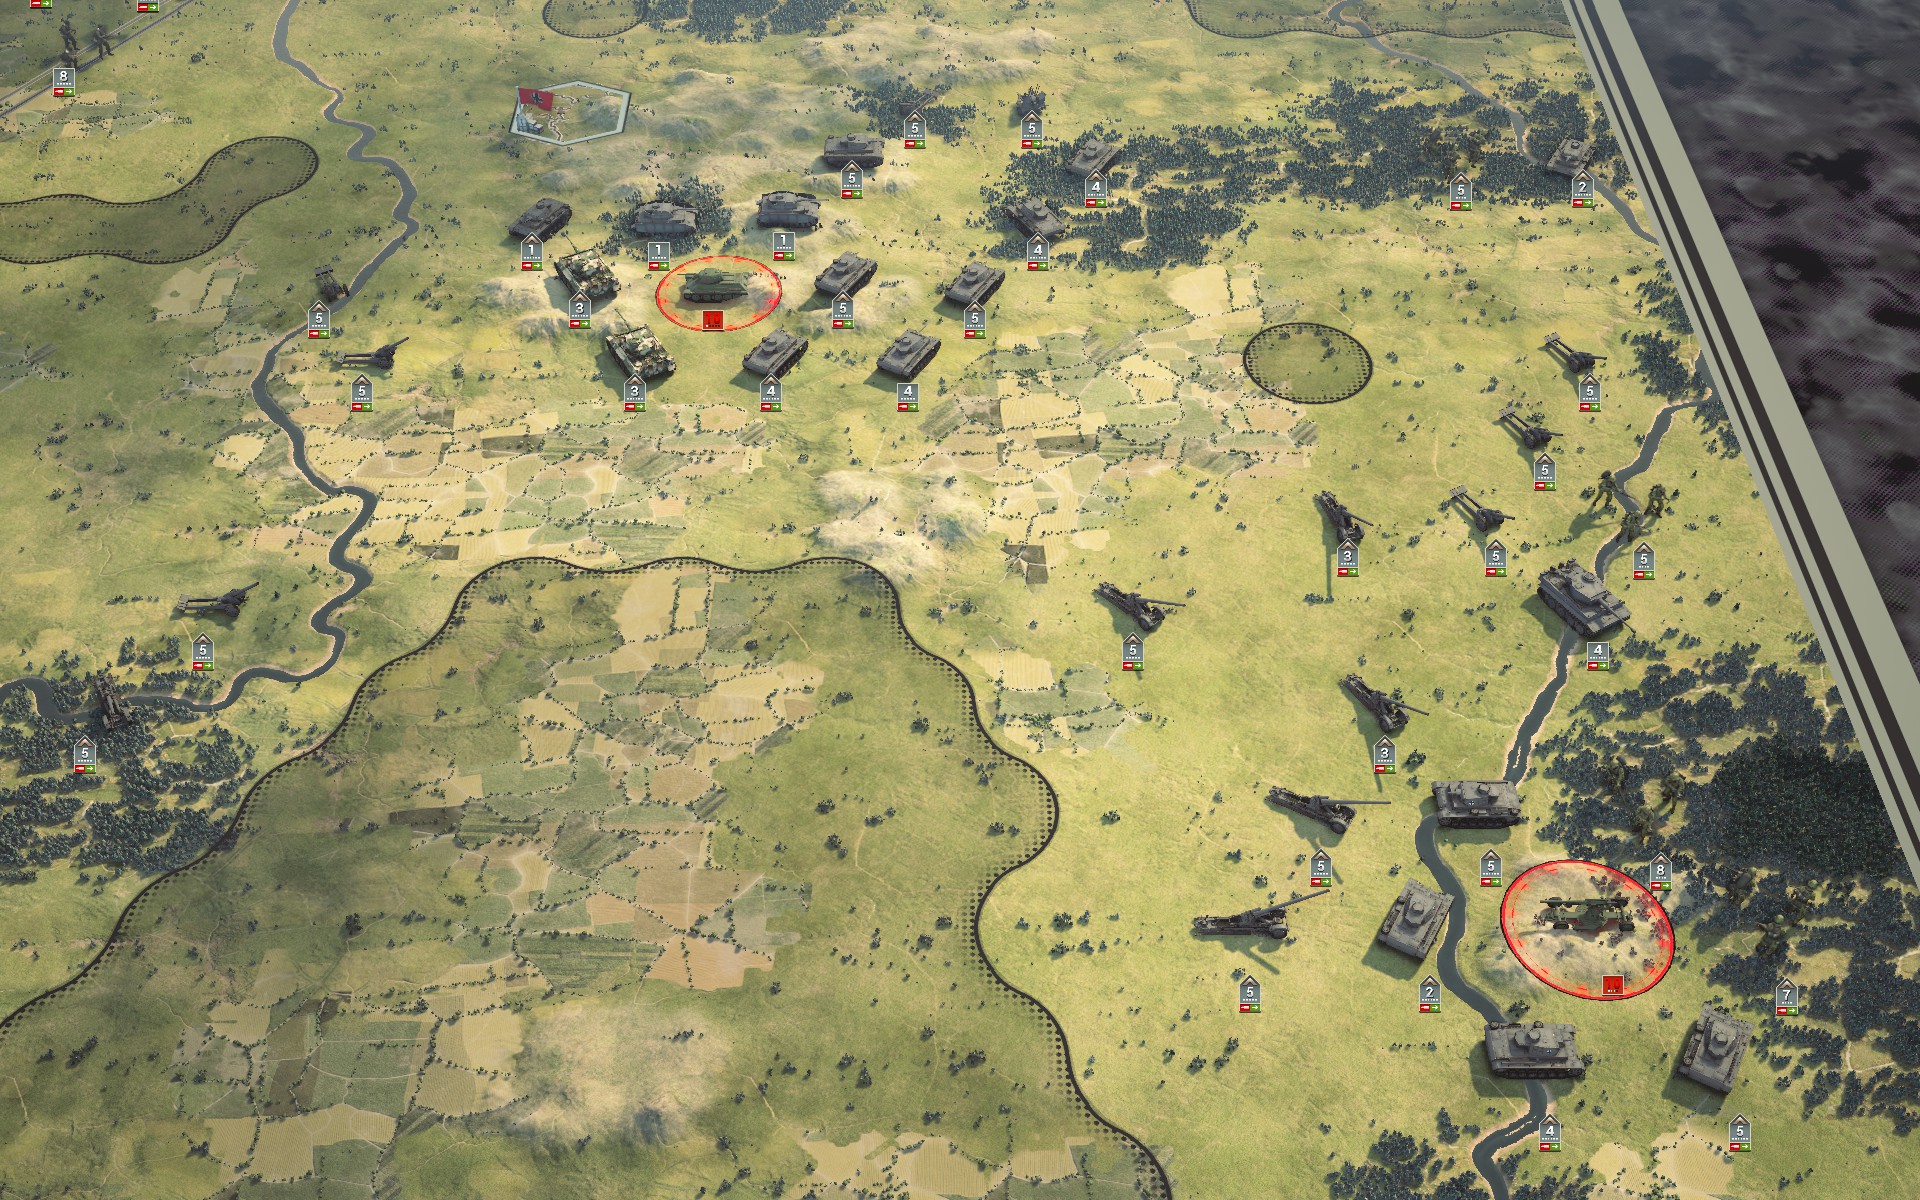
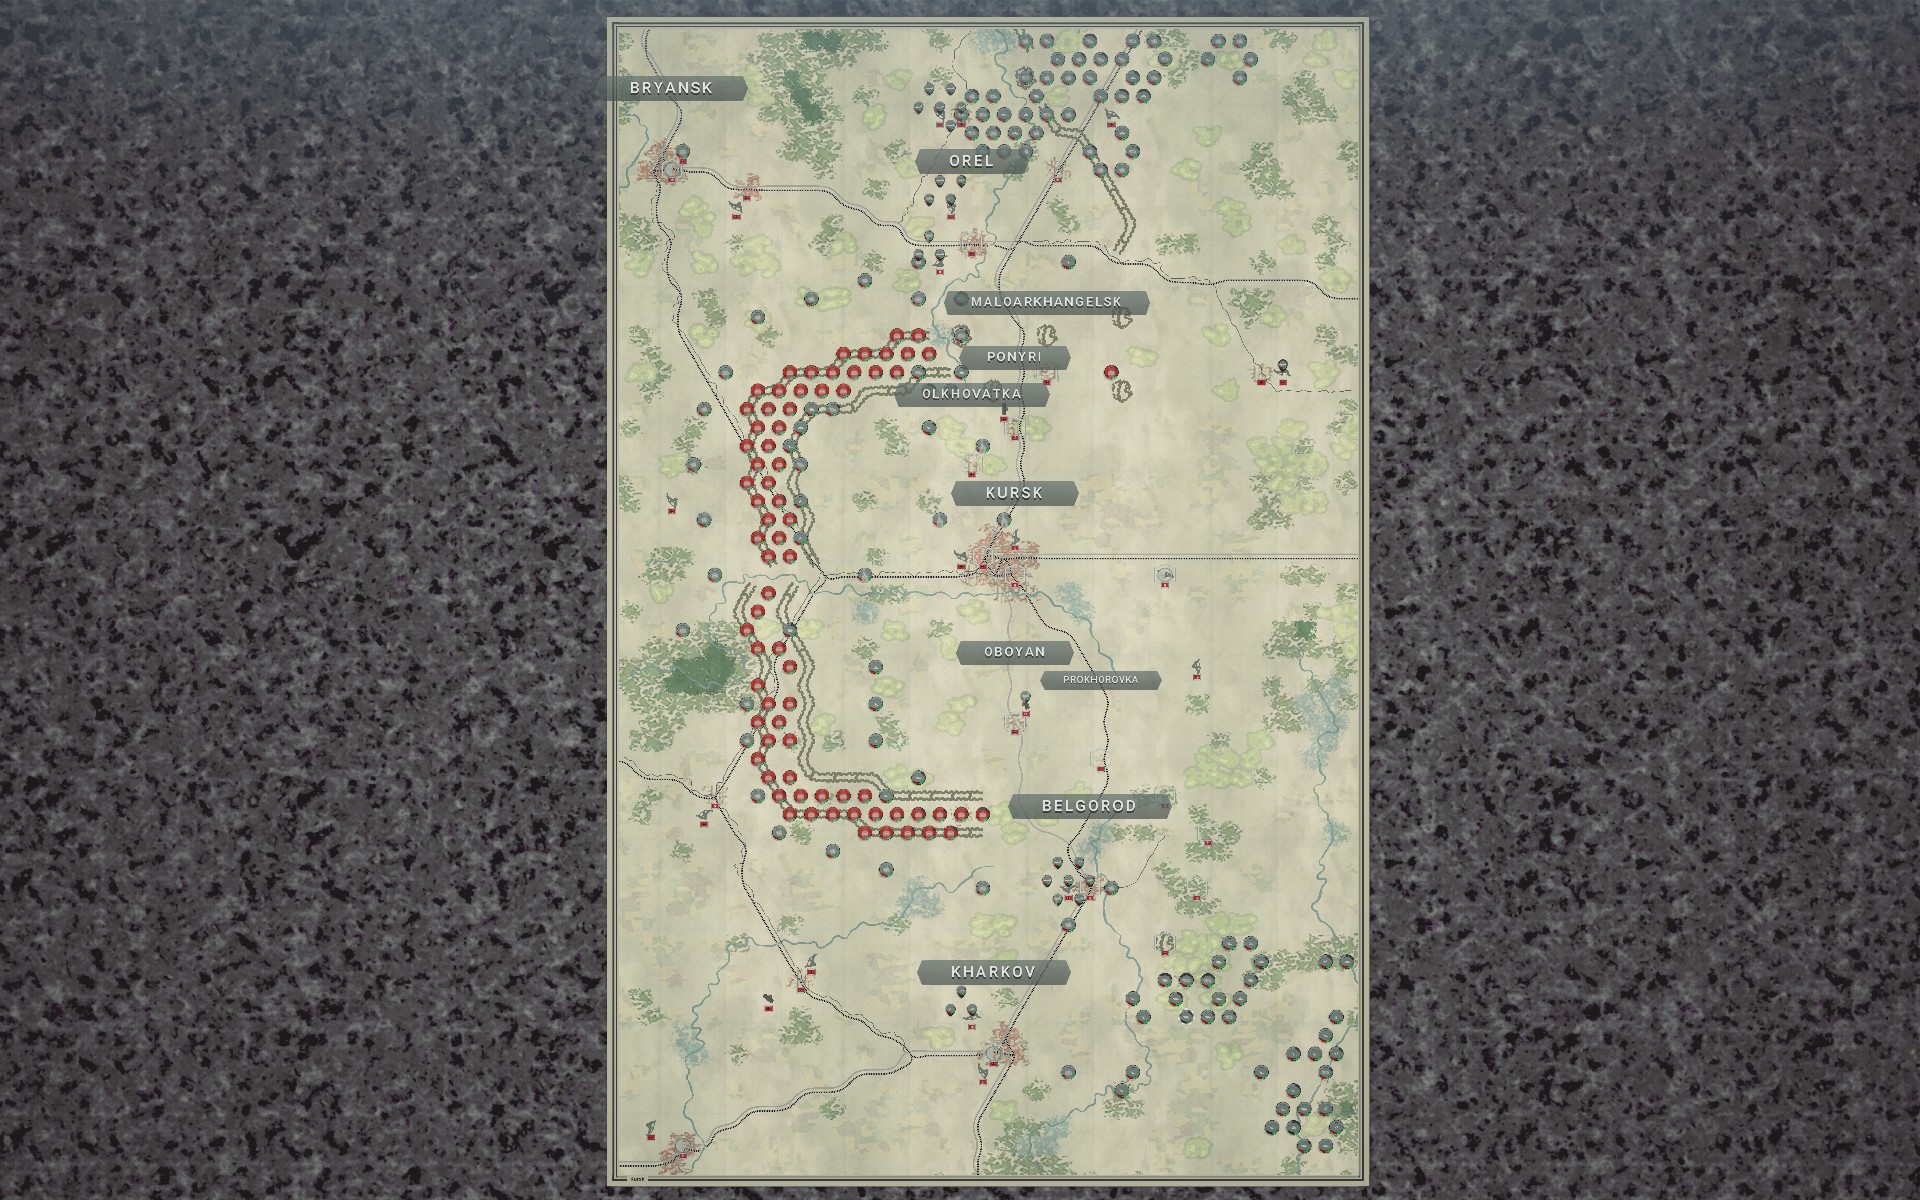
Given the scale of the scenario I've included this view of the battlefield to show the current positions of mine and the Soviet forces, and to give a better idea of the numbers and distances involved.
In the southwest the auxiliary infantry have begun to spread out to cover the entire length of the perimeter.
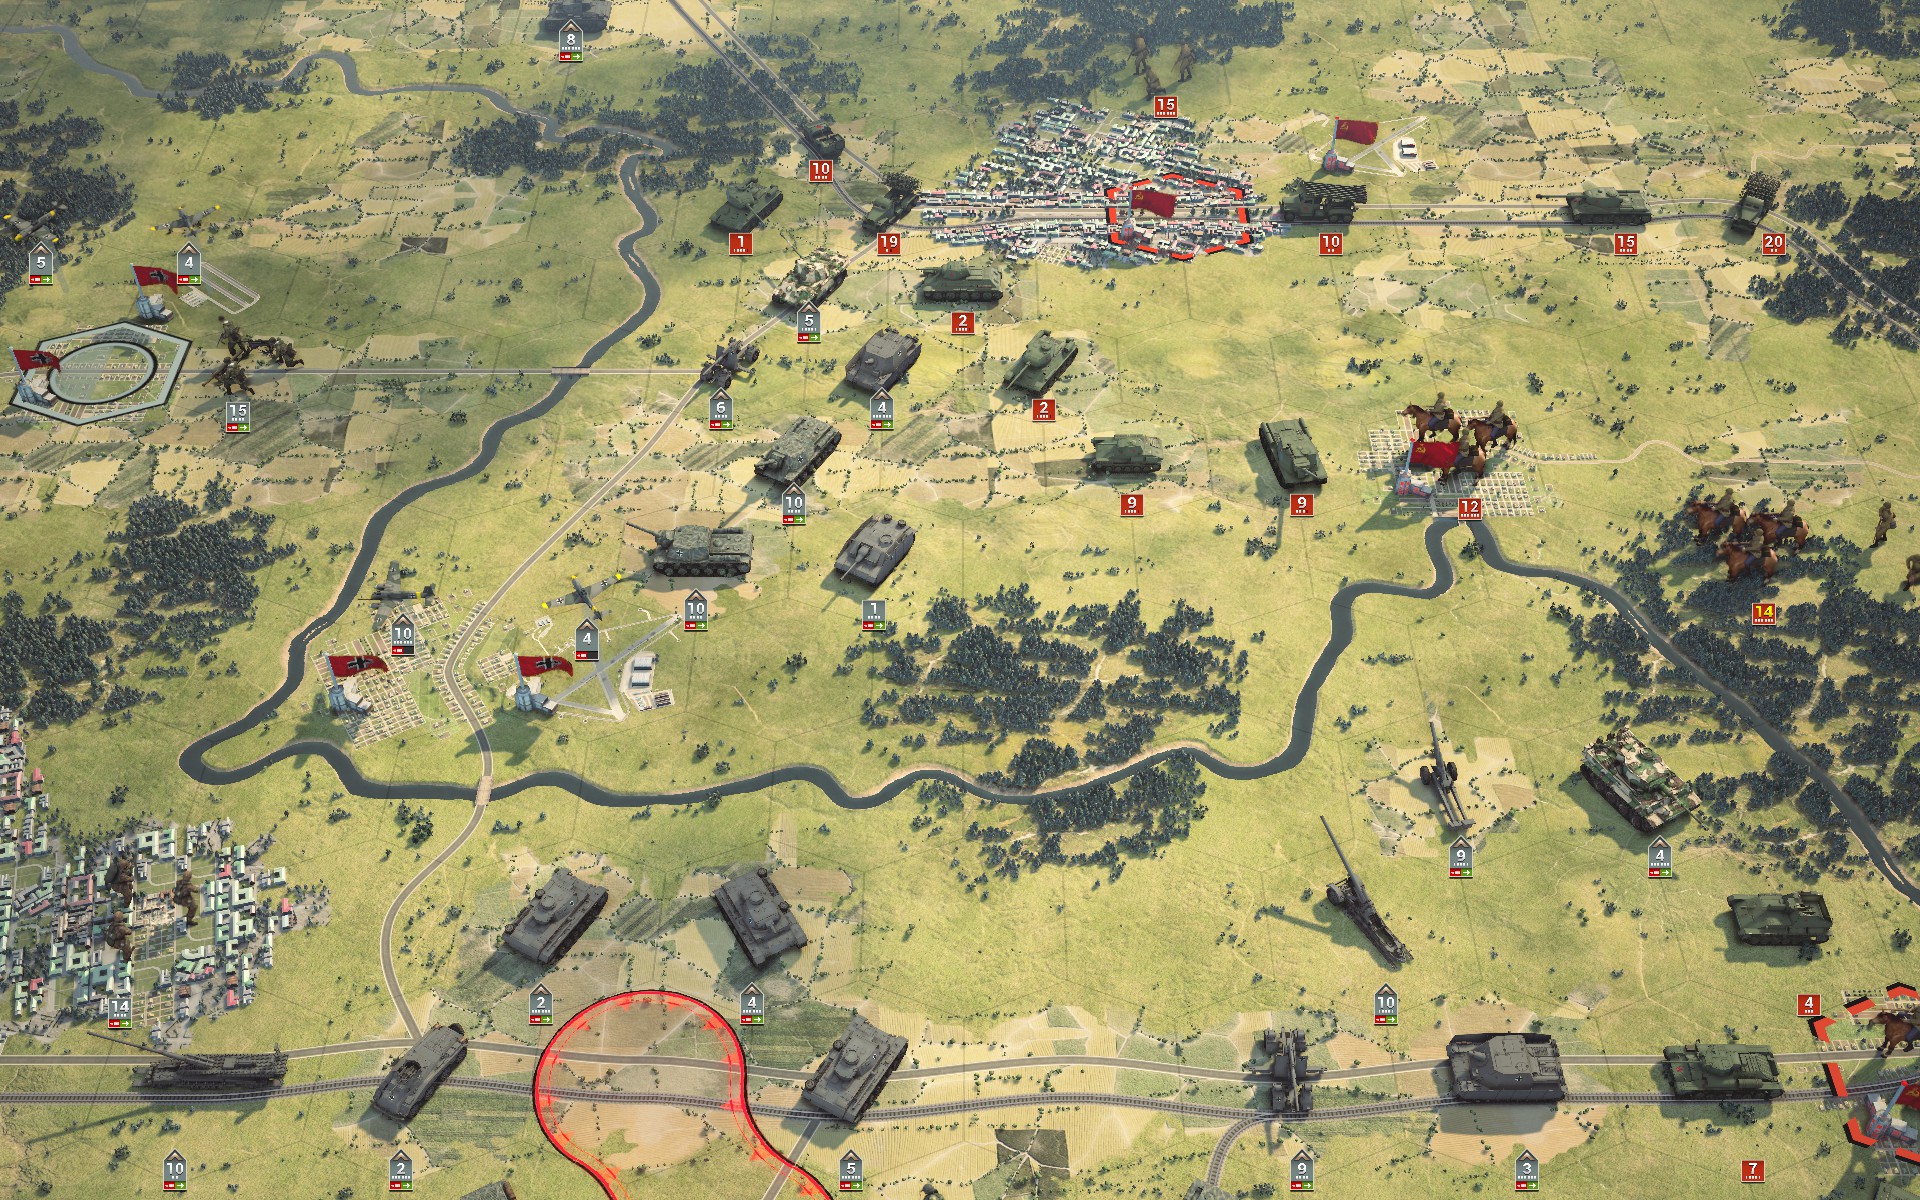
With the artillery in place my Panzers advance on the Soviet positions by the Oskol.
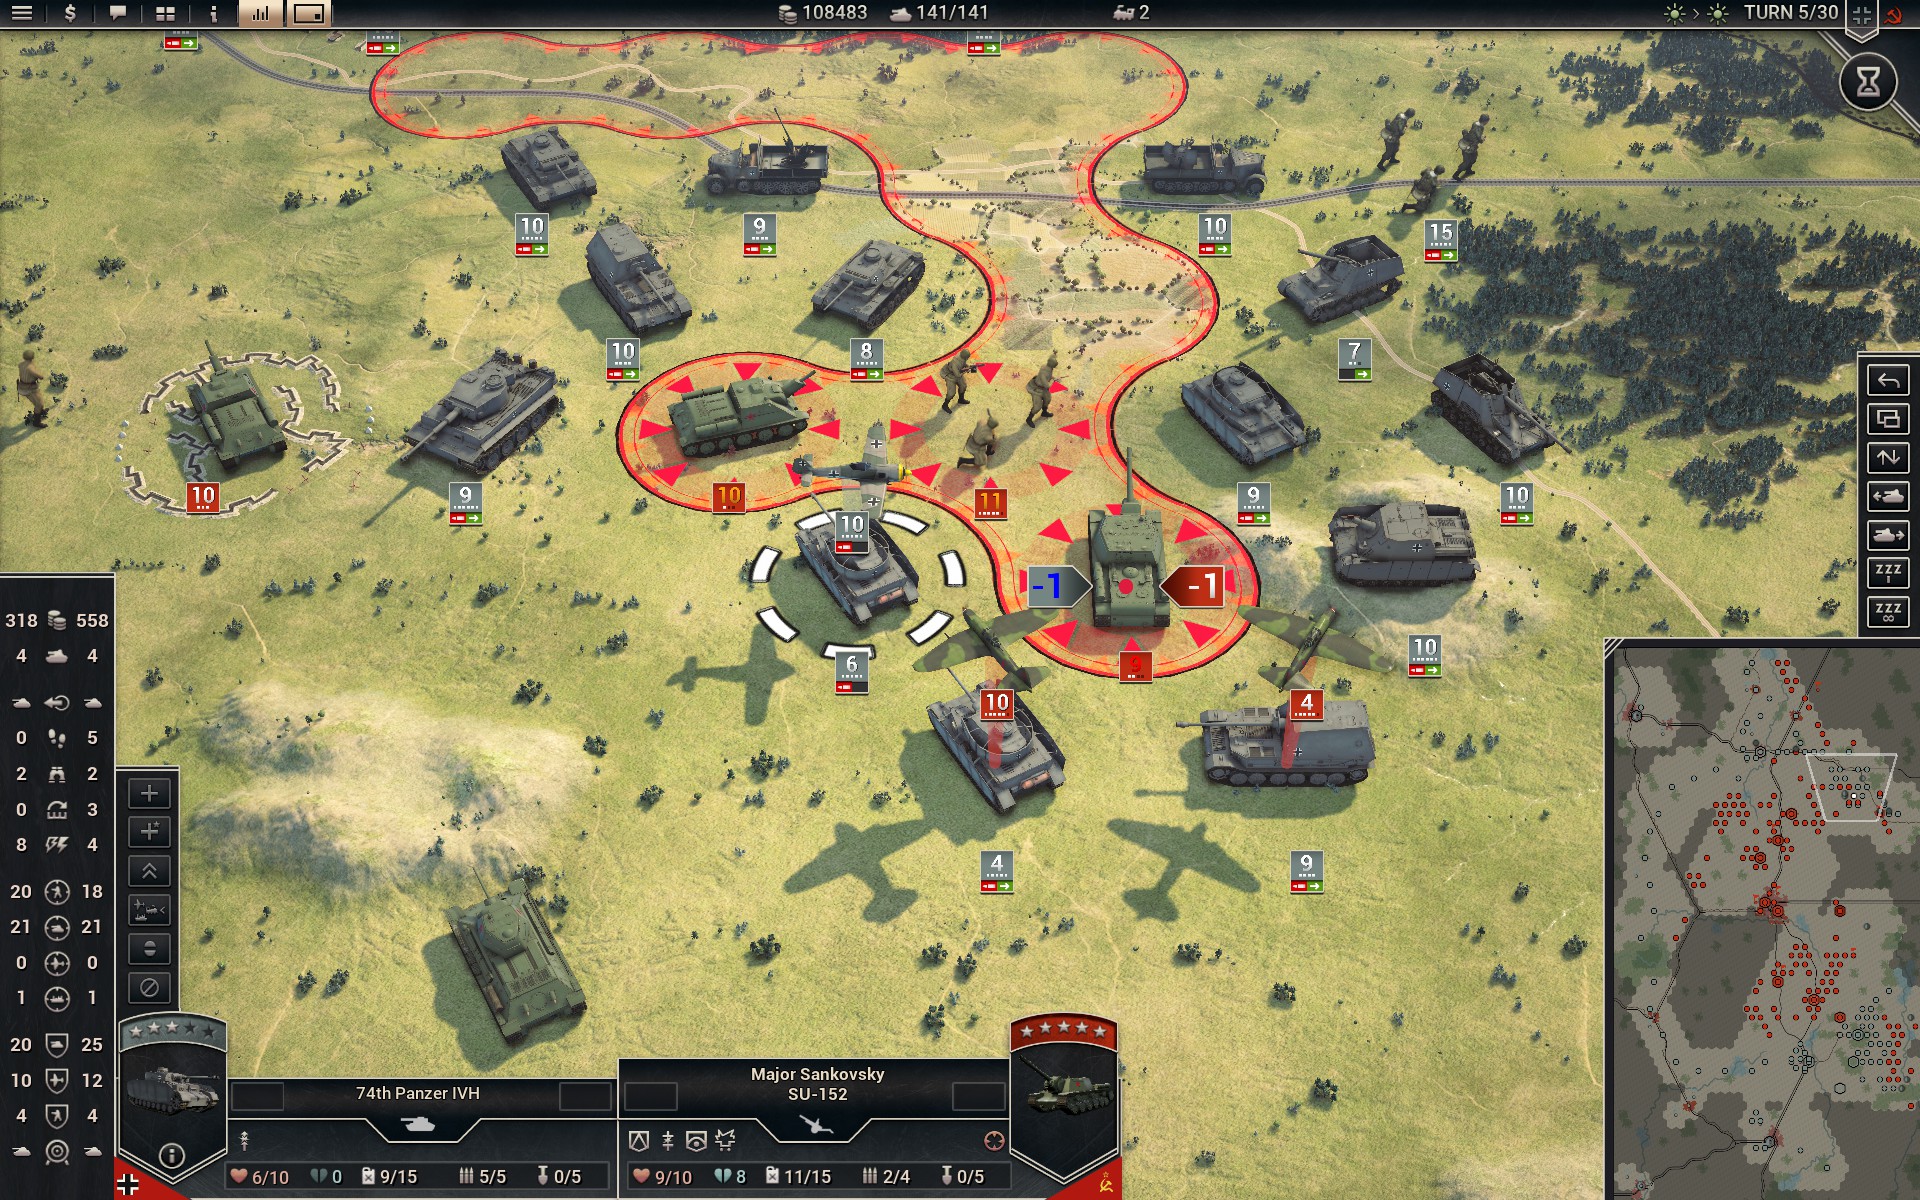
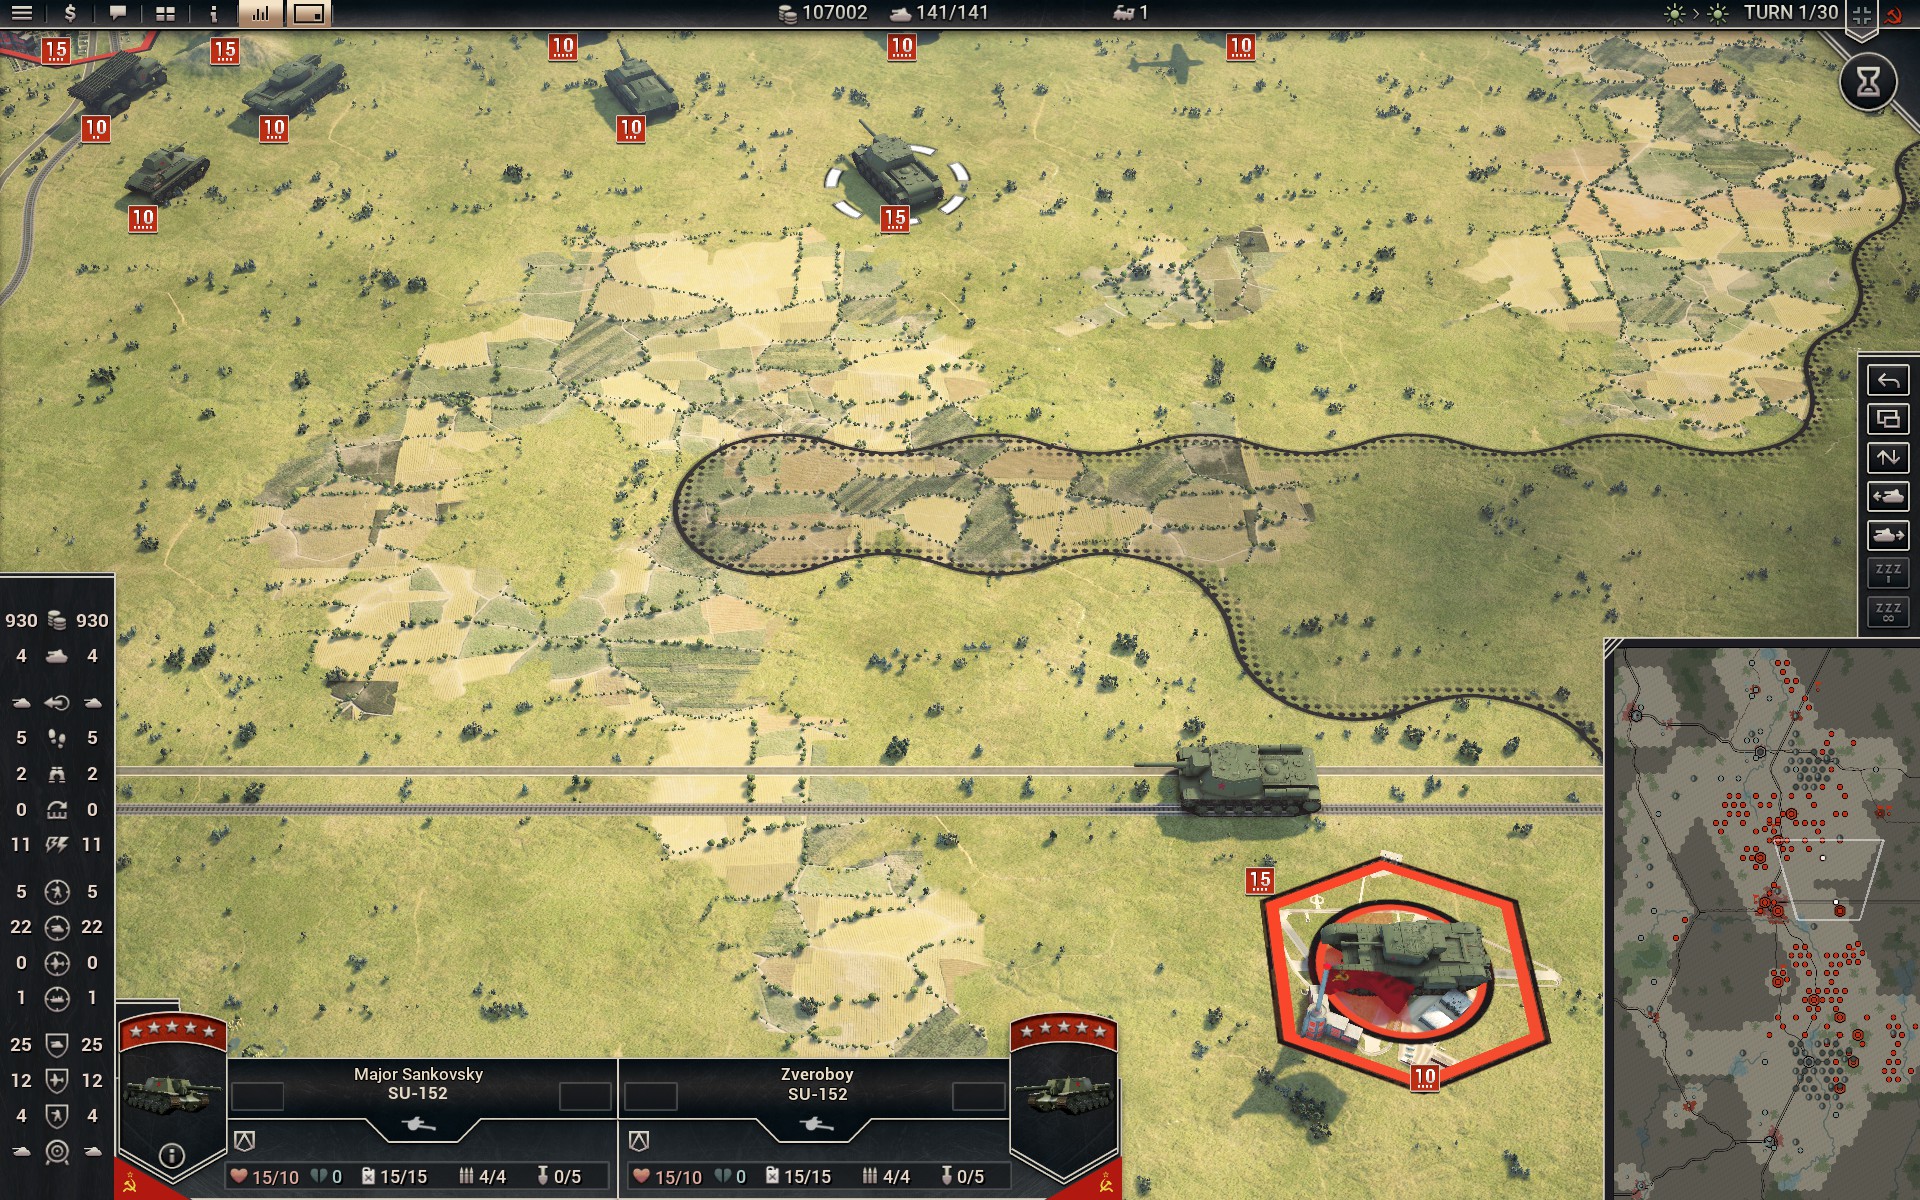
Major Sankovsky and his SU-152 are captured.
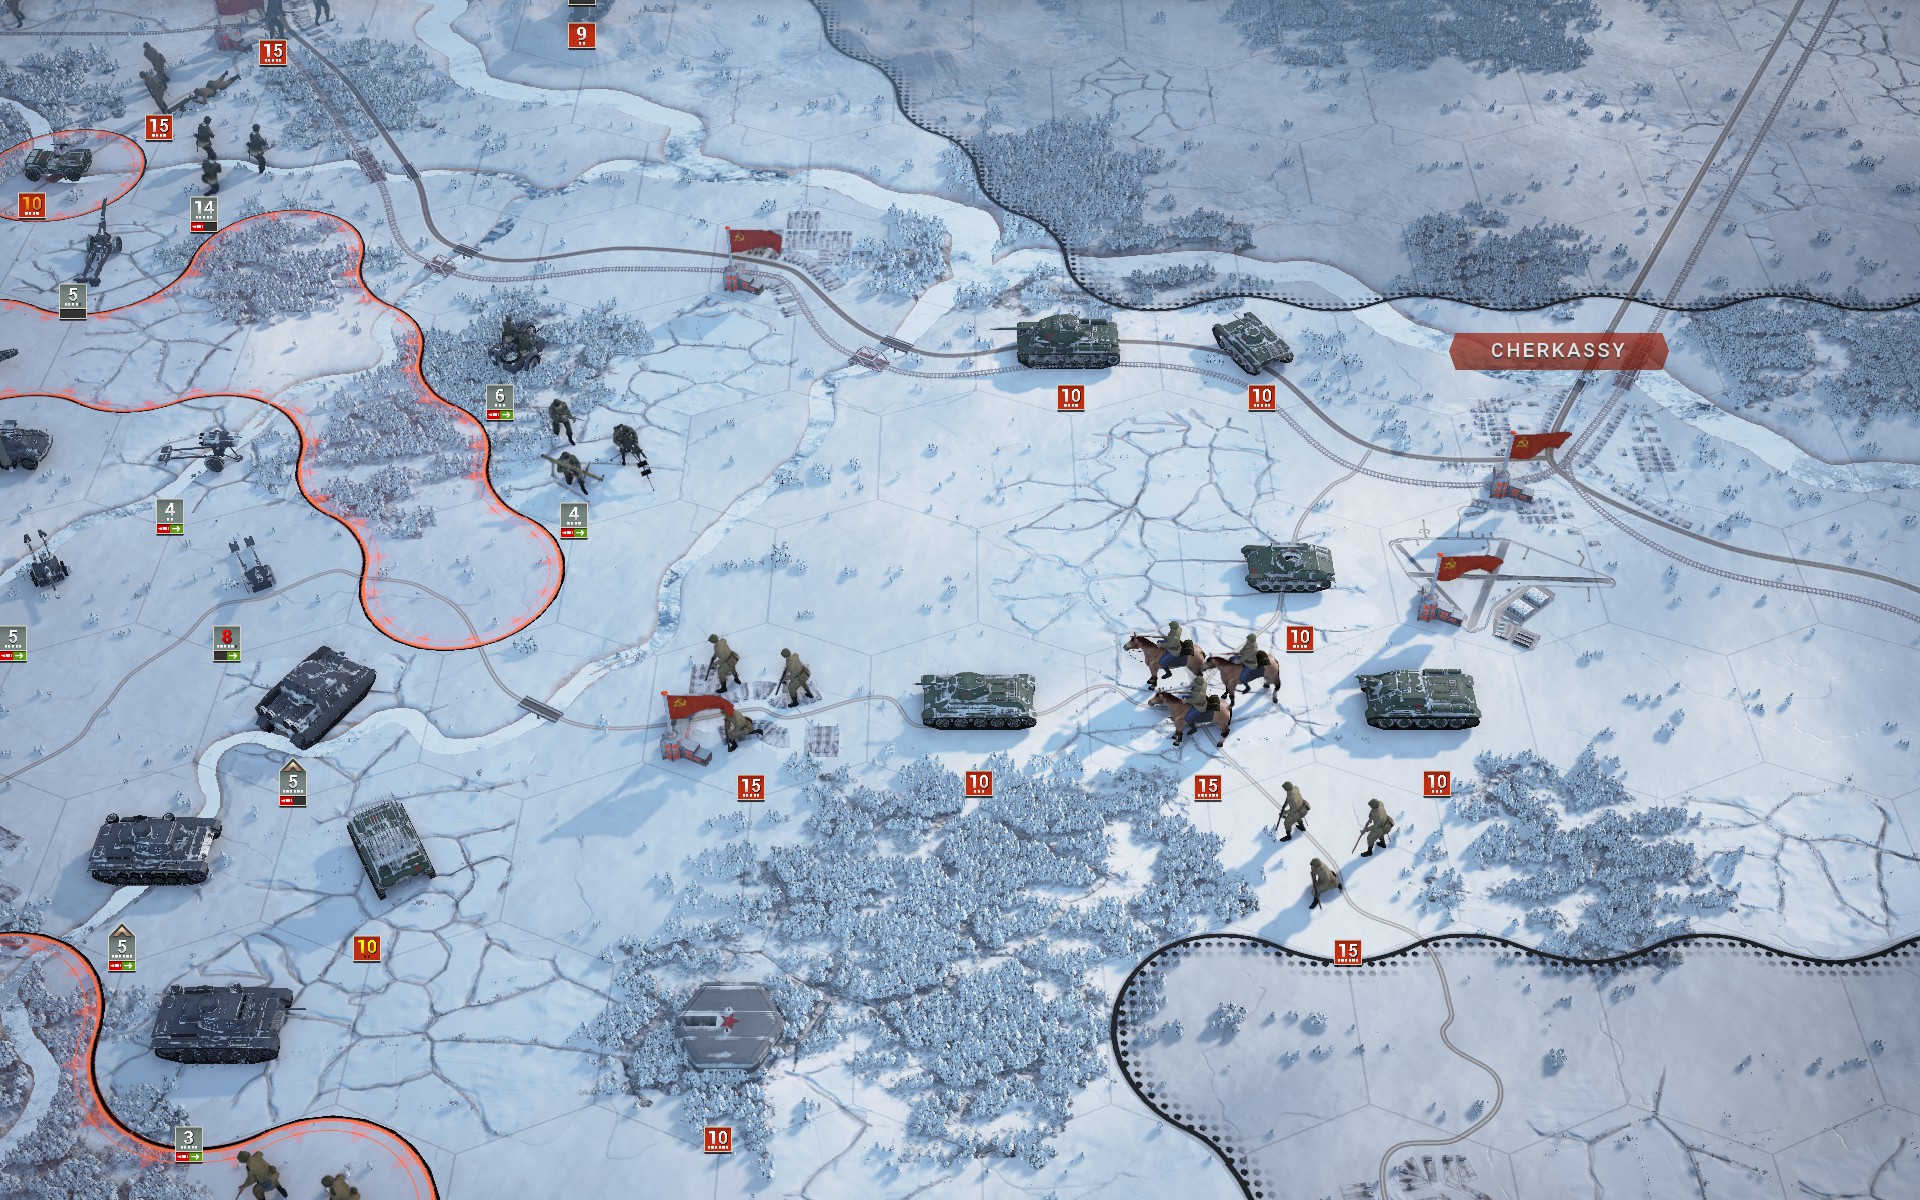
The auxiliaries have reached Livny while keeping contact with the Red Army to a minimum. At this rate they'll likely reach the supply depot before my own forces do.

Tigers cross the Oskol to surround the Red Army.

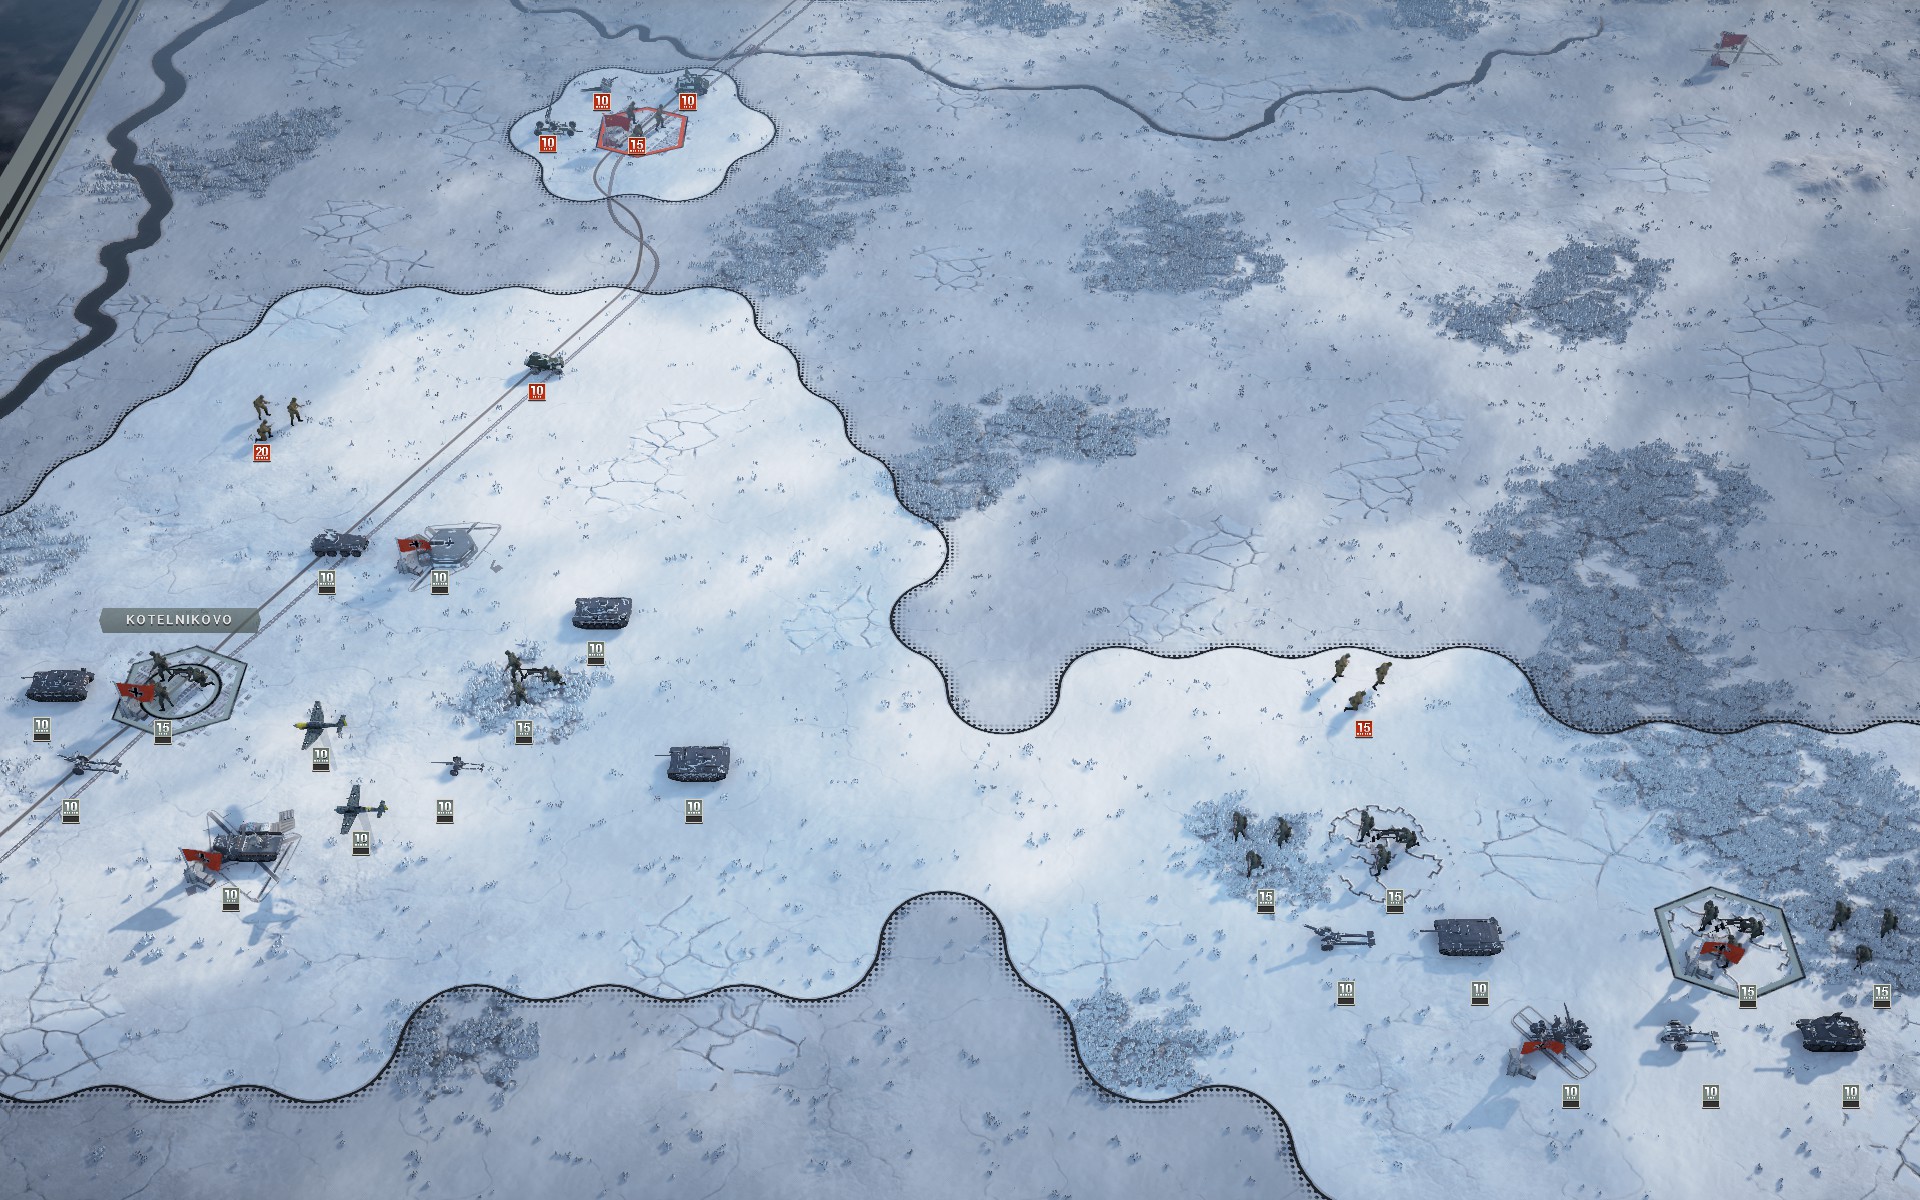
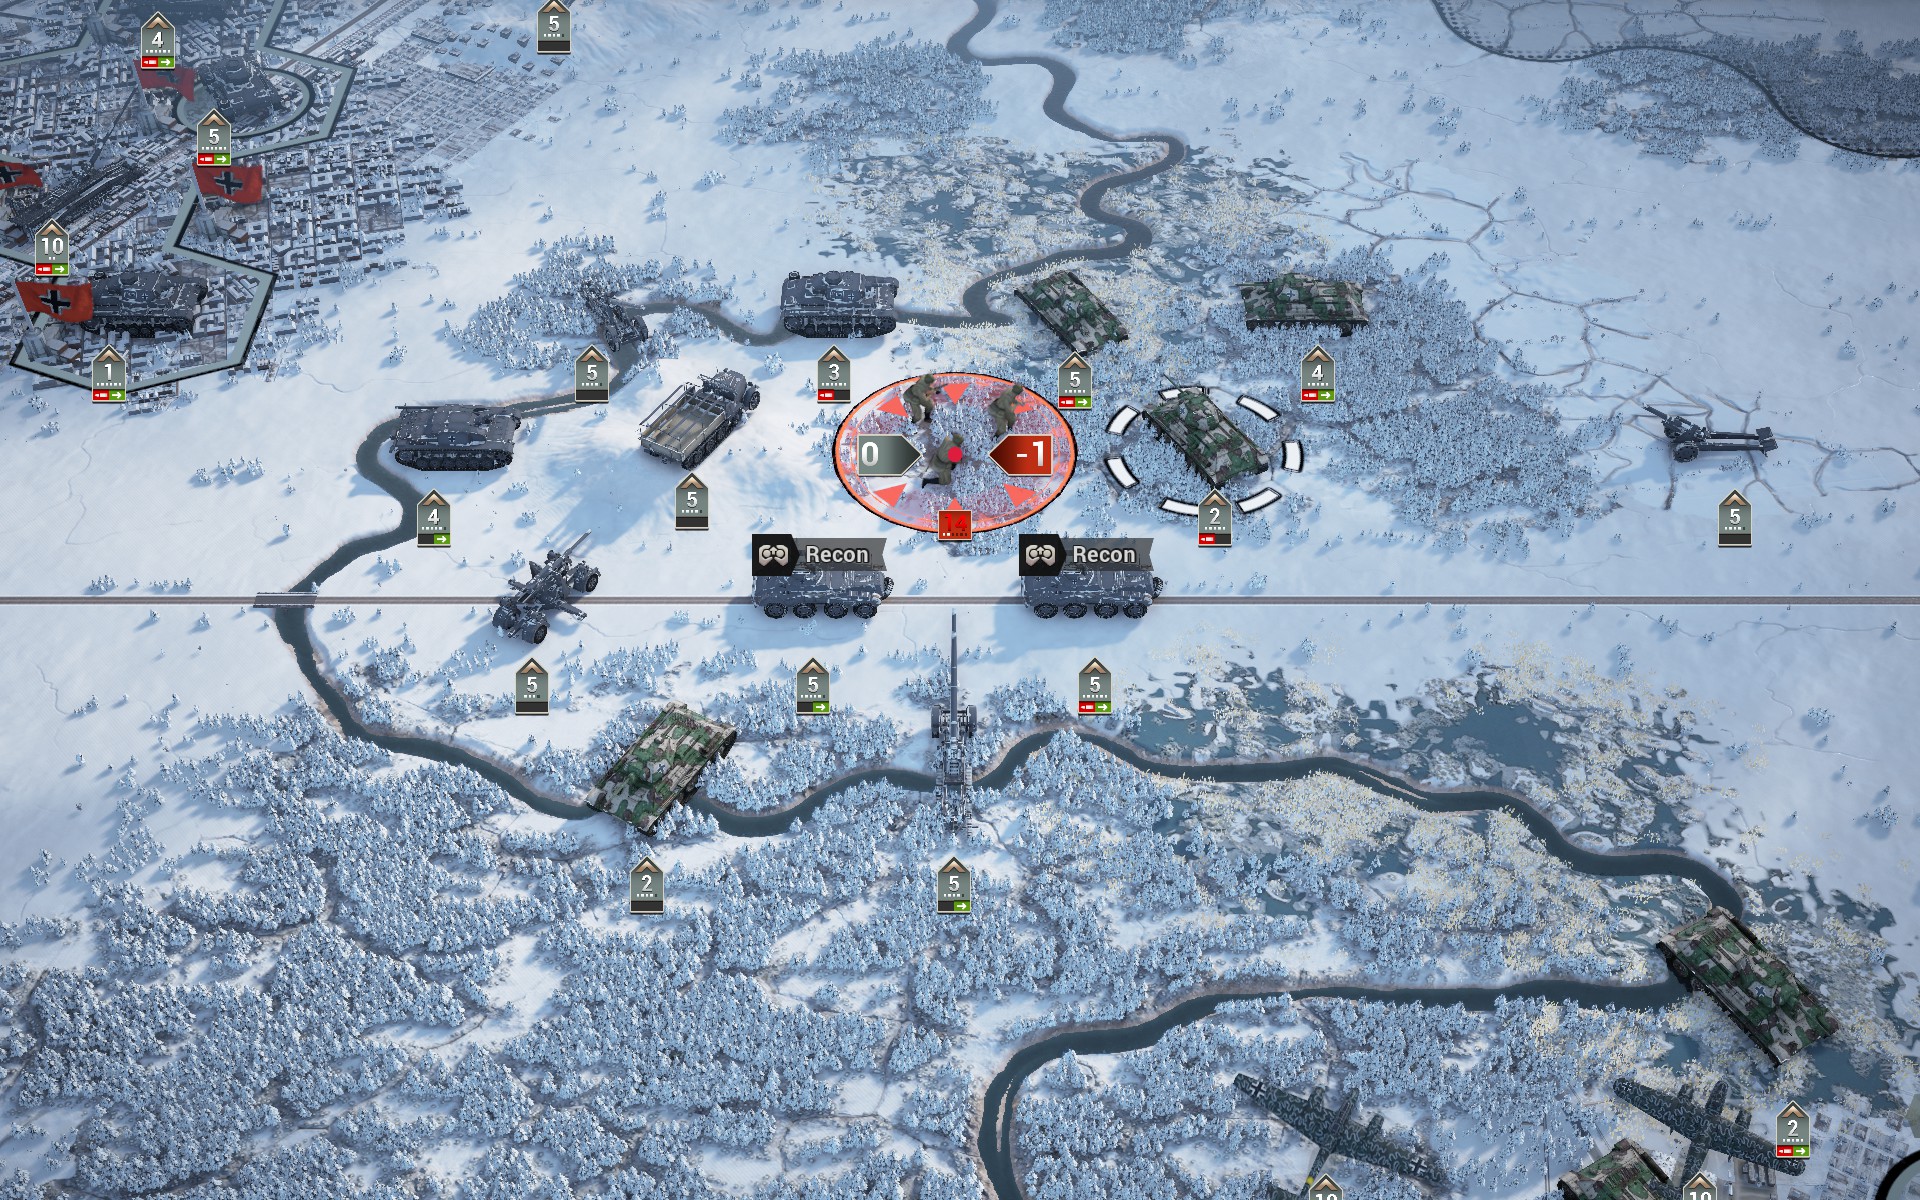
Auxiliary Panzers defeat a Soviet reconnaissance force near Orel as the infantry take up positions in close terrain, with a battalion of Gebirgsjäger anchoring the defences on the hill north of the town.

There is a large Soviet armoured reserve in the north too, as well as a number of aircraft that have yet to see action.
The Soviet forces by the Oskol are captured and my forces prepare to move north as per the original plan.
The last Soviet forces near Livny are captured.
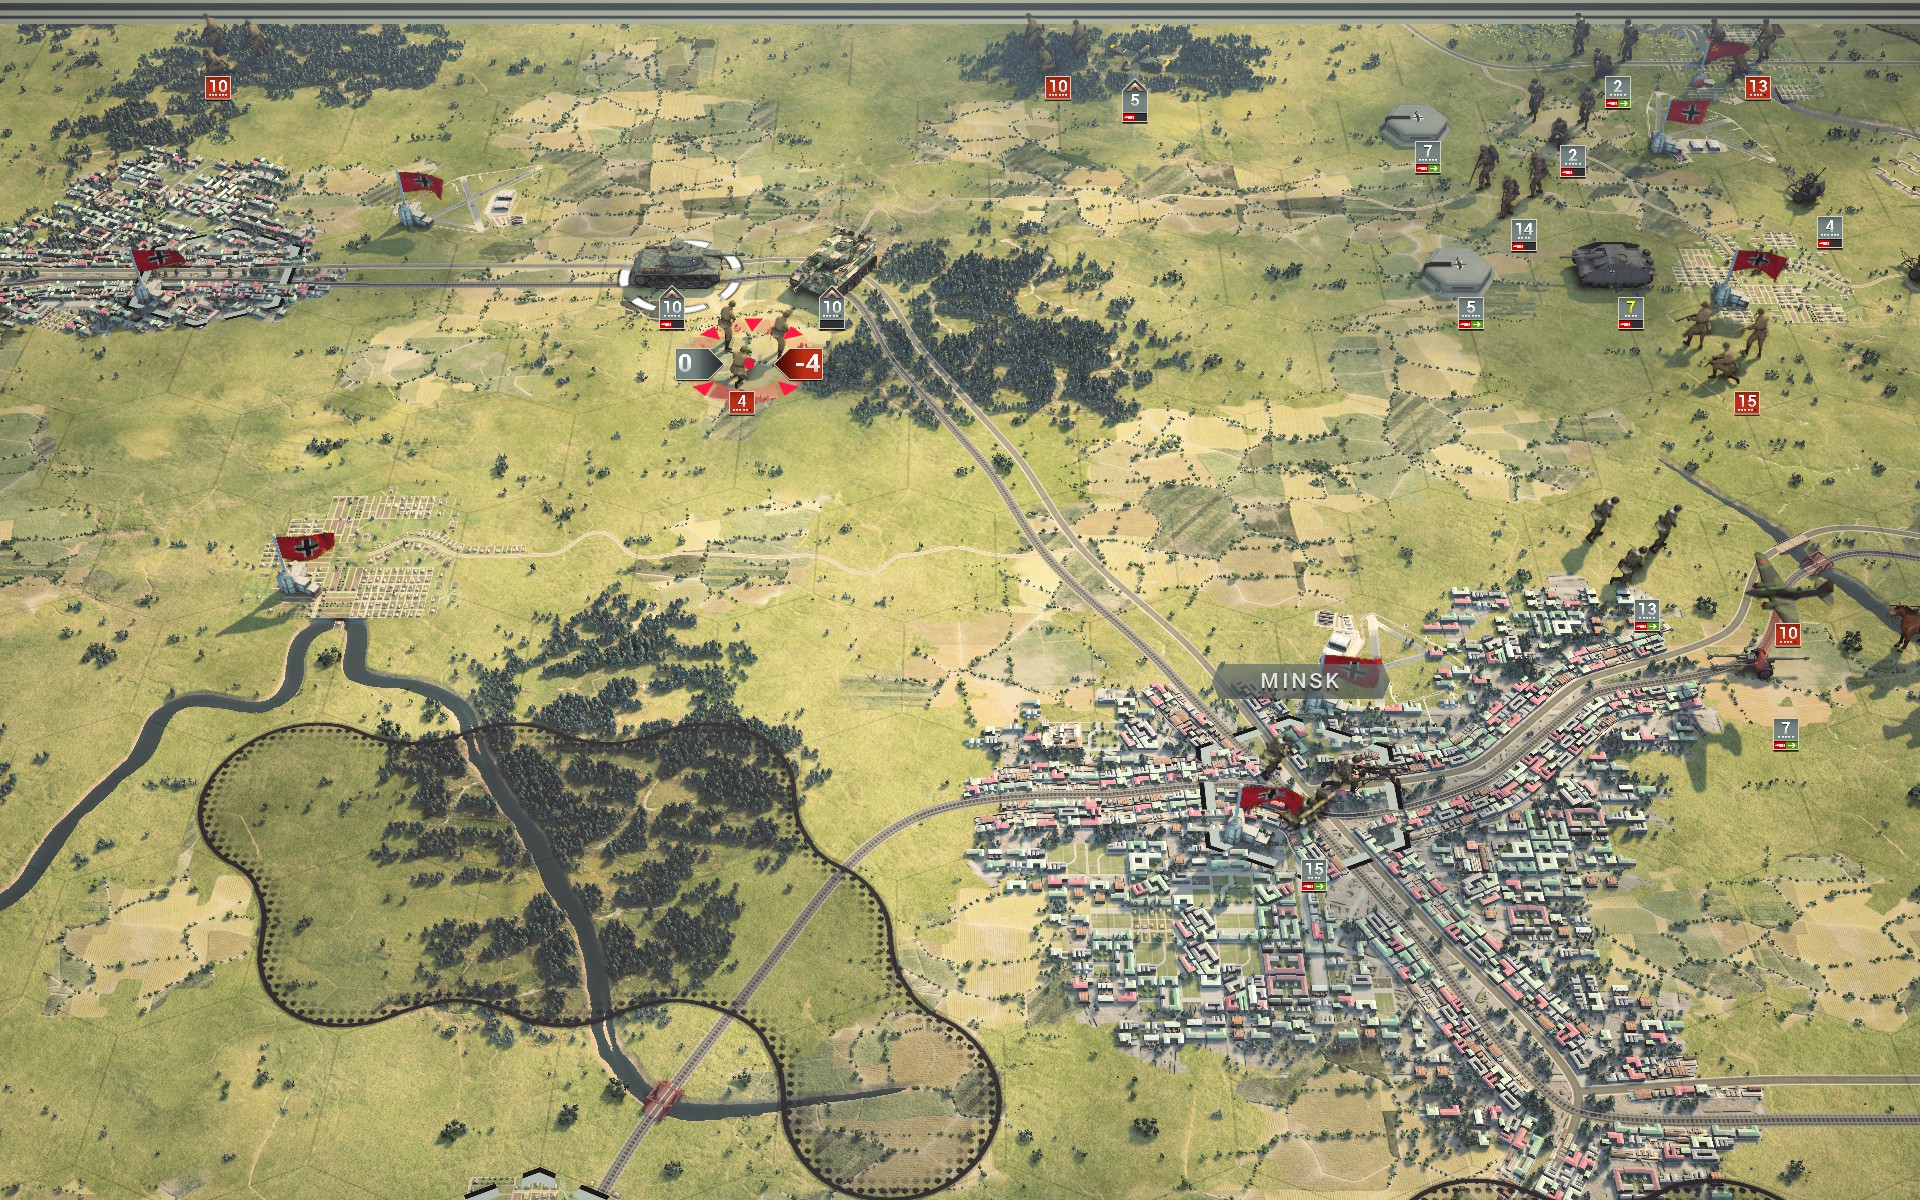
More Soviet infantry press in from the south, but they are unable to damage the Panzers.
The Luftwaffe hunts down the last Soviet aircraft within the Kursk salient. The Do 217Es should be able to operate freely now.
The armoured column at Prokhorovka begin to mobilize in response to my incursion, but their movements are poorly coordinated.
The Luftwaffe seeks to preemptively destroy the Soviet air reserve.
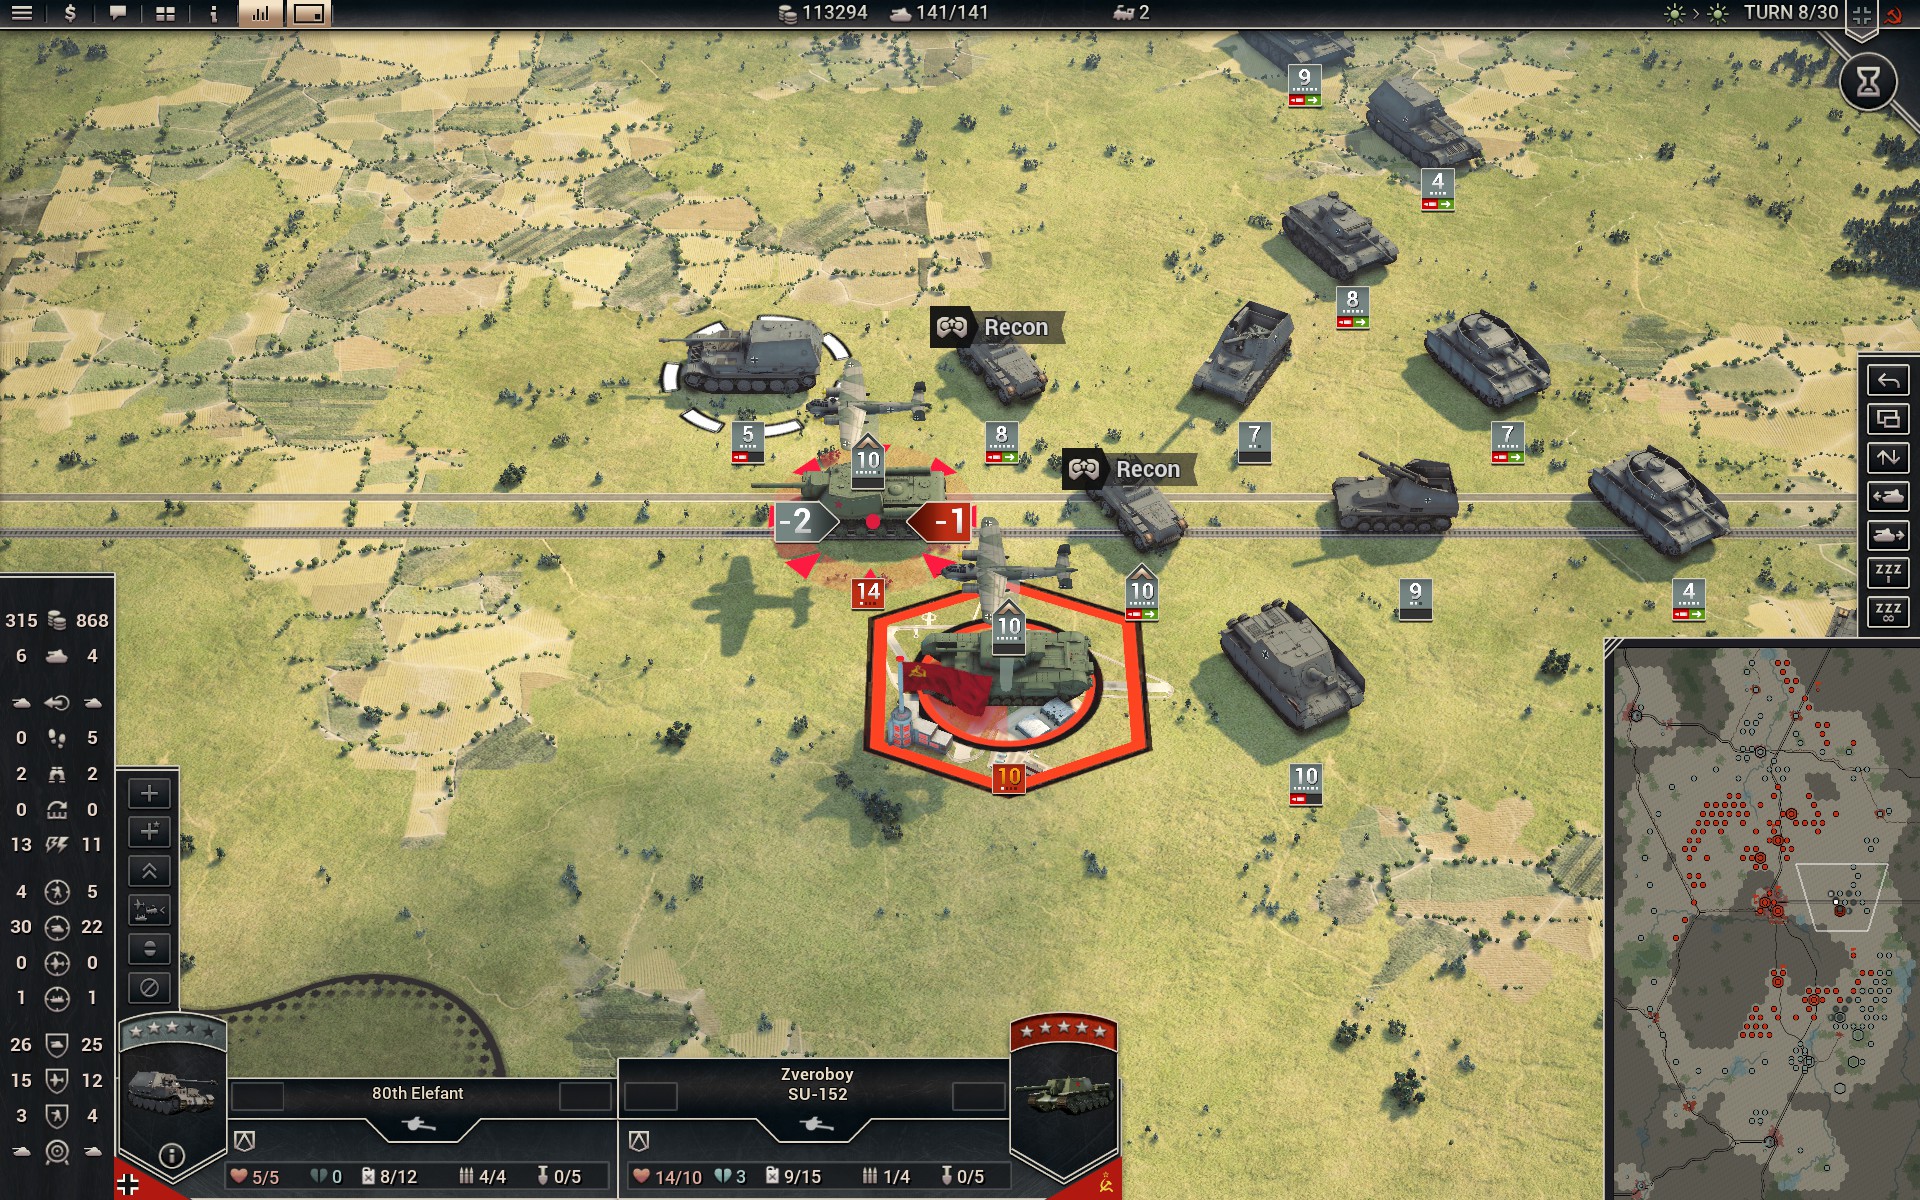
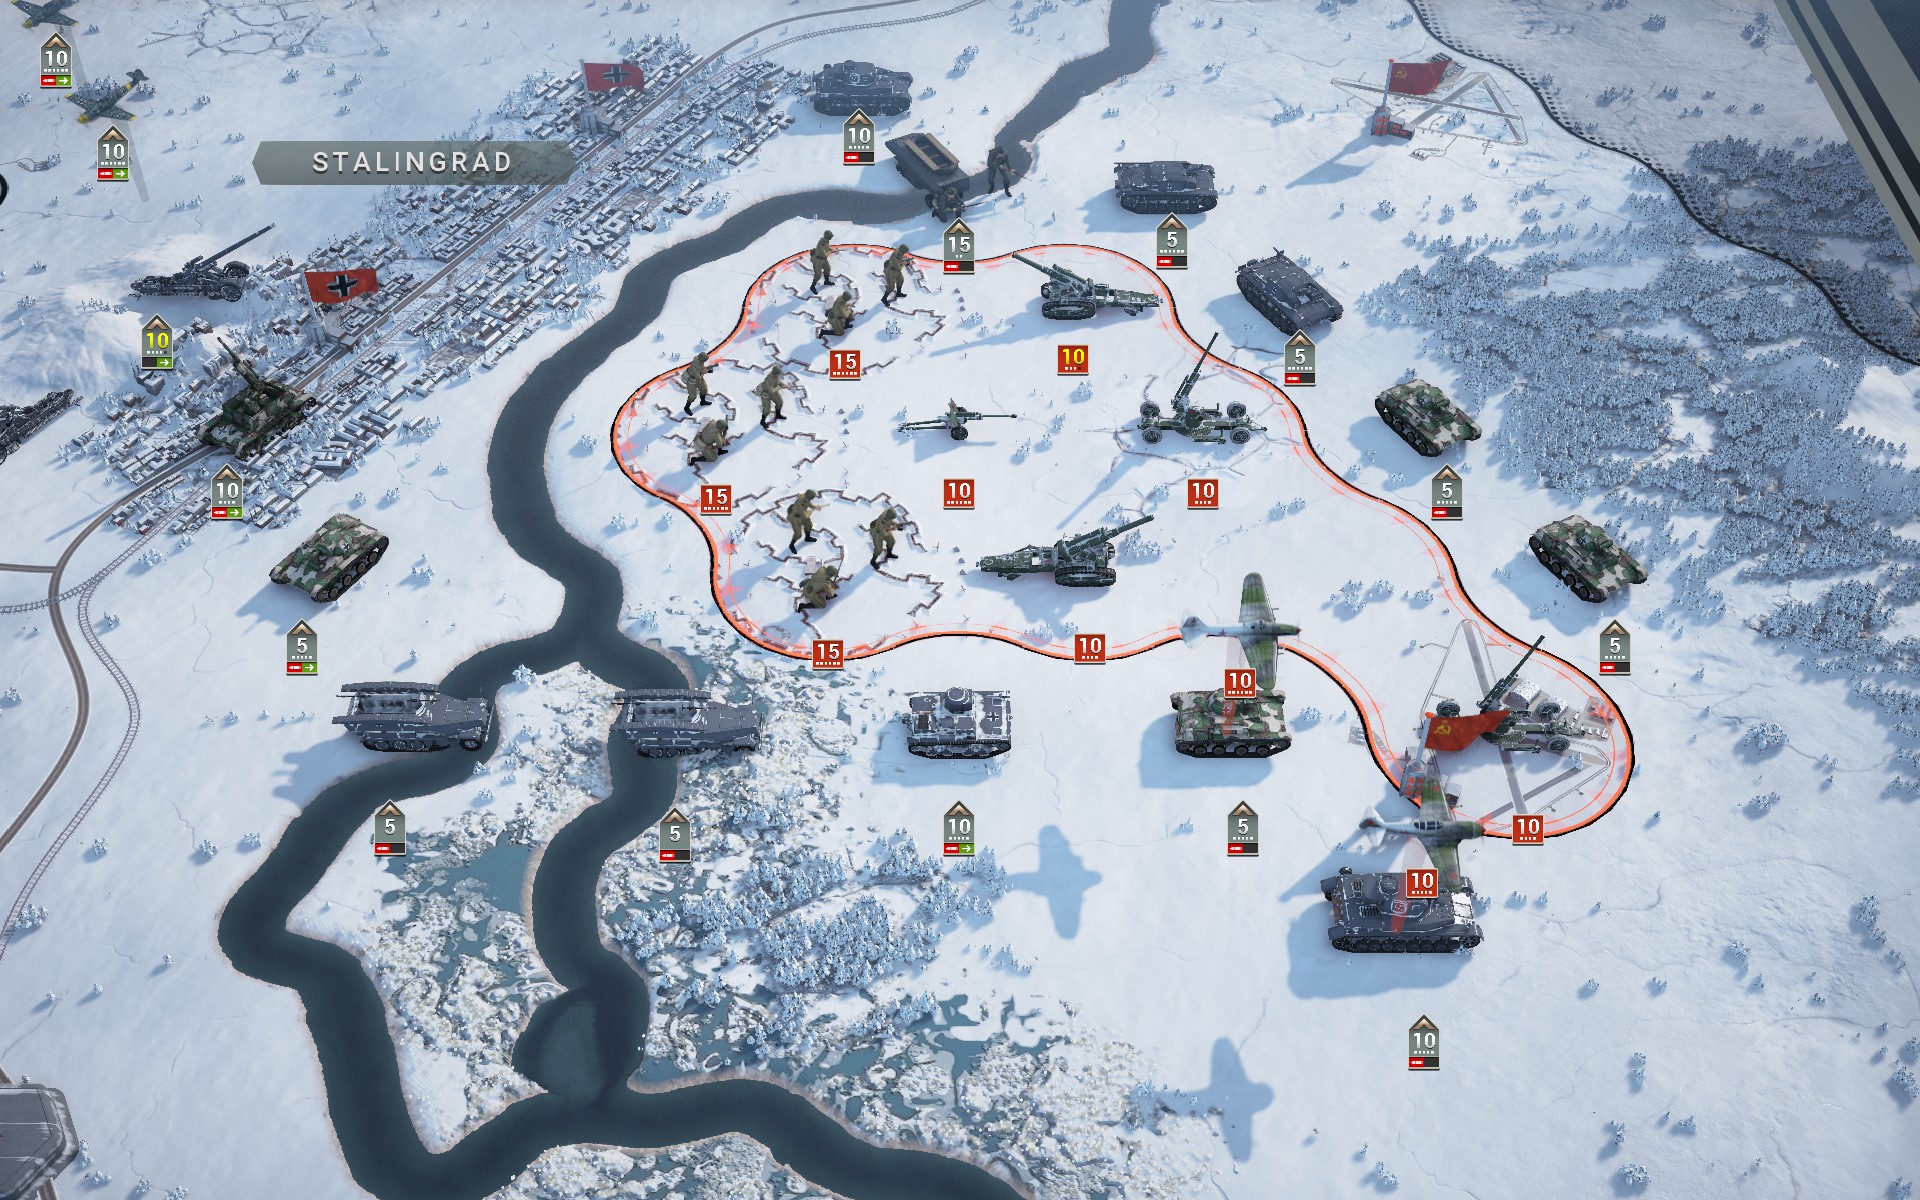
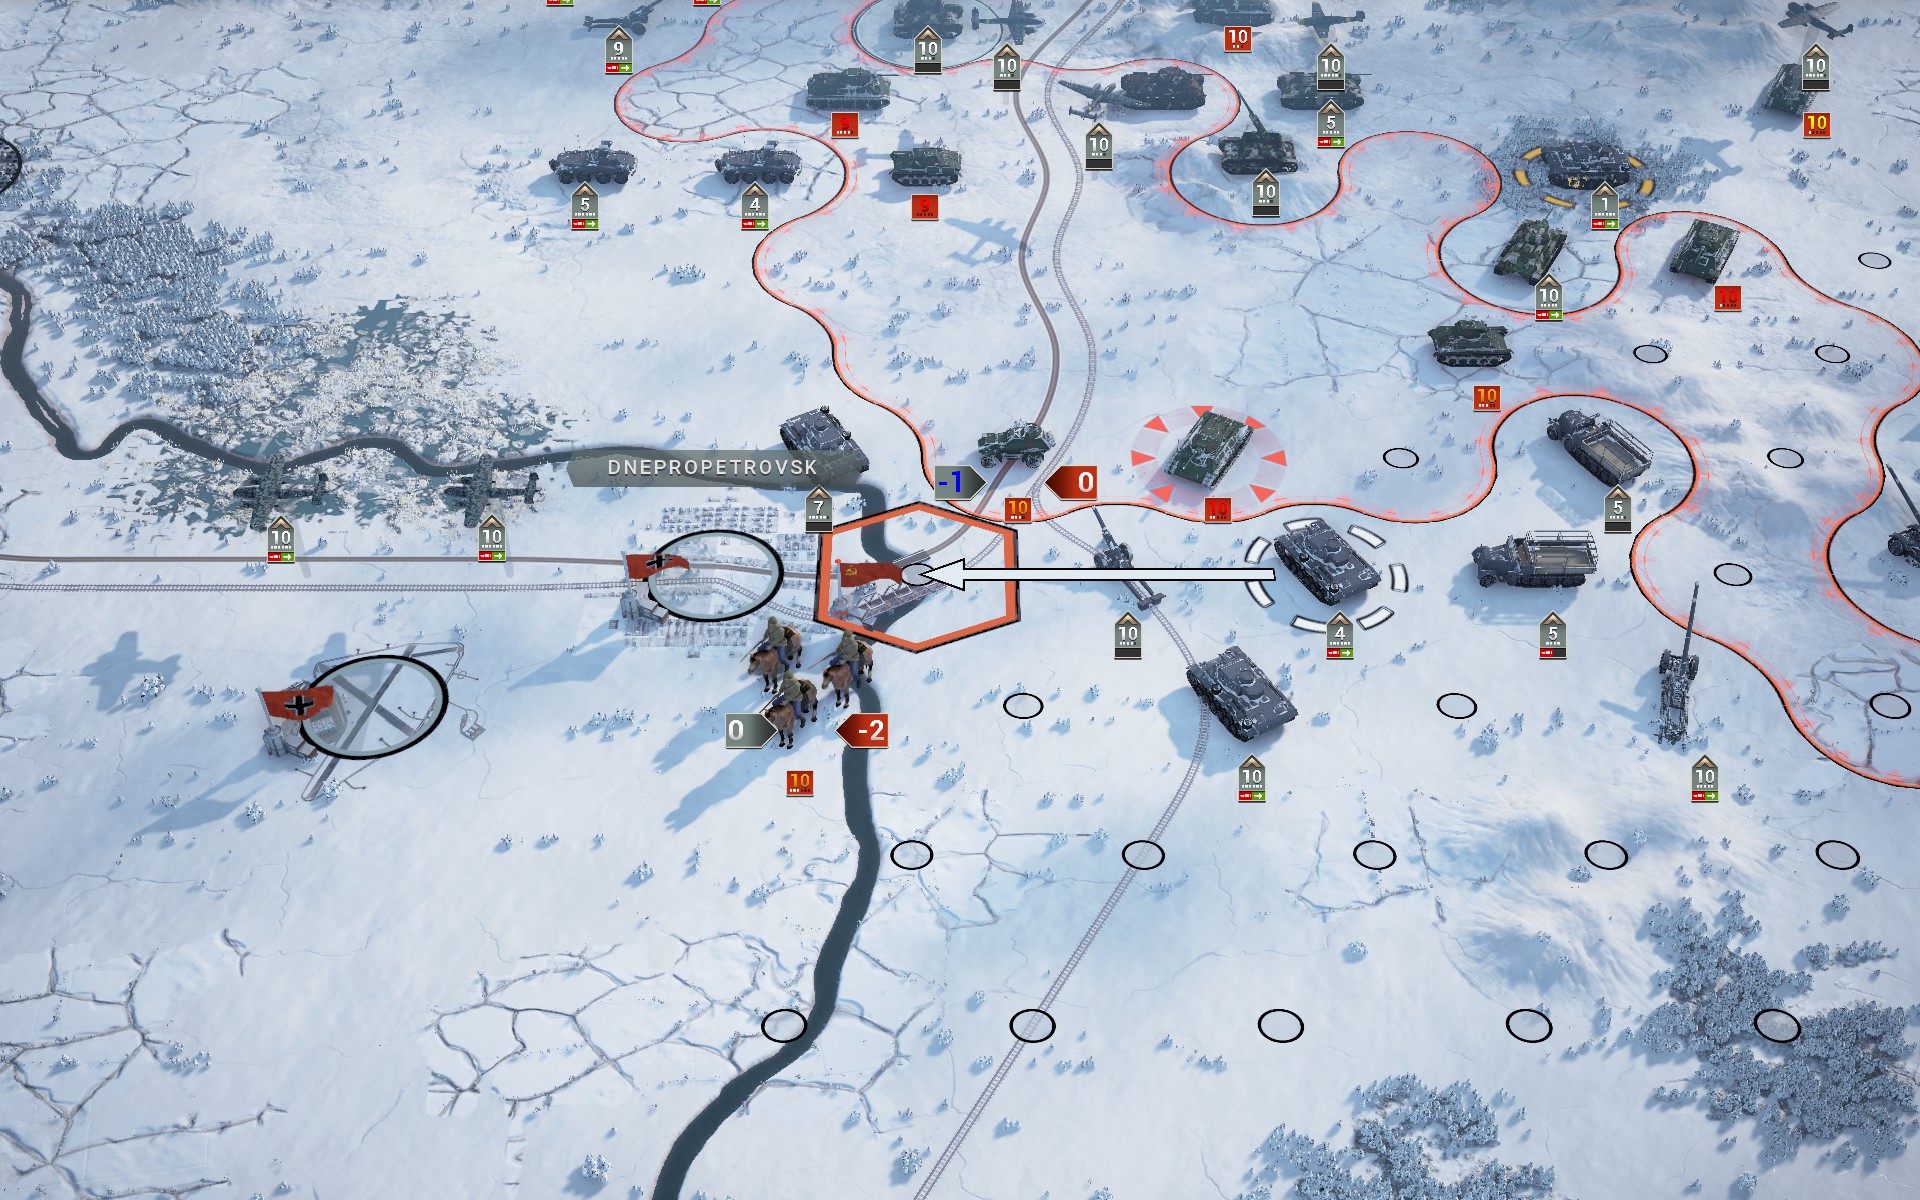
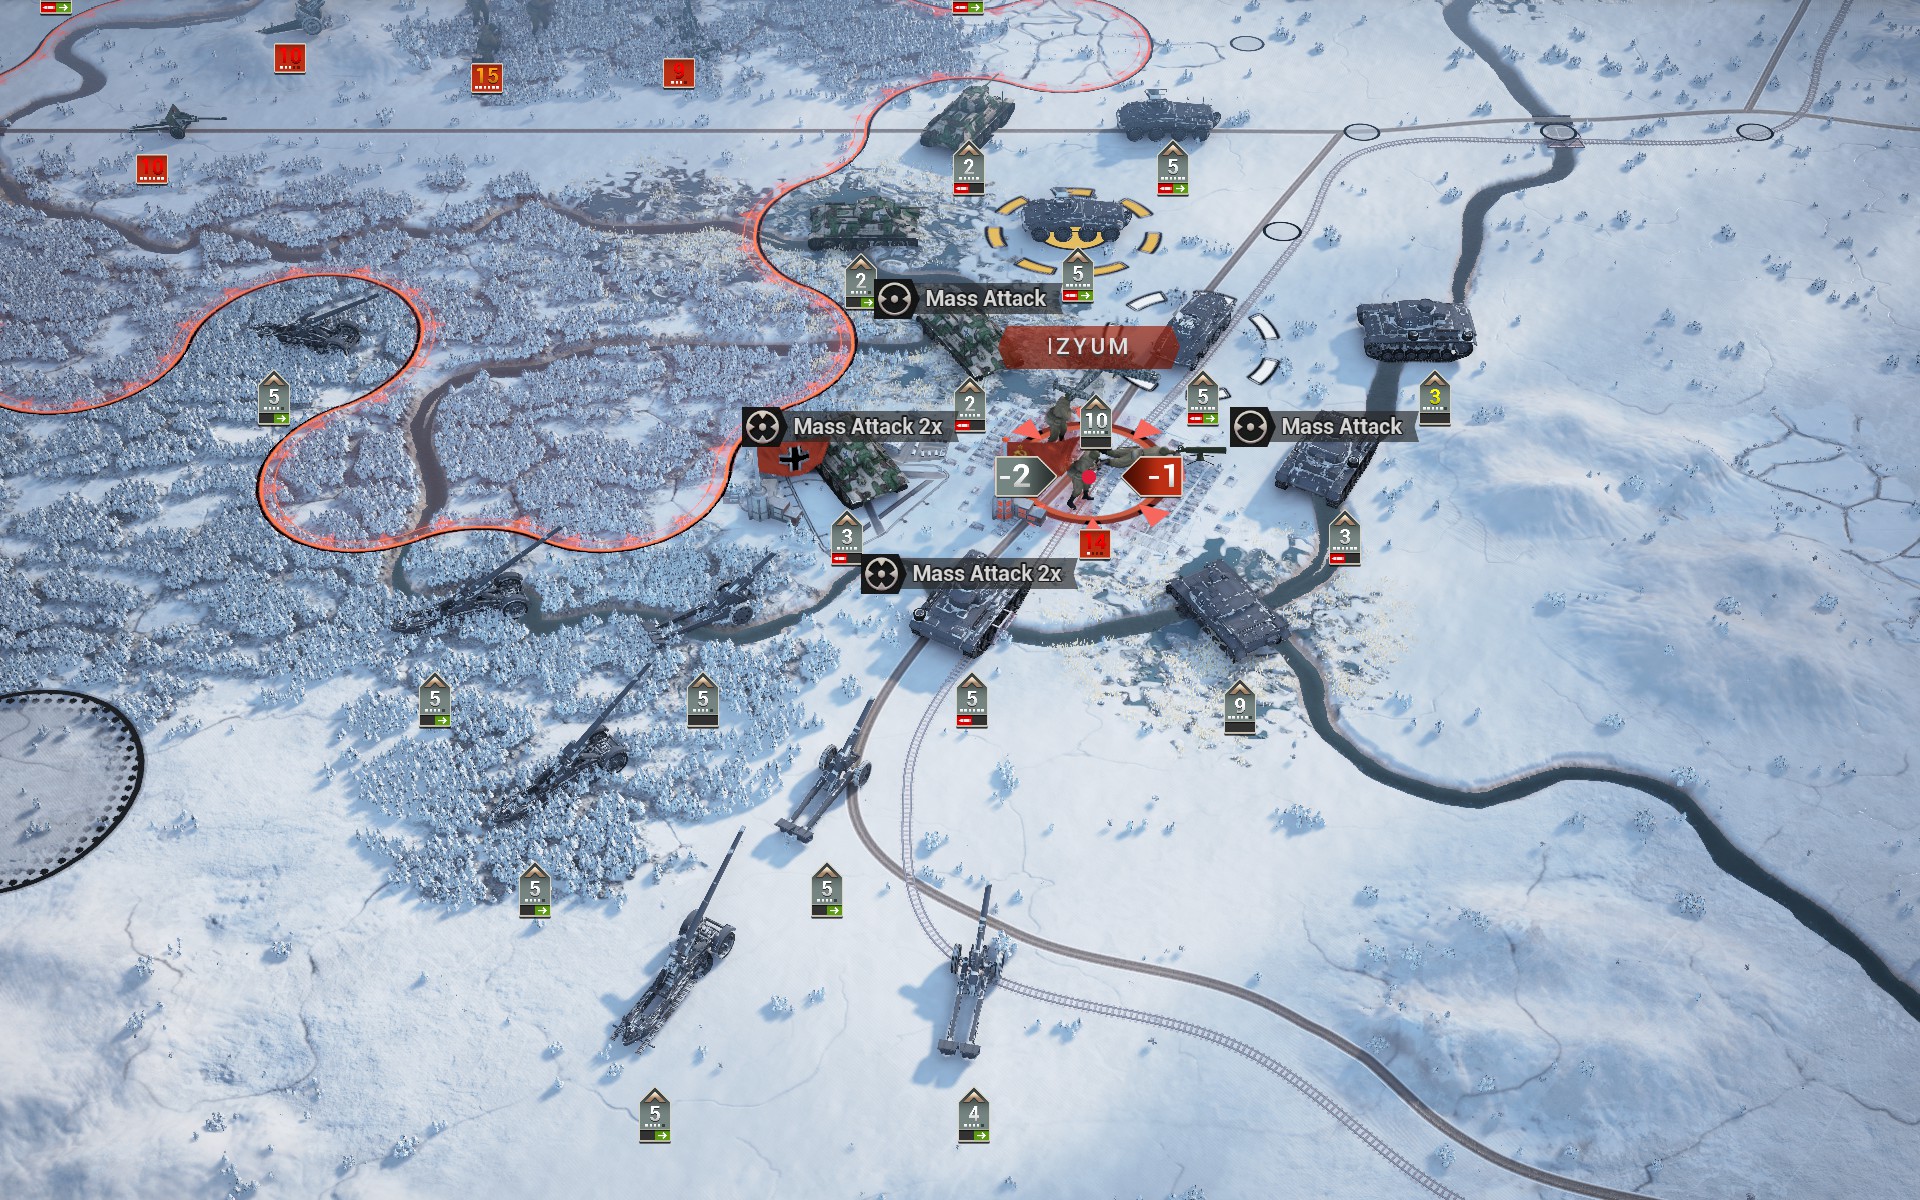
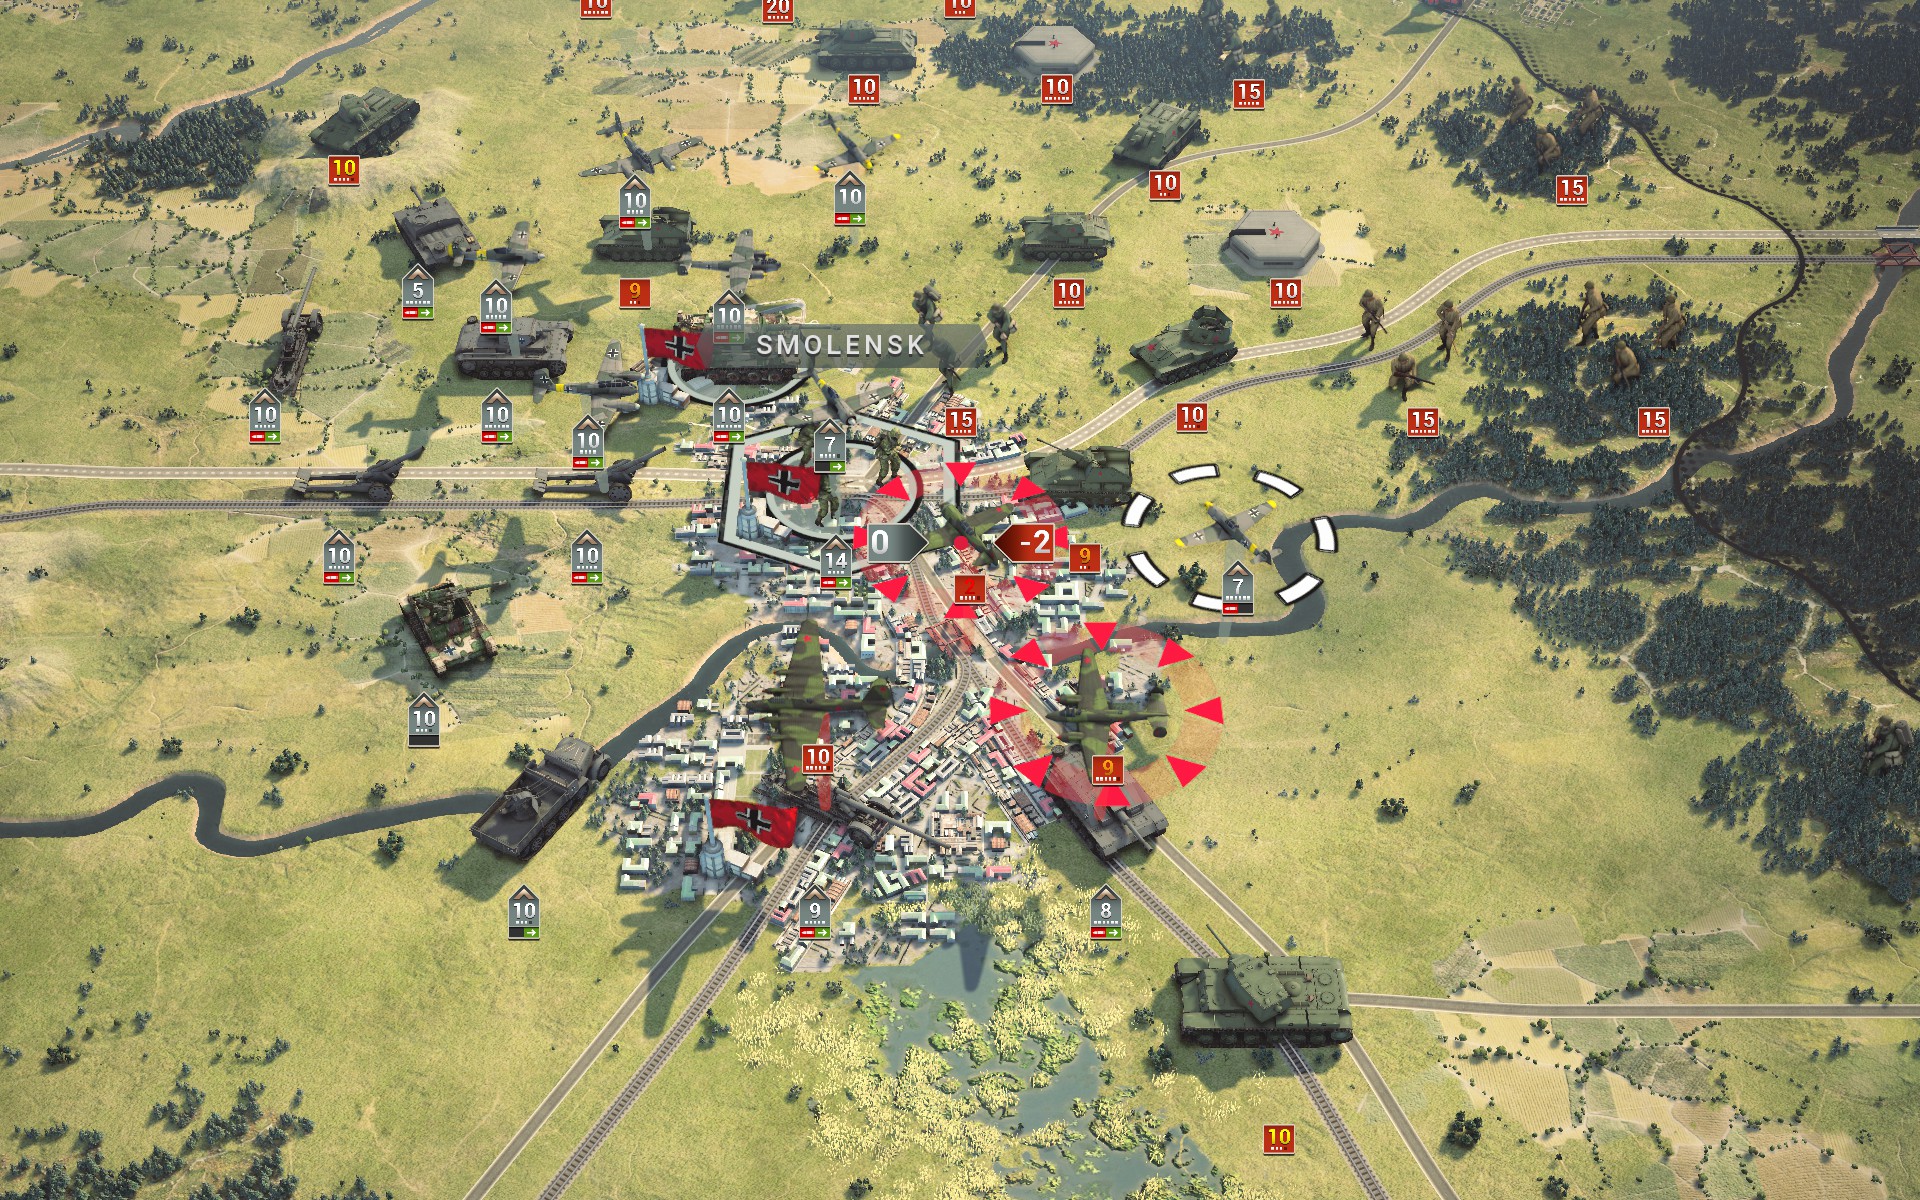
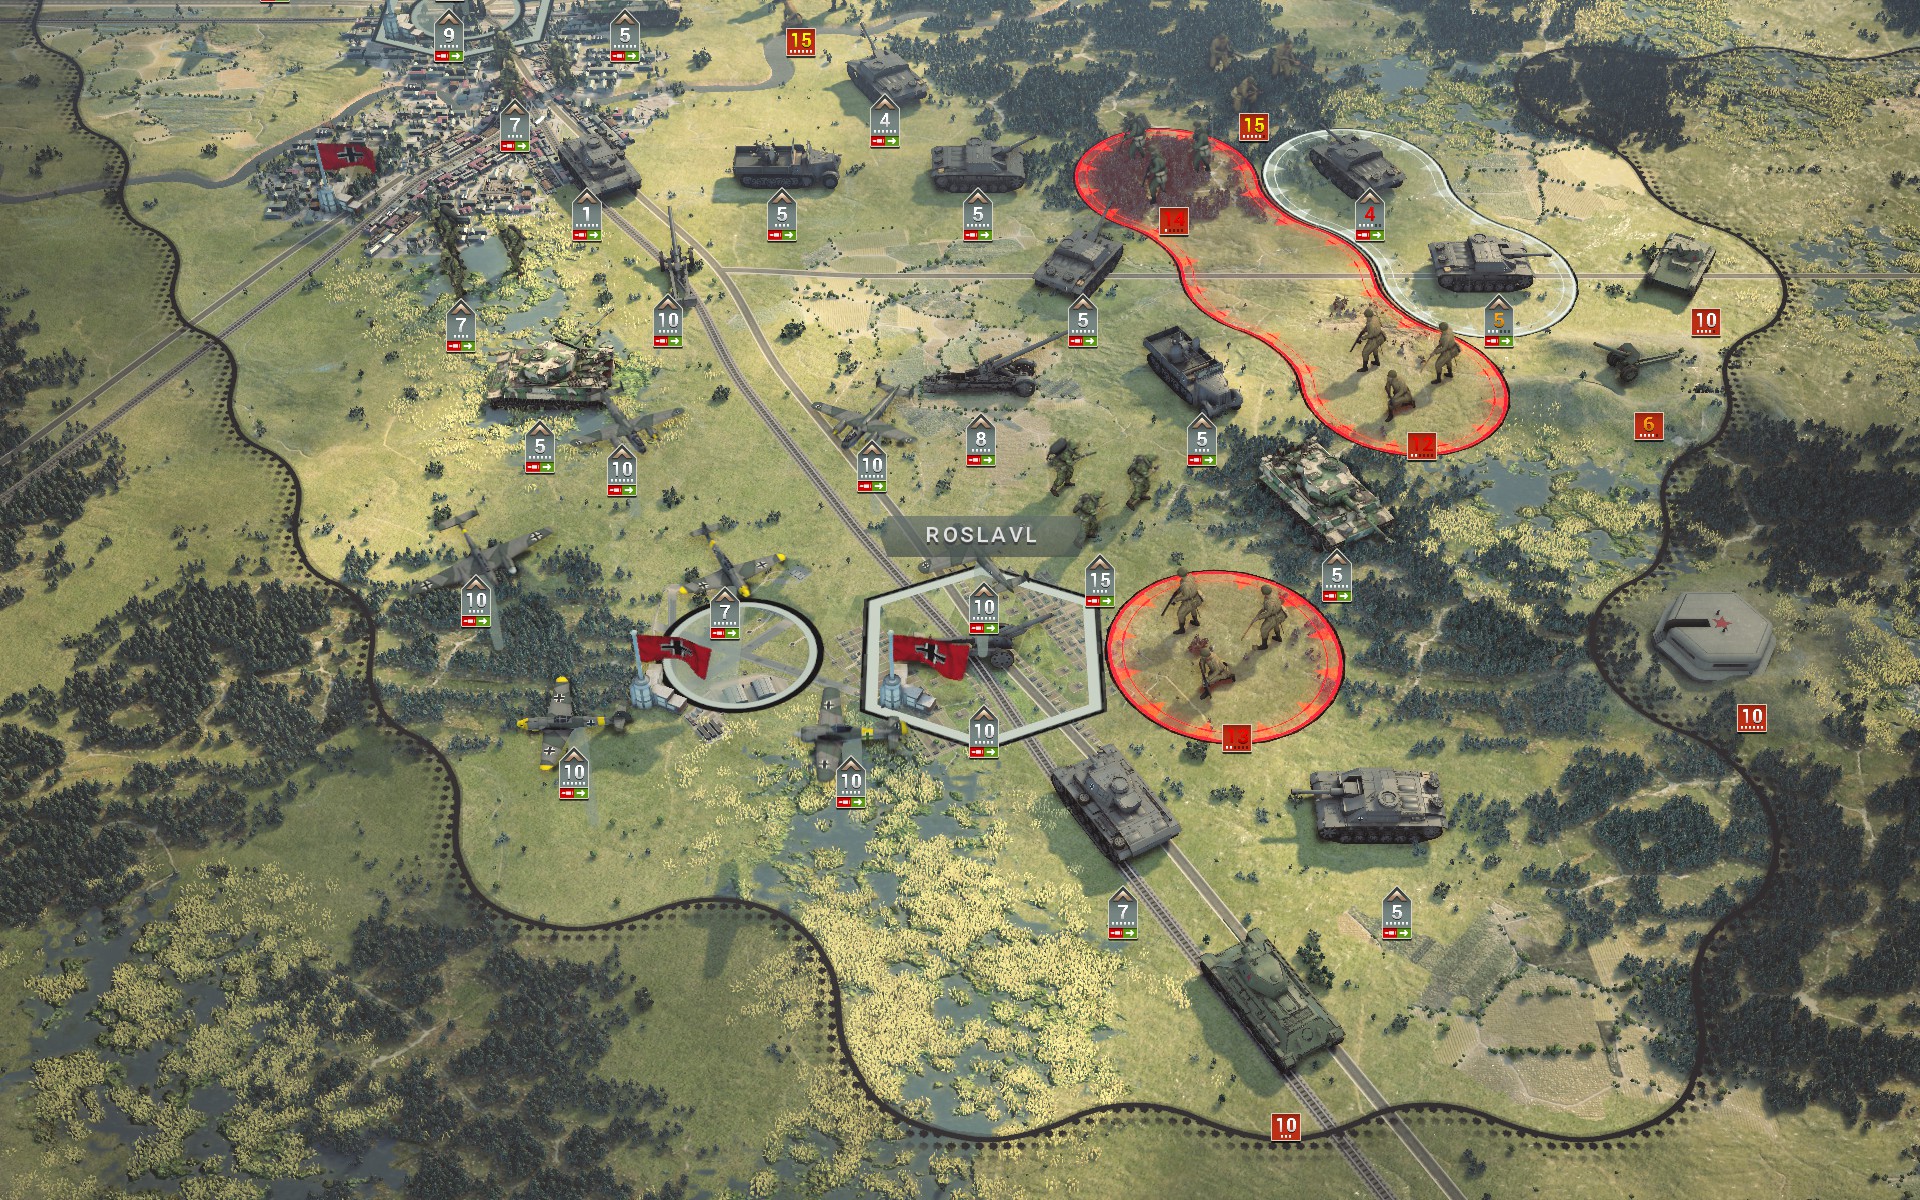
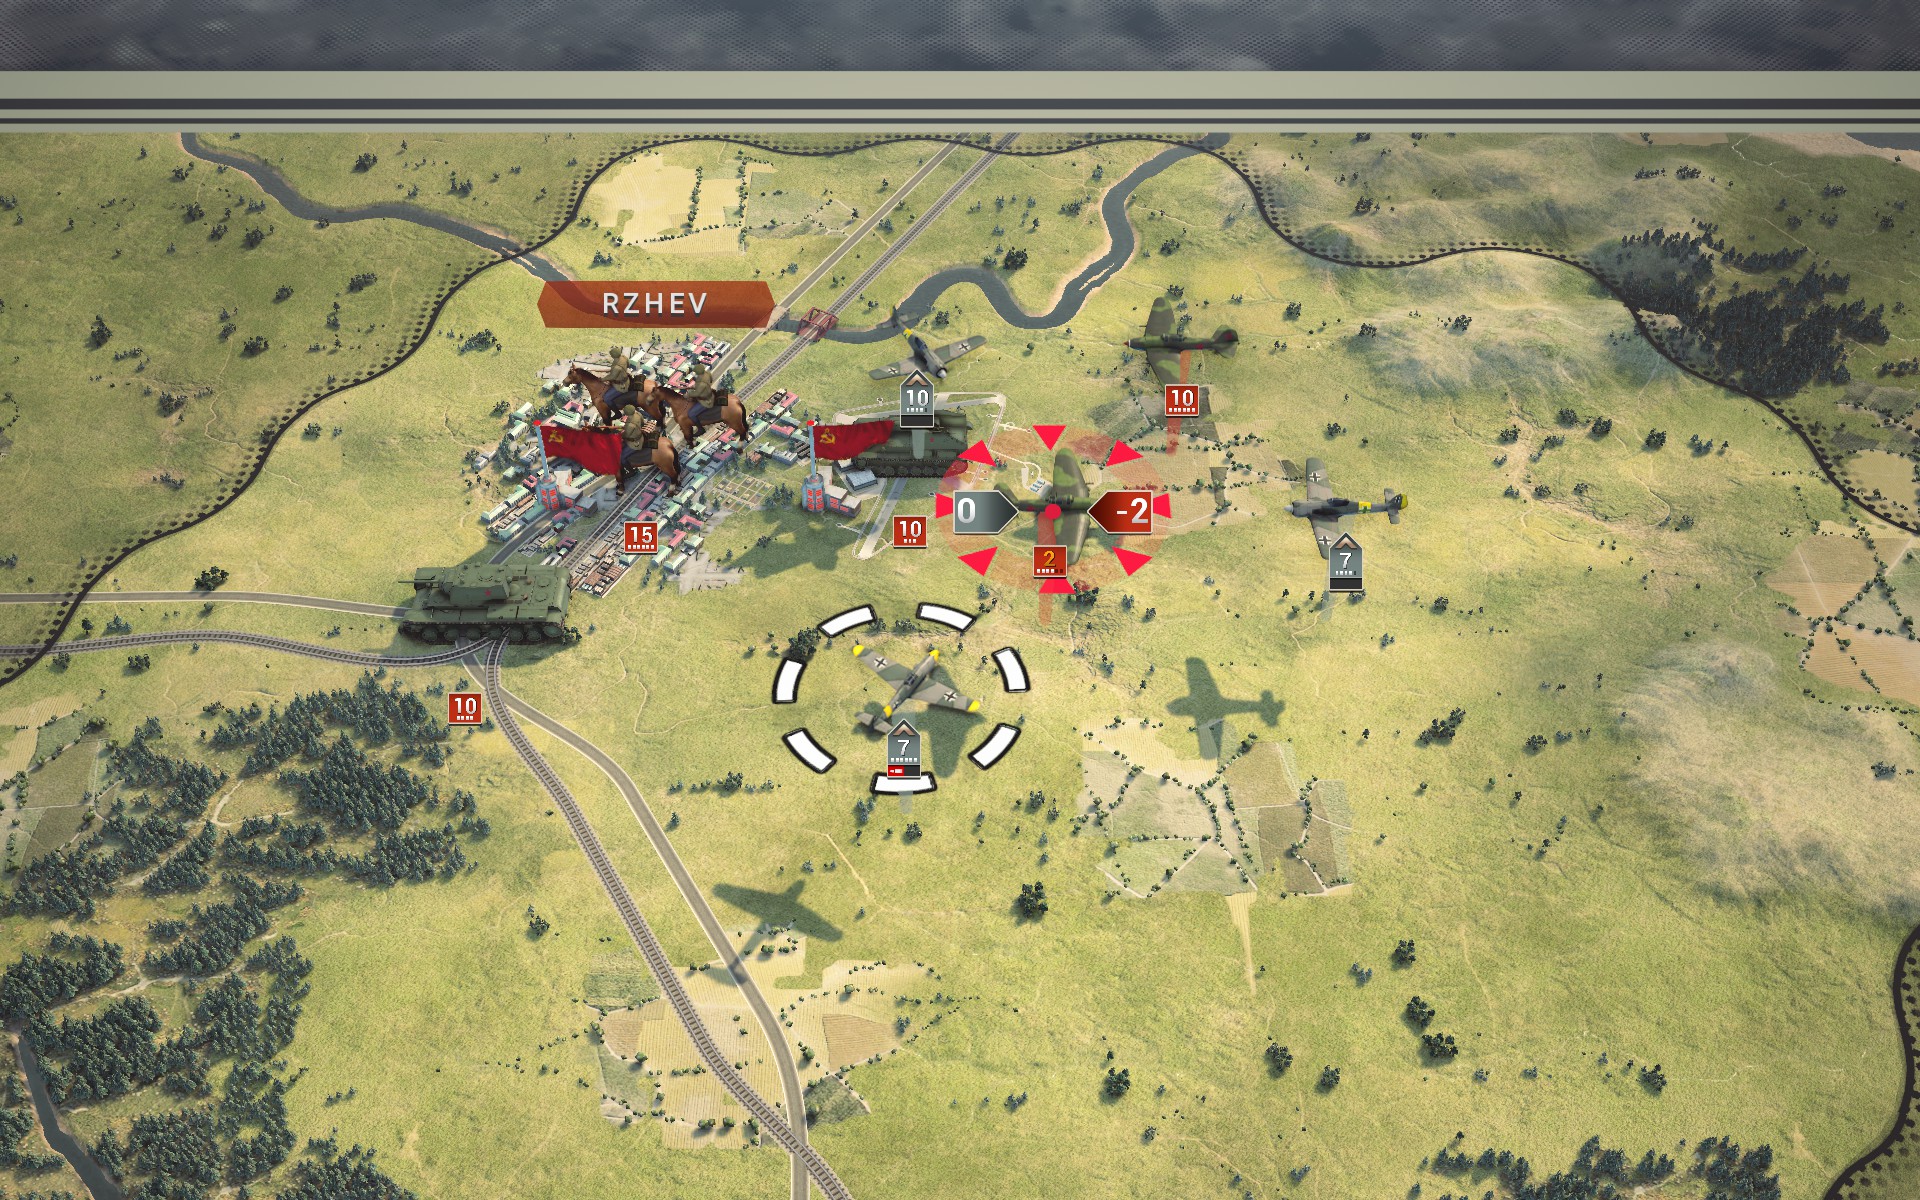
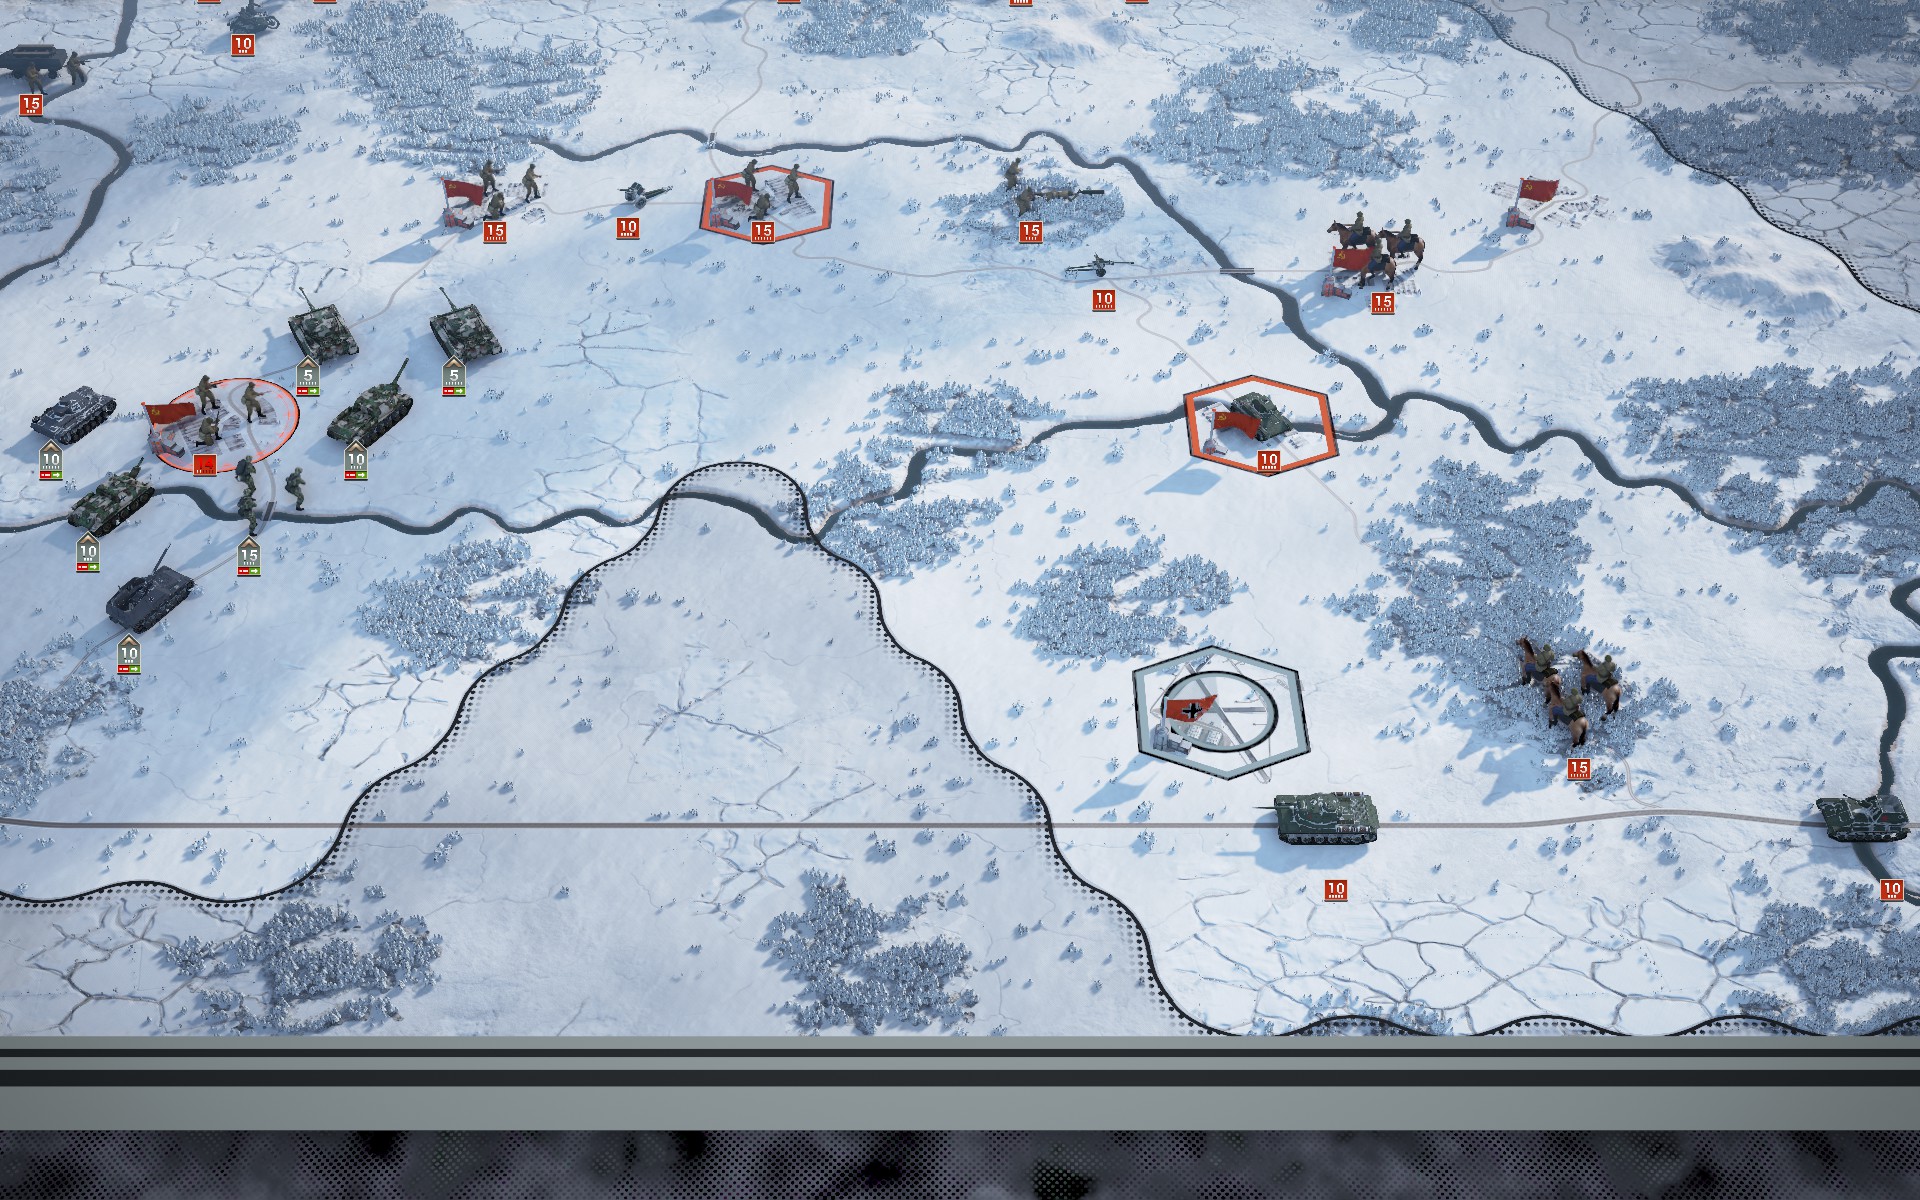
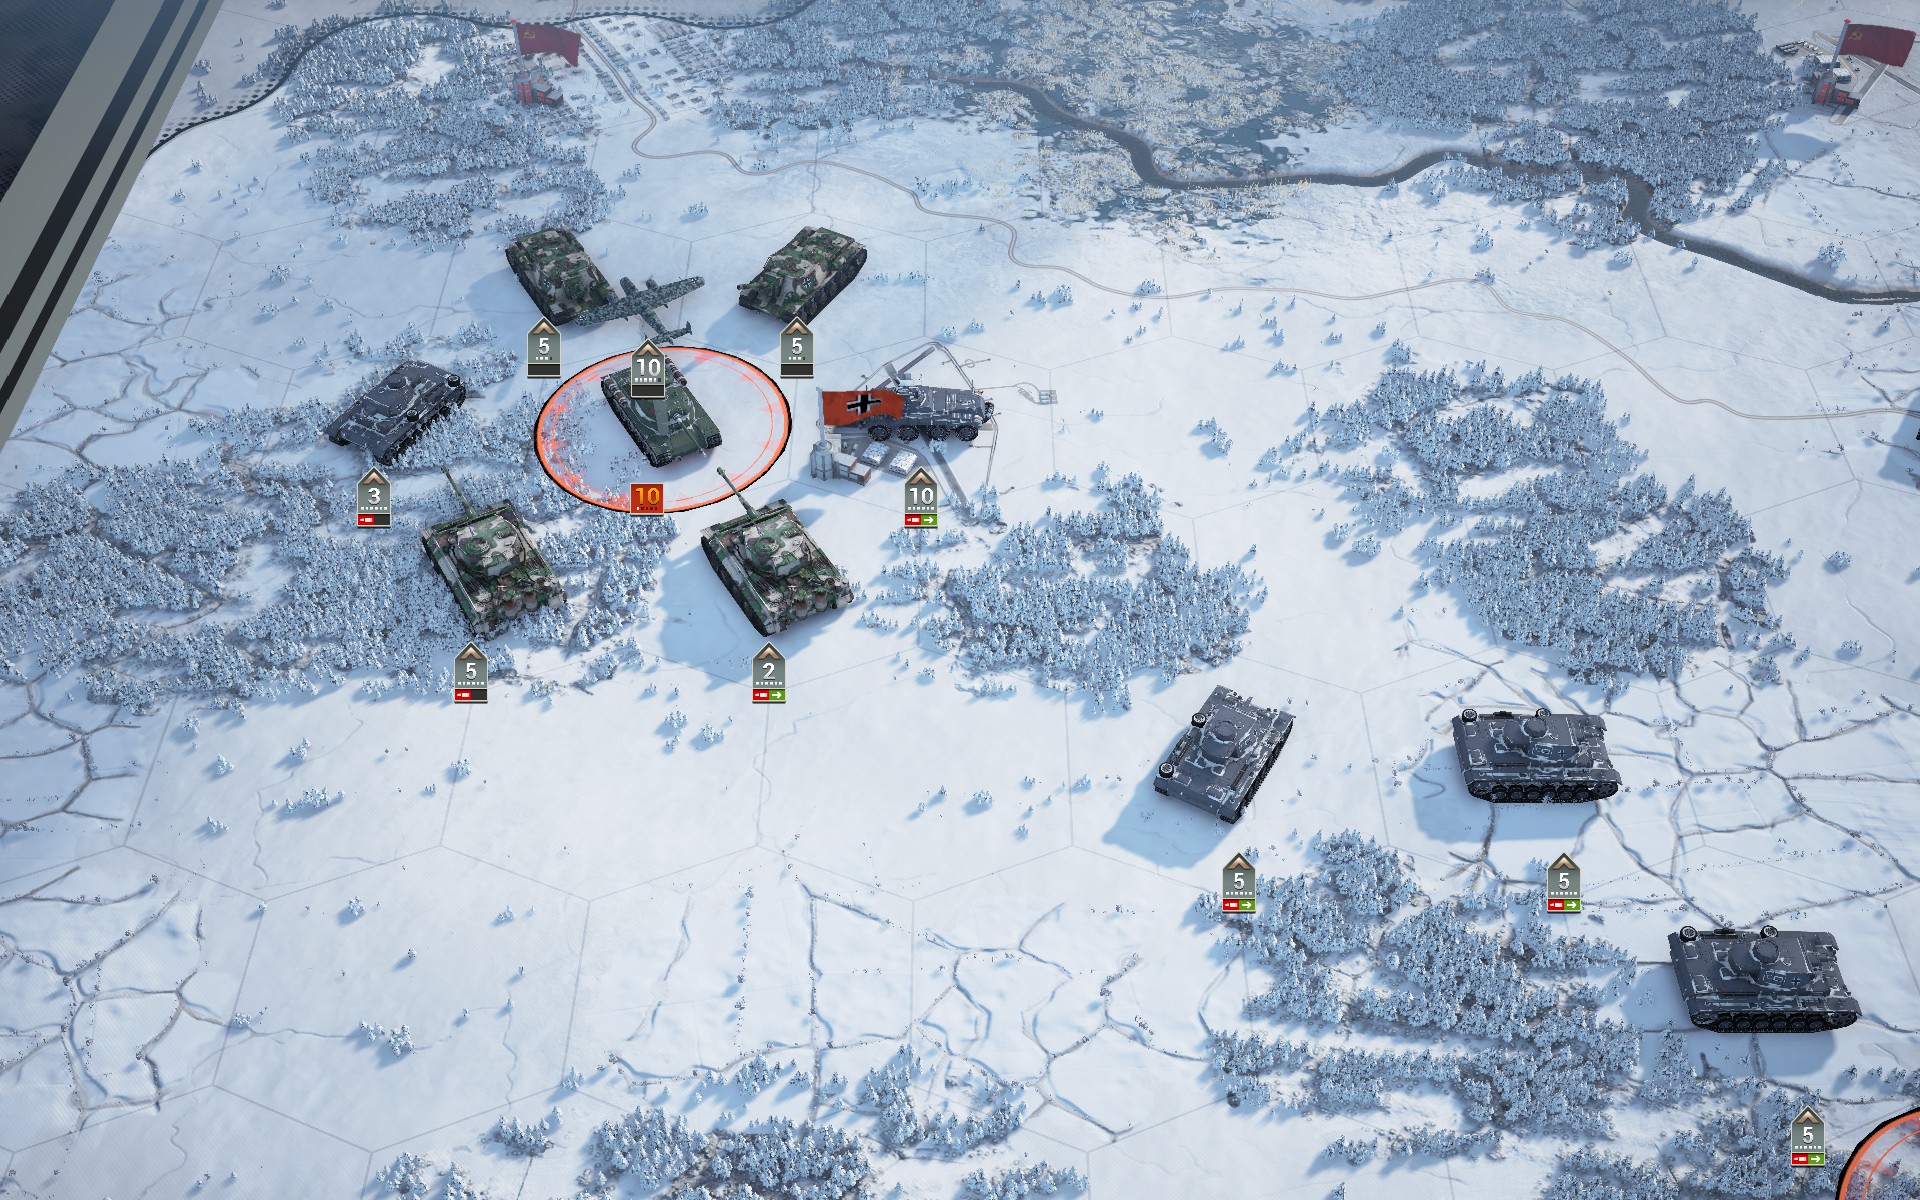
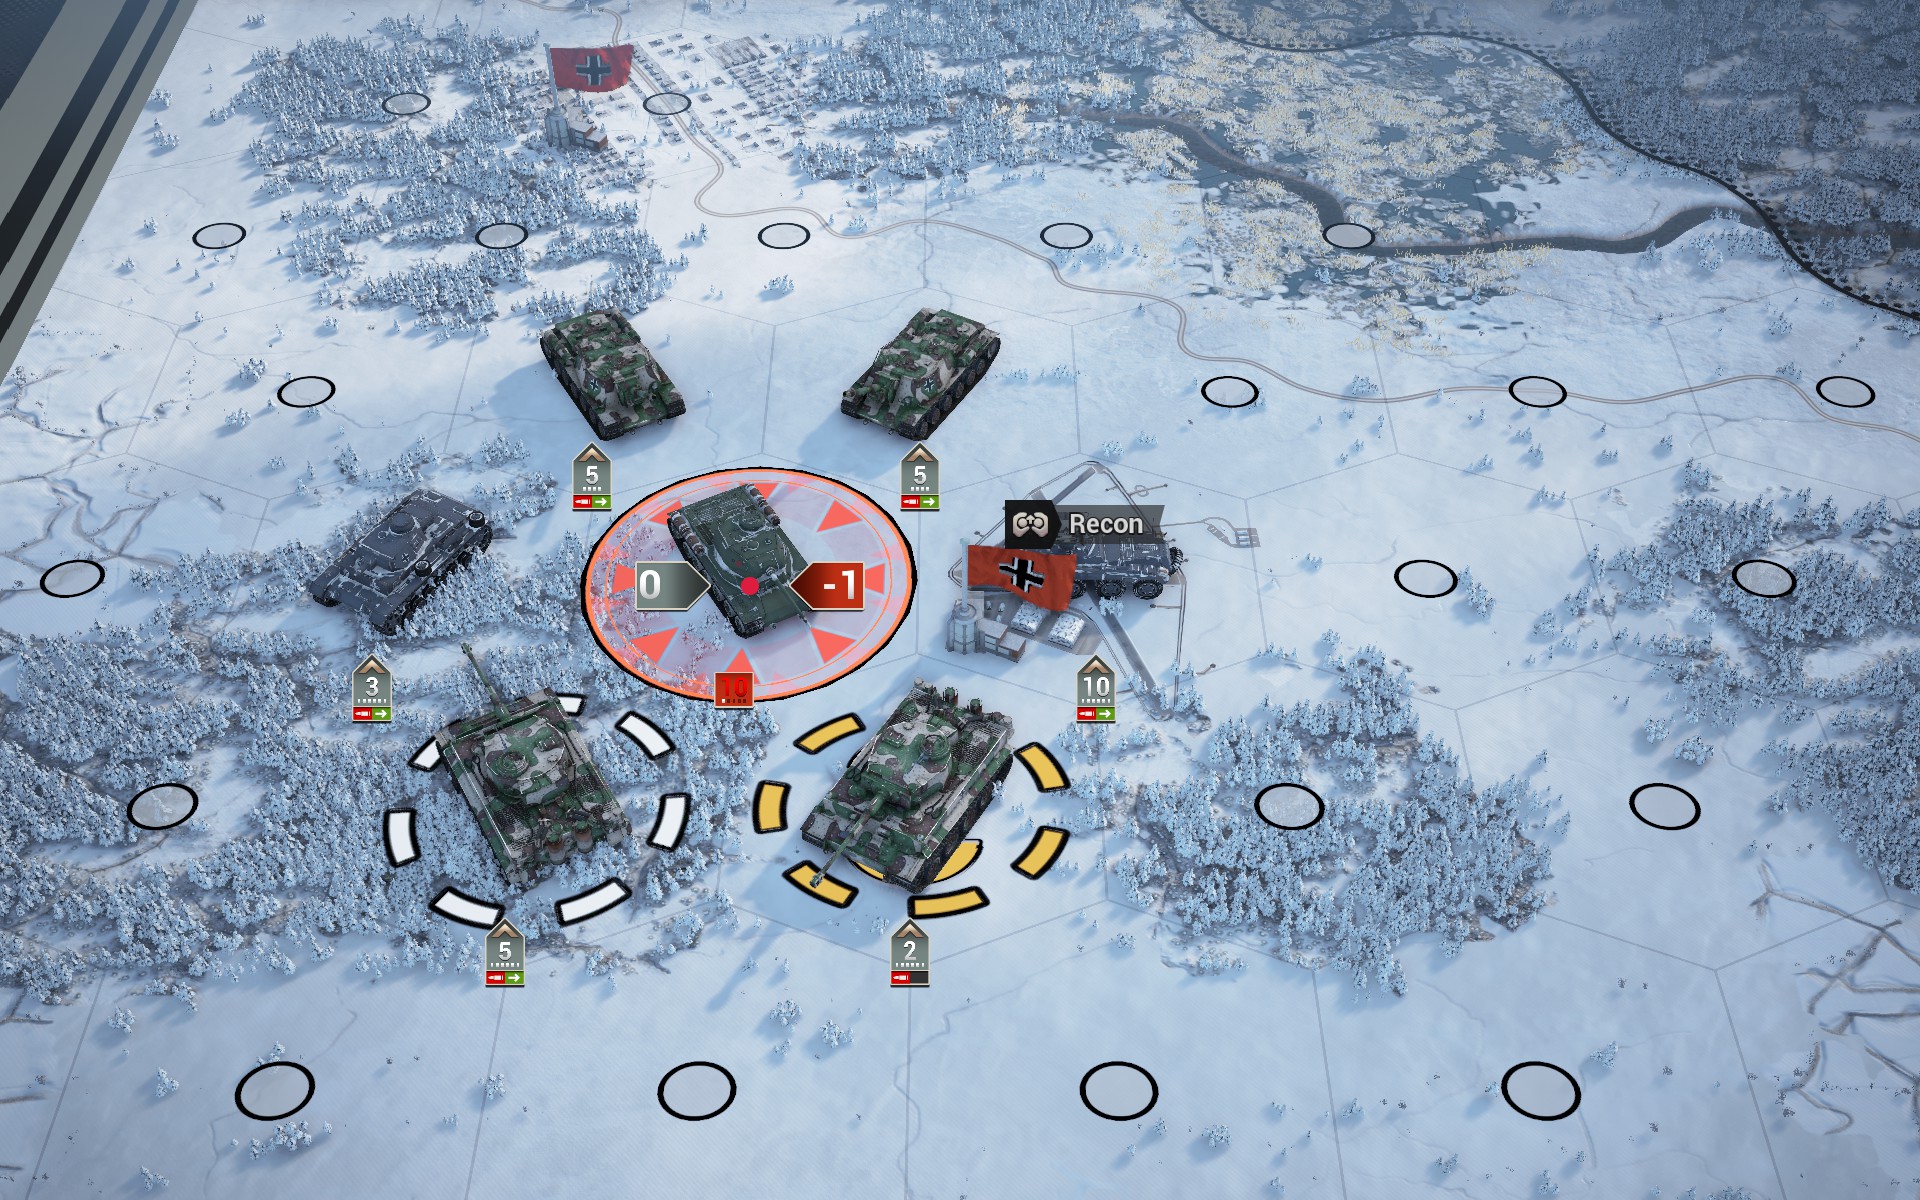
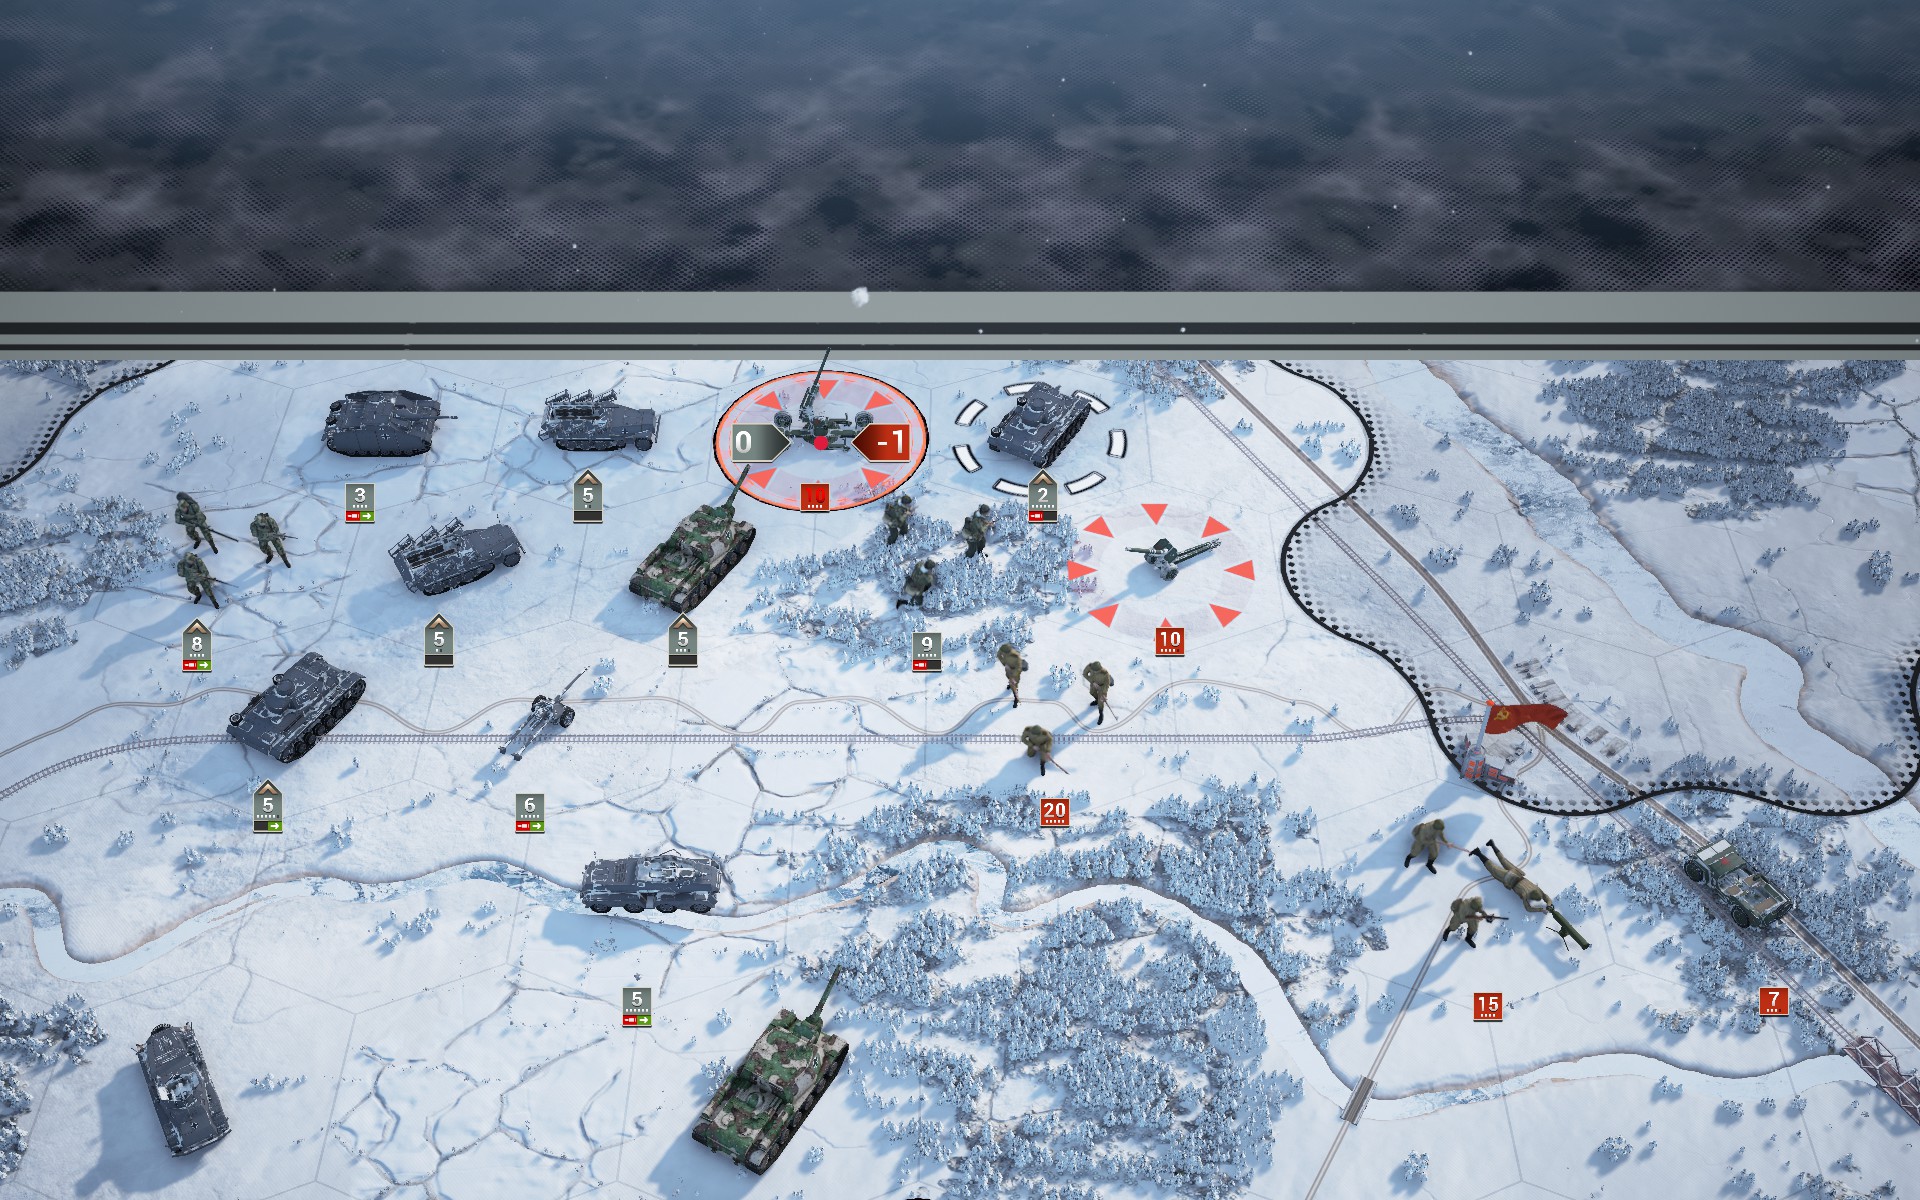
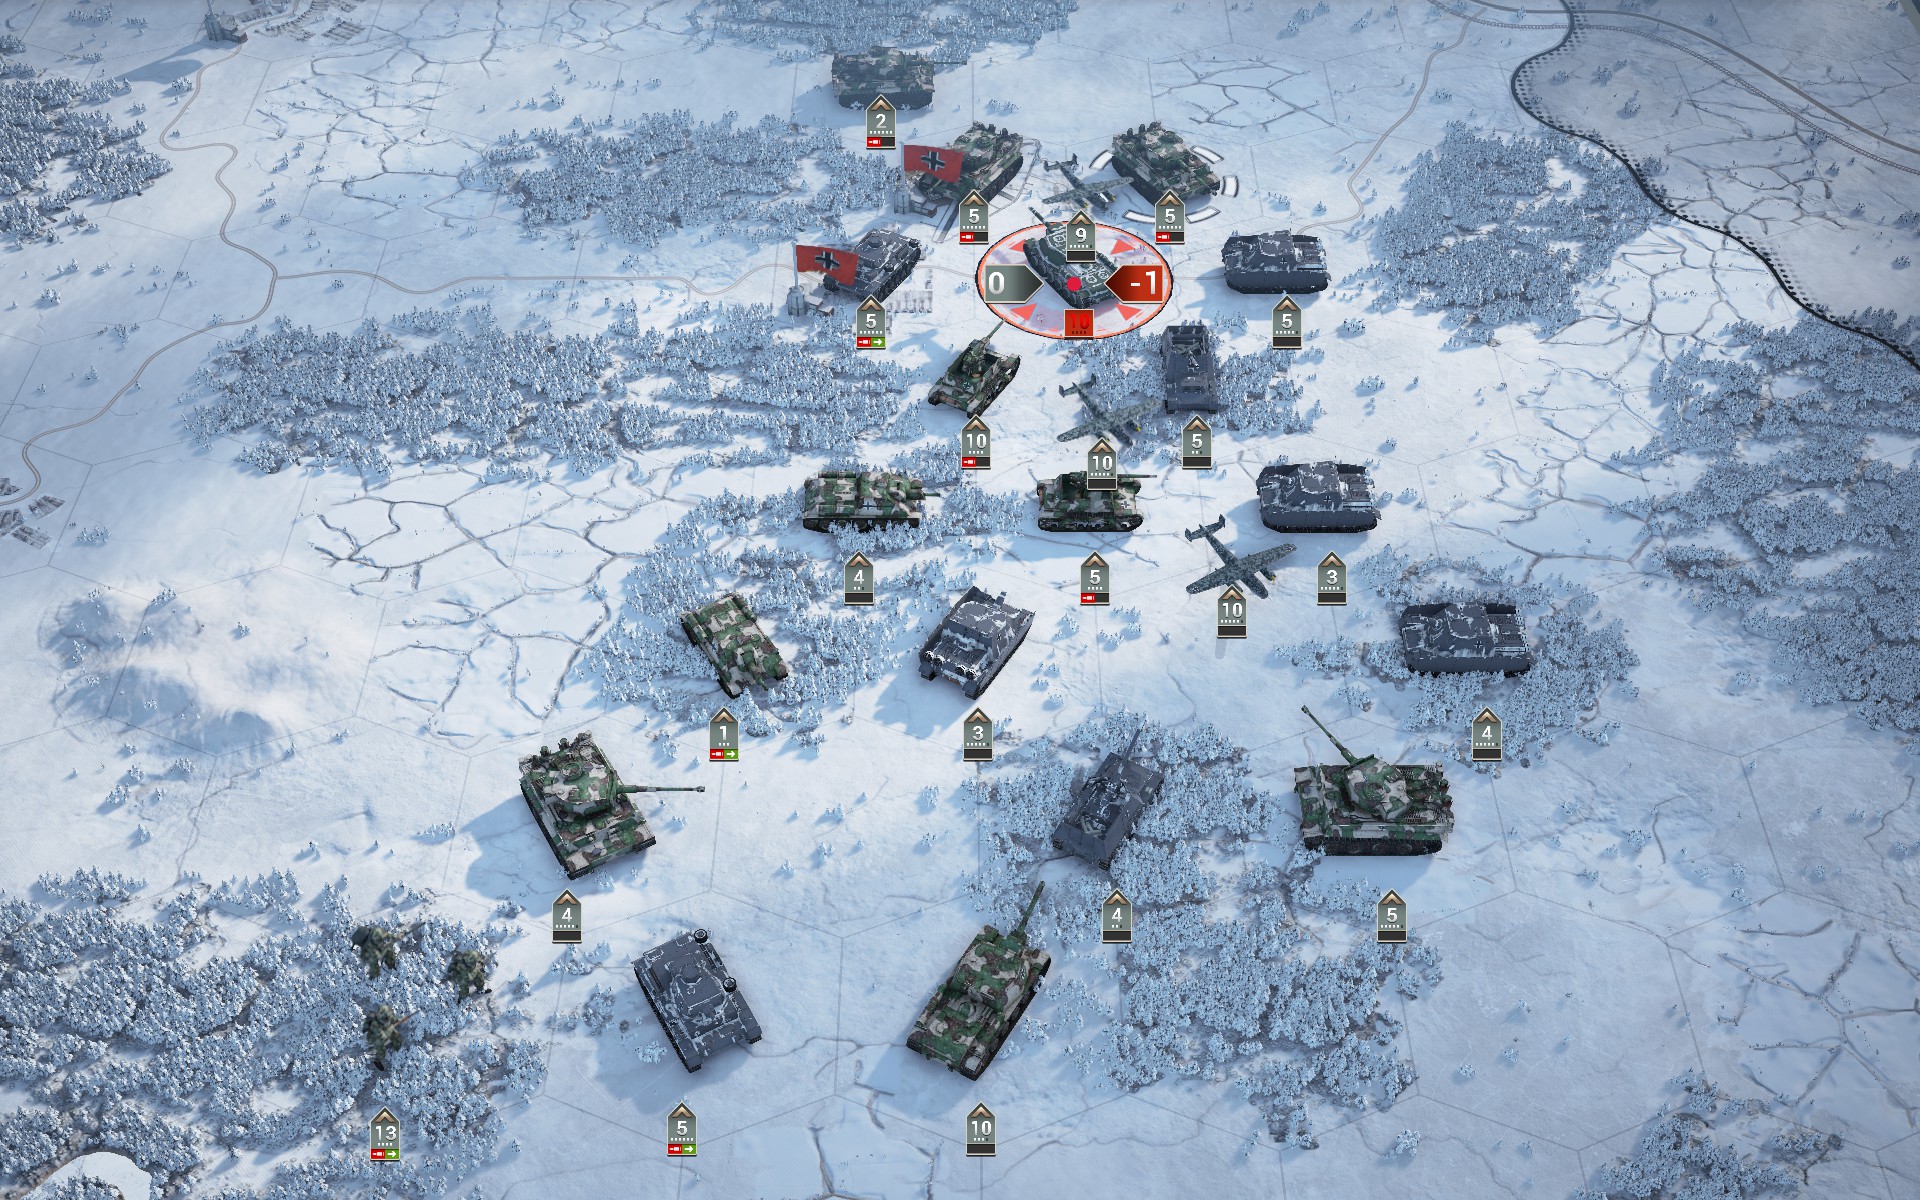
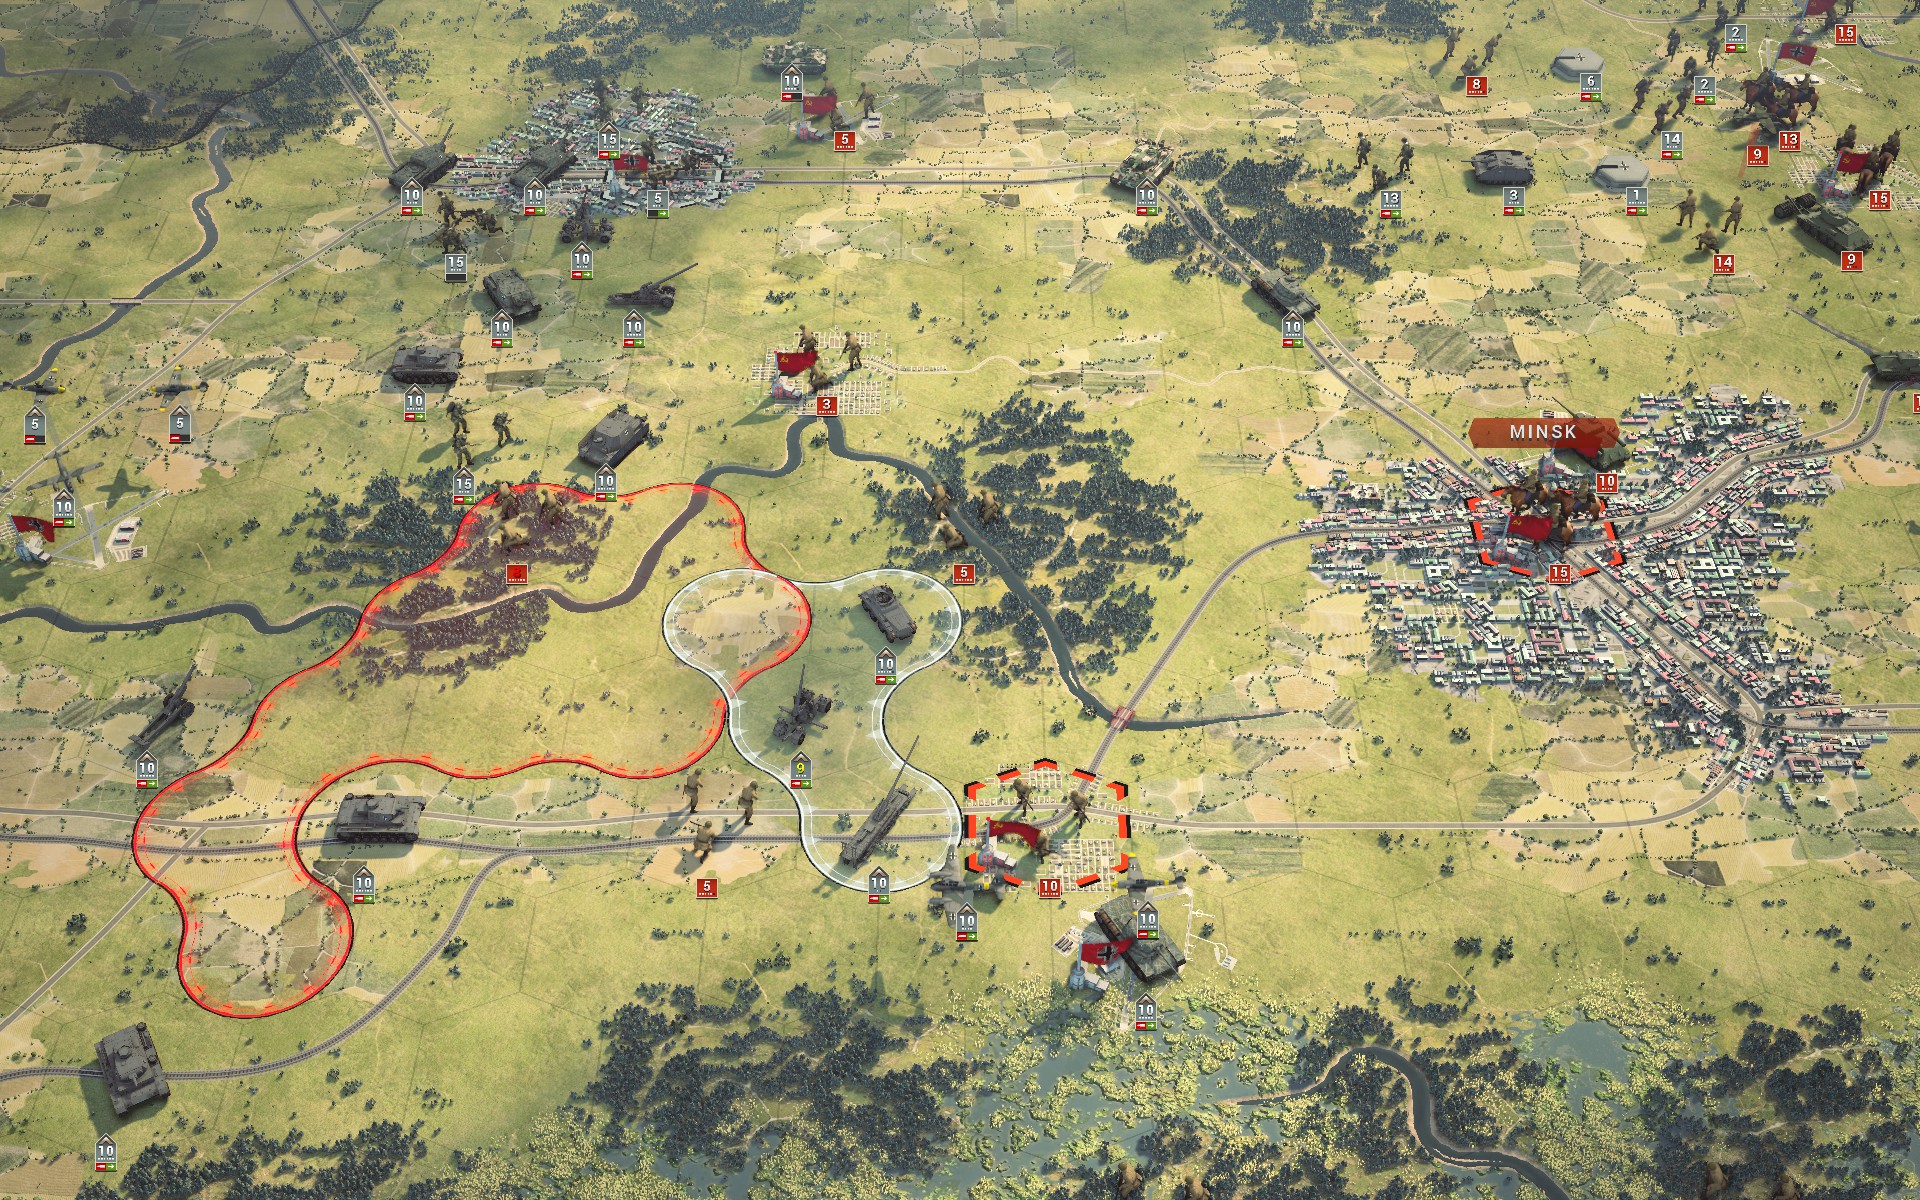
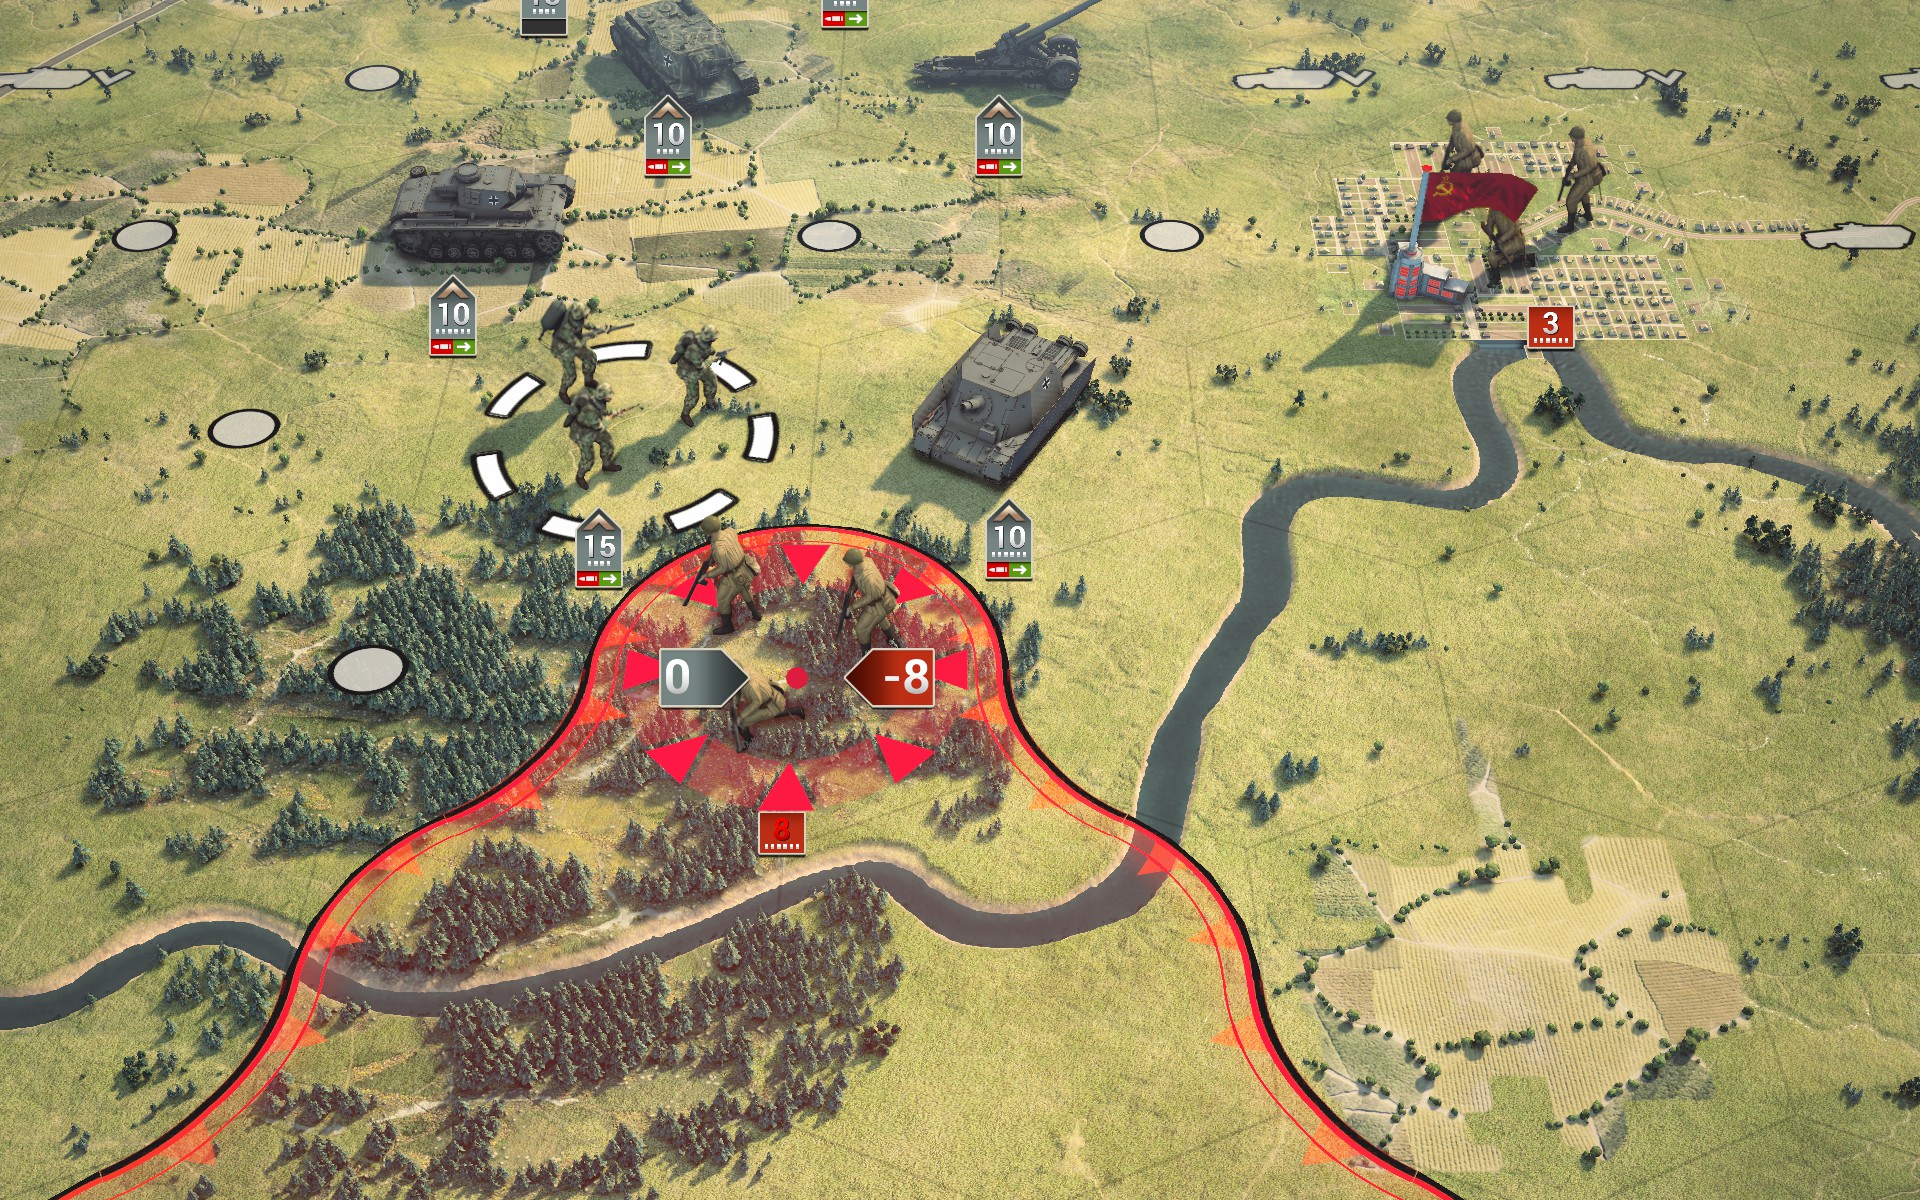
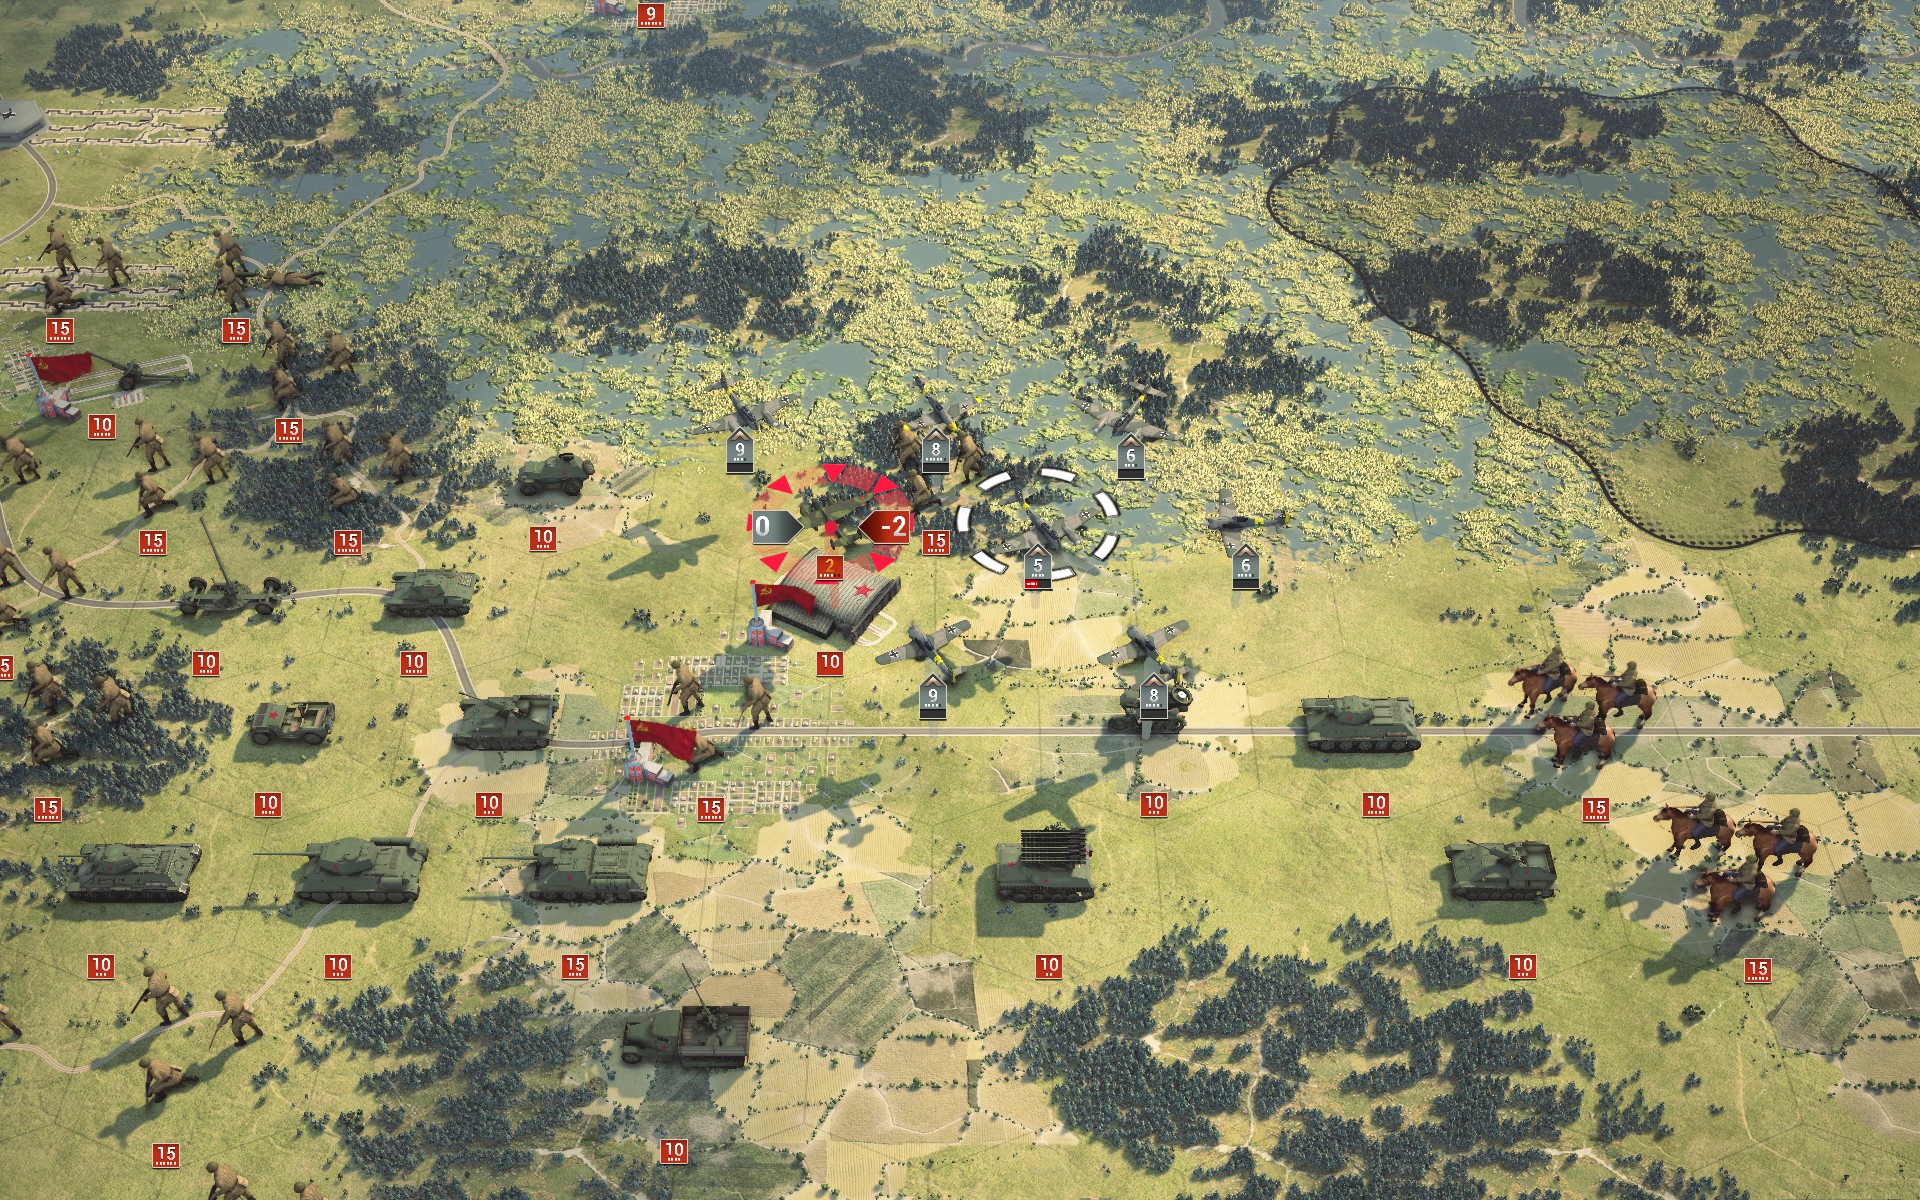
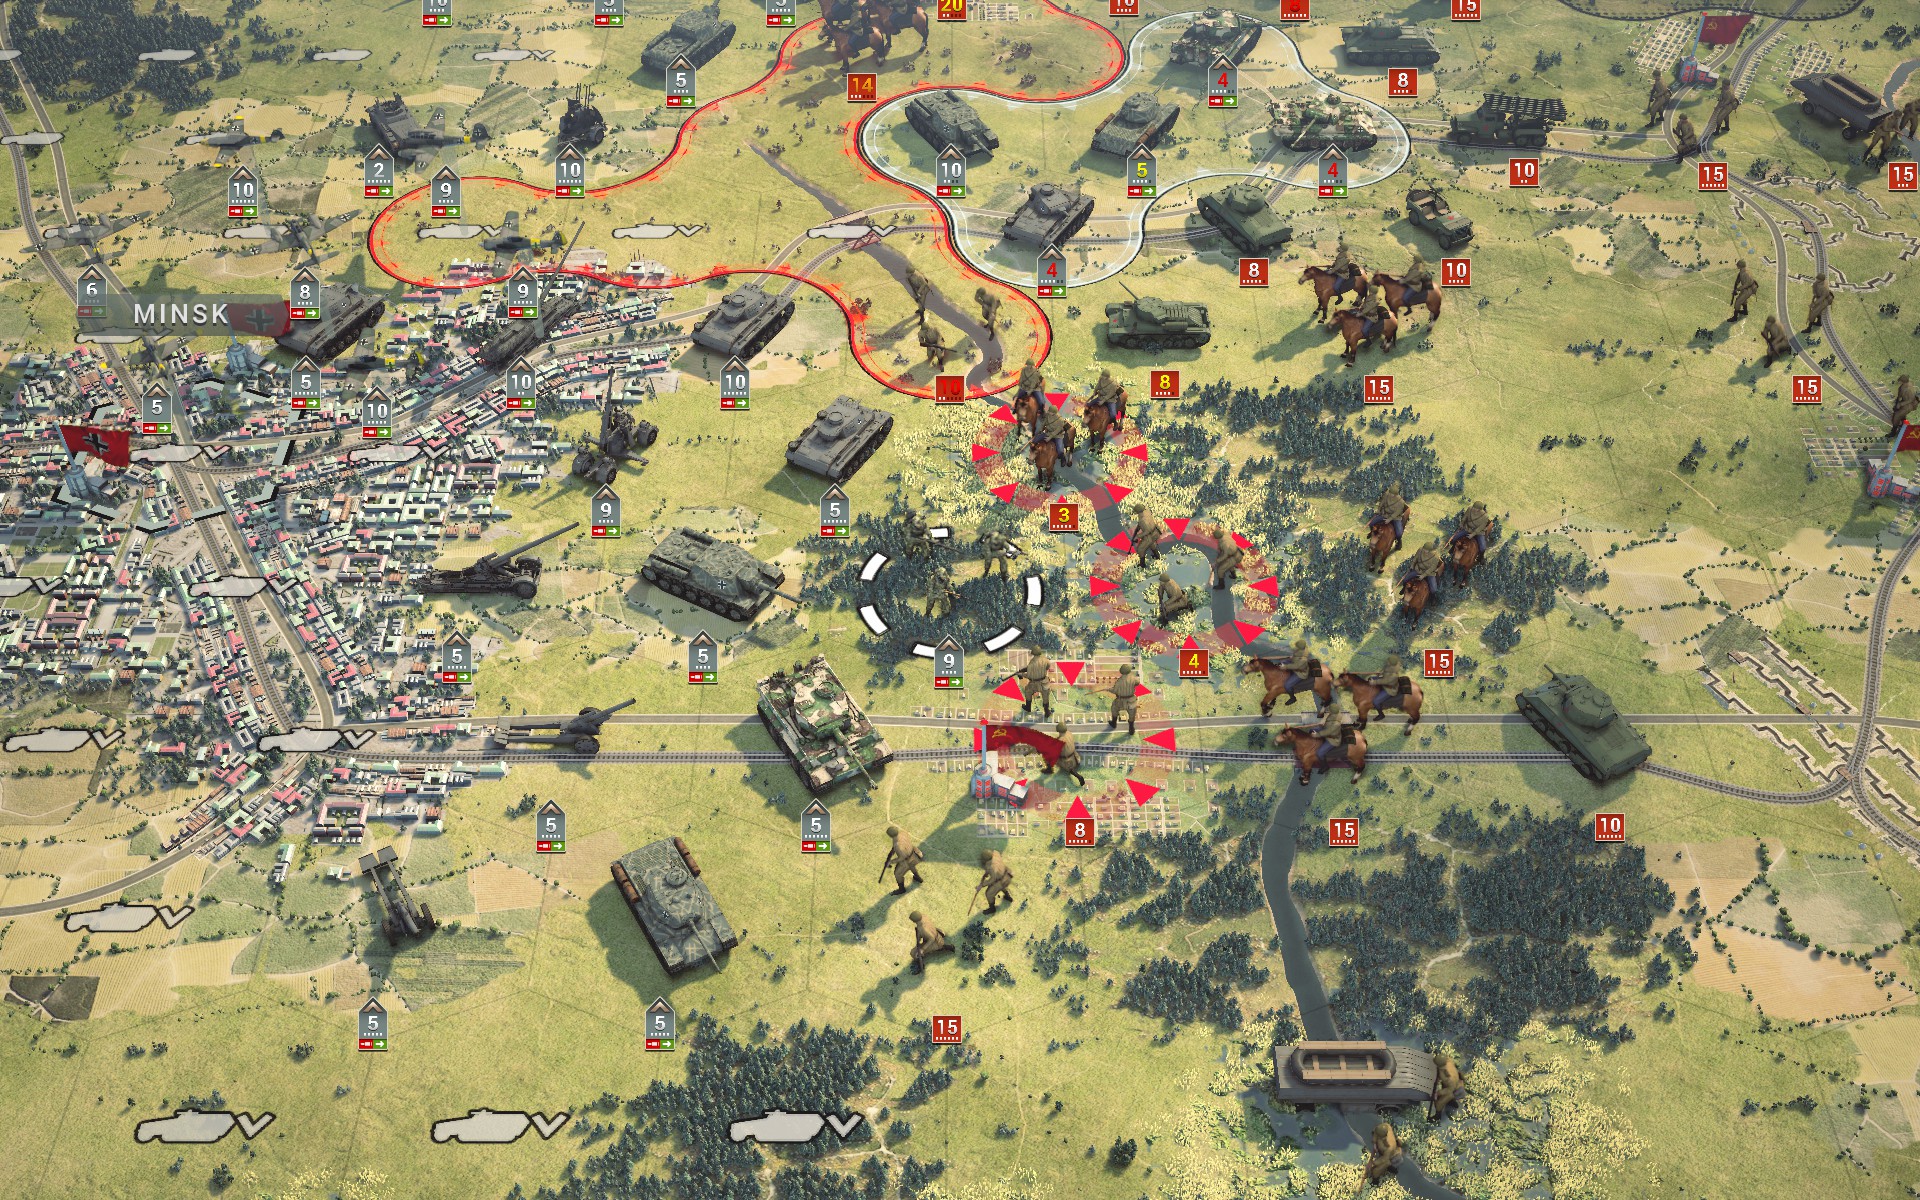
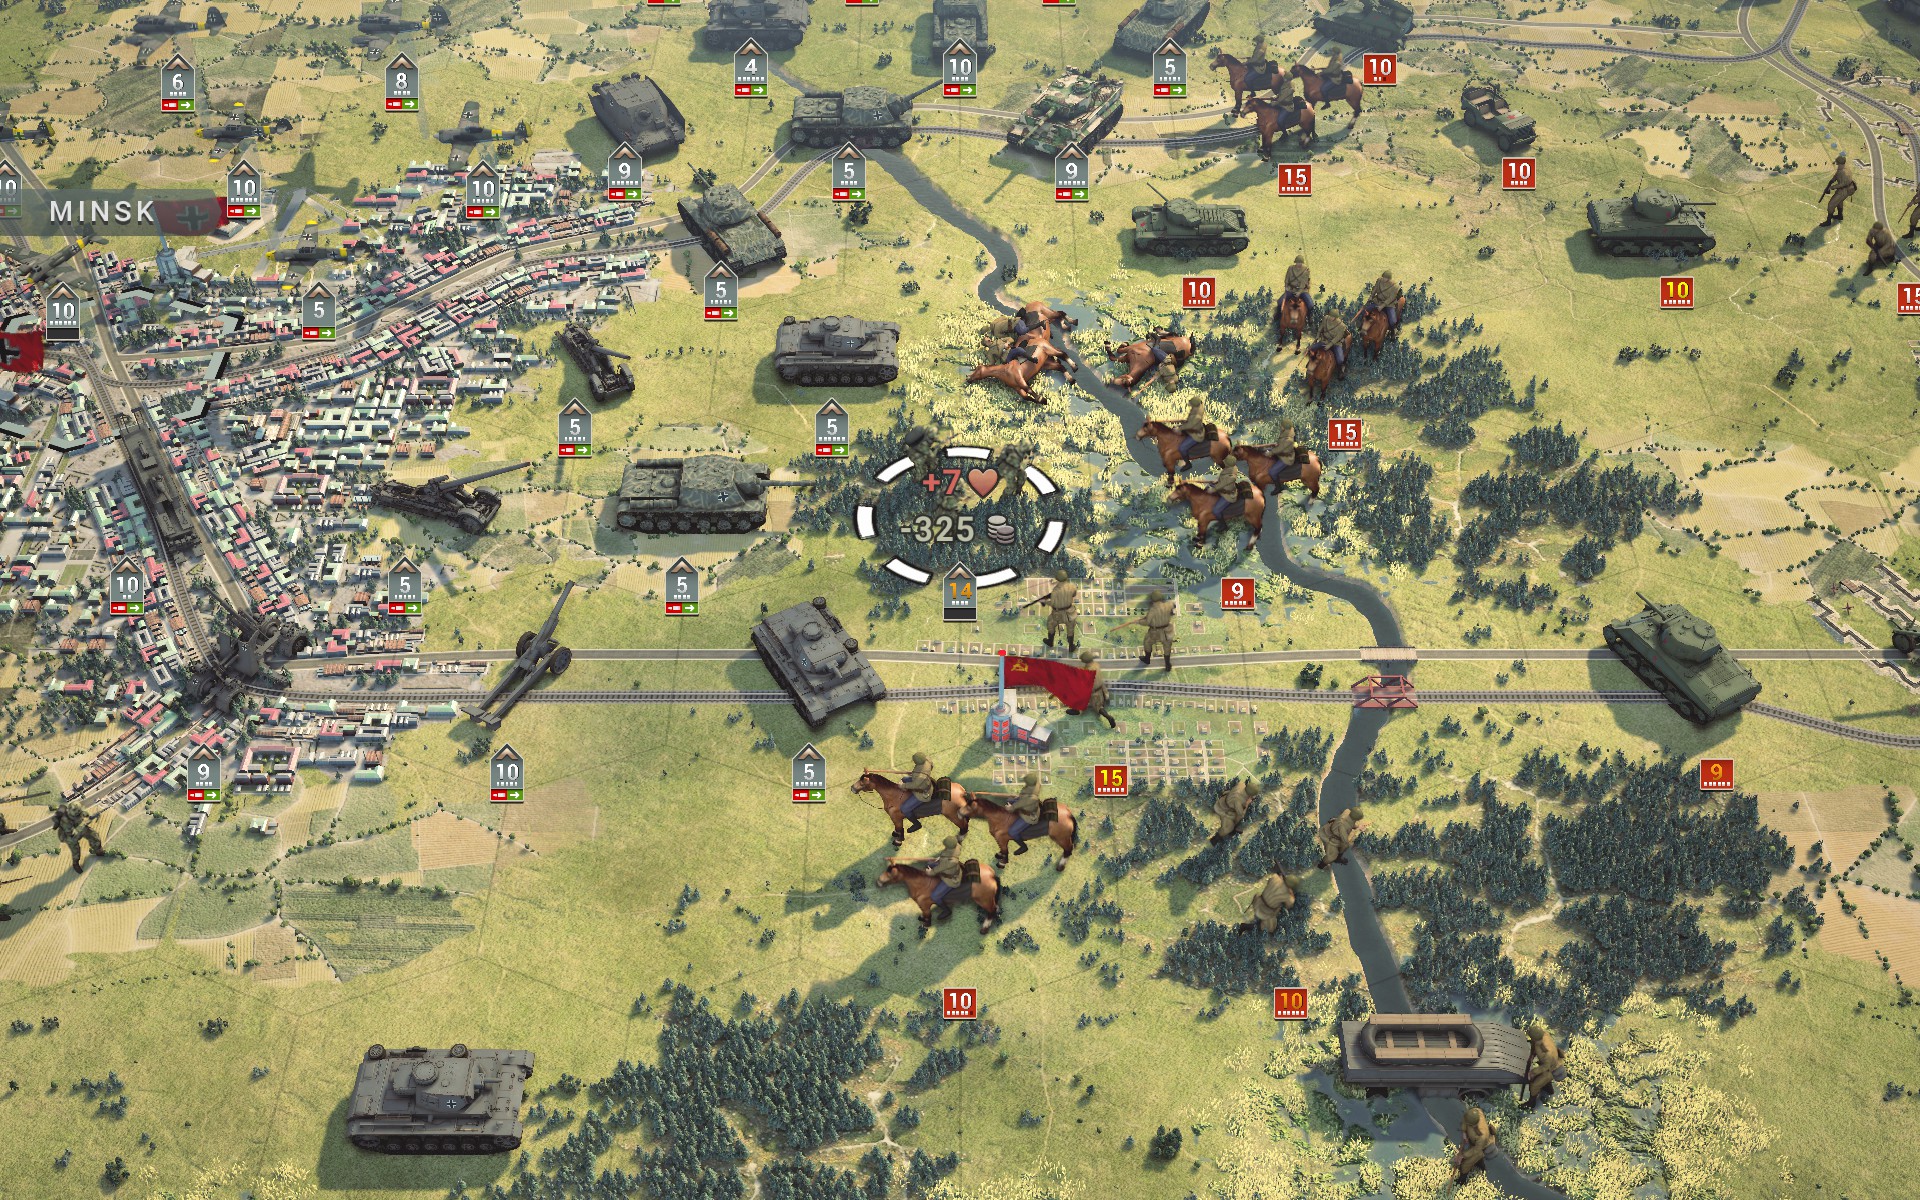
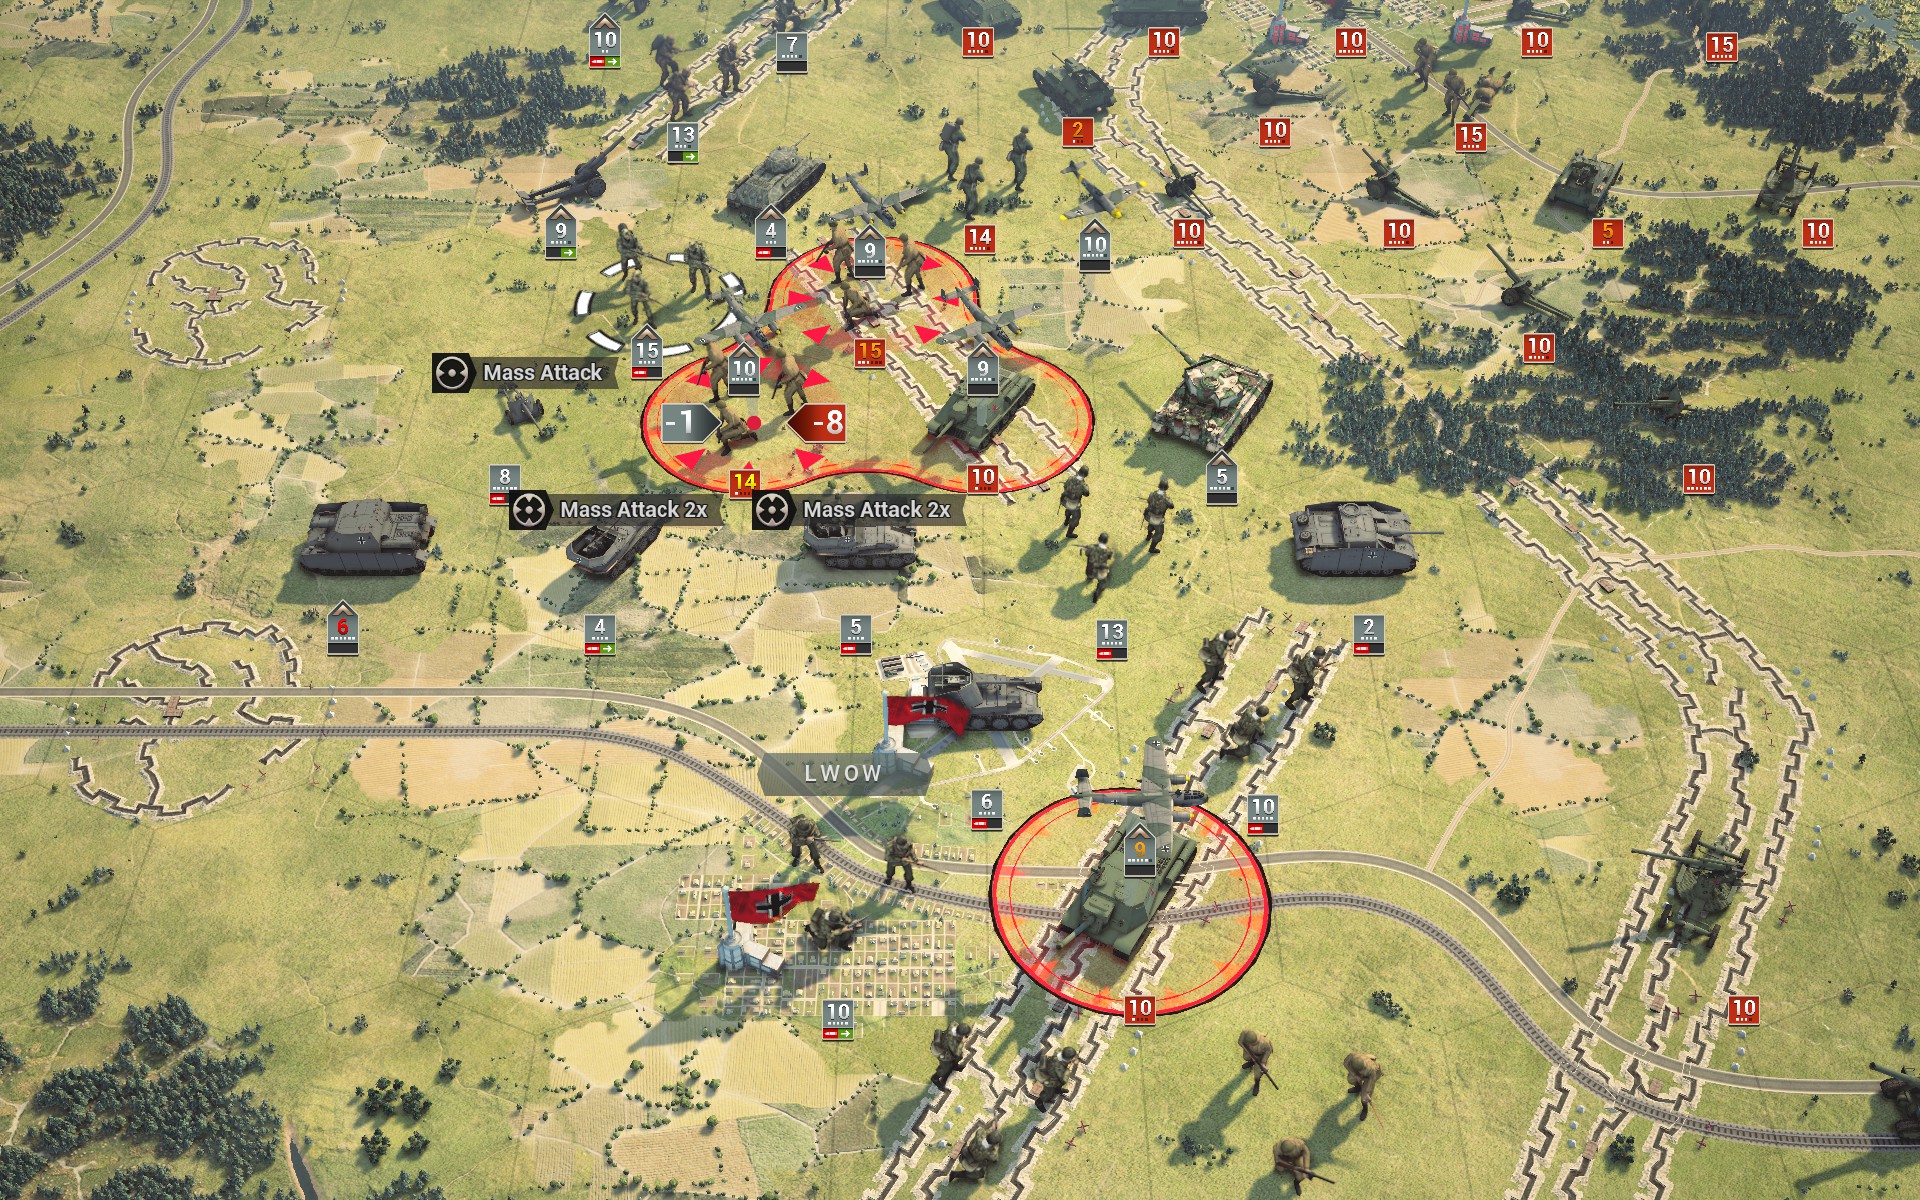
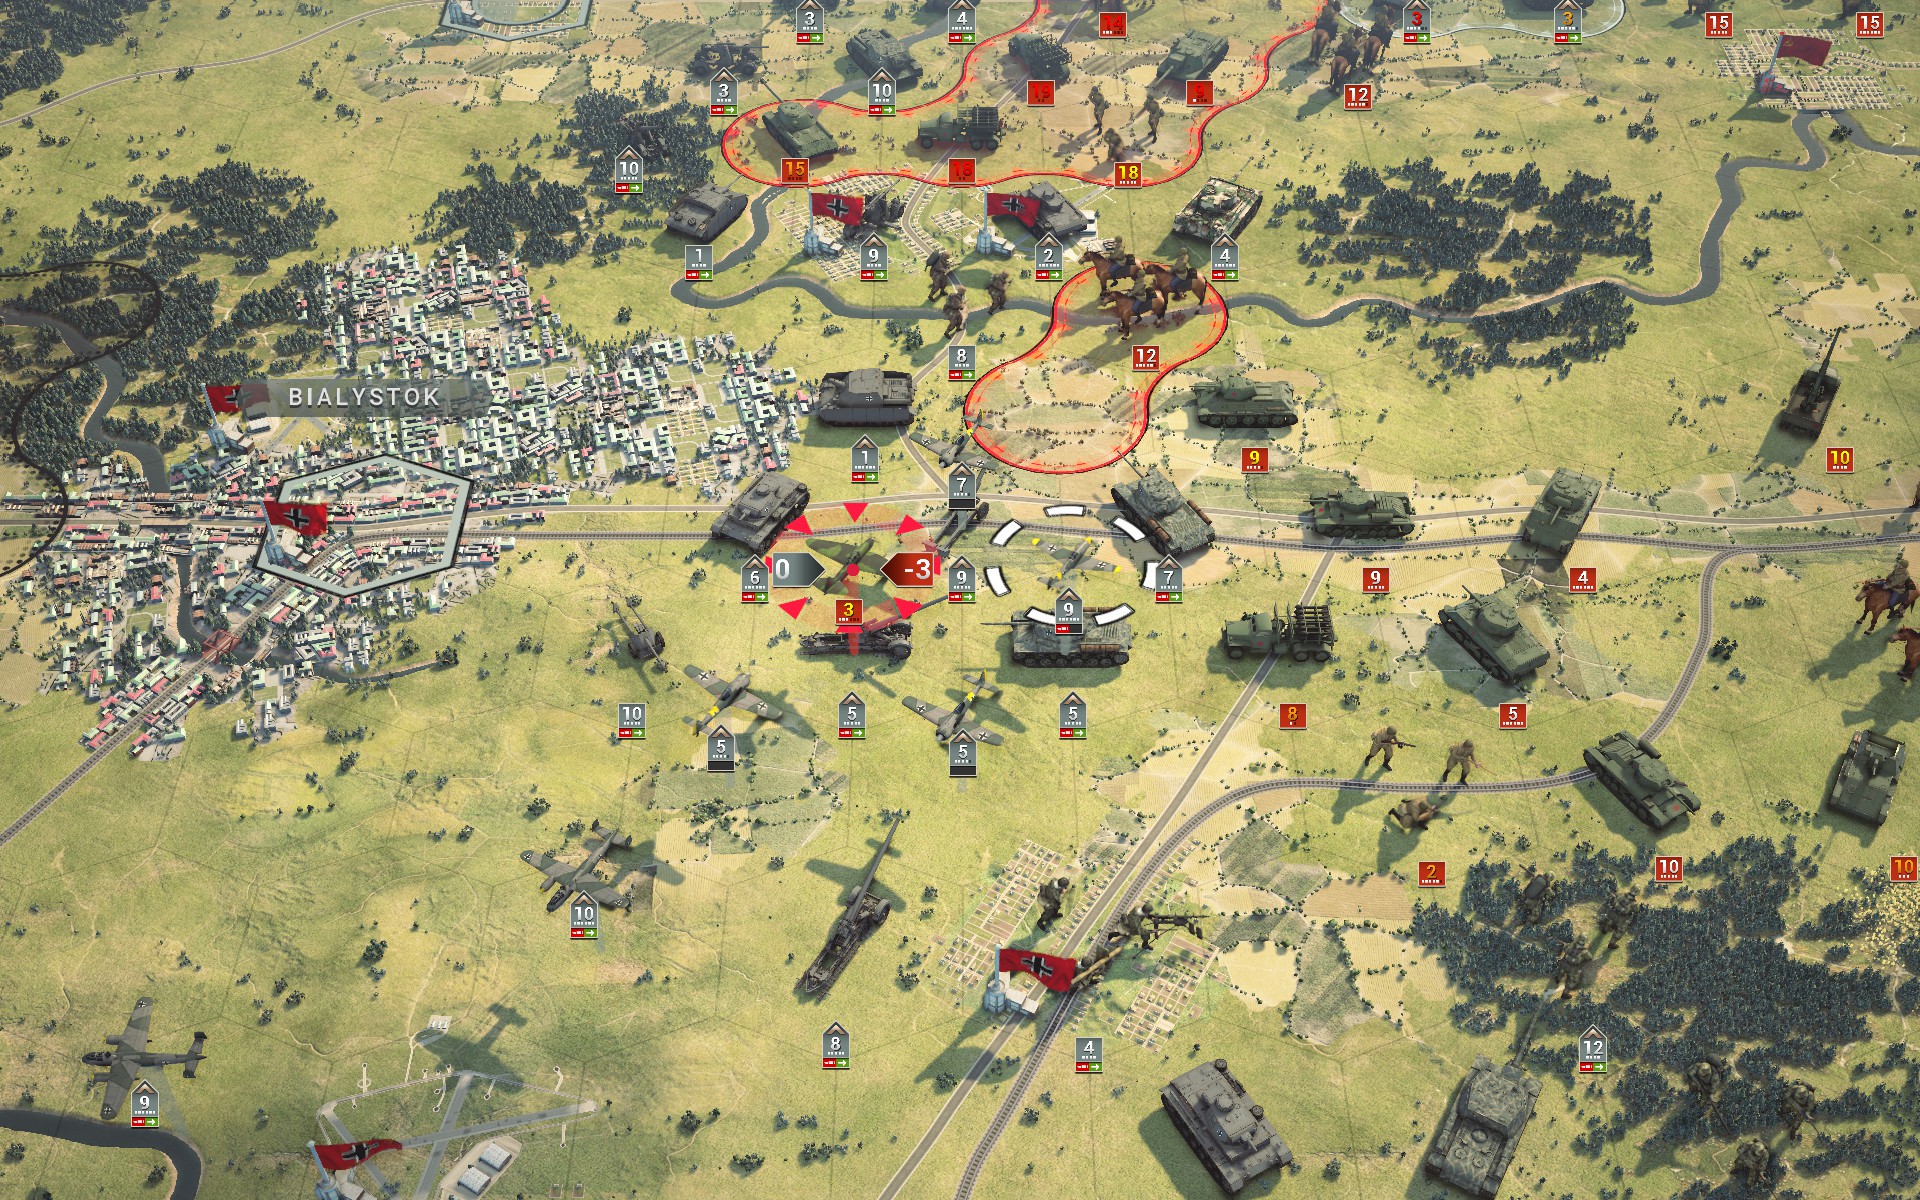
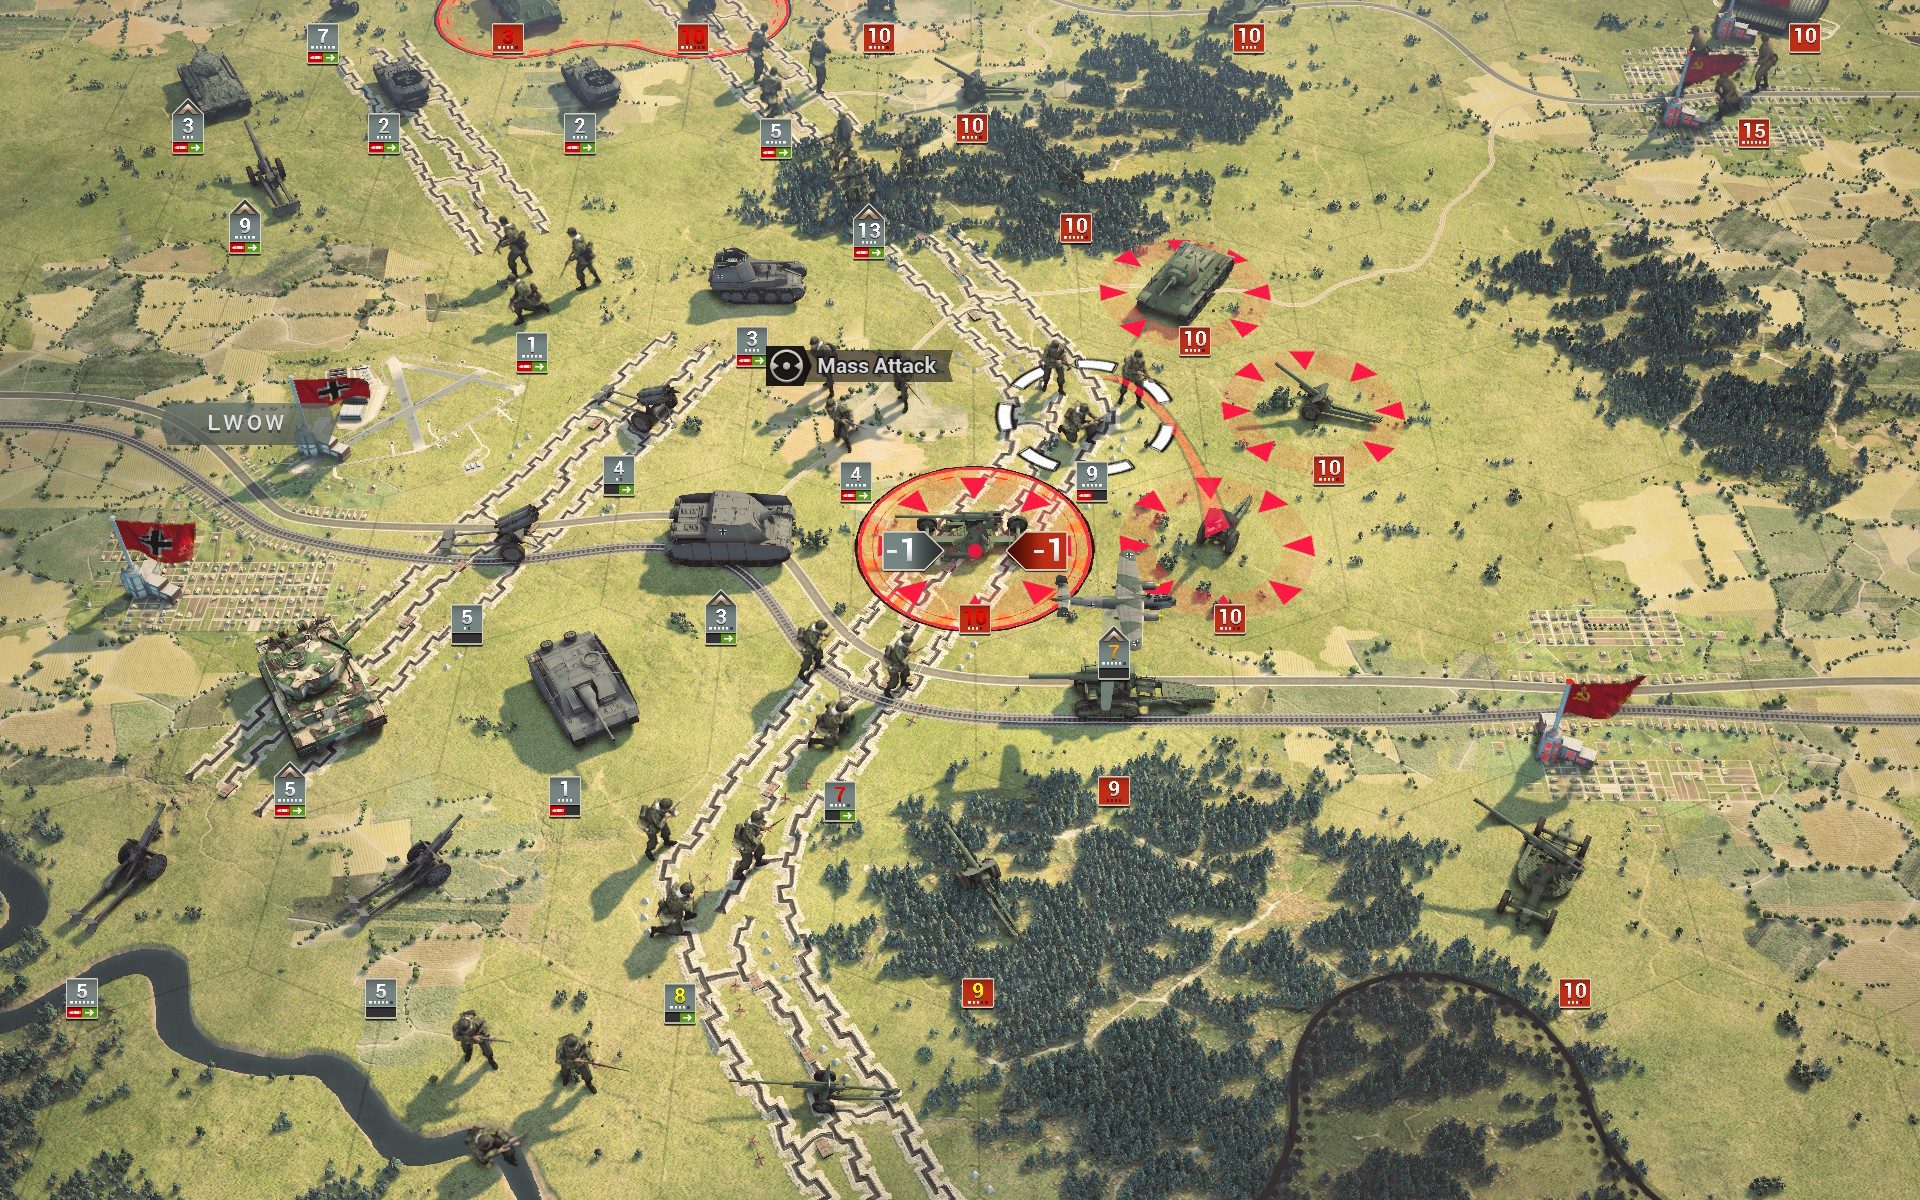
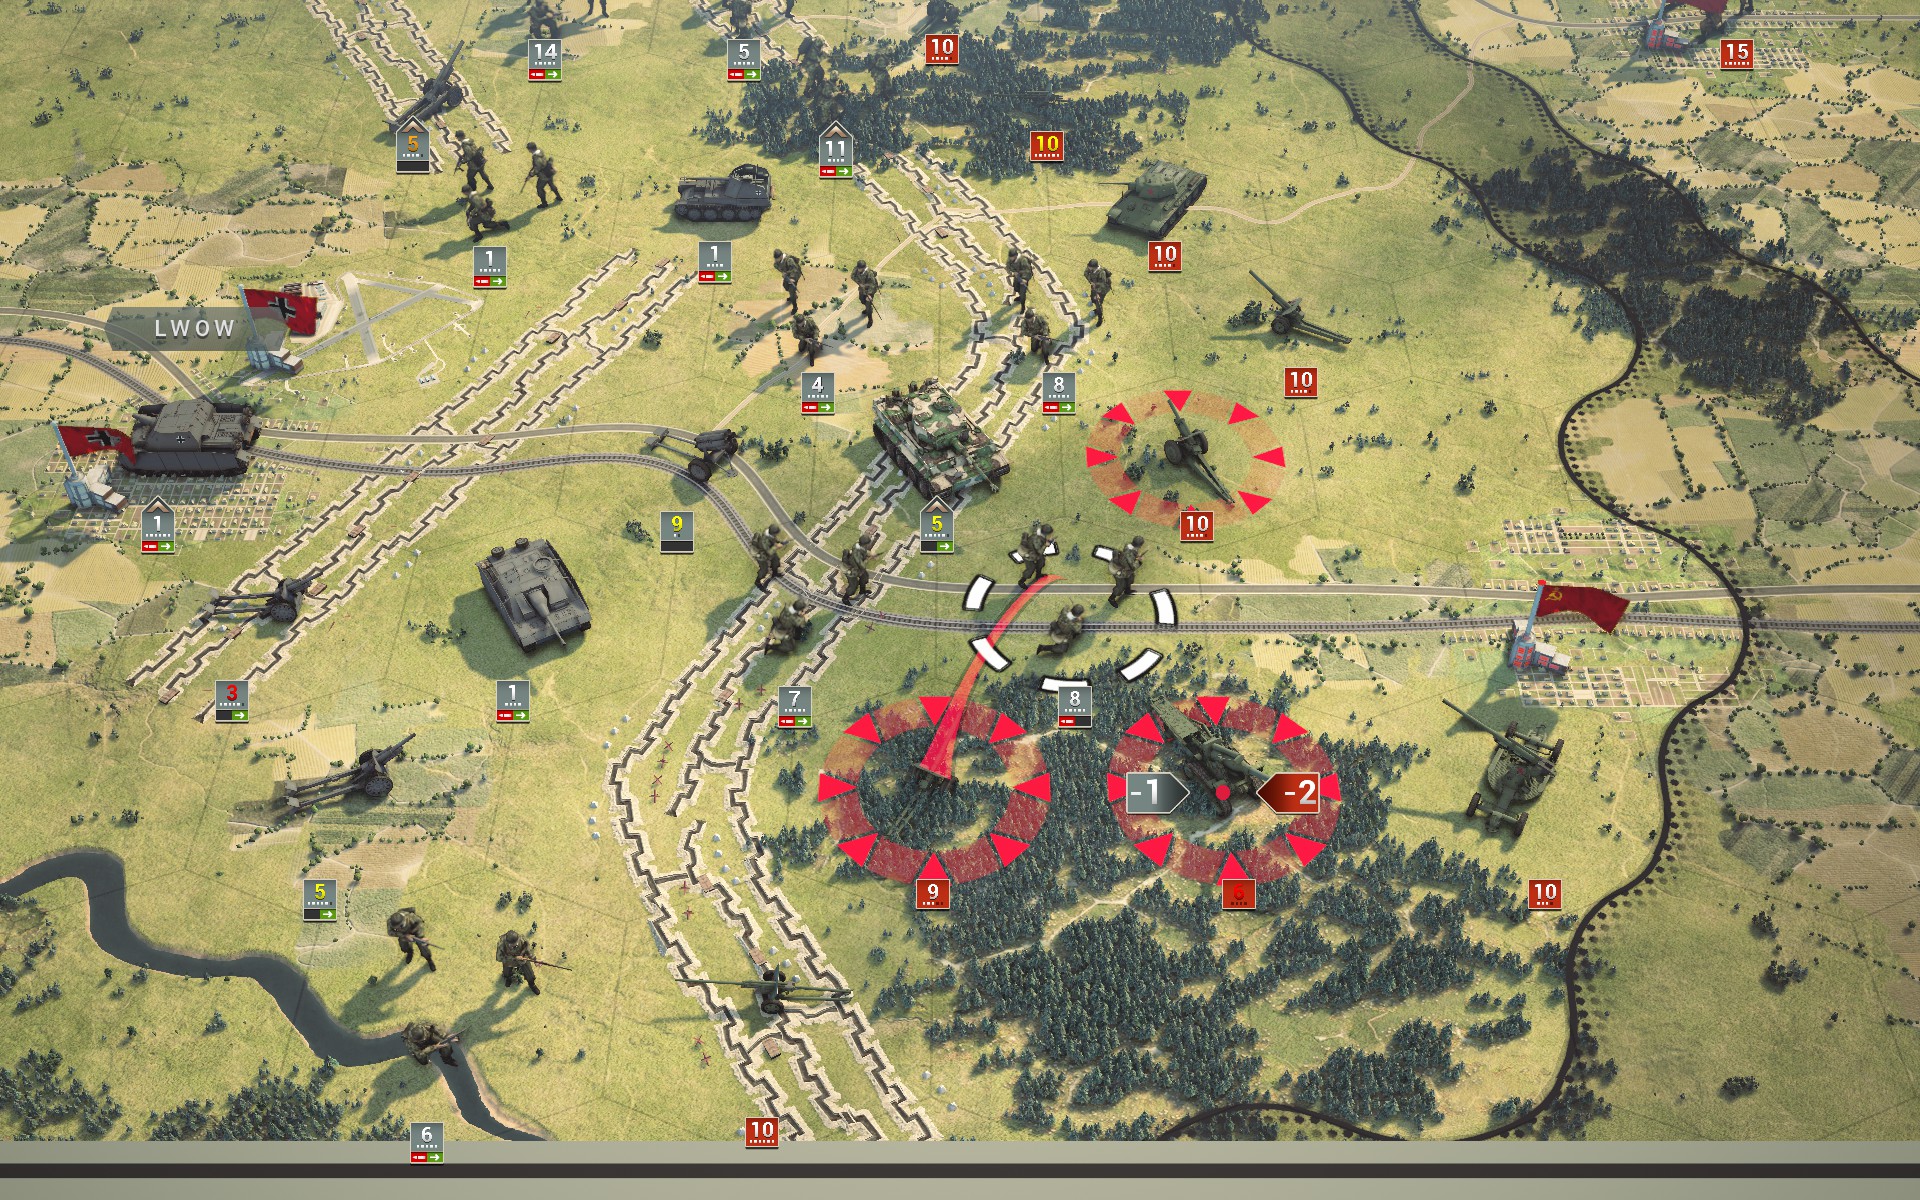
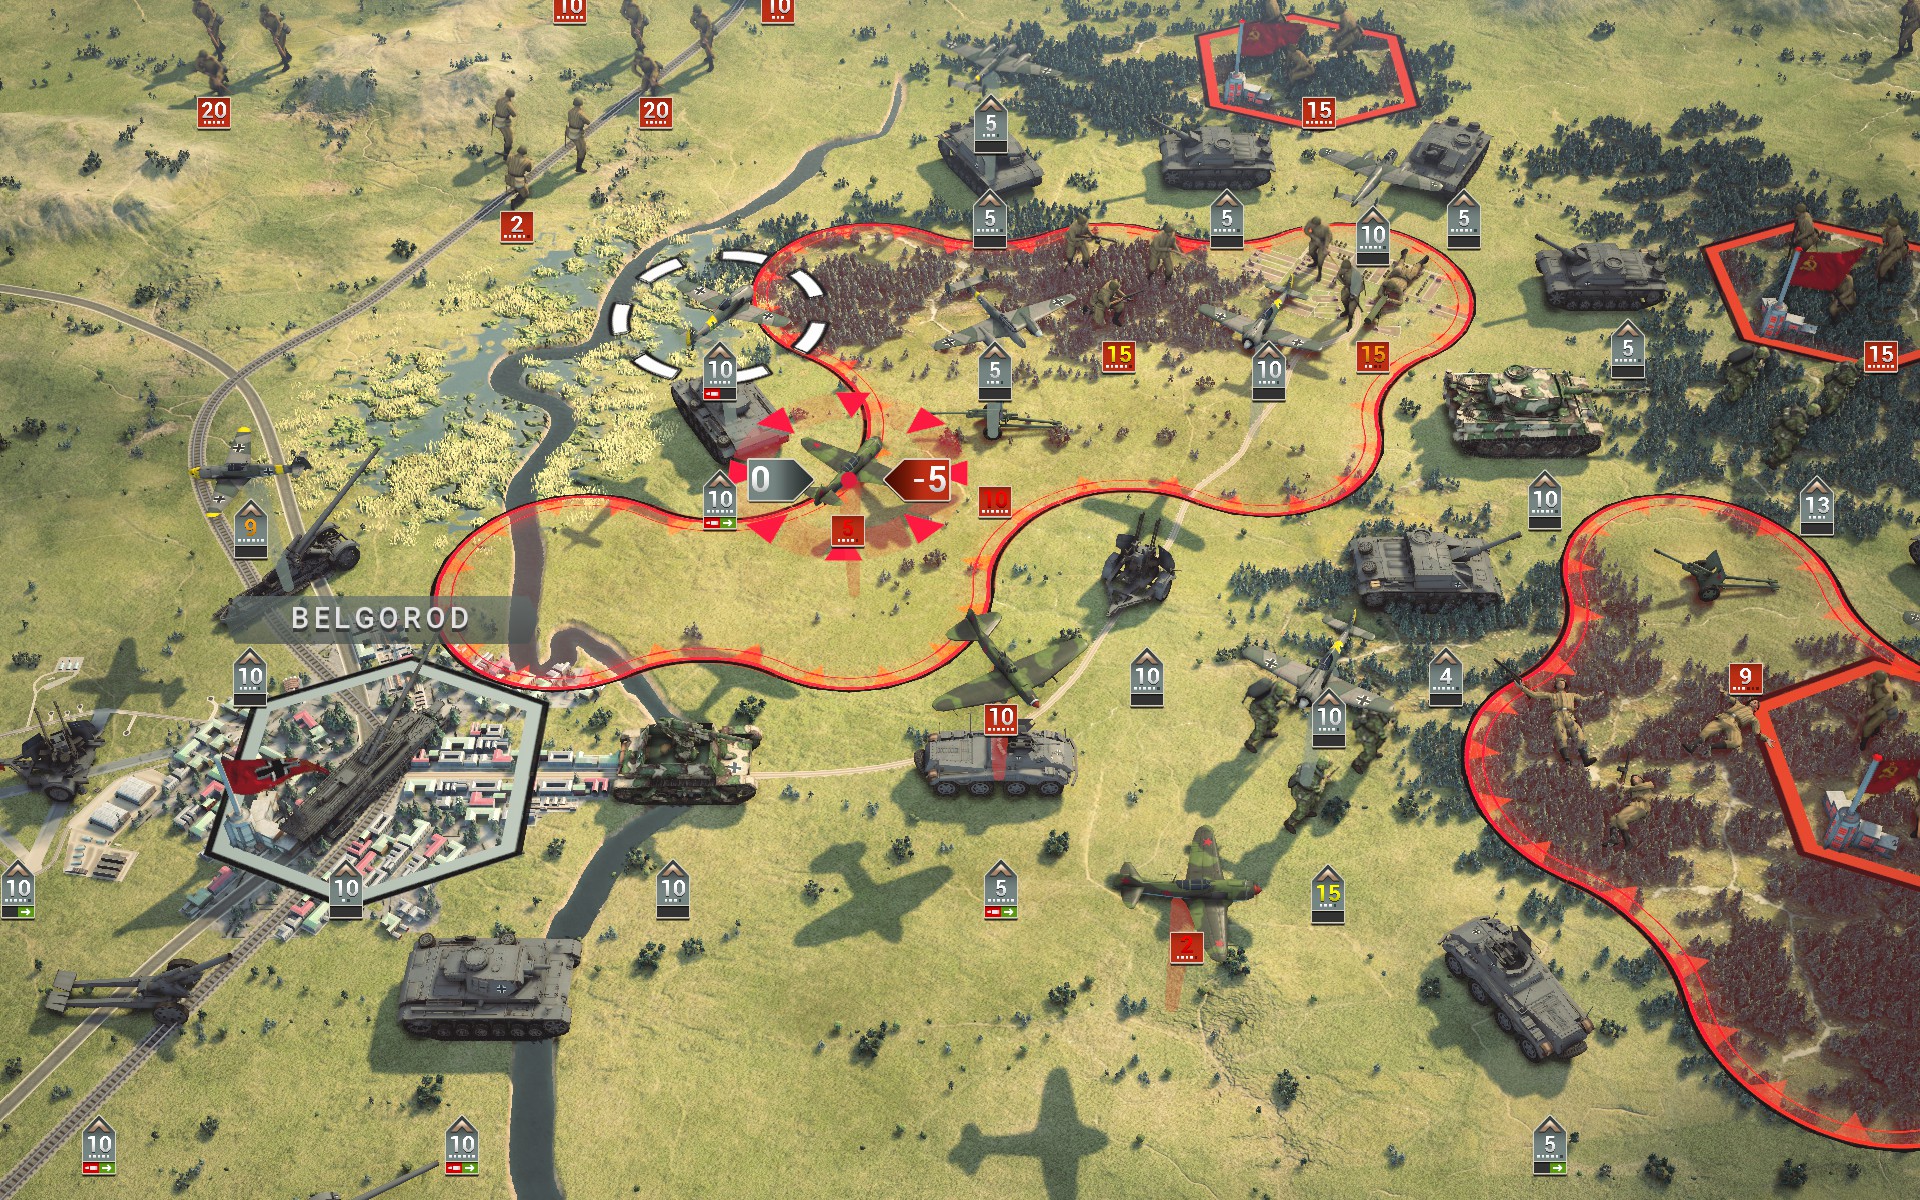
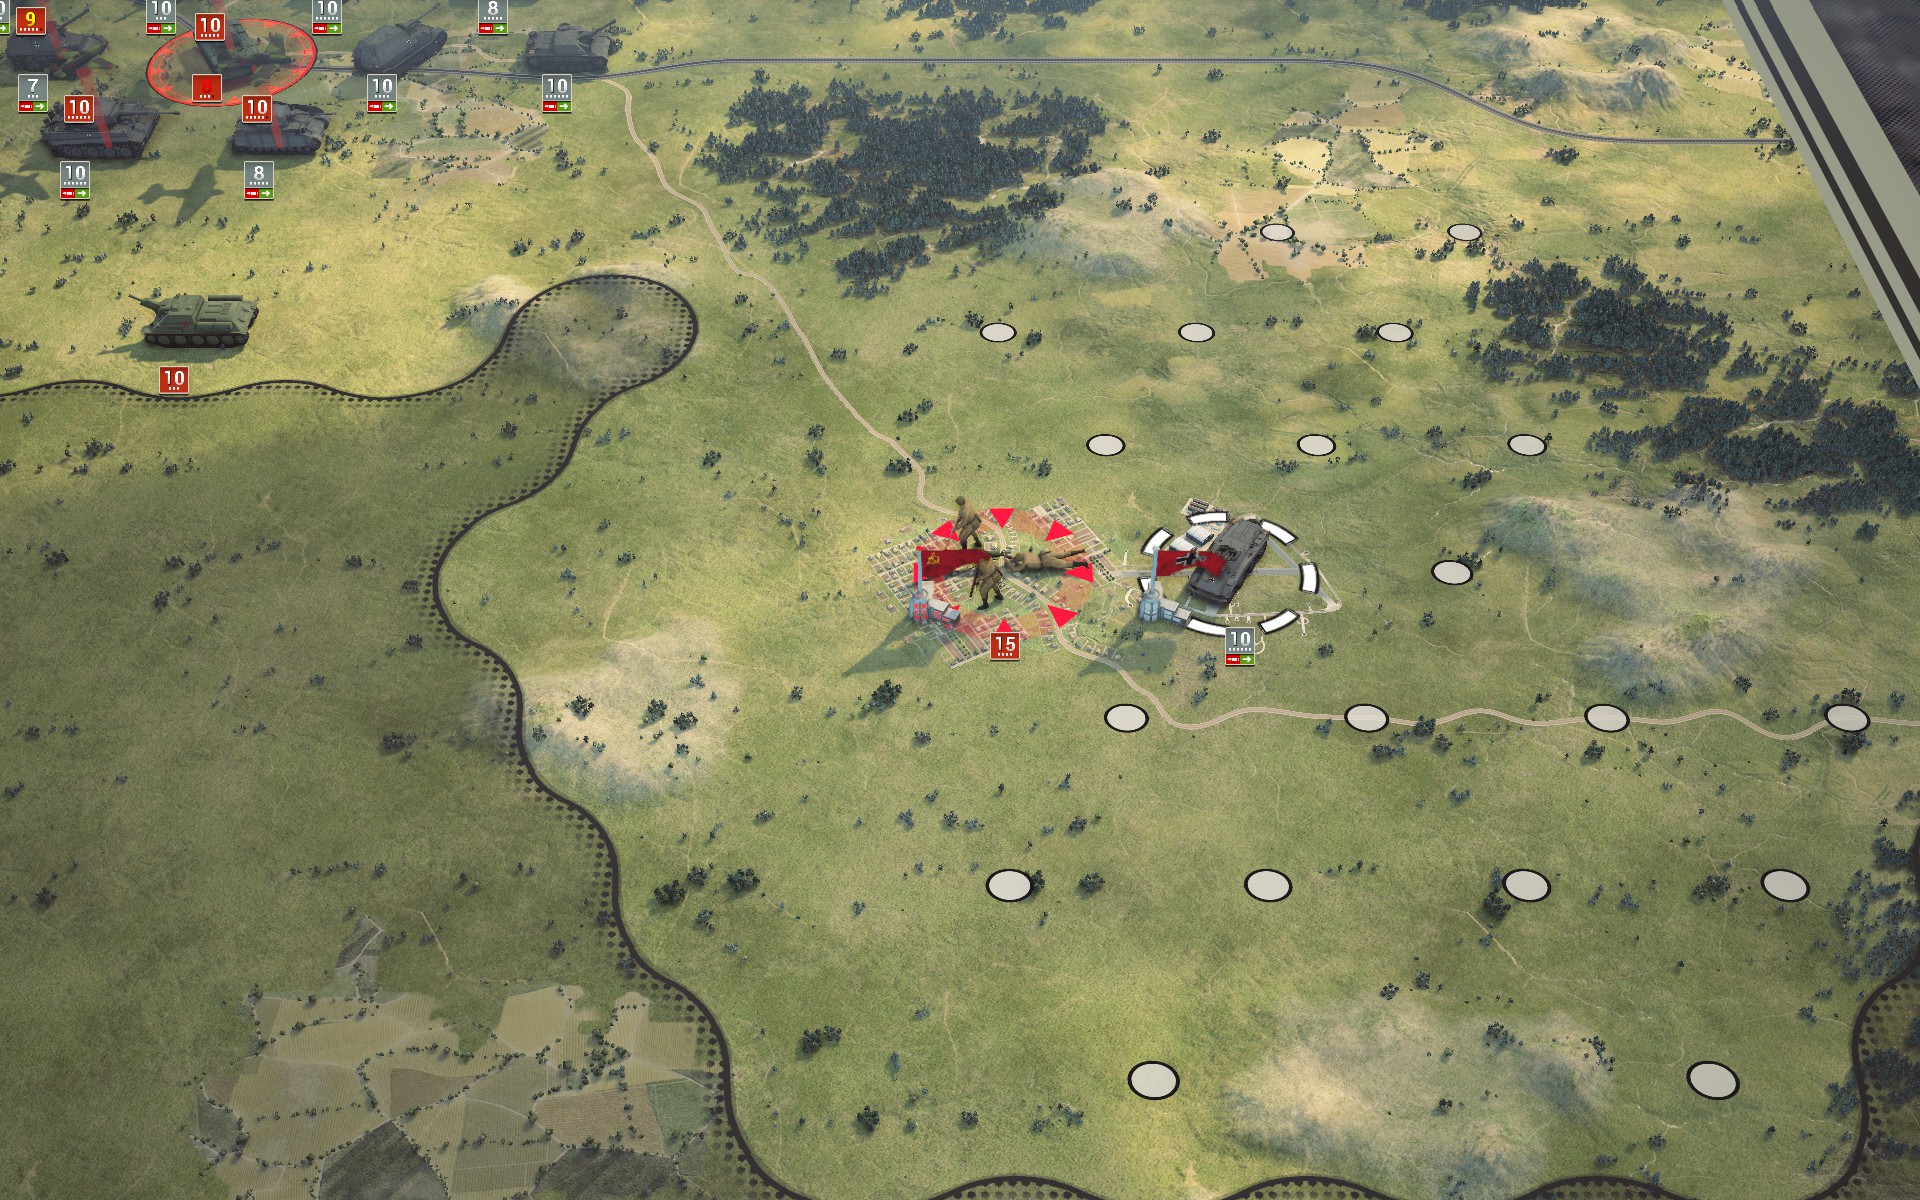
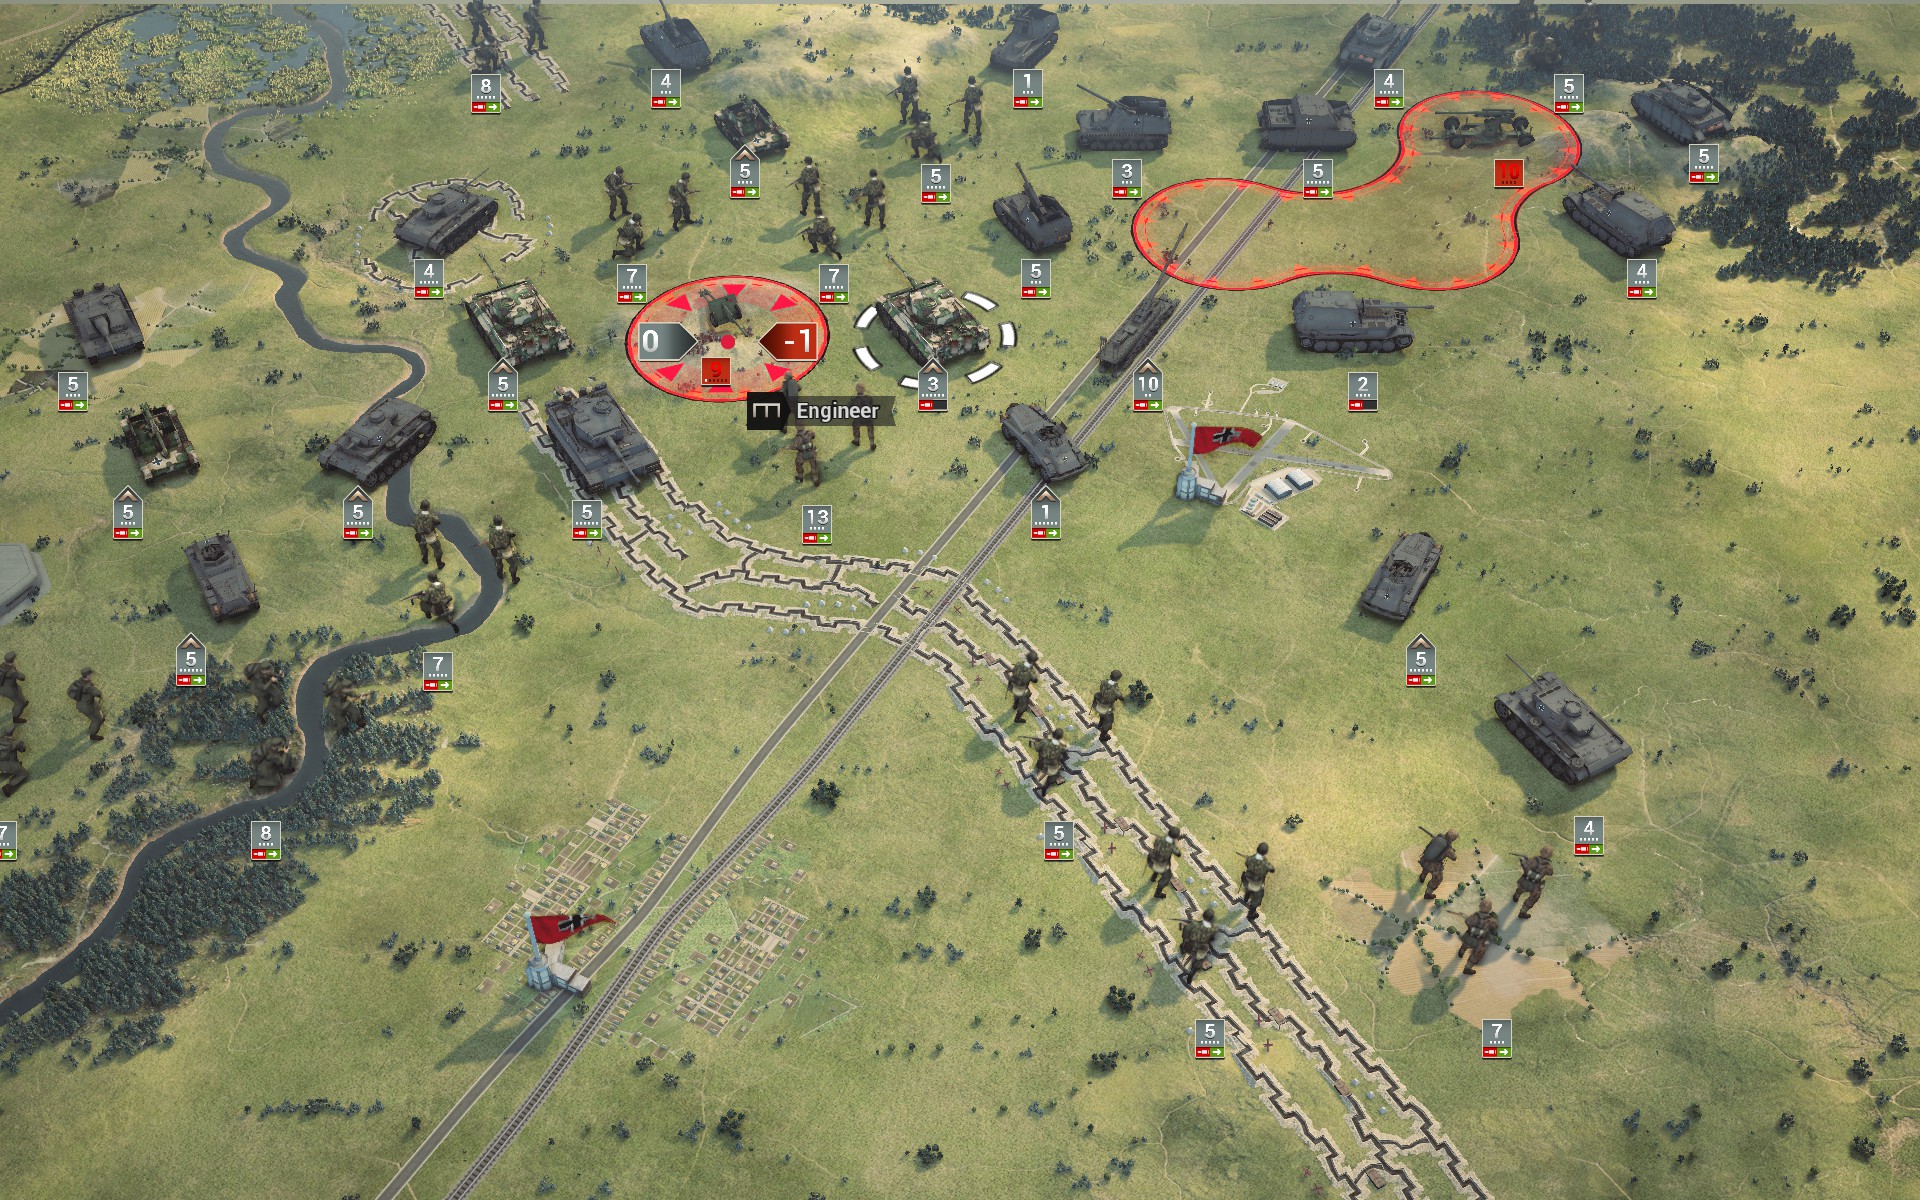
Here's one for those of you who remember the tactical puzzles. A Do 217E and a sacrificial pawn will drain the SU-152 of its ammunition...
... allowing the auxiliaries to safely capture the Churchill Mk.IV...
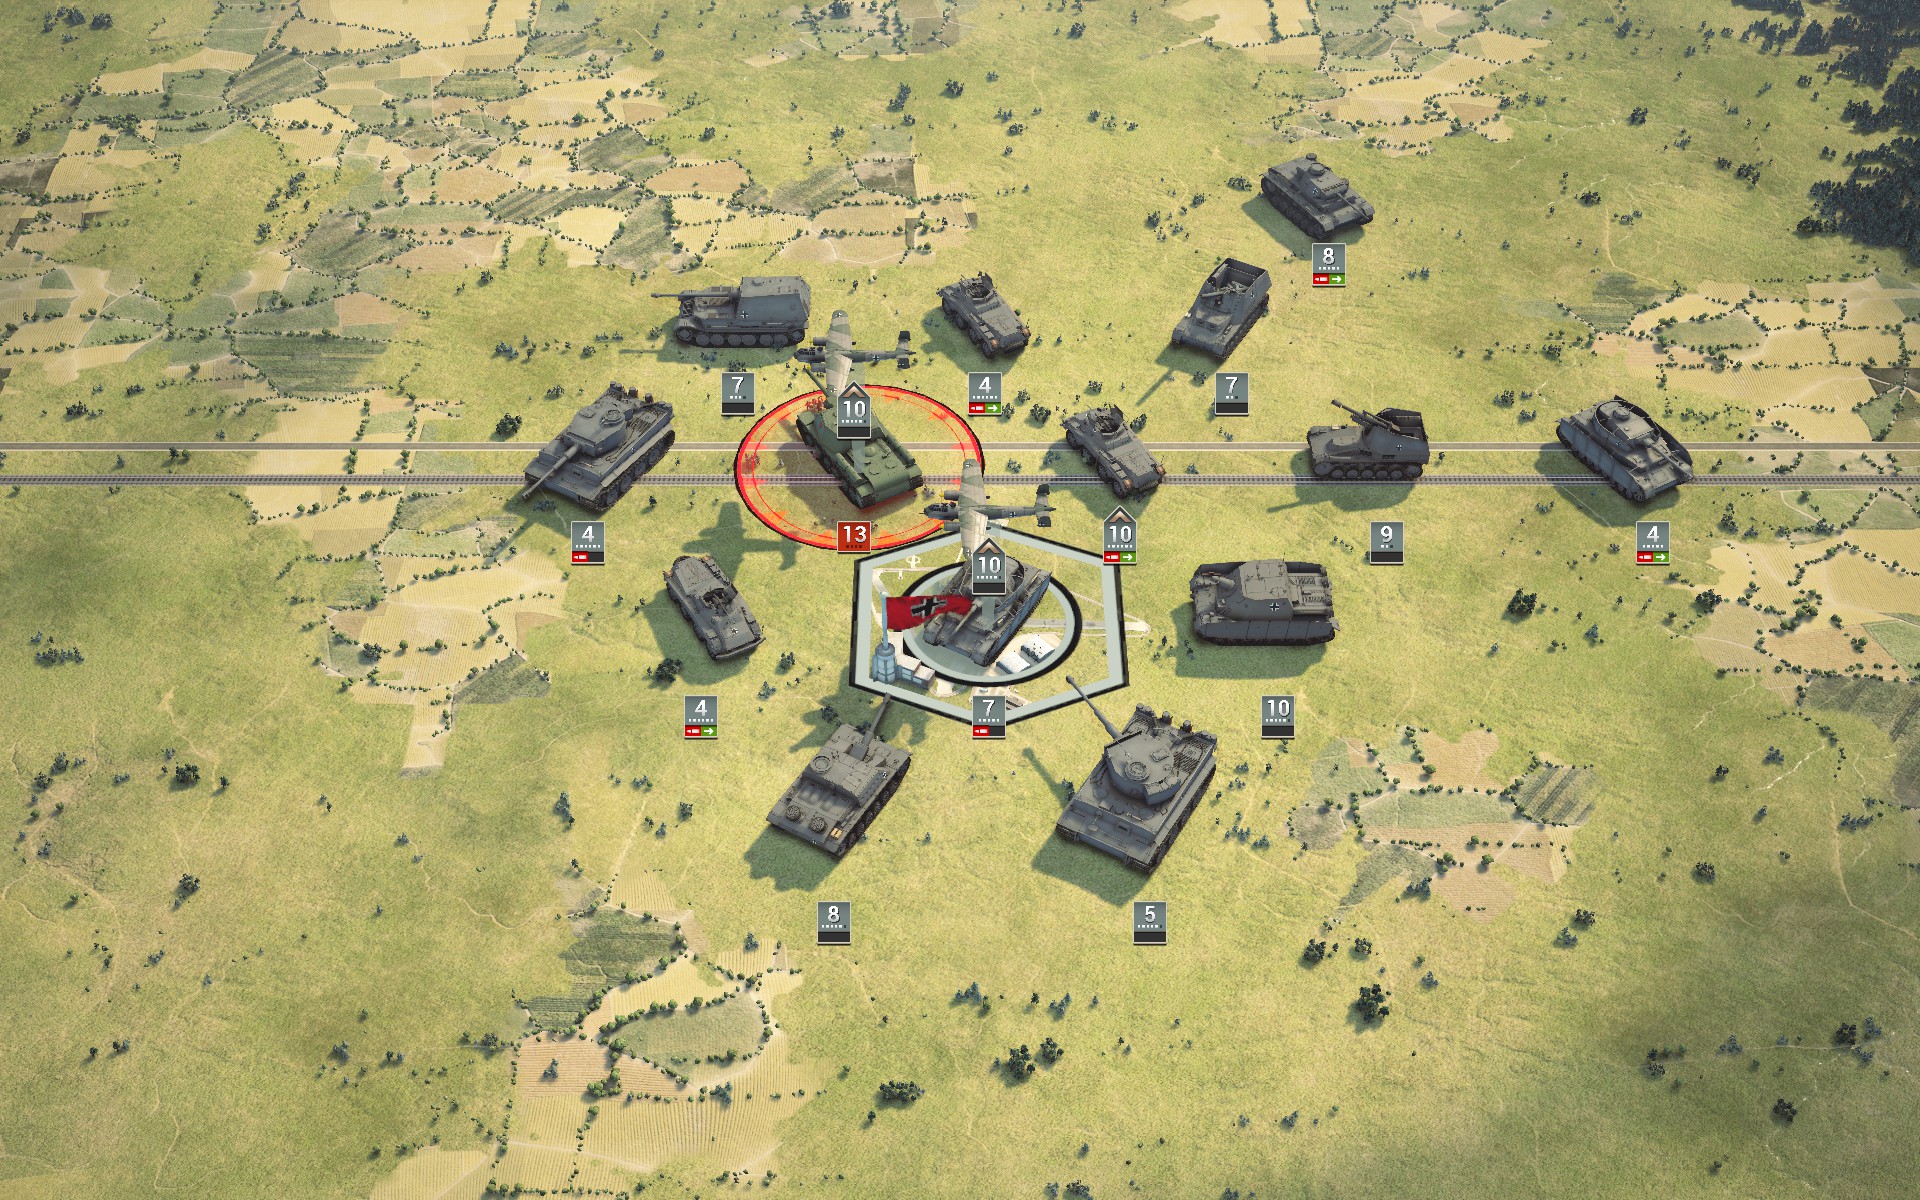
... and secure the supply depot while surrounding the SU-152.
Though the advance of my forces has stalled due to the unexpected presence of Soviet forces by the Oskol, the auxiliaries have secured the supply depot and linked up with them.
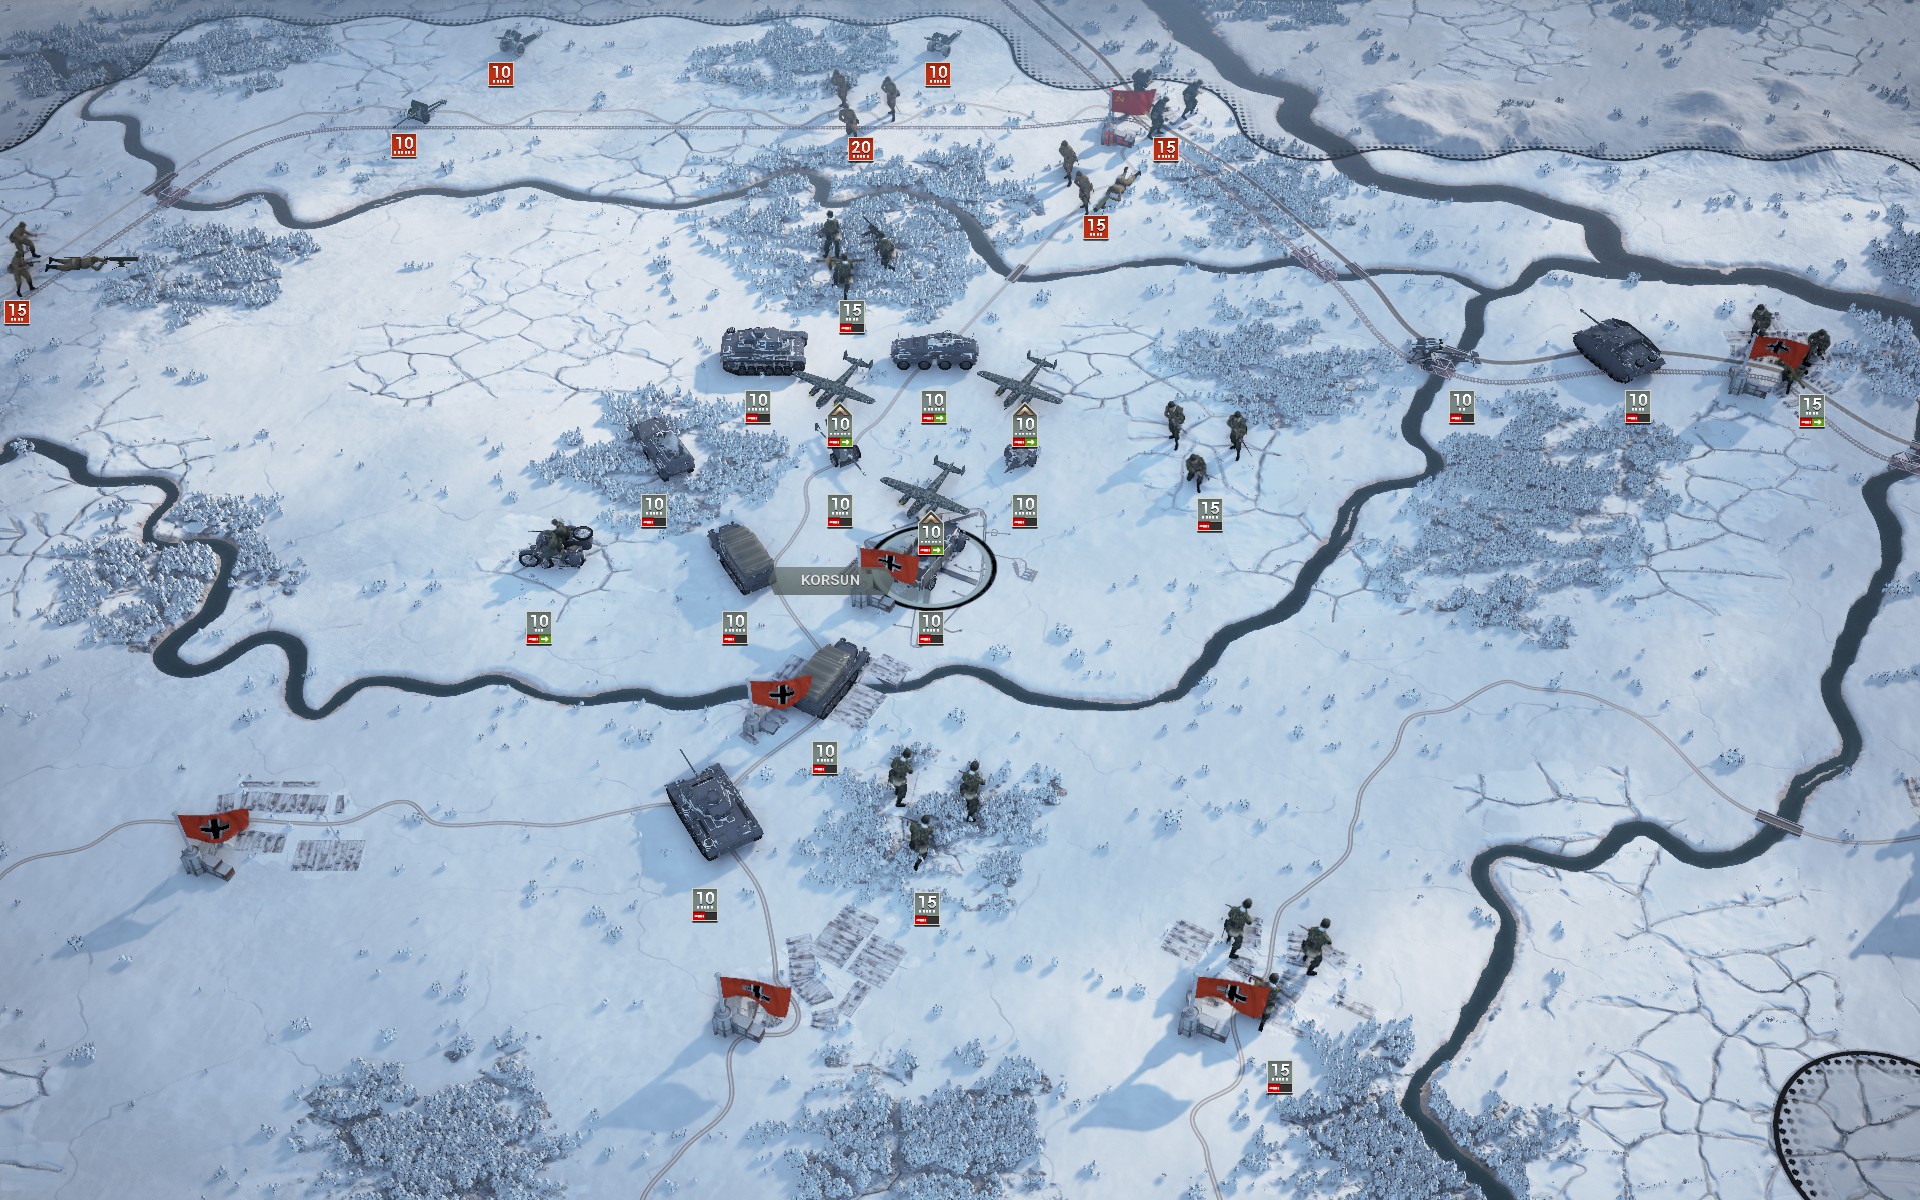
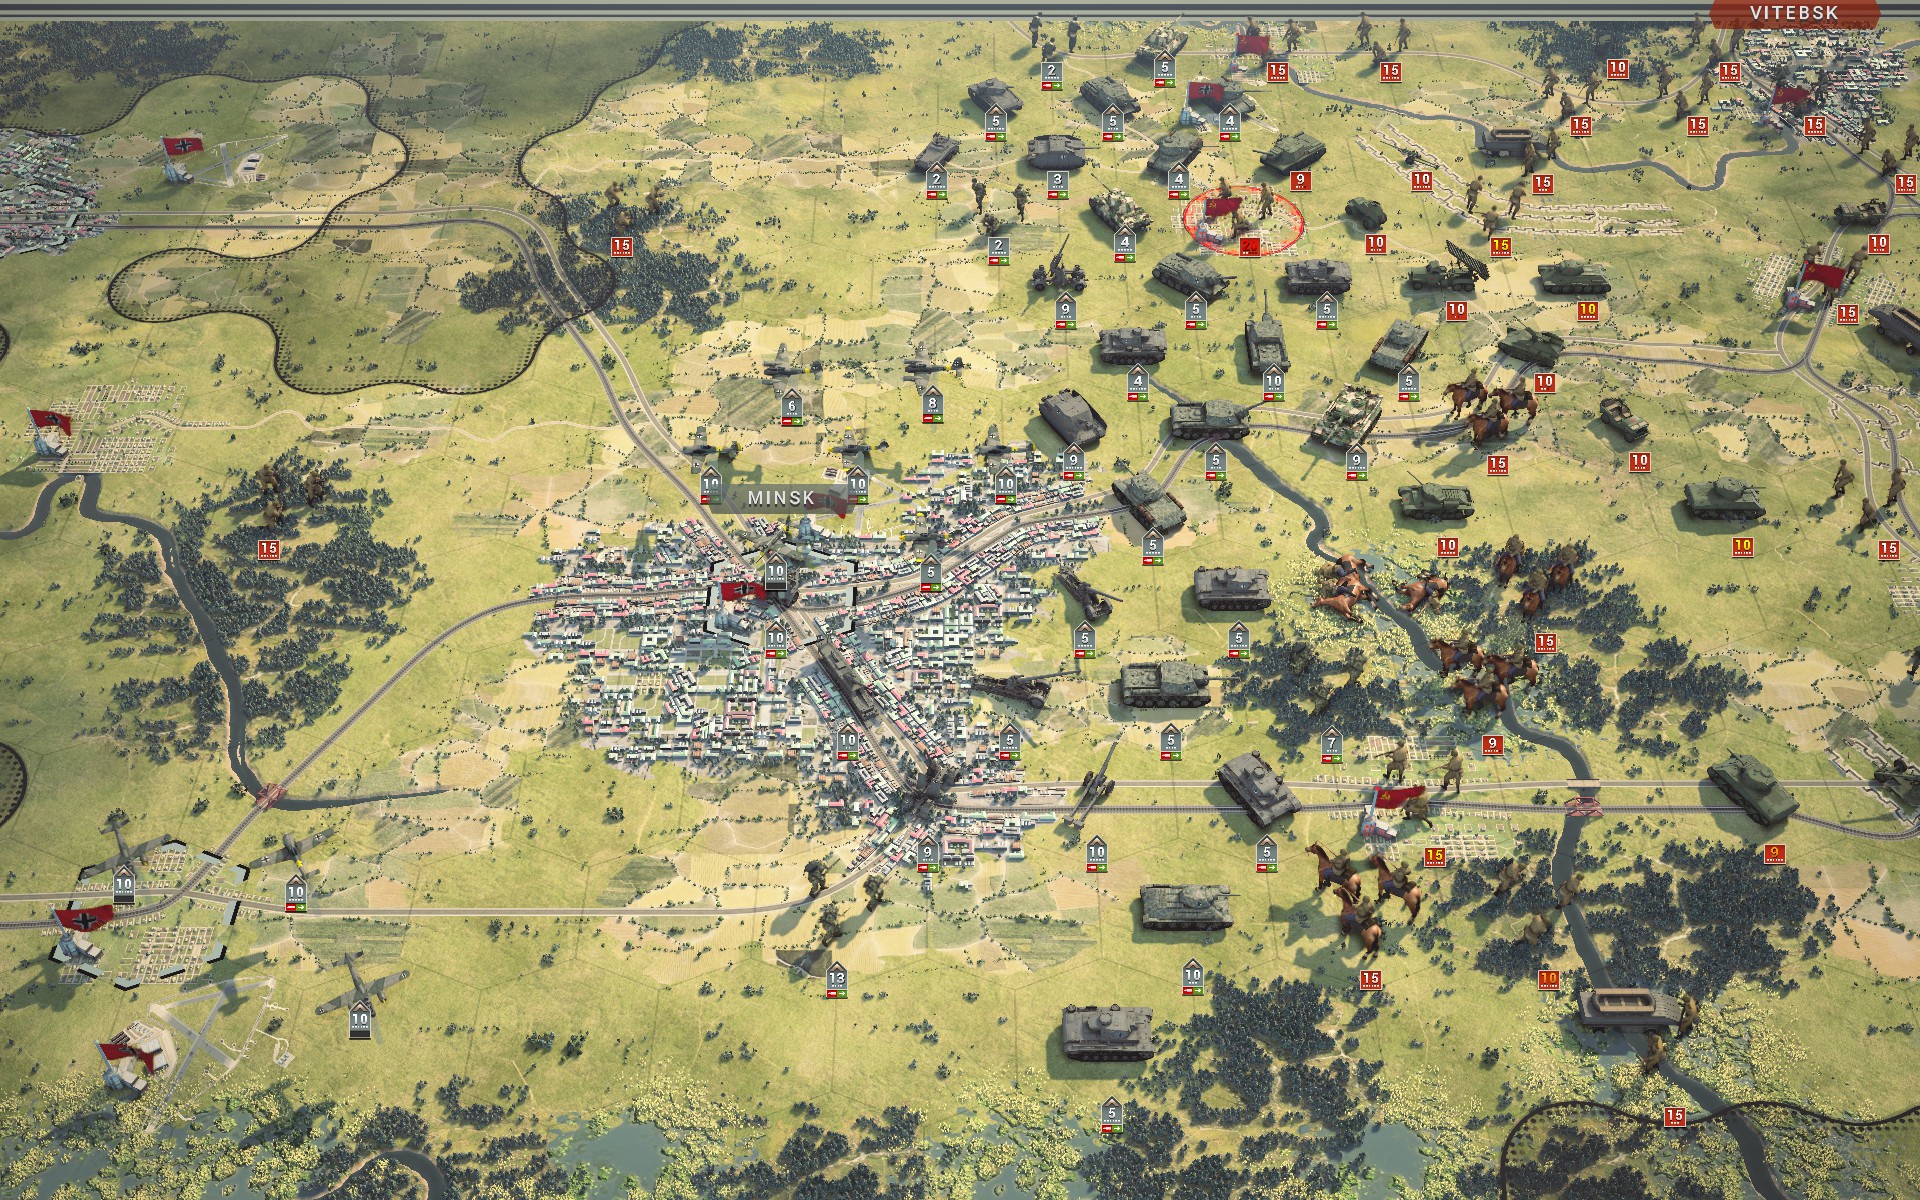
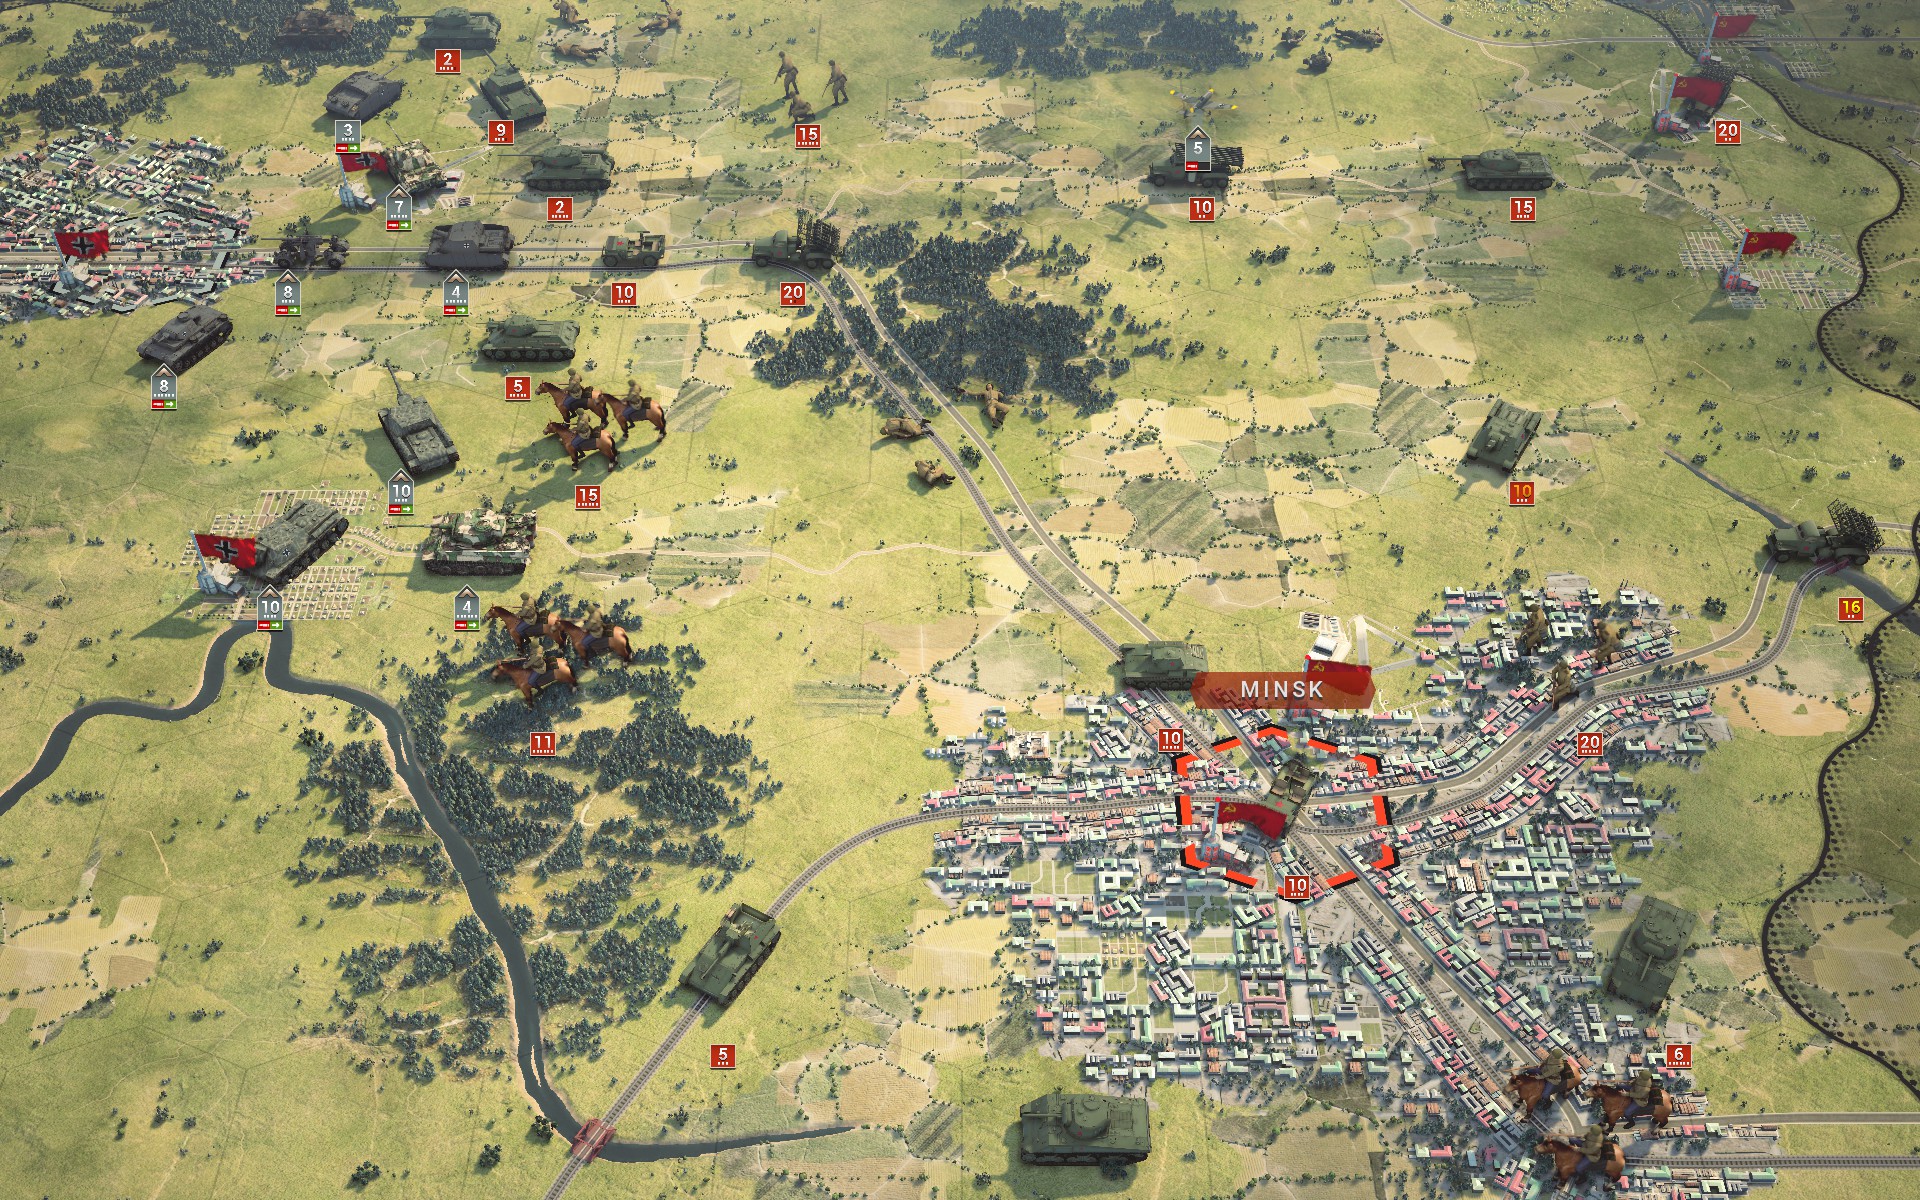
With the grand encirclement established, the Kursk salient has been completely cut off from the east. It should not take long for resistance to collapse.
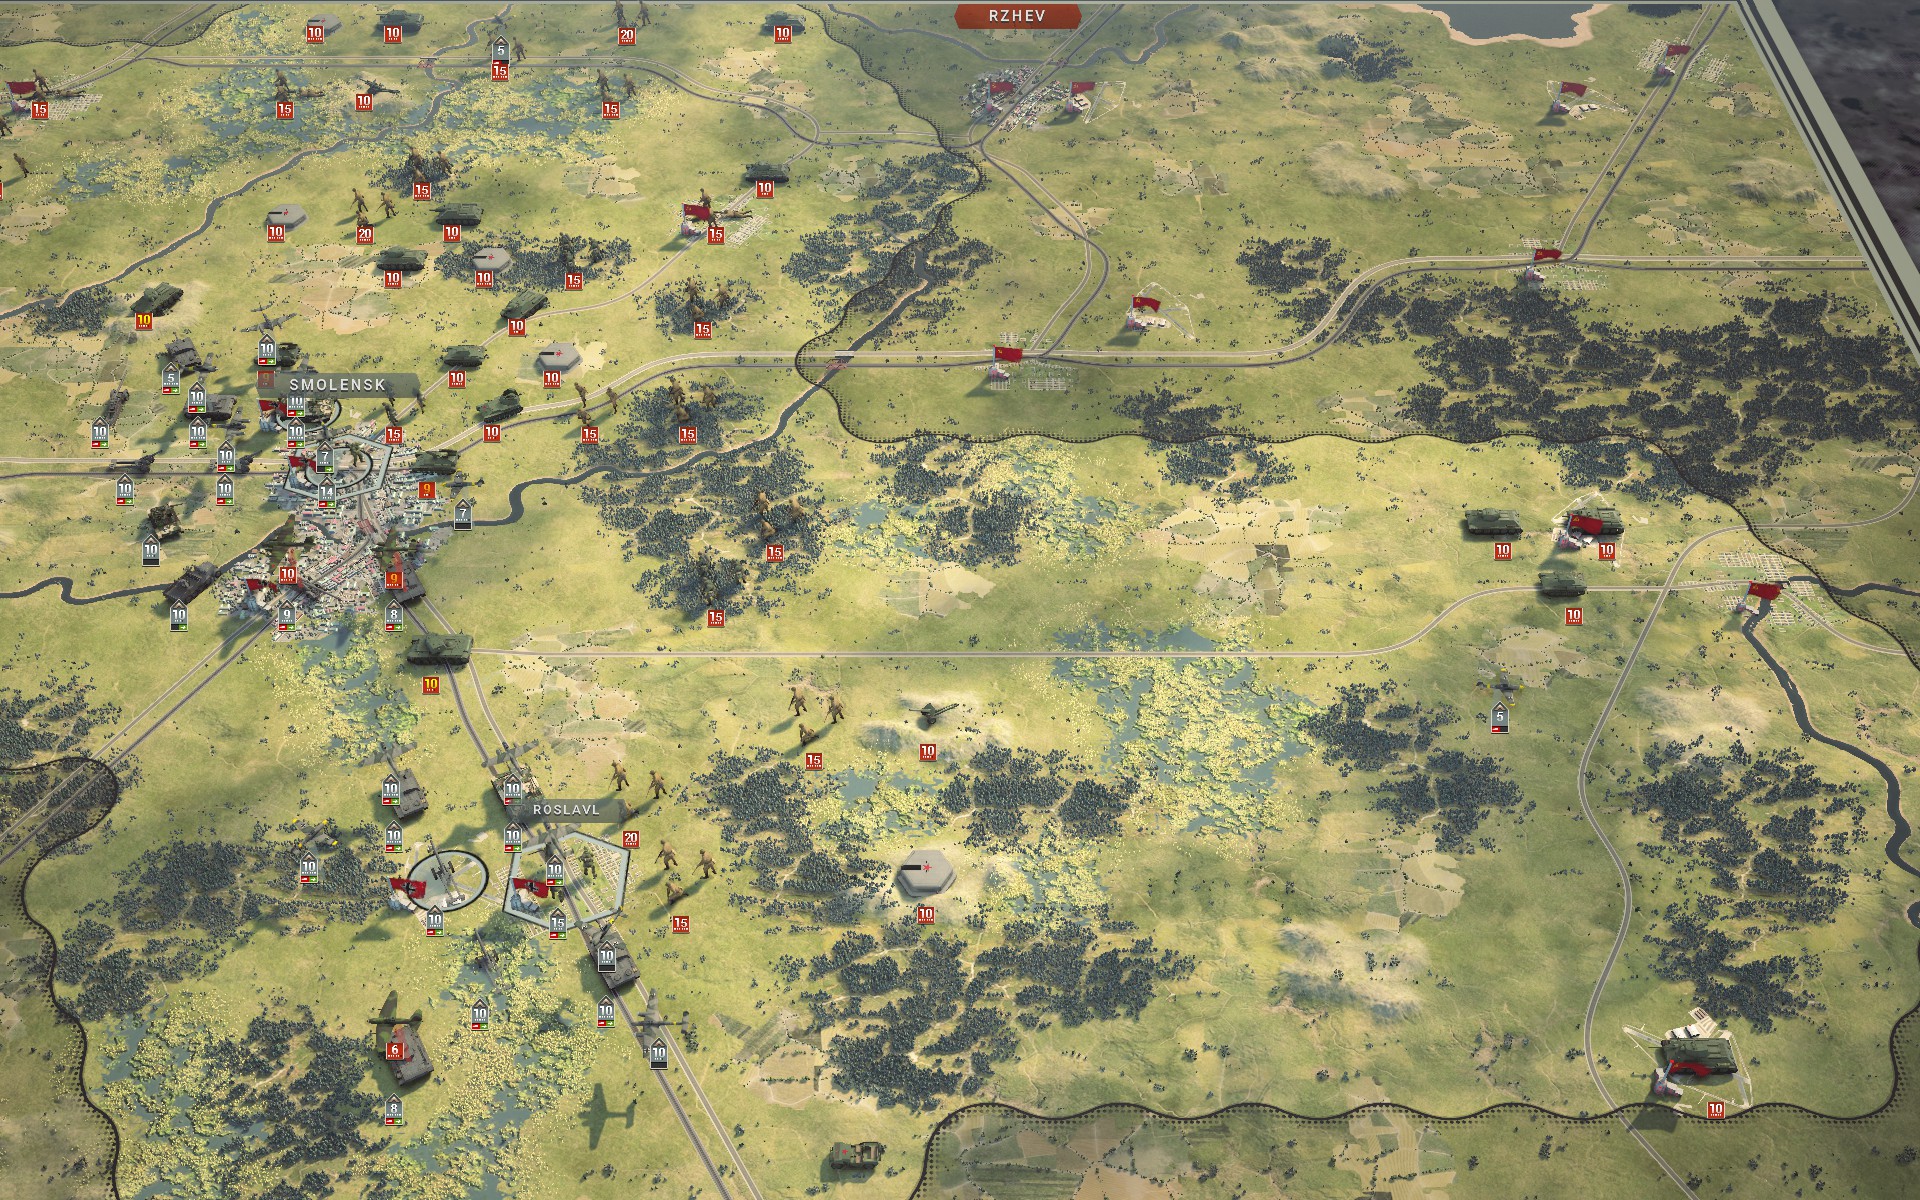
The cordon is maintained by a series of Strongpoints and detached infantry battalions to the west of the Soviet minefields.
The armoured forces to the southeast have yet to make a move. The AI should probably have a more dynamic set of instructions, because they will only pose a threat if they attack while my forces are occupied in the Kursk salient.
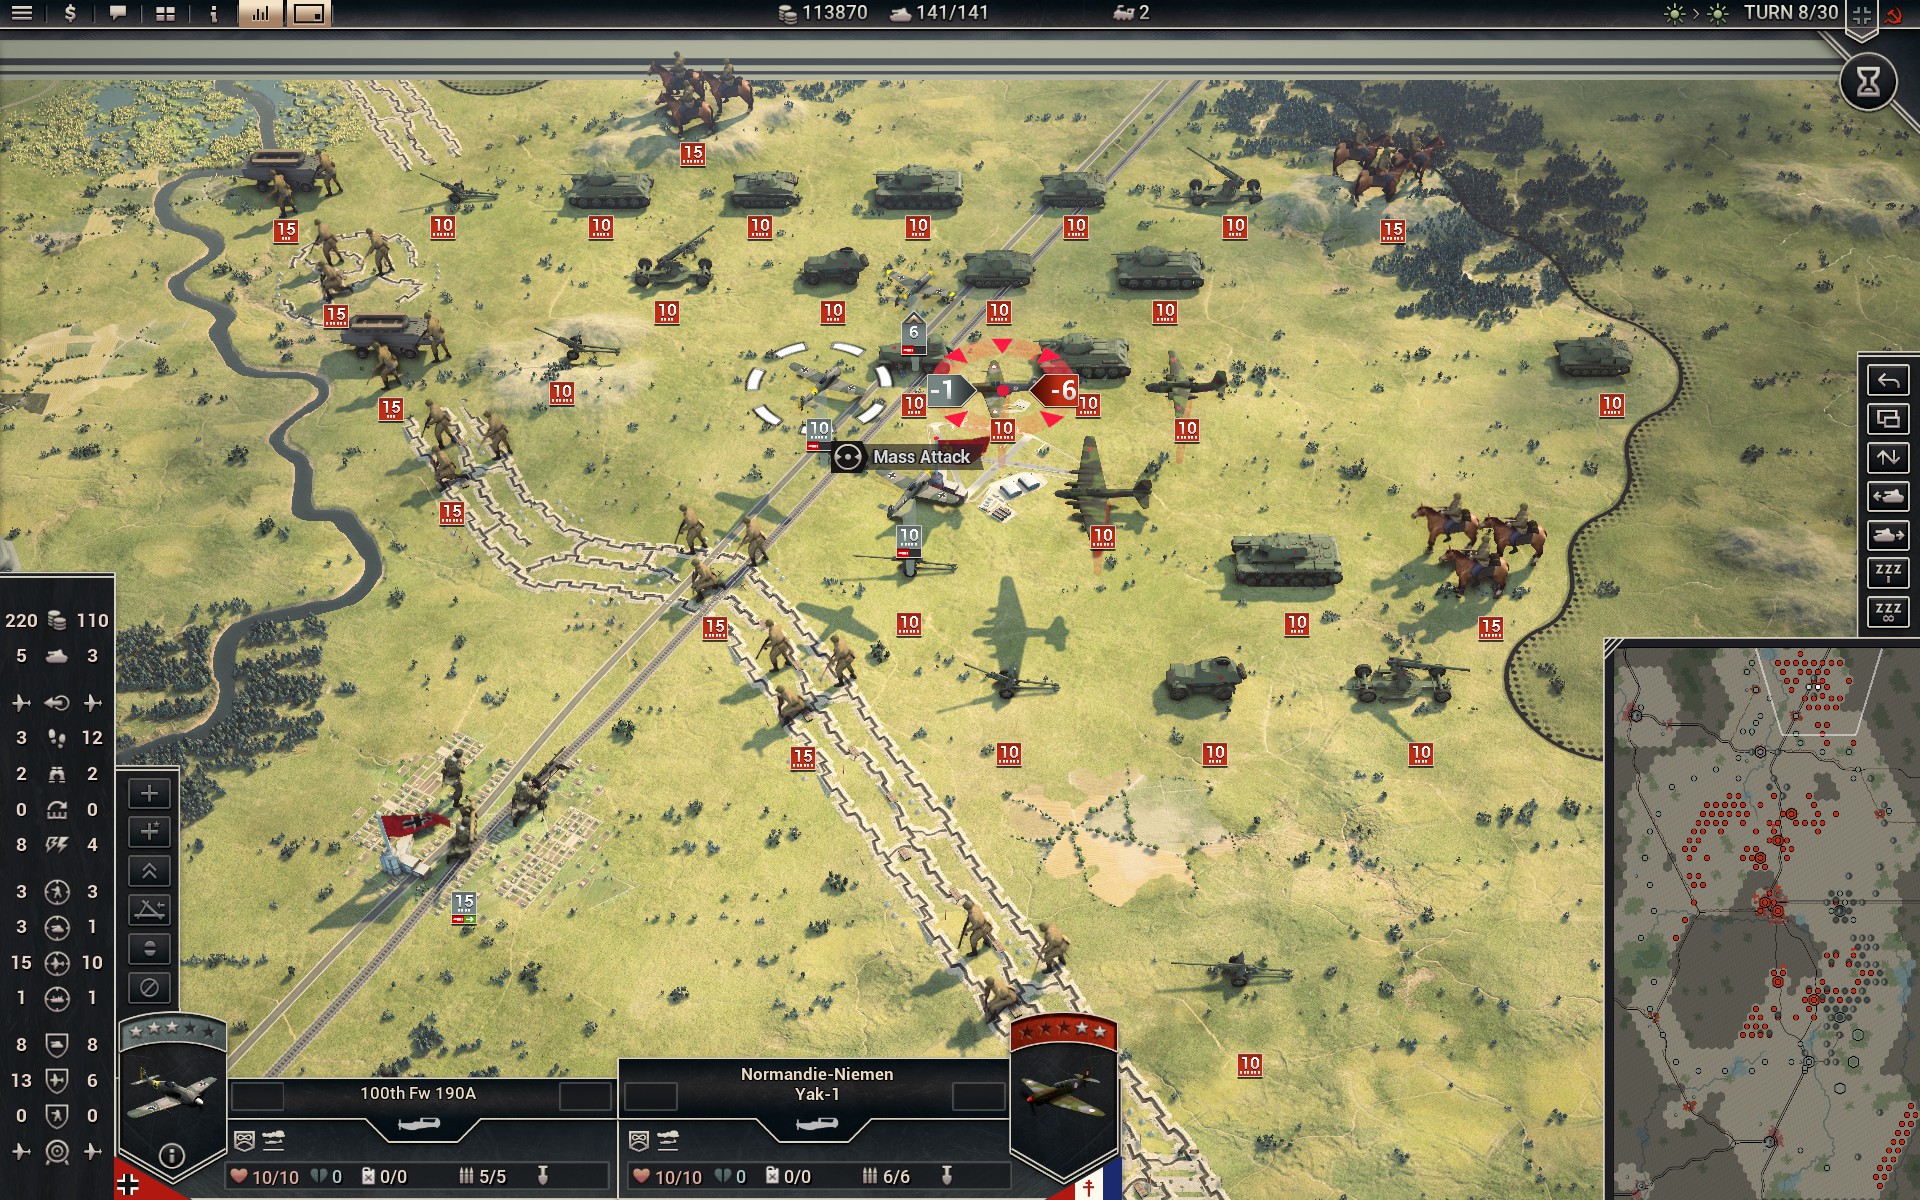
The Luftwaffe targets the Normandie-Niemen, the French volunteer fighter pilots.
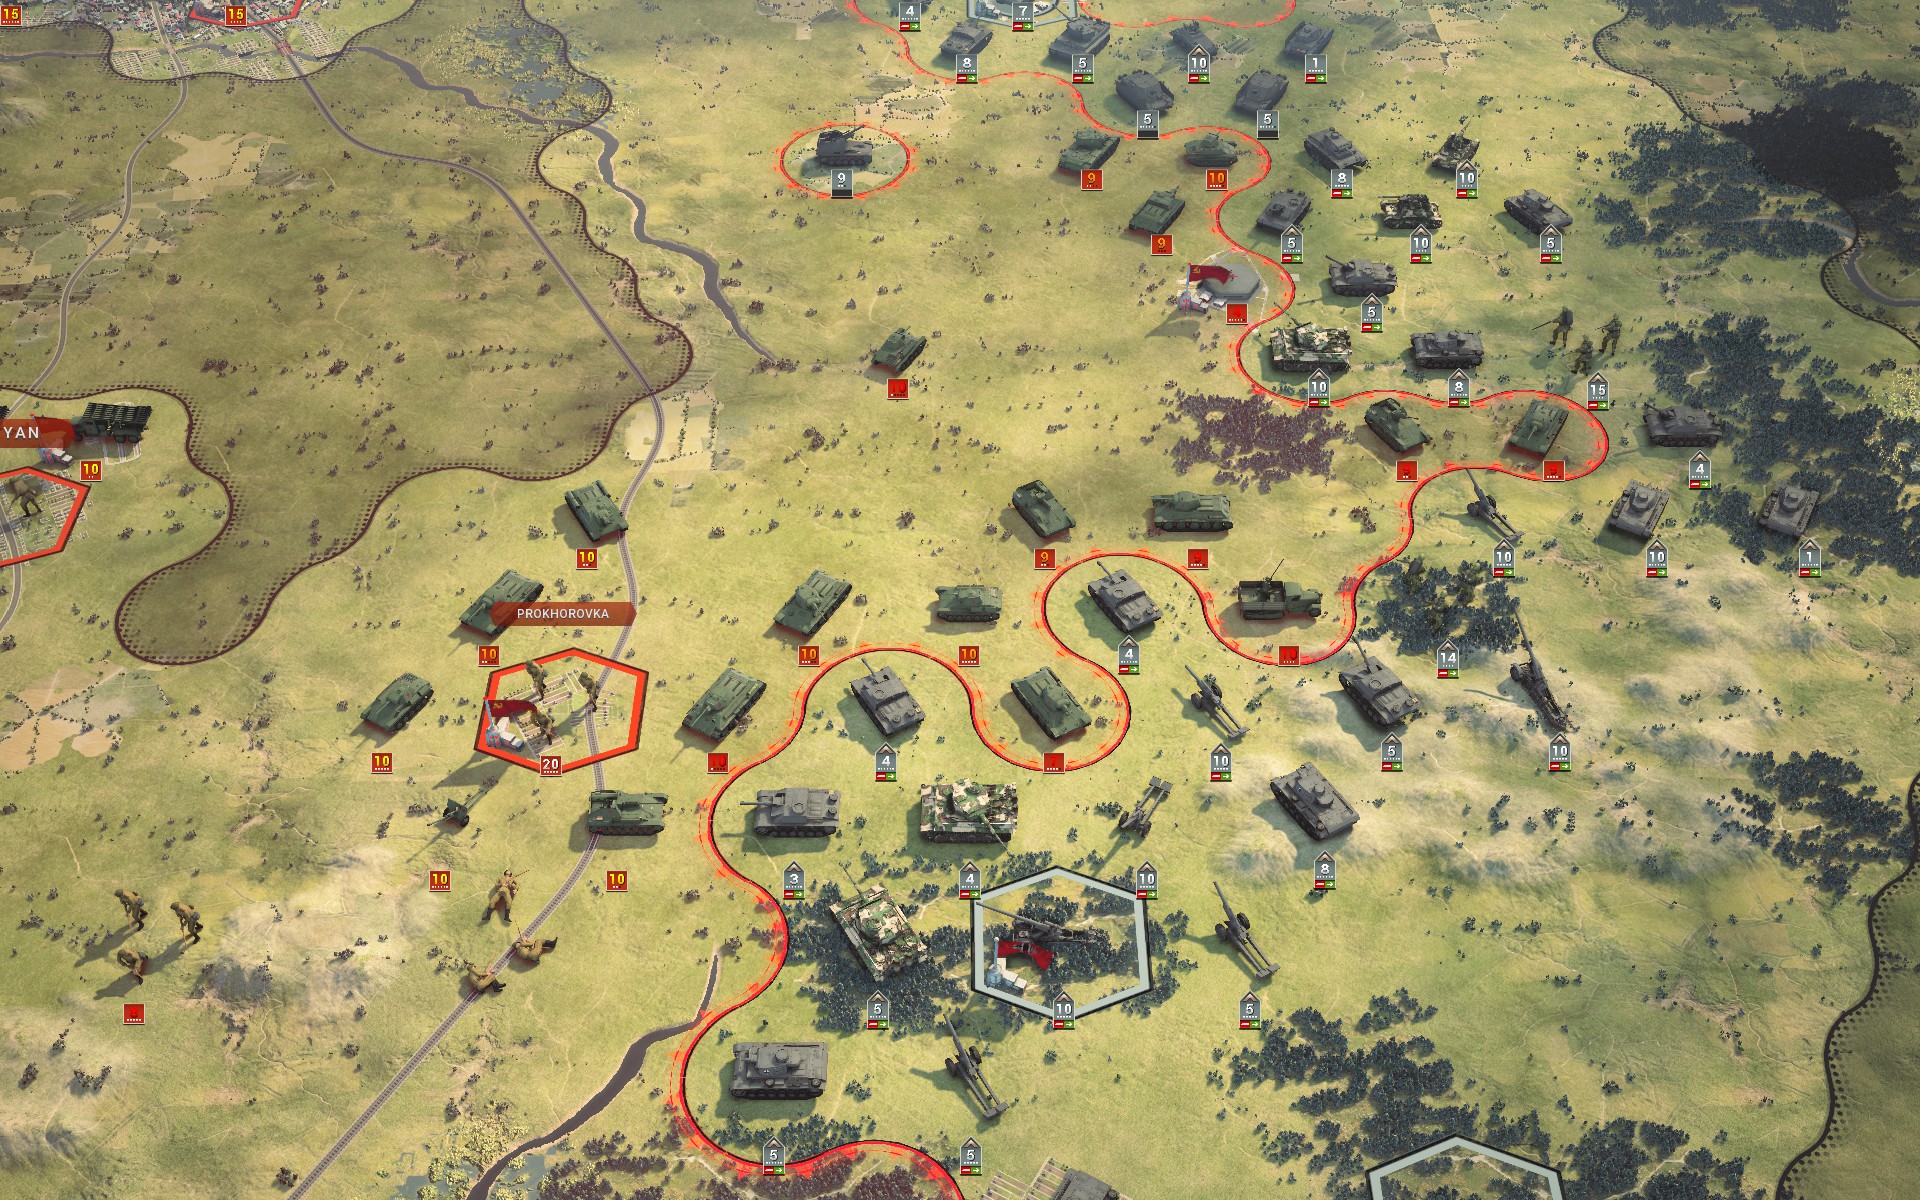
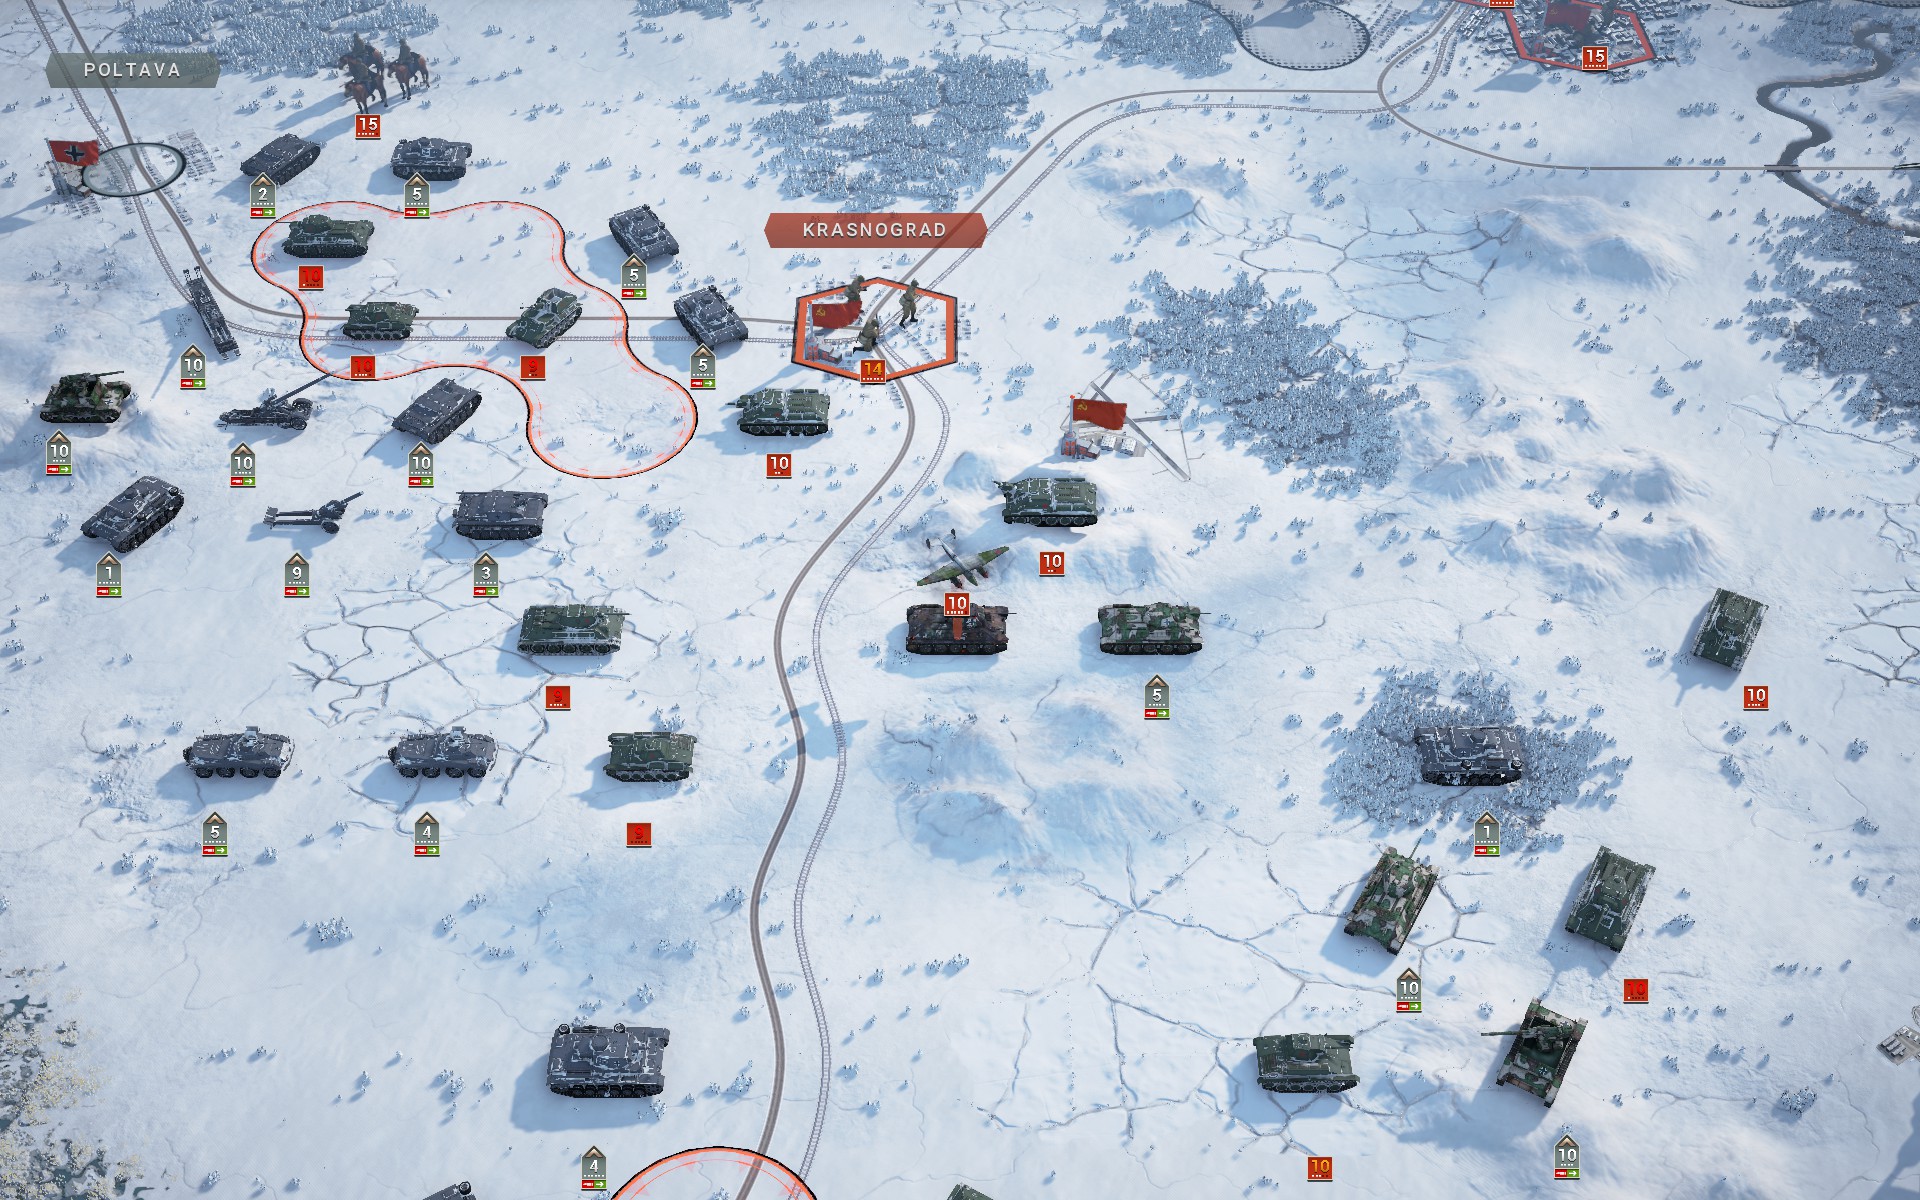
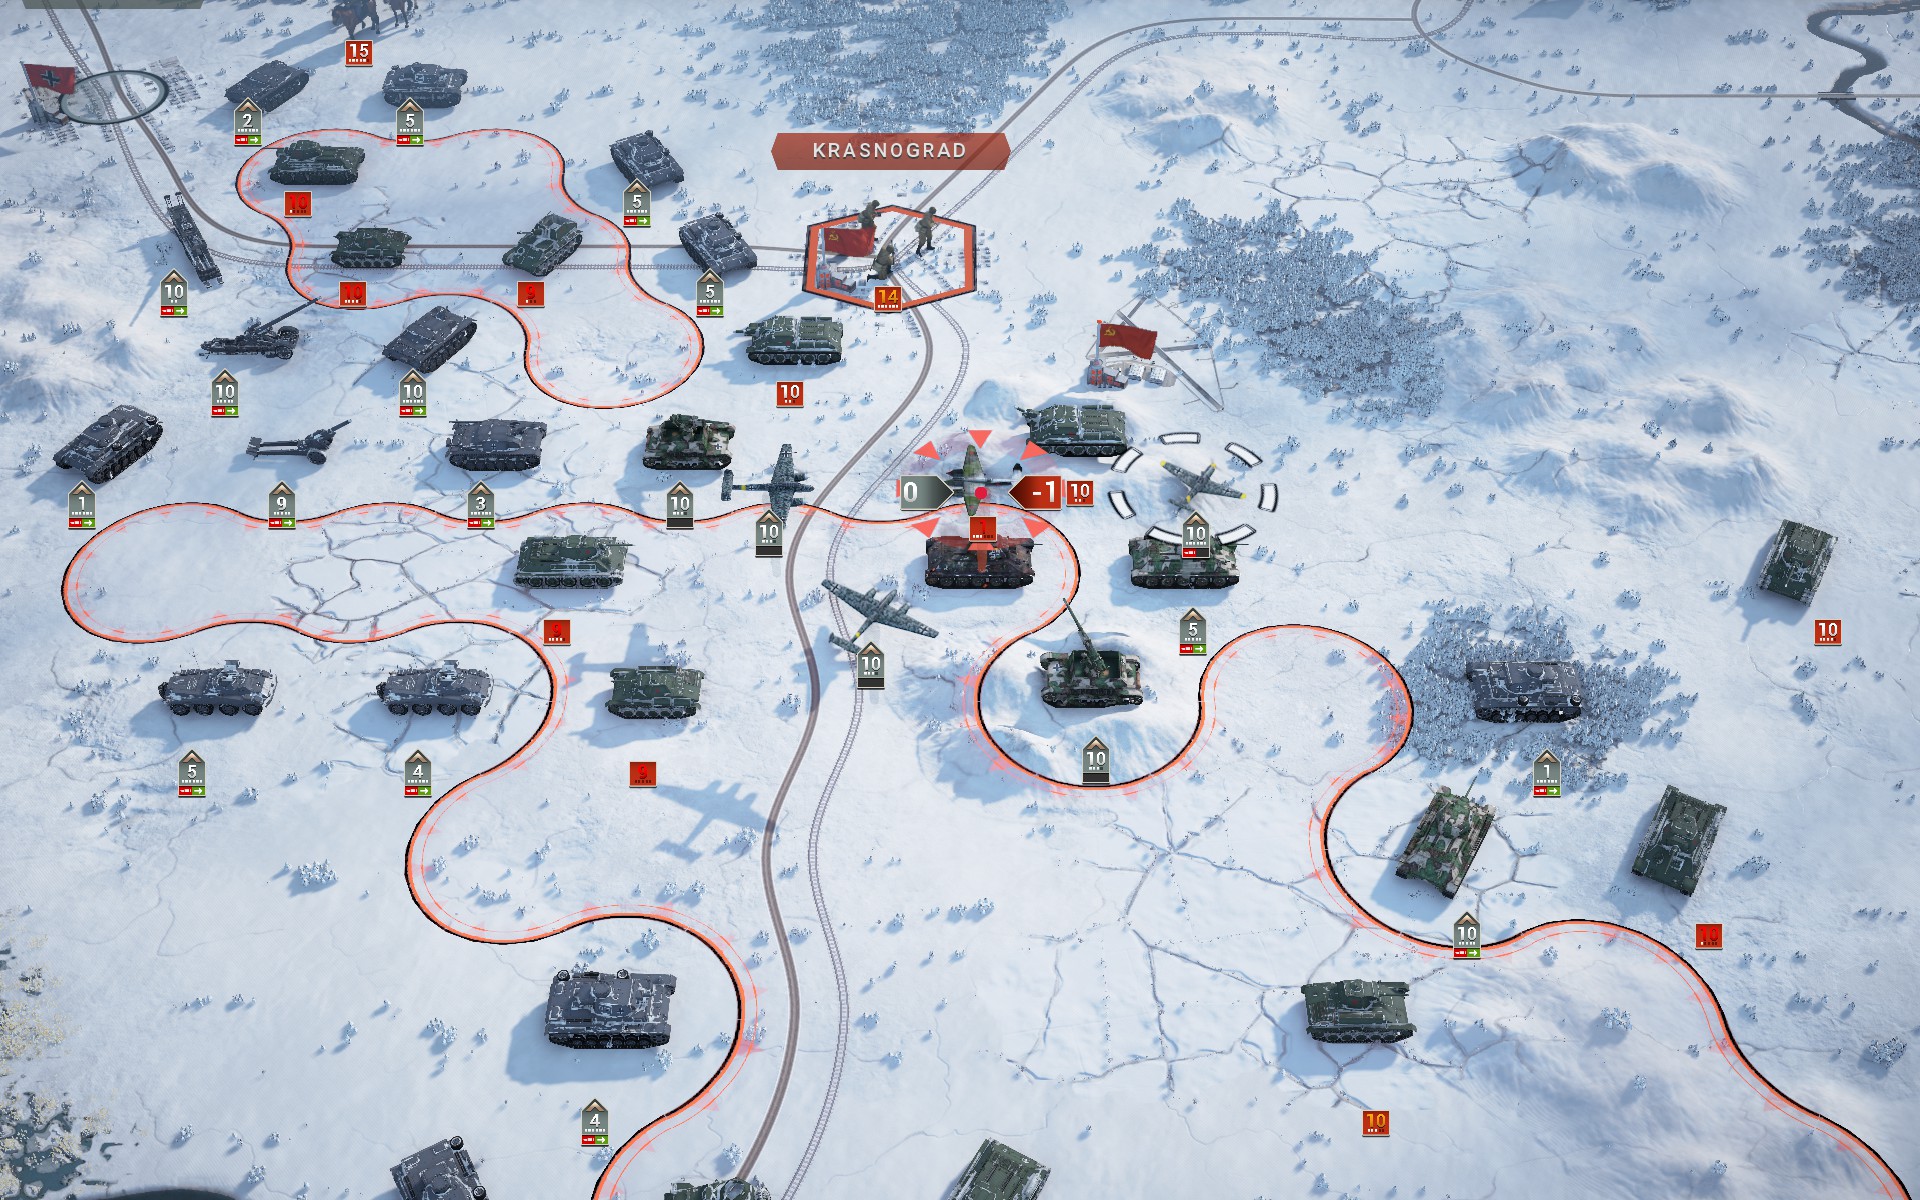
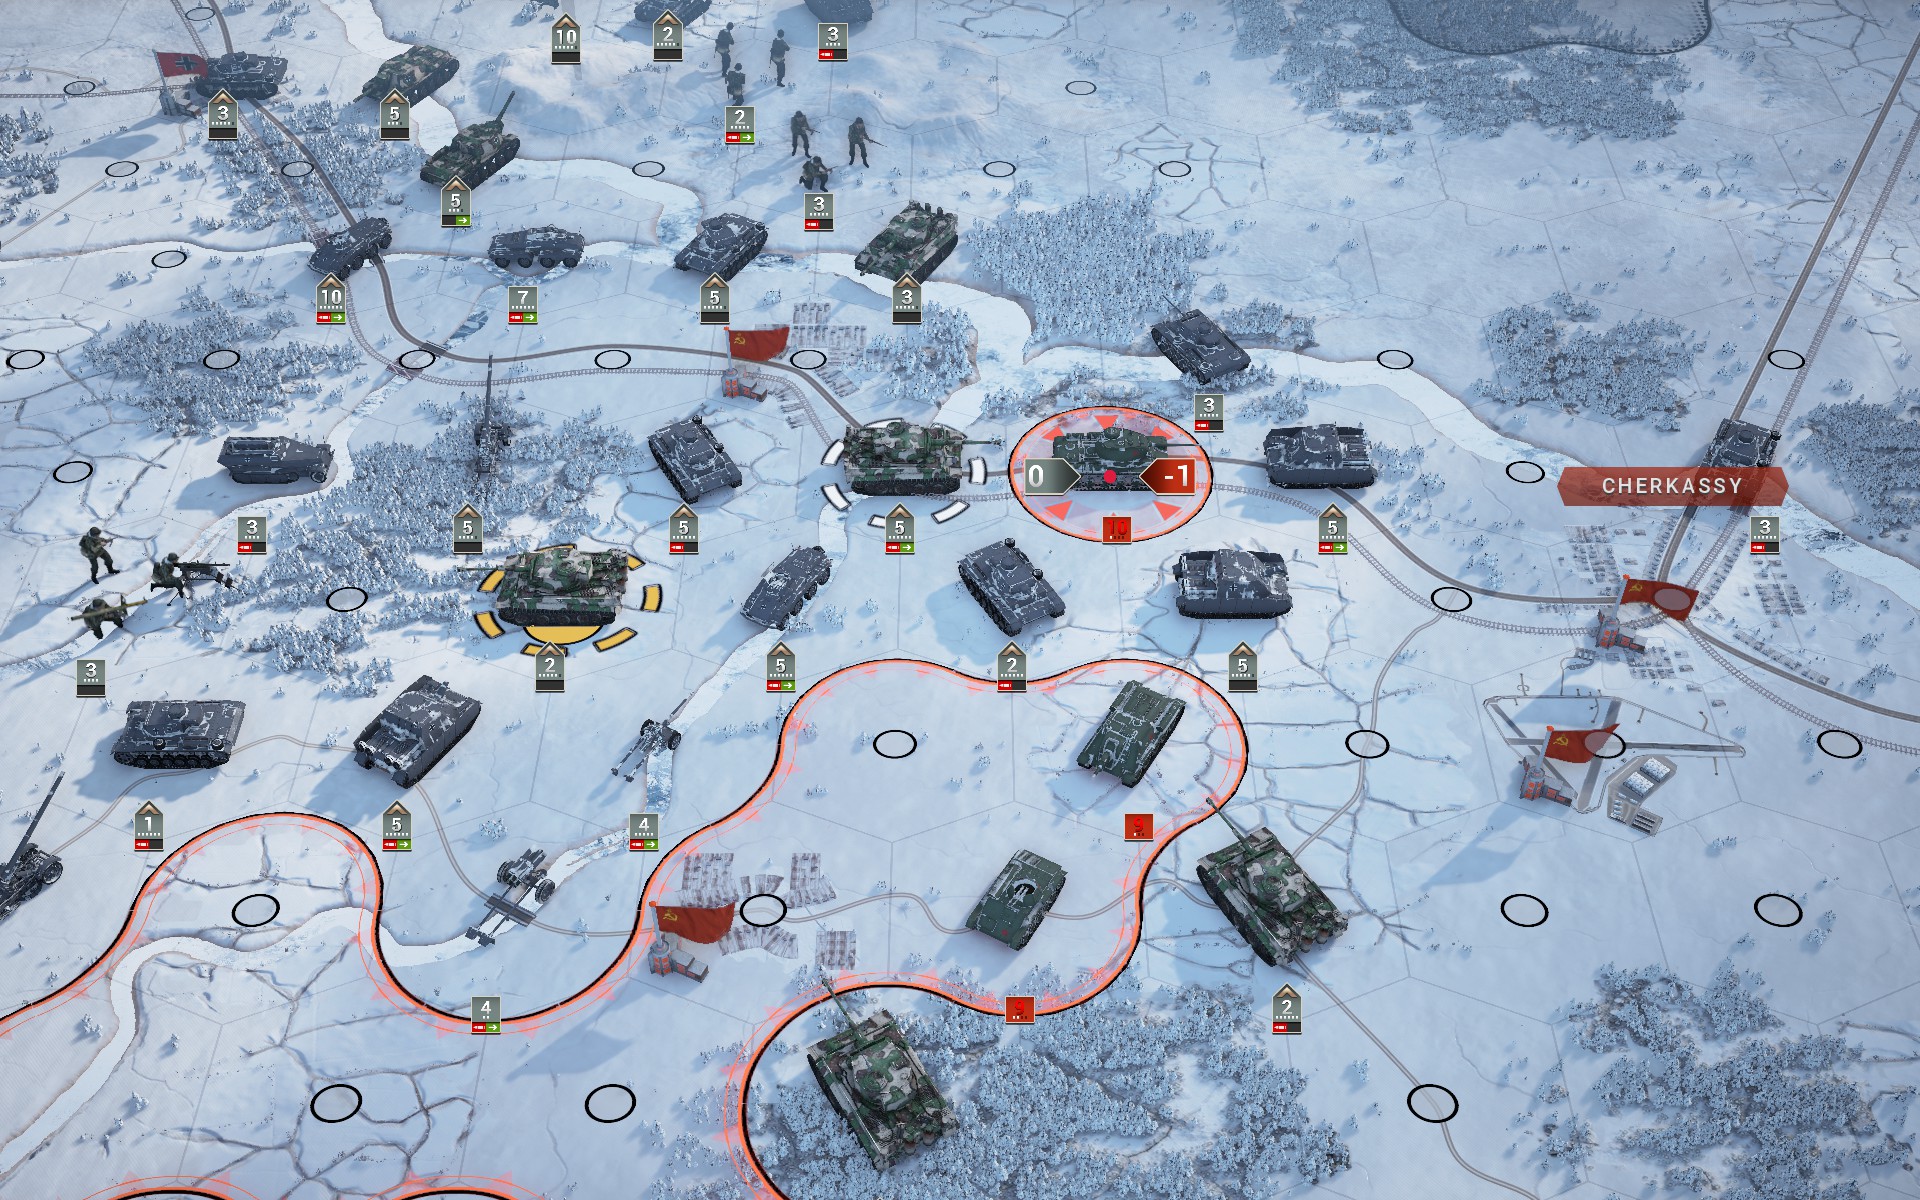
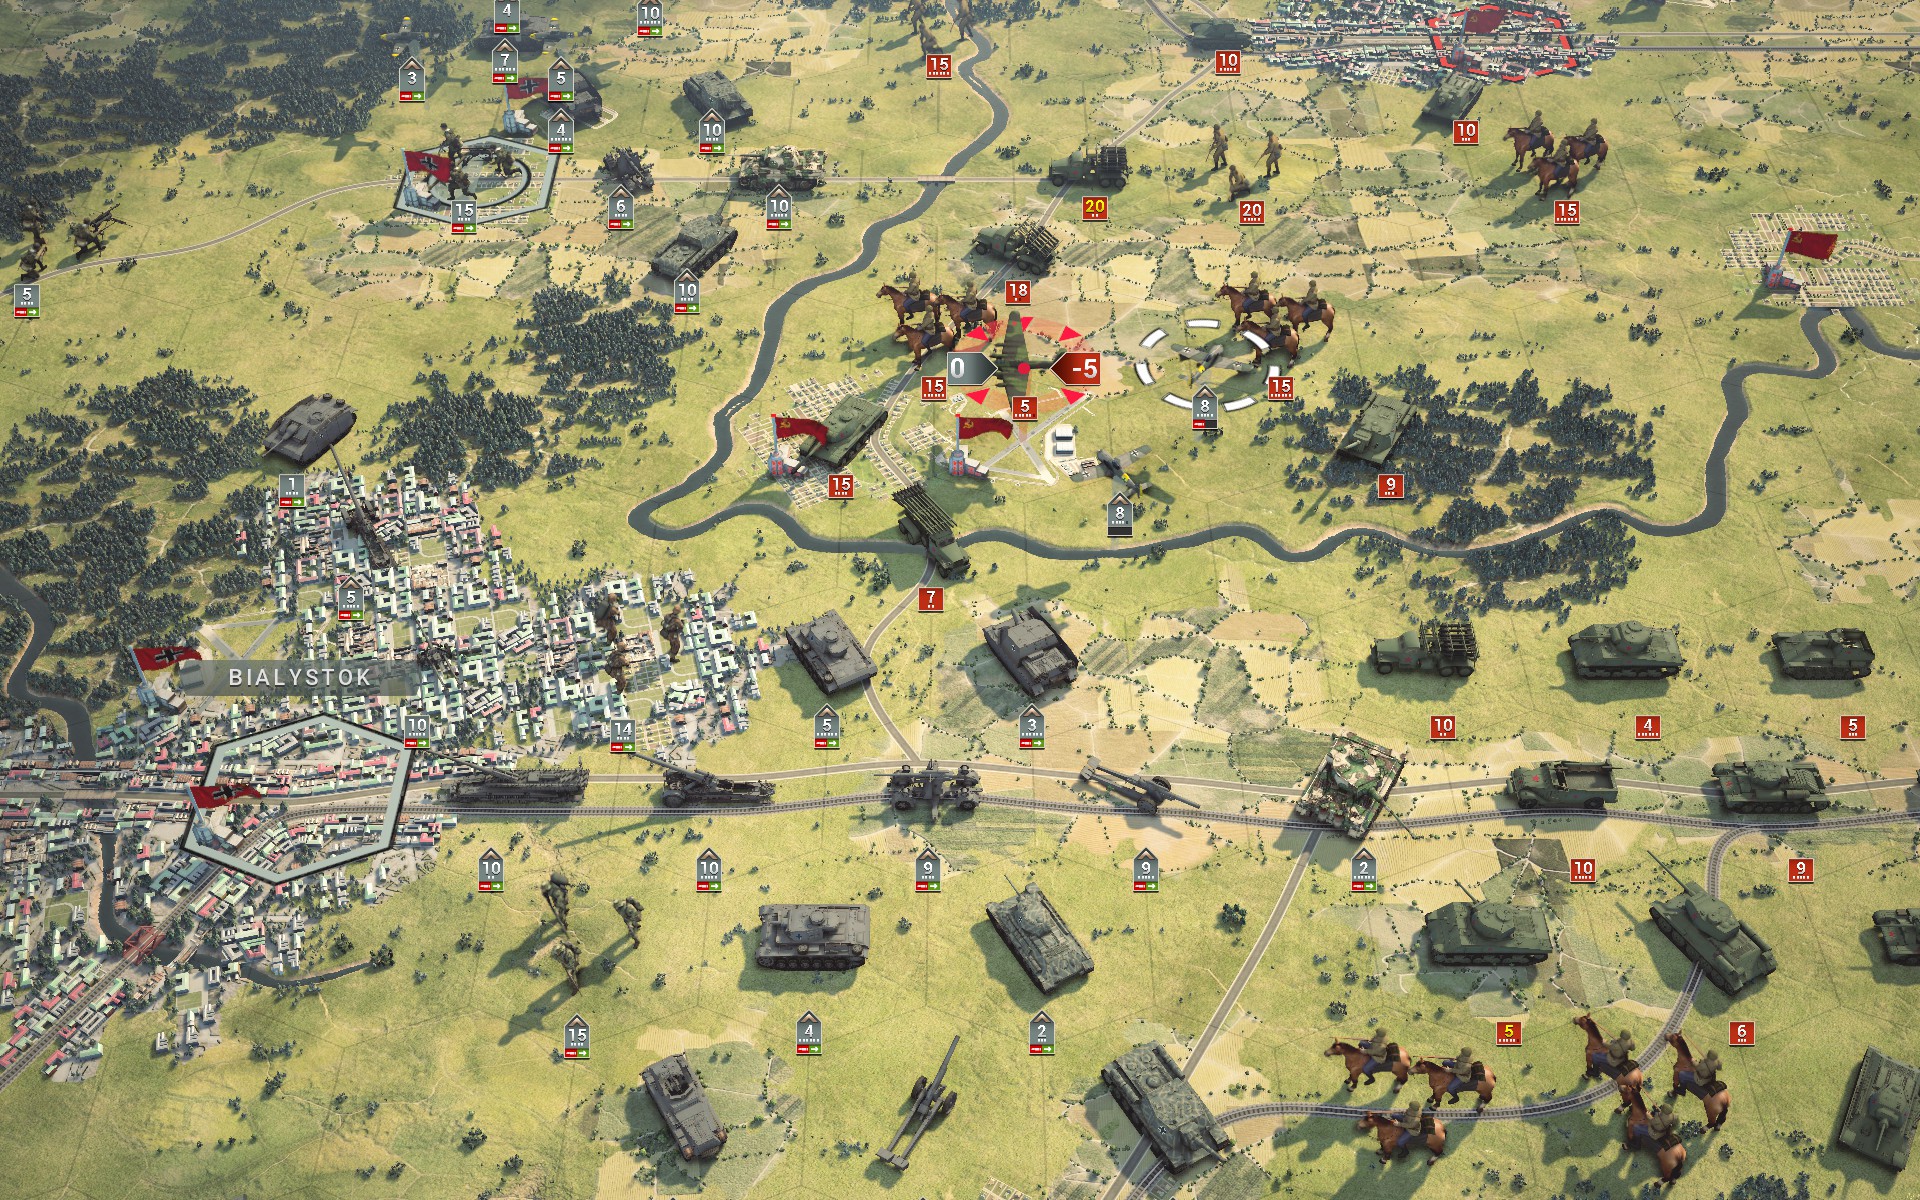
The StuH 42s and artillery provide additional suppression as my forces begin to advance towards Prokhorovka. This probably isn't the armoured clash the Red Army had in mind, but it suits me just fine.
The remaining SU-152 is captured while half of the Do 217Es rebase to the central supply hex.
With the Soviet air force defeated, the SU-6s help capture Soviet armour instead.
The Luftwaffe finally hunts down the last remaining Soviet aircraft in the northern pocket.
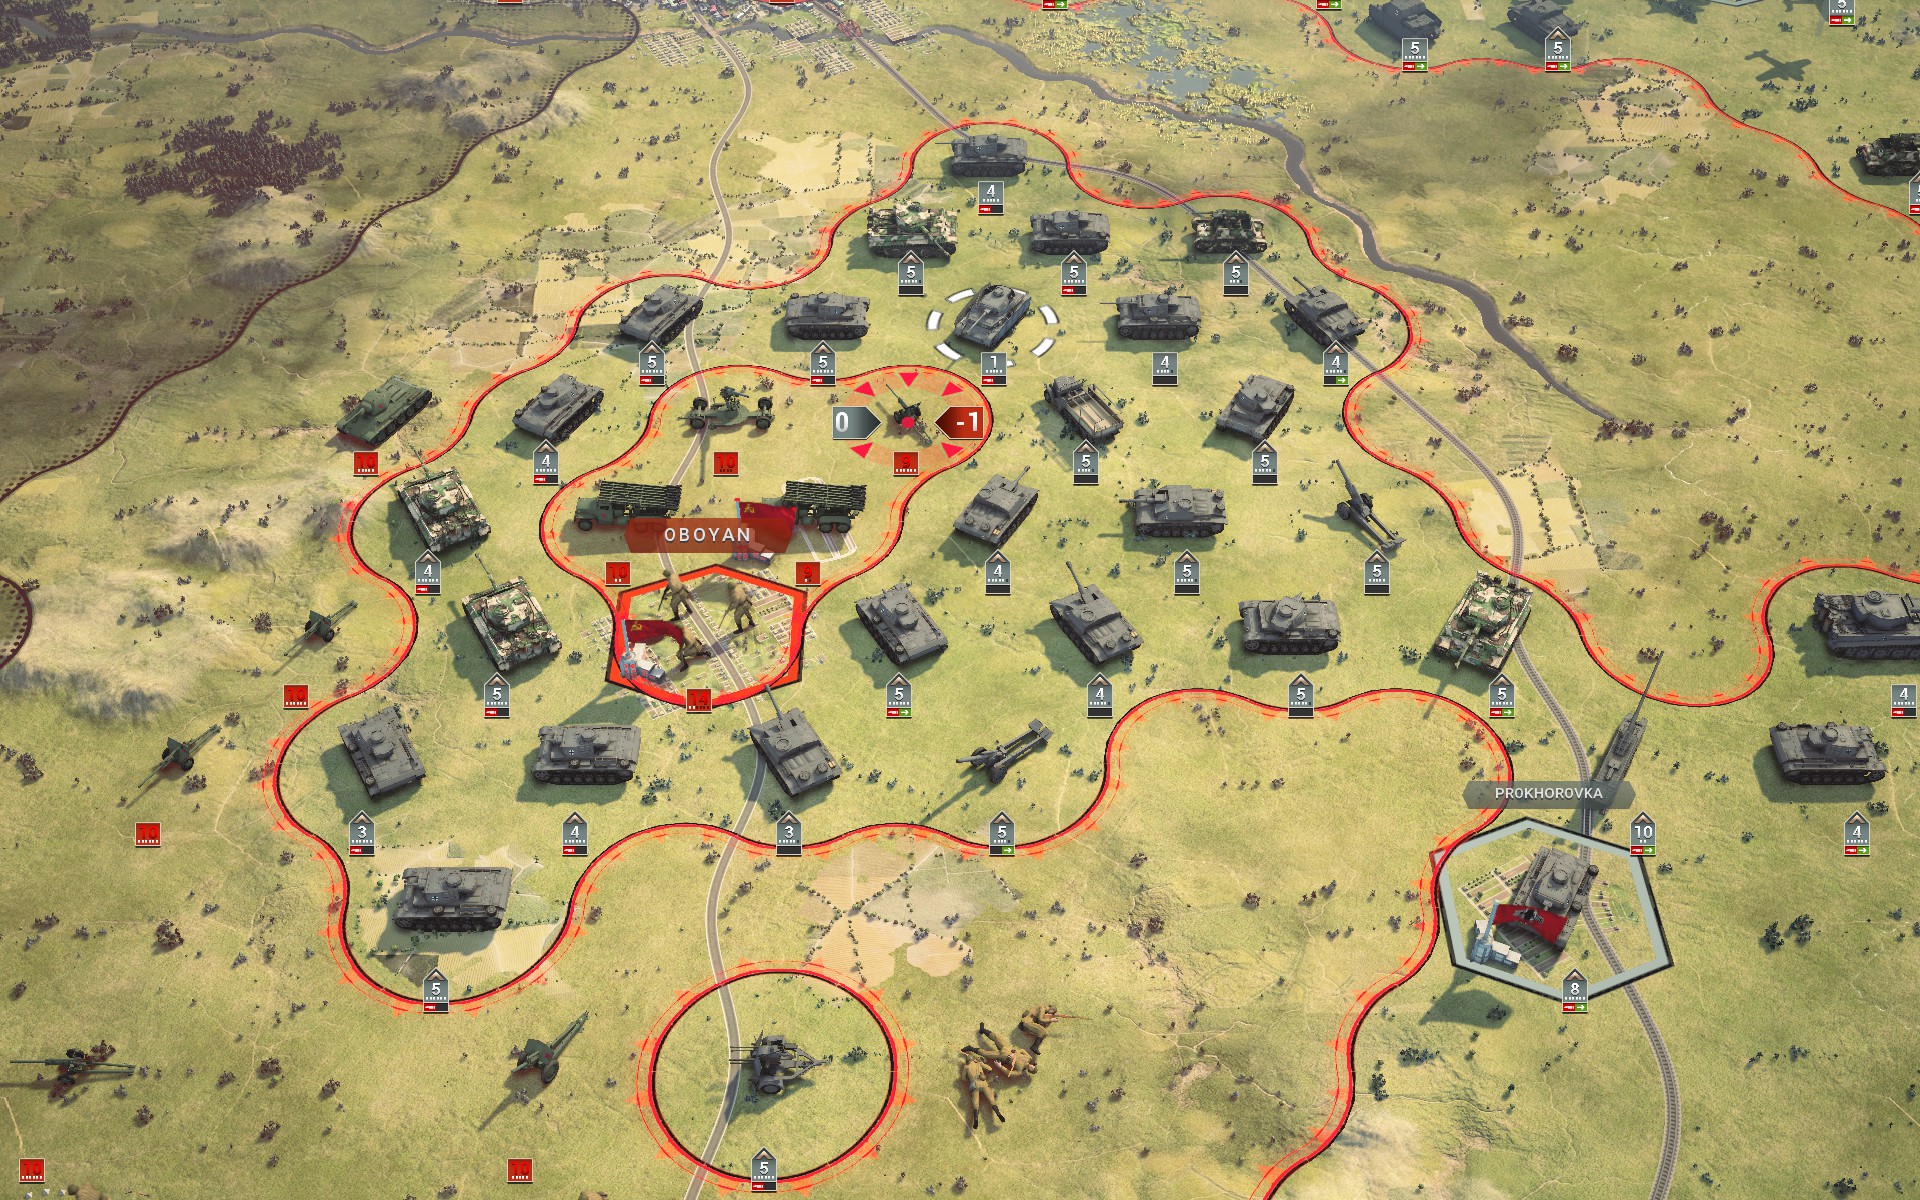
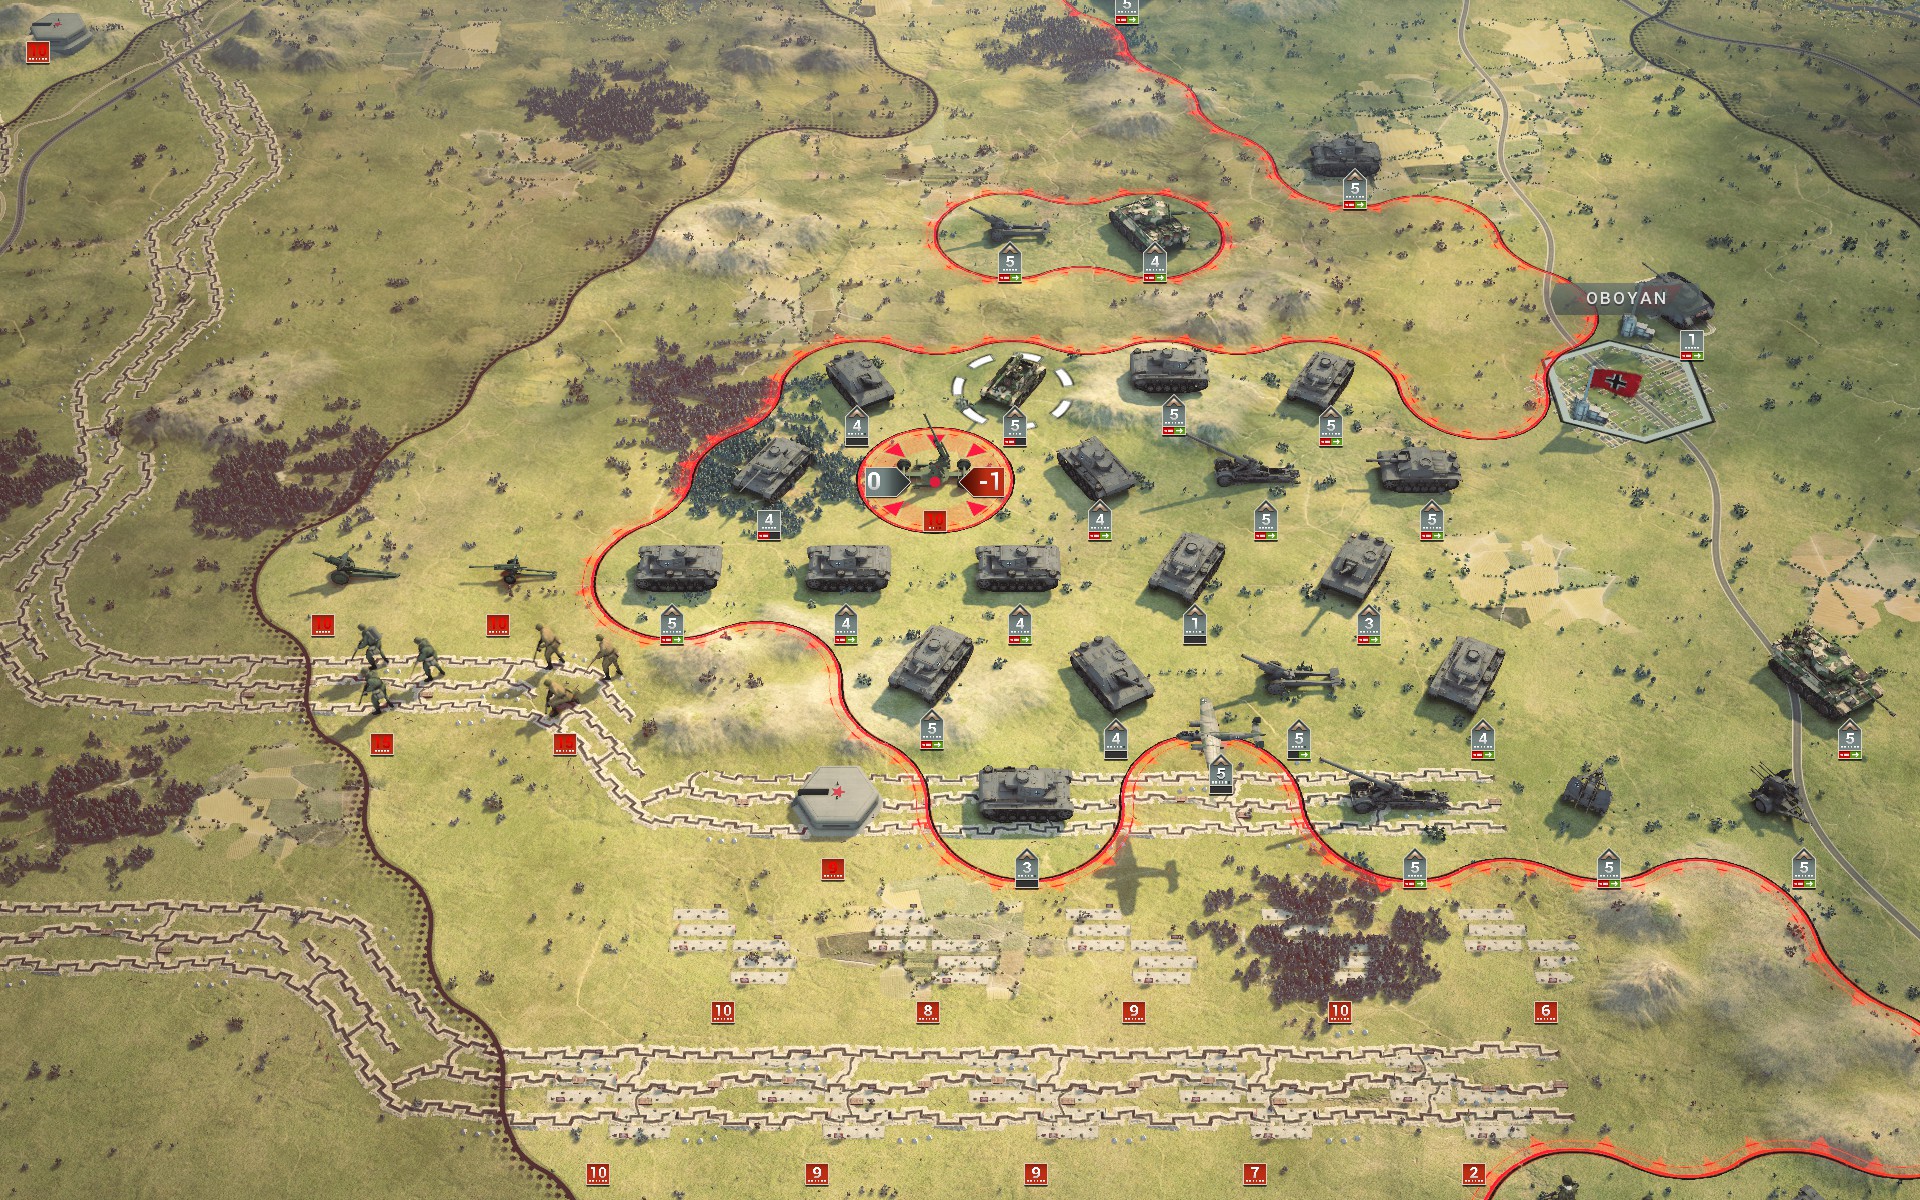
My forces secure Prokhorovka and advance towards Oboyan. If the Red Army intends to make a move, it needs to be now, as time is now on my side.
At Orel the auxiliary infantry battalions are now fully entrenched.
The Red Army finally makes its move, with armour crossing the Oka.
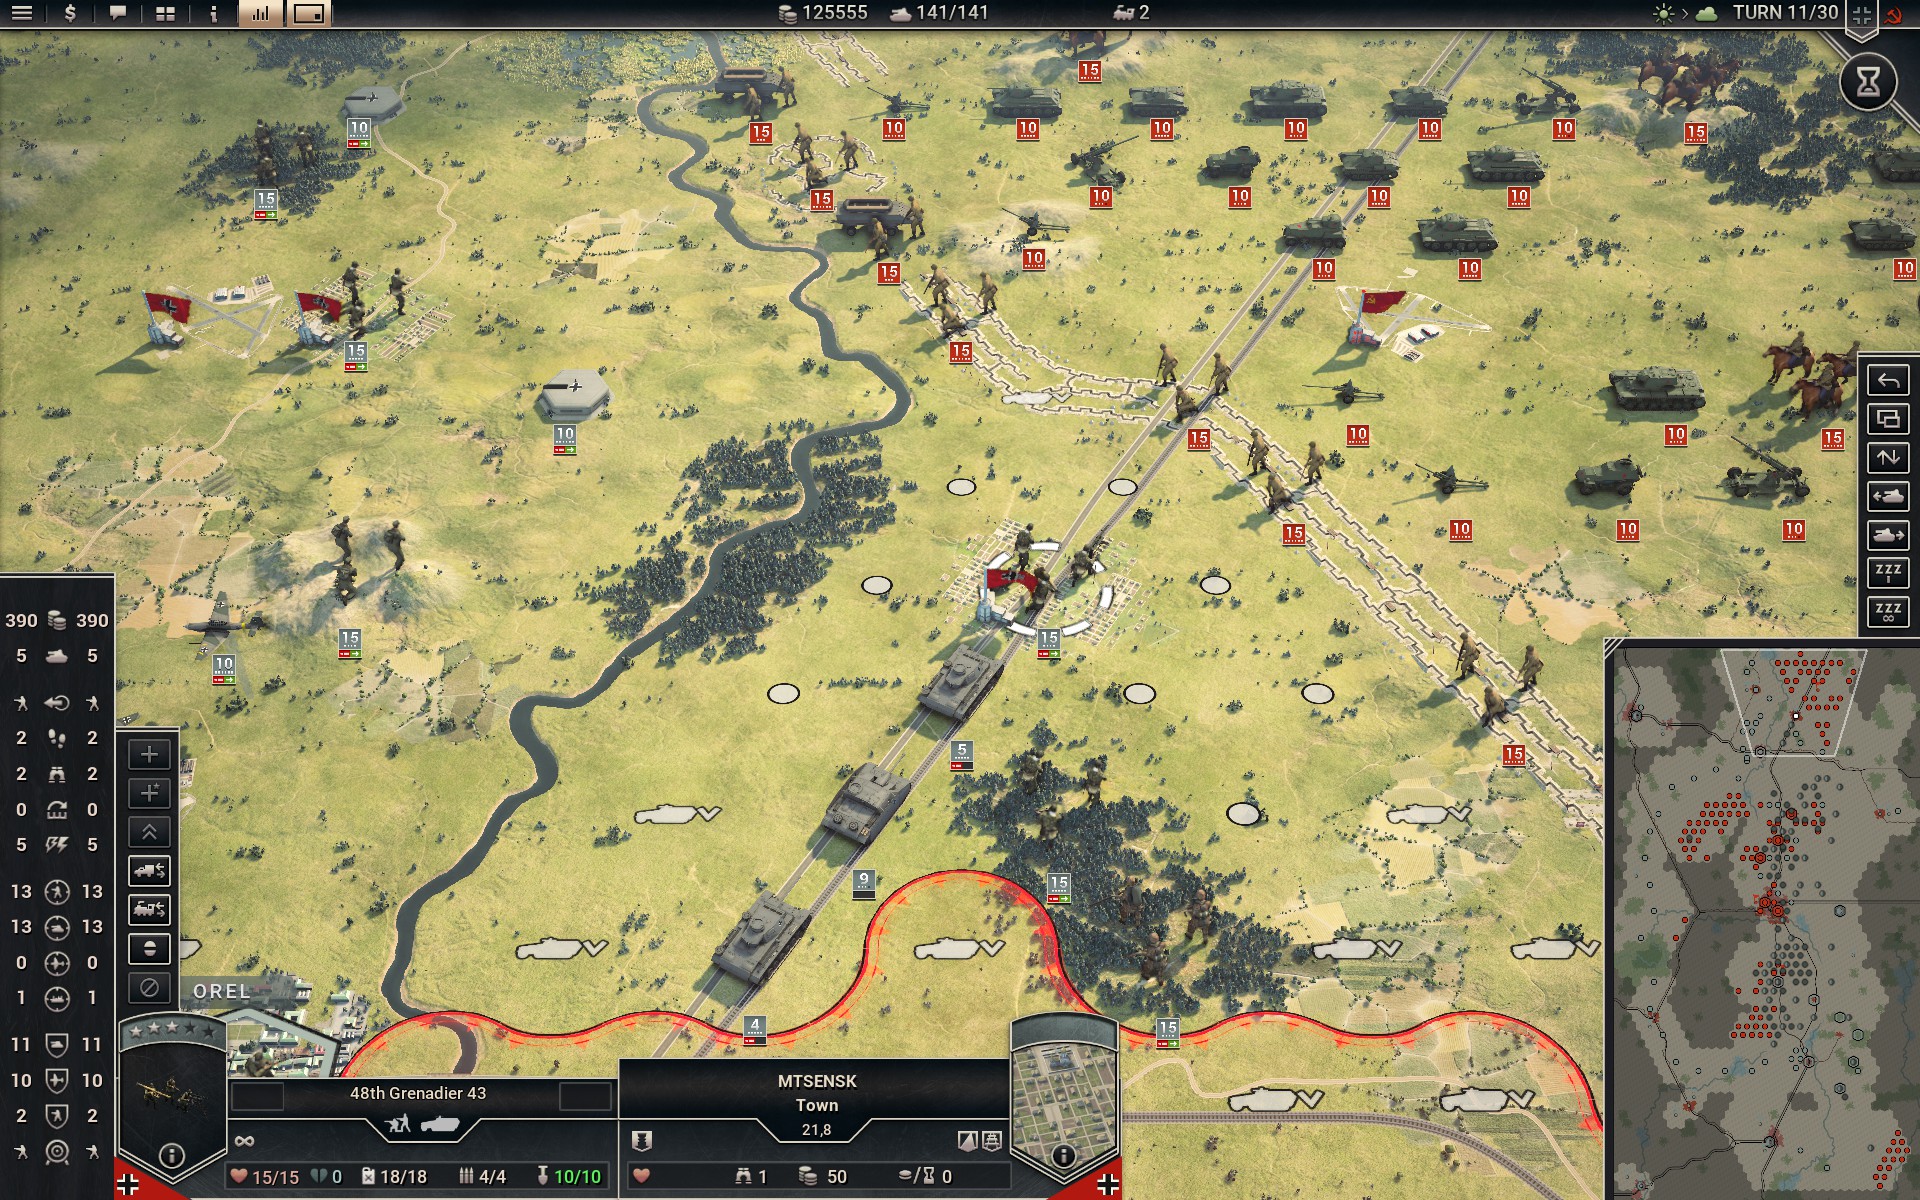
More Soviet forces advance towards Orel, surrounding the Grenadiers are Mtsensk. Theirs will be a sad but necessary sacrifice while I bring up more armour from the south.
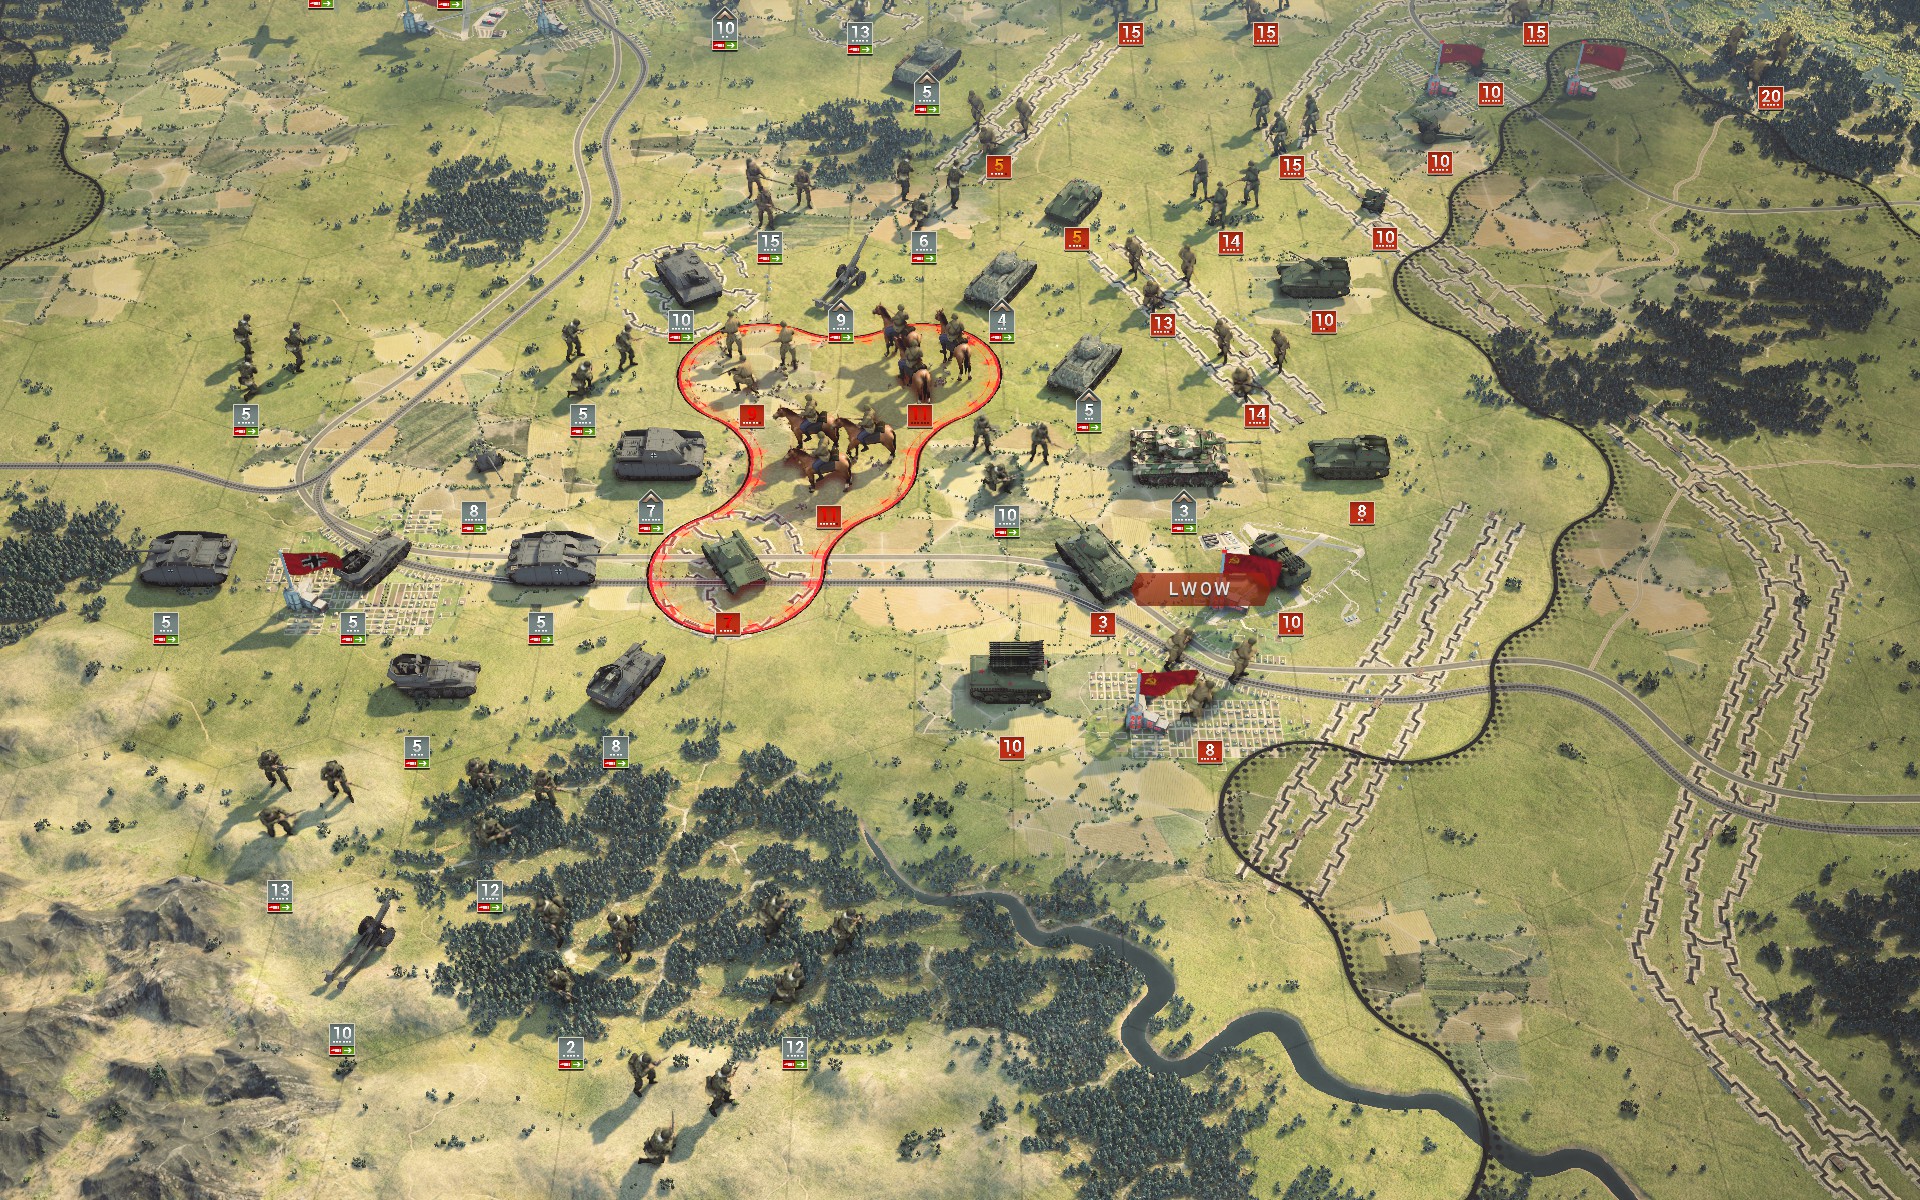
My forces begin to clear the Soviet forces along the southern perimeter of the Kursk salient.
With the bulk of the Soviet armour in the Kursk salient captured, I reroute some of the artillery and Panzers south to support the Bridgeburners and the Crimson Guard.
Despite their numbers, the Red Army is struggling to break through the line of auxiliaries.
The StuH 42s break down the earthworks of the Soviet units, making it easy to capture them.
The Red Army commits its last reserves, and worryingly they appear to be heading towards Kharkov. I decide to redeploy more Tigers to the west bank of the Donets.
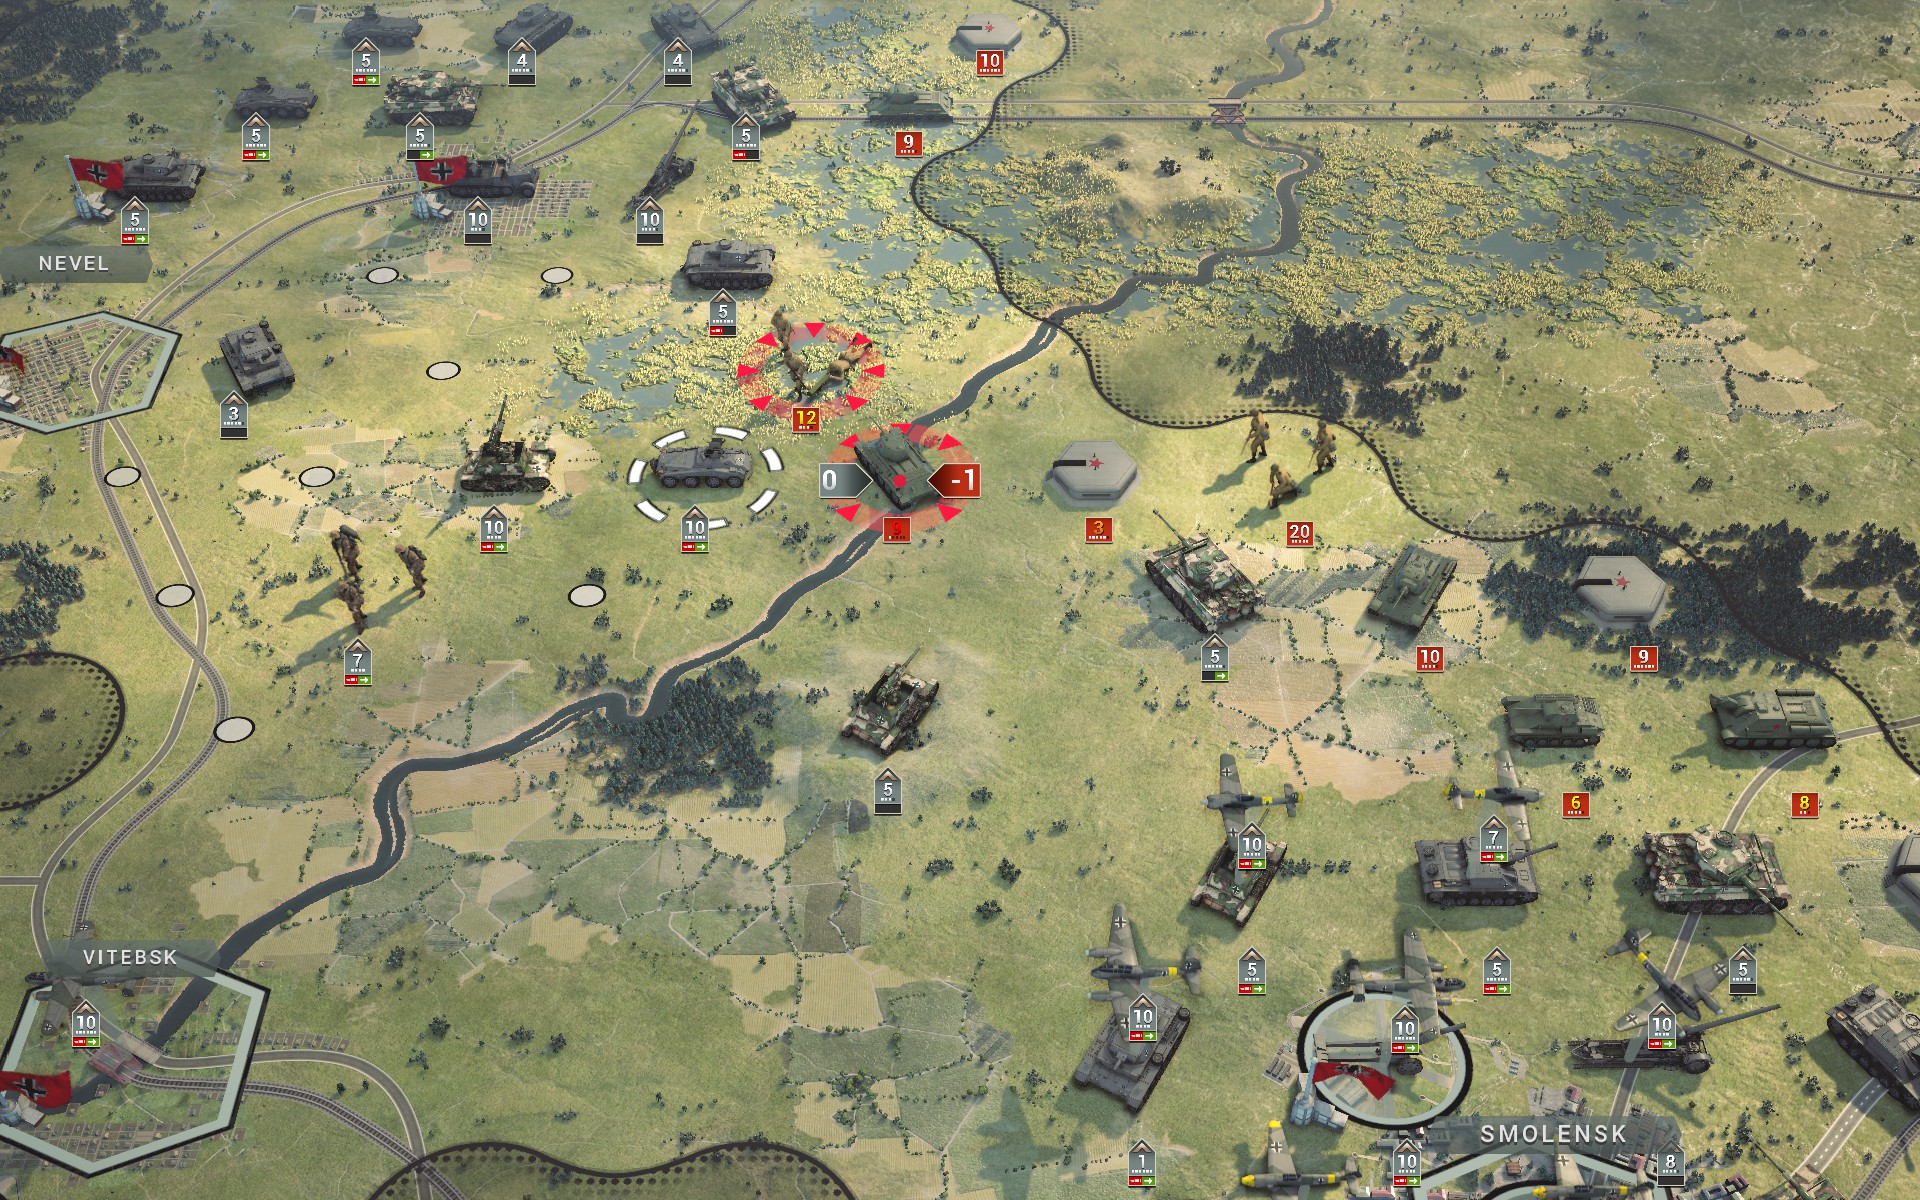
My initial attempt to flank the northern Soviet forces fails as the auxiliaries encounter a larger Soviet force attempting the same manoeuvre, but reinforcements are en route.

As the Soviet forces begin to spread out, it's clear that mine are insufficient to contain them. They will have to adopt a defensive formation until reinforcements arrive.
In the north, the auxiliaries suffer heavy losses, but the Soviet advance has been checked.

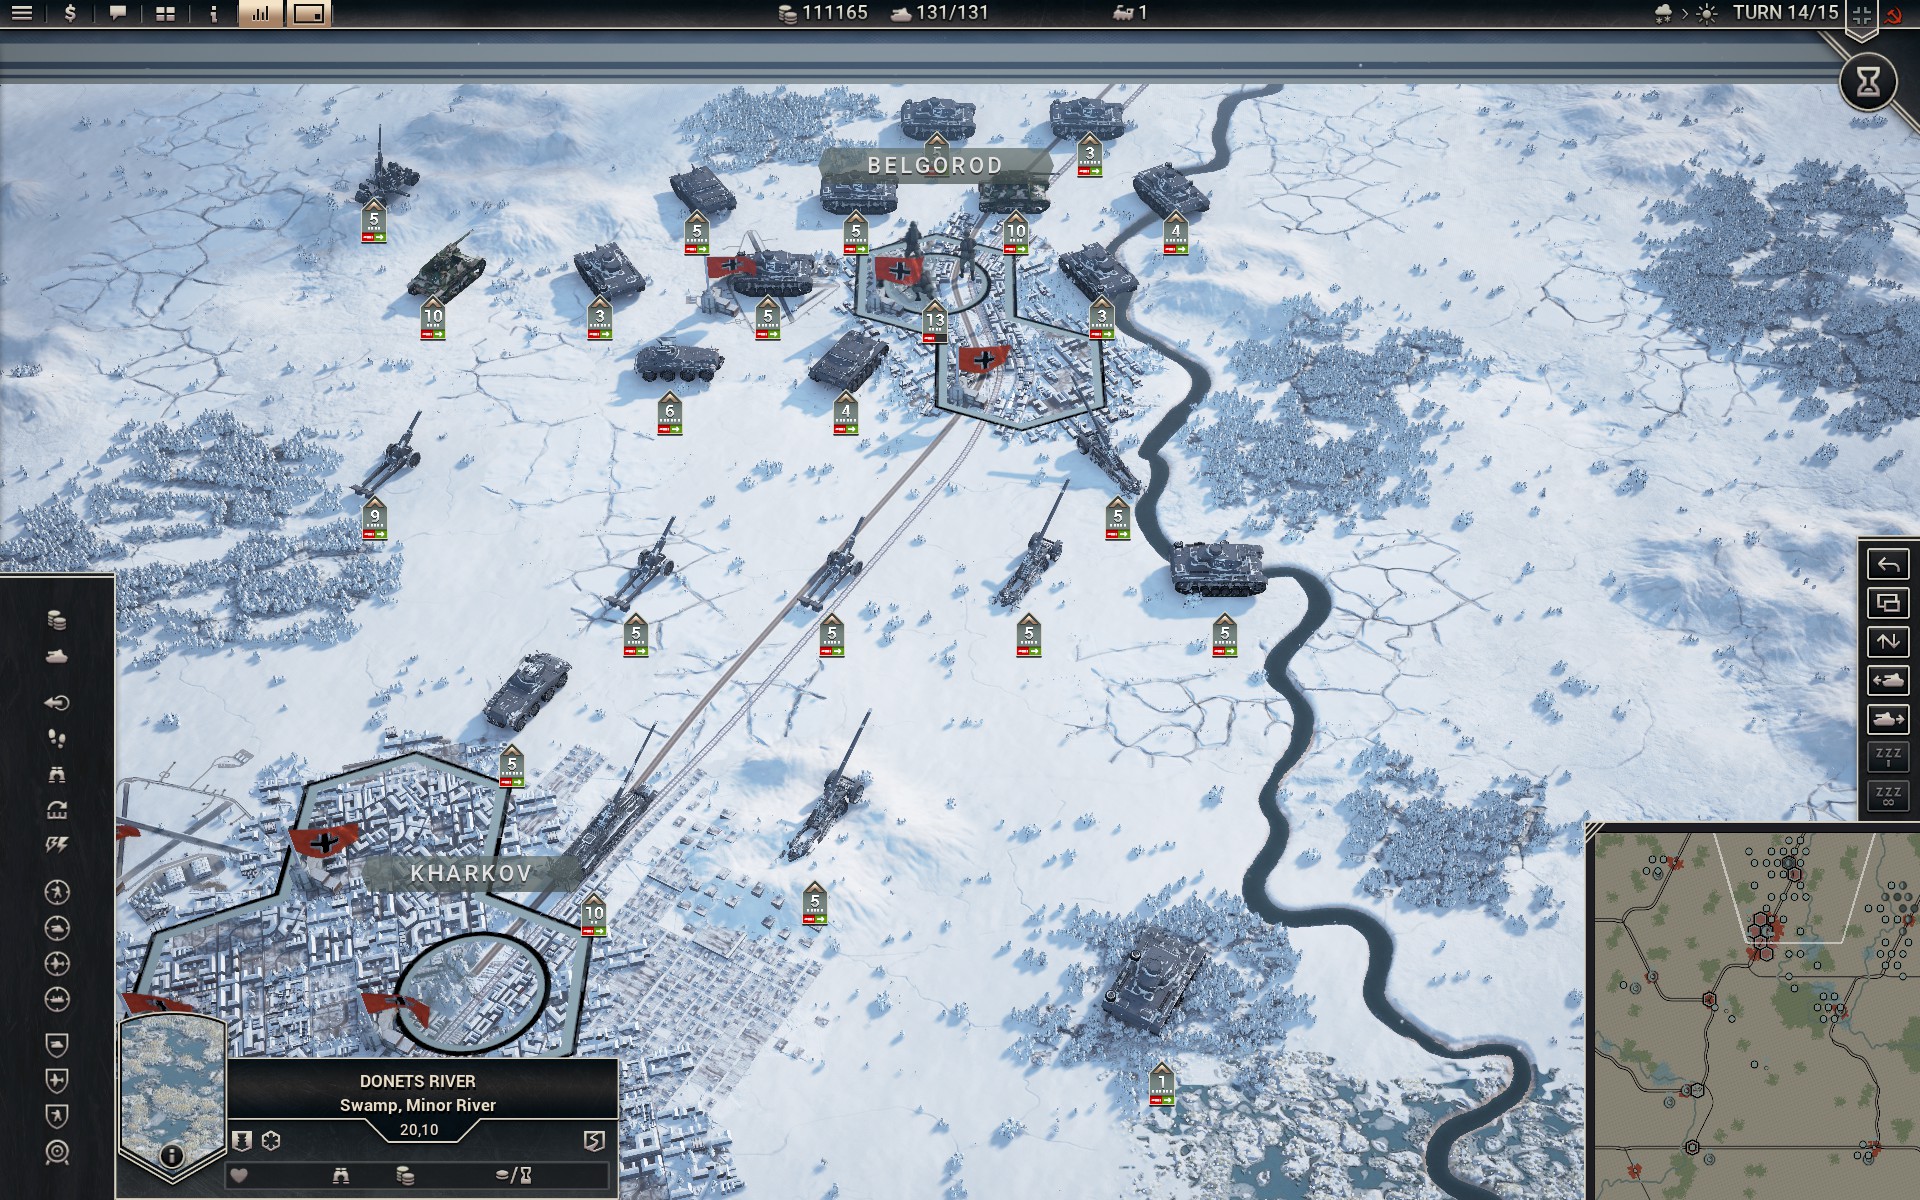
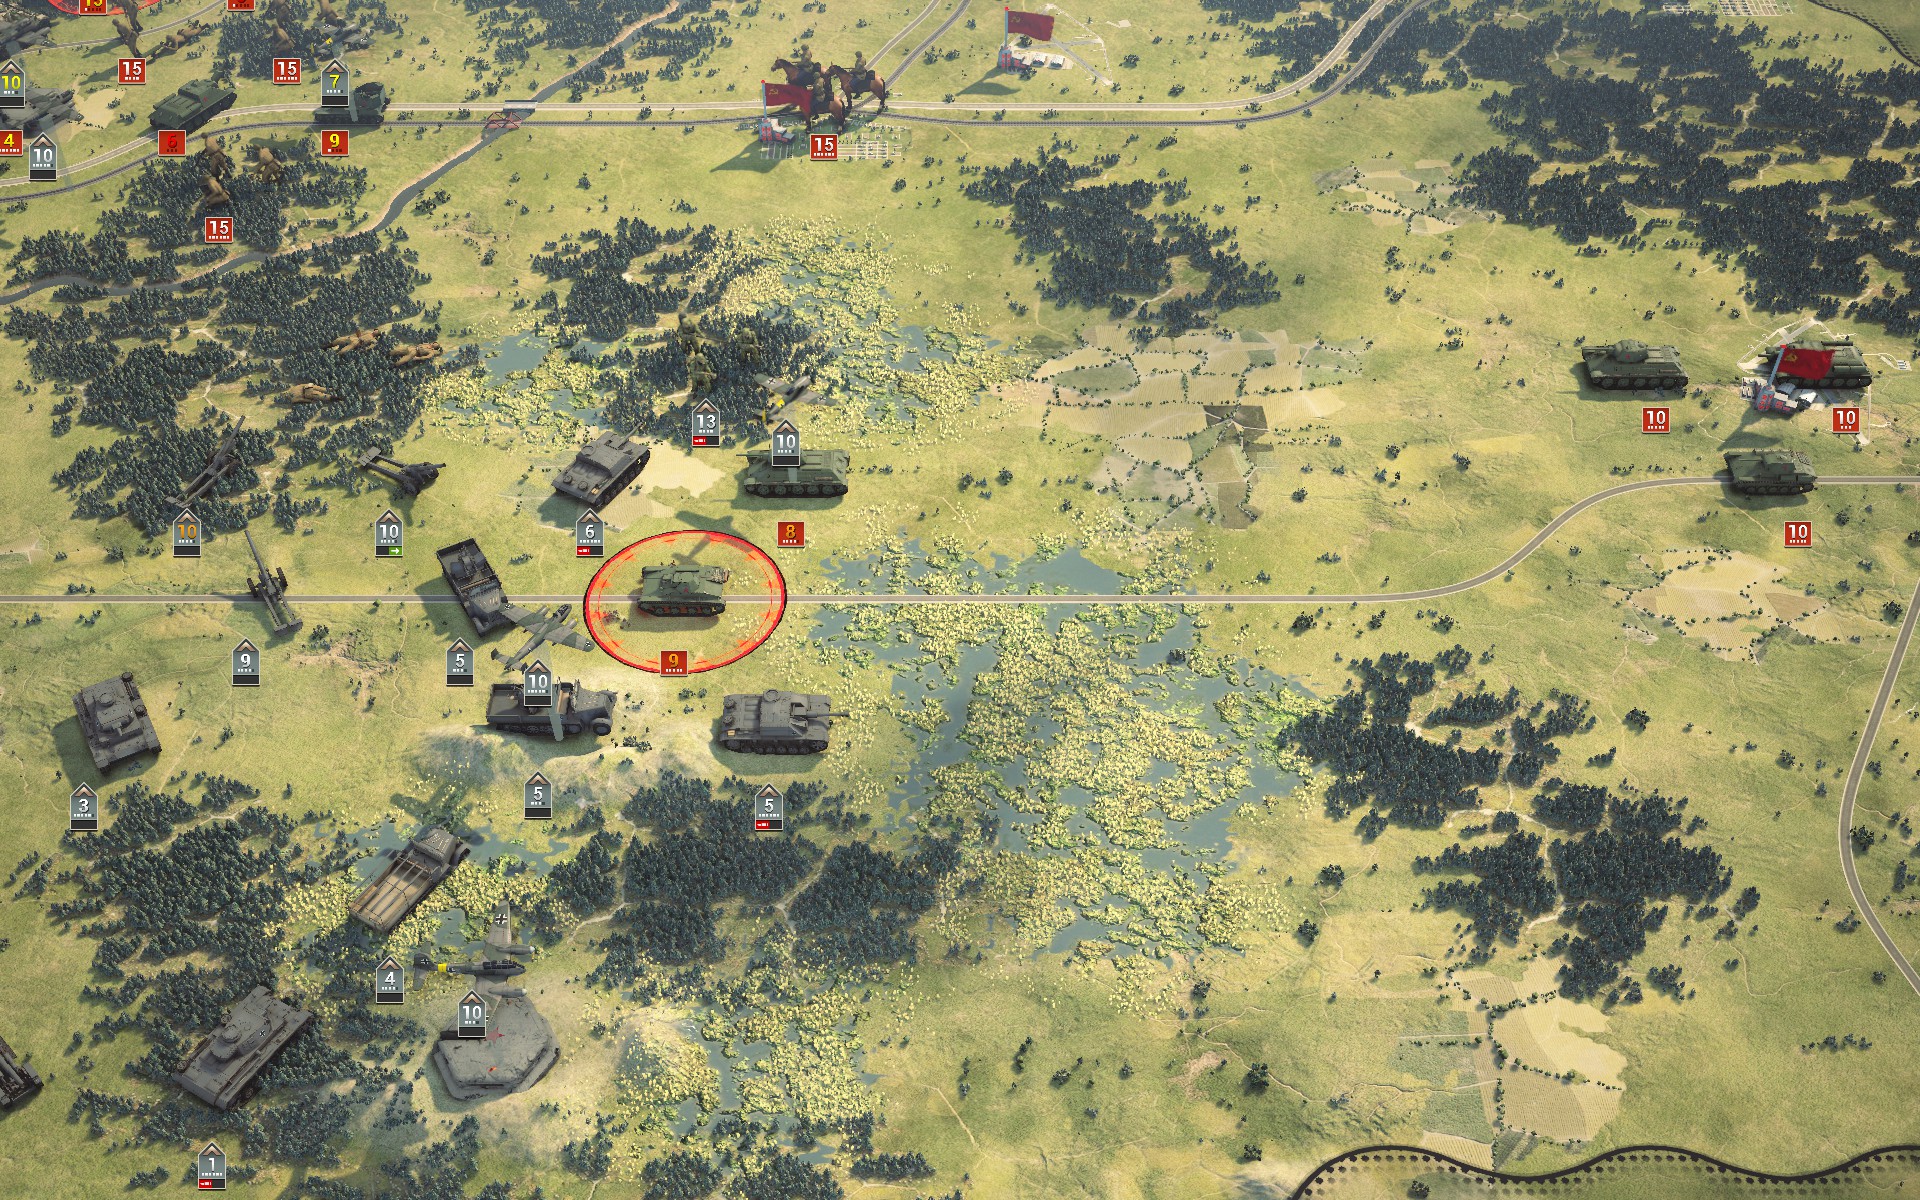
An OT-34 Flamethrower tank routs and destroys the Wehr Infanterie I had positioned in the woods south of the Donets. I'm not convinced by the decision to park a T-34 in a forest hex next to two battalions of elite Pioniere, however; Sun Tzu reborn the AI is not.
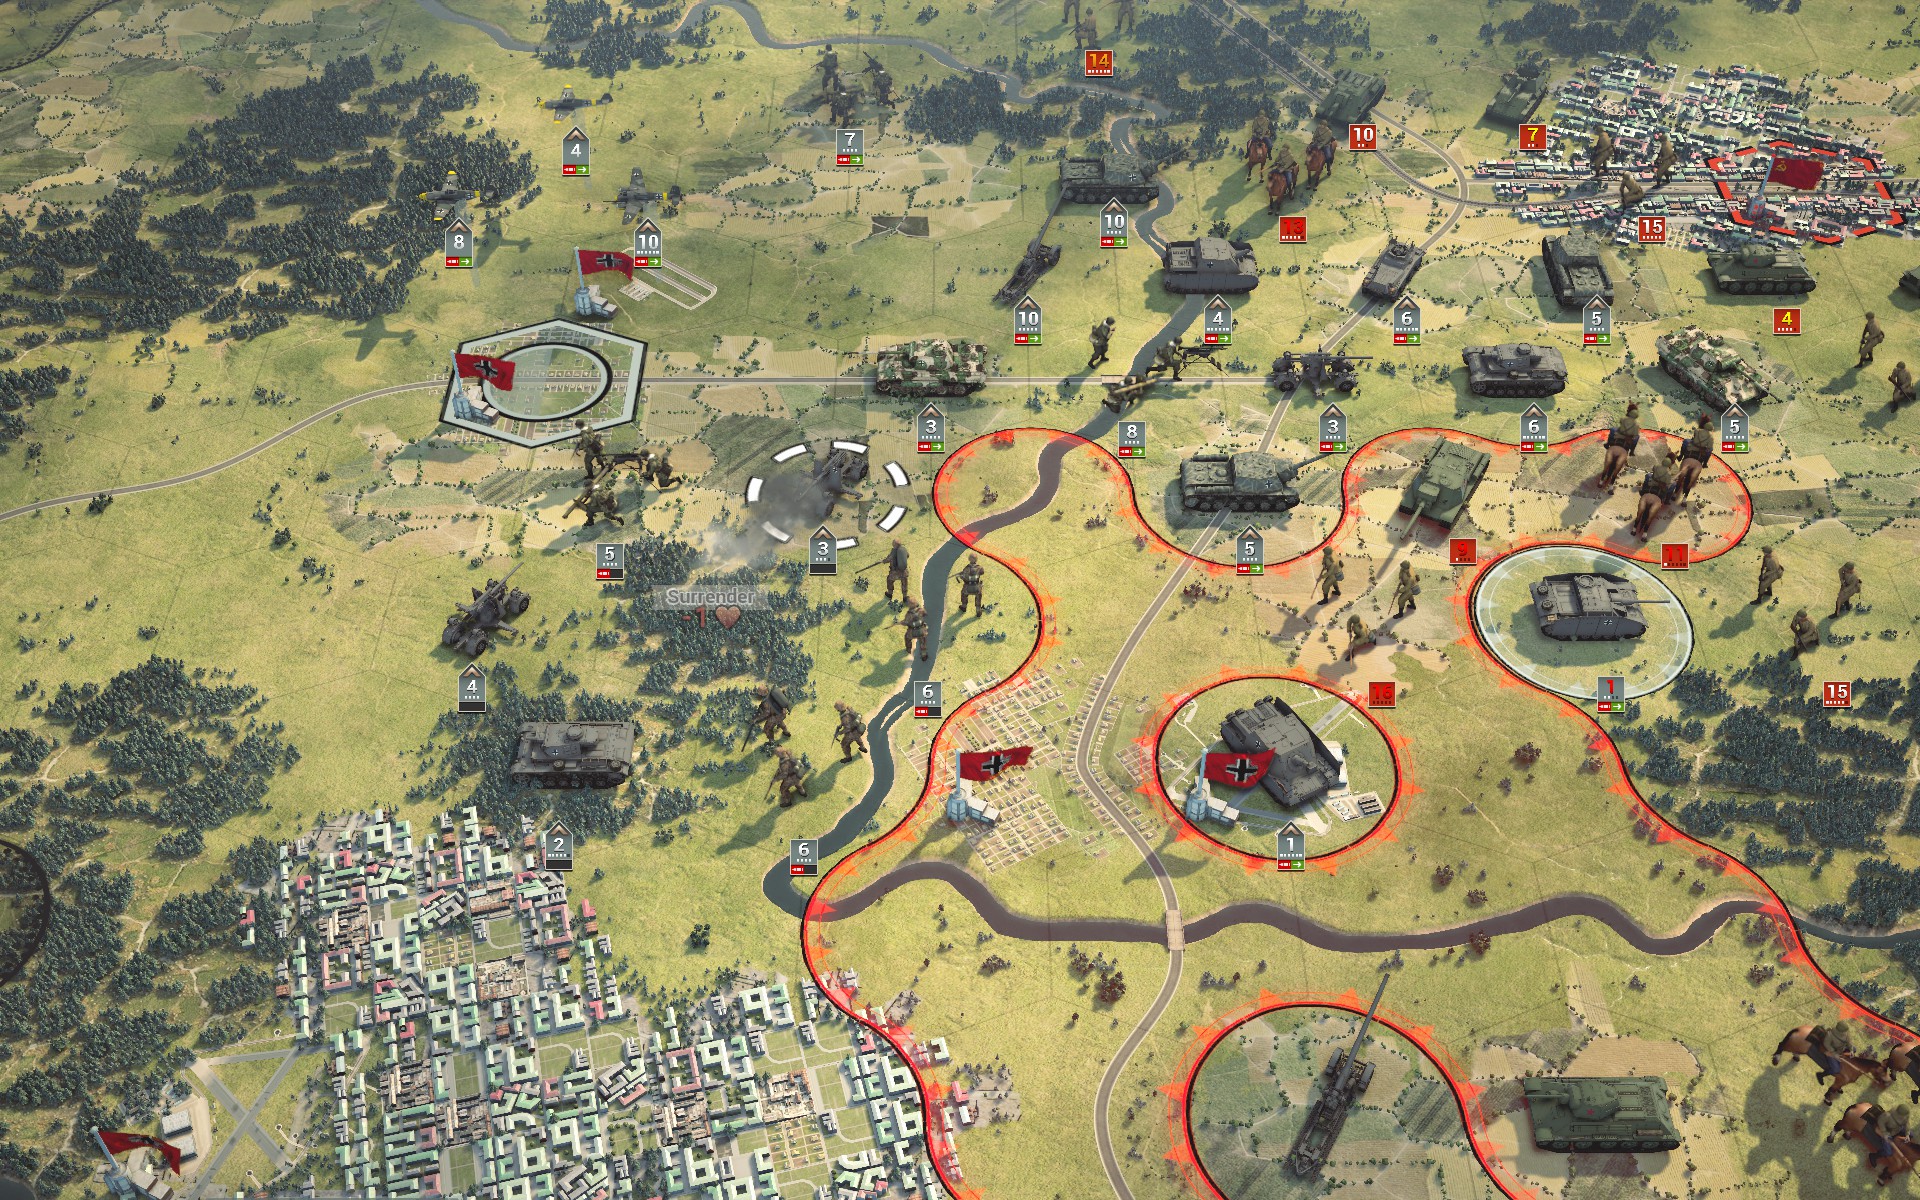
The Tigers cross the Donets to encircle the bulk of the Soviet armour.
The Tigers come under heavy fire but hold their positions, allowing my forces to begin capturing Soviet armour.
Only a few scattered battalions remain of the once mighty host inside the Kursk salient.
In the north, the Red Army has largely been suppressed.
In the south, my forces have likewise stabilized the situation.
With the last of the Soviet forces captured, the Kursk salient is now secure.
With all remaining mobile Soviet forces suppressed, my forces begin to surround the AA guns to the rear.
Aided by a battalion of Tigers and Gustav, the auxiliaries have cleared the northern pocket.
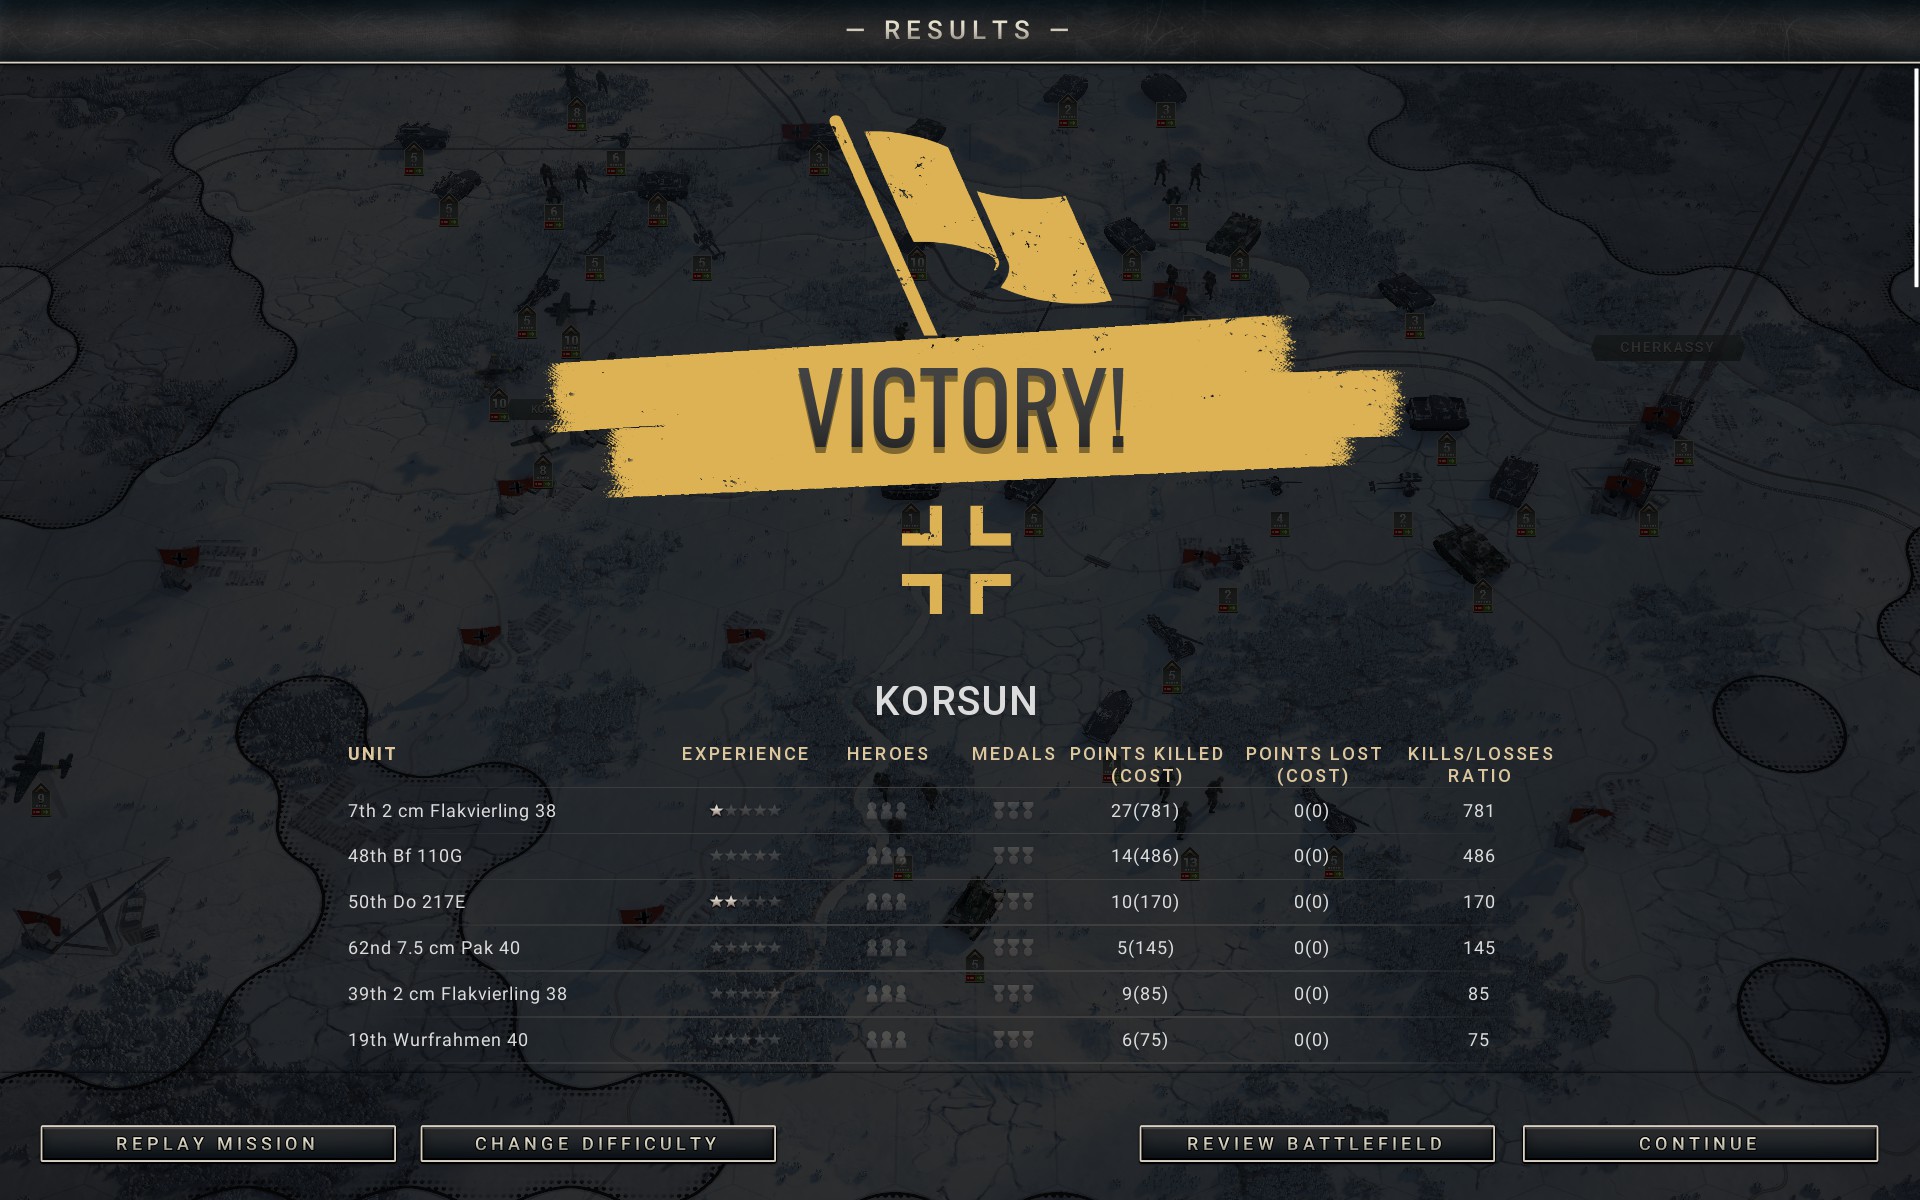
The last of the Soviet forces are captured.
NB: I had to reload a save because the scenario ends the moment you destroy the last mobile Soviet forces, so if you want to capture the AA guns too you'll have to leave at least one unit alive.
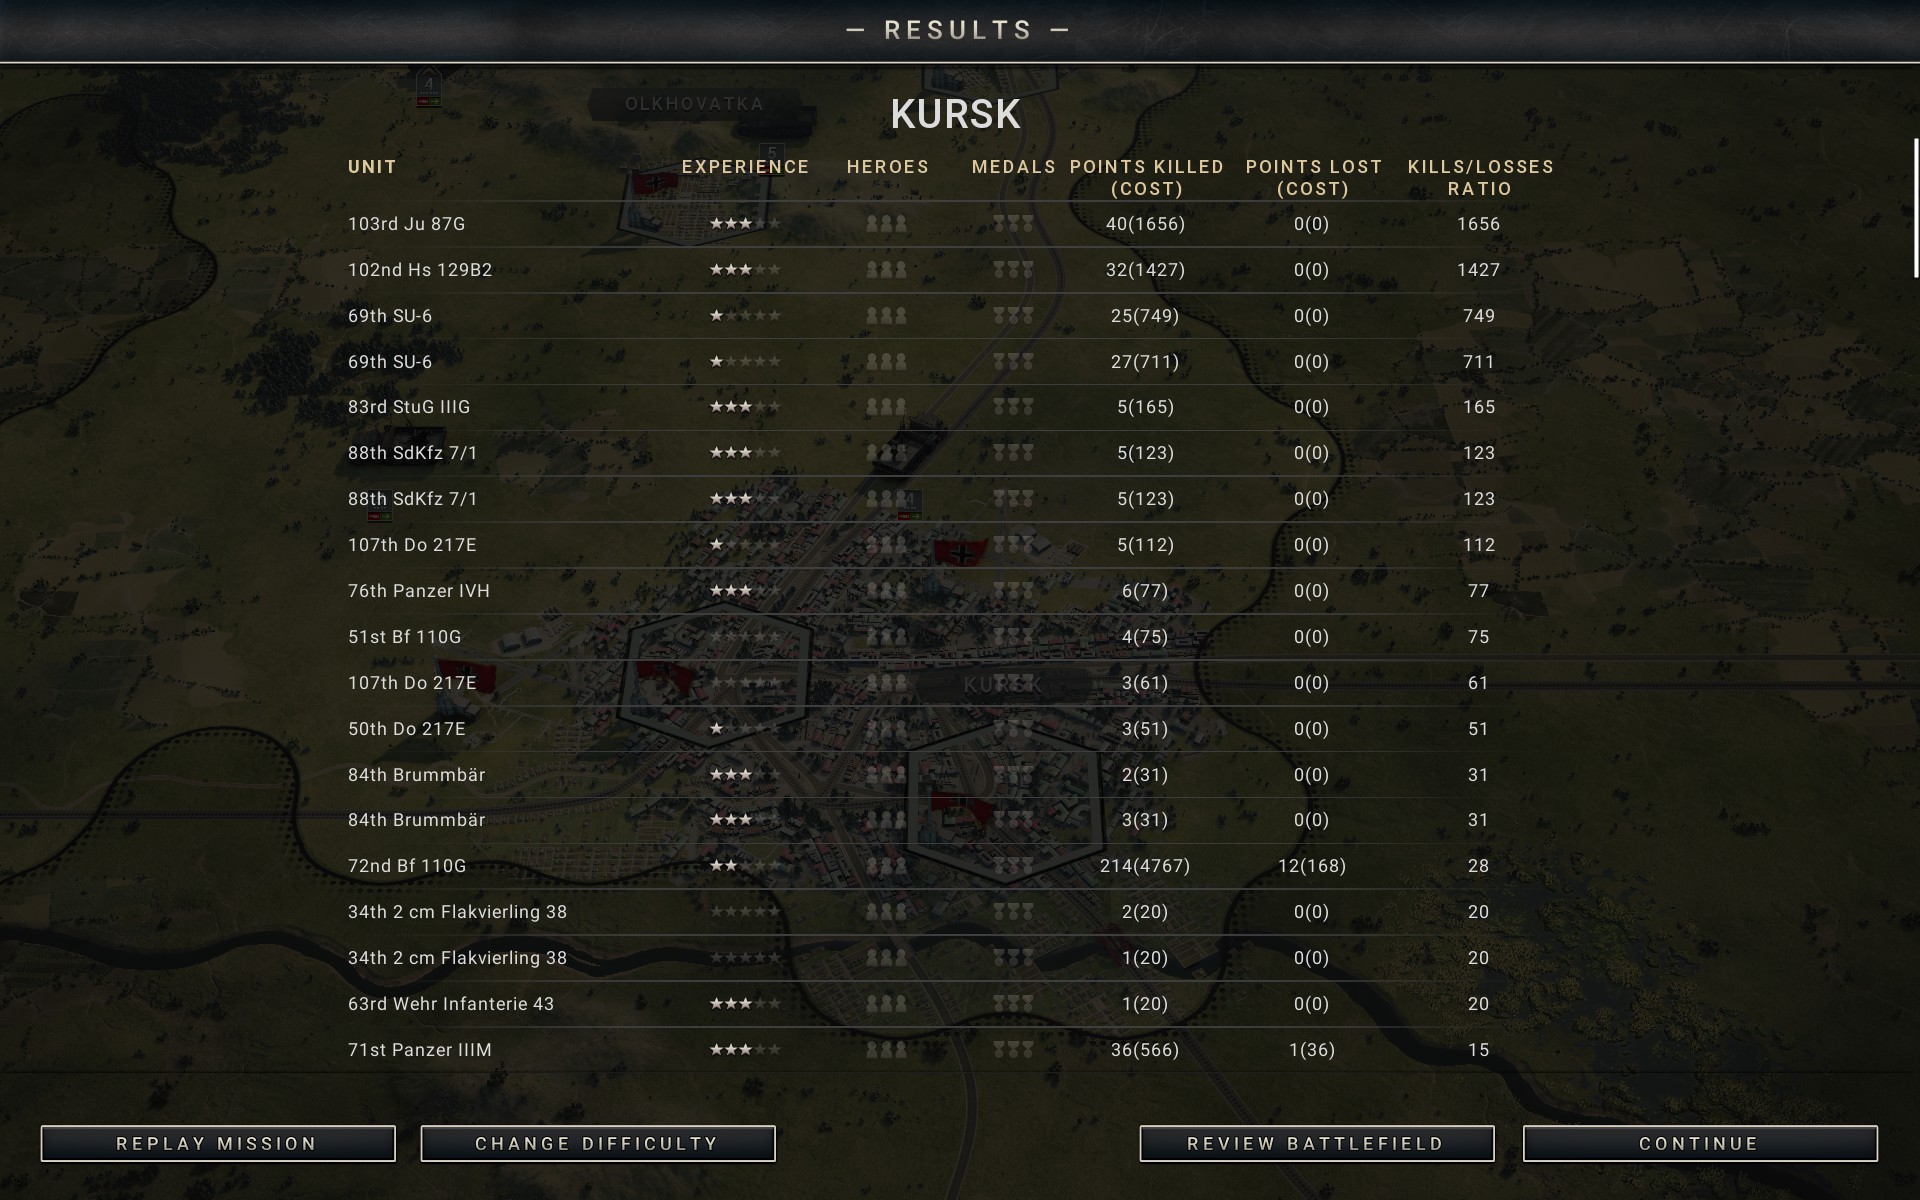
True to its reputation, the Battle of Kursk was epic in scope, and after relying on Soviet hardware for so long it felt good to finally have some quality of my own in the form of Tigers and Fw 190As. However, for all that the Red Army had intimidating numbers they were poorly coordinated, and while I made sure to use my scouts to track enemy movements I never really felt threatened by them. By the time the reserves entered battle I had largely cleared out the Kursk salient and was not in danger of being caught between two opposing forces; the AI really needs more dynamic triggers to present more of a challenge to players.
The auxiliary force is quite strong and could force its way south if you wanted to play this scenario more aggressively, so with some AT support of your own you could reenact the "true" Battle of Kursk as the largest clash of armour in history by challenging the Red Army directly at Prokhorovka. On the whole though I rather enjoyed the scenario. With hundreds of Soviet units I predictably made tens of thousands of prestige from the battle, but at this point prestige is little more than a nice benchmark to have, much like the high score in an arcade game.