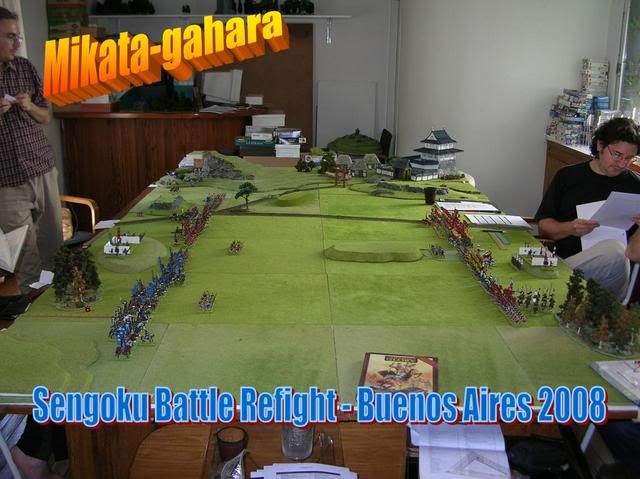
Mikata-ga-hara, Sengouku Hist Refight in Buenos Aires PICS!
Posted: Thu Feb 19, 2009 4:14 pm
Prelude
FOG has the great advantage of presenting a very uniform system for classifying troops. This means that although the lists for the Samurai are not out yet, and although those lists might cover a period slightly earlier than the Sengoku period, the enthusiastic samurai players can engage on some historical refights just by doing a little of extra work to define the troop types according to FOG in light of historical evidence.
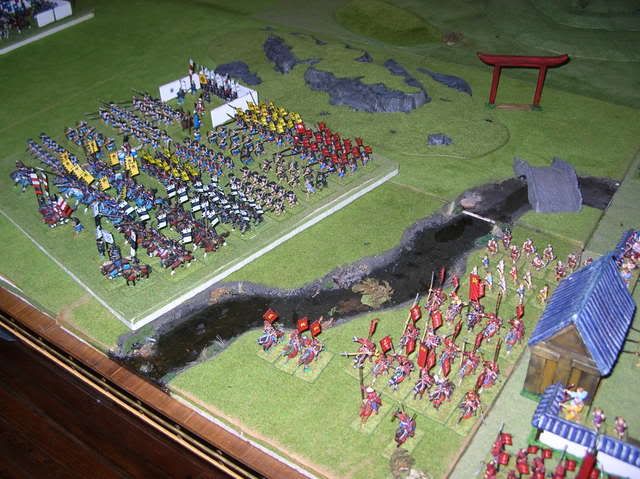
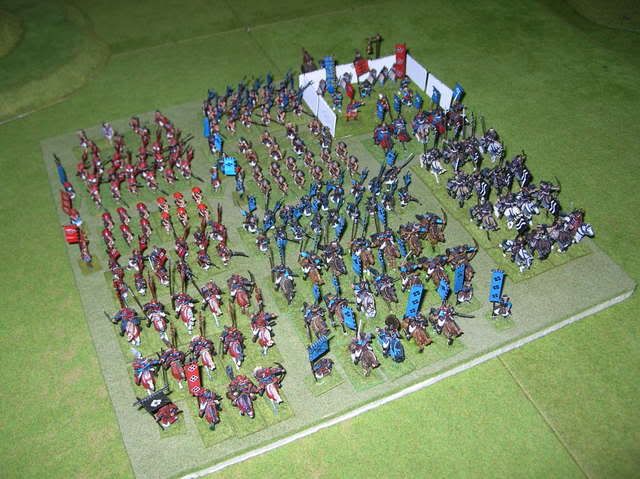
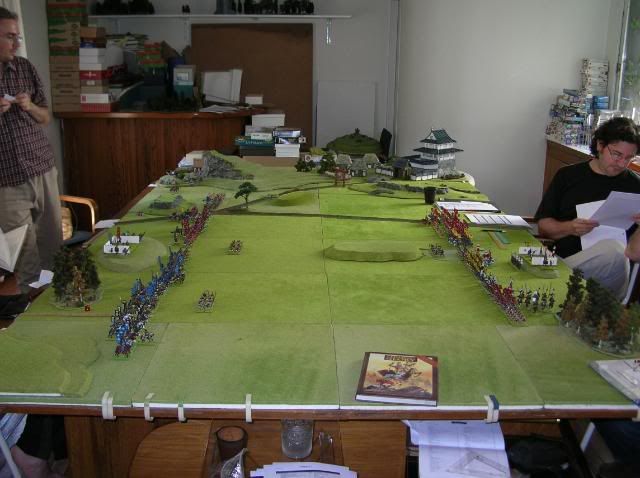
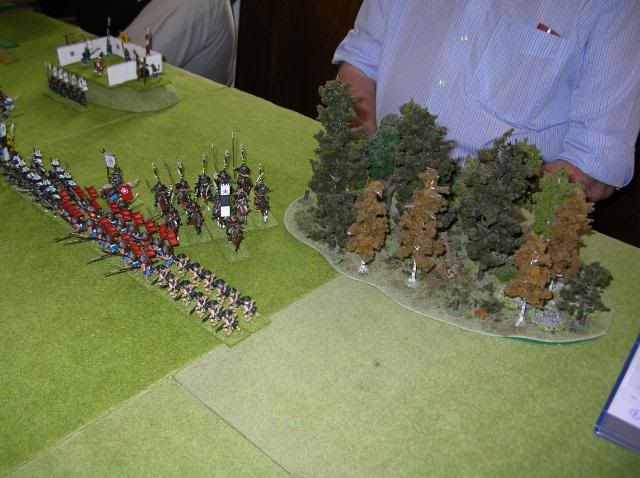
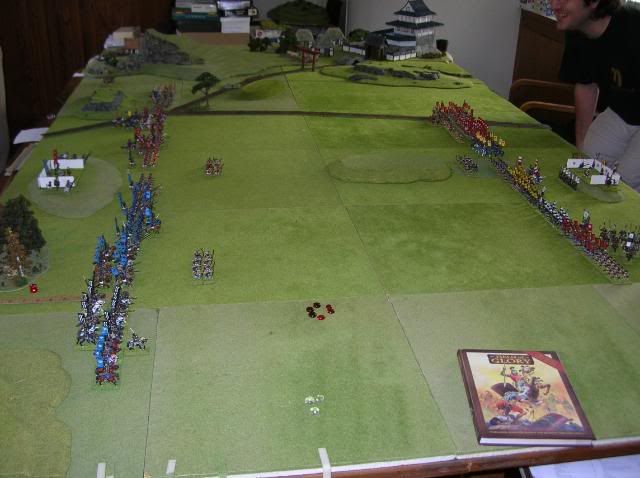
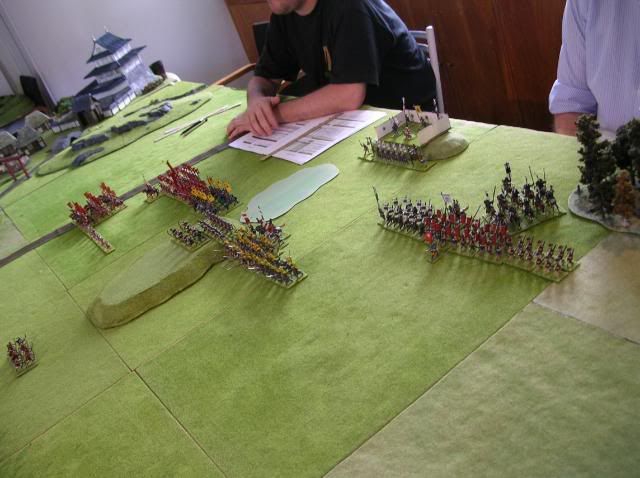
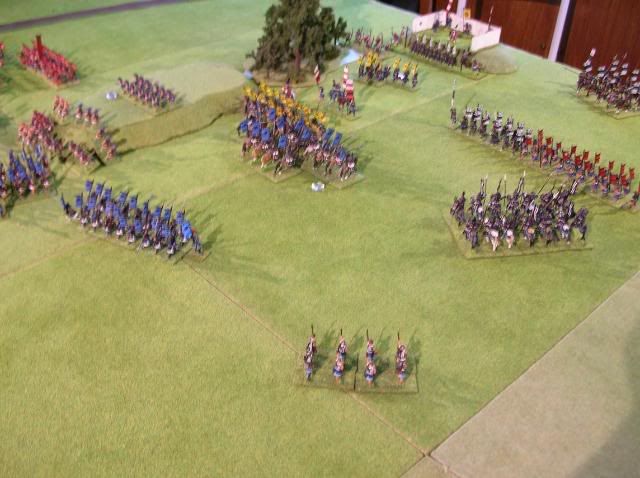
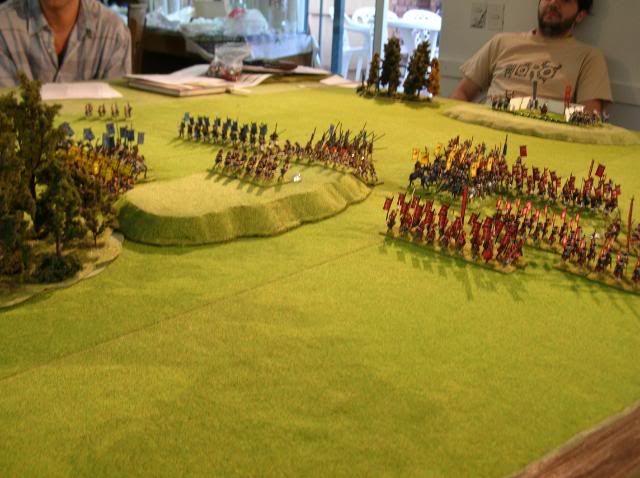
In Buenos Aires our samurai armies had slowly been developing over years but were yet to see the tabletop until FOG arrived. After a few playtesting battles the local players decided to expand their armies and soon we had enough minis to do our first historical refight. Mikatagara seemed an interesting battle to represent.
Historical Reference
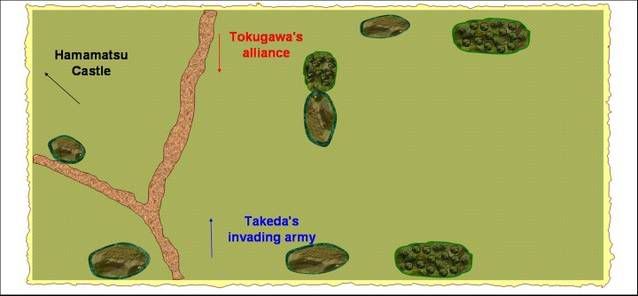
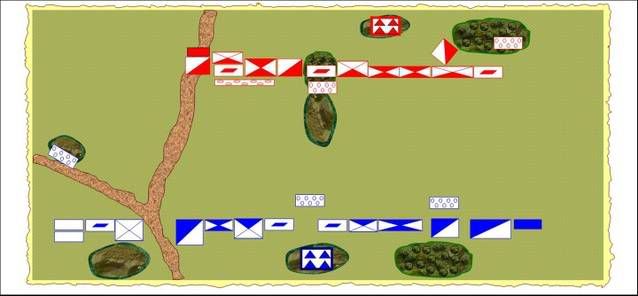
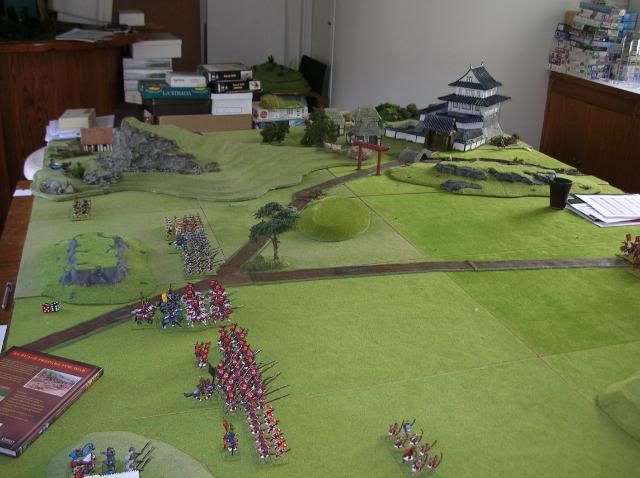
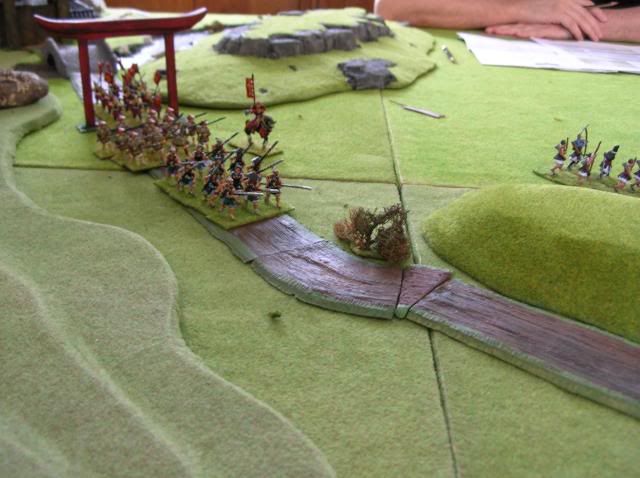
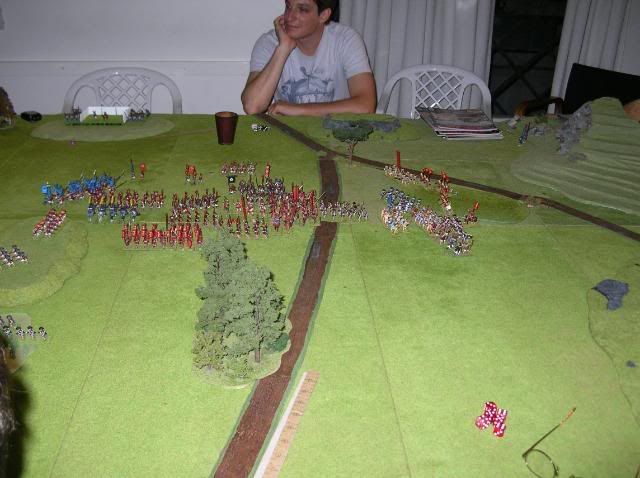
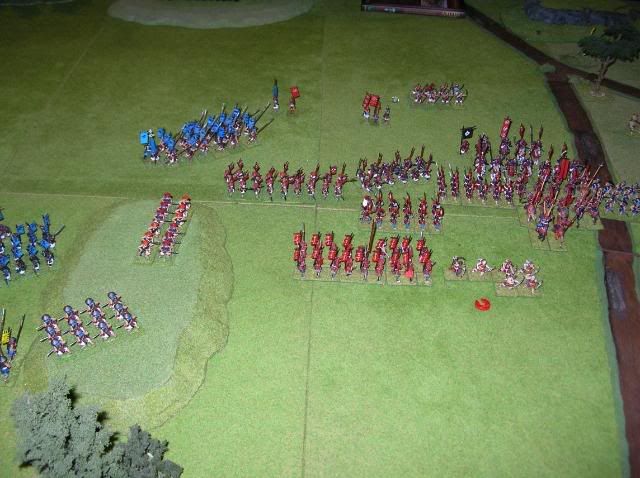
The battle of Mikatagahara took place in 1573 ( Sengoku Period ) between the forces of the Takeda clan and the forces of Tokugawa Ieyasu. Tekada Shingen moved towards Hamamatsu castle and was faced in battle on the Mikata high plains by Ieyasu’s troops which had been reinforced by Nobunaga..
In the actual battle Ieyasu was defeated on the field by Shingen and had to retreat to the castle, however Shingen was reluctant to initiate a sige and thus did not exploit his victory against Ieyasu. ( I will leave the considerations of why that was the case to the reader, as historians disagree on the matter
Representing Samurai Warfare in FOG
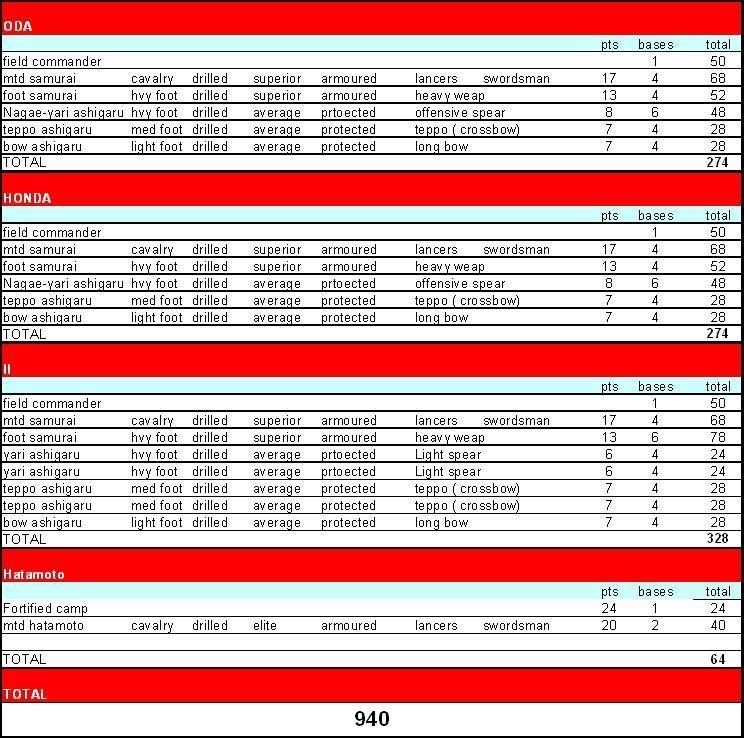
CAVEAT: First of all let me be clear about how we approached this subject. Our intention was not to guess what the FOG team will come up with for Samurai lists. We understand that the FOG team will have to consider how the Samurai list interacts with other lists, we didn’t have this concern. There was no need to worry about this; we simply had to worry about how samurai armies would interact with each other. There was no need for us to consider if it was fair to represent Samurai warriors as skilled swordsmen or simple swordsmen in light of how they would match against other armies. All of our troop selections were based on how we wanted the interaction ashigaru-foot samurai-mtd samurai to be.
Now that I’ve clarified this point let me describe the choices of troops that we selected.
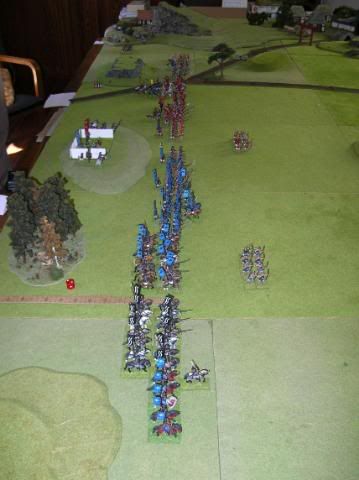
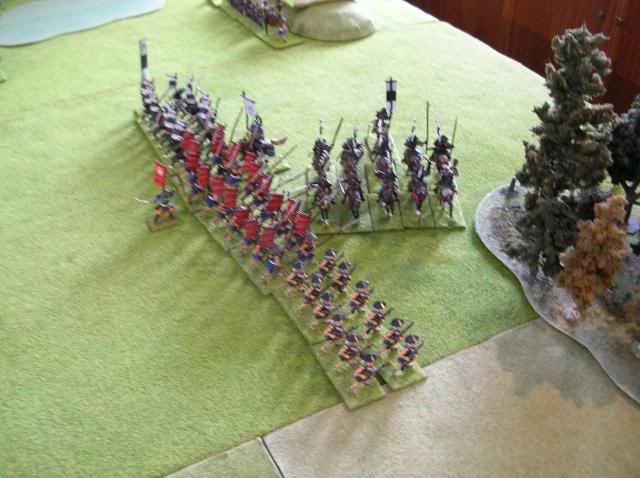
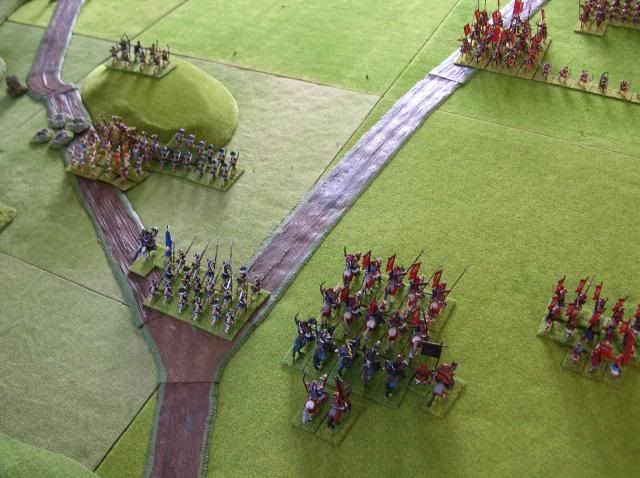
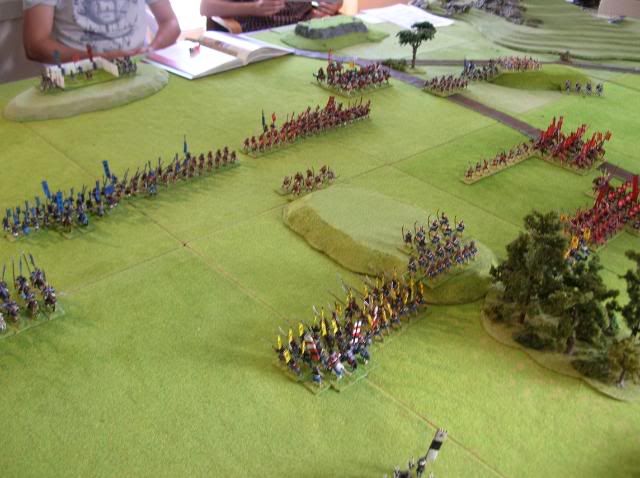
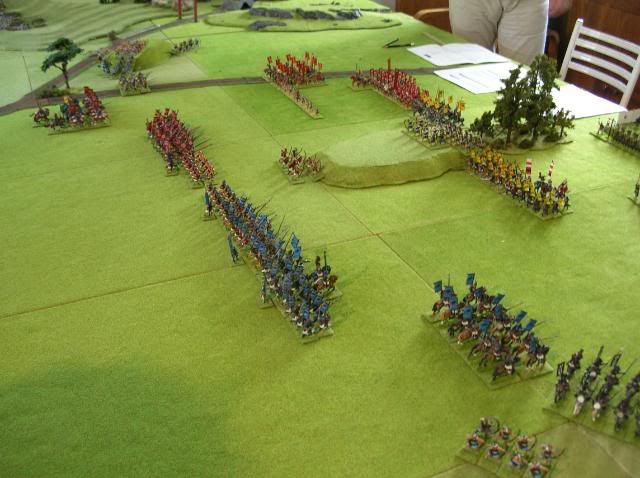
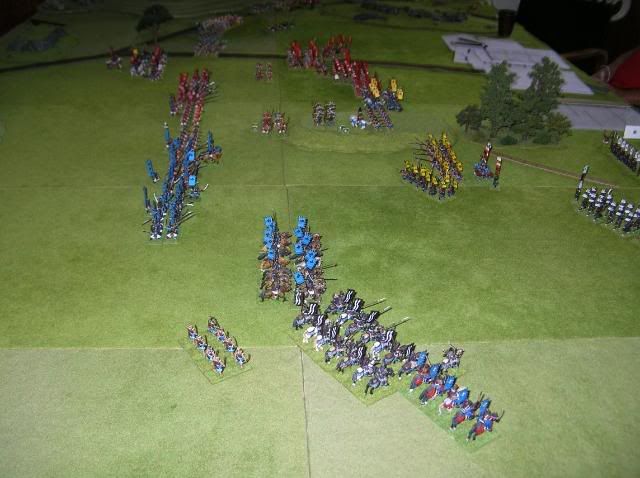
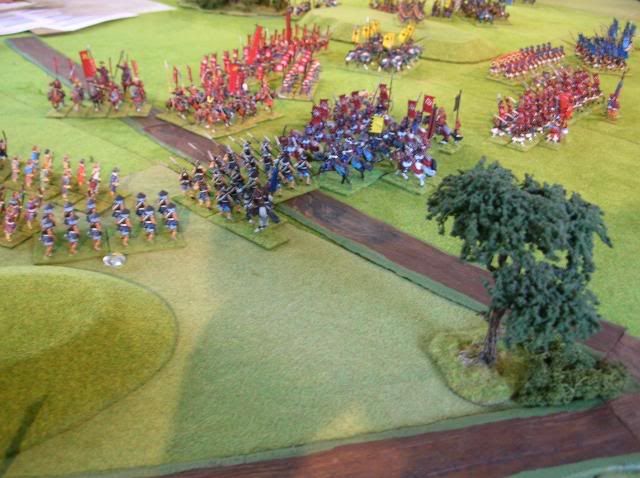
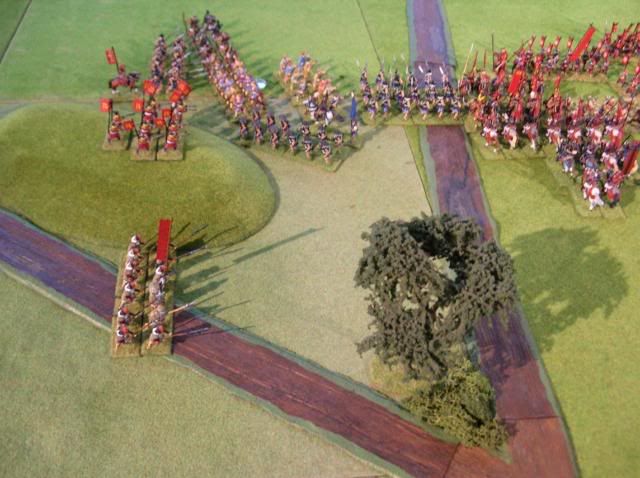
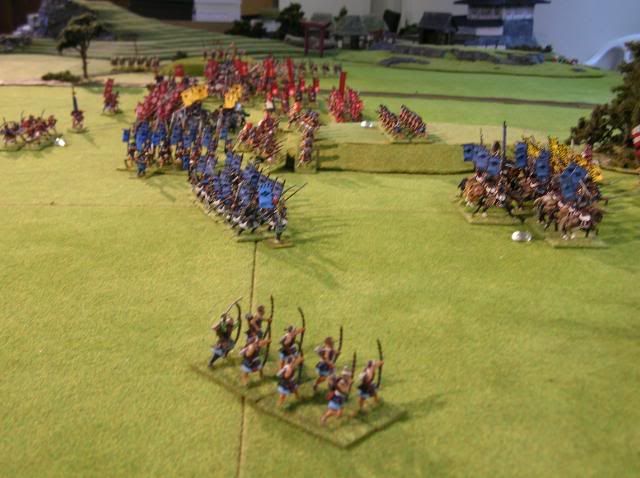
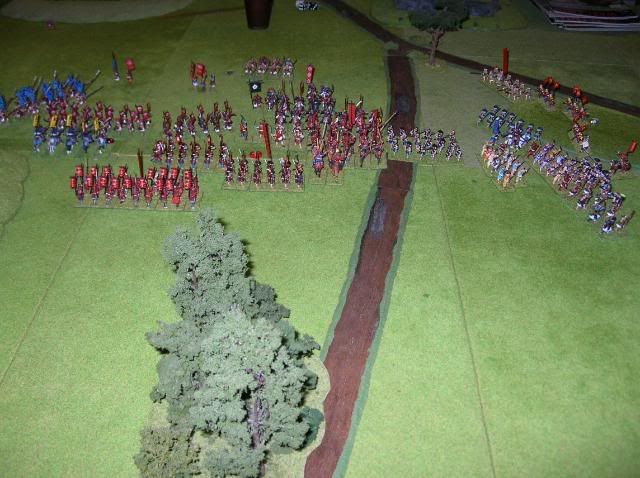
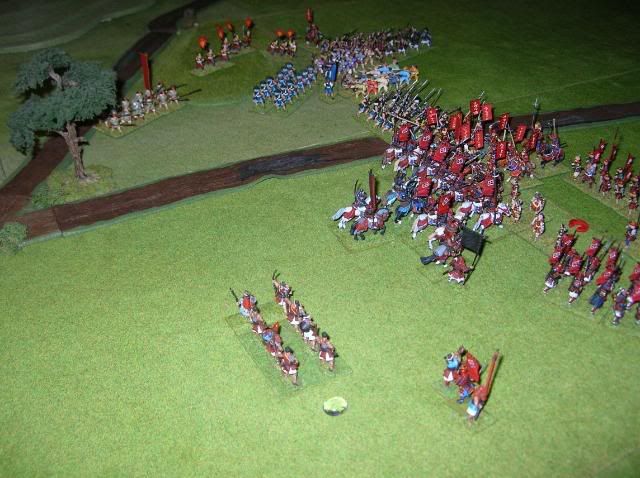
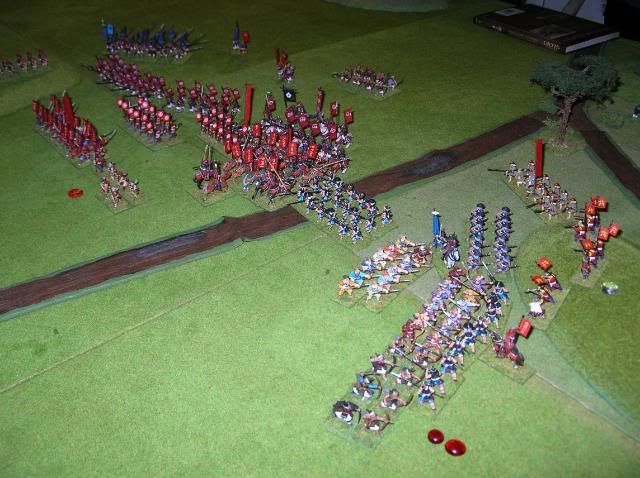
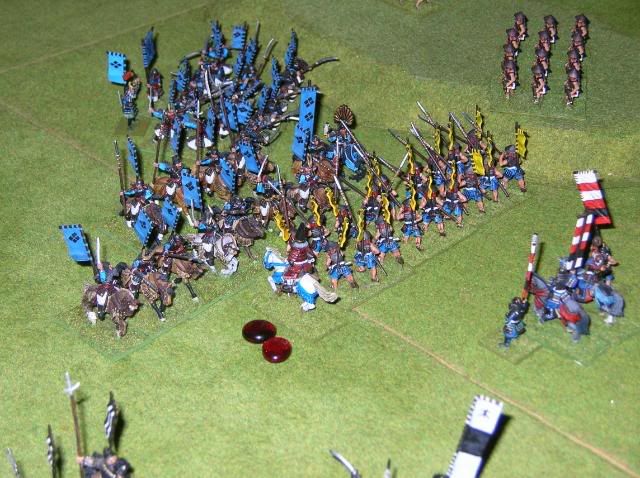
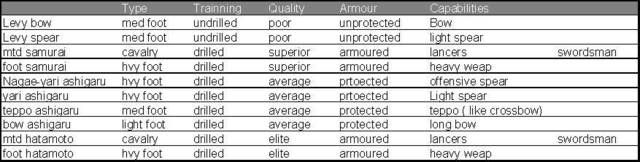
All troops were classified as drilled. We did this not to make a point about professional vs unprofessional armies but to give mobility to the armies. When you combine “drilled” with having small size for battle groups ( 4 – 6 bases ), then troops are very mobile, encouraging the armies to do lots of maneuvers, something that appears very characteristic of samurai warfare with their extensive maneuvering and redeployment. This apparently was common in samurai warfare as the troops would go through an extensive period of training and maneuvering every year.
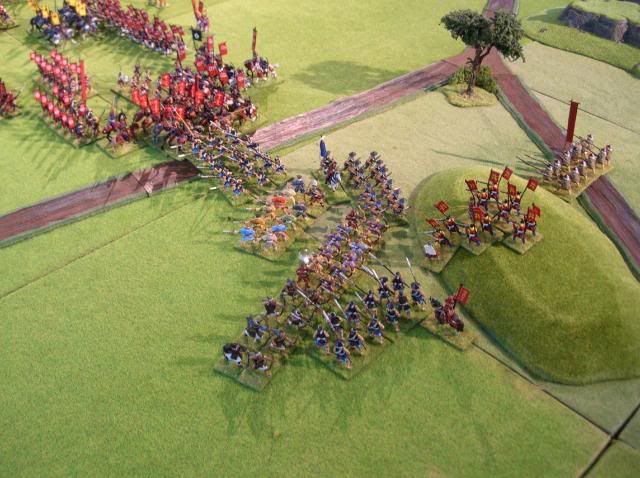
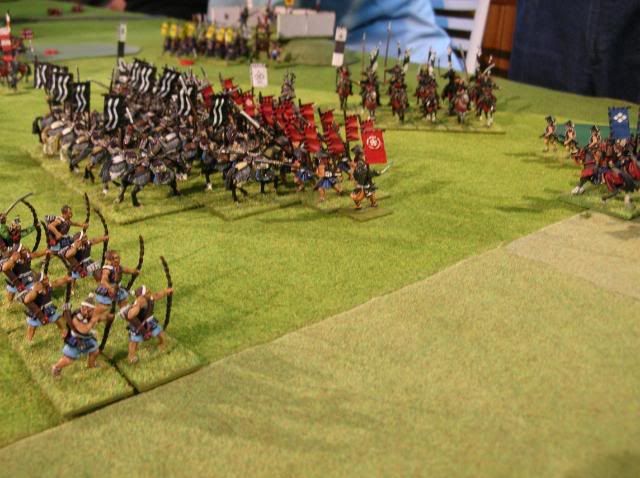
Most infantry was classified as heavy foot as apparently from what we’ve seen in battle recounts troops had a preference to fight in the few open grounds they could find ( many times repeating the same site for many battles, ie. Kawanakajima). Teppo units were counted as medium foot as some evidence of Teppo ambushes might exist and it could add some variety.
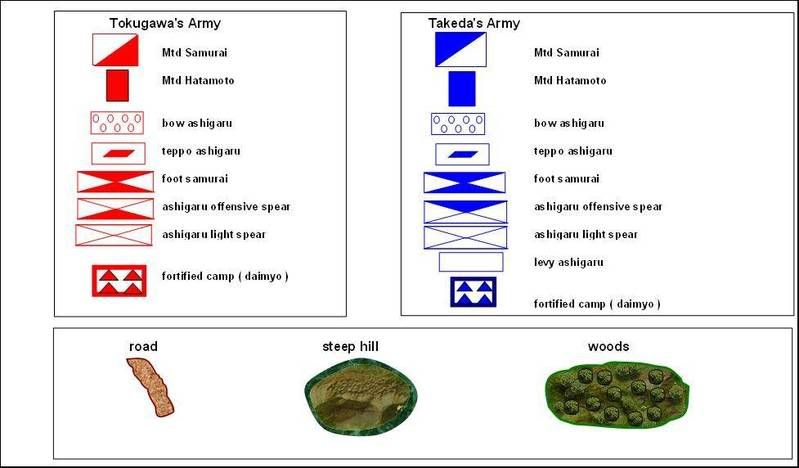
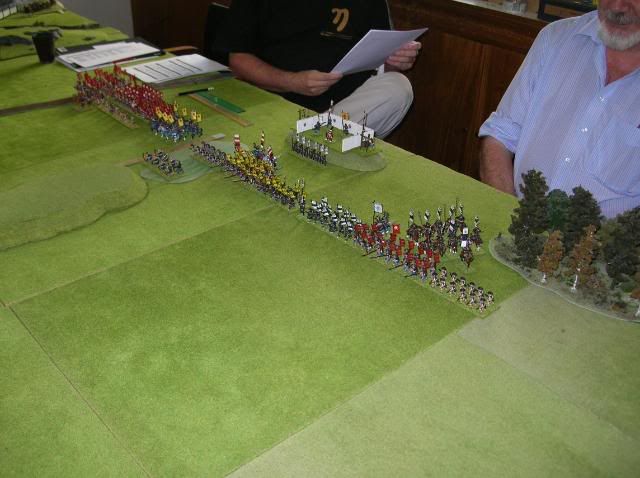
Ahigaru:
All ashigaru were considered average drilled protected.
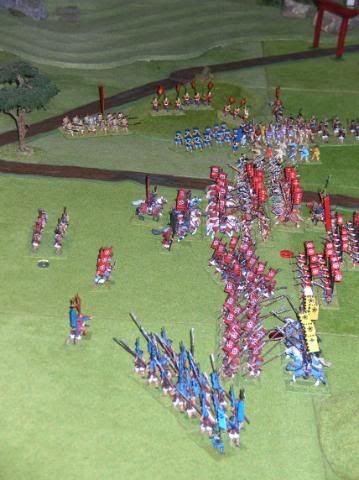
Yari ( the shorter yari) ashigaru we classified as heavy foot armed with light spear
Nagae-Yari ashigaru were classified as heavy foot offensive spear
Bow ashigaru were classified as light foot long bow ( the only skirmishing units in our armies)
Teppo ashigaru, although FOG includes “handguns” these seemed a bit prior to the sengoku teppo to us, hence in order not to create strange rules ( not in the spirit of FOG ) we decided that representing teppo units as medium foot crossbow would make sense. After all the teppo appear to have had longer or comparable range to the bow troops but lower rate of fire, thus cross bows seemed a good alternative. So teppos were classified as medium foot crossbow.
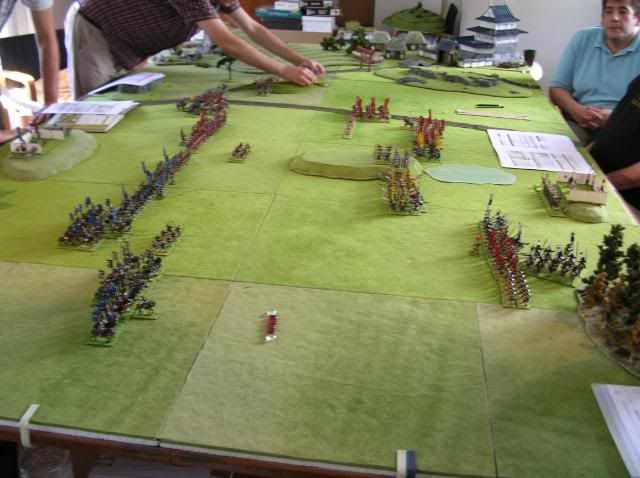
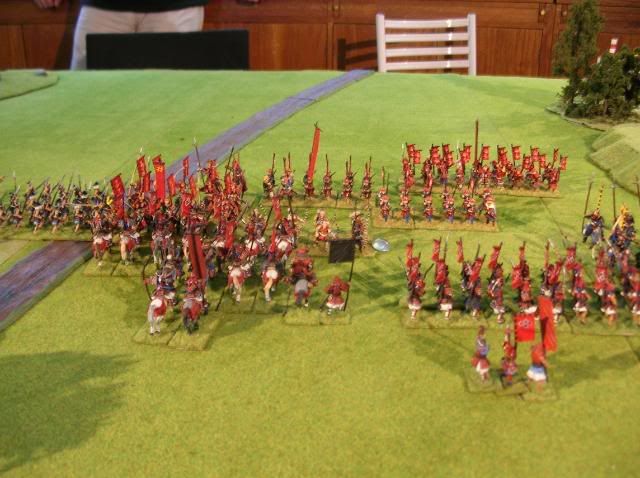
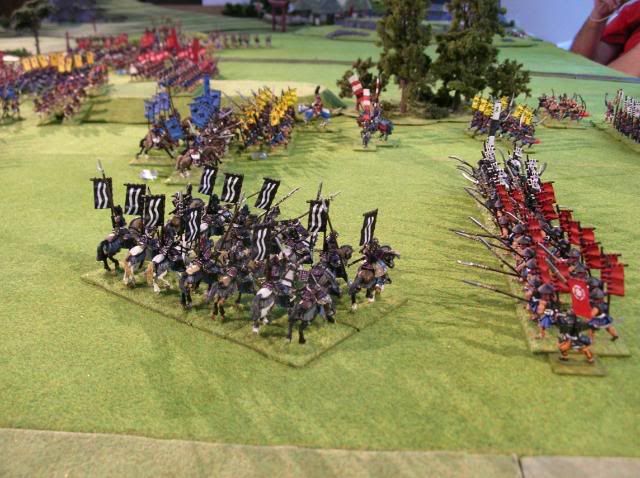
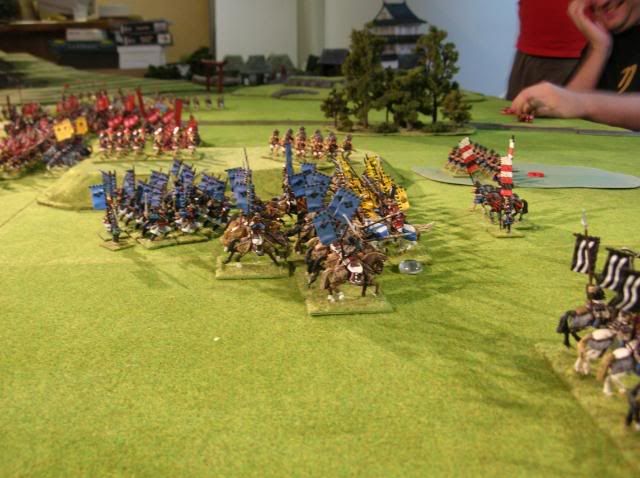
Samurai
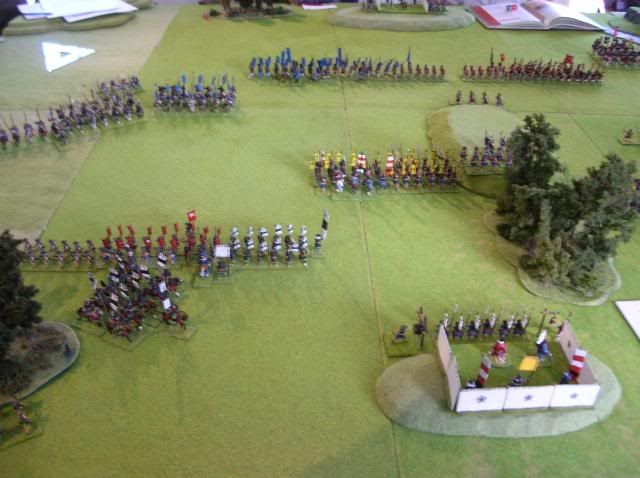
Samurai were considered superior drilled armored
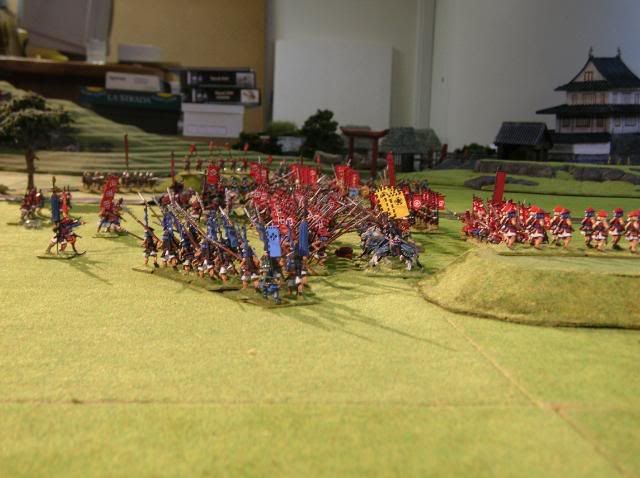
Foot samurai ( w/najinata) we classified as heavy foot armed with heavy weapons
Mounted samurai were classified as cavalry, lancer swordsman
Sepcial troops
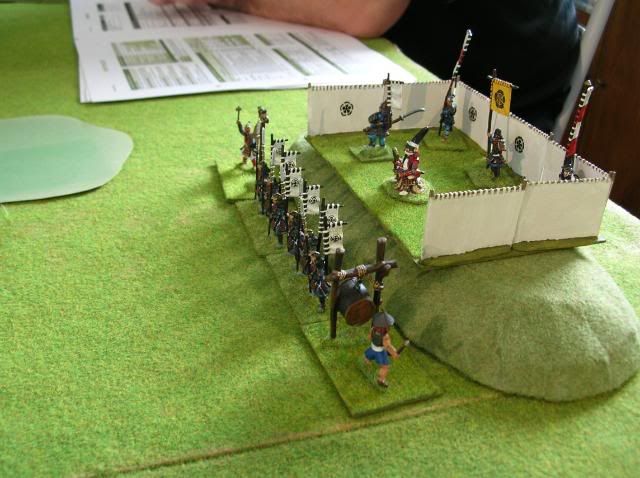
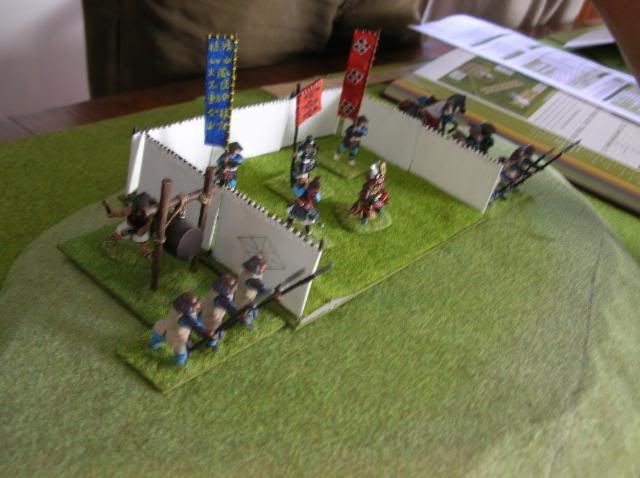
Hatamoto : the retainers hatamotos were classified as mounted or foot samurai but upgraded from superior to elite
Levy: some units of peasant levy were classified as undrilled, heavy foot, unprotected poor ( with spear or bow ).
summary
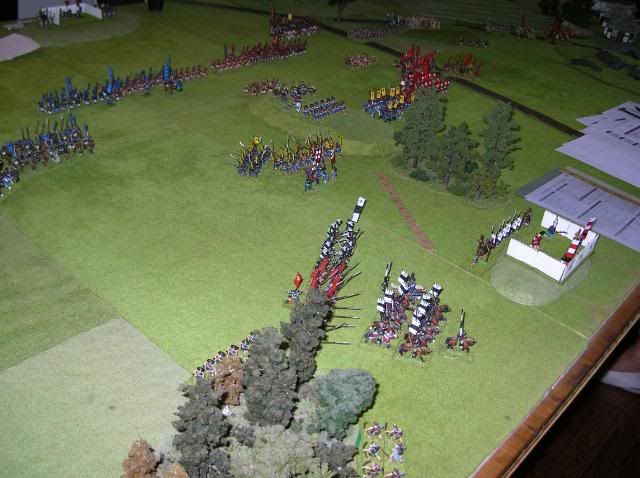
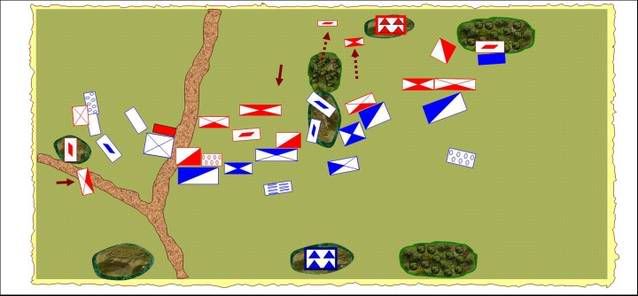
Line of Command
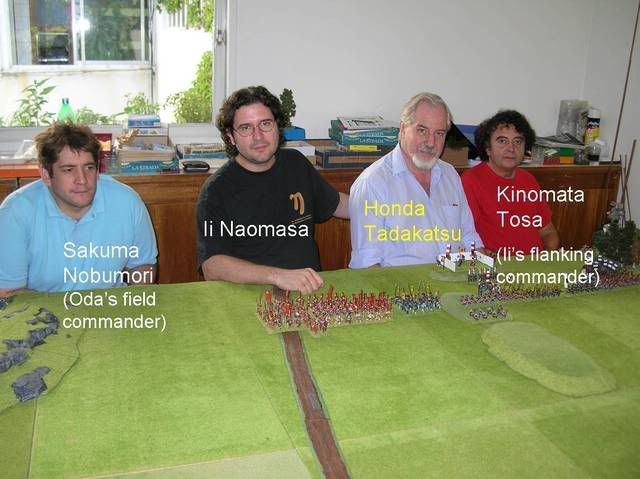
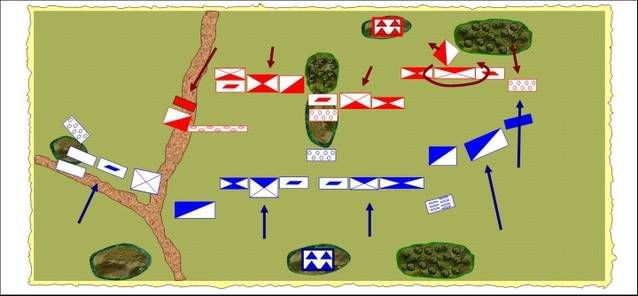
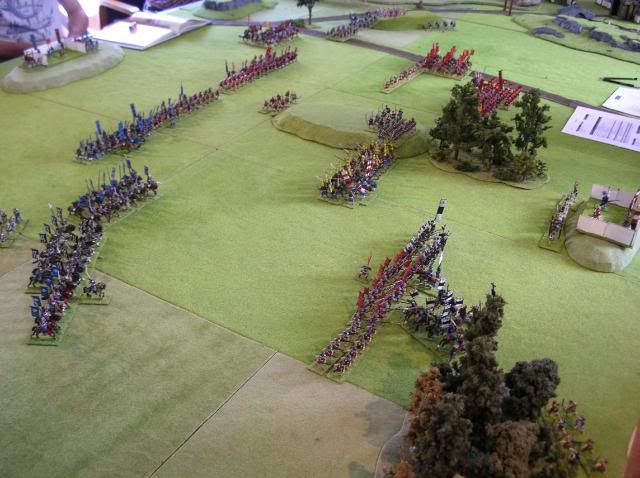
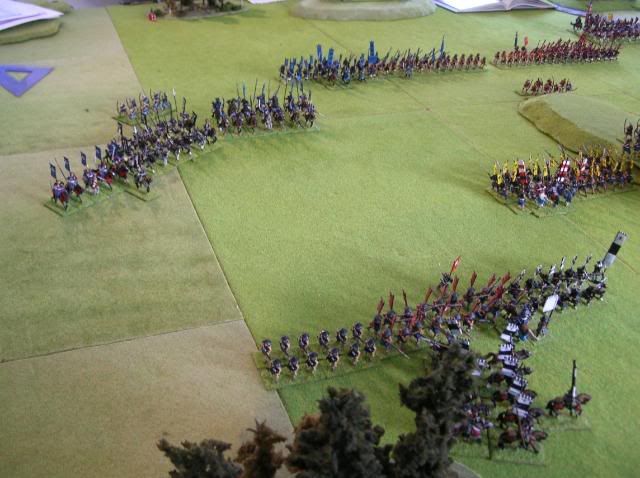
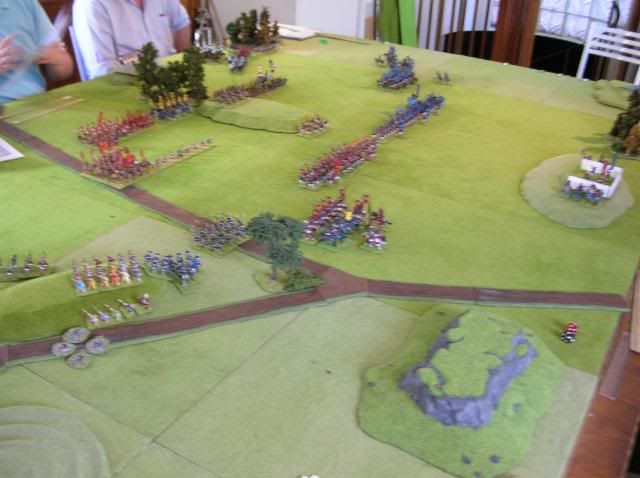
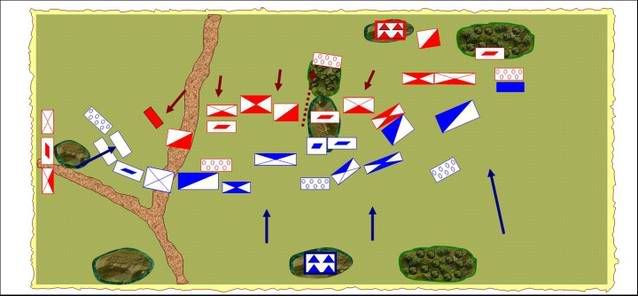
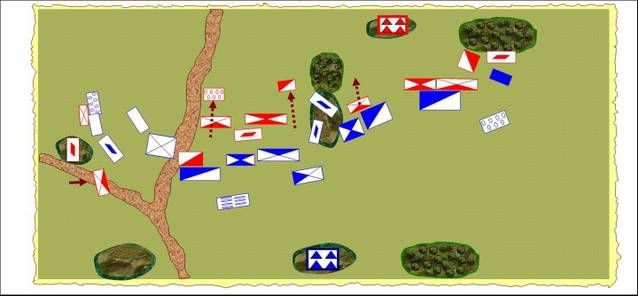
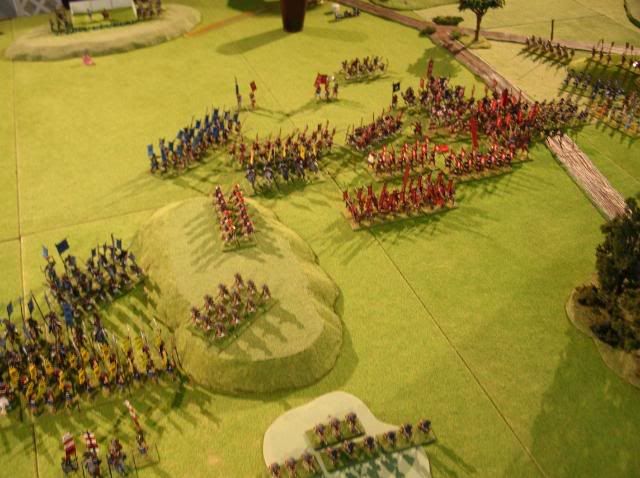
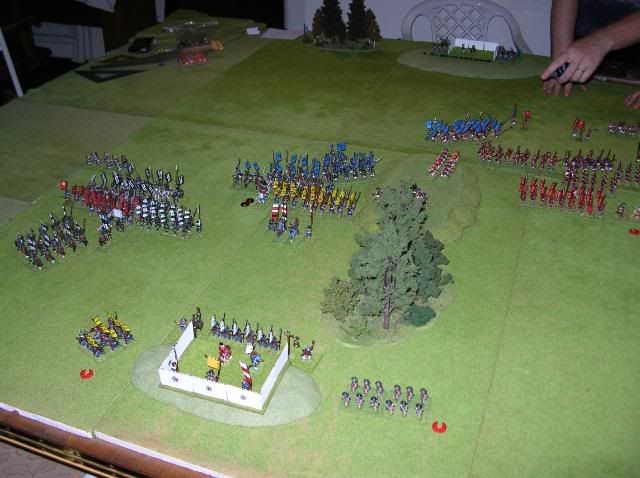
Few rules system treat commanders in such an interesting way as FOG. In fact commanders’ use is many times cause for victory or defeat in FOG. That being the case we had to decide how to take advantage of this. Samurai armies appear to have acted in many cases as army contingents from different retainers joining for battle. It would seem appropriate then to treat these contingents as independent divisions. These makes the game a lot of fun, each player only commands one division, and his commander only has line of command to that division ( ie. only that commander affect cohesion and combat for the division). Sort of like having an army composed of ally contingents. On top of that players were encouraged to communicate through written notes via the game master (me). As it would turn out this had a profound impact on the battle.
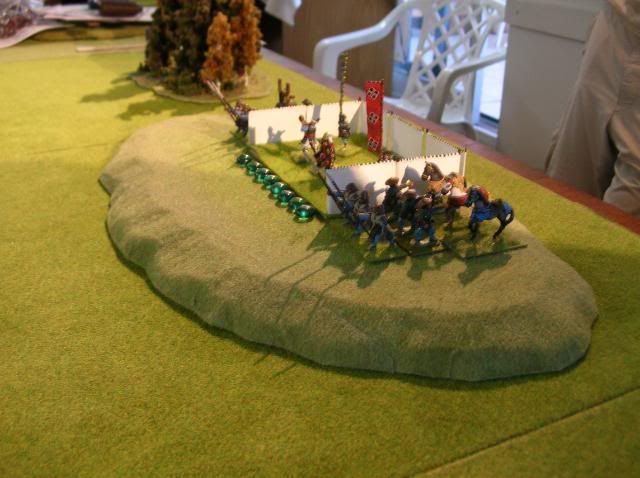
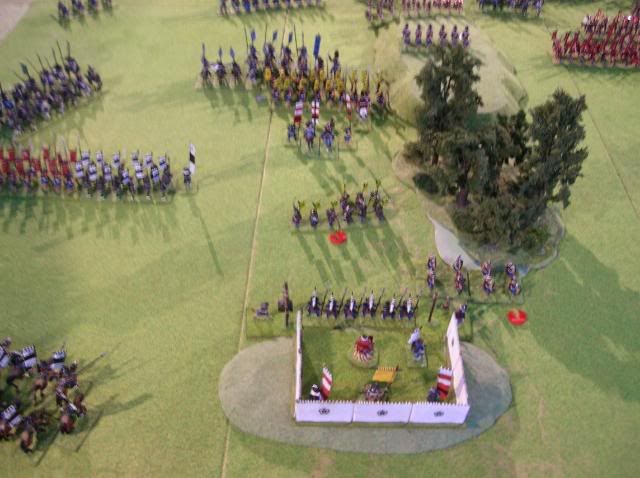
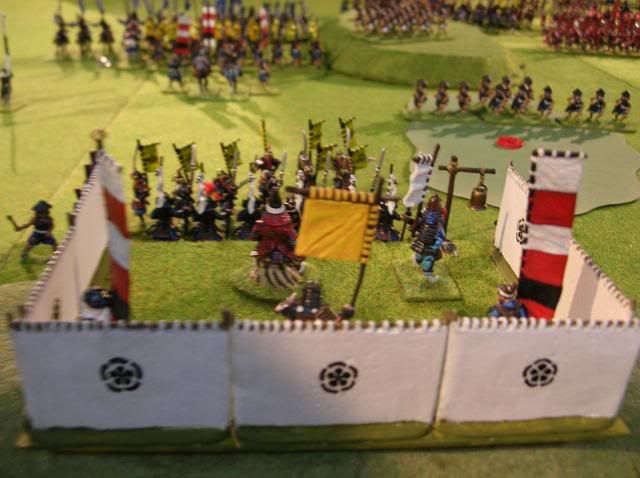
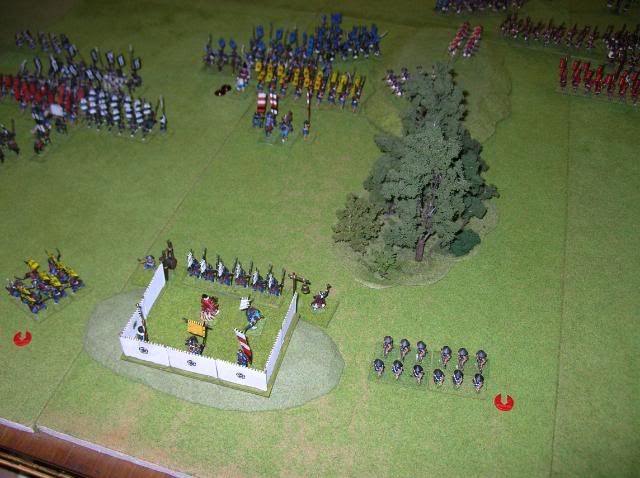
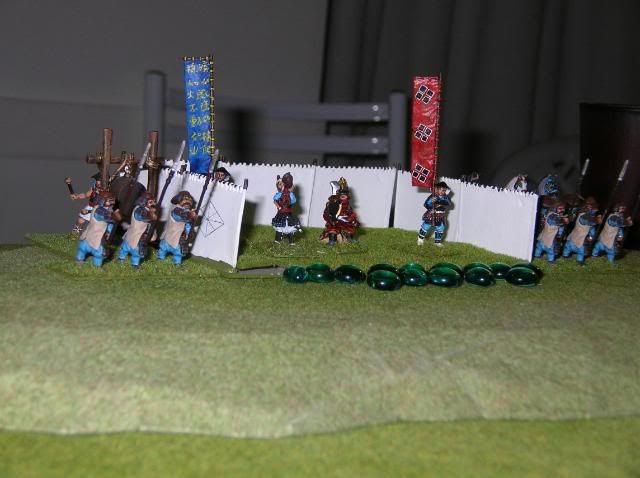
Also the commanders were used to represent the commanders on the field, the army general was assumed to be in the camp, represented as a fortified camp, ie a command camp with Shingen or Ieyasu with their personal hatamoto.