Samurai Warfare in Argentina - Sengoku Period - Pictures !!
Posted: Thu Nov 06, 2008 10:31 pm
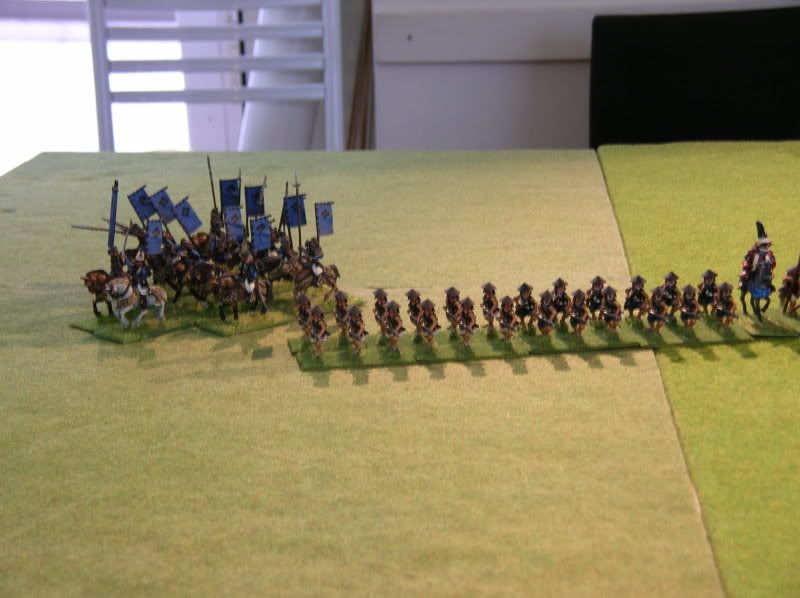
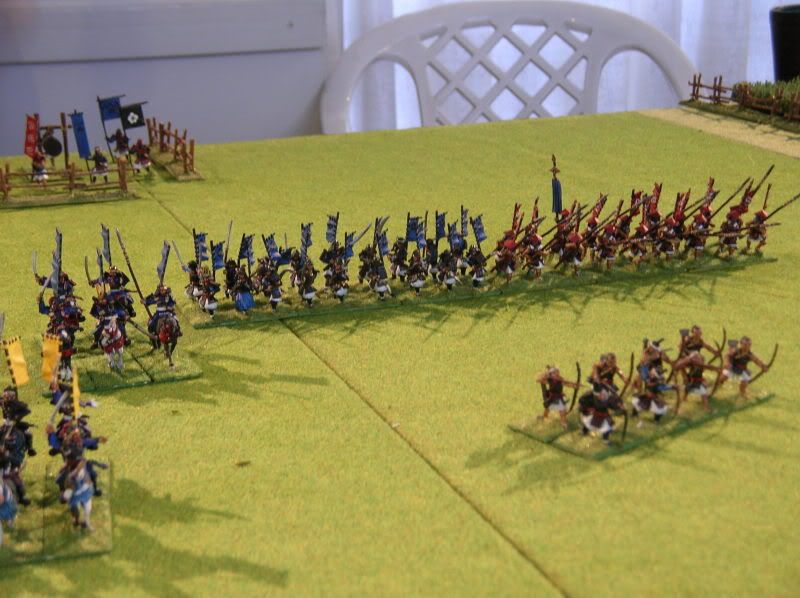
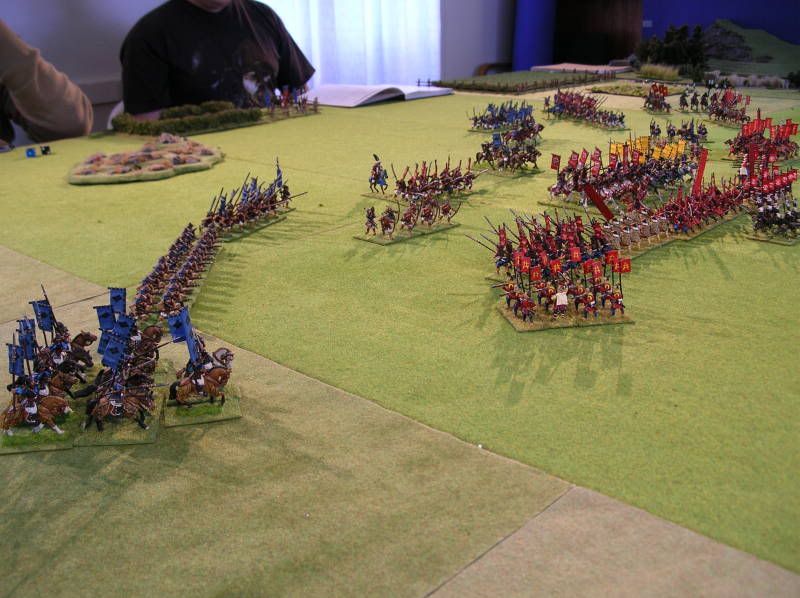
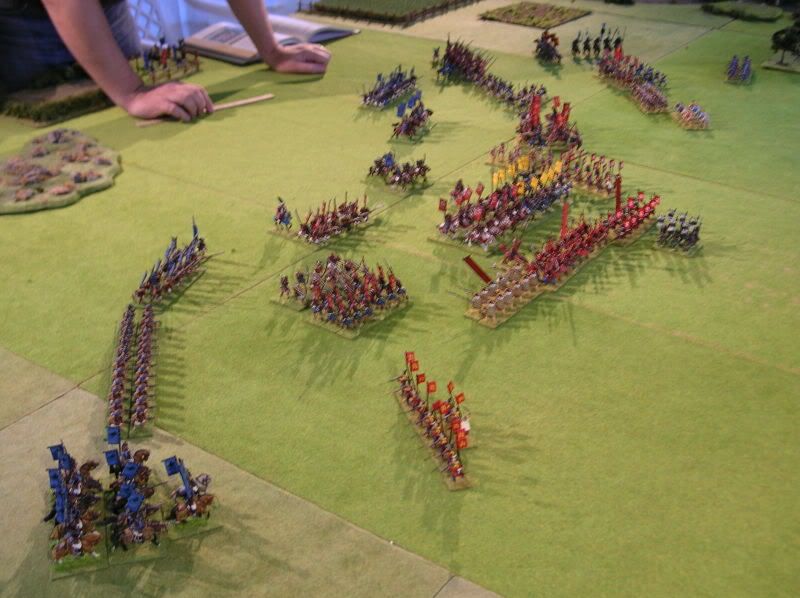
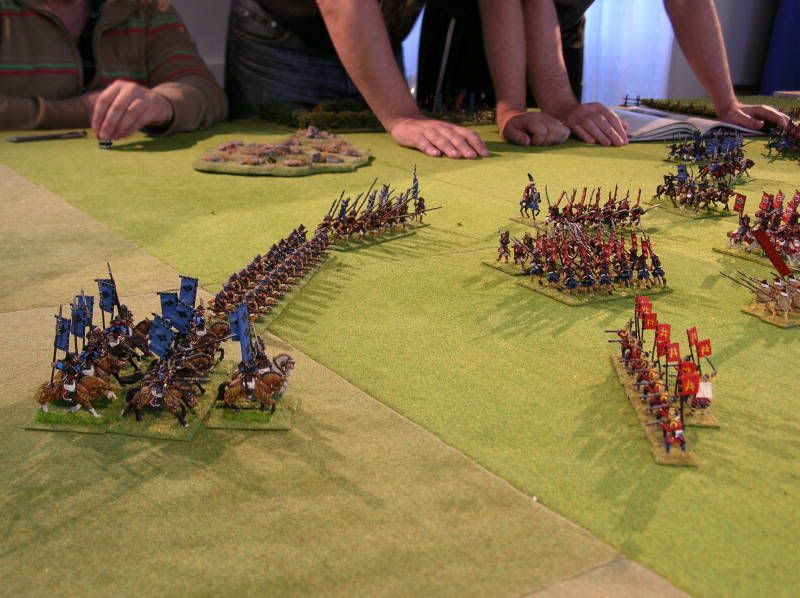
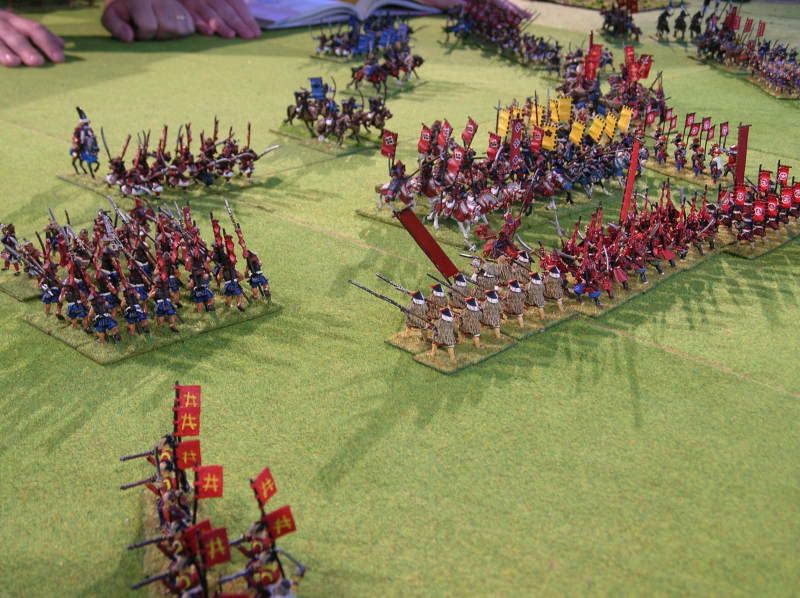
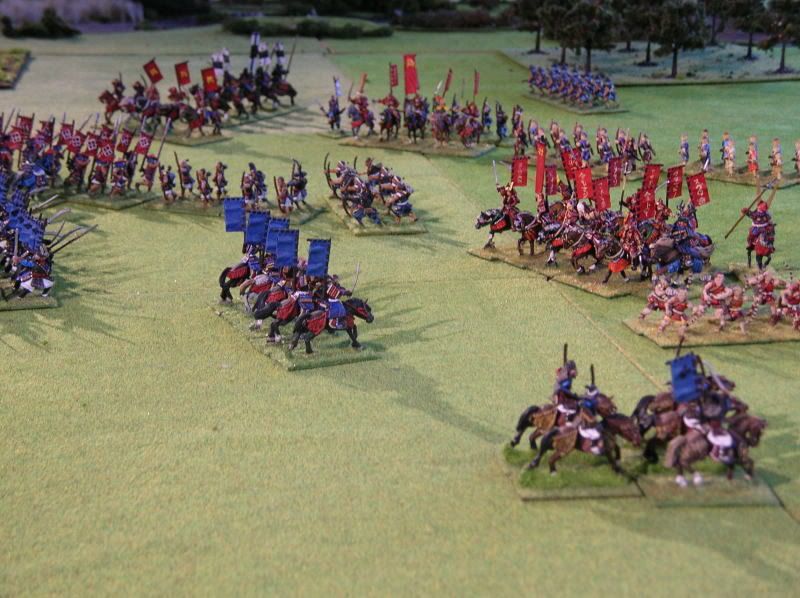
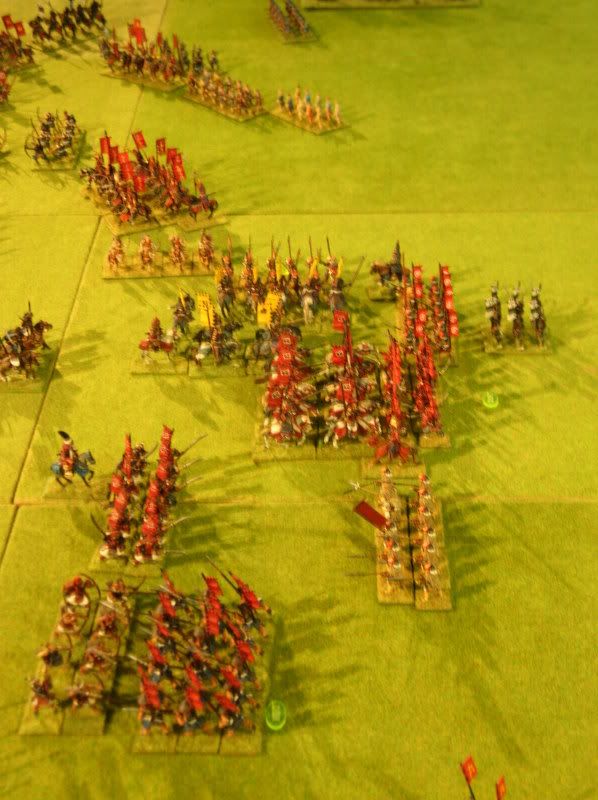
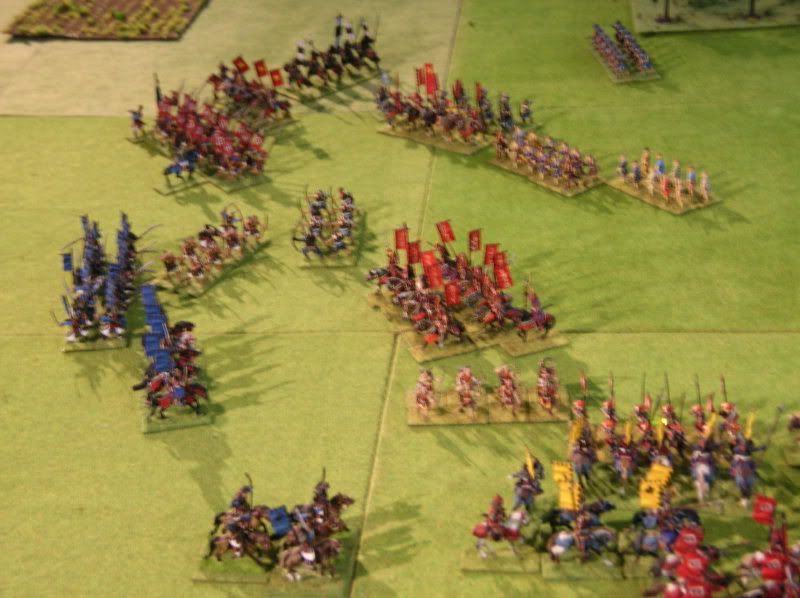
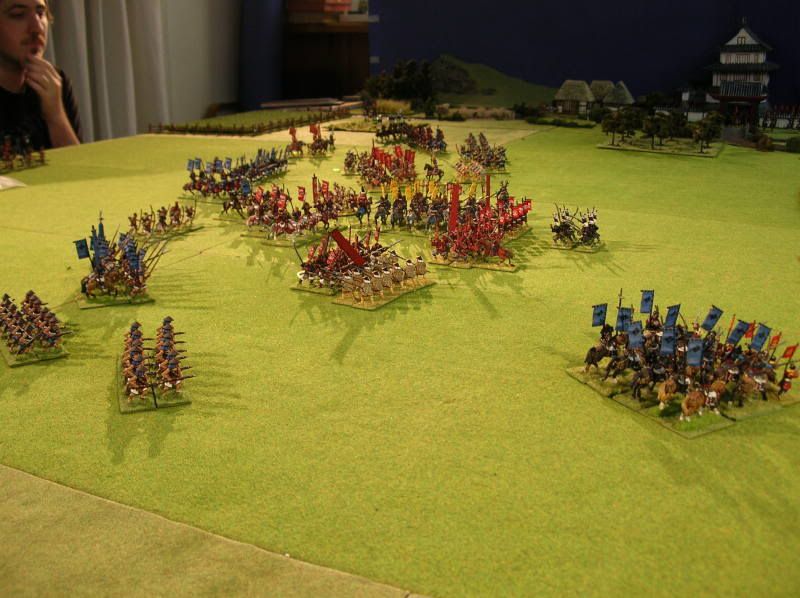
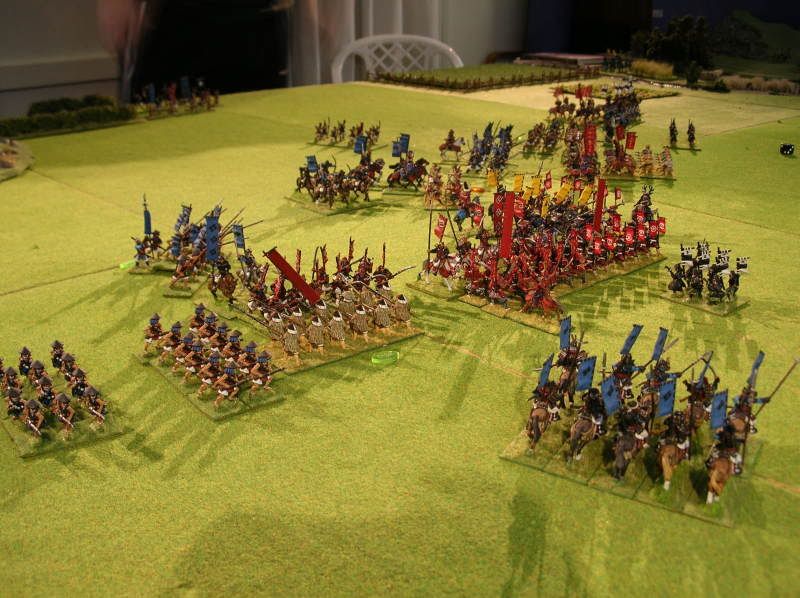
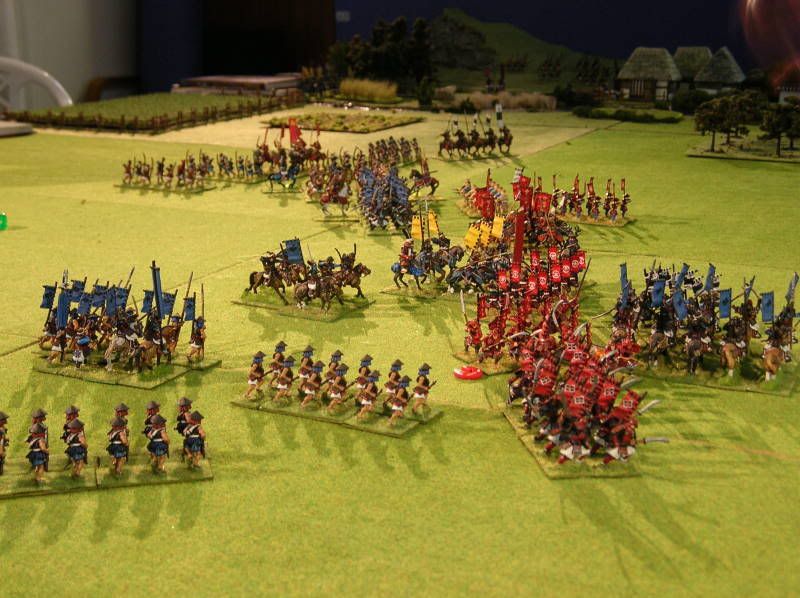
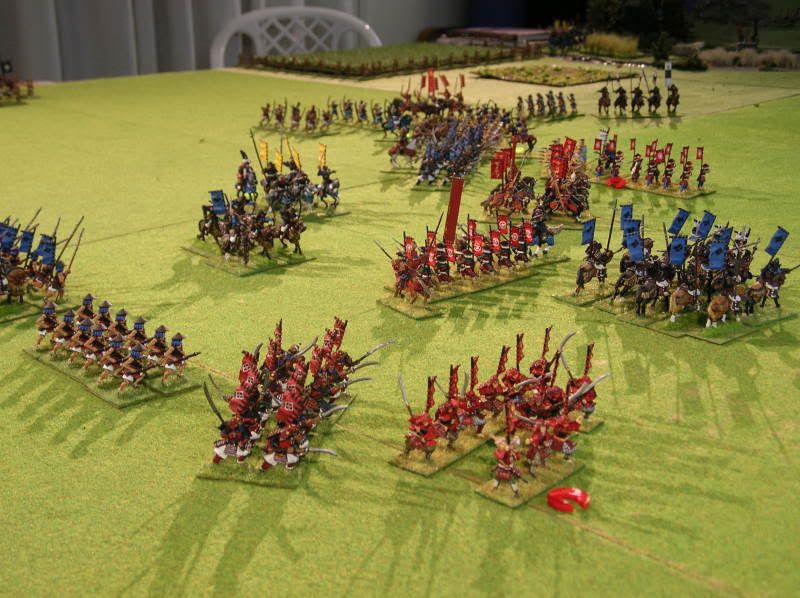
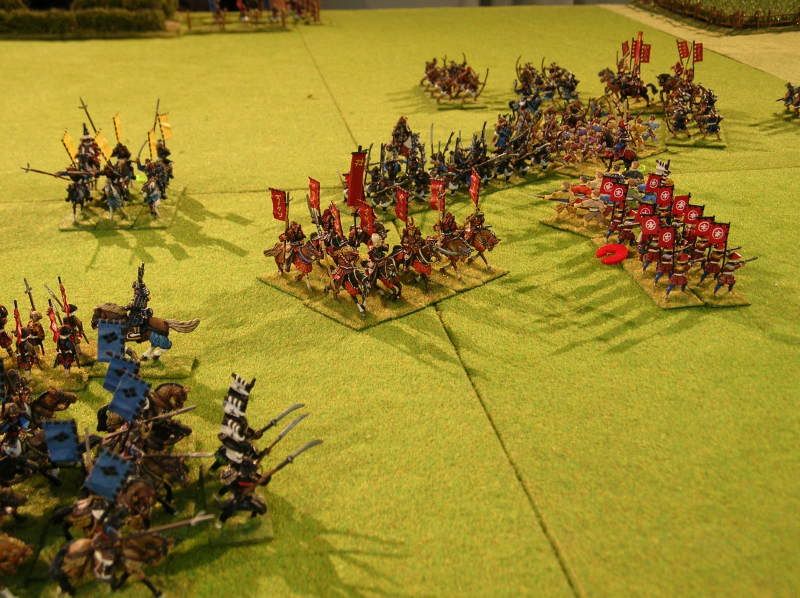
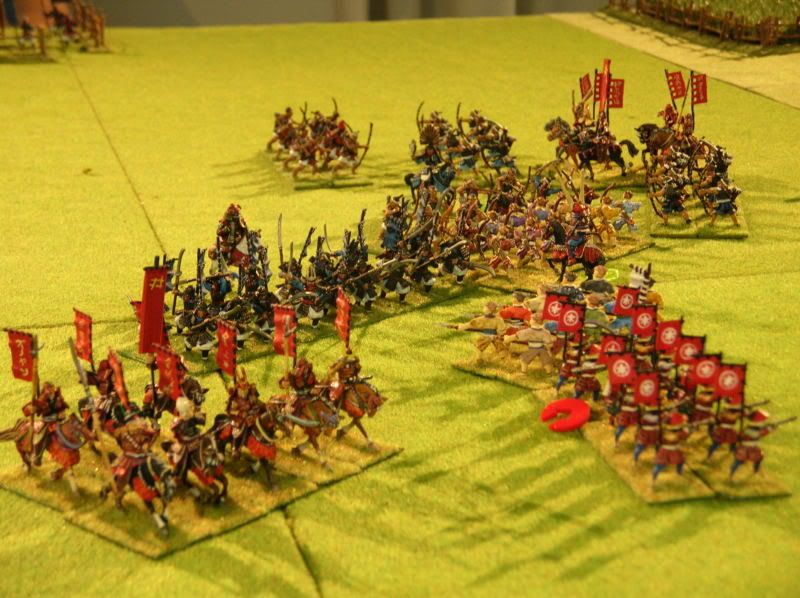
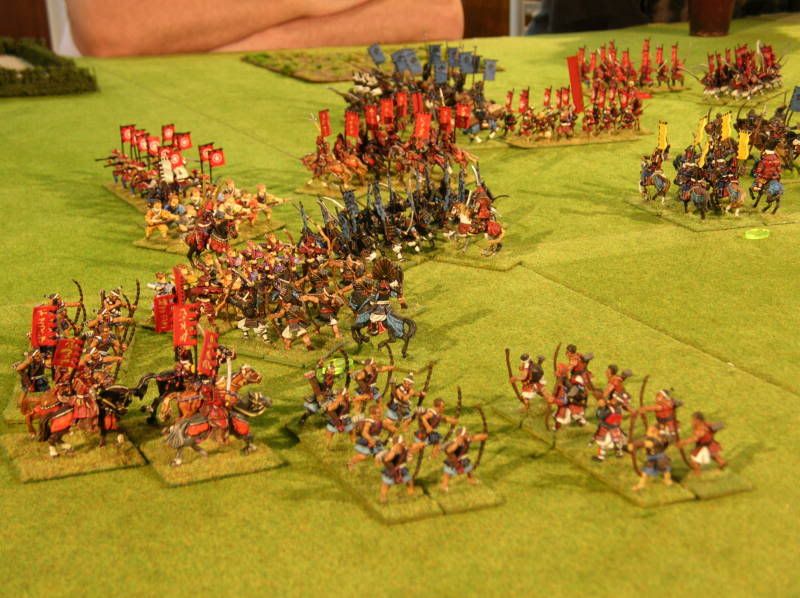
Samurai battle – Sengoku period – Takeda vs Ii
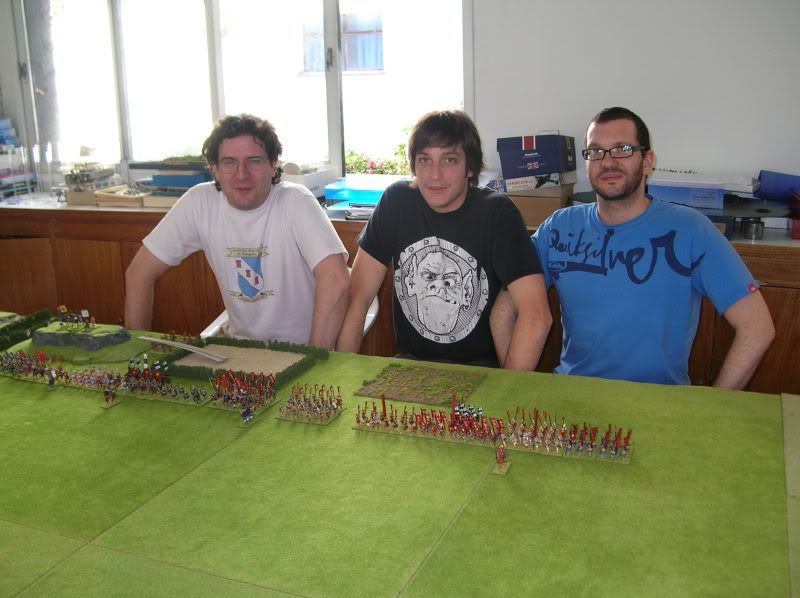
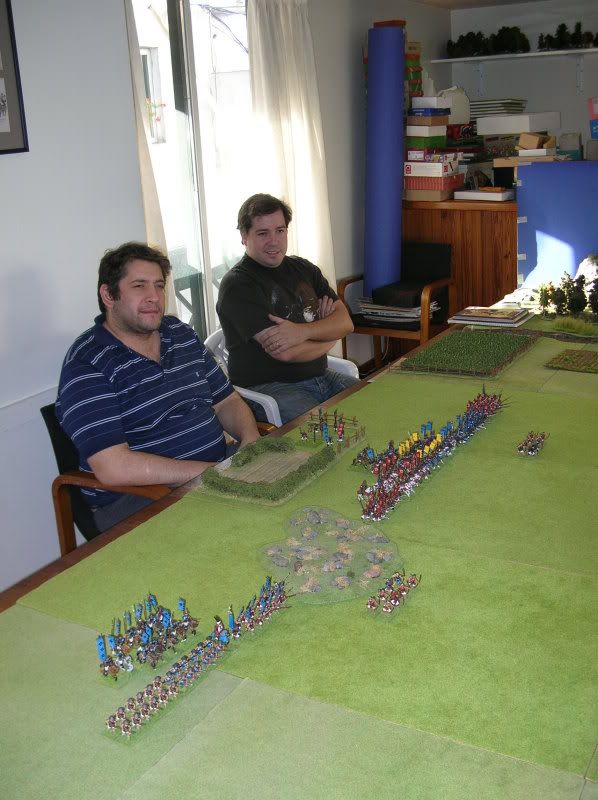
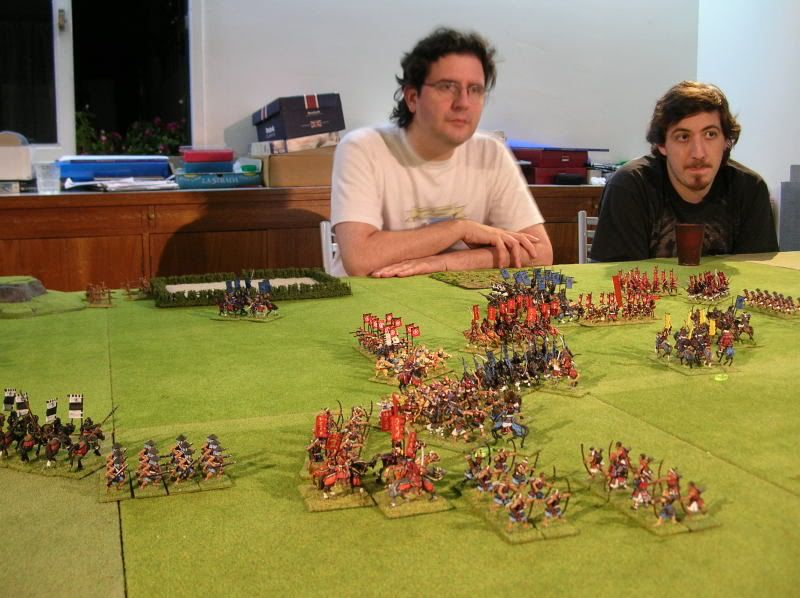
Once again I was back visiting Buenos Aires and I managed to encourage my gaming group to try some new experiments with FOG.
For a while we had been collecting Samurai armies for the Sengoku period but we had never taken the final step to playtest them. Taking advantage of the fact that FOG actually provides the points system for the generic troops, trying Samurai warfare would simply require selecting the FOG troop types to characterize the Sengoku tactical doctrines.
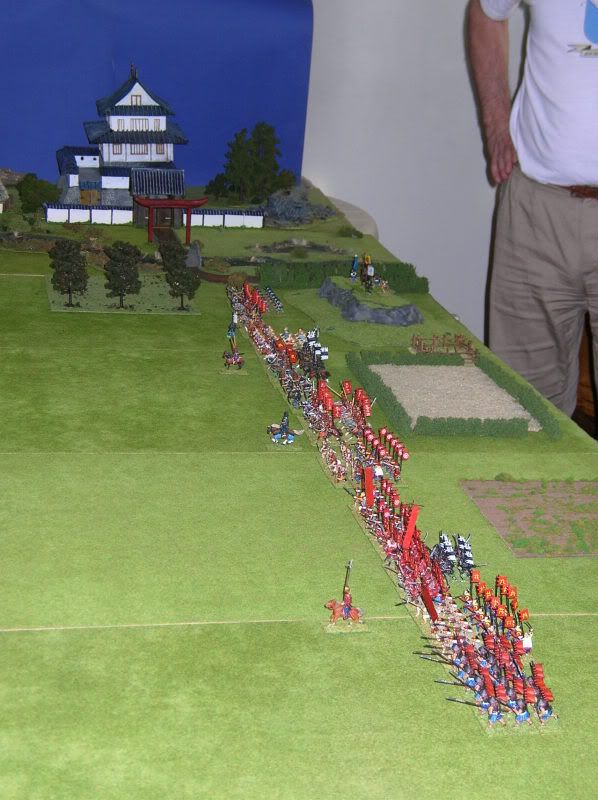
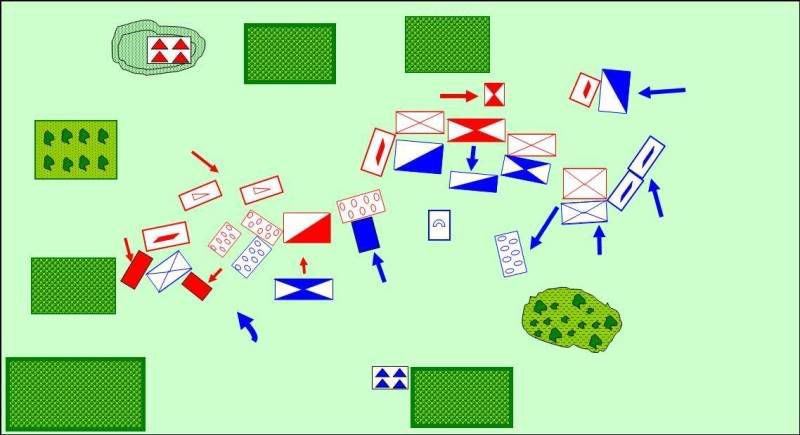
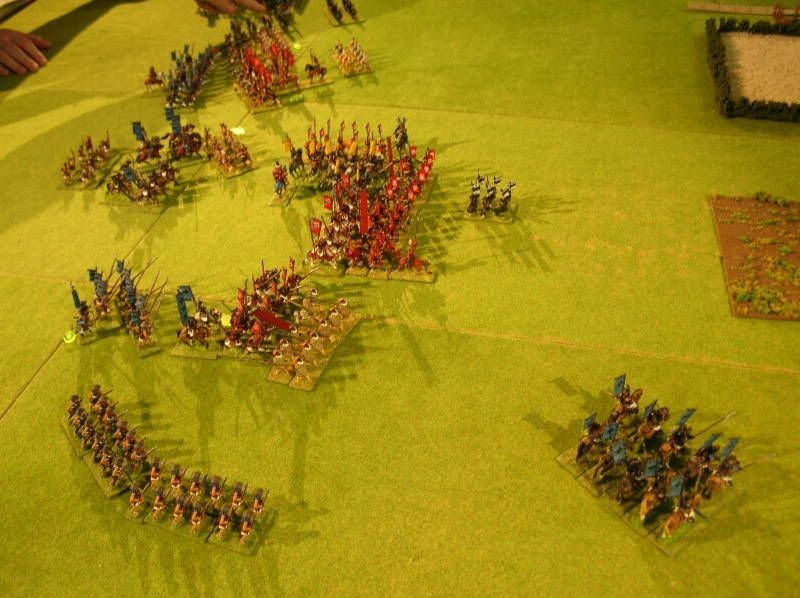
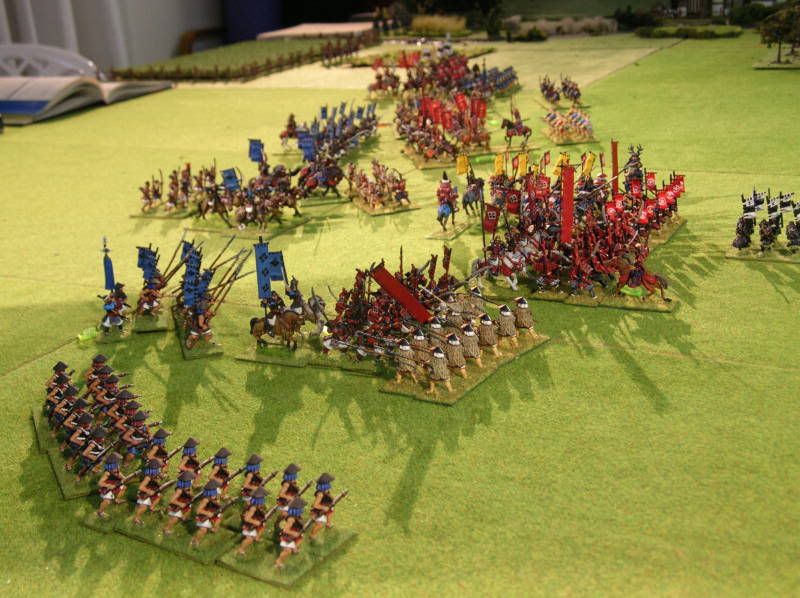
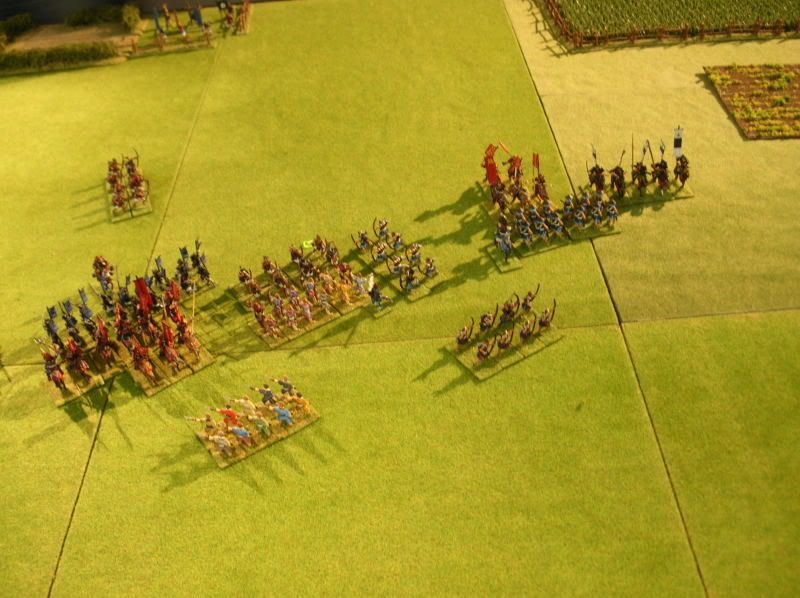
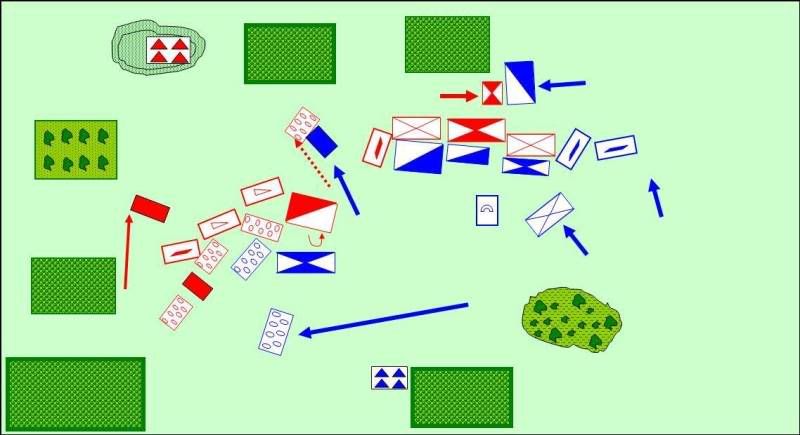
This is a report covering our first samurai test battle. It is not a representation of a particular historical battle but a simple encounter between the two samurai armies that our gaming group has produced
Representing Samurai Warfare in FOG
CAVEAT: First of all let me be clear about how we approached this subject. Our intention was not to guess what the FOG team will come up with for Samurai lists. We understand that the FOG team will have to consider how the Samurai list interacts with other list, we didn’t have this concern. There was no need to worry about this; we simply had to worry about how samurai armies would interact with each other. There was no need for us to consider if it was fair to represent Samurai warriors as skilled swordsmen or simple swordsmen in light of how they would match against other armies. All of our troop selections were based on how we wanted the interaction ashigaru-foot samurai-mtd samurai to be.
Now that I’ve clarified this point let me describe the choices of troops that we selected.
All troops were classified as drilled. We did this not to make a point about professional vs unprofessional armies but to give mobility to the armies. When you combine “drilled” with having small size for battle groups ( 4 – 6 bases ), then troops are very mobile, encouraging the armies to do lots of maneuvers, something that appears very characteristic of samurai warfare with their extensive maneuvering and redeployment.
Yari Ashigaru – heavy foot, protected, average, offensive spear
We chose heavy foot because in our research of historical battles we found most closed formations to favor open terrain and so by making them heavy we pushed them to fight in open terrain. Protected, to represent one level of armor above peasant levy but one less than samurai. Offensive spear was chosen to encourage two or three rank units as opposed to deeper pike type of units and to give foot samurai the edge over foot ashigaru.
Teppo Ashigaru – medium foot, protected, average, x-bow
Yes x-bow !! We had a big problems with Teppo. Much literature appears to give the use of teppos great preponderance in Sengoku period warfare. Of course it is difficult to extrapolate how much is exaggeration but we felt that treating teppos as hand gunners would result in a very limited missile range and they were supposed to have longer range than bows. We didn’t want to tamper with the rules so by representing them as x-bows we thought we would achieve a good compromise representing longer range than the hand gun while having slower rate of fire than bows. We didn’t make them skirmishers to discourage their use as screens aimed at triggering charges so that they wouldn’t end up being used as velites or similar. Also the sengoku period appears to fall a bit past the range of FOG so we thought that maybe the teppo might not really be what the authors had in mind with hand guns.
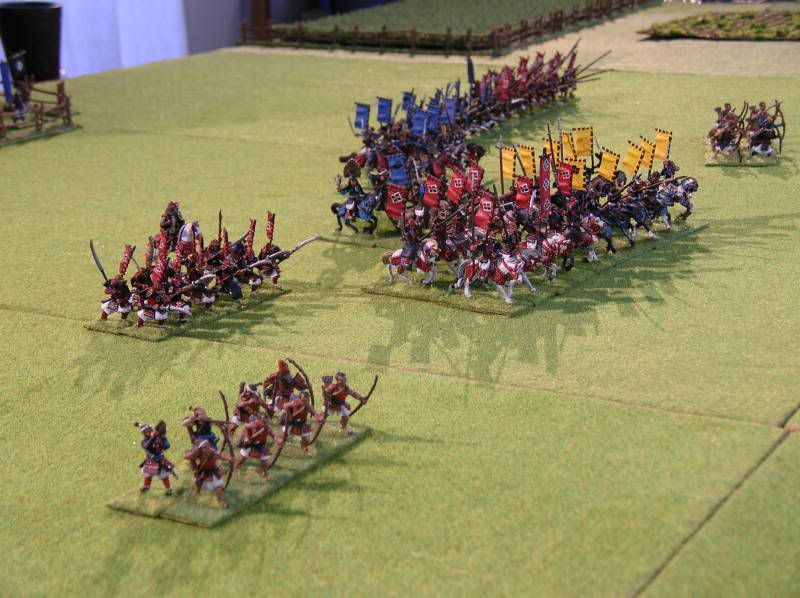
Bow Ashigaru – light foot, protected, average, long bow
We chose to make the bow ashigaru skirmishers based on the literature that we found regarding the role of these troops once the Teppo became available.
We chose long bow not to make a point in comparison to English longbowmen but because we thought that this would help the interaction of missile vs japanese armor without us having to downgrade all troops to protected unprotected.
Foot Samurai w/naginata – heavy foot, armored, superior, heavy weapon
Our foot samurai are armed with naginata. Selecting heavy weapon to represent the naginata provides a good interaction where armored superior troops ( foot samurai ) have the edge against foot ashigaru to create good tactical options.
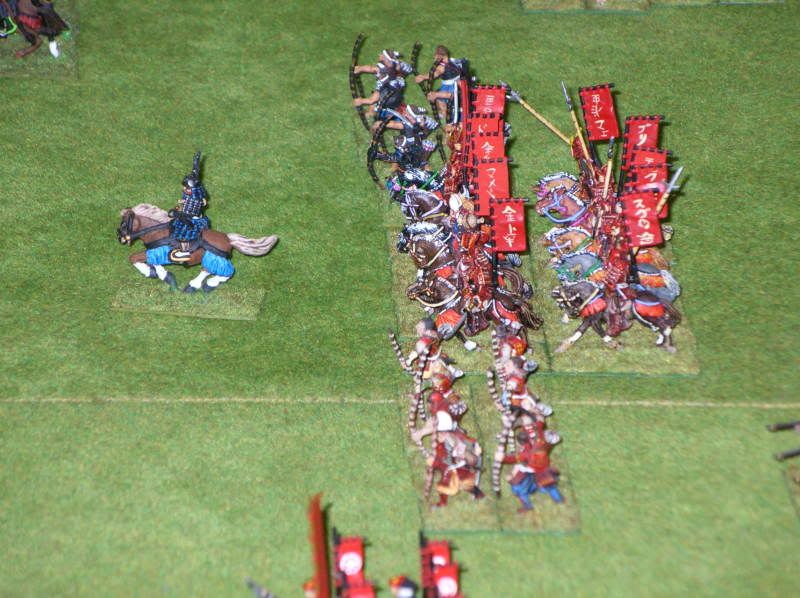
Mtd Samurai – cavalry lancers, armored, superior, swordsman
This selection for the mtd samurai makes it a good weapon against foot samurai while still not optimal against yari ashigaru thus completing our nice selection of troops to create a good rock-paper-scissors interaction.
Mtd Samurai bowmen – cavalry, armored, superior, bow
We had some of these small units acting as mobile reserves
Mtd Hatamoto – cavalry lancers, armored, elite, swordsman
Small two base units of elite hatamoto provided additional interesting tactical options to be used as special break through units. A role that according to some authors was actually served by hatamoto units from time to time.
Peasant levy – average unprotected
One side had two small units of these levy to represent ashigaru hastily summoned. Same training but poorly equipped. ( we added them just for the sake of some color )
Commanders
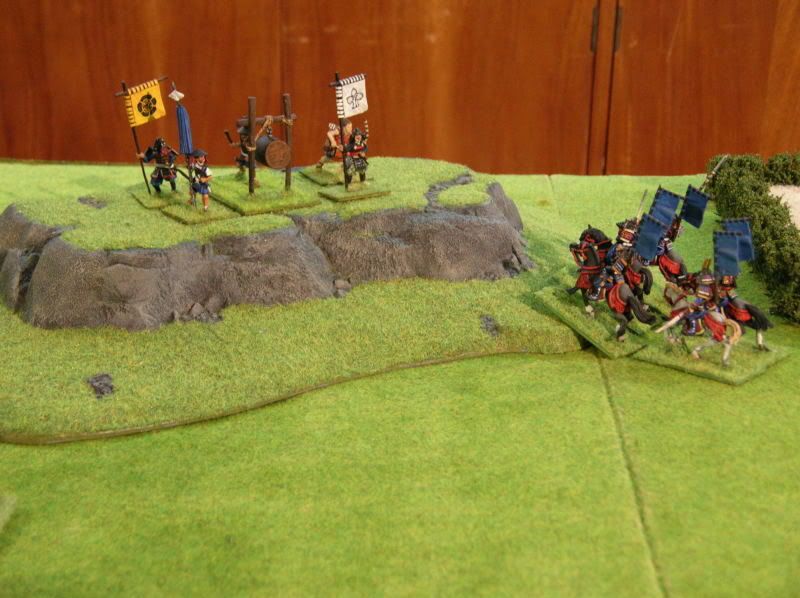
Regarding commanders we decided on the following. We established that no side would have inspired commanders, not due to a judgment on the Daimyo’s strategy skills but to represent the Daimyo as staying in a command position in the back ( our camps represented the Daimyos with their support staff, drums bells etc..)
We wanted to build divisions representing the clan armies and have the commanders have line of command for their divisions only (like allied commanders) but to do that we have to work a bit more in completing our armies to have meaningful divisions.
We understand that these selections might not agree with everyone’s interpretation of how samurai armies would qualify under FOG, but if you consider the selection to achieve just the interaction between samurai armies described above I think it is not a bad representation.
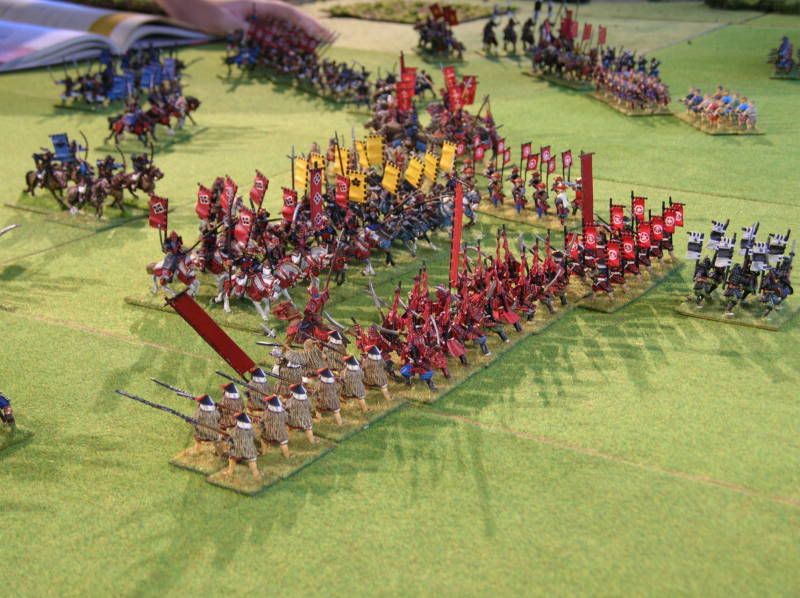
Our samurai armies tend to be very maneuverable; yari ashigaru are a good weapon against mtd samurai, mtd samurai a good weapon against foot samurai, and foot samurai a good weapon against yari ashigaru. Troops prefer to fight in open terrain. Skirmish screens are uncommon, teppos are used in concentrated fire while bows are used for skirmishing in specialized roles.
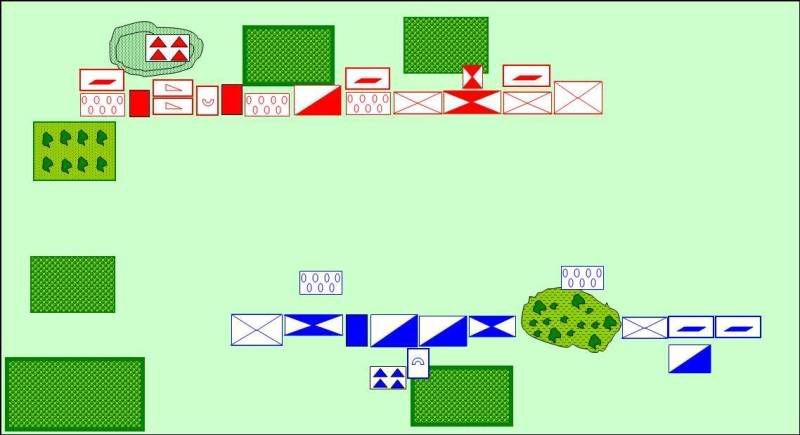
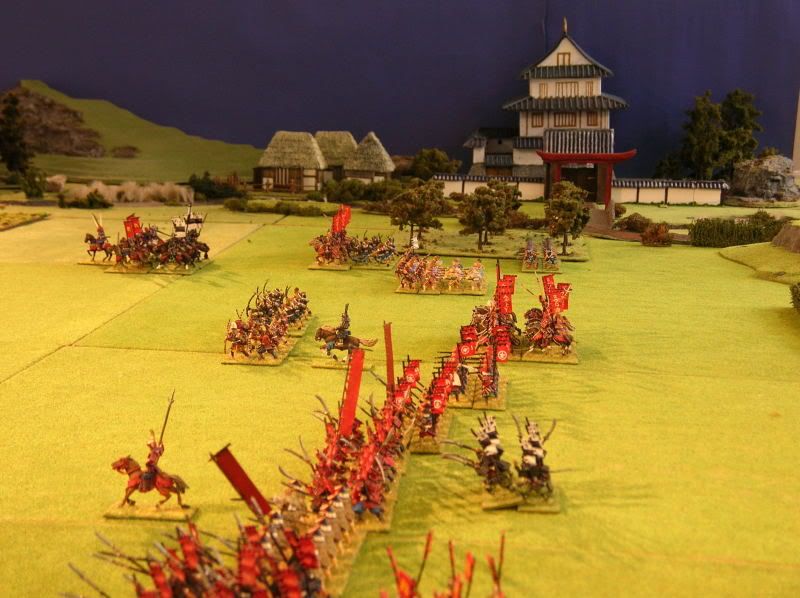
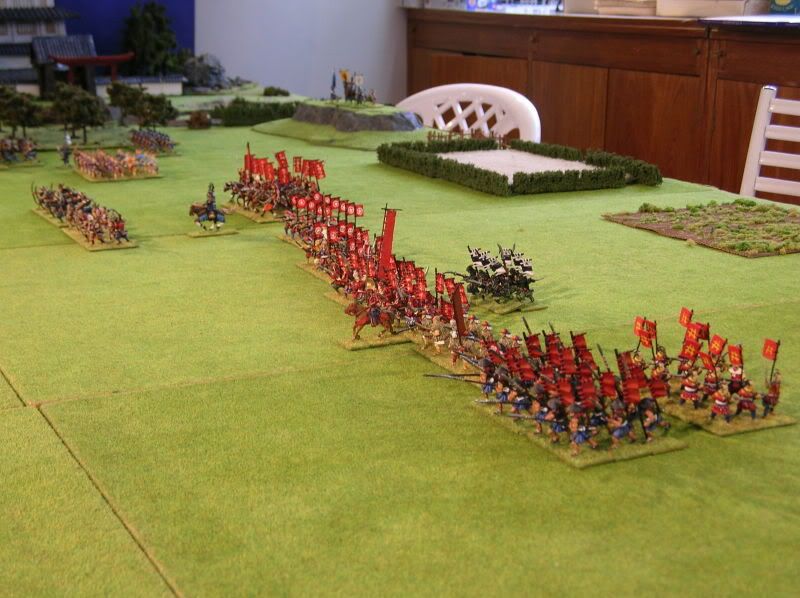
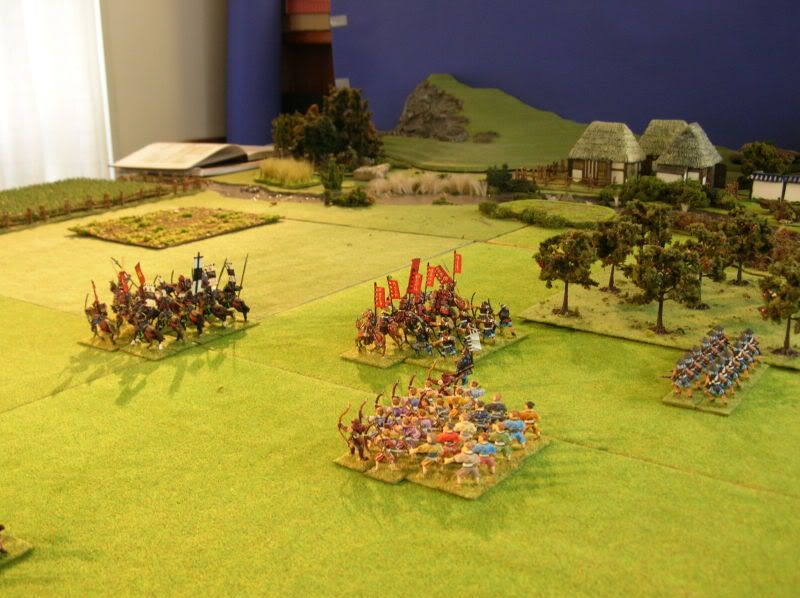
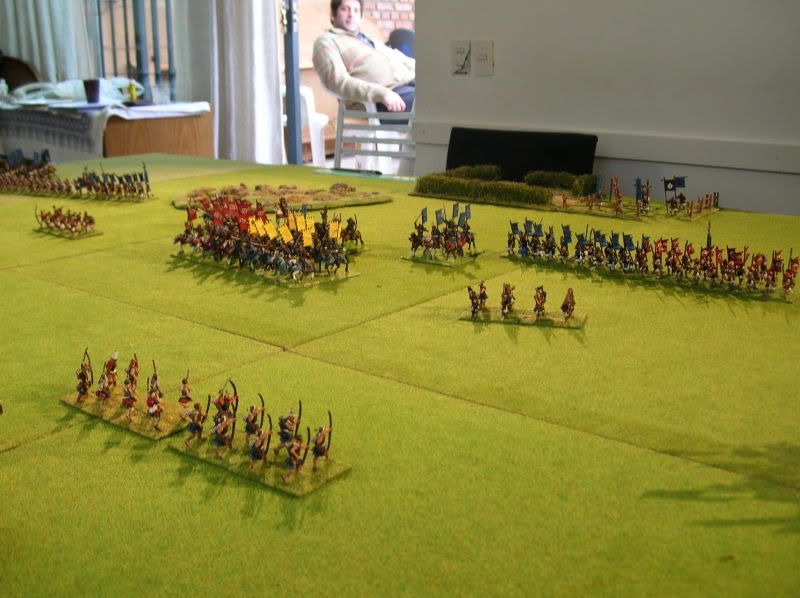
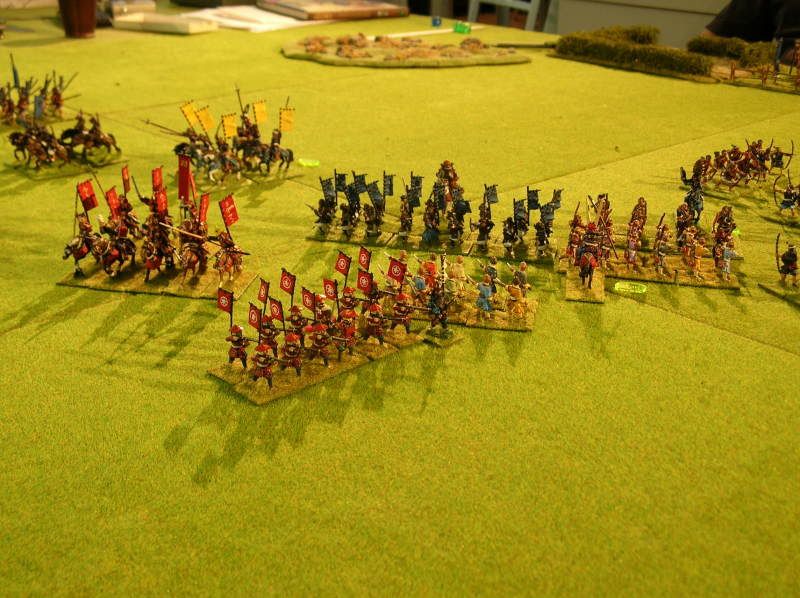
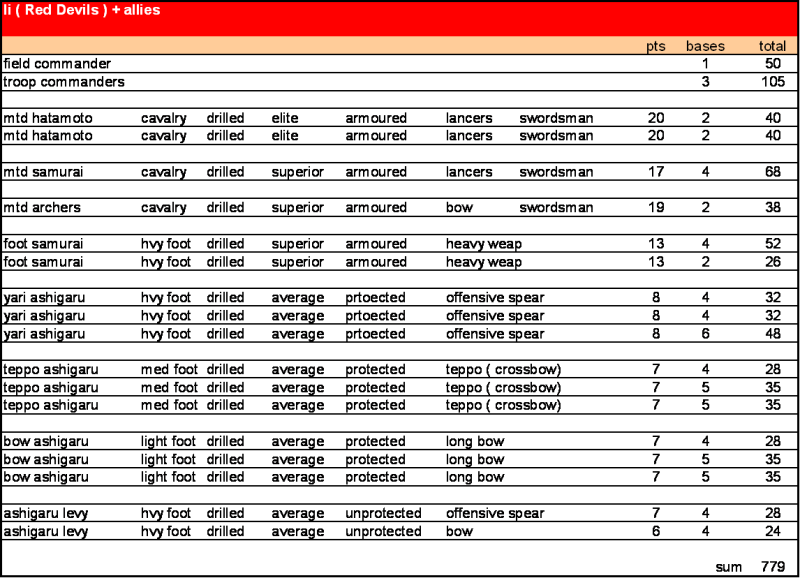
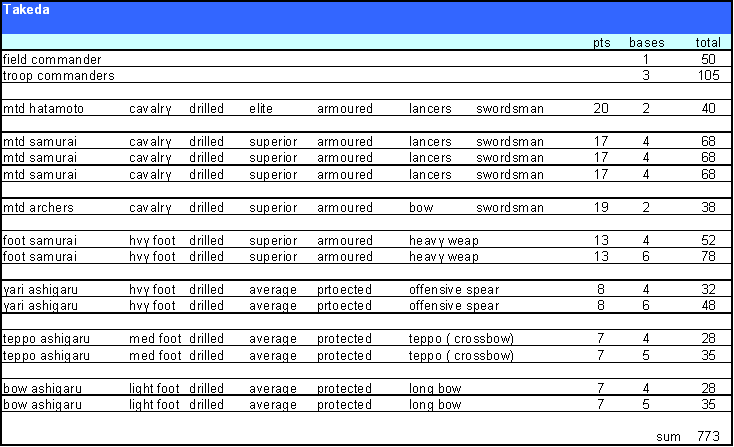
With this troop selection the composition of our opposing armies was as follows:
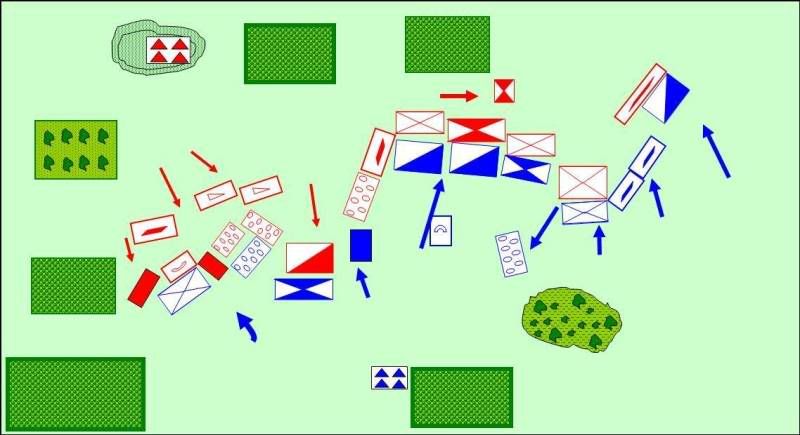
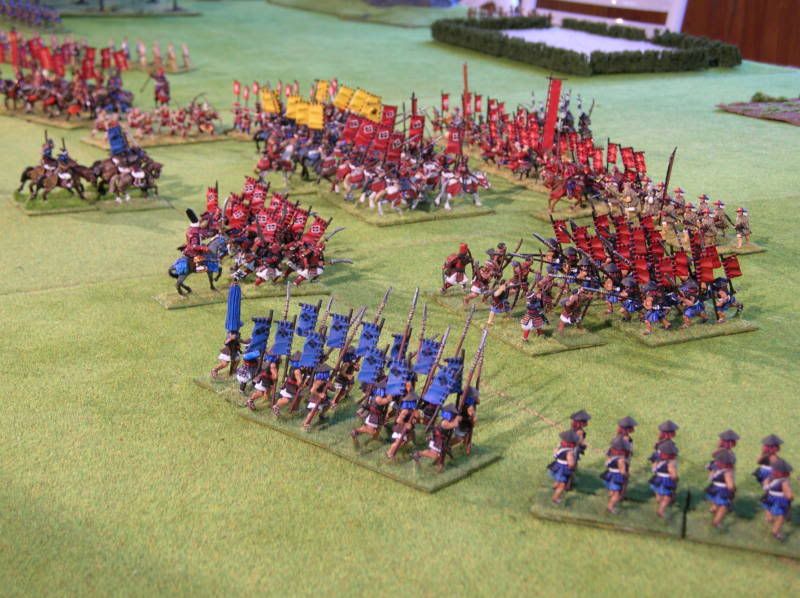
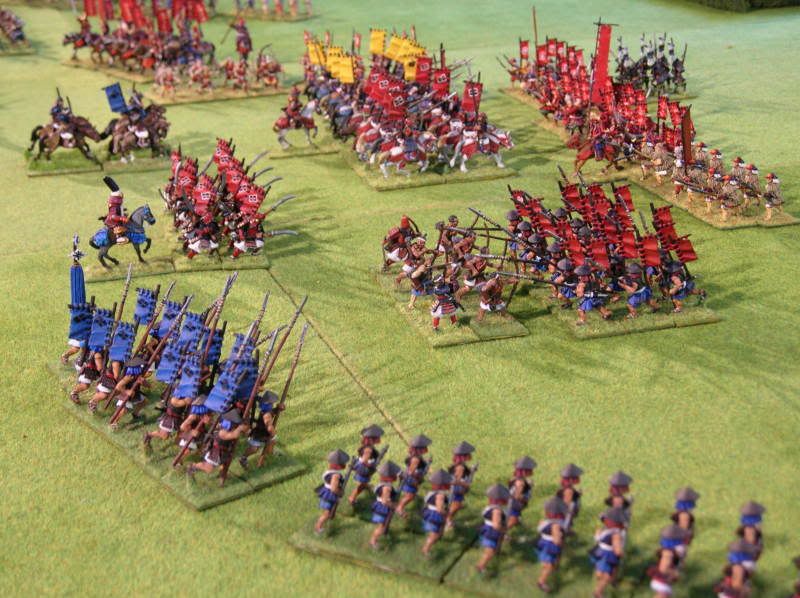
The opposing armies
Once again I was back visiting Buenos Aires and I managed to encourage my gaming group to try some new experiments with FOG.
For a while we had been collecting Samurai armies for the Sengoku period but we had never taken the final step to playtest them. Taking advantage of the fact that FOG actually provides the points system for the generic troops, trying Samurai warfare would simply require selecting the FOG troop types to characterize the Sengoku tactical doctrines.
This is a report covering our first samurai test battle. It is not a representation of a particular historical battle but a simple encounter between the two samurai armies that our gaming group has produced
Representing Samurai Warfare in FOG
CAVEAT: First of all let me be clear about how we approached this subject. Our intention was not to guess what the FOG team will come up with for Samurai lists. We understand that the FOG team will have to consider how the Samurai list interacts with other list, we didn’t have this concern. There was no need to worry about this; we simply had to worry about how samurai armies would interact with each other. There was no need for us to consider if it was fair to represent Samurai warriors as skilled swordsmen or simple swordsmen in light of how they would match against other armies. All of our troop selections were based on how we wanted the interaction ashigaru-foot samurai-mtd samurai to be.
Now that I’ve clarified this point let me describe the choices of troops that we selected.
All troops were classified as drilled. We did this not to make a point about professional vs unprofessional armies but to give mobility to the armies. When you combine “drilled” with having small size for battle groups ( 4 – 6 bases ), then troops are very mobile, encouraging the armies to do lots of maneuvers, something that appears very characteristic of samurai warfare with their extensive maneuvering and redeployment.
Yari Ashigaru – heavy foot, protected, average, offensive spear
We chose heavy foot because in our research of historical battles we found most closed formations to favor open terrain and so by making them heavy we pushed them to fight in open terrain. Protected, to represent one level of armor above peasant levy but one less than samurai. Offensive spear was chosen to encourage two or three rank units as opposed to deeper pike type of units and to give foot samurai the edge over foot ashigaru.
Teppo Ashigaru – medium foot, protected, average, x-bow
Yes x-bow !! We had a big problems with Teppo. Much literature appears to give the use of teppos great preponderance in Sengoku period warfare. Of course it is difficult to extrapolate how much is exaggeration but we felt that treating teppos as hand gunners would result in a very limited missile range and they were supposed to have longer range than bows. We didn’t want to tamper with the rules so by representing them as x-bows we thought we would achieve a good compromise representing longer range than the hand gun while having slower rate of fire than bows. We didn’t make them skirmishers to discourage their use as screens aimed at triggering charges so that they wouldn’t end up being used as velites or similar. Also the sengoku period appears to fall a bit past the range of FOG so we thought that maybe the teppo might not really be what the authors had in mind with hand guns.
Bow Ashigaru – light foot, protected, average, long bow
We chose to make the bow ashigaru skirmishers based on the literature that we found regarding the role of these troops once the Teppo became available.
We chose long bow not to make a point in comparison to English longbowmen but because we thought that this would help the interaction of missile vs japanese armor without us having to downgrade all troops to protected unprotected.
Foot Samurai w/naginata – heavy foot, armored, superior, heavy weapon
Our foot samurai are armed with naginata. Selecting heavy weapon to represent the naginata provides a good interaction where armored superior troops ( foot samurai ) have the edge against foot ashigaru to create good tactical options.
Mtd Samurai – cavalry lancers, armored, superior, swordsman
This selection for the mtd samurai makes it a good weapon against foot samurai while still not optimal against yari ashigaru thus completing our nice selection of troops to create a good rock-paper-scissors interaction.
Mtd Samurai bowmen – cavalry, armored, superior, bow
We had some of these small units acting as mobile reserves
Mtd Hatamoto – cavalry lancers, armored, elite, swordsman
Small two base units of elite hatamoto provided additional interesting tactical options to be used as special break through units. A role that according to some authors was actually served by hatamoto units from time to time.
Peasant levy – average unprotected
One side had two small units of these levy to represent ashigaru hastily summoned. Same training but poorly equipped. ( we added them just for the sake of some color
Commanders
Regarding commanders we decided on the following. We established that no side would have inspired commanders, not due to a judgment on the Daimyo’s strategy skills but to represent the Daimyo as staying in a command position in the back ( our camps represented the Daimyos with their support staff, drums bells etc..)
We wanted to build divisions representing the clan armies and have the commanders have line of command for their divisions only (like allied commanders) but to do that we have to work a bit more in completing our armies to have meaningful divisions.
We understand that these selections might not agree with everyone’s interpretation of how samurai armies would qualify under FOG, but if you consider the selection to achieve just the interaction between samurai armies described above I think it is not a bad representation.
Our samurai armies tend to be very maneuverable; yari ashigaru are a good weapon against mtd samurai, mtd samurai a good weapon against foot samurai, and foot samurai a good weapon against yari ashigaru. Troops prefer to fight in open terrain. Skirmish screens are uncommon, teppos are used in concentrated fire while bows are used for skirmishing in specialized roles.
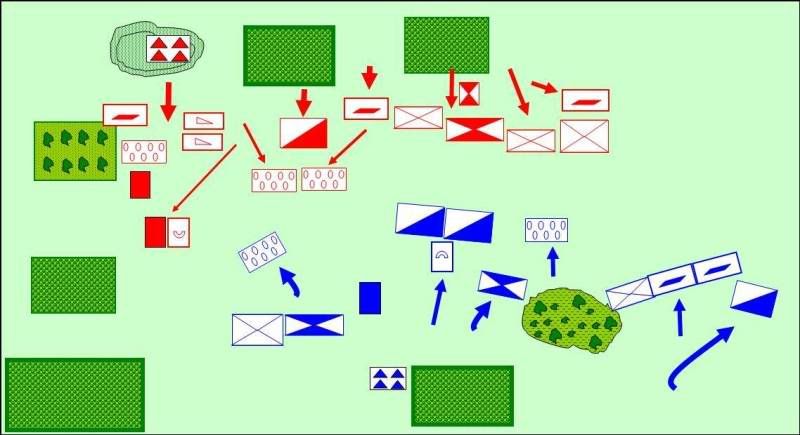
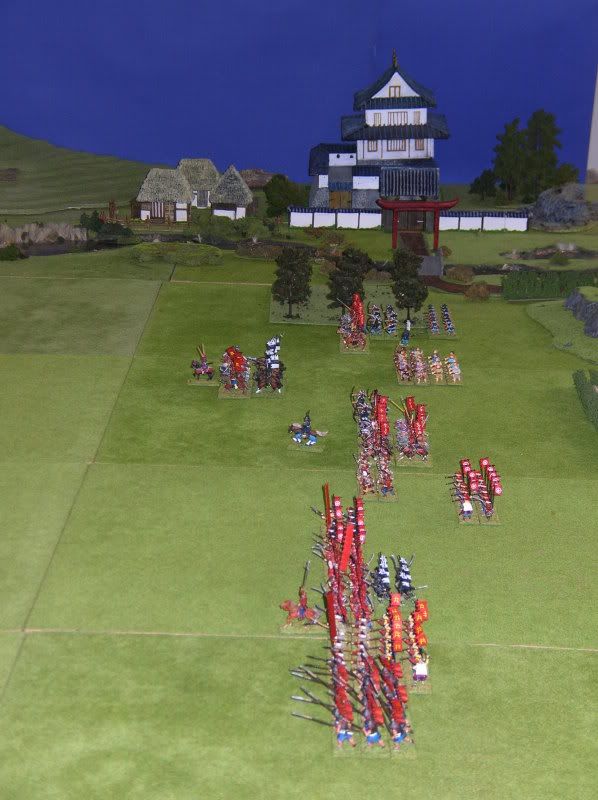
With this troop selection the composition of our opposing armies was as follows:
The opposing armies