Page 1 of 1
Temp League - Game Four - Early Carthage vs Dacia
Posted: Thu Jun 14, 2012 12:53 am
by massina_nz
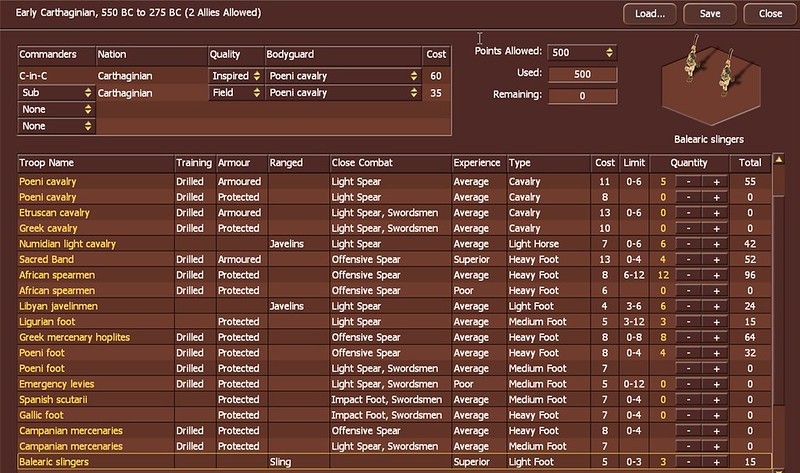
Given we will be facing Dacians, with presumably a whole lot of Sarmations, again there is no point in chariots, so I go for the same army as game three, maxing out on spears to counter the Sarmations and the MF impact horde coming my way. Here’s hoping for an open plain.
Turn One
Posted: Fri Jun 15, 2012 7:52 am
by massina_nz
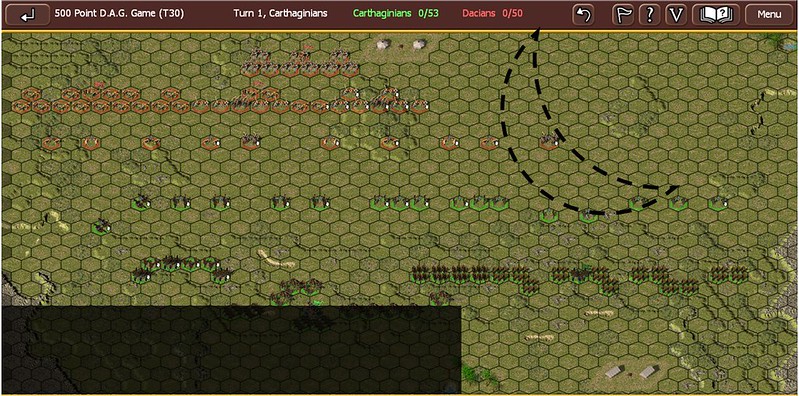
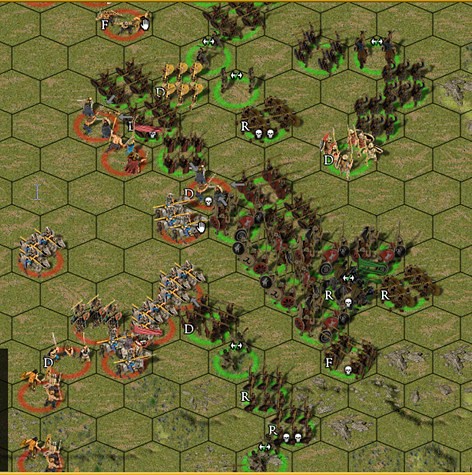
I lose initiative, and get an unpleasant map. I need to get off the hill as soon as possible. So I send my skirmisher out to the max, to give my heavies more double moves if possible. This smells like I’m playing for a draw already. On my left my cavalry and MF are there as a delaying action, although they may end up being sacrificial units.
Turn Two
Posted: Tue Jun 19, 2012 9:46 am
by massina_nz
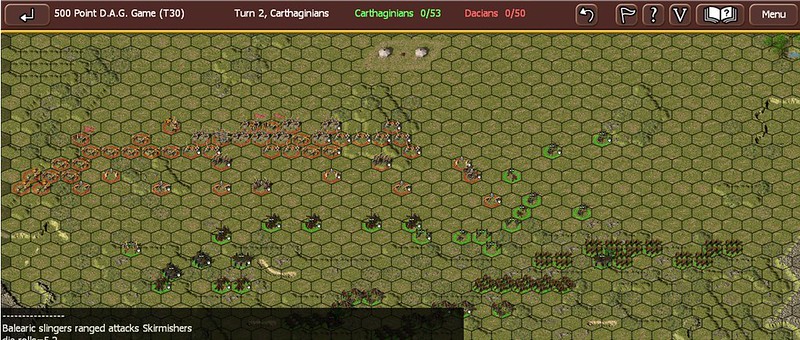
Can I escape to the right in time? There’s a danger that my far left would get cut off.
Turn Three
Posted: Wed Jun 20, 2012 9:46 am
by massina_nz
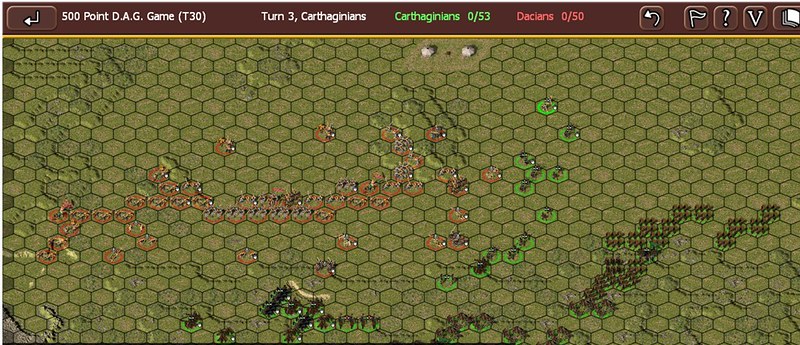
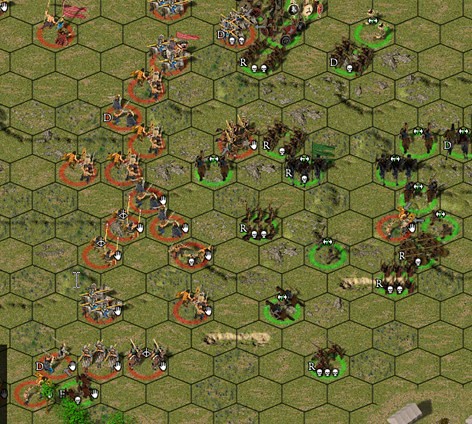
Some of my spearmen reach level ground. But will the rest of them?
Turn Four
Posted: Fri Jun 22, 2012 2:19 am
by massina_nz
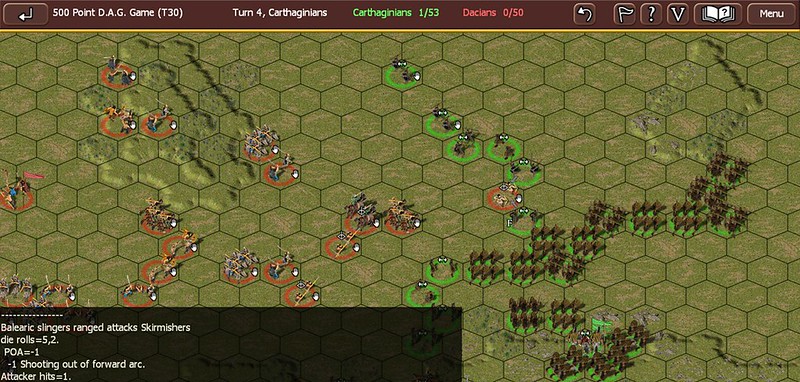
One skirmisher gets caught, but survives at least one turn.
Turn Five
Posted: Sun Jun 24, 2012 9:52 am
by massina_nz
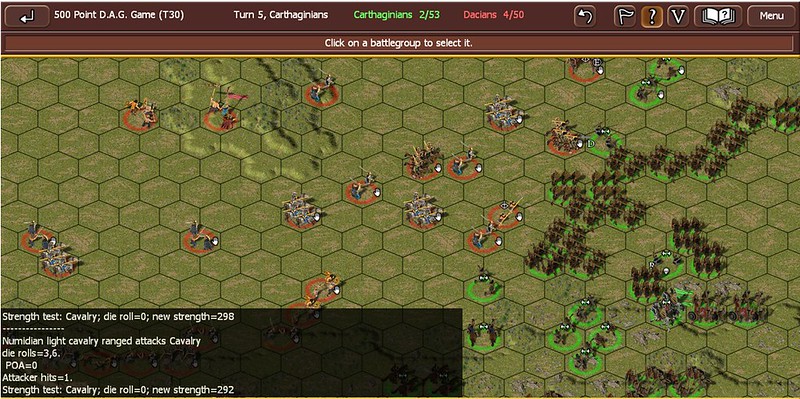
We swap some LFs, one of my spears may be exposed to rear attack.
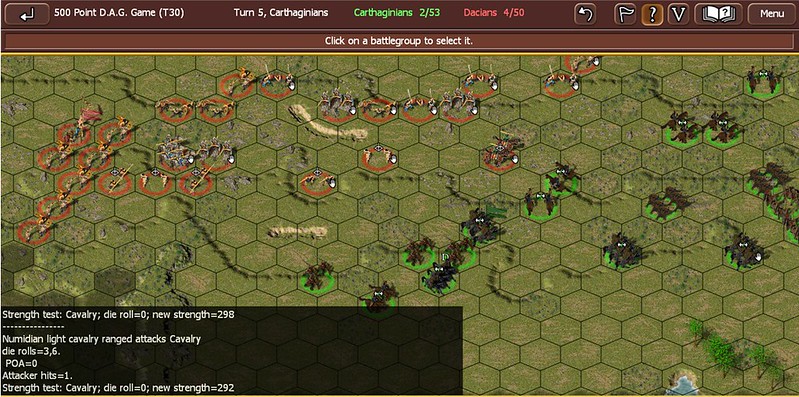
On the left we seem to be escaping, but I expect to have to leave my MF behind as some stage.
Turn Six
Posted: Sun Jun 24, 2012 11:48 pm
by massina_nz

The Dacians squeeze out some good attacks, thankfully I disrupt the flaxmen, they will be evil against my sacred band.
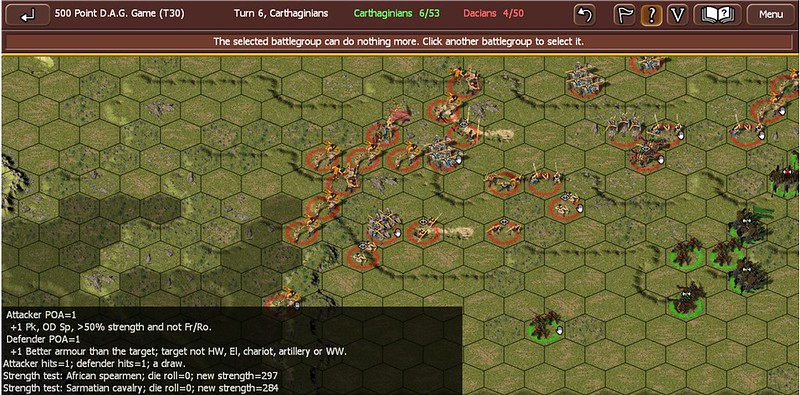
One MF gets left behind, next turn it will have turn and face and meet it’s doom.
Turn Seven
Posted: Mon Jun 25, 2012 3:24 am
by massina_nz
Looks like 4 to 5 units will have to be sacrificed – all really due to poor deployment at the start of the game, I should have deployed all my troops on the right side of the map as the Spartans did in my other game. One of my real weaknesses is working out what my opponent will do at deployment.
The flaxmen are doing well, all I can do is weather the storm, at least none of my disrupted spearmen are exposed to the Sarmatians otherwise it would be a real mess.
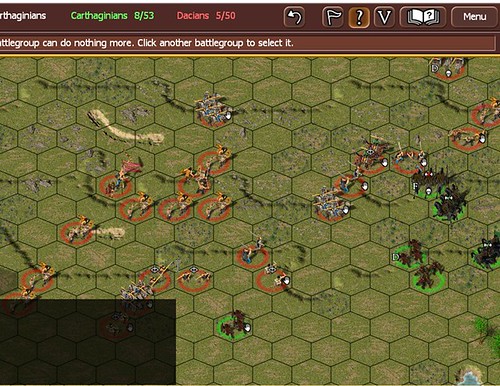
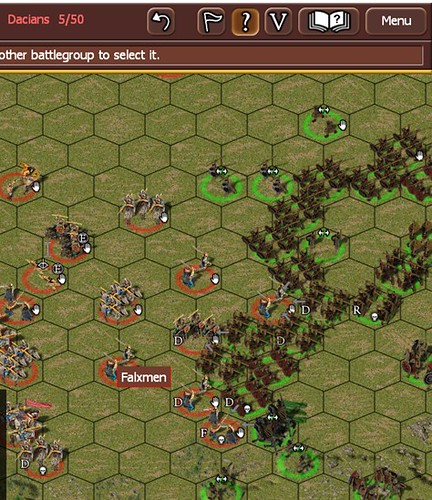
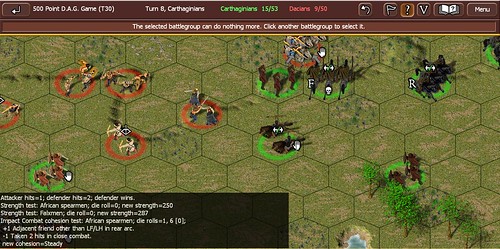
Turn Eight
Posted: Tue Jun 26, 2012 6:52 am
by massina_nz
Troops left behind. Are going to get slaughtered, I made a couple of bad placement mistakes with two cavalry units which will lead to their demise. I realise now that my deployment was all wrong, I shouldn’t have stretched my troops so thinly, I would have been better to take up the deployment that the Spartans have used against me. At this stage in the comp I begin to seriously regret choosing this army.

The flaxmen continue to make mincemeat of my spearmen, it all looks pretty hopeless here. I suspect a whole lot of domino routs will soon follow.
Turn Nine
Posted: Wed Jun 27, 2012 1:03 am
by massina_nz
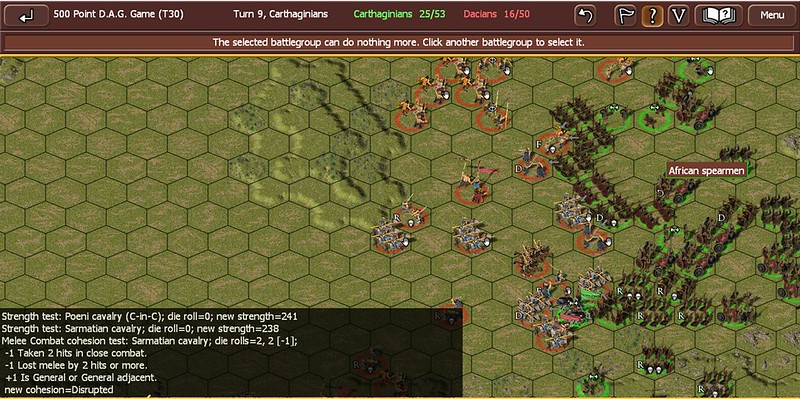
A solid knot of spearmen rout in my opponents turn, but I do manage to get some good results, the number of flaxmen is diminishing, but is only a glimmer of hope.
Turn Ten
Posted: Wed Jun 27, 2012 6:05 am
by massina_nz
Spearmen on the plain hold on, whereas the stragglers of my left flank are gobbled up.
Turn Eleven
Posted: Thu Jun 28, 2012 1:39 am
by massina_nz

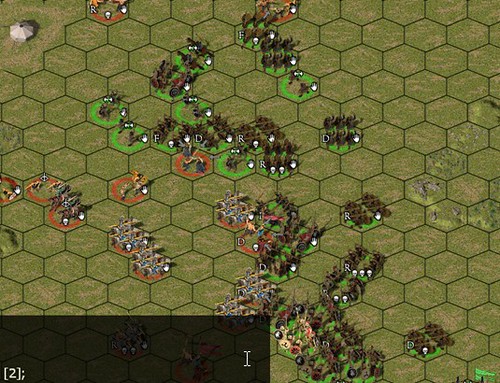
I’m managing to hold my own here.
But I’m being too aggressive here and my units keep on getting caught during evade moves, javelin armed skirmishers aren’t good at what I’m using them for. I’m leaving them too close to the Dacians. I really should be just using them for screen my other troops rather than attacking the Dacians with missile fire. This is where I really hamstrung myself.
Turn Twelve
Posted: Thu Jun 28, 2012 11:46 pm
by massina_nz
More of the same if only my initial dispositions had been better. I lose in my next turn. The flaxmen/Sarmation combo, losing initiative and leaving my left out to dry seemed to be the deciding factors in this game.