Page 1 of 1
Temp League - Game Two - Early Carthage vs Graeco-Bactrian
Posted: Mon Jun 04, 2012 9:15 pm
by massina_nz
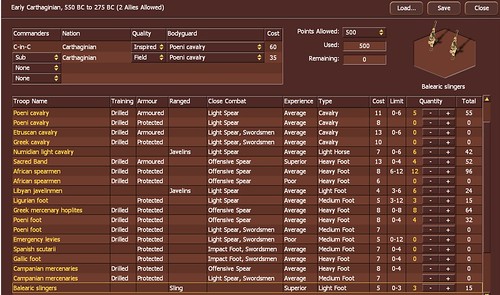
Given I will be facing Graeco-Bactrians, I’m expecting lots of lancers, elephants and pikes – so I forgo any thoughts of chariots completely, and max out on offensive spears to counter the lancers.
Turn One
Posted: Wed Jun 06, 2012 4:37 am
by massina_nz
I win initiative and go for an open map, but one that also narrows the channels.
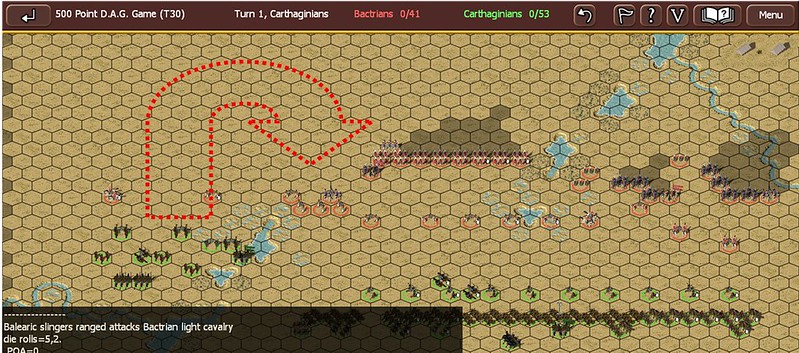
I couldn’t really have hoped for better dispositions, the pikes look a likely target for envelopment, and I have local superiority on my left flank, so I just move all my spearmen to the right to block the Bactrian lancers.
Turn Two
Posted: Thu Jun 07, 2012 3:27 am
by massina_nz
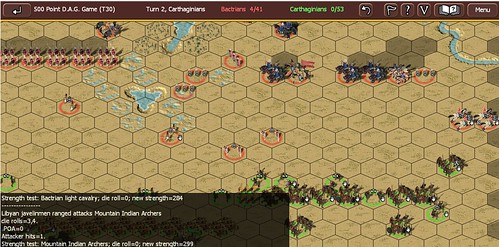
I mange to rout a couple of LH that end up too close to my spears, I was lucky because my LF javs were facing to the right which really helped. The Bactrians realising they are facing a spear wall, have decided to redeploy their lancers, which is fine with me, as I only have to deal with half of the enemy for the next few turns.
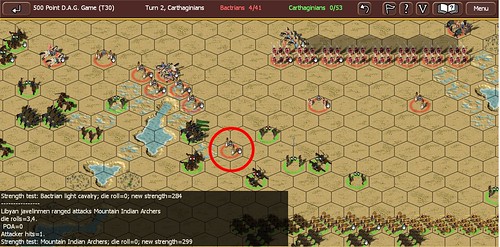
On the left I manage to isolate an enemy LF.
Turn Three
Posted: Fri Jun 08, 2012 9:52 am
by massina_nz

I get a chance to kill a couple more skirmishers.
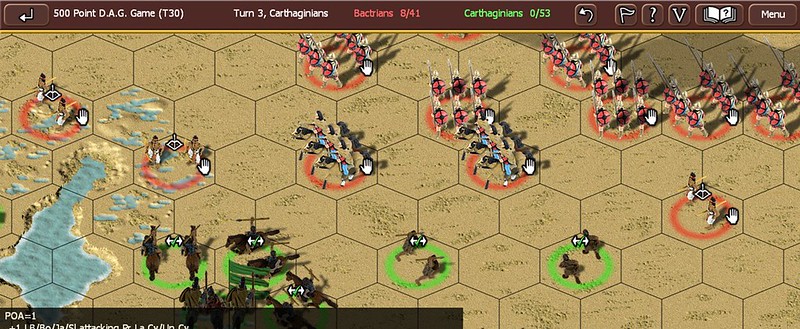
Which we succeed in doing but may be exposed based on evade moves next turn.
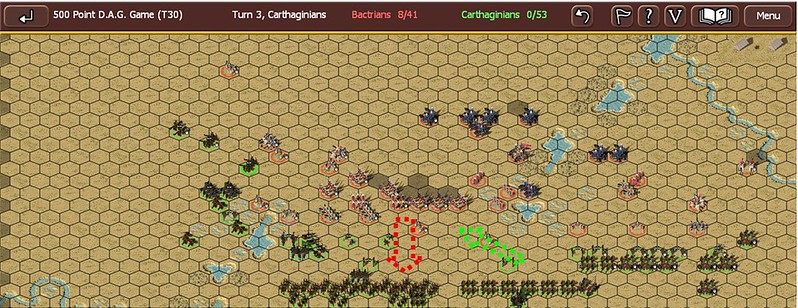
So the Bactrian lancers move back towards centre, but I’m still happy with that, as it opens up their camp for looting. The pikes are far advanced so should be able to draw them in and flank them on their right.
Turn Four
Posted: Mon Jun 11, 2012 8:27 am
by massina_nz
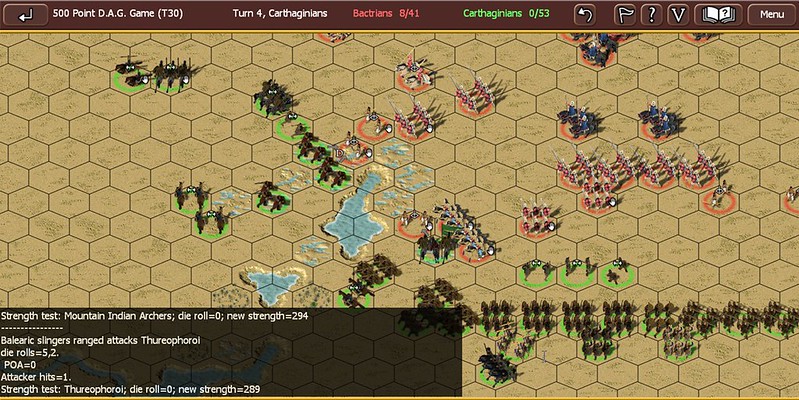
None of my units get trapped except my C-in-C, which thankfully doesn’t disrupt the LF in my turn so it should break off – I leave a channel for it to escape. The plan now is to use my skirmishers to drag the pikes into my sacred band.
Turn Five
Posted: Tue Jun 12, 2012 10:10 pm
by massina_nz
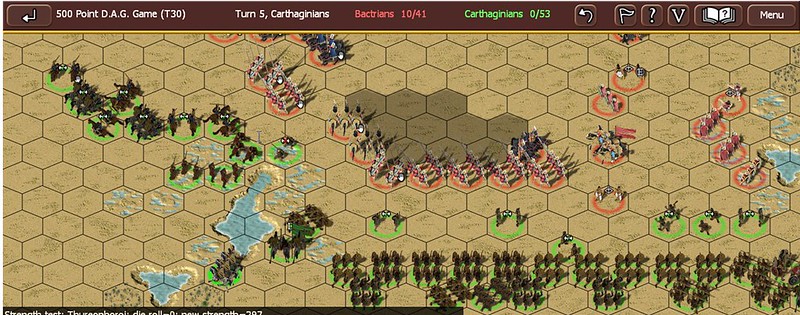
I draw back my cavalry on the left as the Bactrian cavalry begin to appear on that flank. I advance my hoplites and skirmishers to drag the pikes into conflict with the Sacred band – surely some will succumb to anarchy.
Turn Six
Posted: Wed Jun 13, 2012 9:36 am
by massina_nz

The pikes all pass anarchy tests so we have to follow them – I had a chance for my C-in-C to charge the rear of a pike unit, but decided not to.
Turn Seven
Posted: Thu Jun 14, 2012 10:25 pm
by massina_nz
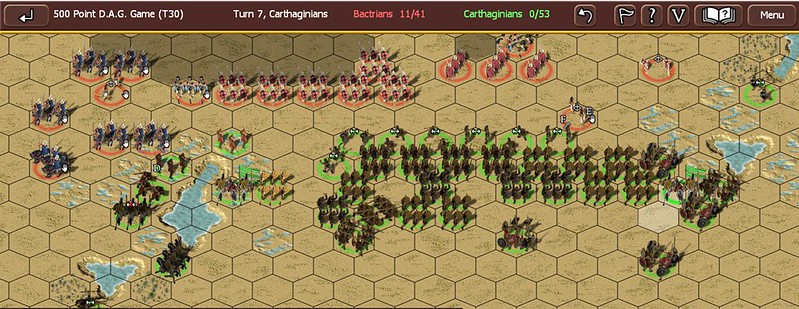
Unfortunately one of my Numidian LH disrupts the Ligurians when it evades, it wins it’s subsequent combat with lancer, but because it is disrupted the lancer will stick and has better odds during melee combat. Another Ligurian can’t get out of charge range, so turns back and I have to send a cavalry in to cover its rear, maybe I should have cut my losses. The pikes turns, I lead forward with the Sacred band.
Turn Eight
Posted: Fri Jun 15, 2012 7:59 am
by massina_nz

What luck the pike at the anchor point anarchies and I’m able to rout it in my turn. This is a good start to the main battle.
Turn Nine
Posted: Mon Jun 18, 2012 2:38 am
by massina_nz
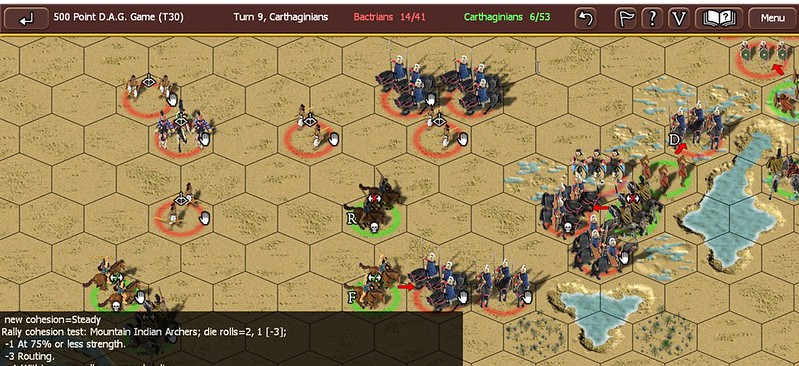
On my left, a couple of my LH get caught, I was way too aggressive her last turn. This is the last picture from the left flnak in this AAR, it was really a side action, although I mad ea few mistakes here, rather than cutting my losses I attempted to mitigate them, which only made them worse.
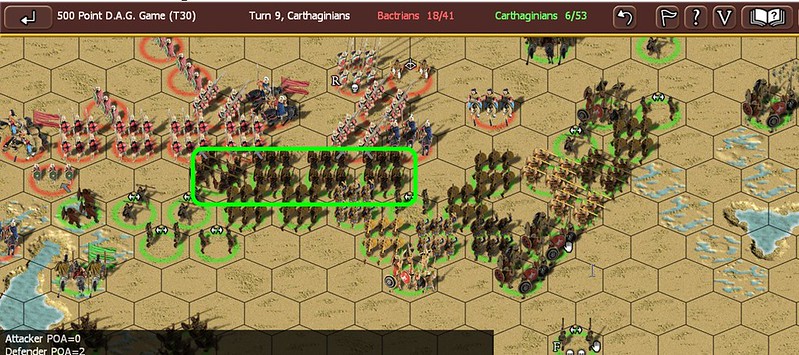
This is the significant theatre of the battle, the centre.
In my turn all four sacred band units survive impact combat, even though I lost every impact combat, having at least one unit behind them as they charged and also being superior troops helped. Next turn they will effectively have POA+ in melee combat, and then we shall see.
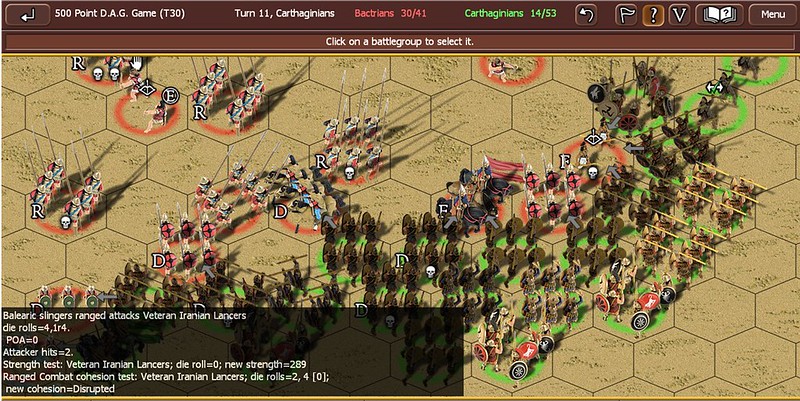
Turn Ten
Posted: Mon Jun 18, 2012 8:20 pm
by massina_nz

Whilst one of my units looks shaky, three enemy pike units look shaky too, and another one is fighting 3 units, none of which disrupted on impact. Thankfully the sacred band is doing most of the fighting, and weight of numbers should tell in the next couple of turns. I even send in my C-in-C I hope I don’t regret that.
Tutn Eleven
Posted: Tue Jun 19, 2012 10:00 am
by massina_nz
Most of the phalanx are now in rout, the weight of numbers was too much, there should be enough BPs here to guarantee me victory.
Turn Twelve
Posted: Tue Jun 19, 2012 10:25 pm
by massina_nz

Almost there, some good dice rolls especially for cohesion tests have helped in this game.
Turn Thirteen
Posted: Wed Jun 20, 2012 10:27 pm
by massina_nz
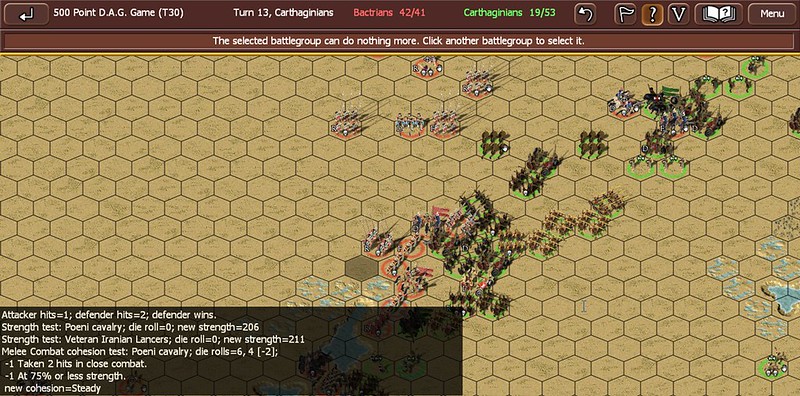
Despite some rallying by the opposition troops, I manage to press on and win the game, another turn where I mainly get good dice rolls.
Well in summary I certainly choose a good map that hindered the enemy cavalry, and pretty much neutralised them with my troop choices. My dice rolling for cohesion tests were excellent, which helped greatly. So Superior Armoured Spearmen are more than a match for average pikemen.