How does it look? Find out
Posted: Fri Feb 02, 2007 11:32 pm
What follows is a brief description of our first game with AoW. It was played back in November using 25mm figures. My Sassanids have been in the cupboard since 6th Edition and so it was great to use them again. They are my oldest 25mm army and are mainly the old Hinchliffe and Lamming figures, many of which are conversions.
Sassanids v Alexandrians 25mm 800 points.
Our aim was to try to use as many different troop types as possible to get a feel as to how they perform.
Sassanid list
4 x 4 element BGs of Noble cavalry
1 x 4 element BG of Cataphrates
1 x 4 element BG of Elephants
1 x 6 element BG of Light horse
1 x 8 element BG of Protected archers
1 x 8 element BG of Hill tribesmen
1 x 6 element BG of Slingers
1 x 8 element BG of Levy spearmen
1 x 8 element BG of levy mob
1 x FC general
3 x TC generals
Alexandrian list
2 x 4 element BGs of Companions
1 x 6 element BG of Paeonians
1 x 8 element BG of Hypaspist pikemen
2 x 8 element BG of Foot companions
2 x 6 element BGs of Thracians
1 x 6 element BG of Agrianians
1 x 6 element BG of Cretans
1 x 8 element BG of Ally Hoplites
1 x IC general
2 x FC generals
Alexander won the invading dice throw.
The Sassanids chose Steppe terrain.
We agreed to use some terrain to see how this effected troop movement. 1 x Slope, 2 x Bad Going and 2 x Brush. All of this landed in the flank sectors.
Alexander??™s +2 ensured he won the initiative and so the Sassanids had to start deploying first. In AoW, each army deploys in four sections alternatively.
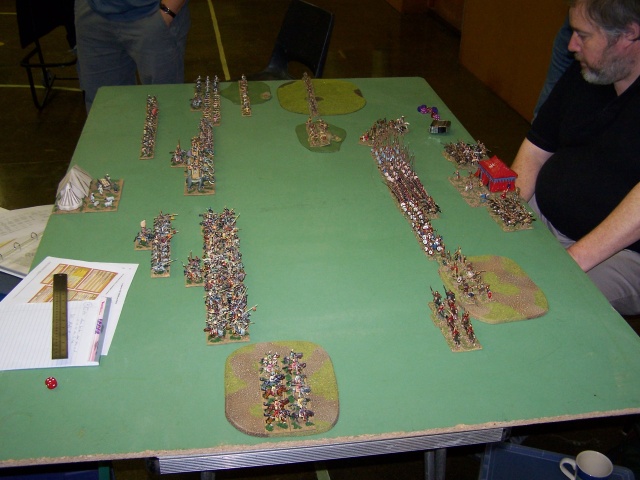
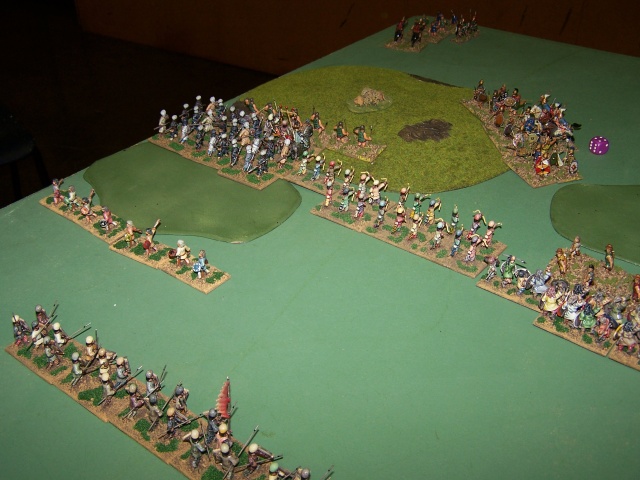
We had agreed not to ambush in our first game. The Sassanids deployed some troops right to the edge of the table with only one gap in their line. This was only to avoid the elephants upsetting their own cavalry.
The situation after deployment can be seen in the picture below.

1st Move.
Not much happened, both armies moved forward. The Sassanids making more second moves, making the maximum use of their extra general.
2nd Move
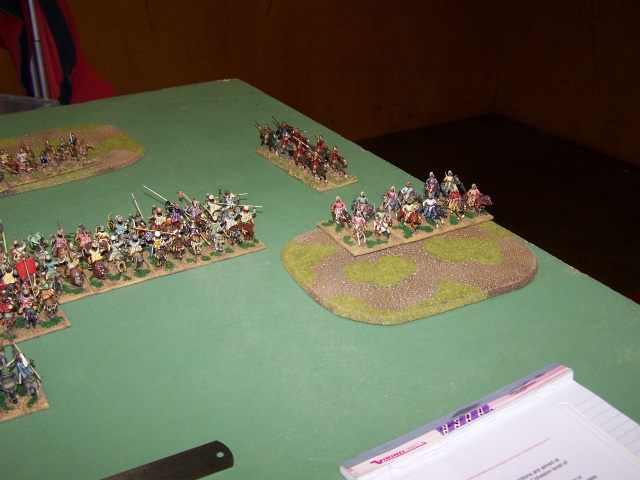
Alexander halts the foot skirmishers on his right taking advantage of the hill. On his left the light horse continue their move towards the flank.
The Sassanid line advances and the slingers shoot at the javelinmen. Despite getting 3 hits with 3 dice the javelinmen survive the death roll. On their left the Sassanid light horse are unable to get into shooting range. Less than half an inch out!
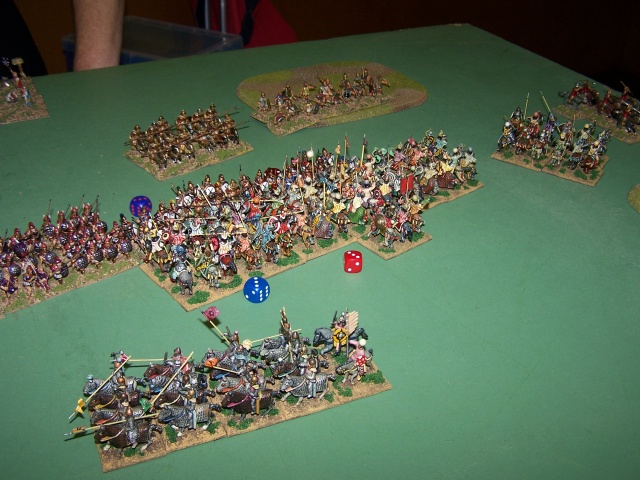
3rd Move
The javelinmen on Alexander??™s right decide not to chance their luck with another round of shooting and charged the slingers. The slingers opt to evade but throw a ???1??™ and are caught by the javelinmen who throw a??™6??™ for their variable moves. The result was that the slingers routed, but only after a round of melee later in the move.

The slingers routed in the Inter Bound and the javelinmen pursued into the supporting troops.
On the left the light horse not wanting to risking a round of shooting from the closing Sassanid cavalry, charged the Sassanid light horse. The Sassanids opt to evade, successfully this time. They shoot to their rear but miss.
In the Sassanid move the light horse rally and with the aid of the shooting from a Noble BG, the Alexandrian light horse fails their cohesion test and loose a base.
On the Sassanid left, their general joins the Hill tribesmen in the front rank. The Alexandrian javelinmen loose the impact to the Hillmen and draw with the archers. They fail their test and drop a cohesion level. In the melee they loose again, this time dropping two cohesion levels and routing.
In the centre the Sassanid levy spearmen (warband looking figures) advance with the elephants, but loose a base to shooting from the Cretan skirmishers. They pass the cohesion test.
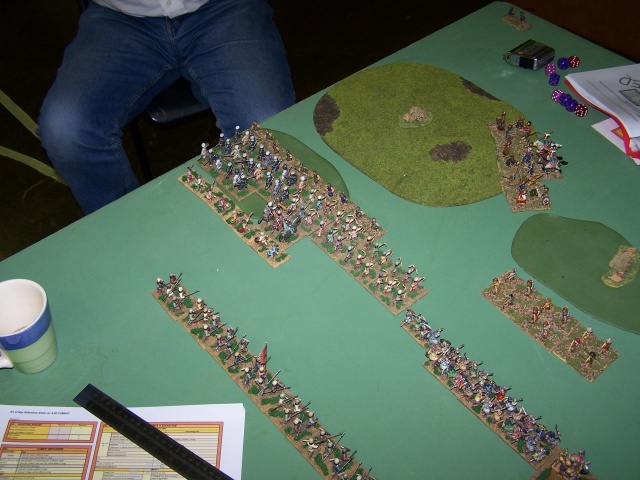
To the left of the elephants a battle line of 3 x 4 noble BG??™s and a general close to shoot the BG of allied Greeks. The Greeks pass their shooting casualties cohesion test with the aid of the attached general. They loose one base due to the number of hits and save another in their death roll.

The Cataphrates are trying to redeploy into the gap between the elephants and Nobles.
In the inter bound the Hillmen and archers pursue the broken Javelinmen.
4th Move.
The Greek allies realising the Sassanid cavalry have come too close decide to charge them. In the impact neither side has an advantage. The Greeks win overall, drawing with one BG and winning against the other. The Sassanids pass their cohesion tests.
In the movement phase a BG of pikemen comes up to support the Greeks. In the melee that follows the Greeks win and after the Sassanids have again passed their cohesion tests, the Battle Line breaks off.
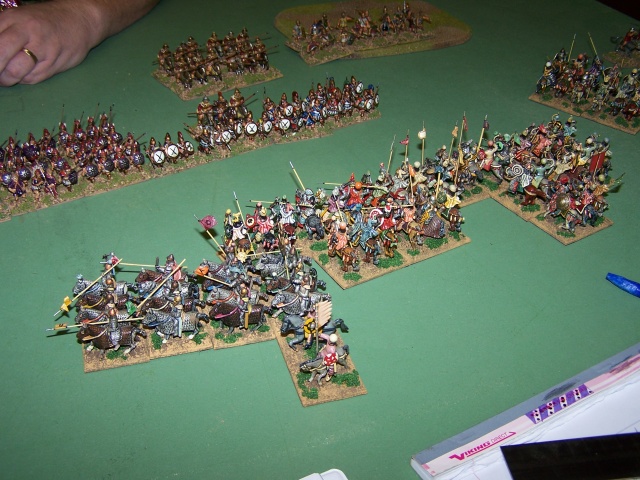
As we have almost run out of time, in the Sassanid move the elephants charge into the pikemen to see what happens. After the impact and melee phases the elephants loose a base, but pass their cohesion test.
Unfortunately the game ended here as we had run out of time, but I hope this gives an impression of how the basic rules work. I have played several more games with the Sassanid since then and am currently reorganising them and adding some more figures. I may even paint some close order Levy spearmen.
When I get a chance over the weekend I will finish my report on Usk.
Hope you enjoyed the eye candy.
Don M
Sassanids v Alexandrians 25mm 800 points.
Our aim was to try to use as many different troop types as possible to get a feel as to how they perform.
Sassanid list
4 x 4 element BGs of Noble cavalry
1 x 4 element BG of Cataphrates
1 x 4 element BG of Elephants
1 x 6 element BG of Light horse
1 x 8 element BG of Protected archers
1 x 8 element BG of Hill tribesmen
1 x 6 element BG of Slingers
1 x 8 element BG of Levy spearmen
1 x 8 element BG of levy mob
1 x FC general
3 x TC generals
Alexandrian list
2 x 4 element BGs of Companions
1 x 6 element BG of Paeonians
1 x 8 element BG of Hypaspist pikemen
2 x 8 element BG of Foot companions
2 x 6 element BGs of Thracians
1 x 6 element BG of Agrianians
1 x 6 element BG of Cretans
1 x 8 element BG of Ally Hoplites
1 x IC general
2 x FC generals
Alexander won the invading dice throw.
The Sassanids chose Steppe terrain.
We agreed to use some terrain to see how this effected troop movement. 1 x Slope, 2 x Bad Going and 2 x Brush. All of this landed in the flank sectors.
Alexander??™s +2 ensured he won the initiative and so the Sassanids had to start deploying first. In AoW, each army deploys in four sections alternatively.
We had agreed not to ambush in our first game. The Sassanids deployed some troops right to the edge of the table with only one gap in their line. This was only to avoid the elephants upsetting their own cavalry.
The situation after deployment can be seen in the picture below.
1st Move.
Not much happened, both armies moved forward. The Sassanids making more second moves, making the maximum use of their extra general.
2nd Move
Alexander halts the foot skirmishers on his right taking advantage of the hill. On his left the light horse continue their move towards the flank.
The Sassanid line advances and the slingers shoot at the javelinmen. Despite getting 3 hits with 3 dice the javelinmen survive the death roll. On their left the Sassanid light horse are unable to get into shooting range. Less than half an inch out!
3rd Move
The javelinmen on Alexander??™s right decide not to chance their luck with another round of shooting and charged the slingers. The slingers opt to evade but throw a ???1??™ and are caught by the javelinmen who throw a??™6??™ for their variable moves. The result was that the slingers routed, but only after a round of melee later in the move.
The slingers routed in the Inter Bound and the javelinmen pursued into the supporting troops.
On the left the light horse not wanting to risking a round of shooting from the closing Sassanid cavalry, charged the Sassanid light horse. The Sassanids opt to evade, successfully this time. They shoot to their rear but miss.
In the Sassanid move the light horse rally and with the aid of the shooting from a Noble BG, the Alexandrian light horse fails their cohesion test and loose a base.
On the Sassanid left, their general joins the Hill tribesmen in the front rank. The Alexandrian javelinmen loose the impact to the Hillmen and draw with the archers. They fail their test and drop a cohesion level. In the melee they loose again, this time dropping two cohesion levels and routing.
In the centre the Sassanid levy spearmen (warband looking figures) advance with the elephants, but loose a base to shooting from the Cretan skirmishers. They pass the cohesion test.
To the left of the elephants a battle line of 3 x 4 noble BG??™s and a general close to shoot the BG of allied Greeks. The Greeks pass their shooting casualties cohesion test with the aid of the attached general. They loose one base due to the number of hits and save another in their death roll.
The Cataphrates are trying to redeploy into the gap between the elephants and Nobles.
In the inter bound the Hillmen and archers pursue the broken Javelinmen.
4th Move.
The Greek allies realising the Sassanid cavalry have come too close decide to charge them. In the impact neither side has an advantage. The Greeks win overall, drawing with one BG and winning against the other. The Sassanids pass their cohesion tests.
In the movement phase a BG of pikemen comes up to support the Greeks. In the melee that follows the Greeks win and after the Sassanids have again passed their cohesion tests, the Battle Line breaks off.
As we have almost run out of time, in the Sassanid move the elephants charge into the pikemen to see what happens. After the impact and melee phases the elephants loose a base, but pass their cohesion test.
Unfortunately the game ended here as we had run out of time, but I hope this gives an impression of how the basic rules work. I have played several more games with the Sassanid since then and am currently reorganising them and adding some more figures. I may even paint some close order Levy spearmen.
When I get a chance over the weekend I will finish my report on Usk.
Hope you enjoyed the eye candy.
Don M