Wehrmacht Campaign | Generalissimus | Traits: None | Heroes: None

Battle Reports & After Action Reports (AAR's)

Moderator: Panzer Corps 2 Moderators

Post Reply
frugivore
Corporal - 5 cm Pak 38
Posts: 30
Joined: Wed Dec 21, 2016 3:35 am

Wehrmacht Campaign | Generalissimus | Traits: None | Heroes: None

Post by frugivore »

Hello fellow wargamers! I am a latecomer to this game so I will be playing through the Wehrmacht campaign. Inspired by Kerensky's post about playing with settings as standard as possible and wanting there to be no huge spikes in gameplay - aside from Combat Randomness - I decided on the following settings:

Wehrmacht Campaign | Generalissimus | Advanced Options
Image

My goal is victory in Berlin, while learning the game mechanics and having fun. For my first scenario, Poland South, I disbanded my starting core and purchased the following units:
  • Wehr Infantry (2)
  • Panzer IB Tank (6)
  • SdKfz 222 Recon (2)
  • 15cm sFH 18 Artillery (2)
  • Bf 109E Fighter (2)
Wehrmacht Campaign | Generalissimus | Poland South | Turn 1
Image

I knew that prestige would be really tight, so my strategy is to surround and force high value enemy units to surrender, while taking as little damage as possible and not replacing unit strength if unnessessary. Here are my forces at turn 5 in the south:

Wehrmacht Campaign | Generalissimus | Poland South | Turn 5 south
Image

And in the north:

Wehrmacht Campaign | Generalissimus | Poland South | Turn 5 north
Image

By the last turn, I was able to surround and suppress the Polish Engineers at Radom and force a surrender with my Wehr Infanterie:
Wehrmacht Campaign | Generalissimus | Poland South | Turn 15
Image

All in all, a very good result in the first scenario. But I had played this one a few times already.
Last edited by frugivore on Thu Aug 31, 2023 6:49 pm, edited 1 time in total.
frugivore
Corporal - 5 cm Pak 38
Posts: 30
Joined: Wed Dec 21, 2016 3:35 am

Re: Wehrmacht Campaign | Generalissimus | Traits: None | Heroes: None

Post by frugivore »

After a successful Poland South scenario, my troops headed for Warsaw. I purchased these additional units:
  • Bf 109E (1)
  • Ju 87B (2)
Wehrmacht Campaign | Generalissimus | Warsaw | Turn 1
Image

My three fighters made quick work of the Polish air force which allowed my tactical bombers to decimate the Polish tanks. Although I did not get as many surrenders as in the first scenario, I sent half my force to eliminate the mass of Polish infantry heading towards Kutno without taking much damage:

Wehrmacht Campaign | Generalissimus | Warsaw | Turn 13 (Kutno)
Image

The other half had started encircling the Polish Strongpoint and fortified infantry:

Wehrmacht Campaign | Generalissimus | Warsaw | Turn 13 (Warsaw)
Image

By the final turn, I had eliminated all but one Polish infantry. Another superb victory for my troops!

Wehrmacht Campaign | Generalissimus | Warsaw | Turn 20
Image
Last edited by frugivore on Fri Sep 01, 2023 2:59 pm, edited 1 time in total.
frugivore
Corporal - 5 cm Pak 38
Posts: 30
Joined: Wed Dec 21, 2016 3:35 am

Re: Wehrmacht Campaign | Generalissimus | Traits: None | Heroes: None

Post by frugivore »

The Warsaw scenario was just as successful as Poland South. Could I keep up this pace? I took my troops to Norway South next. I bought the following units and deployed them, with only *24* prestige left afterwards:
  • Pioniere w/ Opel Blitz (2)
  • Gebirgsjäger (4)
  • Ju 88A Strategic Bomber (3)
I deployed one Pionere and one Gebirgsjäger to assault Stavanger in the southwest. And I deployed one Pionere and one Gebirgsjäger to assault Bergen in the northwest. The remainder of my land forces (2 x Gebirgs and 2 x 15cm arts) were to land southeast of Oslo and slowly make their way through the hills. The air force was extremely effective in support as I attempted my amphibious assaults:

Wehrmacht Campaign | Generalissimus | Norway South | Turn 1
Image

After landing, I was very careful to suppress Norwegian infantry before attacking. I was able to capture Stavanger and Kristiansand in the southwest and also Bergen in the northwest.

Wehrmacht Campaign | Generalissimus | Norway South | Turn 10 (Villages)
Image

By that time, my two Gebirgs and arties had moved close to Oslo with the infantry taking a little damage in the process. I was careful to position my artillery units out of harms way, but somehow an infantry unit made it through and got one down to 5 health!

Wehrmacht Campaign | Generalissimus | Norway South | Turn 10 (Oslo)
Image

I sacrificed quite a bit of the auxilliary Fallschirmjägers' health. One was down to 3, but I was able to use him to take the flag south of Kristiansand after bombing the fort into oblivion with my Stuka. By the last turn my Pionieres had taken a bit of damage but I was able to surround the last Norwegian infantry in Lillehammer. All in all, this was quite a success:

Wehrmacht Campaign | Generalissimus | Norway South | Turn 20 (Lillehammer)
Image

Next we head to Sedan, but I will save that for another day!
frugivore
Corporal - 5 cm Pak 38
Posts: 30
Joined: Wed Dec 21, 2016 3:35 am

Re: Wehrmacht Campaign | Generalissimus | Traits: None | Heroes: None

Post by frugivore »

It's time for Breakthrough at Sedan! My first order of business, now that I had some prestige, was to reinforce my forces. My corps, after spending some prestige, now consisted of the following units:
  • Infantry: Gebirgsjäger (4), Pioniere w/ Open Blitz (2), Wehr Infanterie (2)
  • Tanks: Panzer IB (3), Panzer IIIF (3)
  • Recons: SdKfz 222 (2)
  • Artillery: 15 cm sFH 18 (2)
  • Anti-Aircraft: SdKfz 7/1 (2)
  • Fighters: Bf 109E (3)
  • Tactical Bombers: Ju 87B (2)
  • Strategic Bombers: Ju 88A (3)
I deployed some units in the north to capture the town of St. Vith. They would then swing south to help capture Bastogne. The bulk of my force would move through the Ardenne forest toward Sedan. Recon would be crucial here:

Wehrmacht Campaign | Generalissimus | Sedan | Turn 1
Image

My newly purchased AA units helped me sieze control of the air and by turn 10 I had broken through Sedan:

Wehrmacht Campaign | Generalissimus | Sedan | Turn 10 (Sedan)
Image

My Stukas wreaked havoc on the French tanks. And my 2 strat bombers, in combination with my 2 arties kept up suppression. I had cleared the last two remaining cities even before turn 20:

Wehrmacht Campaign | Generalissimus | Sedan | Turn 20 (Phileppville)
Image

My tanks and Pionieres suffered more casualties than in previous scenarios. However, this was countered by forcing surrenders of two valuable enemy units - a French cavalry and an AA.

Wehrmacht Campaign | Generalissimus | Sedan | Turn 20 (Hirson)
Image

On to Channel Coast!
frugivore
Corporal - 5 cm Pak 38
Posts: 30
Joined: Wed Dec 21, 2016 3:35 am

Re: Wehrmacht Campaign | Generalissimus | Traits: None | Heroes: None

Post by frugivore »

I have arrived at the Channel Coast scenario. My Panzer IBs are seriously obsolete so I upgrade all three to Panzer IVDs. After deploying all my units (2xINF, 6xTNK, 2xRCN, 2xAA, 2xFTR, 2xTB, 2xSB) I am left with one free core slot. I decide to buy a Fi 156 Storch reconnaissance plane. I'm left with 682 prestige which doesn't seem like very much to me. I'm starting to worry that I won't survive on these settings.

Here is my deployment:

Wehrmacht Campaign | Generalissimus | Channel Coast | Turn 1
Image

I carefully take out French aircraft, then bomb their medium and heavy tanks. The new Panzer IVDs are great at fighting infantry out in the open. By turn 10, I have half my forces ready to take Arras in the centre of the map:

Wehrmacht Campaign | Generalissimus | Channel Coast | Turn 10 (Arras)
Image

The other half of my forces have moved through the southern towns and are ready to attack Amiens from the south:

Wehrmacht Campaign | Generalissimus | Channel Coast | Turn 10 (Amiens)
Image

There was another wave of French planes that I had to contend with. Not fun, but the AAs really help. After Arras and Amiens are conquered, I use my Storch to perform some phenomenal recon and quickly finish up the French army. I am ready to take Calais by turn 17:

Wehrmacht Campaign | Generalissimus | Channel Coast | Turn 17 (Calais)
Image

I was too liberal with the tank replacements on the battlefield, I think. In any case, victory was achieved and I am headed for Dijon next!
frugivore
Corporal - 5 cm Pak 38
Posts: 30
Joined: Wed Dec 21, 2016 3:35 am

Re: Wehrmacht Campaign | Generalissimus | Traits: None | Heroes: None

Post by frugivore »

Dijon! Now this was the furthest I had gotten in this campaign before I restarted and decided to change the settings to neutral. The combination of Flexible Command and Perimeter Control, among other commander traits made it trivial to get behind enemy lines and assault their AA and arties. But now I had no traits, so I needed to carefully plan. Here is my initial deployment:

Wehrmacht Campaign | Generalissimus | Dijon | Turn 1
Image

My two Brückenpioniere led the way across the river. Next, I sent my two recon units around the French tank next to Reims - the first to take out the artillery behind the tank and the second to damage the big AA protecting the enemy units to the right side of Reims. I attacked the AA with the strat bomber first and then attacked with the recon but didn't do as much damage as I had hoped. Still, this allowed my tactical bombers to seriously damage the two French tanks. I made sure to have artillery behind any of my ground units ending their turn on the river. A few forced surrenders and here is the result at the end of turn 1:

Wehrmacht Campaign | Generalissimus | Dijon | Turn 1 End
Image

From here, I carefully cleaned up the remnants of the French front line and set some traps with my AAs and/or fighters. I fanned out my divisions, moving some south, some southeast and some east. By turn 10, I had surrounded Chaumont, but my impatience resulted in many casualties:

Wehrmacht Campaign | Generalissimus | Dijon | Turn 10 (Chaumont)
Image

At the same time, in the northeast, I was preparing to occupy Metz:

Wehrmacht Campaign | Generalissimus | Dijon | Turn 10 (Metz)
Image

There was little resistance after I took those two cities and I was able to destroy the French recon stationed in Besancon to complete my victory:

Wehrmacht Campaign | Generalissimus | Dijon | Turn 20 (Besancon)
Image

The scenario started off very well for me, but I got sloppy and without a clear overall strategy and it cost me. However, I did rack up much prestige due to the number of objectives, so that helped me recover.

So now I have a choice: Barbarossa North, Center or South? There is no description in the game describing how these three scenarios differ like there was with Poland and Norway. So I will go Center and save the other options for a future playthrough!
frugivore
Corporal - 5 cm Pak 38
Posts: 30
Joined: Wed Dec 21, 2016 3:35 am

Re: Wehrmacht Campaign | Generalissimus | Traits: None | Heroes: None

Post by frugivore »

It is now 22 June 1941 and the invasion of the Soviet Union has begun! My unit is operating under Army Group Centre's command and it is suggested that I purchase the Karl-Gerät siege artillery. Alas, I do not have the prestige for this. Instead, I upgrade my 6 Panzers to the latest models and purchase two more - a Panzer IIIH and one Panzer IVF. I also purchase a fourth 15 cm sFH 18 artillery. Here is my initial deployment in the south:

Wehrmacht Campaign | Generalissimus | Barbarossa Center | Turn 1 (South)
Image

And in the north:
Wehrmacht Campaign | Generalissimus | Barbarossa Center | Turn 1 (North)
Image

I am able to quickly and efficiently destroy enemy units and chip away at the Soviet air force. My AAs are starting to do damage now. By turn 10, I have moved past Minsk and my northern force is on the march toward the east side of the map:

Wehrmacht Campaign | Generalissimus | Barbarossa Center | Turn 10 (Minsk NE)
Image

My southern force runs into a blockade with no infantry to help with the assault:

Wehrmacht Campaign | Generalissimus | Barbarossa Center | Turn 10 (Minsk SE)
Image

I didn't really have much trouble after that and by turn 20, I had been battering the garrison in Smolensk for a few turns:

Wehrmacht Campaign | Generalissimus | Barbarossa Center | Turn 20 (Smolensk)
Image

I ended up with 2780 prestiege heading into Kiev and I felt that I would need every bit of it.
frugivore
Corporal - 5 cm Pak 38
Posts: 30
Joined: Wed Dec 21, 2016 3:35 am

Re: Wehrmacht Campaign | Generalissimus | Traits: None | Heroes: None

Post by frugivore »

I started the Kiev scenario with optimism, but a couple of costly blunders forced me to restart the scenario after a few turns. I had switched my AAs to ATs to rout the Soviet infantry up north and forgot to set them back as AAs the next turn. This allowed the Soviet bombers to wreak havok on my tanks and this snowballed quickly. Lesson learned!

Here is my second try at Kiev. I don't believe I purchased anything, but brought in elite replacements where a unit would lose a star with green replacements. I split my forces in two groups as seen here:

Wehrmacht Campaign | Generalissimus | Kiev | Turn 1
Image

I set up many traps for the Russian air force and by turn 10 I had them out of commission. My four bombers then systematically took out the Russian tanks. There was a KV-2 in the group and I managed to force a surrender, which yielded quite a bit of prestige. My ground units took more damage than I expected so this is some compensation.

I decided to move the auxilliary units down south across the central bridge (where the town is on the SW side of the river) and slowly gained ground, headed toward Lubny. The AA I was given was put to good use taking out some enemy fighters and distracting the air force away from the north.

Wehrmacht Campaign | Generalissimus | Kiev | Turn 10 (Lubny)
Image

By turn 20, my eastern forces surrounded Mirgorod:

Wehrmacht Campaign | Generalissimus | Kiev | Turn 20 (Mirgorod)
Image

Meanwhile, over in the west, I began my assault on Kiev. I had parachuted the three auxialliary infantry to another airfield instead of keeping them on the easter border of Kiev:

Wehrmacht Campaign | Generalissimus | Kiev | Turn 20 (Kiev)
Image

And I began to take out the fortified infantry on at a time until I had destroyed all units by turn 29:

Wehrmacht Campaign | Generalissimus | Kiev | Turn 29 (Kiev)
Image

Kiev had a different objective than the previous scenearios (destroy all enemy units) and had a longer turn limit. I found myself rushing to finish the scenario in one day of play, rather than playing half each day and that cost me. In any case, I am now At the Gates of Moscow. I am excited!
frugivore
Corporal - 5 cm Pak 38
Posts: 30
Joined: Wed Dec 21, 2016 3:35 am

Re: Wehrmacht Campaign | Generalissimus | Traits: None | Heroes: None

Post by frugivore »

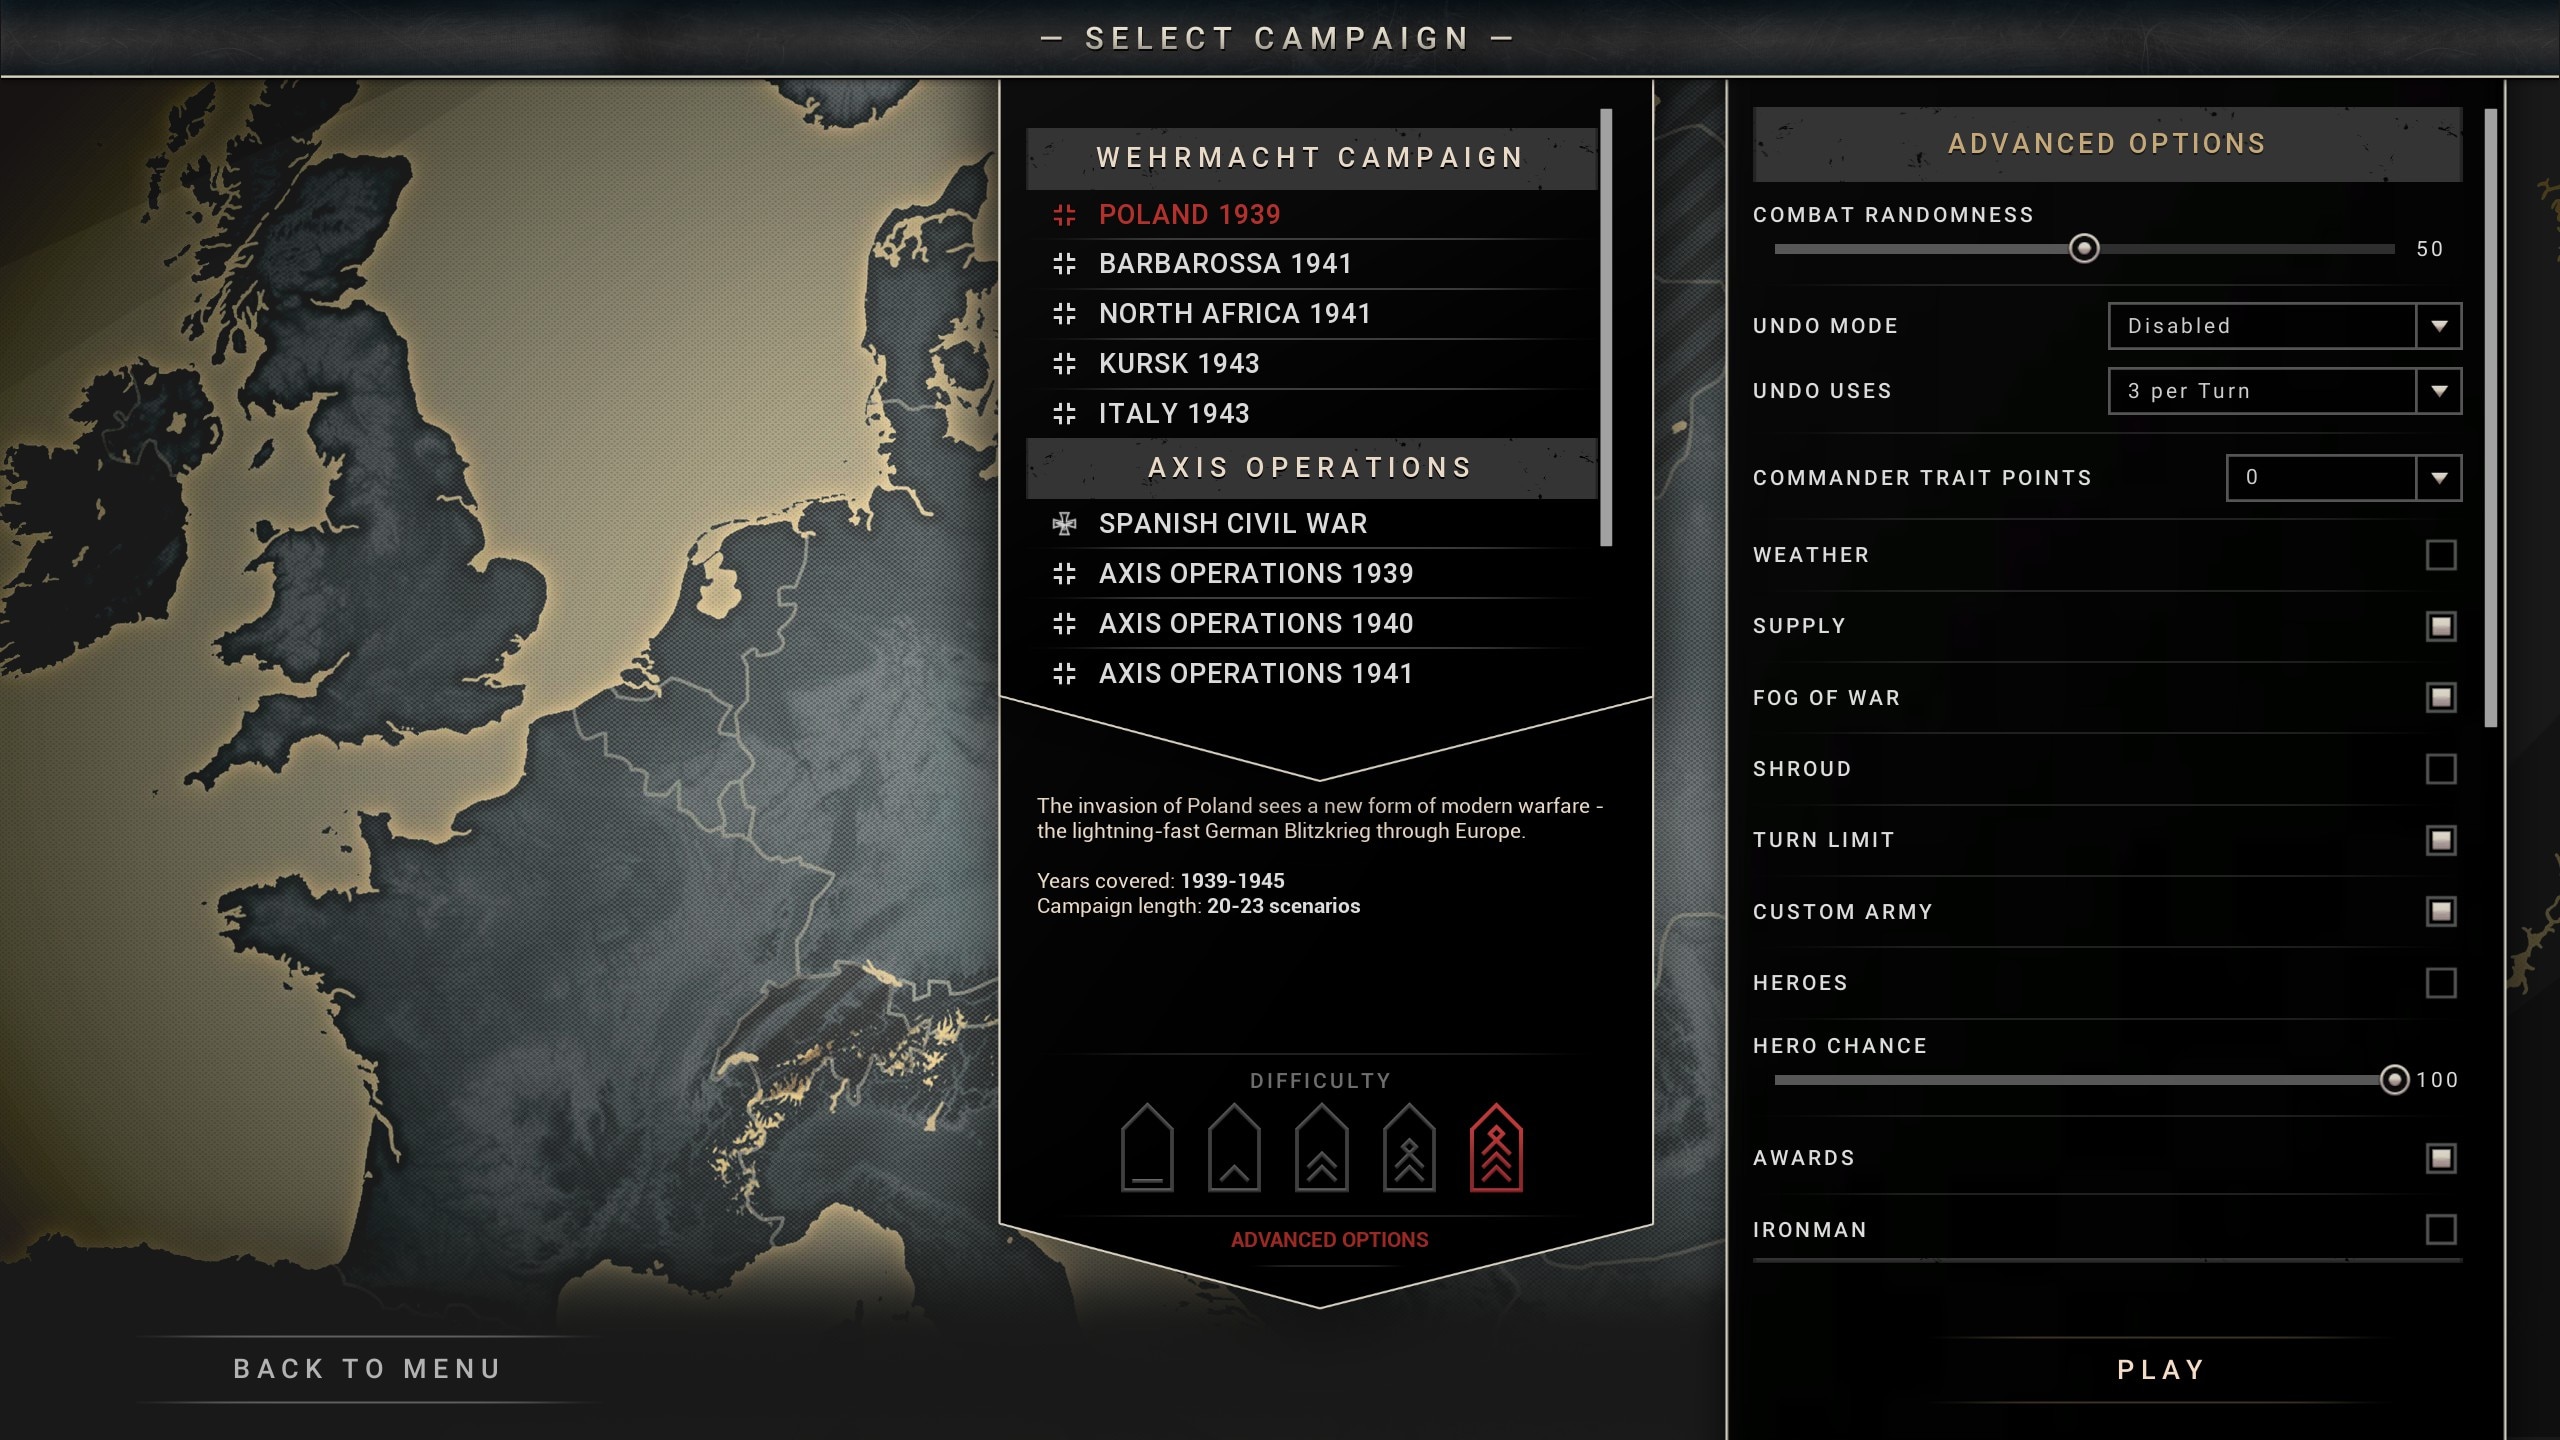
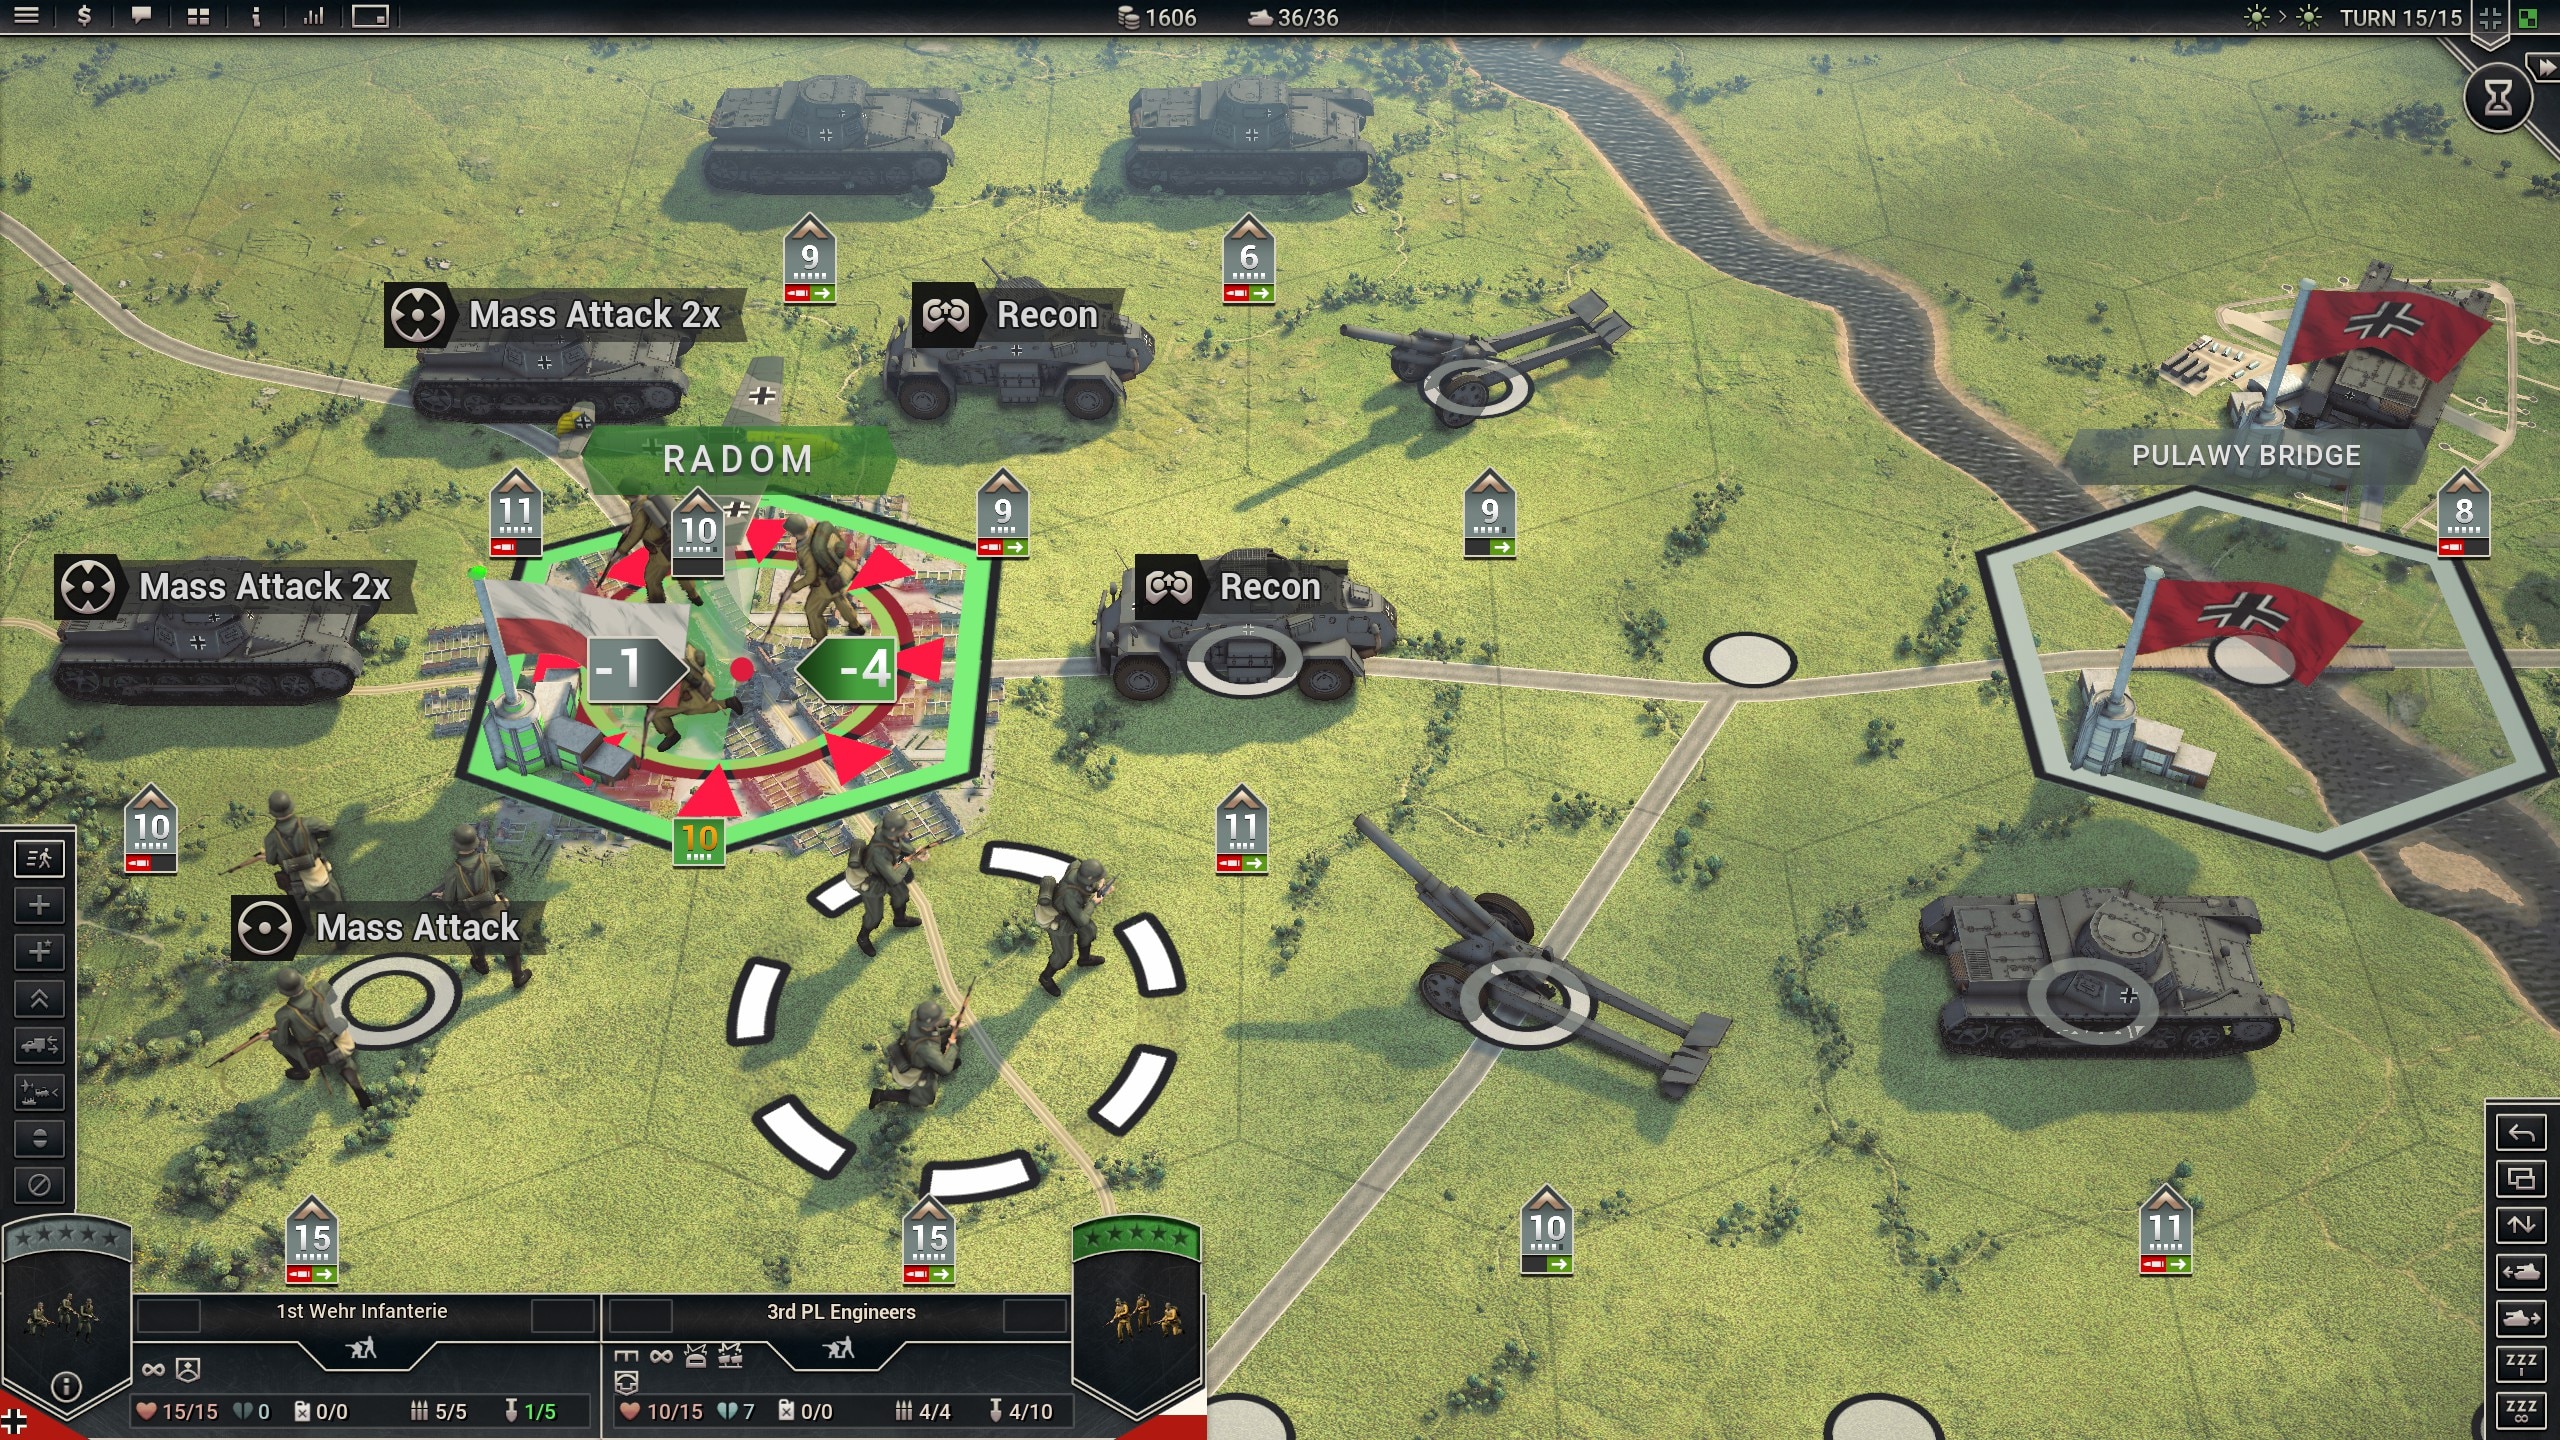
It has been a while since my last report but with good reason. While looking over my corps, I realized that I had made a major error in unit purchase throughout the course of the campaign. I should have been purchasing cheaper units so that I could have a greater number of them in my roster and on the battlefield. One example is that I opted to use the 105mm artillery units rather than the 150mm ones, which would allow me more of them to more easily suppress enemy units and harvest more prestige through surrenders. And so I restarted the campaign and played through the missions again and I am now on the At the Gates of Moscow scenario.

Here is my inventory of units prior to deployment:
  • Infantry: 8 (2xGebirgsjäger, 2xPioniere, 4xWehr Infanterie)
  • Tank: 8 (4xPanzer IIIJ, 4xPanzer IVF)
  • Recon: 4 (4xSdKfz 232 8Rad)
  • Artillery: 8 (8x10.5 cm leFH 18 w/horses)
  • Anti-Aircraft: 4 (4xSdKfz 7/1)
  • Fighter: 4 (4xBf 109F)
  • Tactical Bomber: 4 (4xJu 87R)
  • Strategic Bomber: 4 (4xDo 217E)
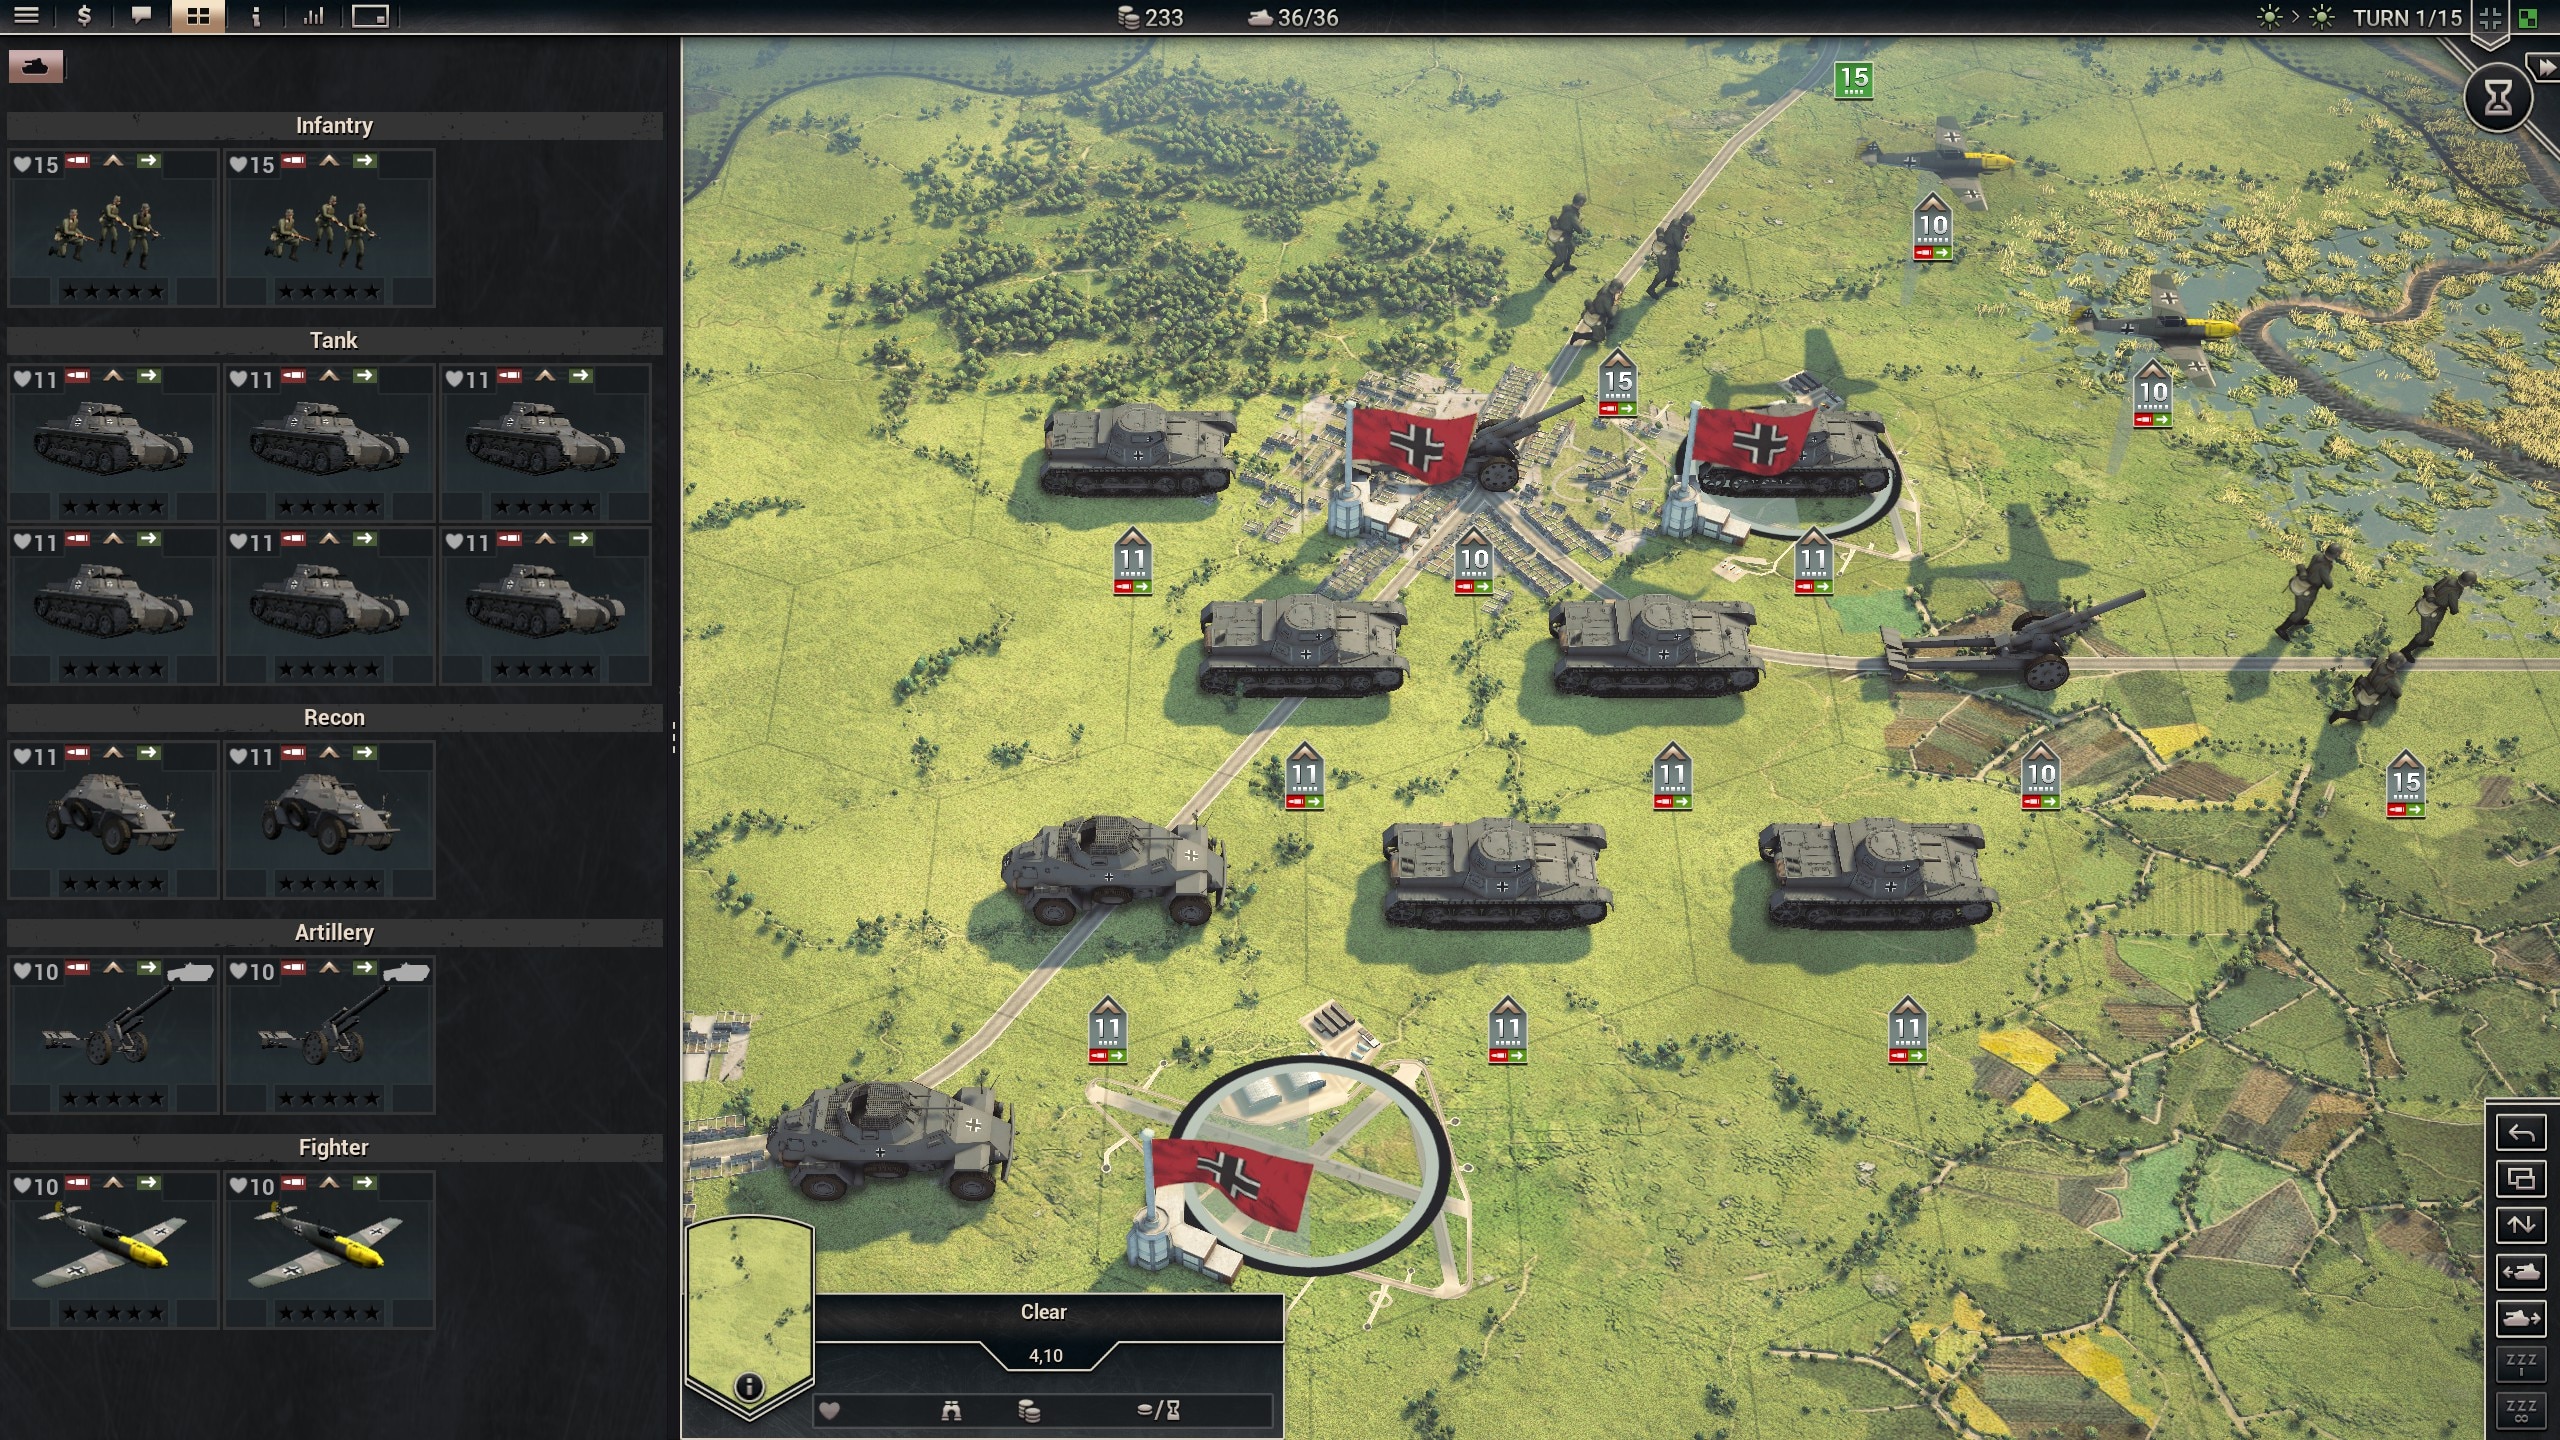
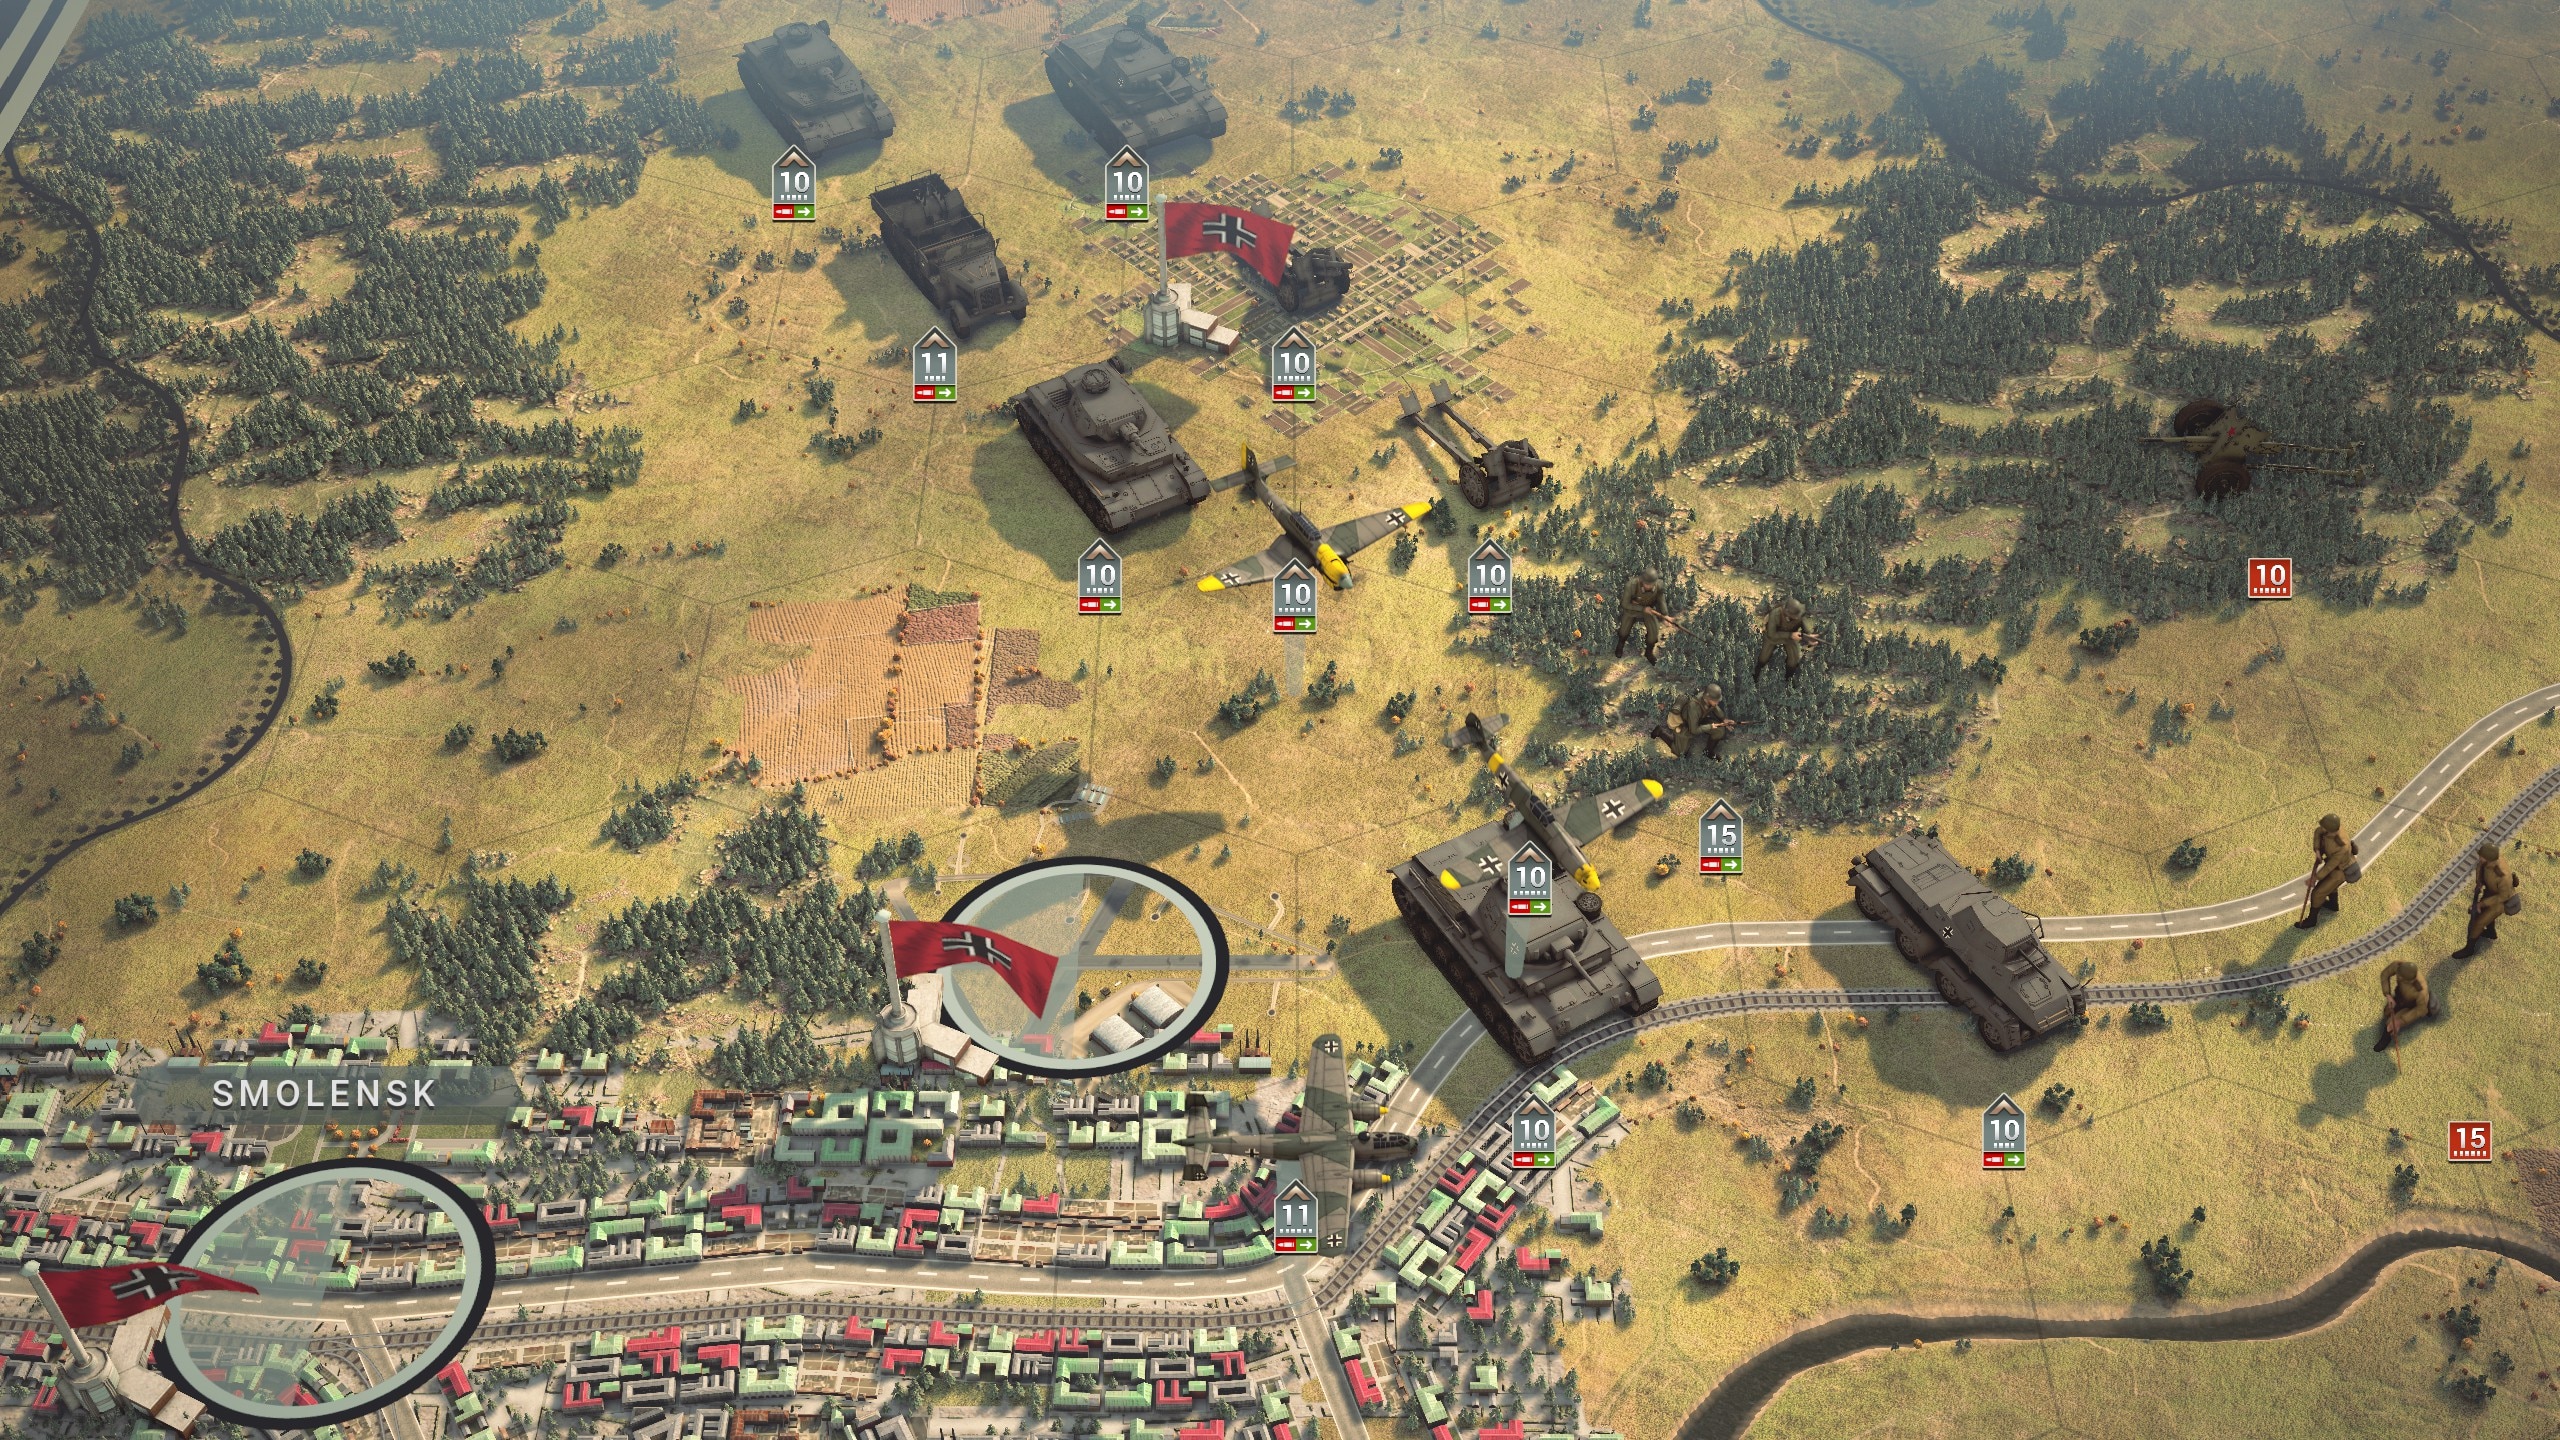
Being provided with an auxilliary force of 5 infantry, 3 tanks, 1 recon and 2 artillery, I deployed my units in the 3 deployment areas so that I would have 1 or 2 infantry, 2 tanks (1 PzIII and 1 PzIV), 1 recon, 2 artillery, 1 AA, 1 or 2 fighters and 1 of each type of bomber. Here is deployment at Smolensk:

Wehrmacht Campaign | Generalissimus | Gates of Moscow | Turn 1 (Smolensk)
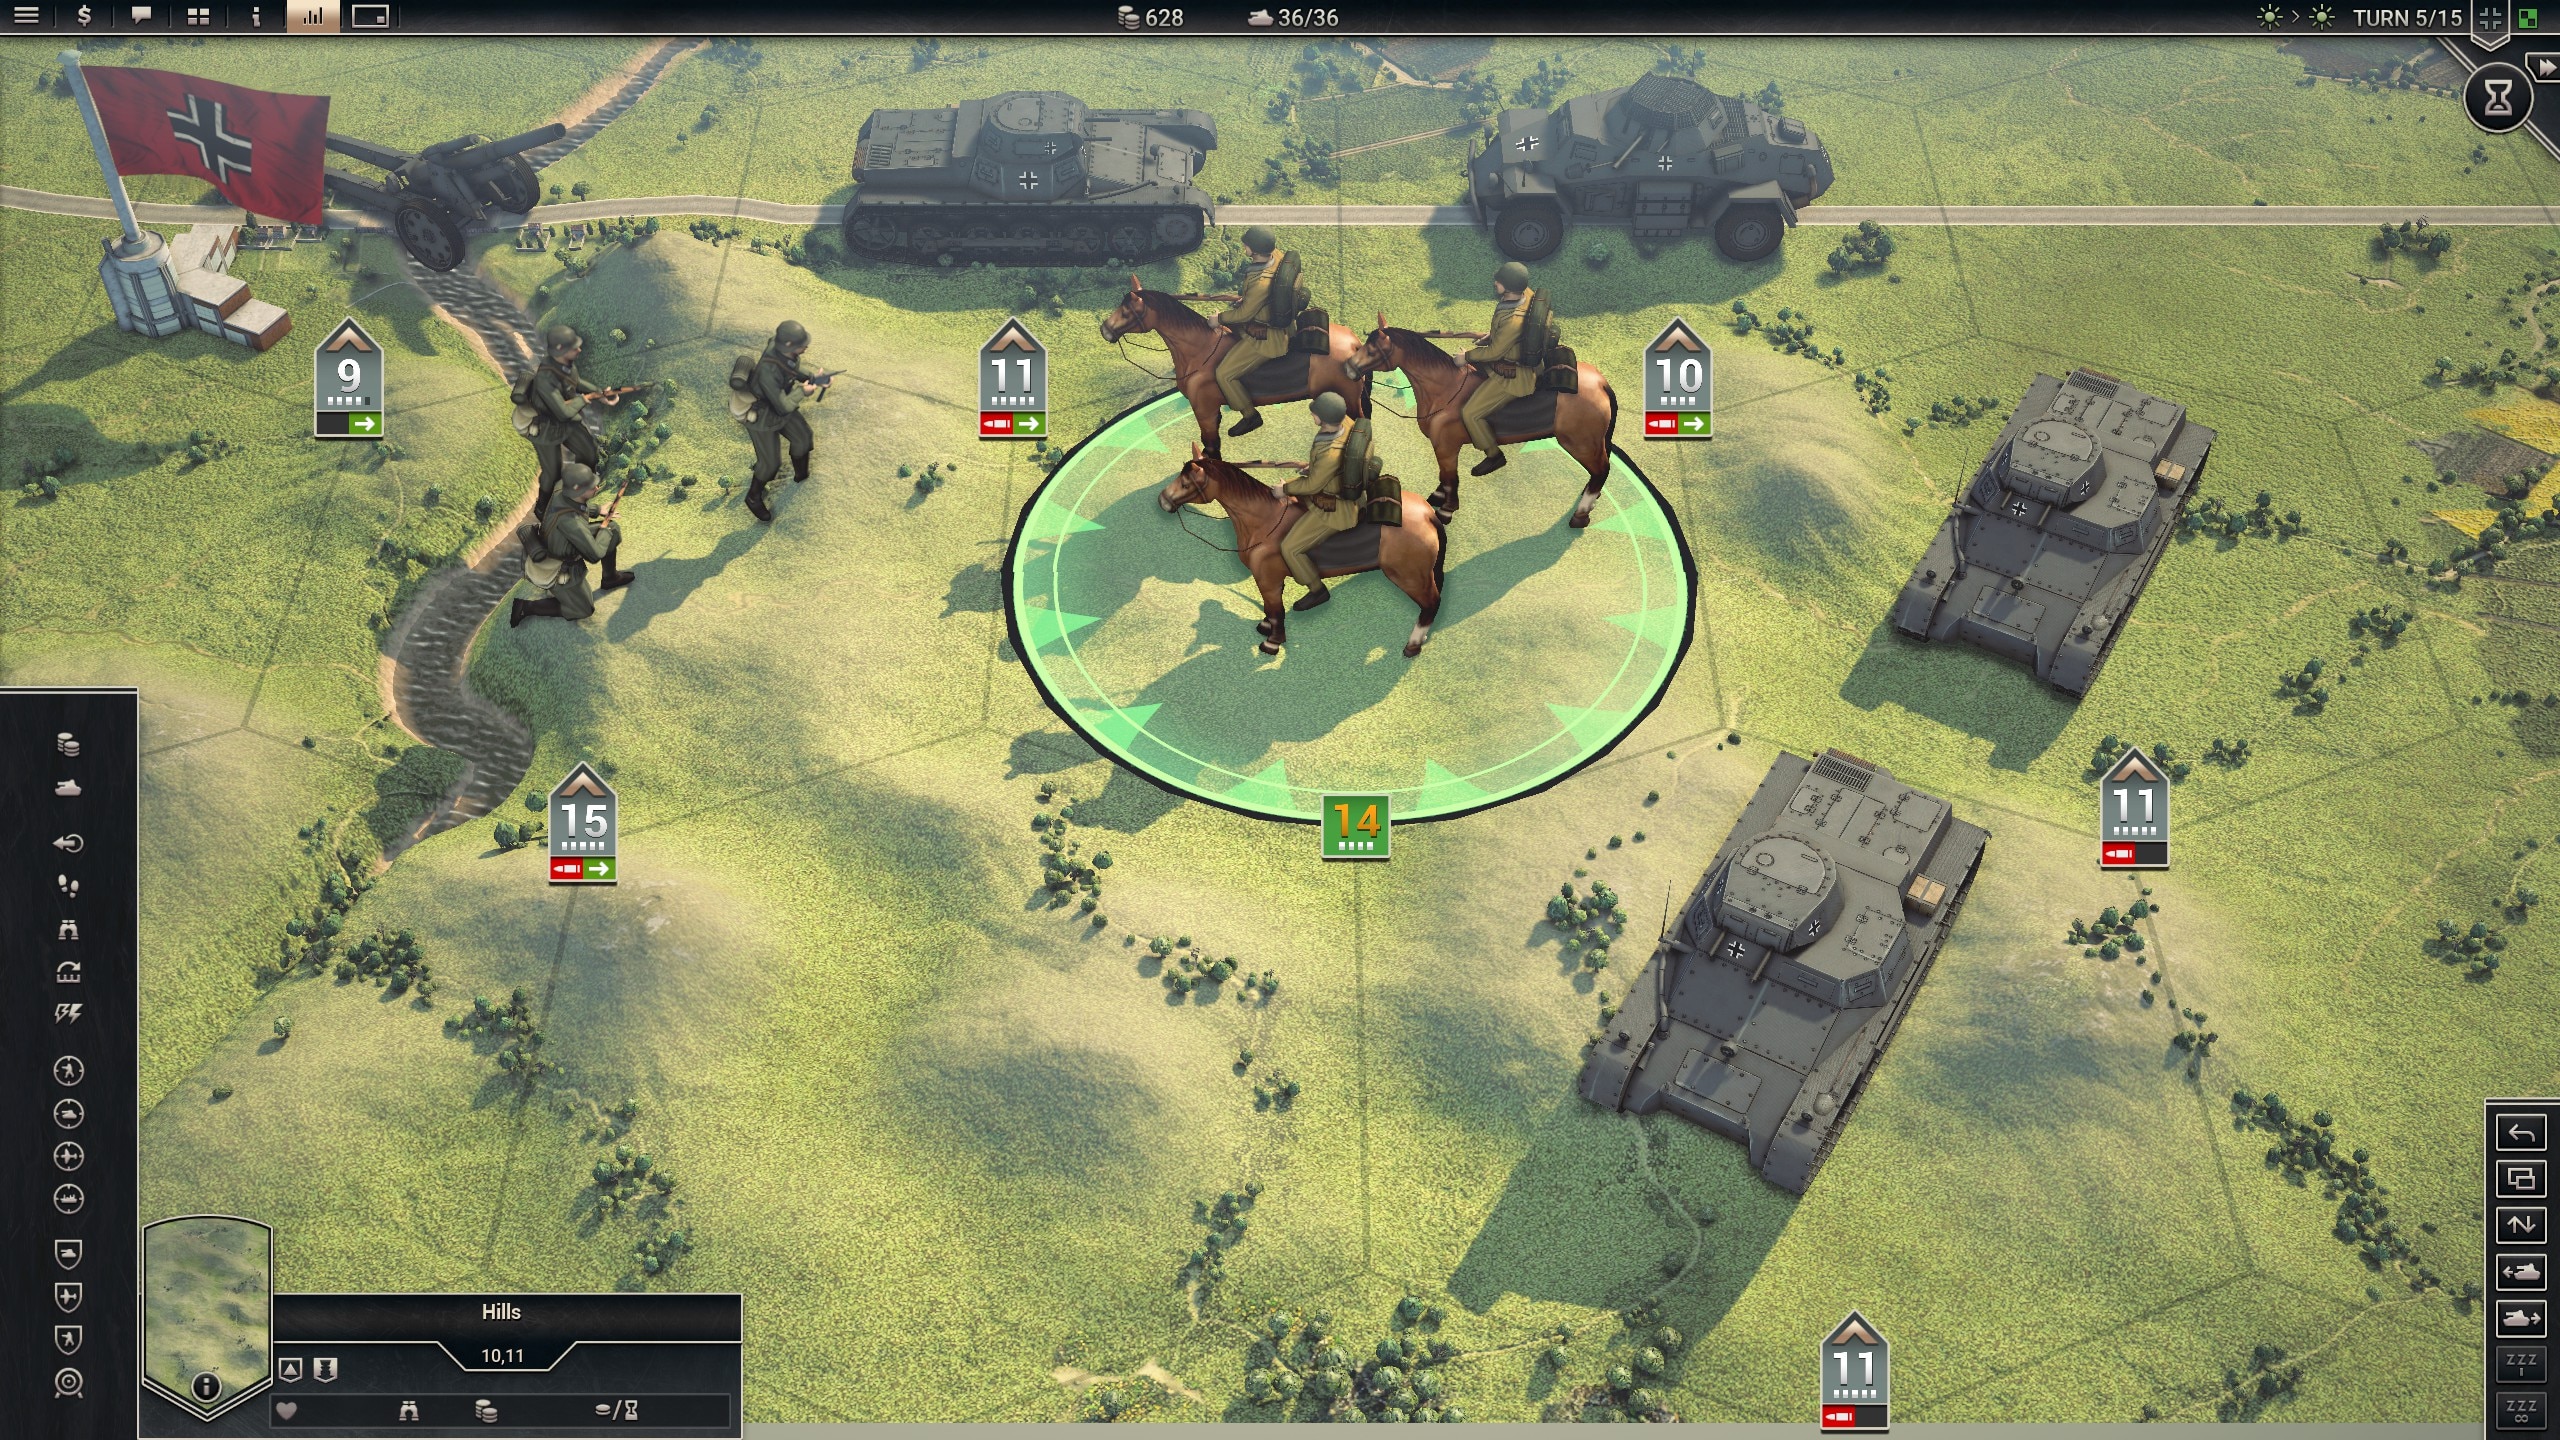
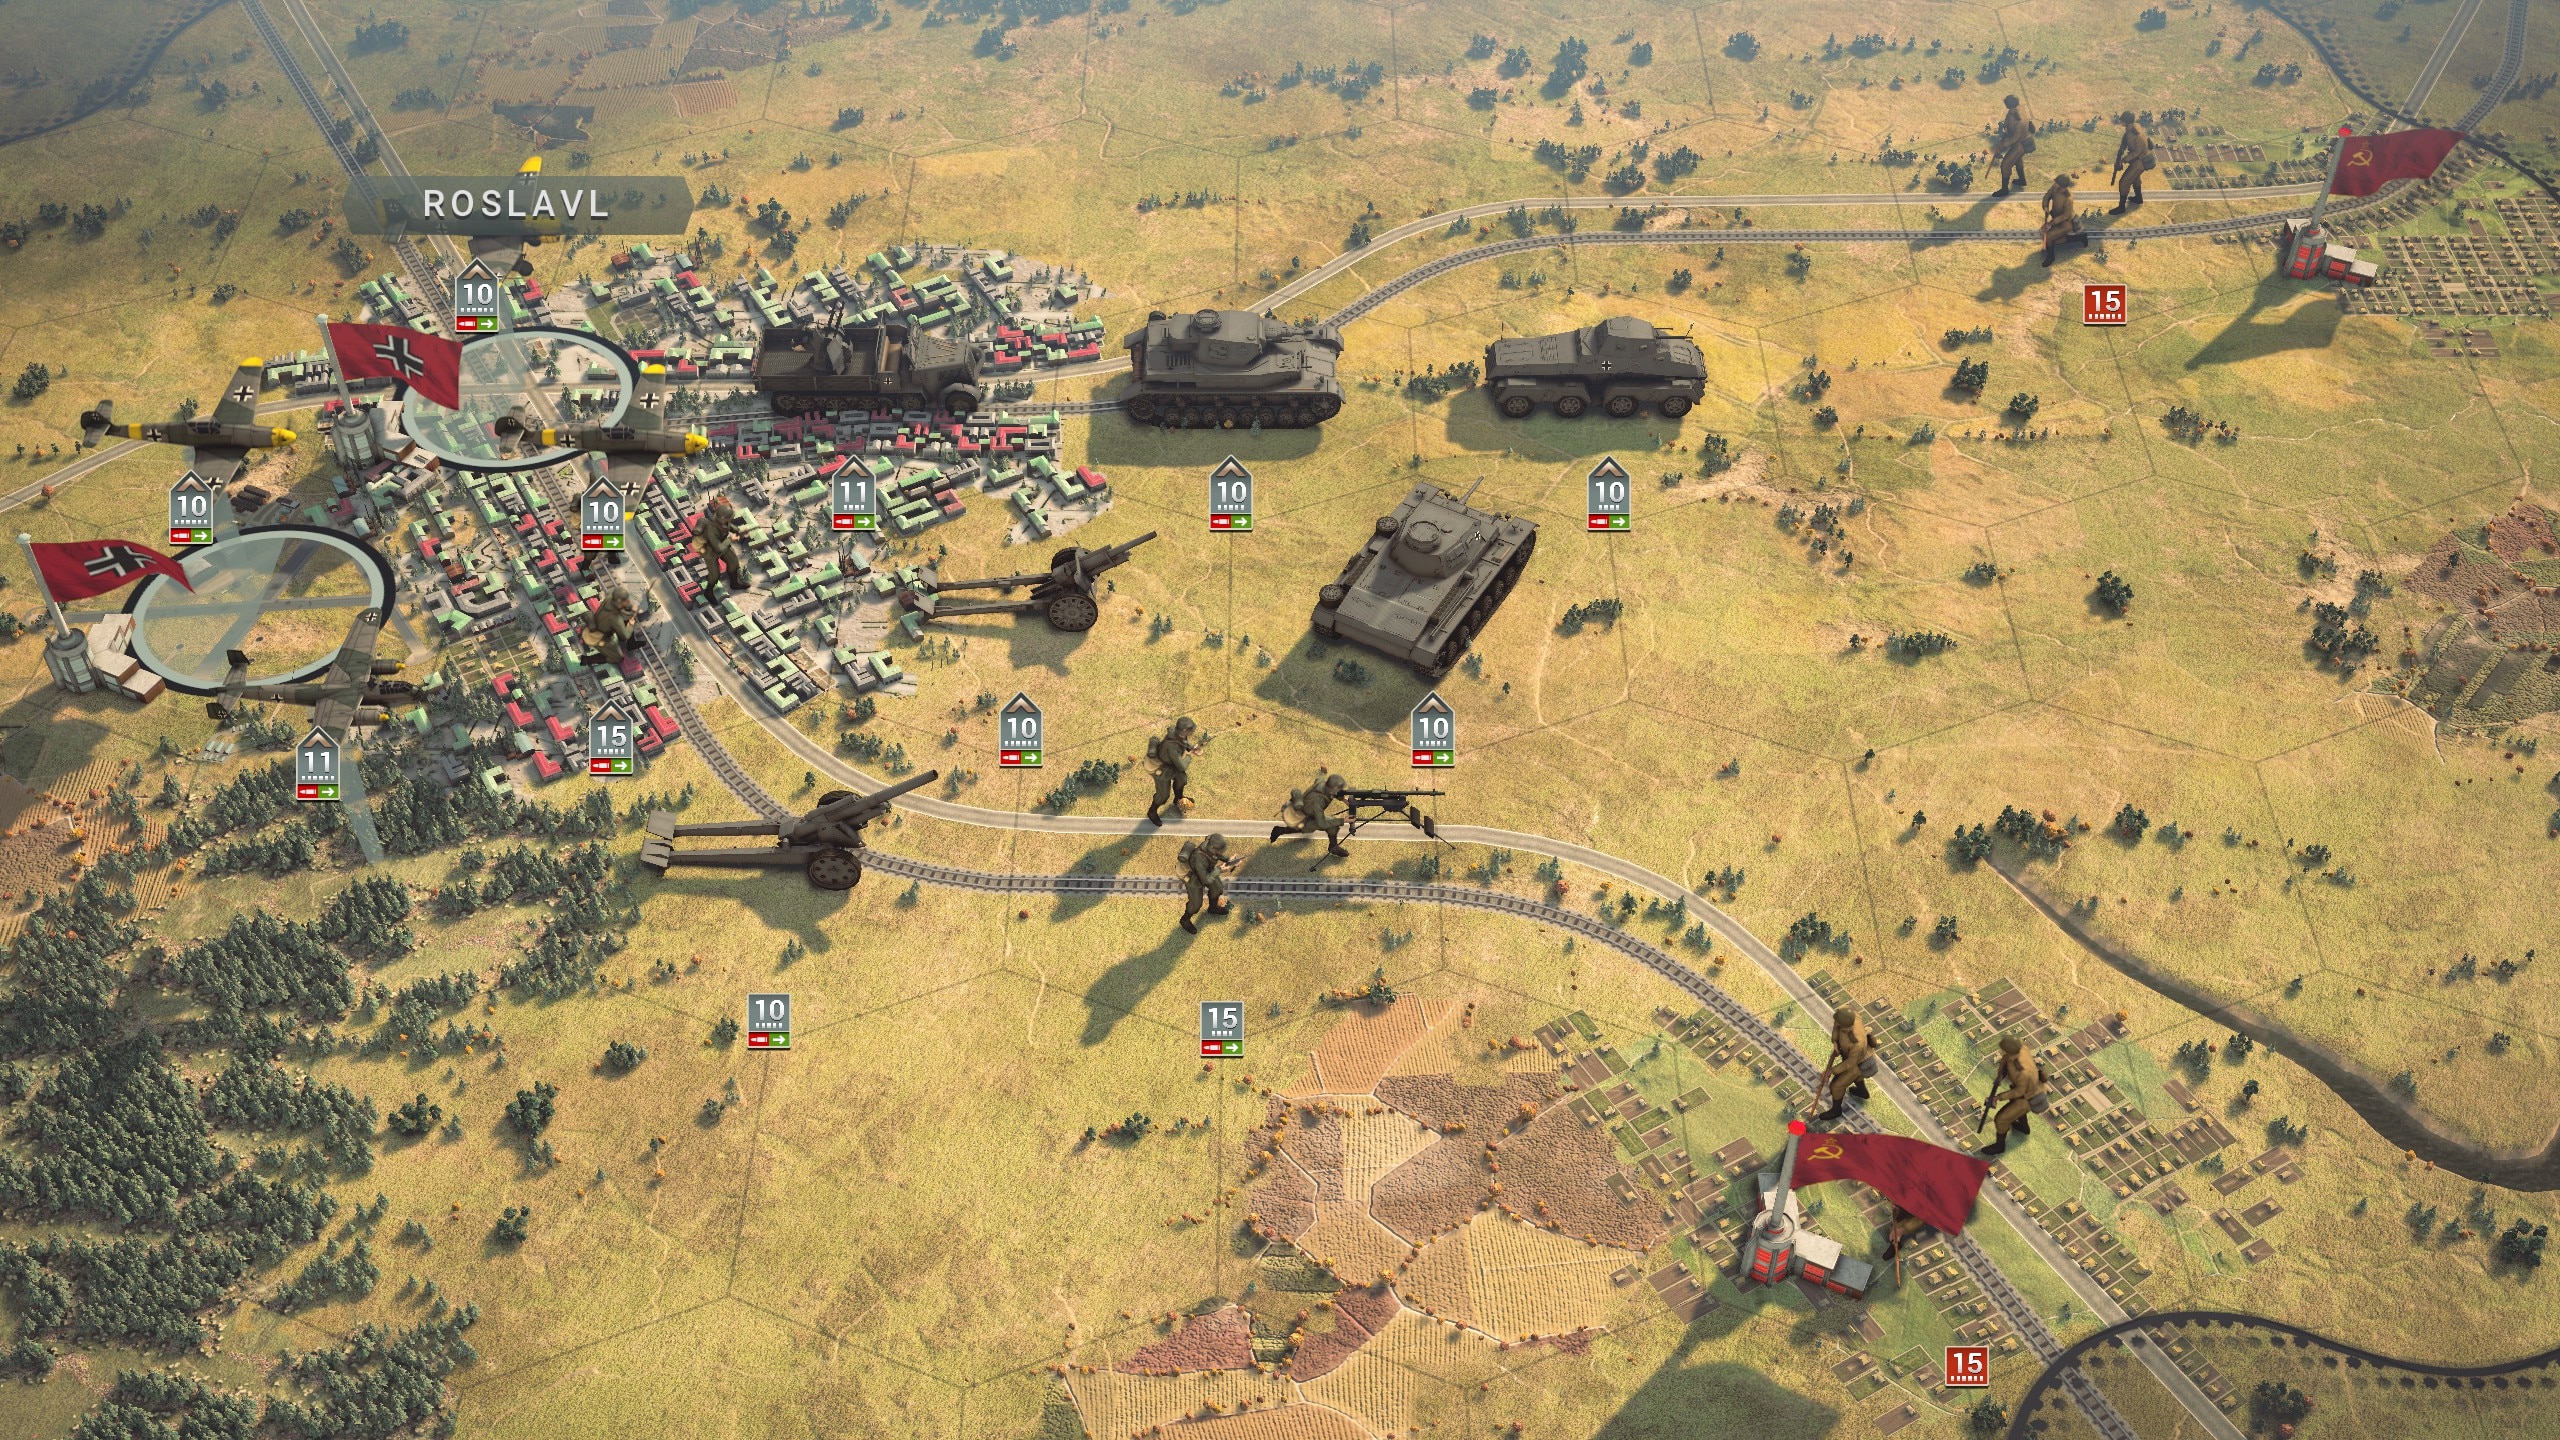
Image

And at Roslavl:

Wehrmacht Campaign | Generalissimus | Gates of Moscow | Turn 1 (Roslavl)
Image

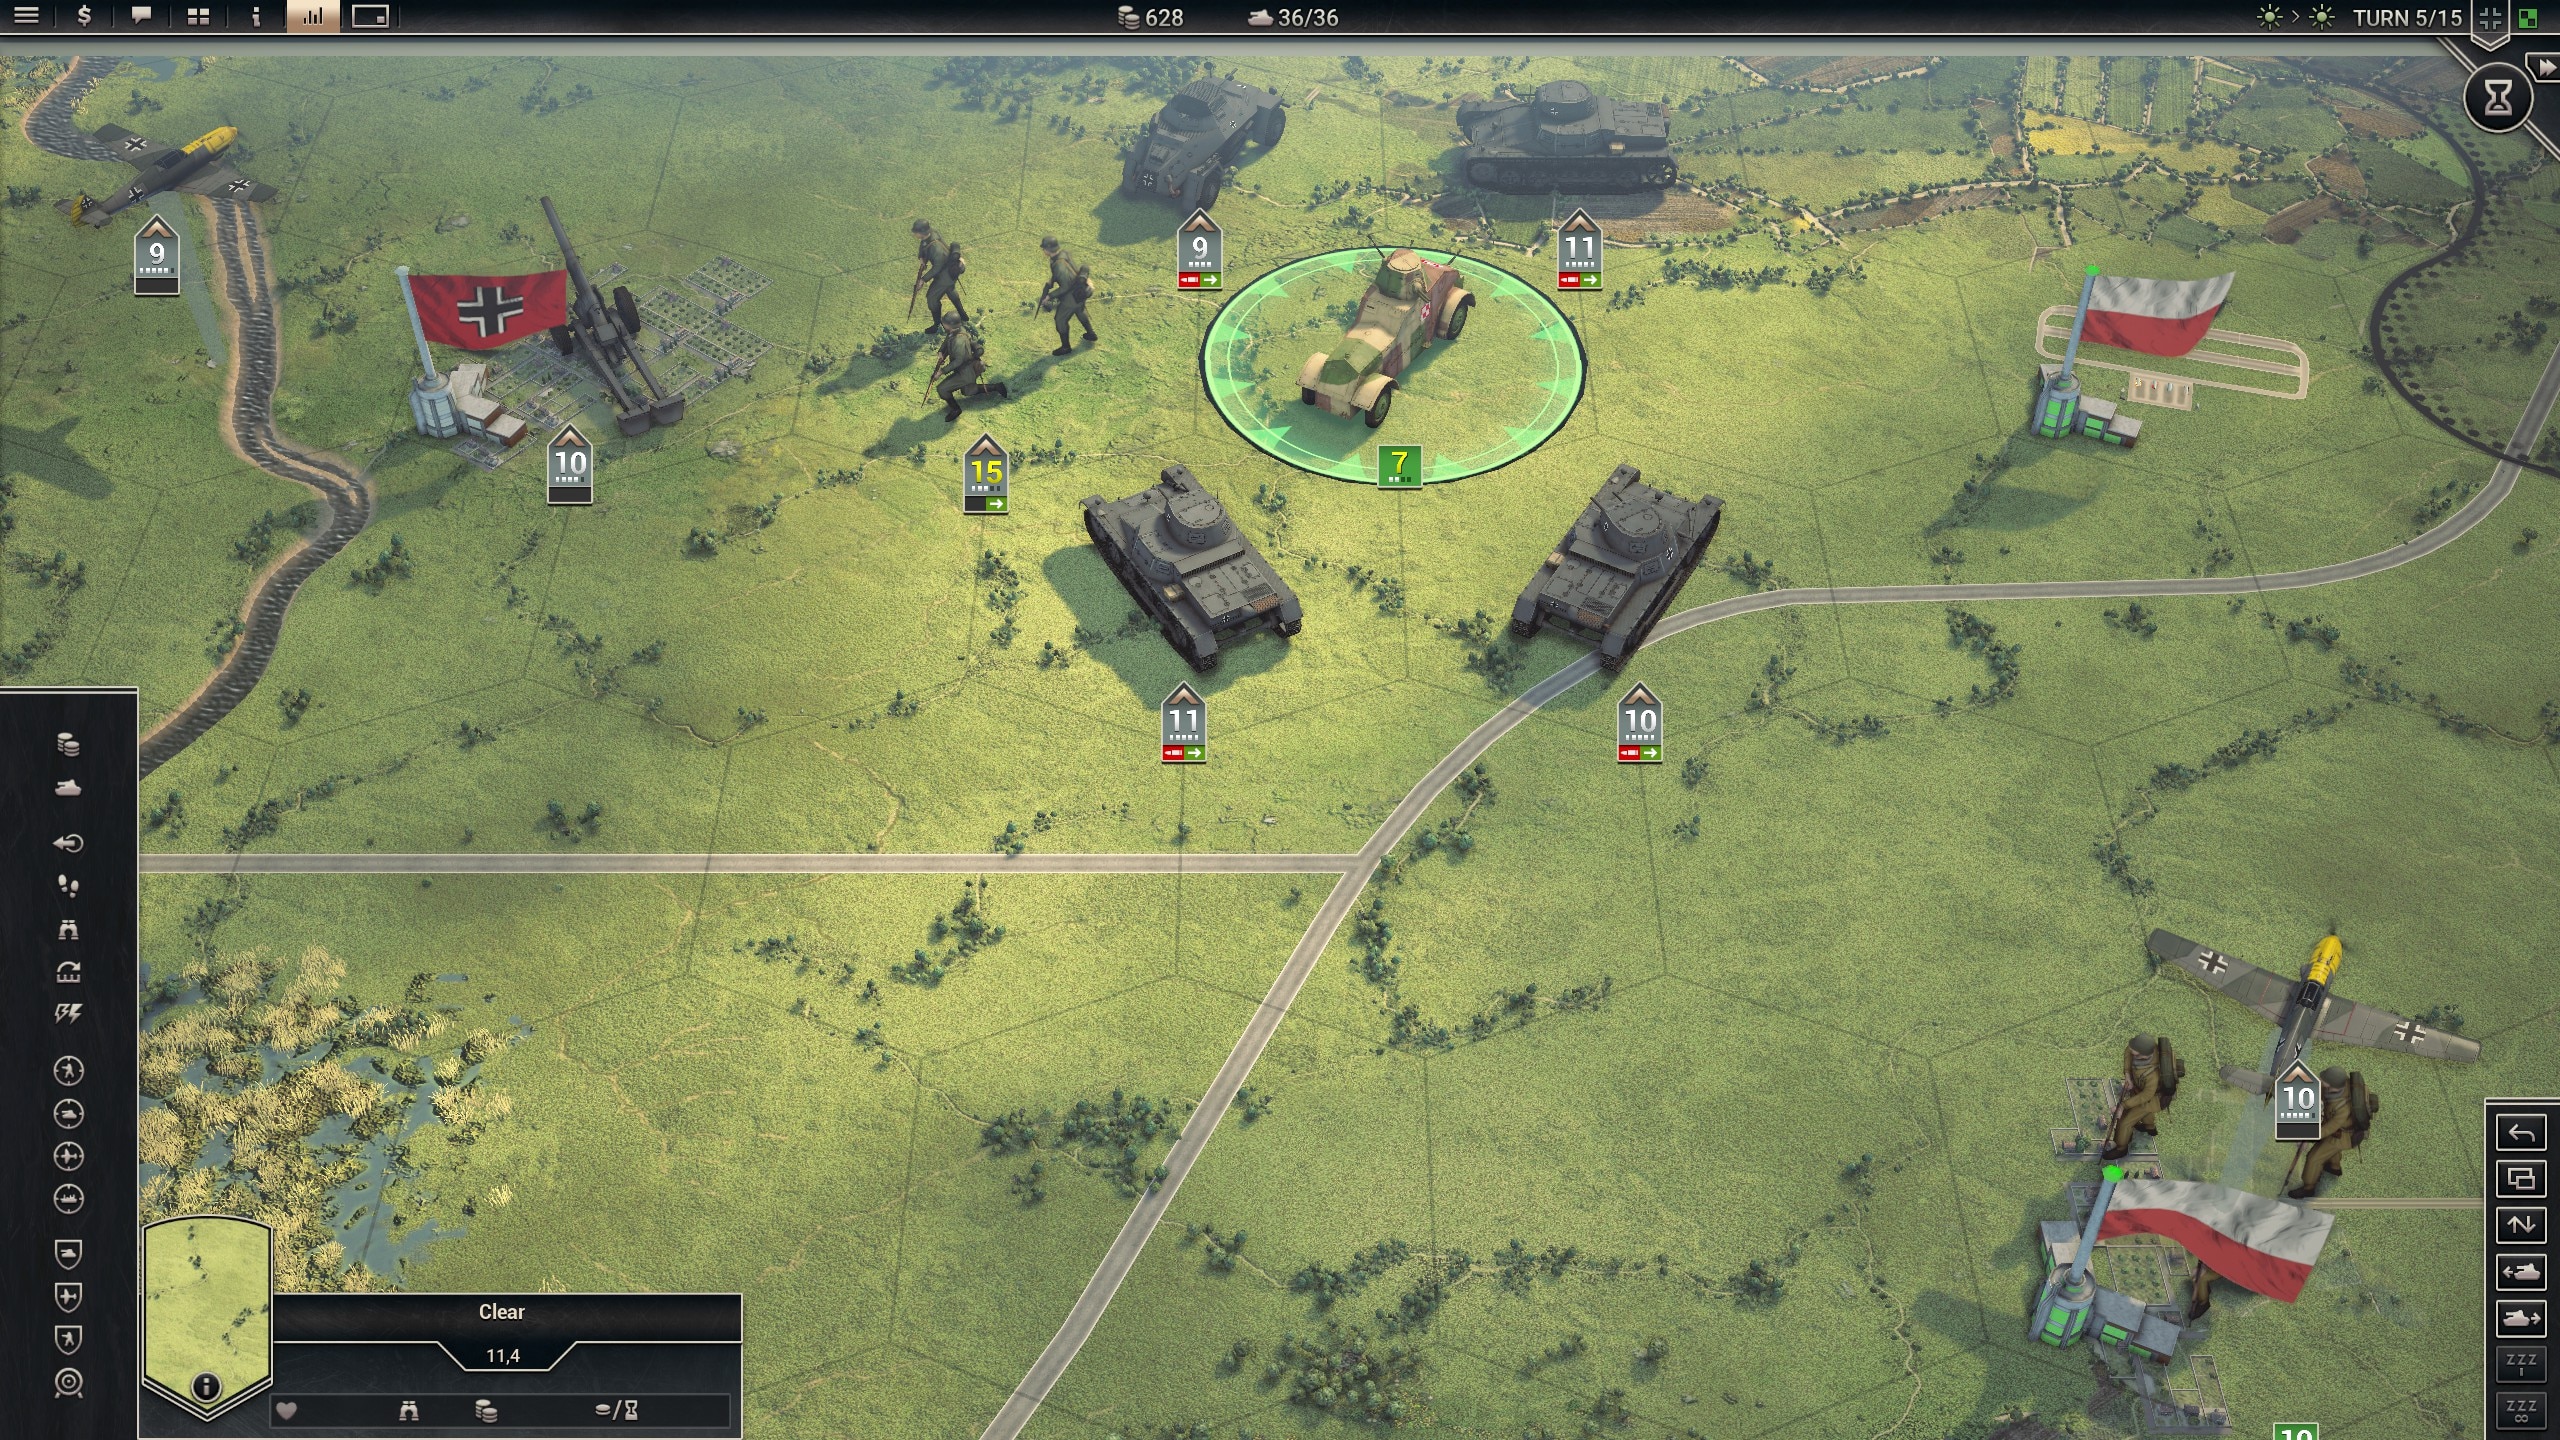
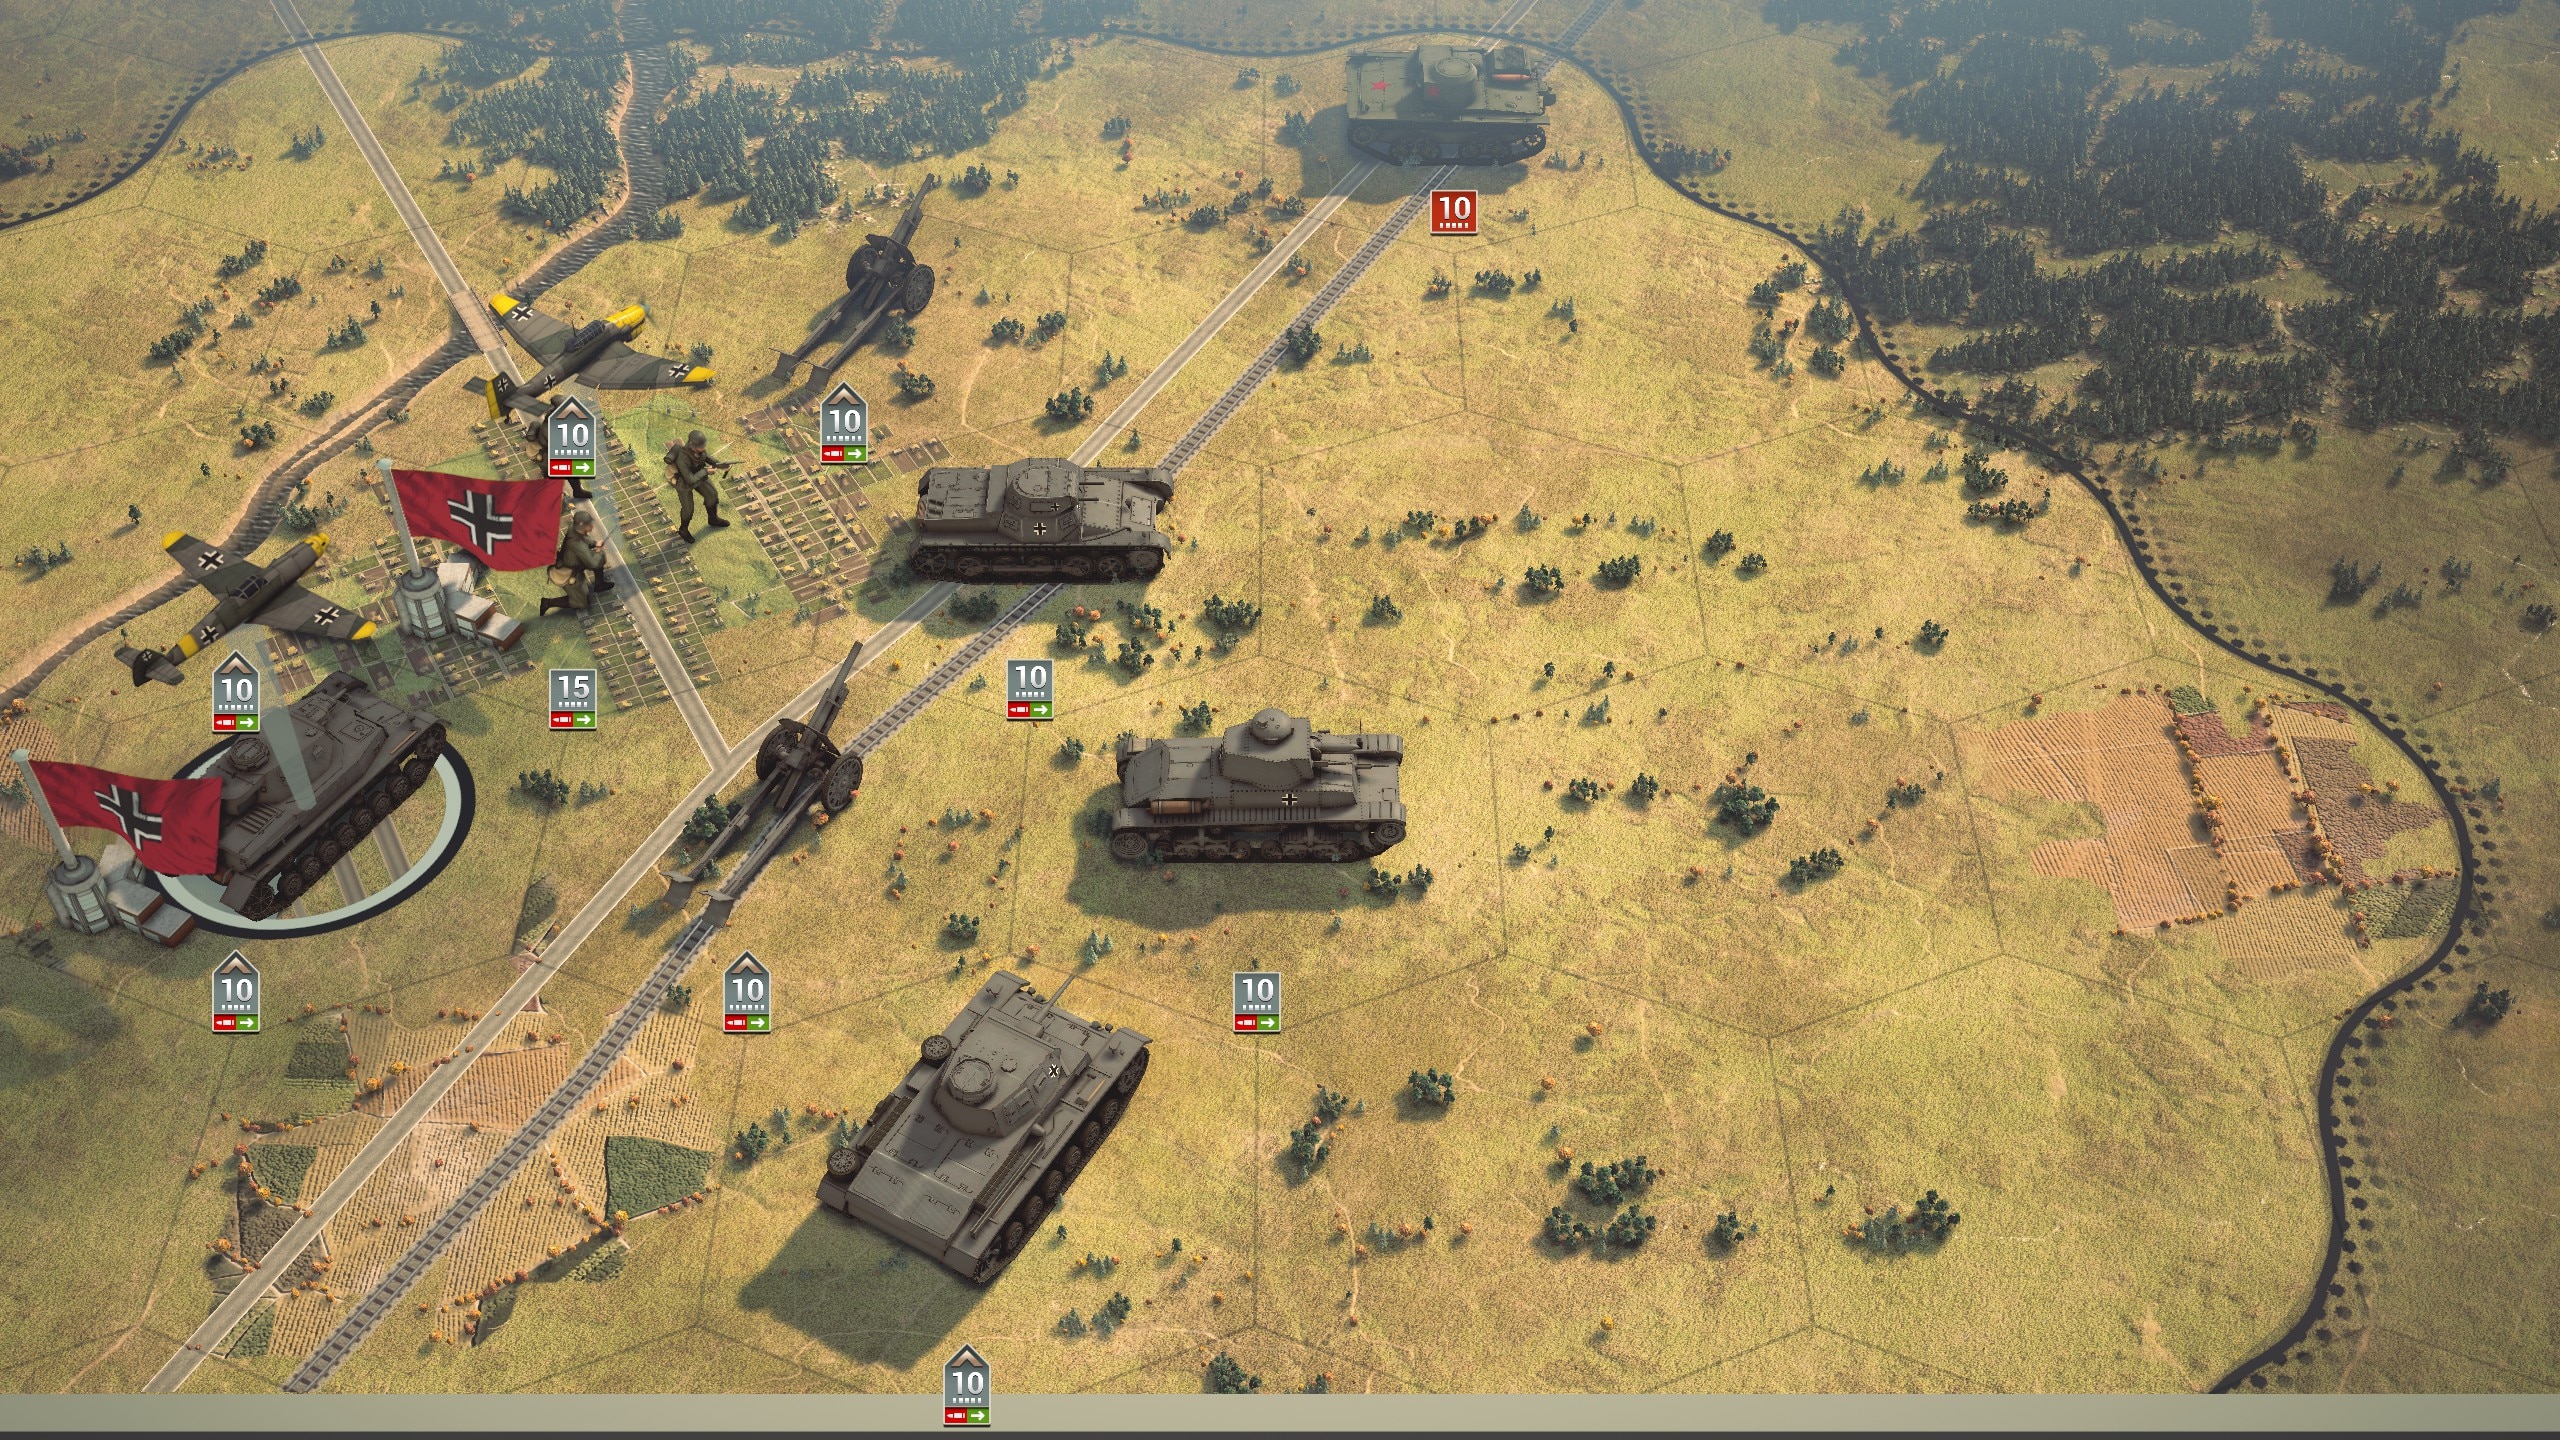
And in the south, heading toward Bryansk:

Wehrmacht Campaign | Generalissimus | Gates of Moscow | Turn 1 (South)
Image

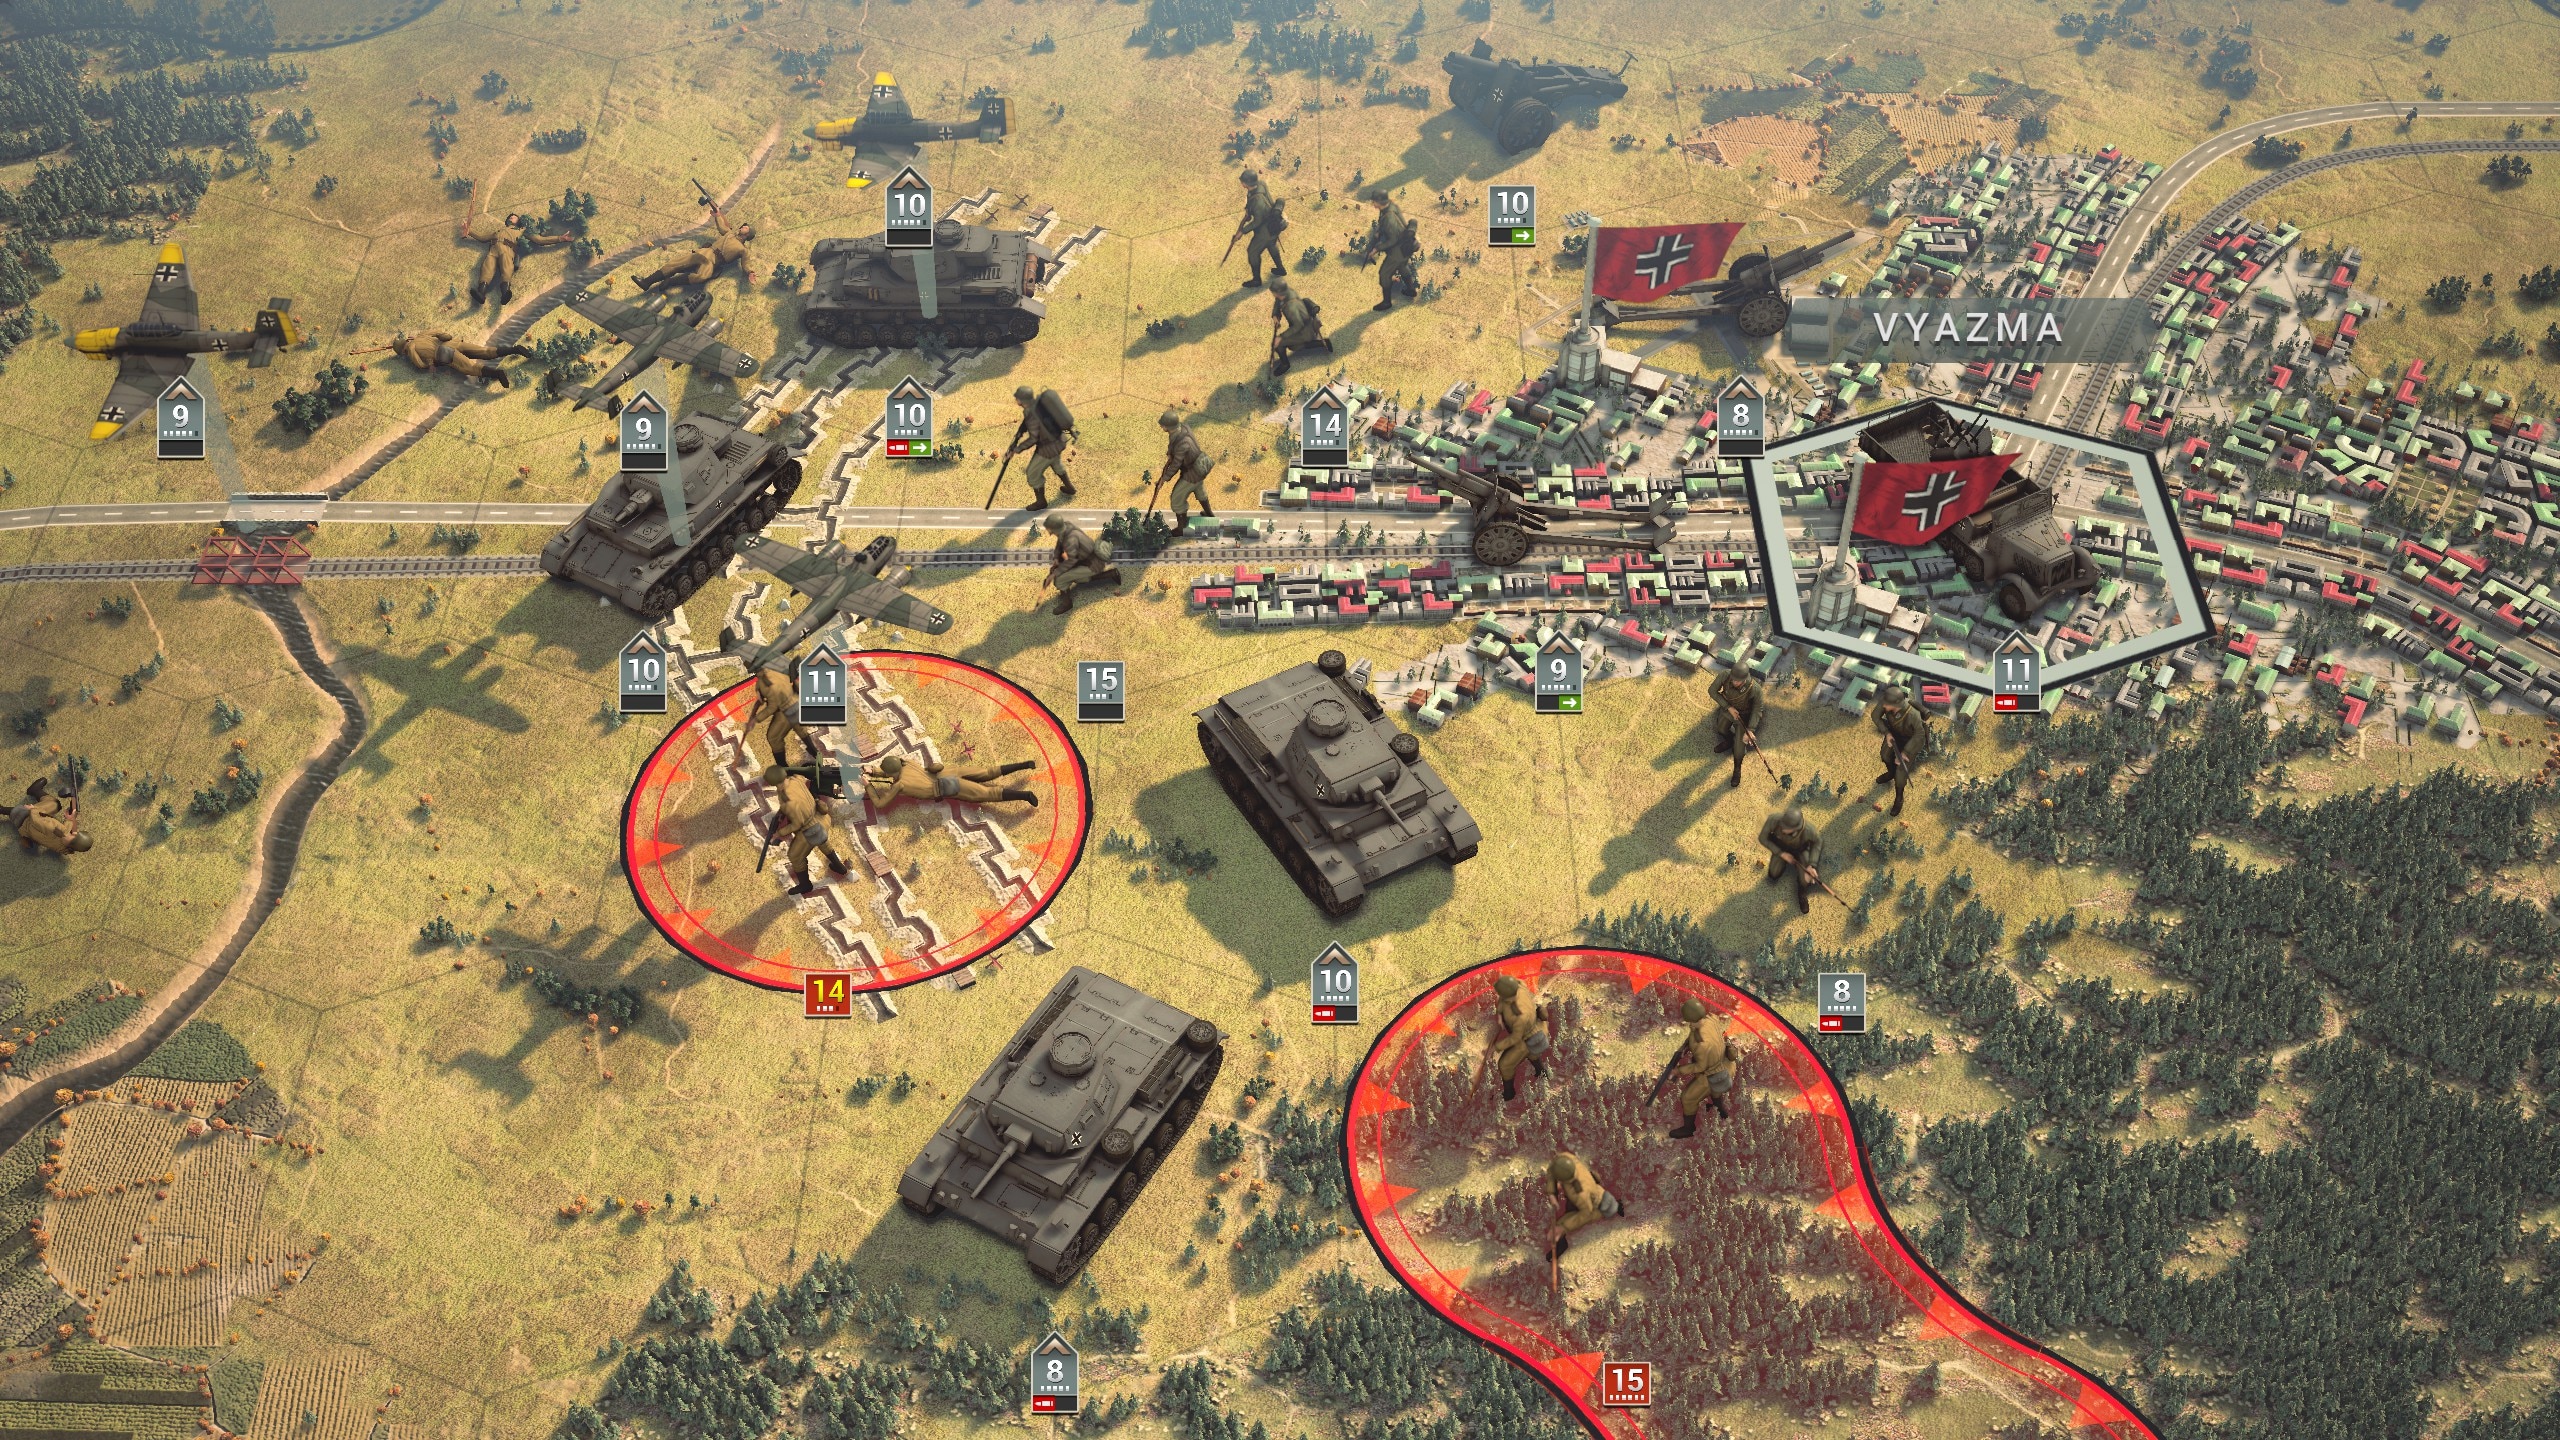
As I had 30 turns again, I took out the easy targets in the first few turns and set up some traps for the enemy air force. By turn 10, I had taken Vyazma with a pincer movement that involved going around back to avoid the fortifications. Here I only had two enemy infantry to eliminate:

Wehrmacht Campaign | Generalissimus | Gates of Moscow | Turn 10 (Vyazma)
Image

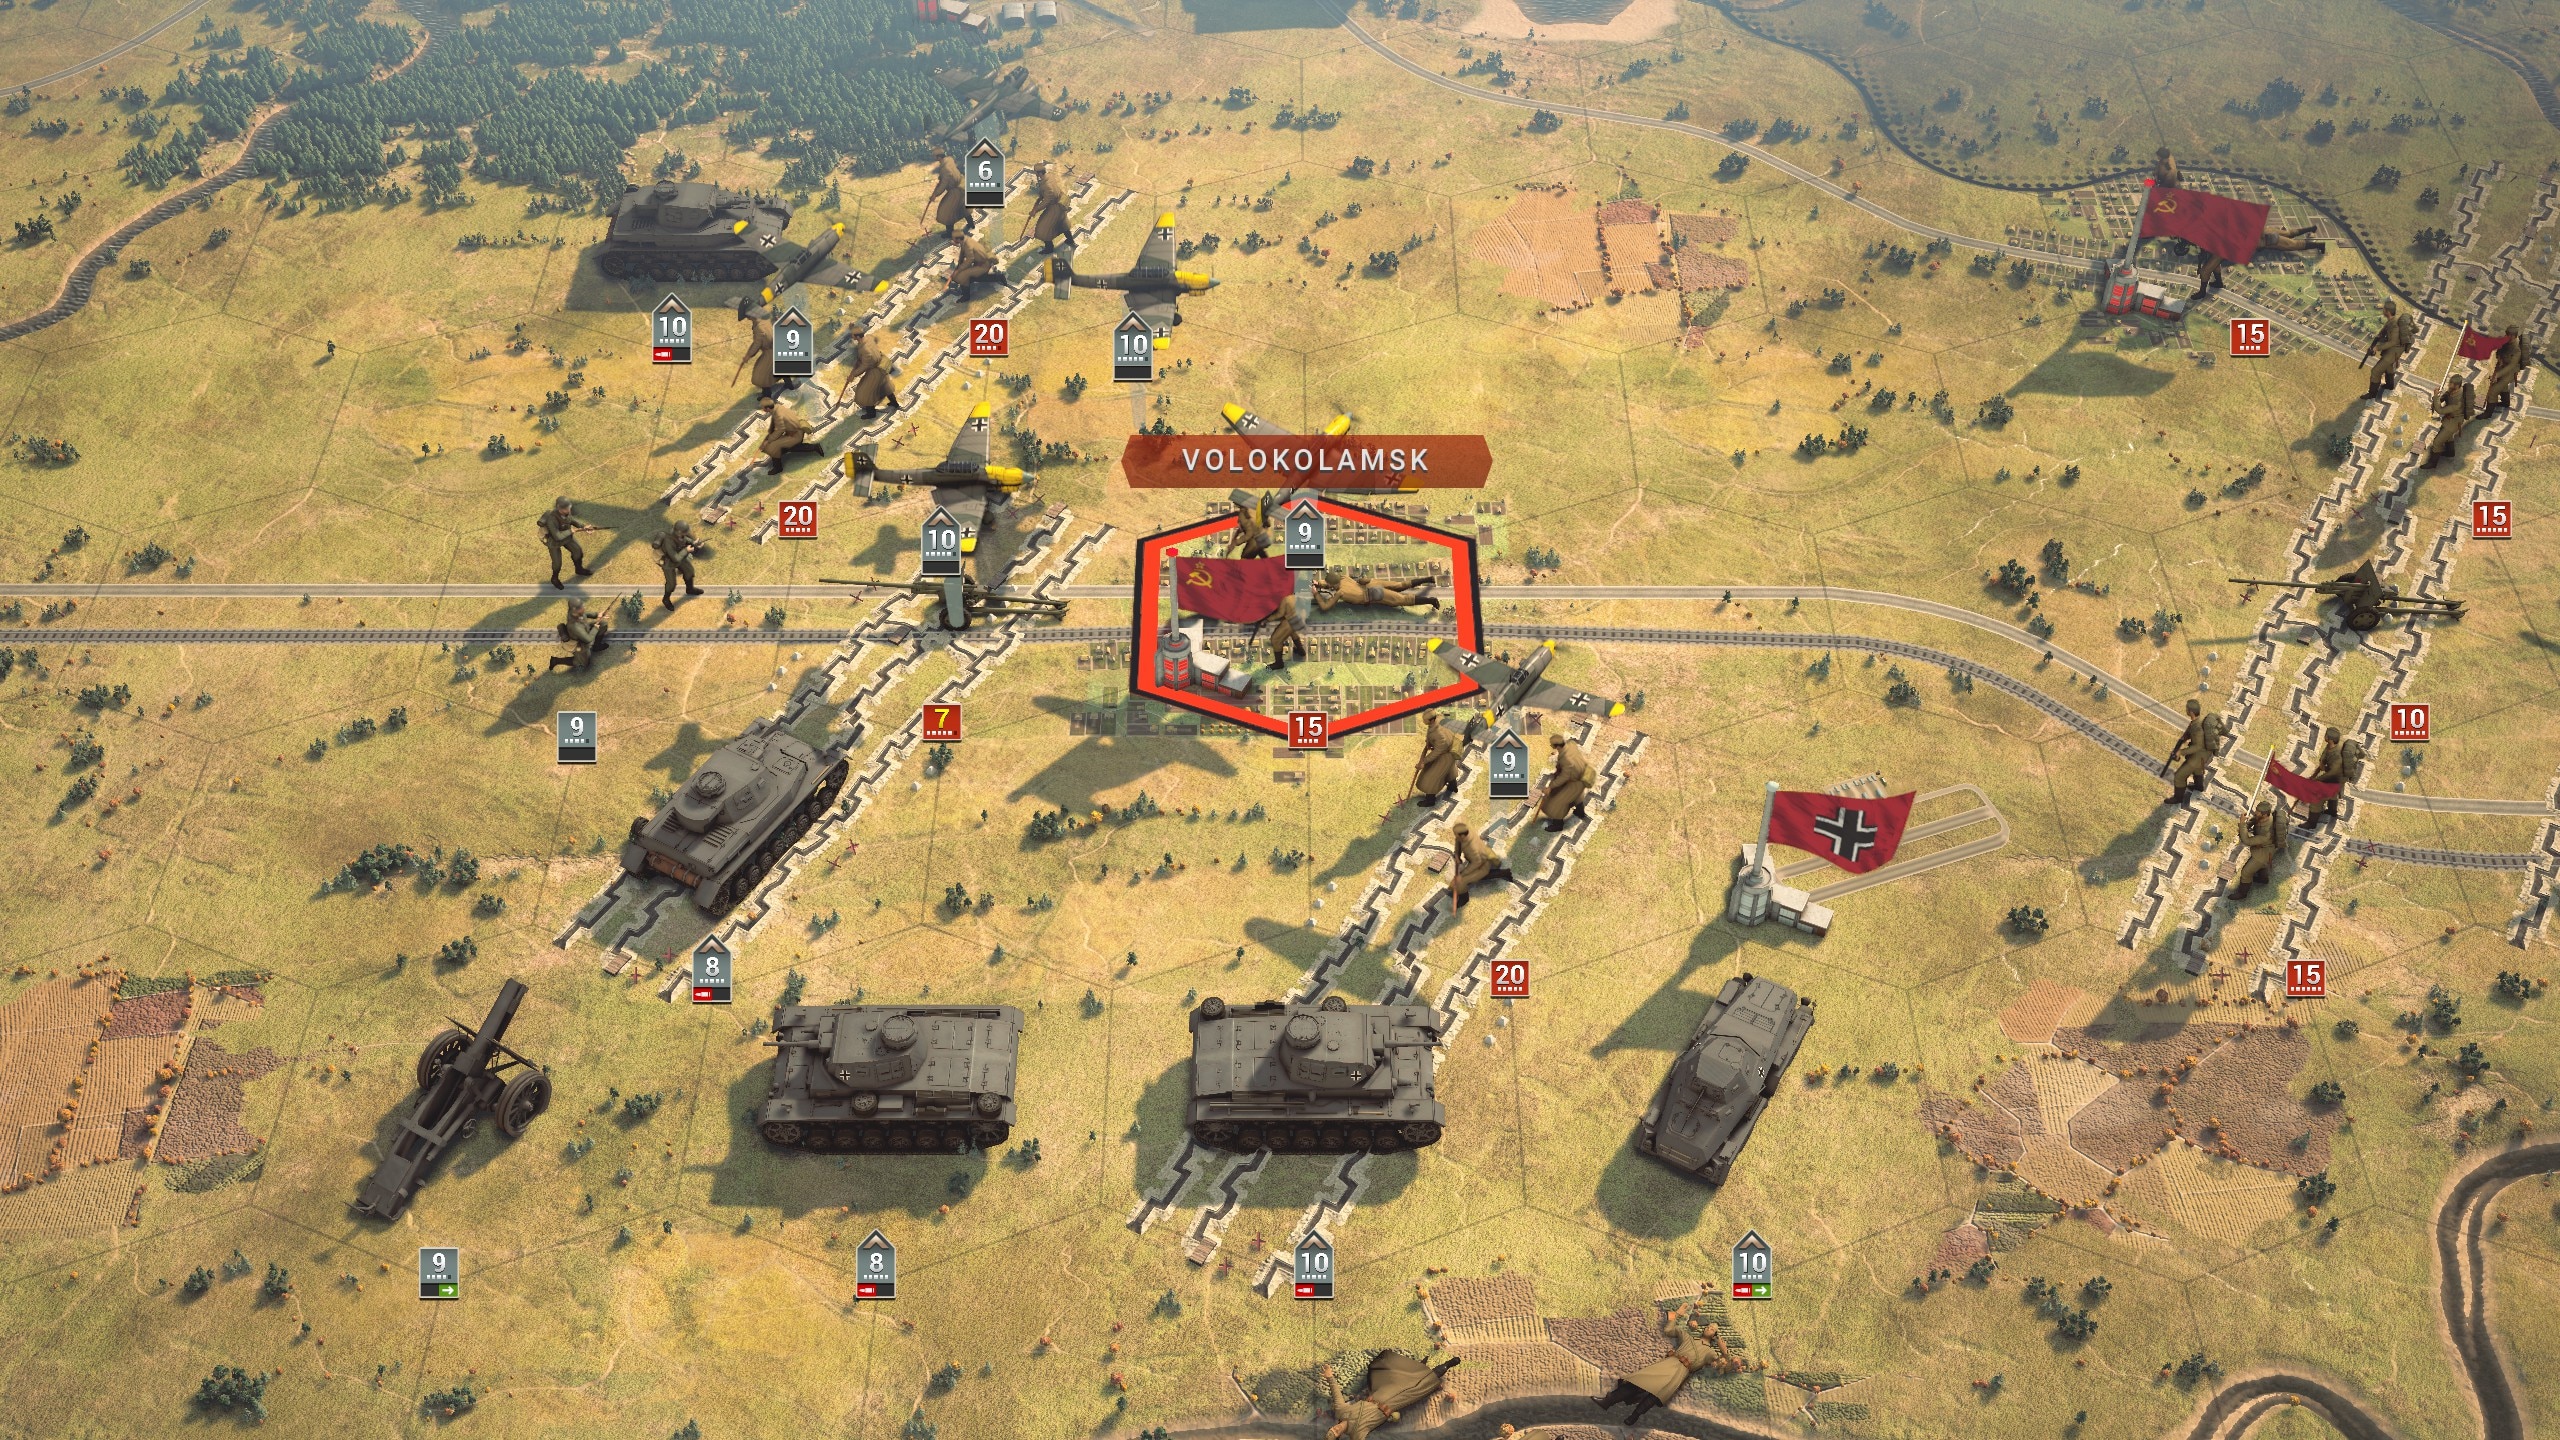
Over in Volokolamsk, I was facing a much slower assault as fortifications were everywhere. But I slowly made my way through by taking out the AAs first and then using air support to take out artillery and ATs:

Wehrmacht Campaign | Generalissimus | Gates of Moscow | Turn 10 (Volokolamsk)
Image

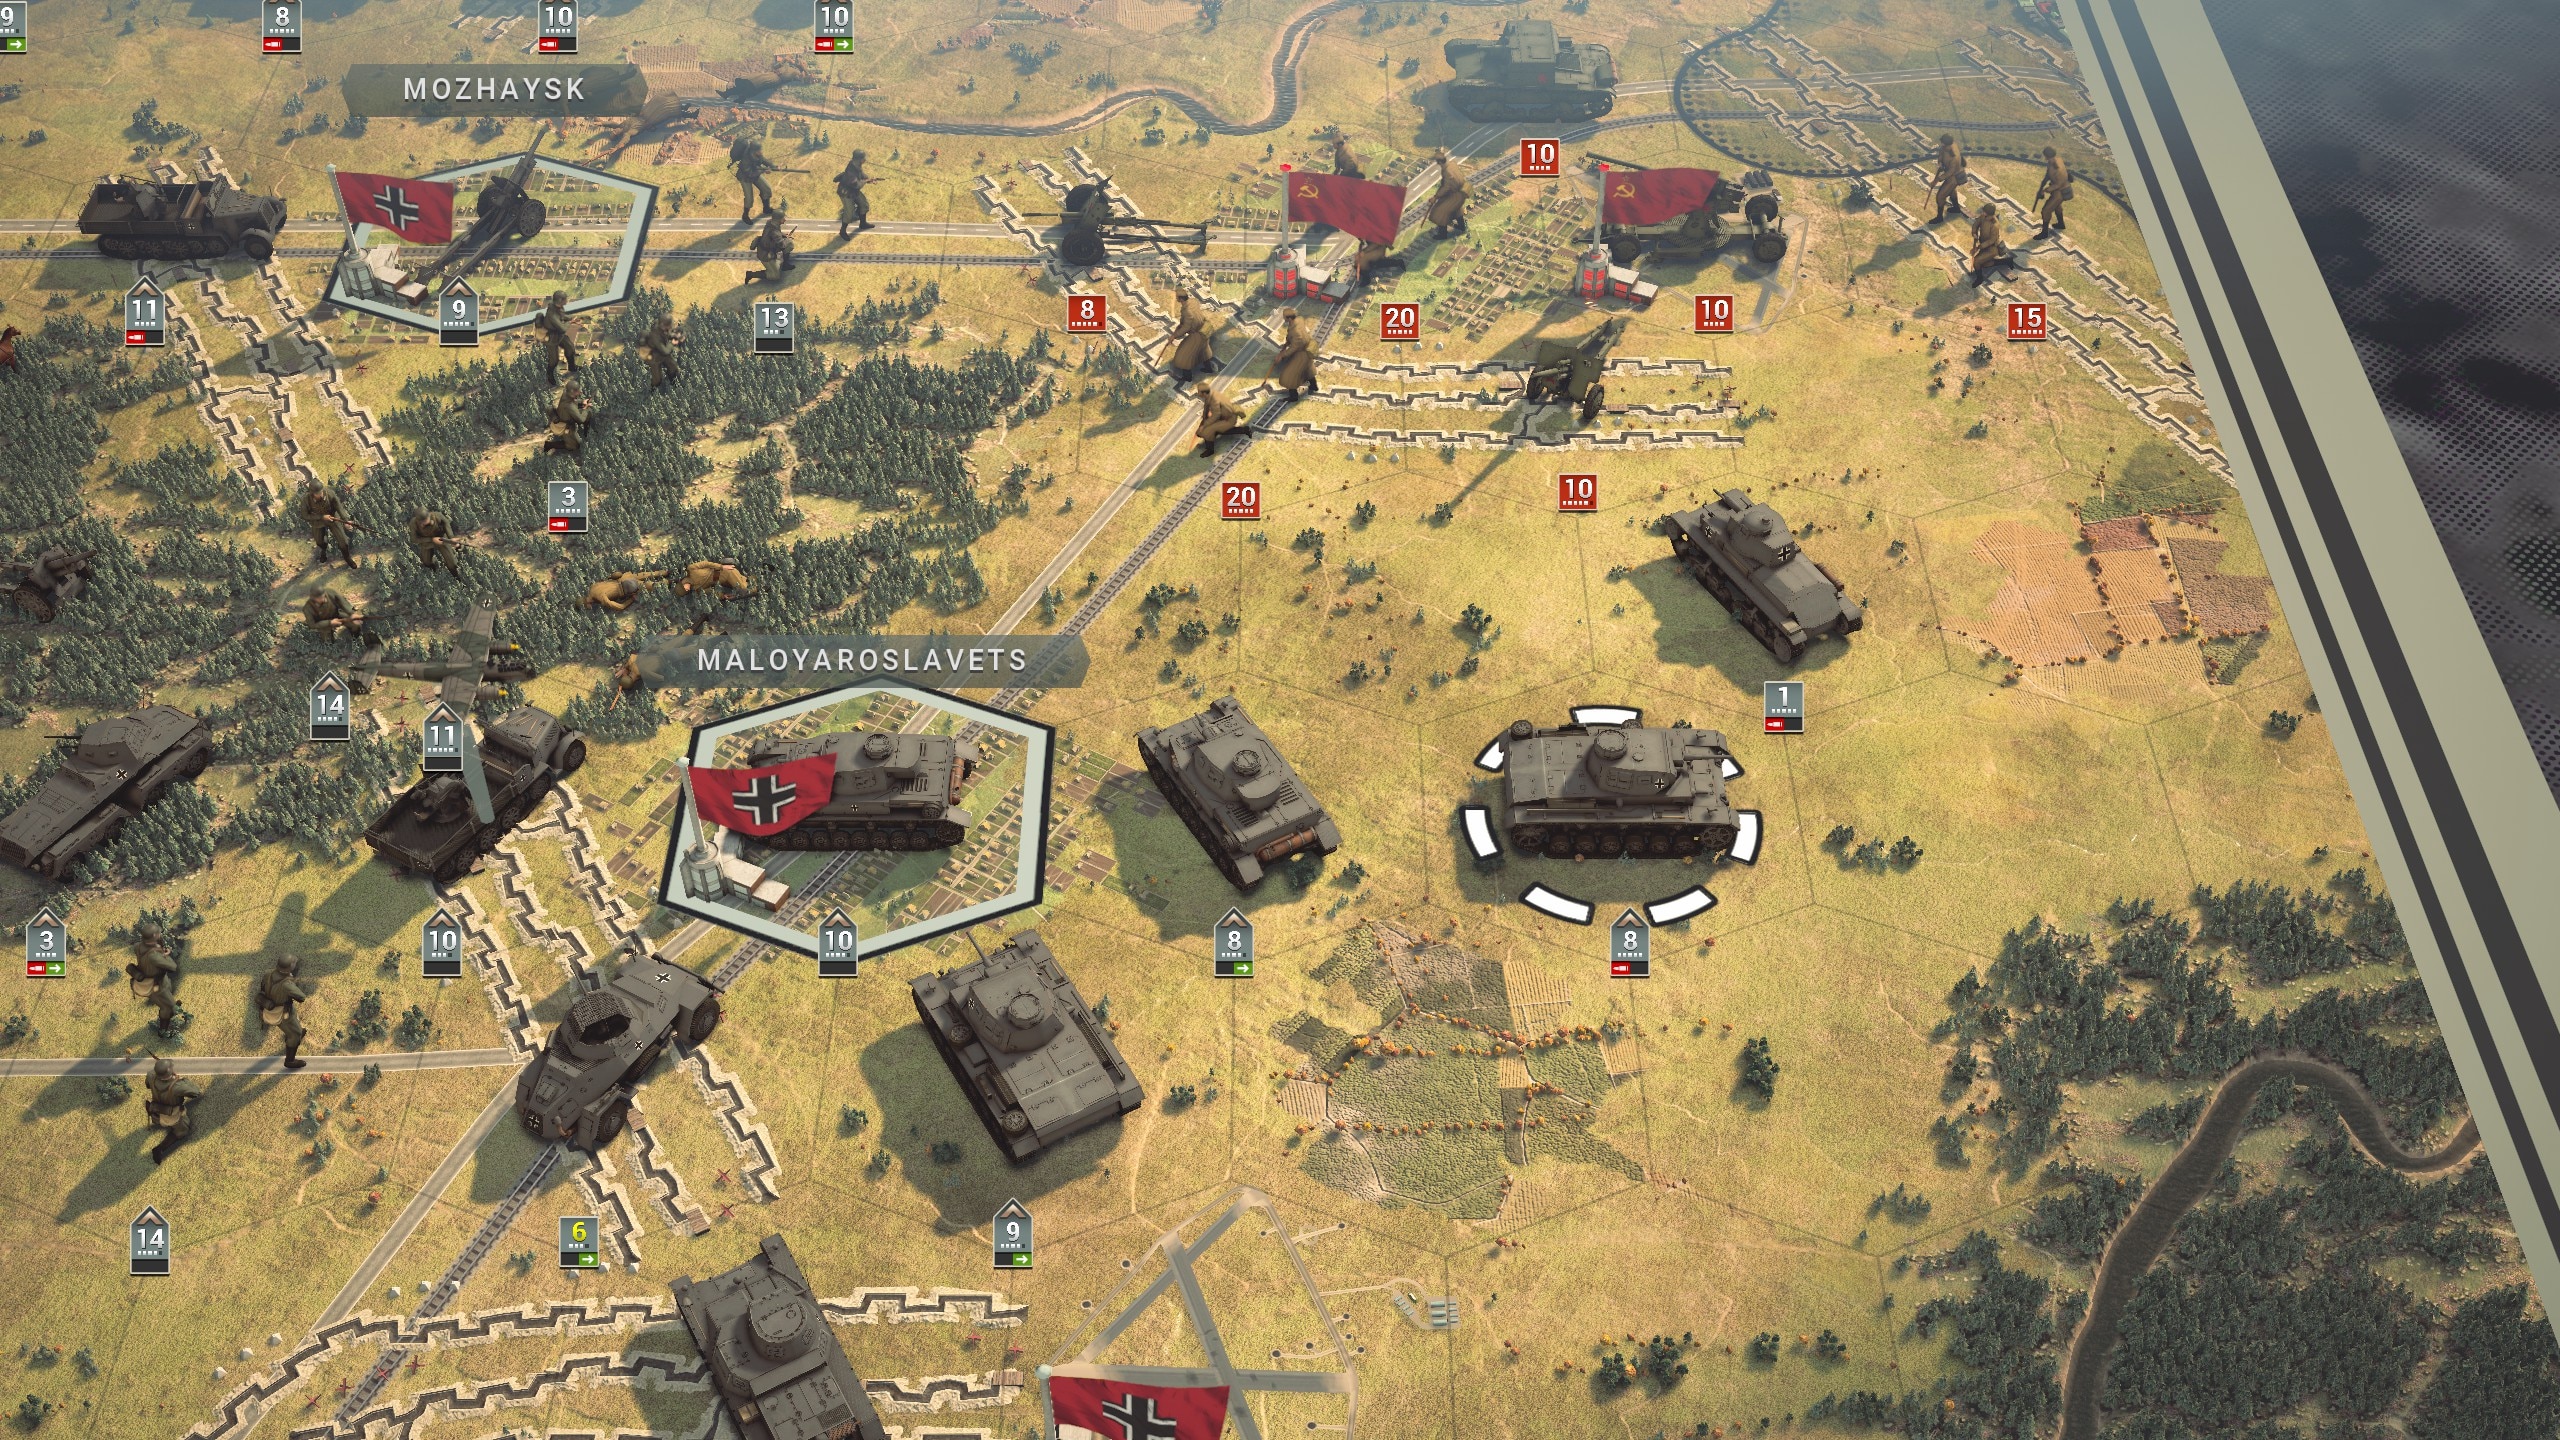
By turn 20 I had captured Mozhaysk and Maloyaroslavets and was pushing toward Moscow. Some of my units had taken heavy damage (almost lost a tank) but mostly I sacrificed the auxilliary units:

Wehrmacht Campaign | Generalissimus | Gates of Moscow | Turn 20 (Maloyaroslavets)
Image

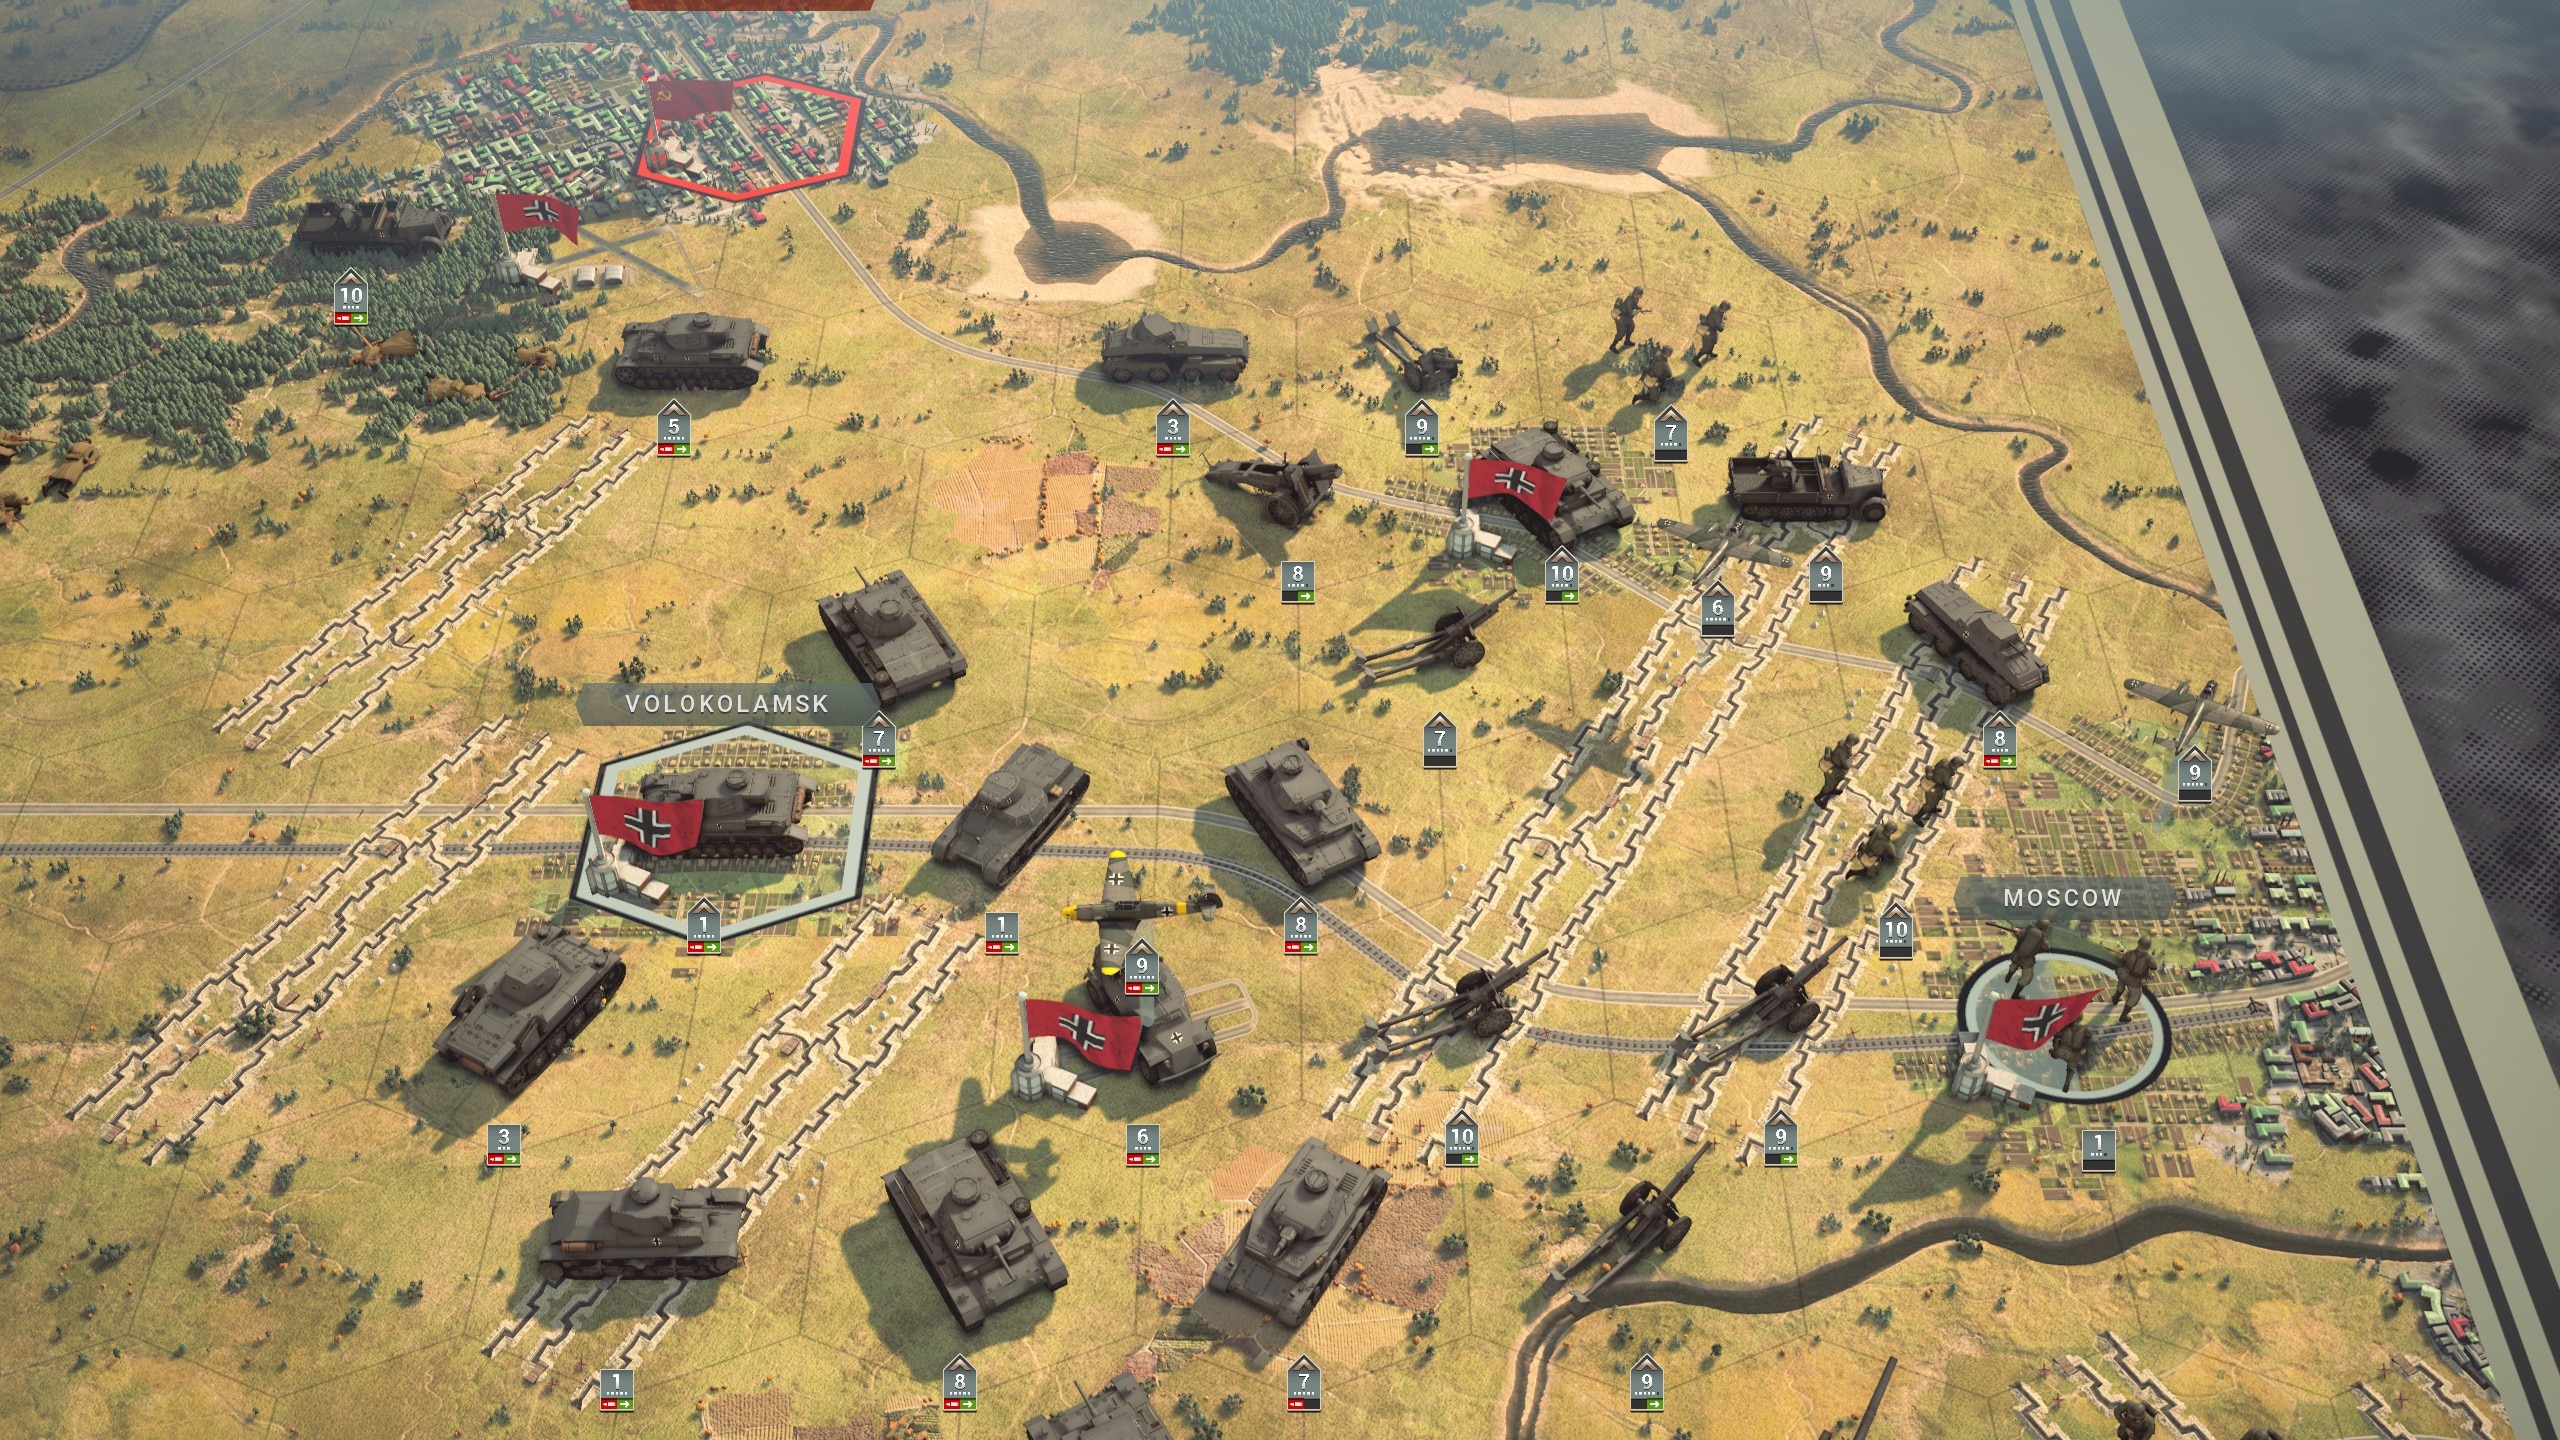
By turn 30 I had taken the entrance to Moscow. I had destroyed every enemy unit and taken all flaged hexes. My units were drained but they had gained much experience. I would need prestige for their repairs in the next scenario, but I had managed to force surrender some high value Soviet tanks like KV-1s and T-34s!

Wehrmacht Campaign | Generalissimus | Gates of Moscow | Turn 30 (Moscow)
Image

On to Moscow!
Last edited by frugivore on Tue Sep 26, 2023 12:20 pm, edited 1 time in total.
Post Reply

Return to “Panzer Corps 2 AARs”